To the FliteTest Community:
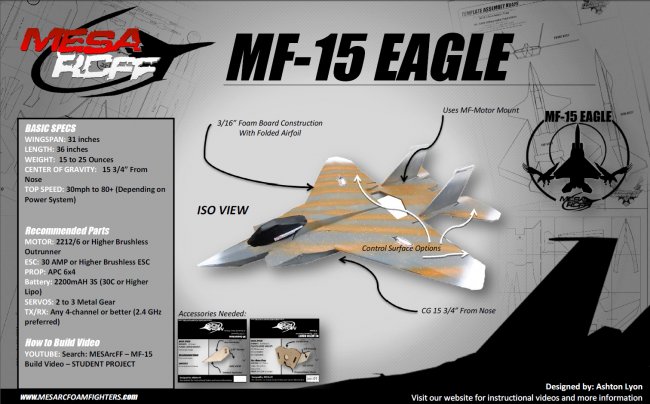
As promised a build video of the MF-15 Eagle. We have taken a lot of your feedback and we beleive we have created a better product that will be easier for the builder and flyer. Below is a picture of the Design Specs for recommended parts, CG placement, etc.
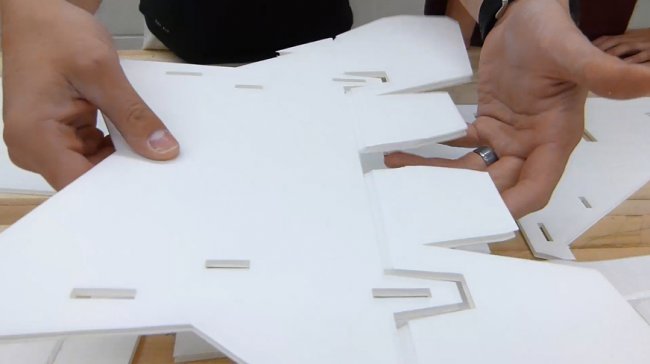
Lets get the plane pieces, you can either download the plane plans from our website, see link below, you can download either the Tiled or Full Size plans from there.
Link to plans: http://www.mesarcfoamfighters.com/#!plane-plans/ccb
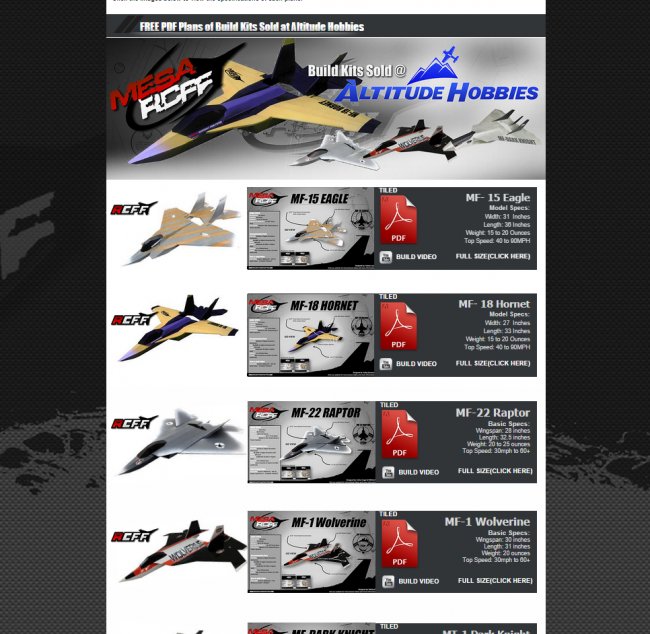
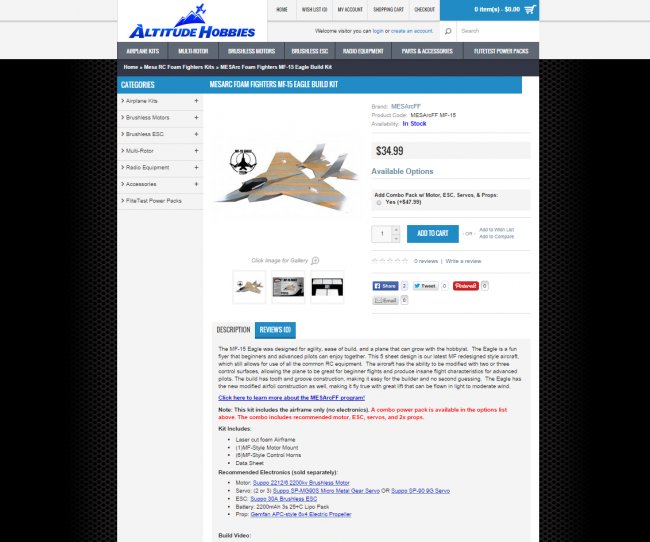
or you can support the progam and buy our kit from the Altitude Hobbies. See link below; all funds earned go back into the hands of the students. Thank you so much for your support!
Link to Purchase: http://www.altitudehobbies.com/mesa-rc-foam-fighters-kits/mesarc-foam-fighters-mf-15-eagle-build-kit
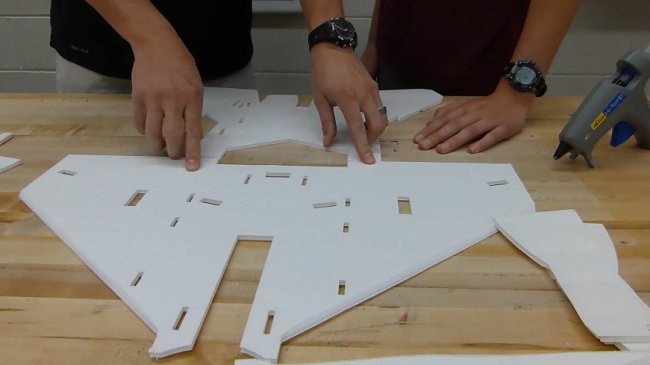
Alright lets get started with the build....
First find the front and the back sections of your main wing. Glue the back section to the front.
If you are wanting to construct the Elvron setup, follow Ashtons build seen here.
Next glue the bottom fuselage piece to the belly pan using your motor mount as a guide for the correct angle of fuselage sides.

Go ahead and glue down your motor, it is easier having the motor already on your mount for this part.
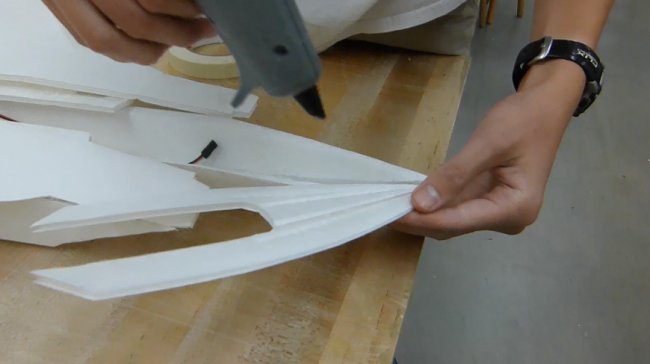
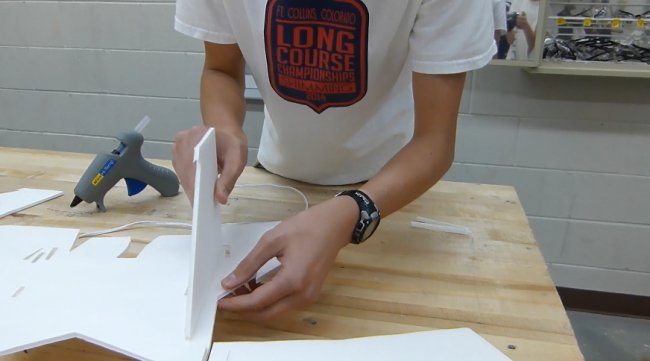
Using some tape, form the bottom nose cone piece.
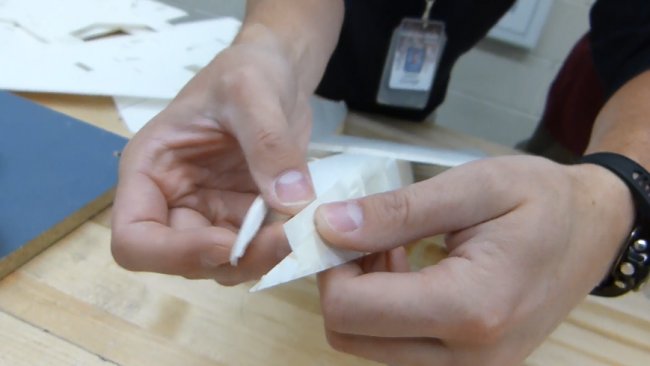
Fill in the cracks with some glue, once dry, take the tape off.
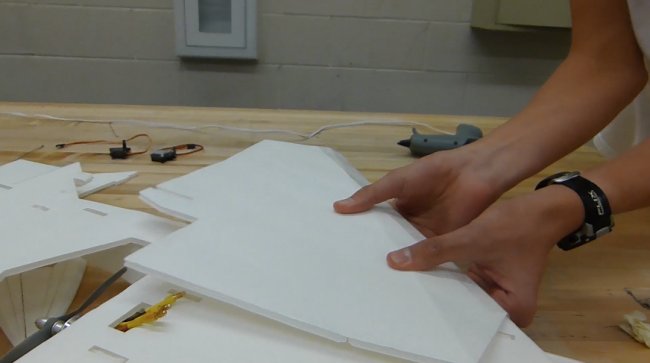
Take your main wing piece and glue it down on your fuselage and belly pan piece. Follow the notches!
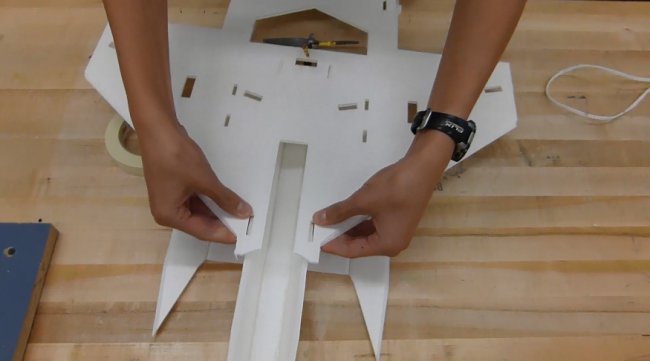
Take up the belly pan side panels and place them in designated slots. Then glue them down.
Throw a bead of glue along the edges for a nice hold.
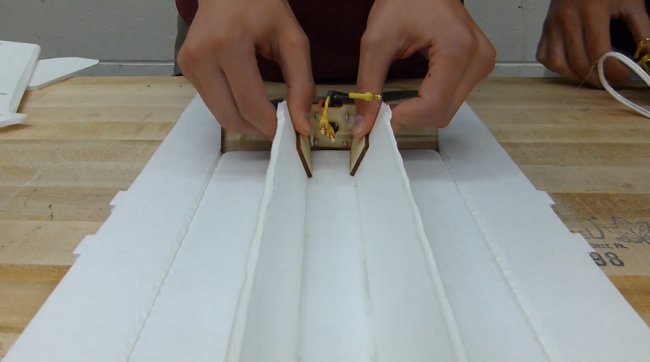
Take the spacers, fold them in half and glue together. Then glue them in designated area.
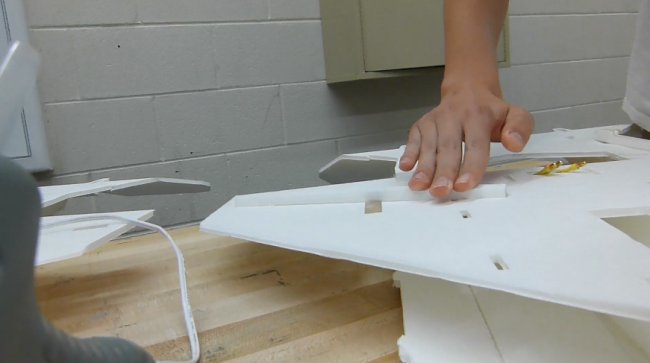
Take the back spacer and glue down where the Aileron will be formed to create a less dramatic airfoil.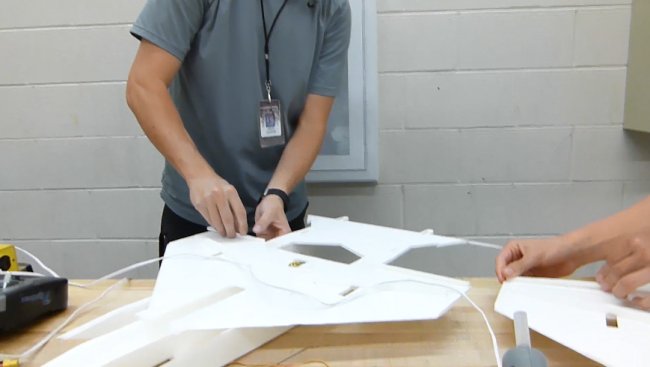
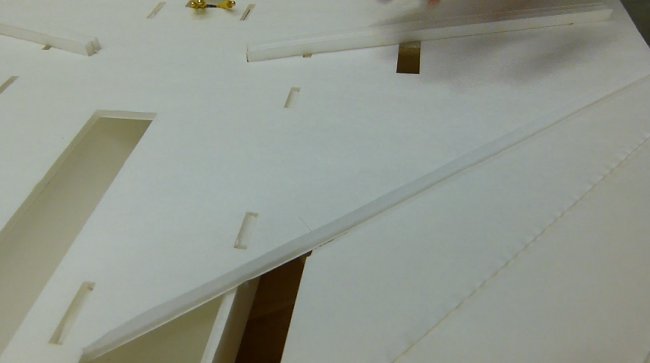
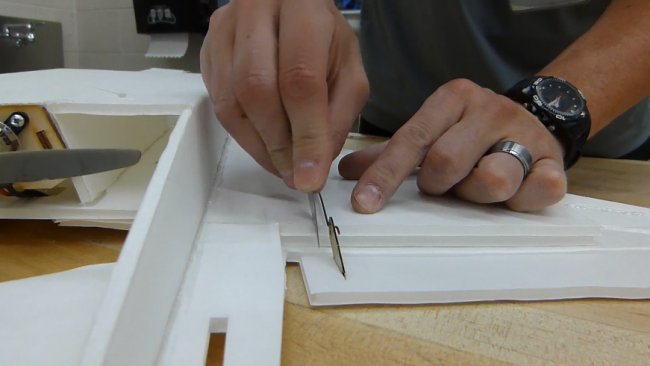
Place a strip of packing tape are the front of your top airfoil. Make sure to bevel the leading edge of the main wing piece and the piece seen below.

Go ahead and attach airfoil to main wing using the guidelines provided.
If you are planning to have Ailerons, make sure you glue down your servos first prior to the airfoil fold over.
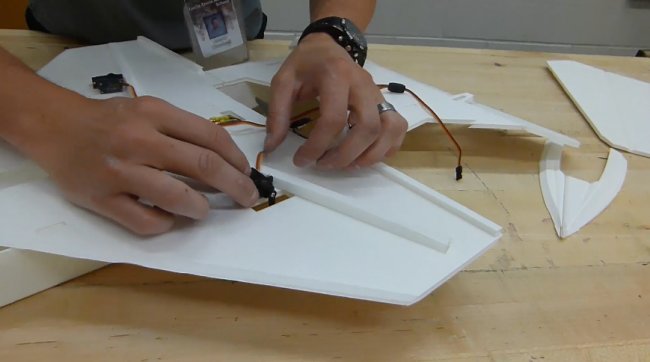
All lined up within that rectangle cutout, time to glue.
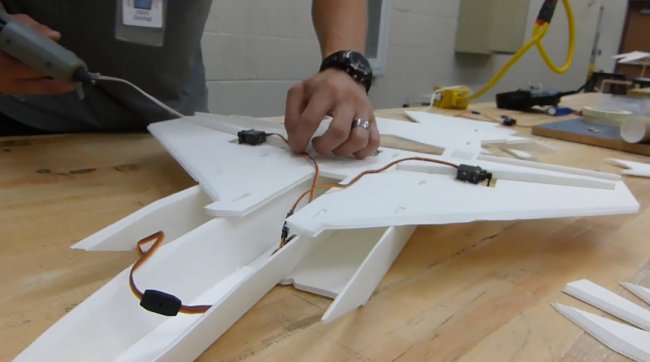
Proceed to glue down in key spots and fold over your airfoil.
If you have ailerons, cut out a little notch for control horn movement.
If you are creating Elvrons, line them up similar to Ashton's seen here.
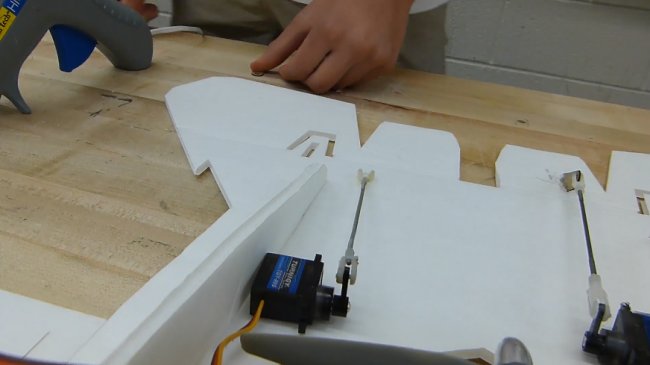
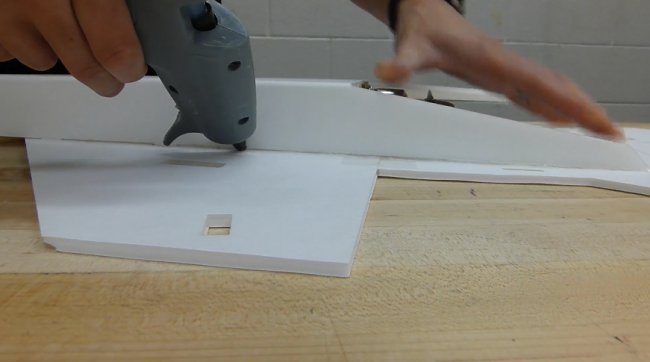
Go ahead and glue down the front pieces to finish up the look of the main wing.
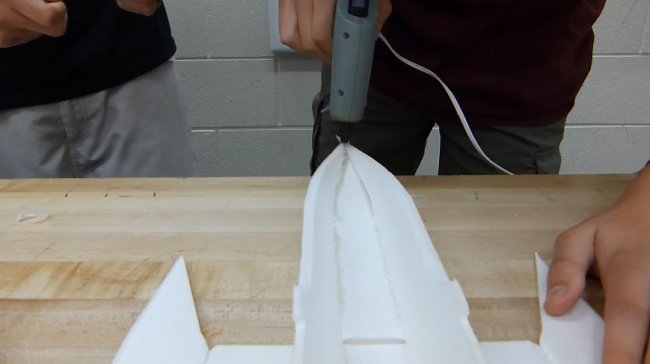
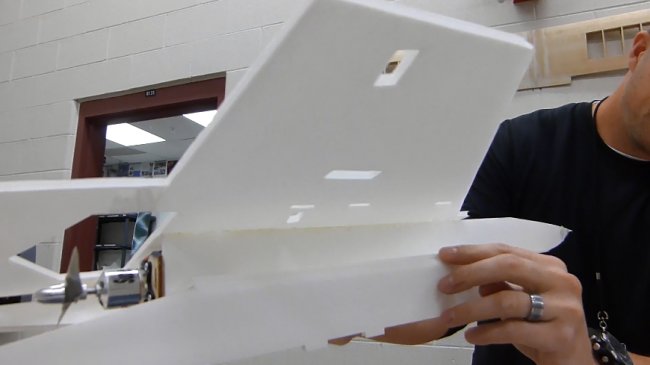
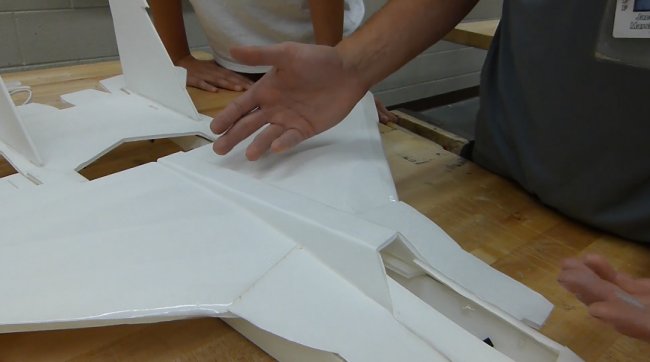
Using the same tape method, glue down the top fuselage piece.
Take your time and make it look just right.
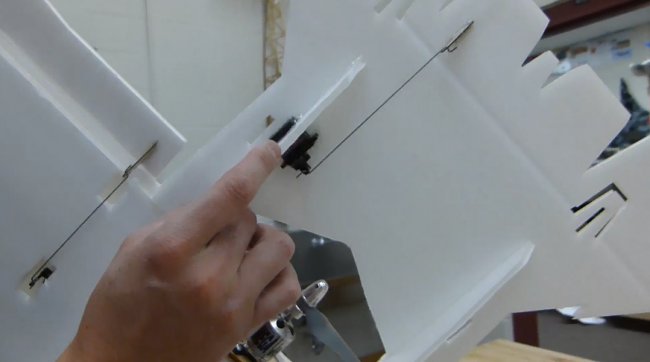
Here is a pic of how to setup the Elevator control for the 3 Control surface design.
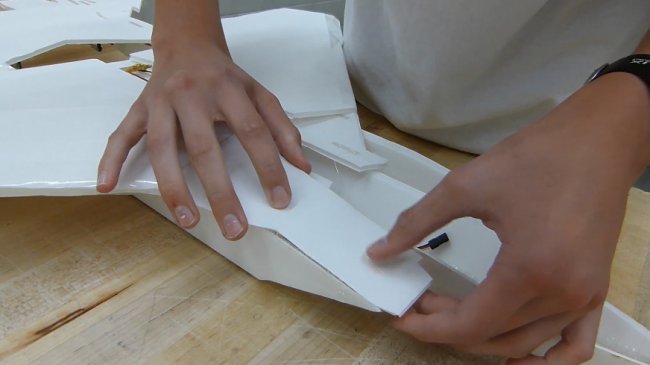
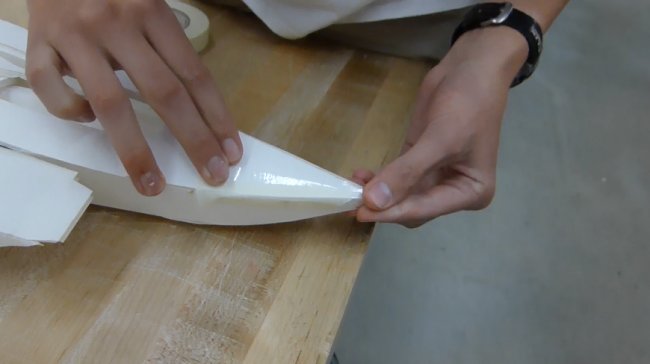
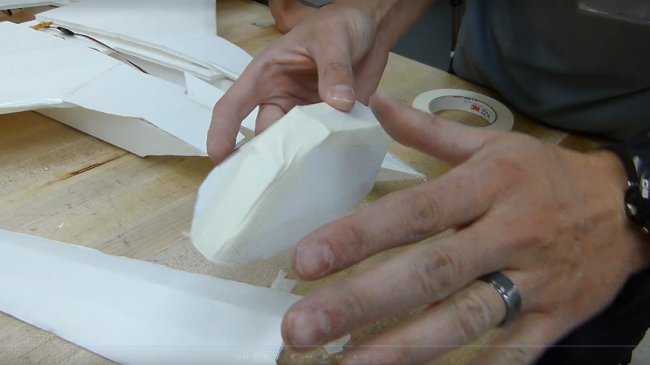
Finish up the other side of the nose cone.
Glue down the stabilizers in the designated spots, keep it straight, no angles!
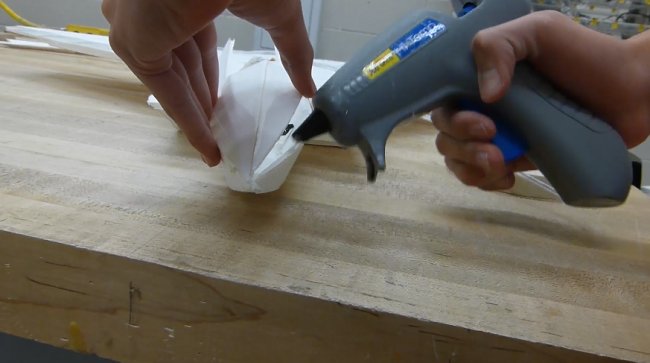
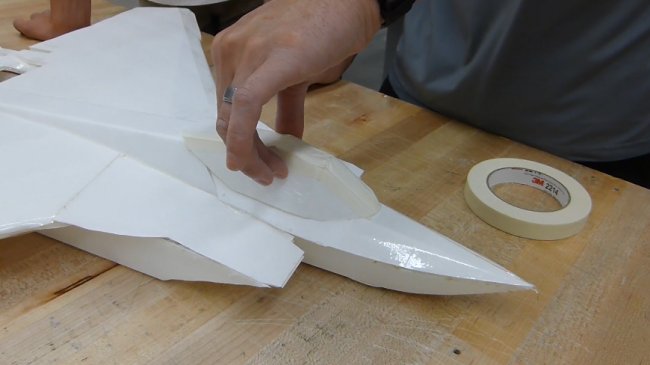
Form the canopy using the same tap and glue method.
The top fuselage piece does not have to be glued, just compress piece in the designated spot.
Dryfit canopy, add sticks, magnets, velcro, whatever style you prefer for mounting. Do not glue it down, you need to have access to your battery.
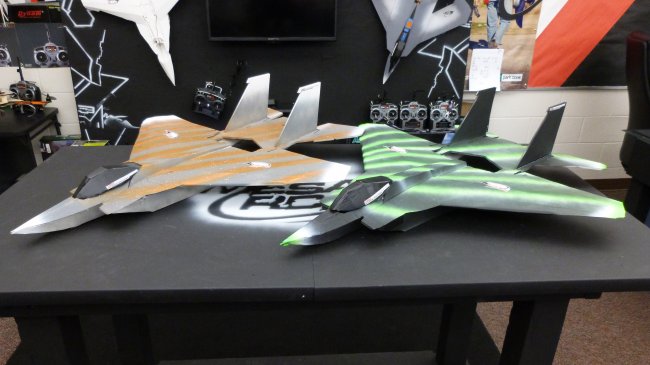
Give them a nice spray paint job and you are ready to go fly and have fun!
Thank you so much for supporting the program and making this possible for our students.
The MESArcFF Team
For more information about the program: http://www.mesarcfoamfighters.com/
Follow are latest projects: https://www.facebook.com/MESArcFF


Log In to reply