I wanted to build a plane from scratch and was challenged to build a Twin Otter. Since I couldn't find foam board plans, I decided to make them myself.
I started with some drawings with critical dimensions and scaled them into a 28" airframe. At first I used a stearman wing to reduce my prototyping time. The fuselage went together really well, a simple flite test style hold up design with a slide in rudder and elevator.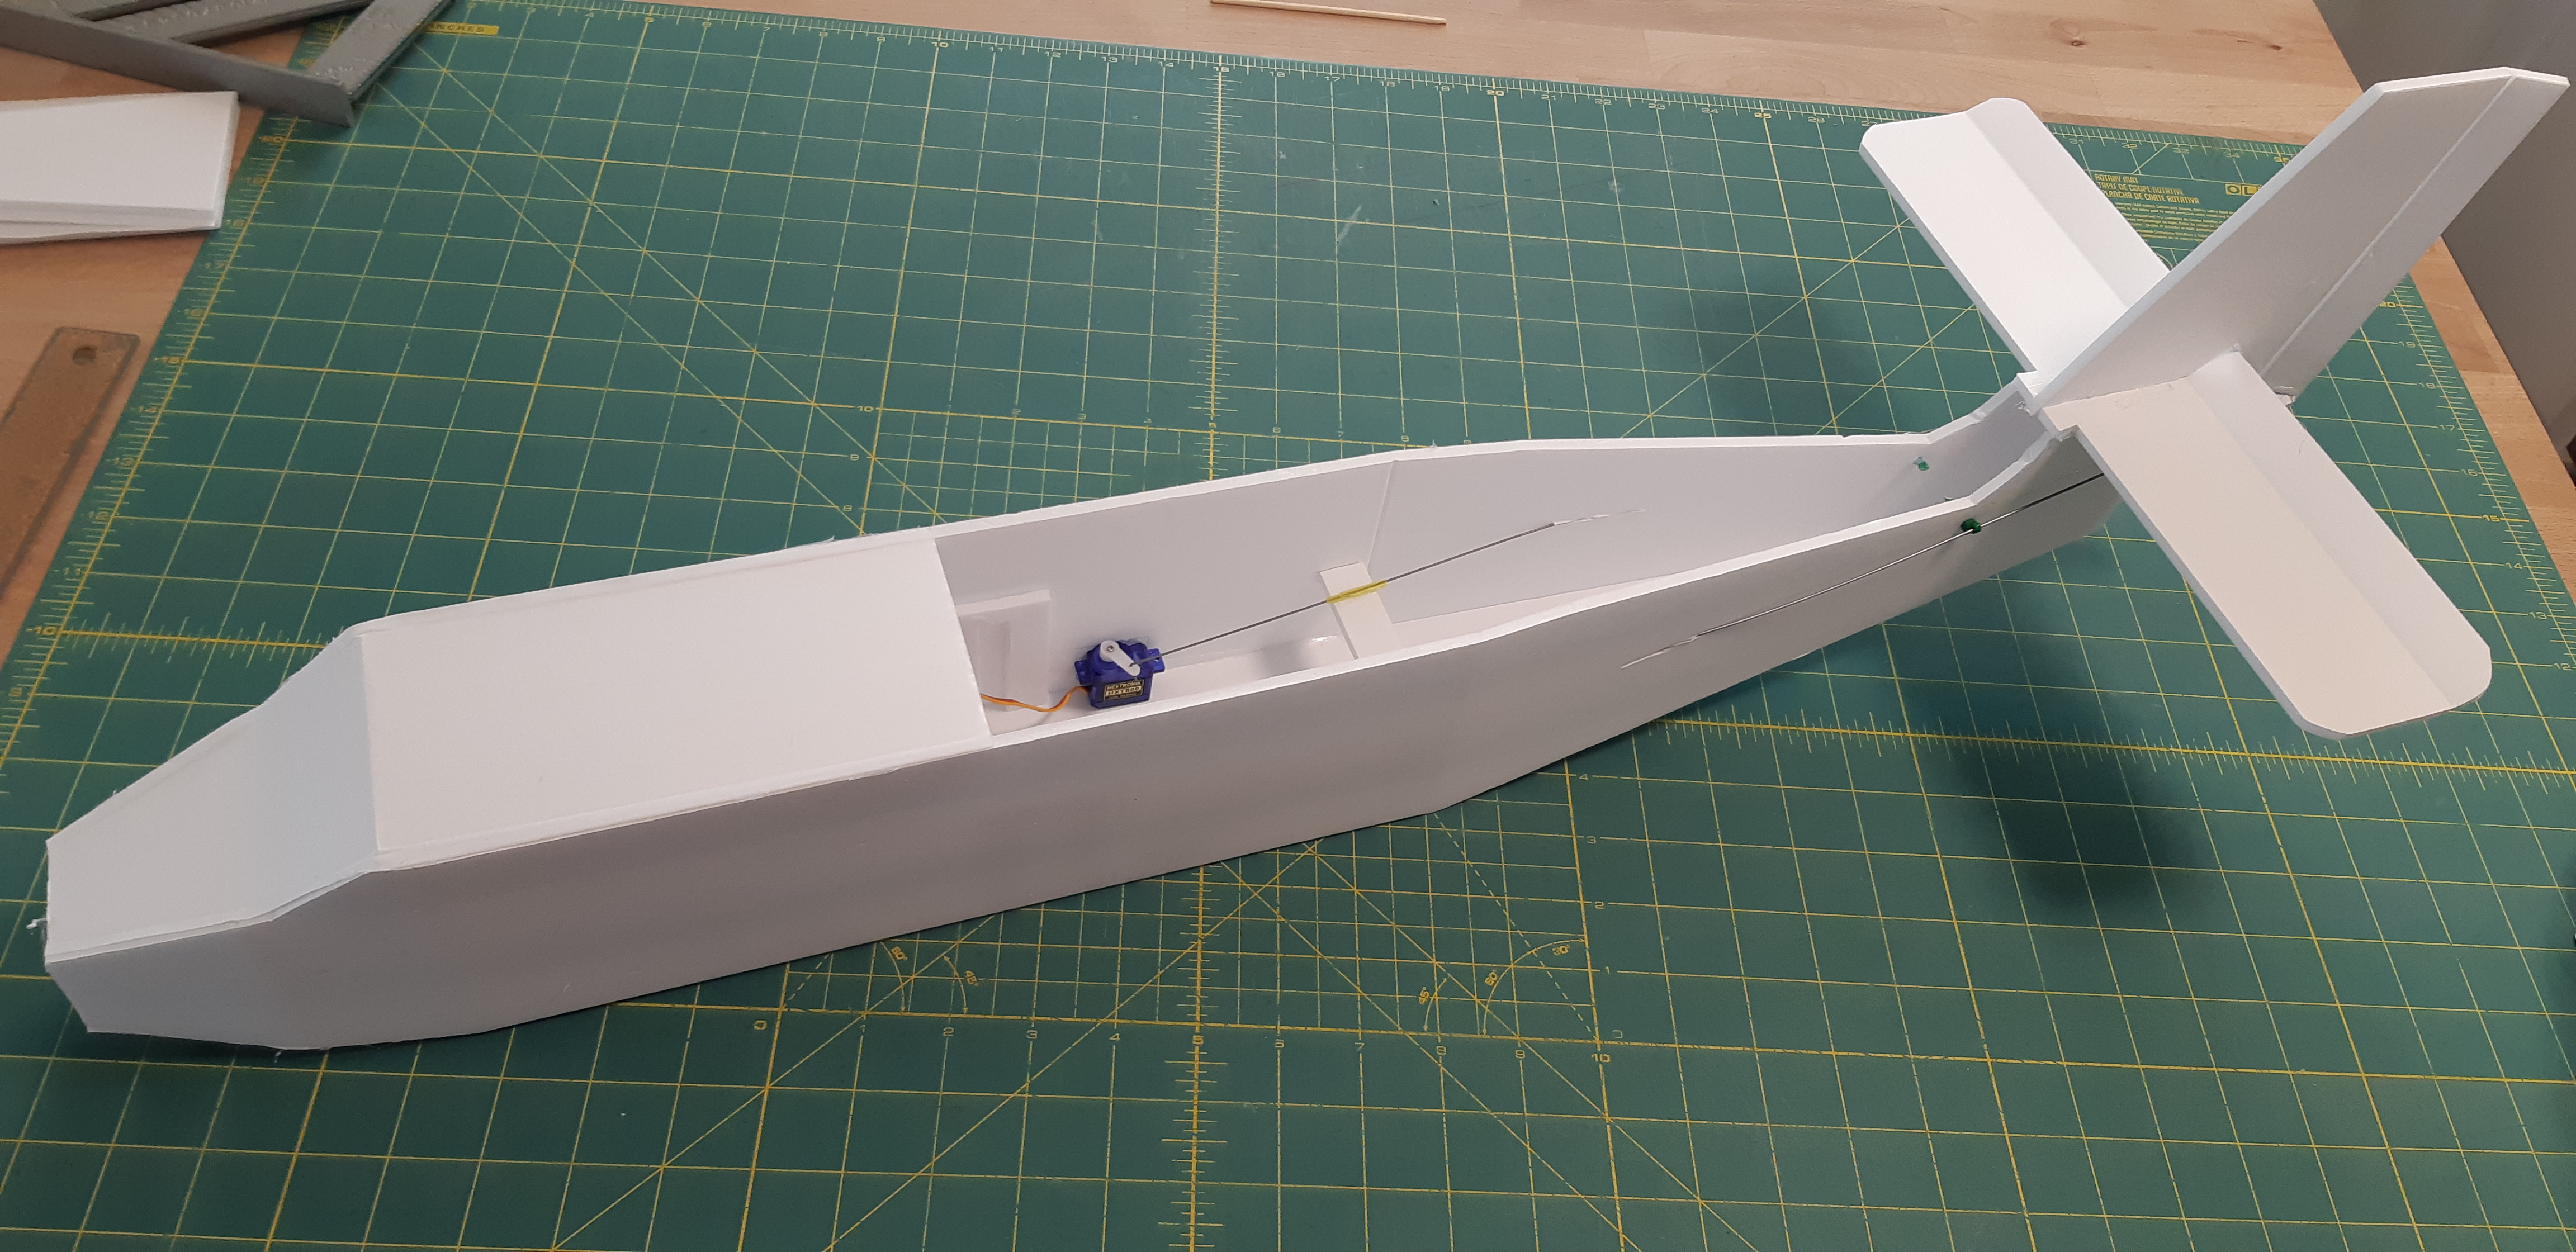
The Elevator and Rudder push rods come through the side of the fuselage like many other planes

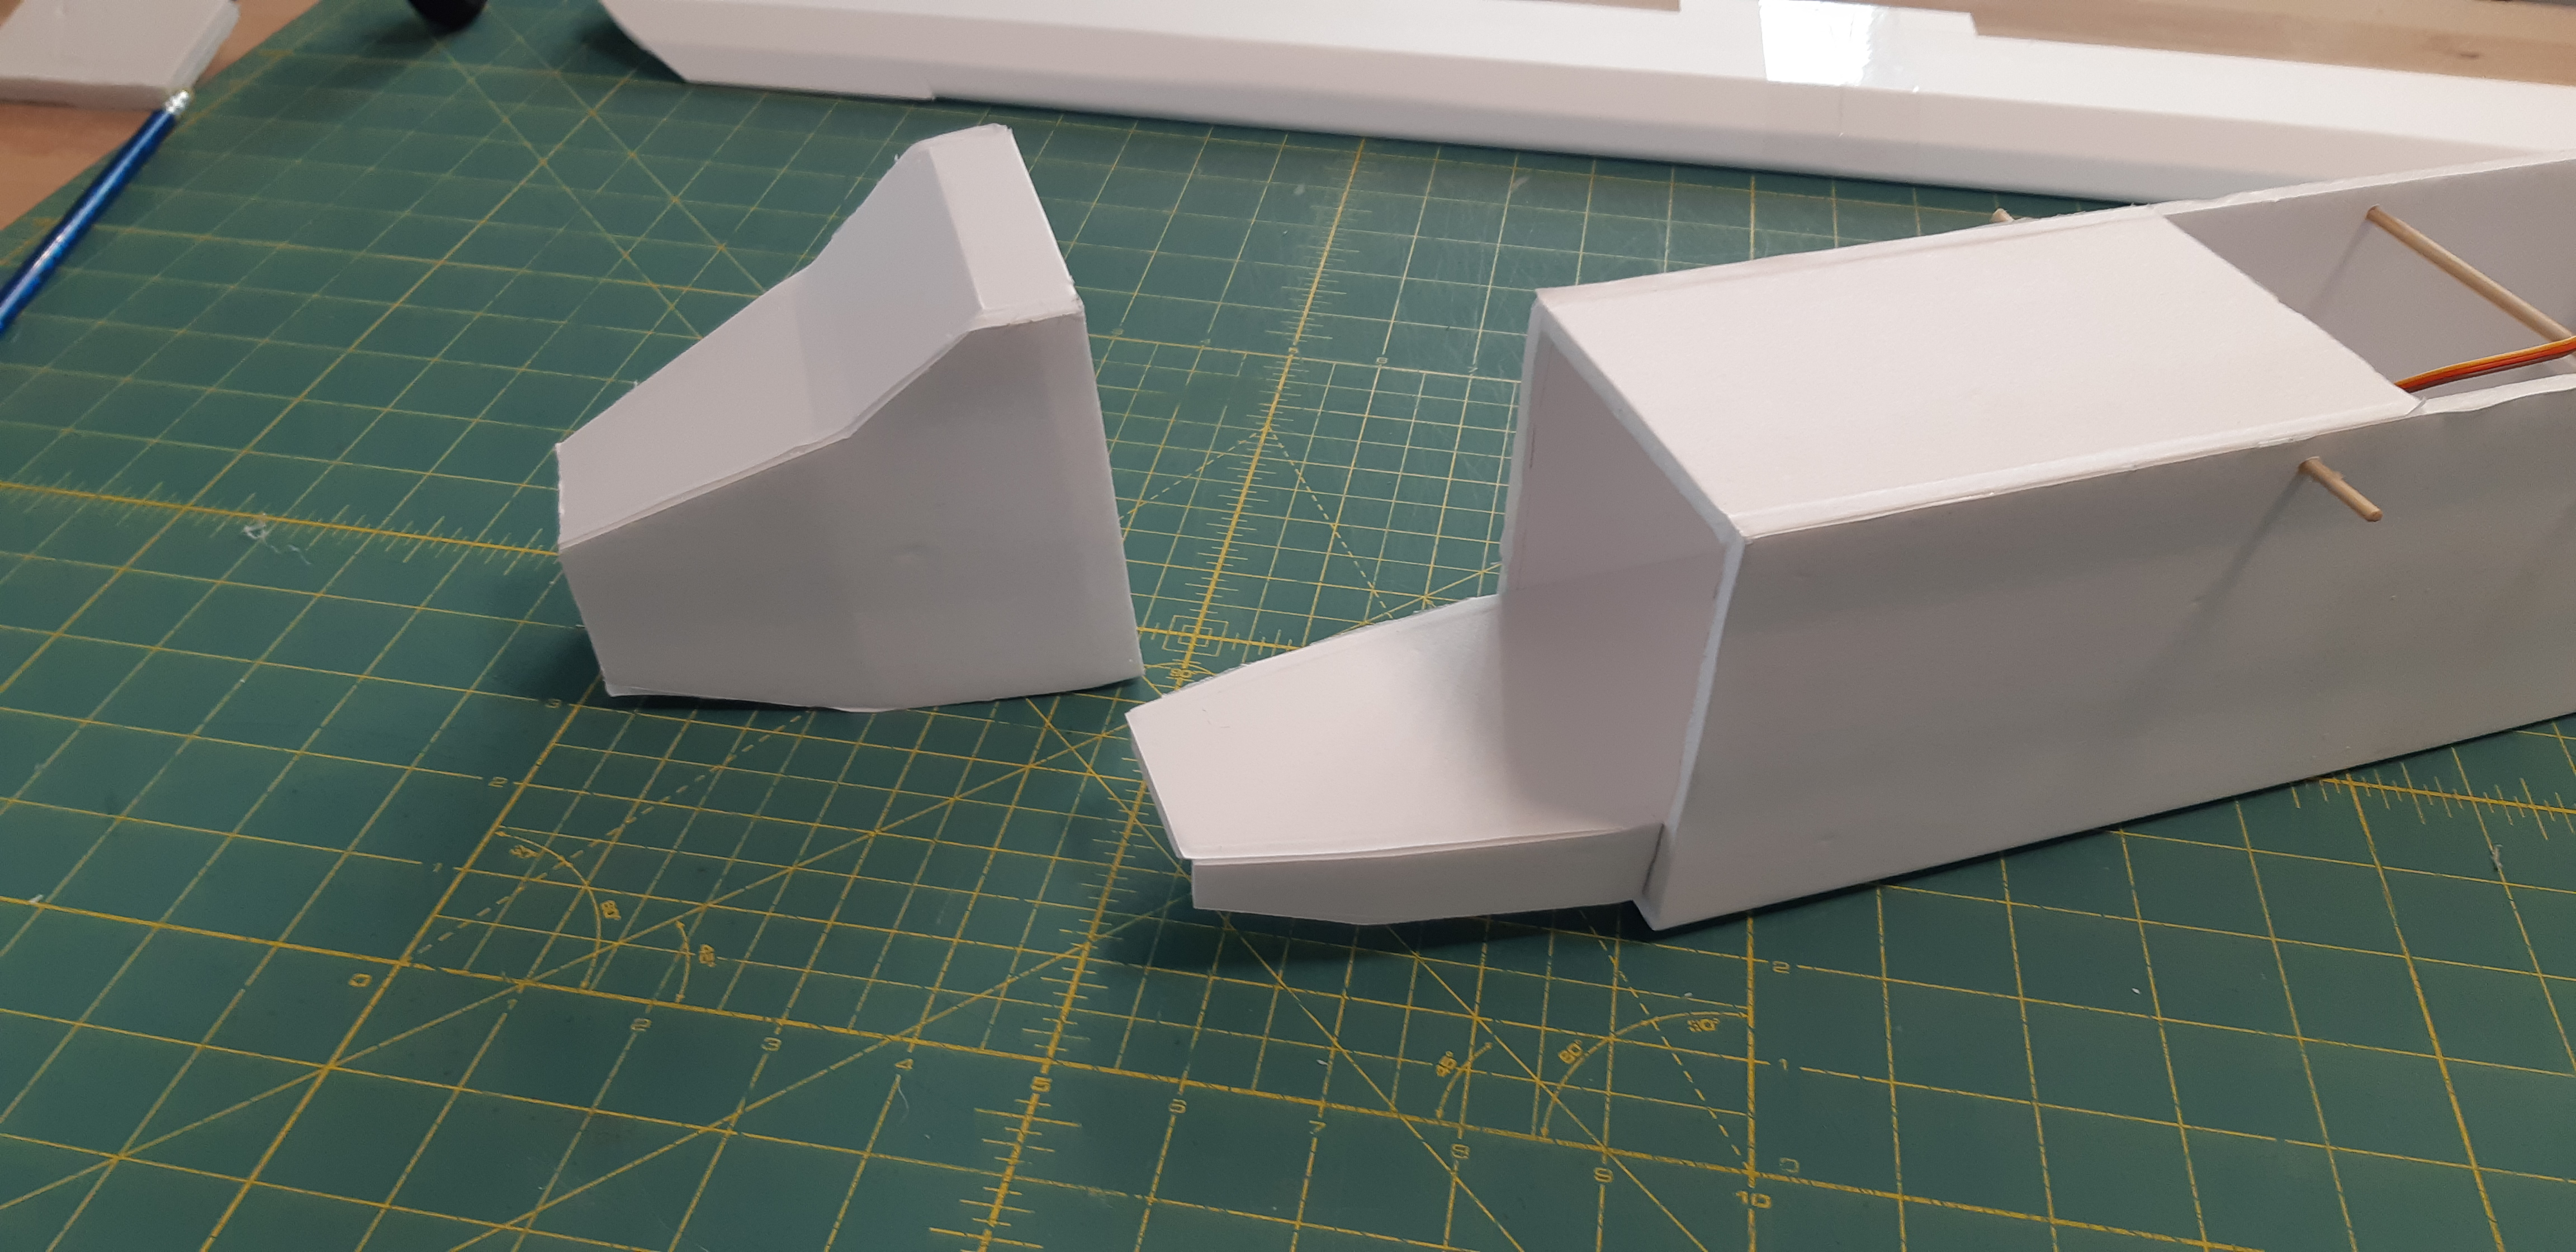
A cut away nose and battery tray give easy front access and mounting for a castor style nose wheel.
A horizontal brace stops unwanted push rod deflection and keeps the servo near the CG.
I used the FT Dart nacelles and a Twin A pack on the Stearman wing. I used differential thrust with a free rotating nose wheel.
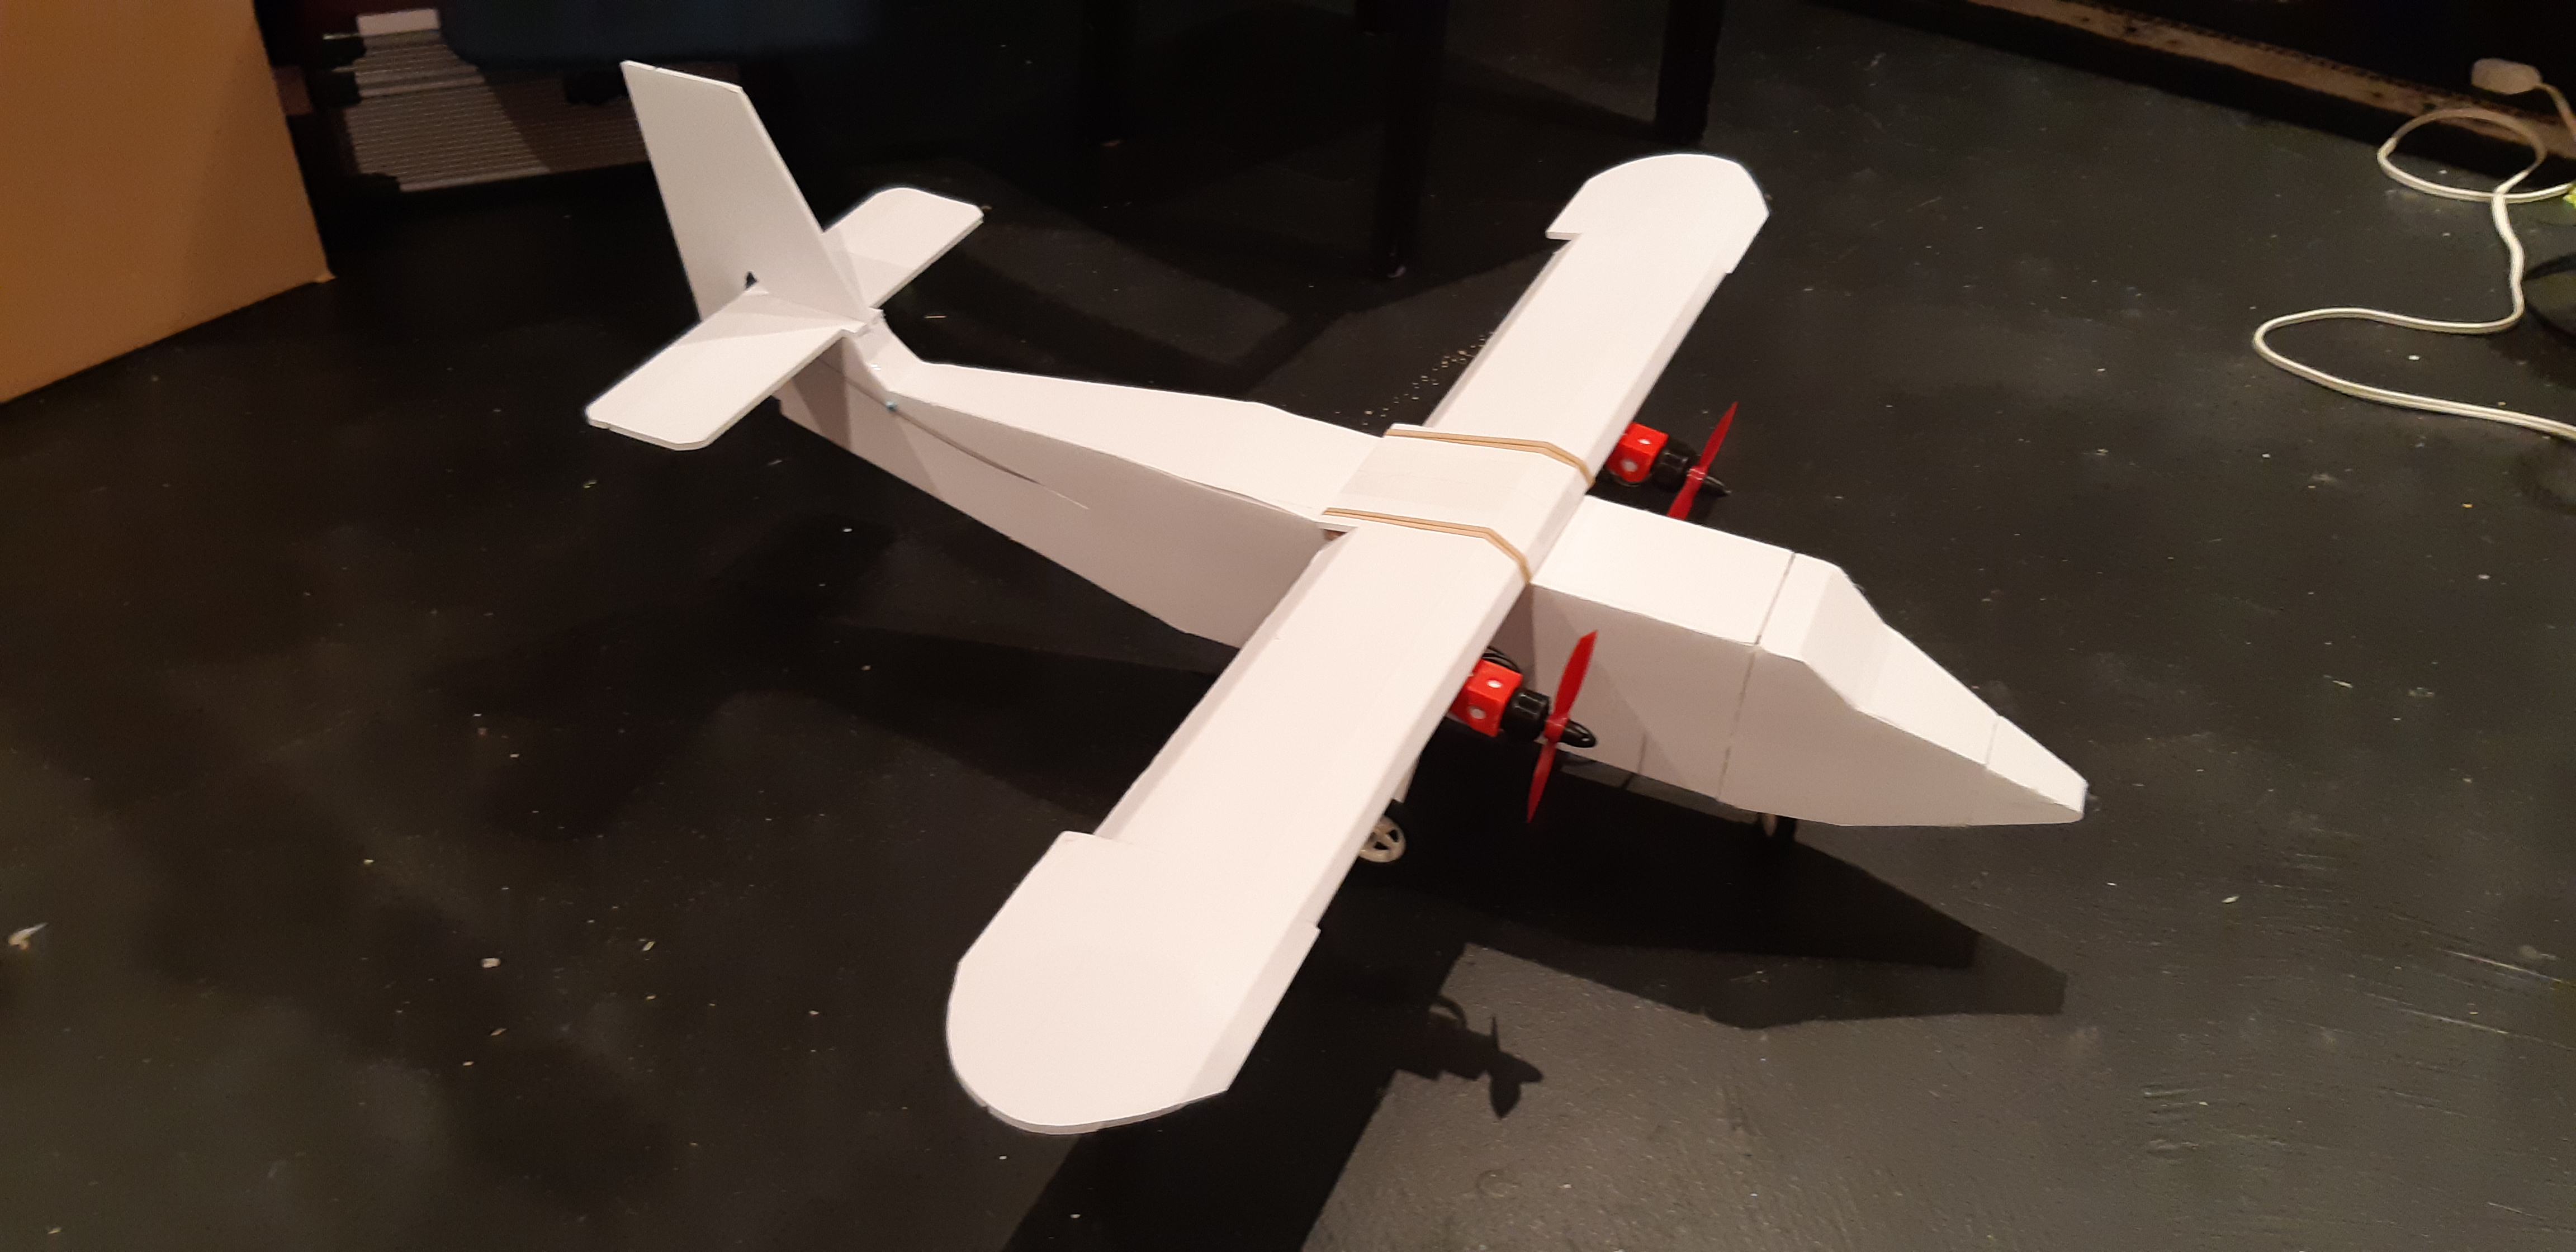
Simple Cub style landing gear and a 3D printed nose wheel holder and she was ready to maiden.
The maiden flight went really well and plane handled well. With the narrow Stearman wing, it wanted to fly fast. Proof of concept for the large version. I also glue the flaps down to slow if down and save servos. That worked well to establish slow flight.
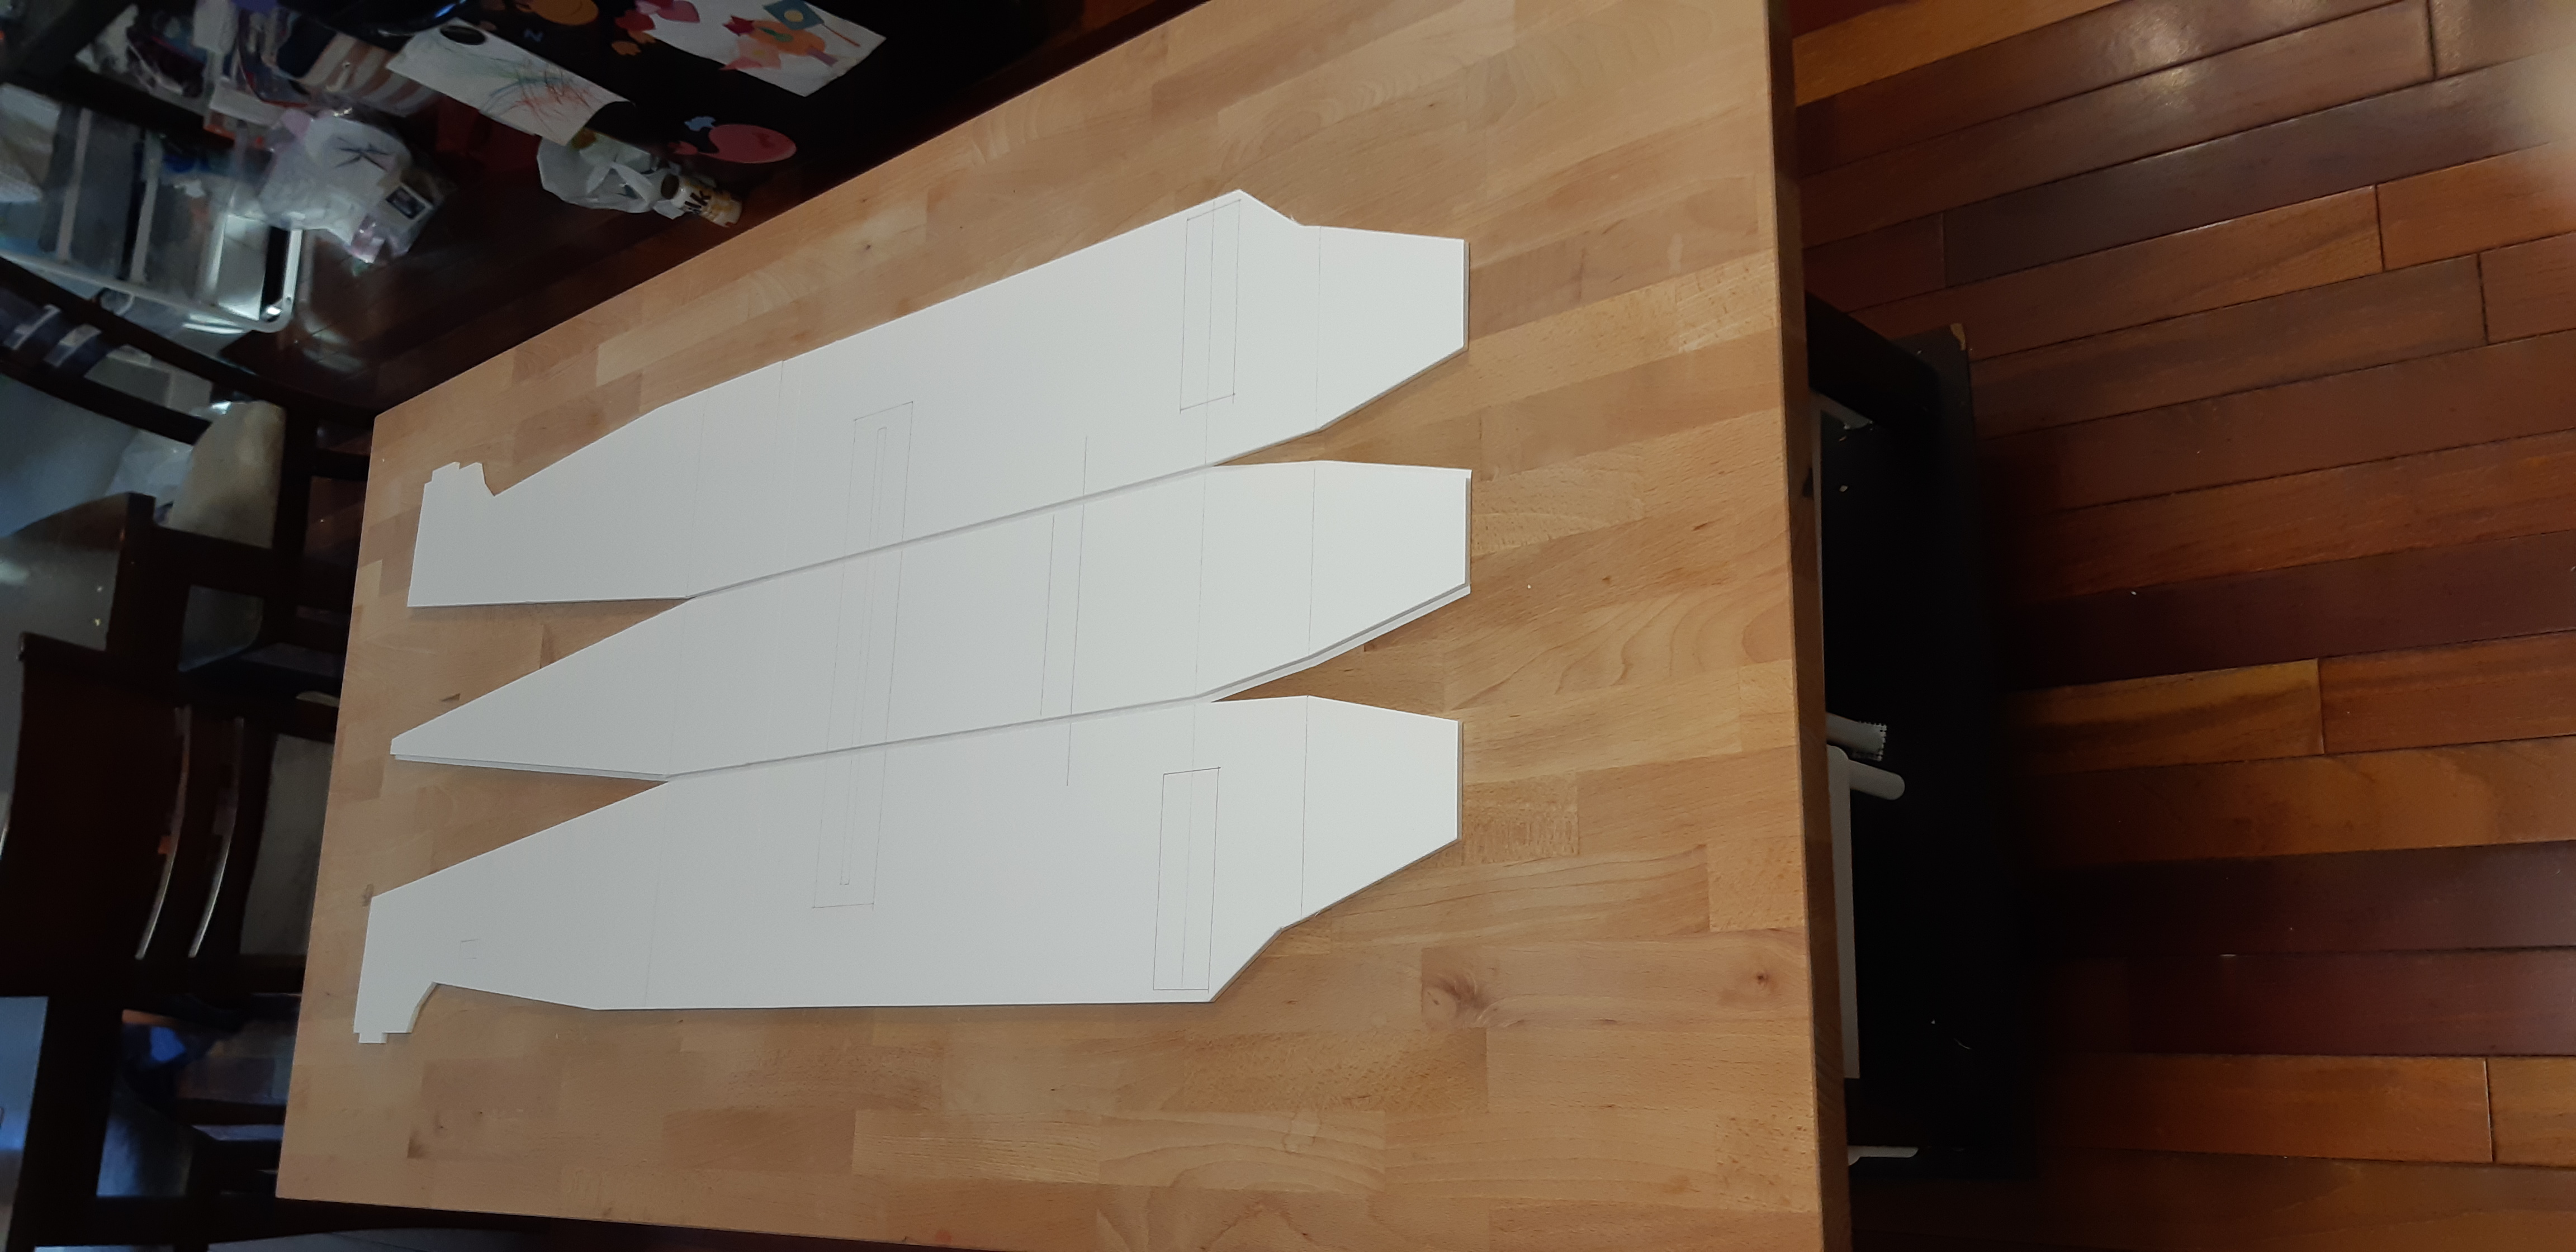
I used the small plans and scaled them up to a 60" wing span. I added additional supports for the fuselage because if its size and used the FT Legacy wing becuase it looked very similar and I knew it would have great wing loading. I did stretch the wing all the way out to the edge of the foam board for a full 60" wing span.
I had to build the fuselage in 3 pieces to fit the standard foam board sizes. Once I had the sections together, I folded them up and put the front section of the top on to keep access for the servos later.
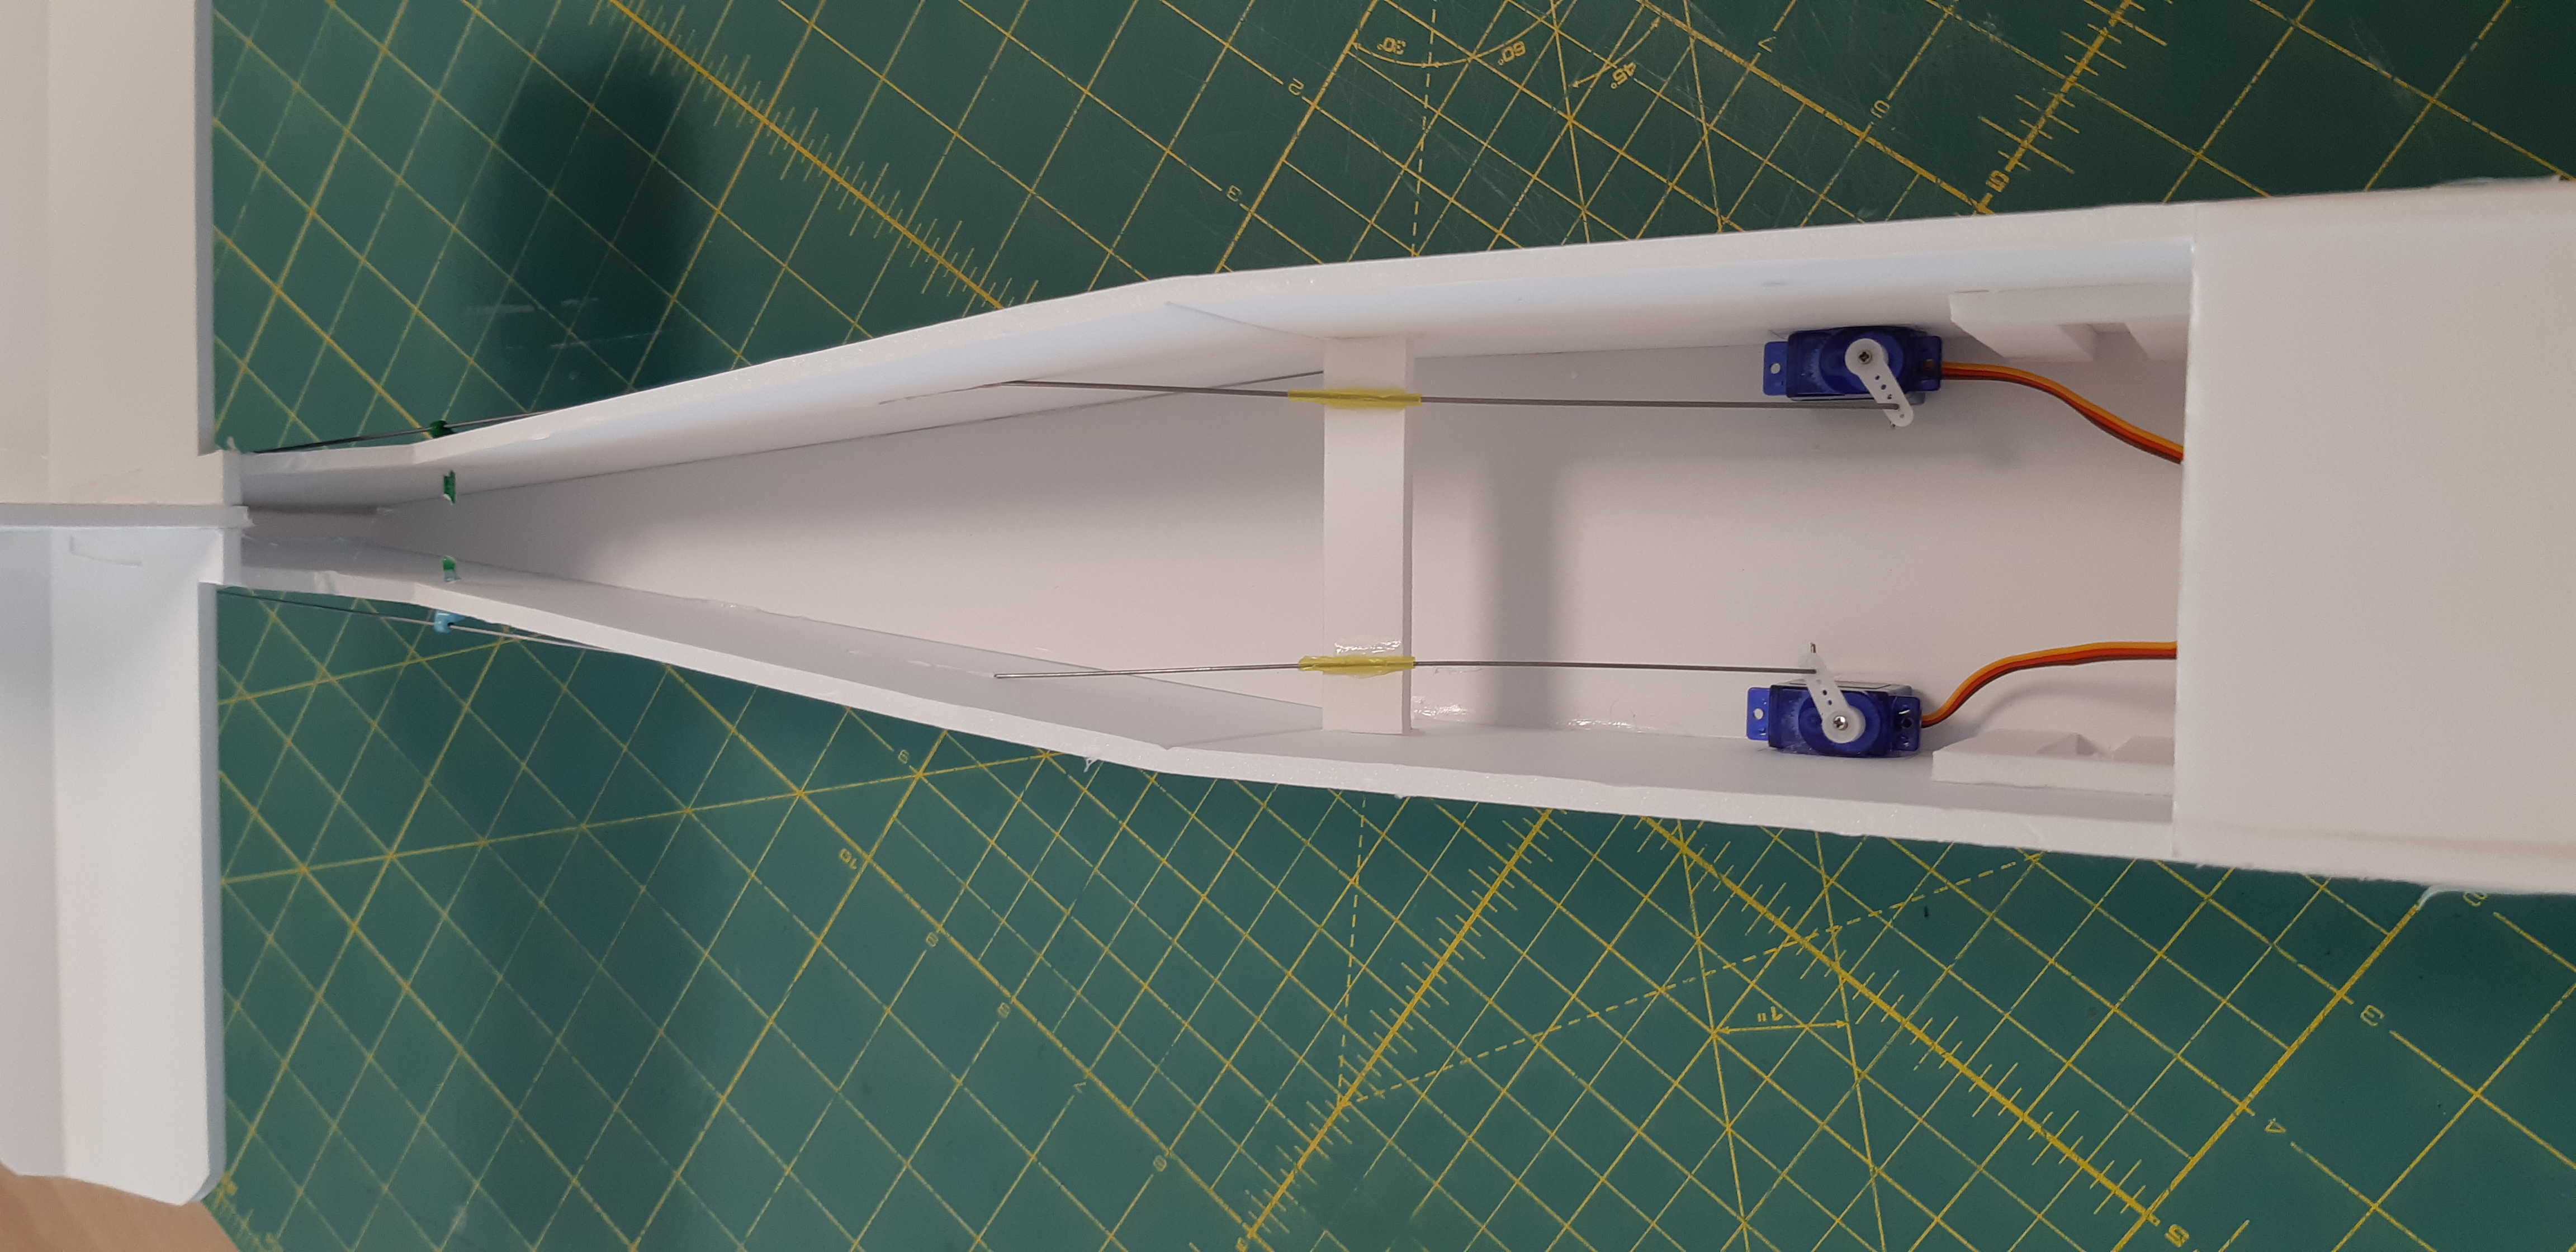
I located the servos at the back of the plane because I was planning to fly on 2-2200mah 3s batteries and didn't want long pushrods. Additional bracing was added for the BBQ skewers to hold the wing weight. Without the bracing, the BBQ skewers would flex and the elastics would slide off.

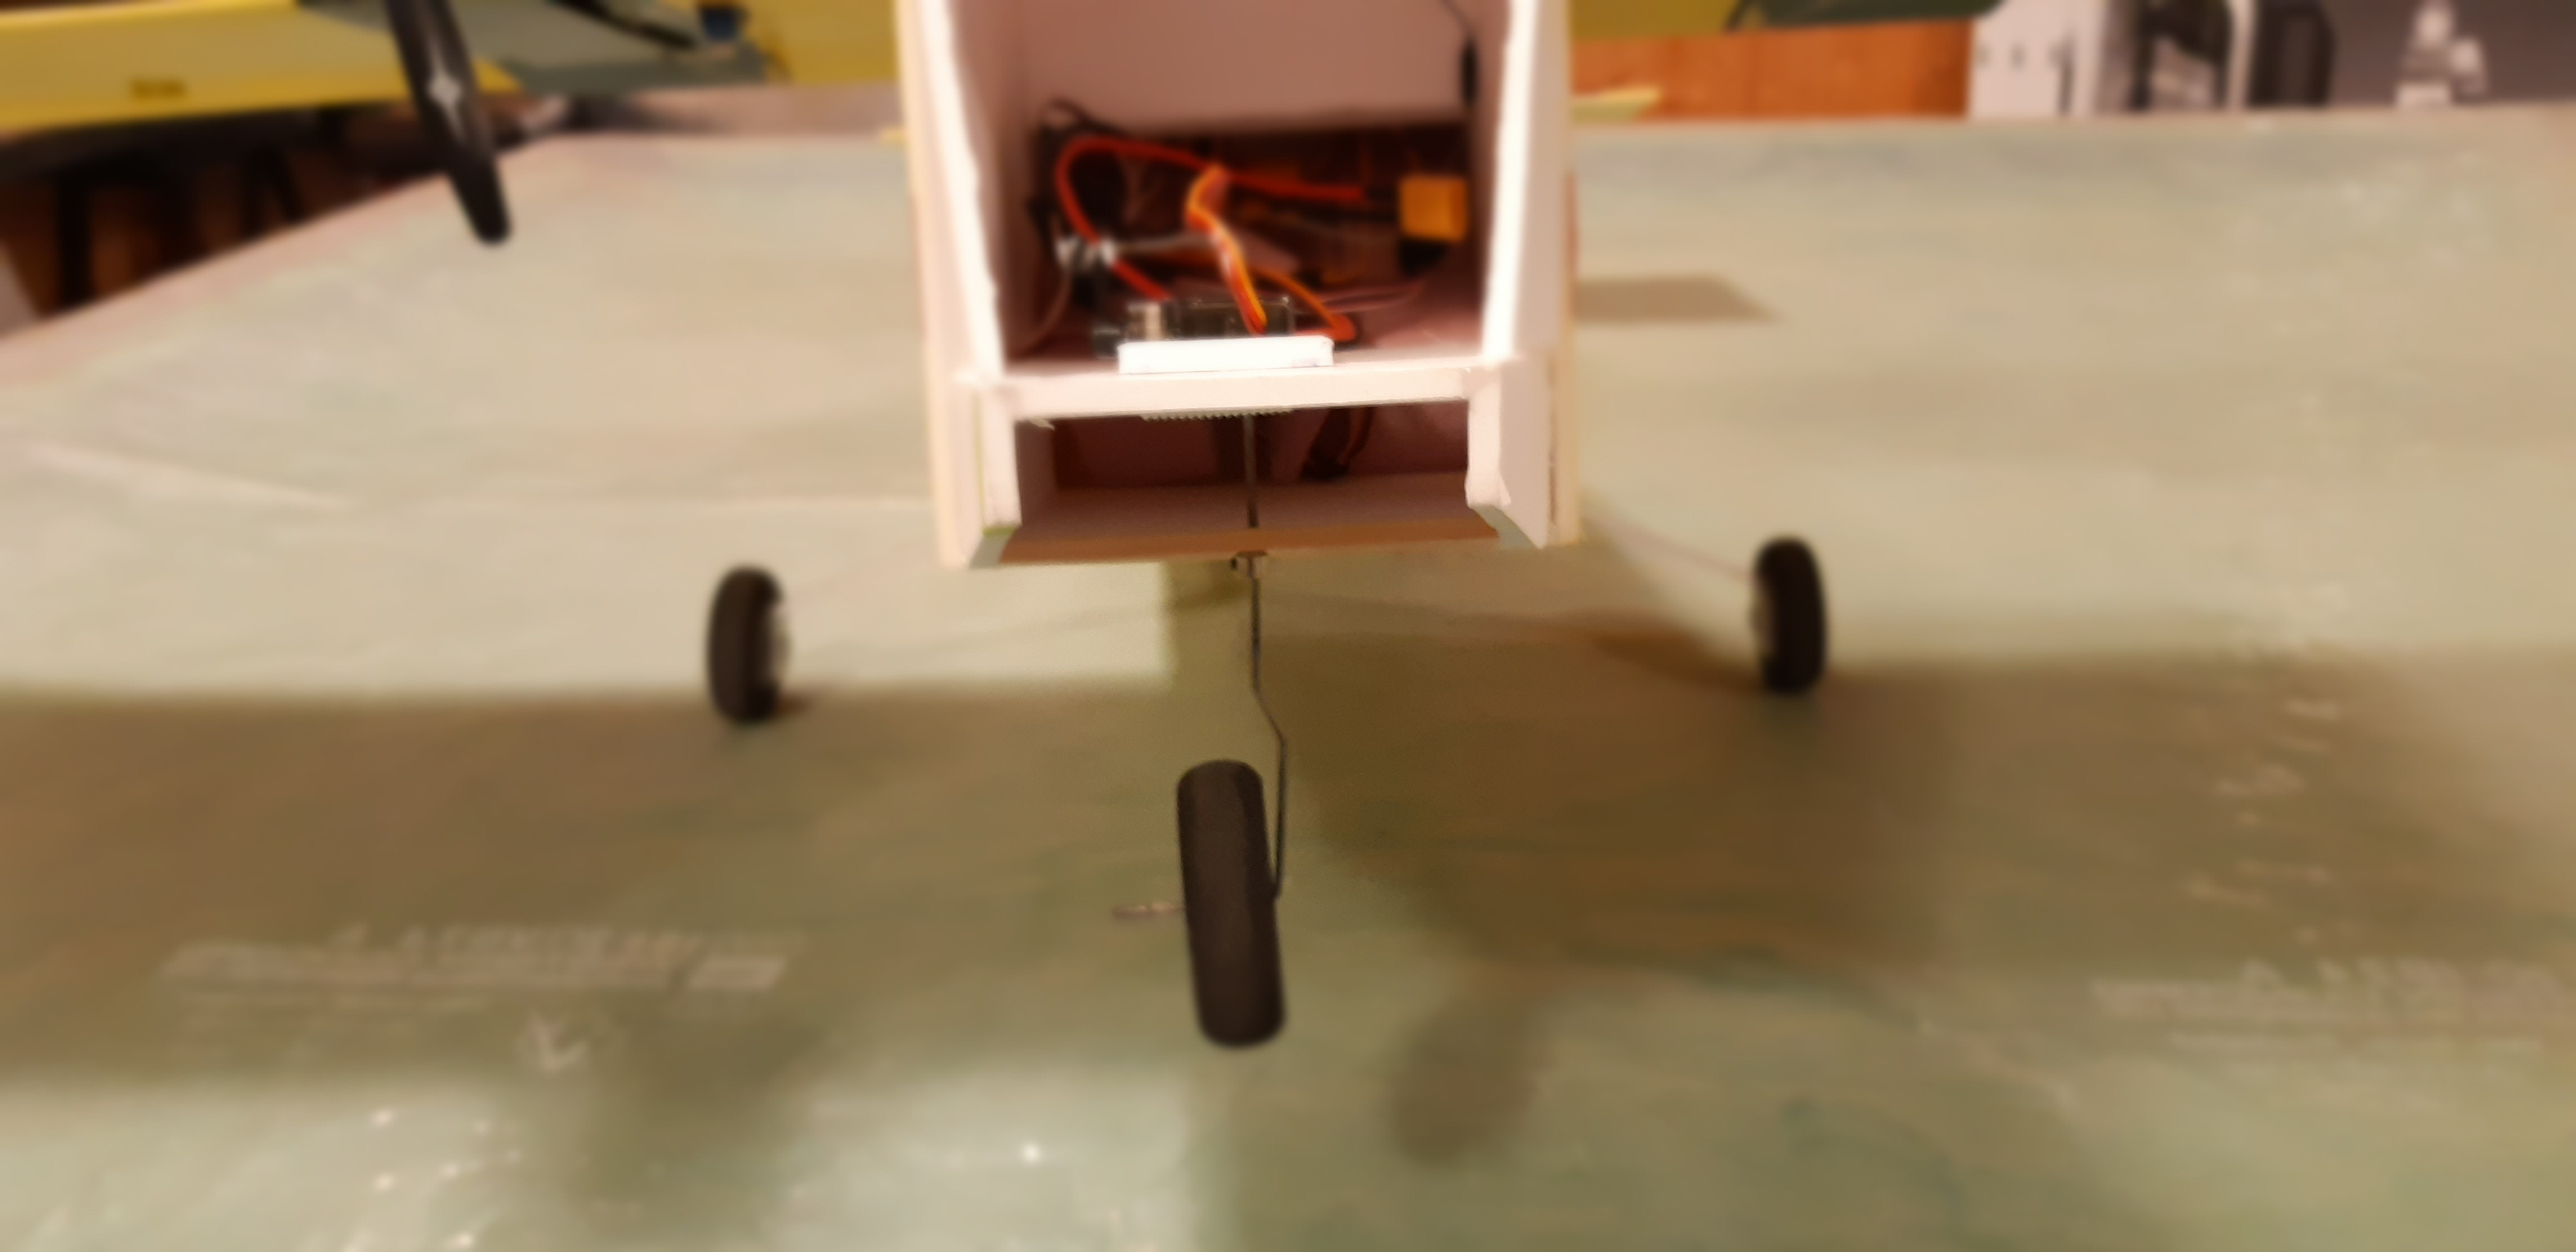
I rigged up a servo in front of the nose wheel which was fastened with paint sticks and wheel collars. I soldered a ball stud from a helicopter link to make a nice strong simple connection to the servo. I added a second layer of foam around the servo to add strength and stop it from twisting.

Paint sticks above and below the battery tray and wheel collars make up the nose wheel structure.
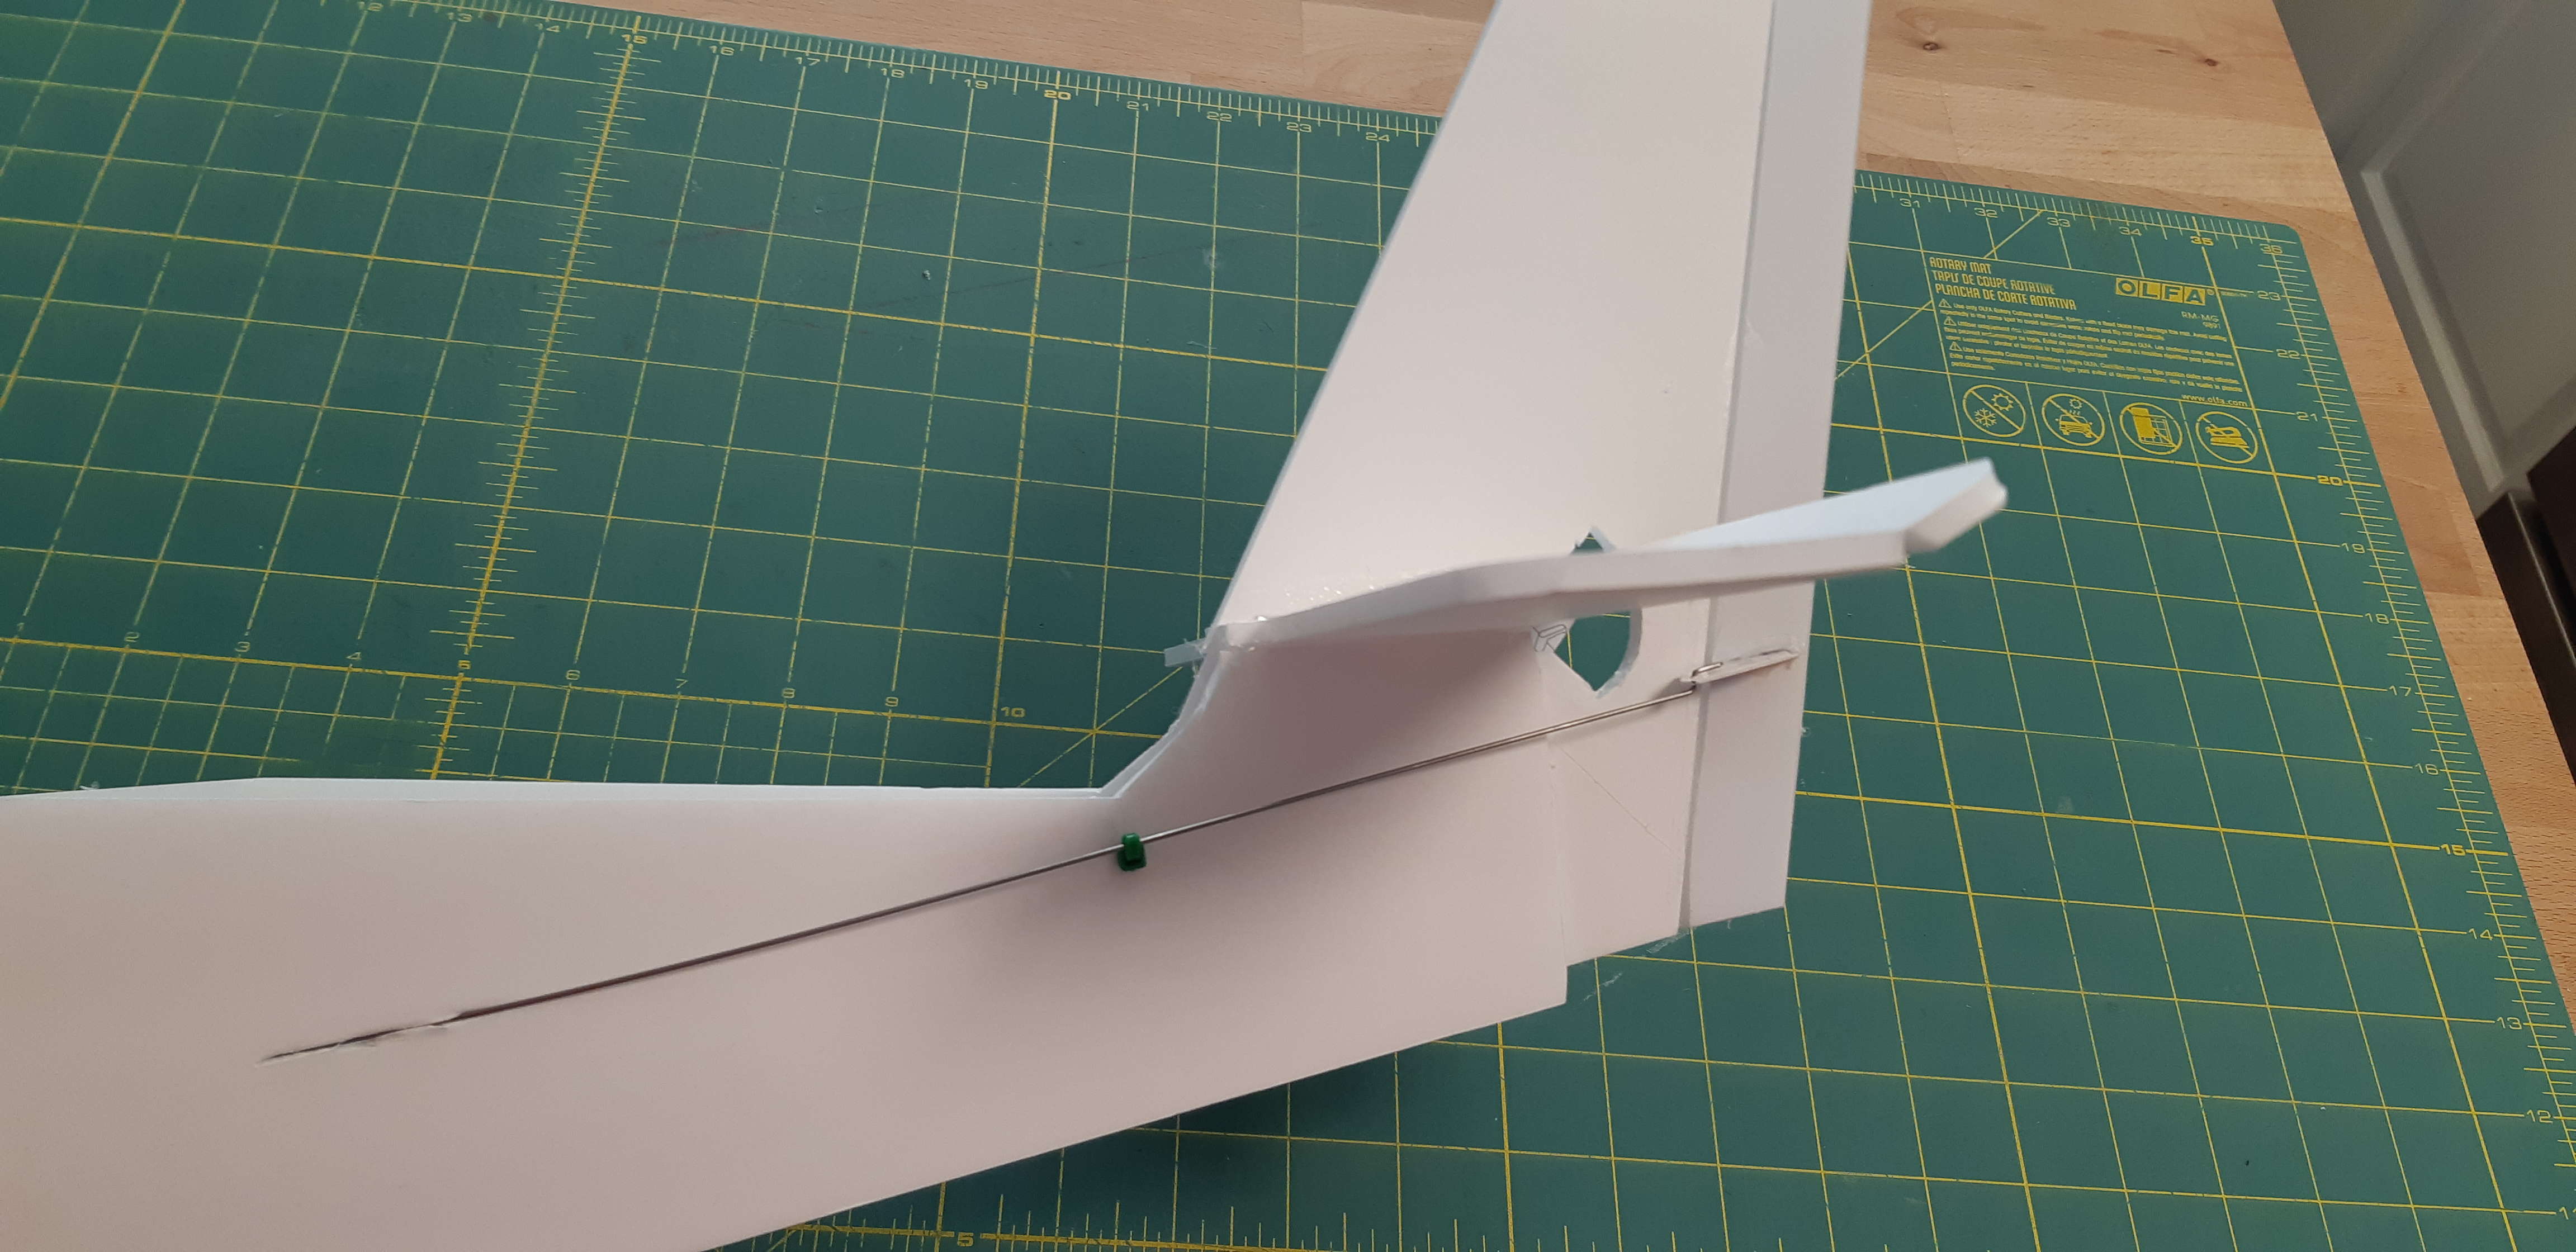
 The landing gear is 3/4" by 1/8" aluminum screwed into the landing gear tab with long bolts. It works really well and I think using the FT Legacy style gear mount would be better if I was build it again. I also added a carbon rod to the elevator and laminated a second piece of foam for added strength.
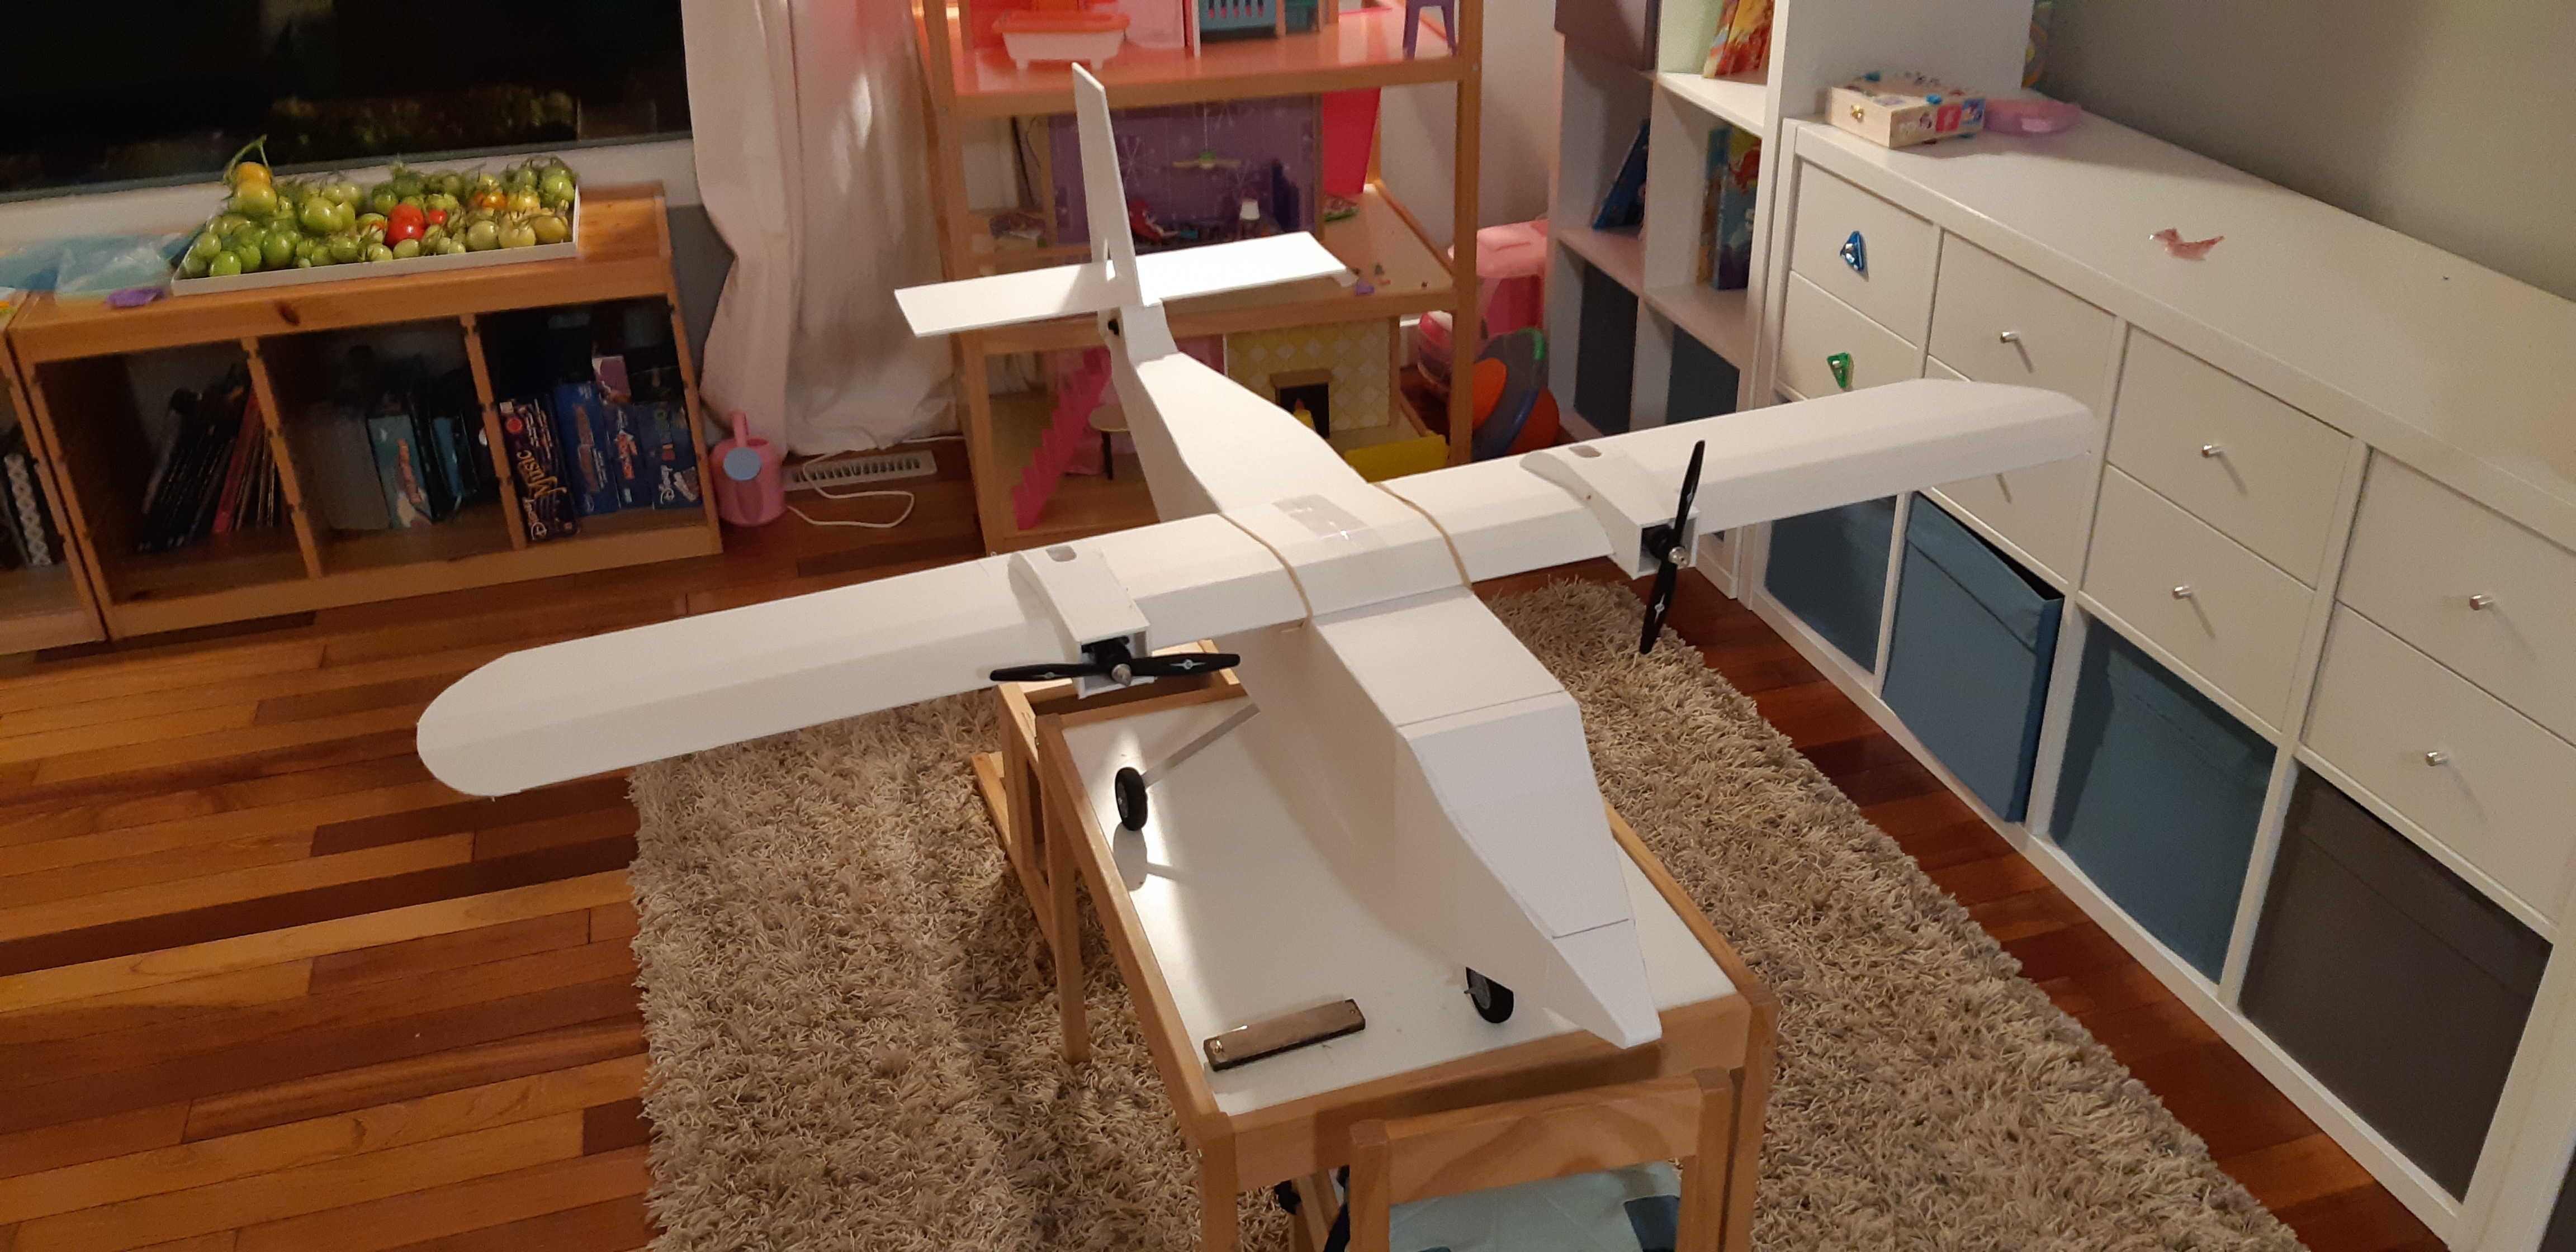
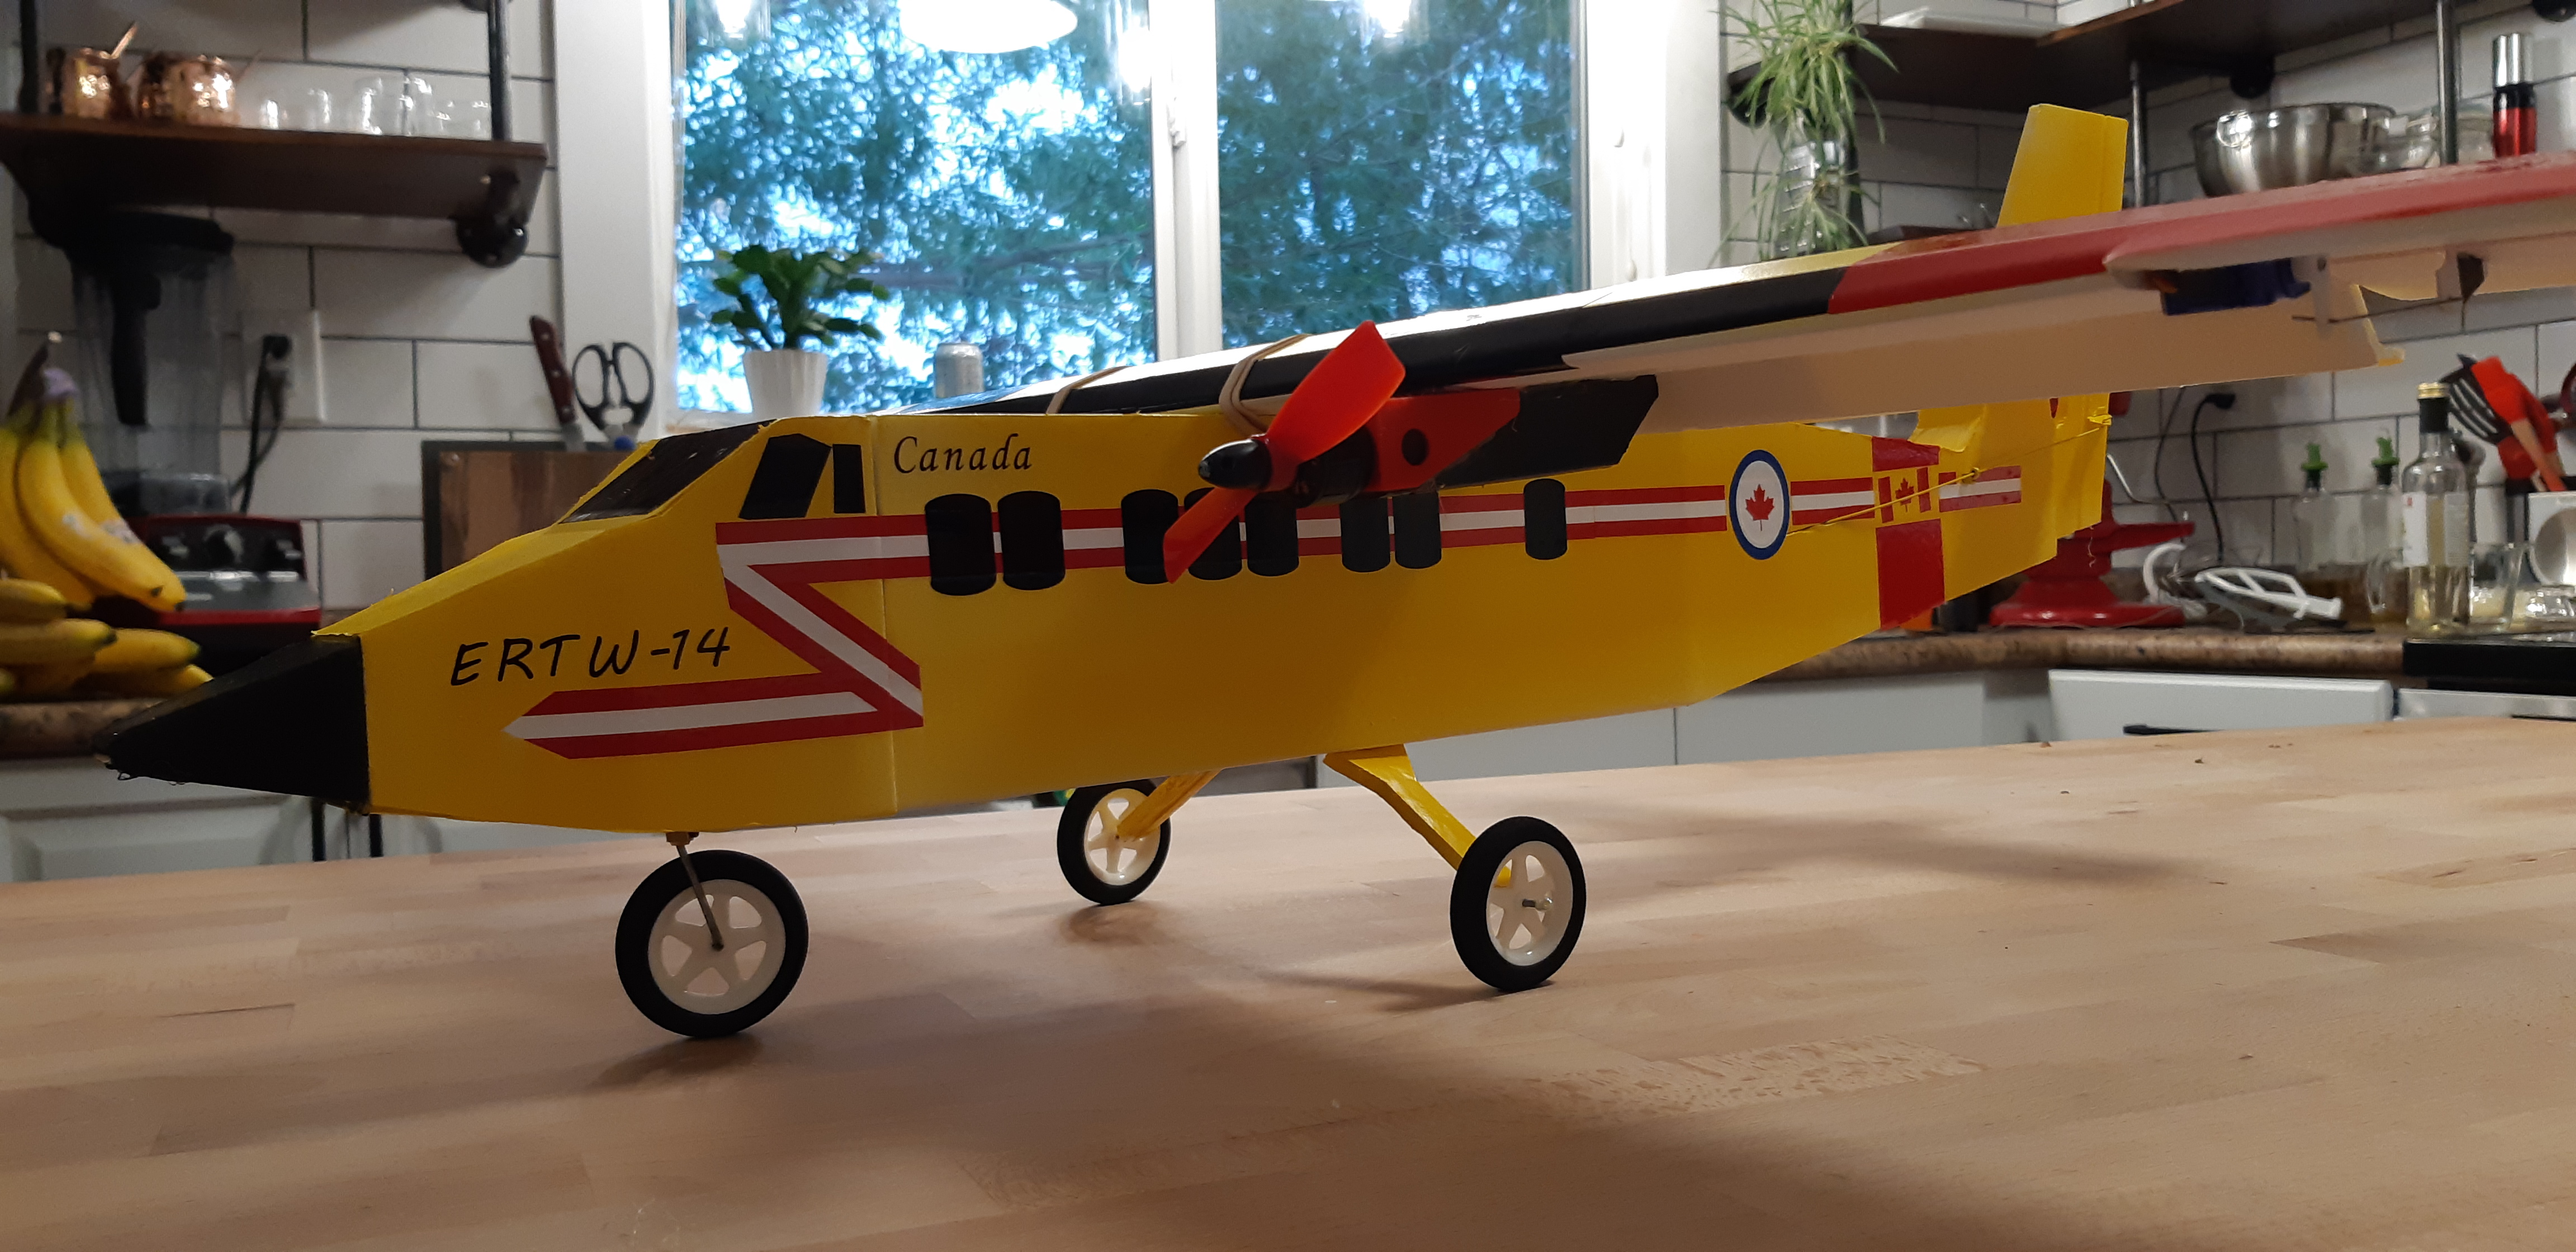
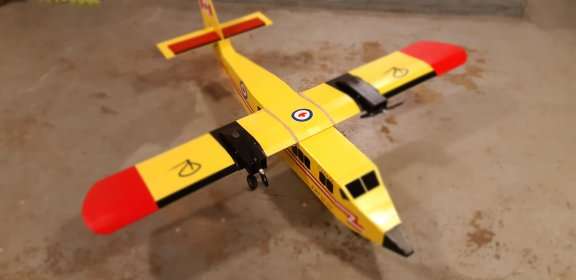
2.5" wheels, paint, decals, flaps and 8x4 master airscrew props finish off the build.
After the maiden flight, I moved the wing back 1" and the plane flew perfect. It is very docile, flies super slow, and just drops the nose when it stalls.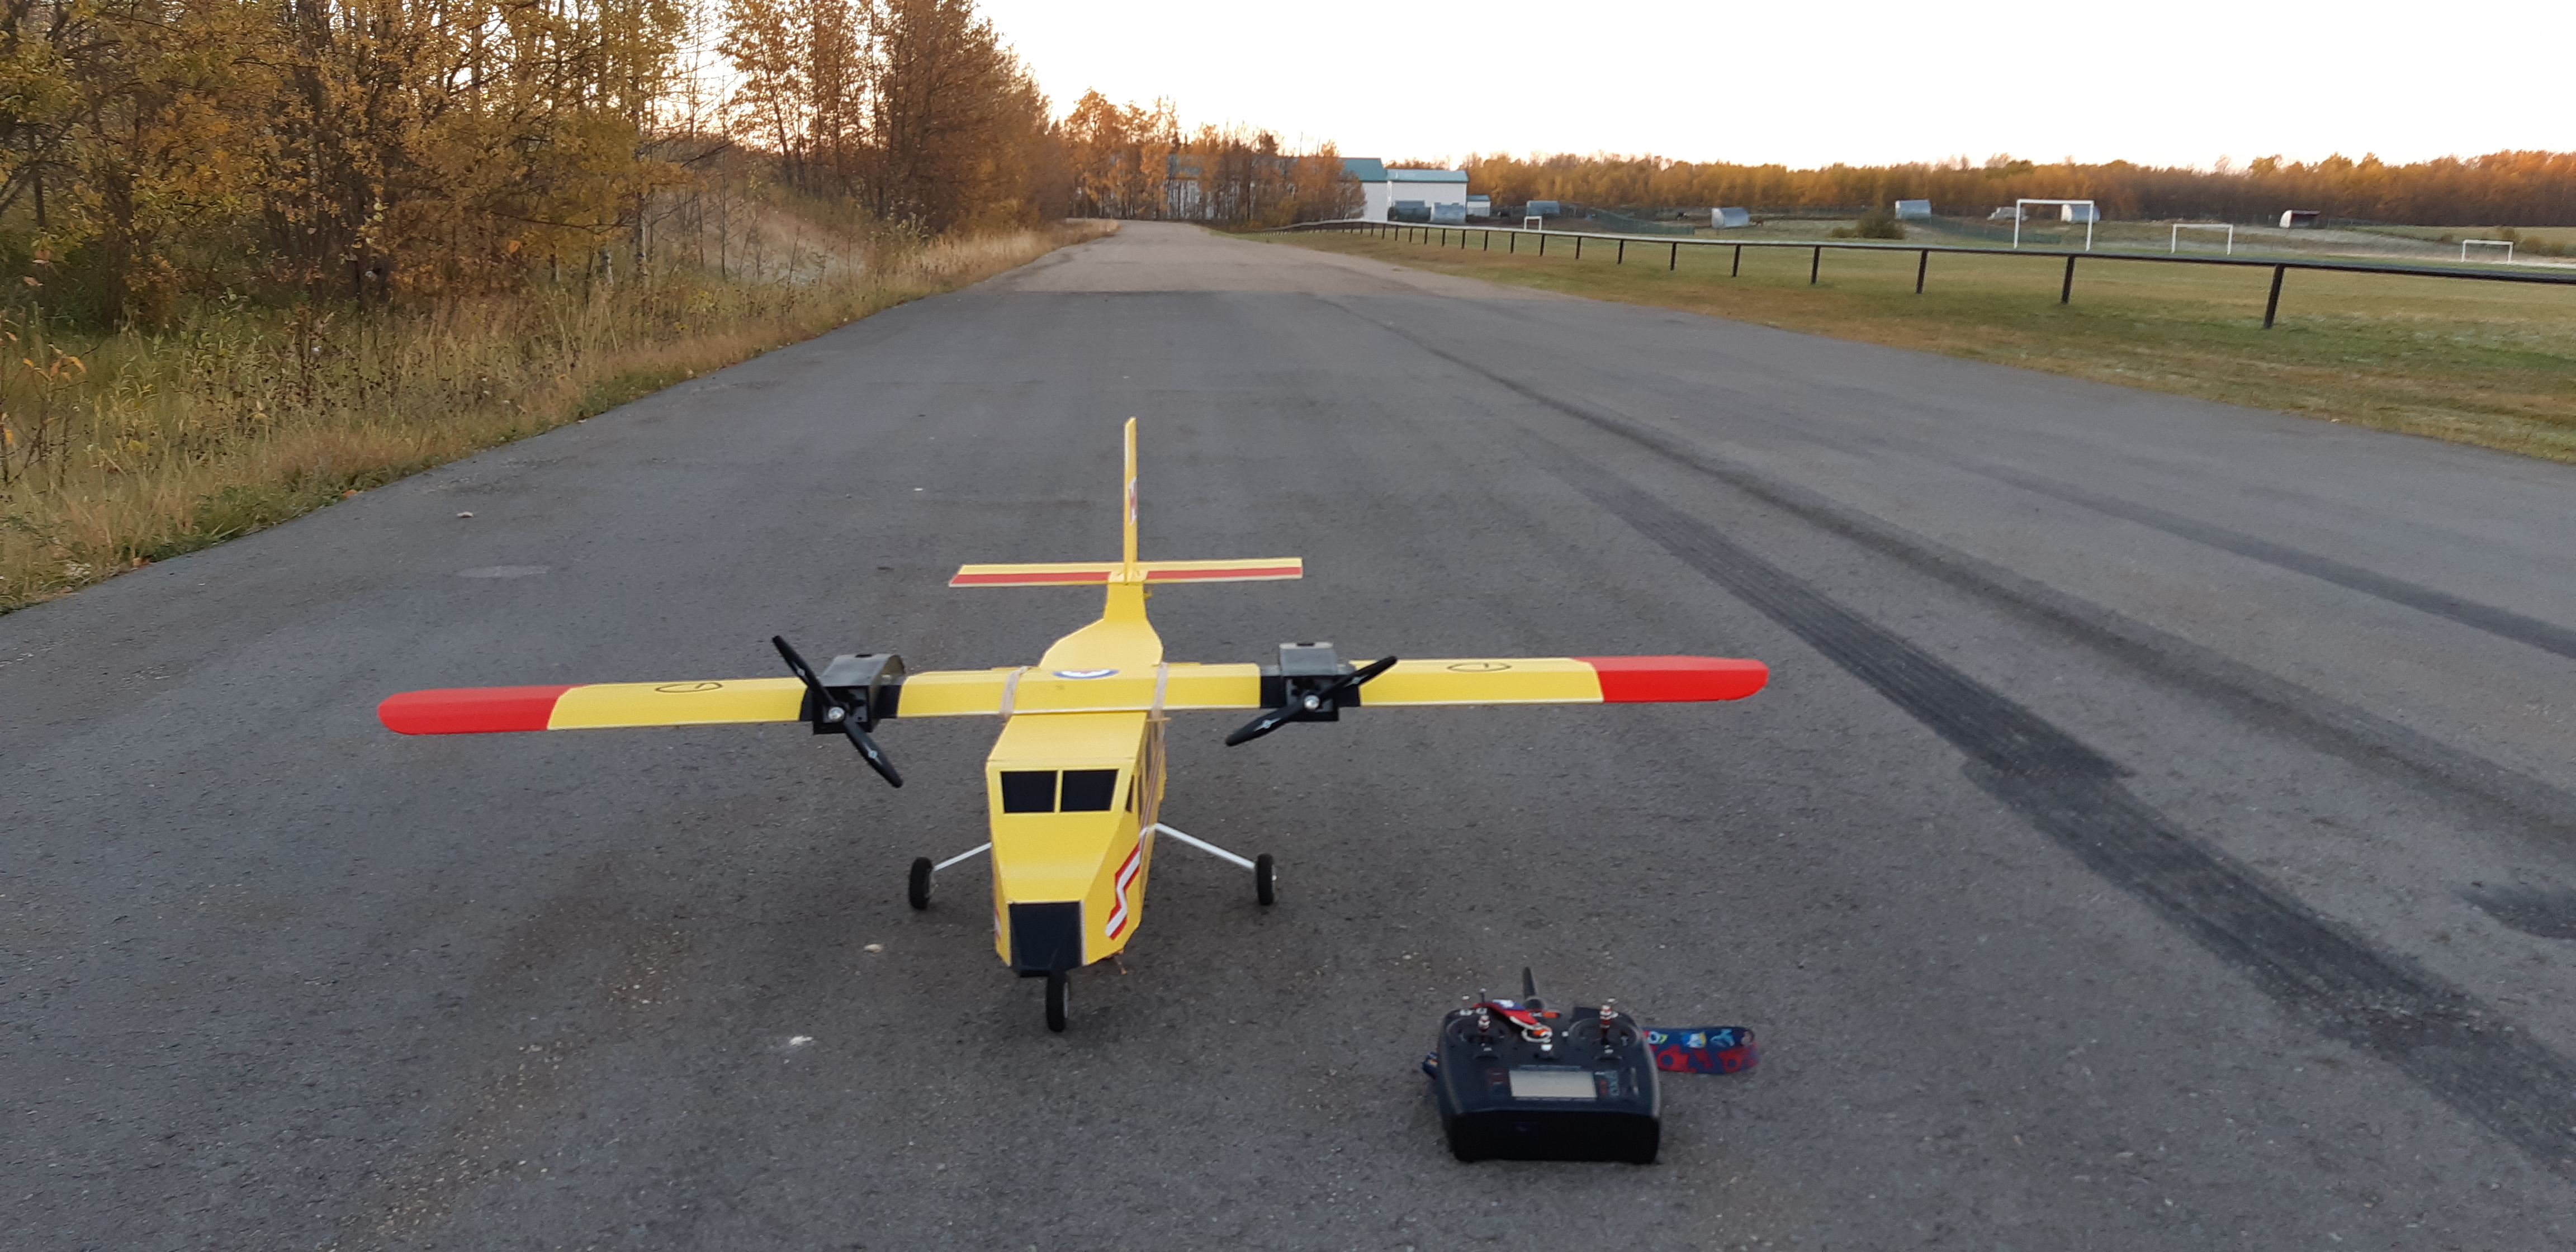
Further testing allowed me to fly for 17 minutes on a 4s, 6500mah hard case battery. The battery was a 550grams, fit right between the rear gear tab and the battery tray and balanced out just fine. A more conventional 2200mah 3s battery right behind the nose wheel flew for 7-8 minutes.
Here are the "not quite perfect" plans:
Flight Video:


Log In to reply
Log In to reply
Log In to reply
Log In to reply
Log In to reply
Log In to reply
Log In to reply
Log In to reply