So you've come to this article to learn how to build a CHEAP FPV ground station instead of buying those very expensive video goggles, Aye? Well i ain't gonna stop you from reading on then. This guide will be in a "step by step"- form, so this should be a very easy to read and do.
Step 1:
Find a 7"-9" screen, that doesn't go in to blue screen when receiving static. In this step you should also be getting all the other gear needed like Video receiver, battery to power the whole ground station. And wires and connectors to make the power harness (more detailed info on this later).
Step 2:
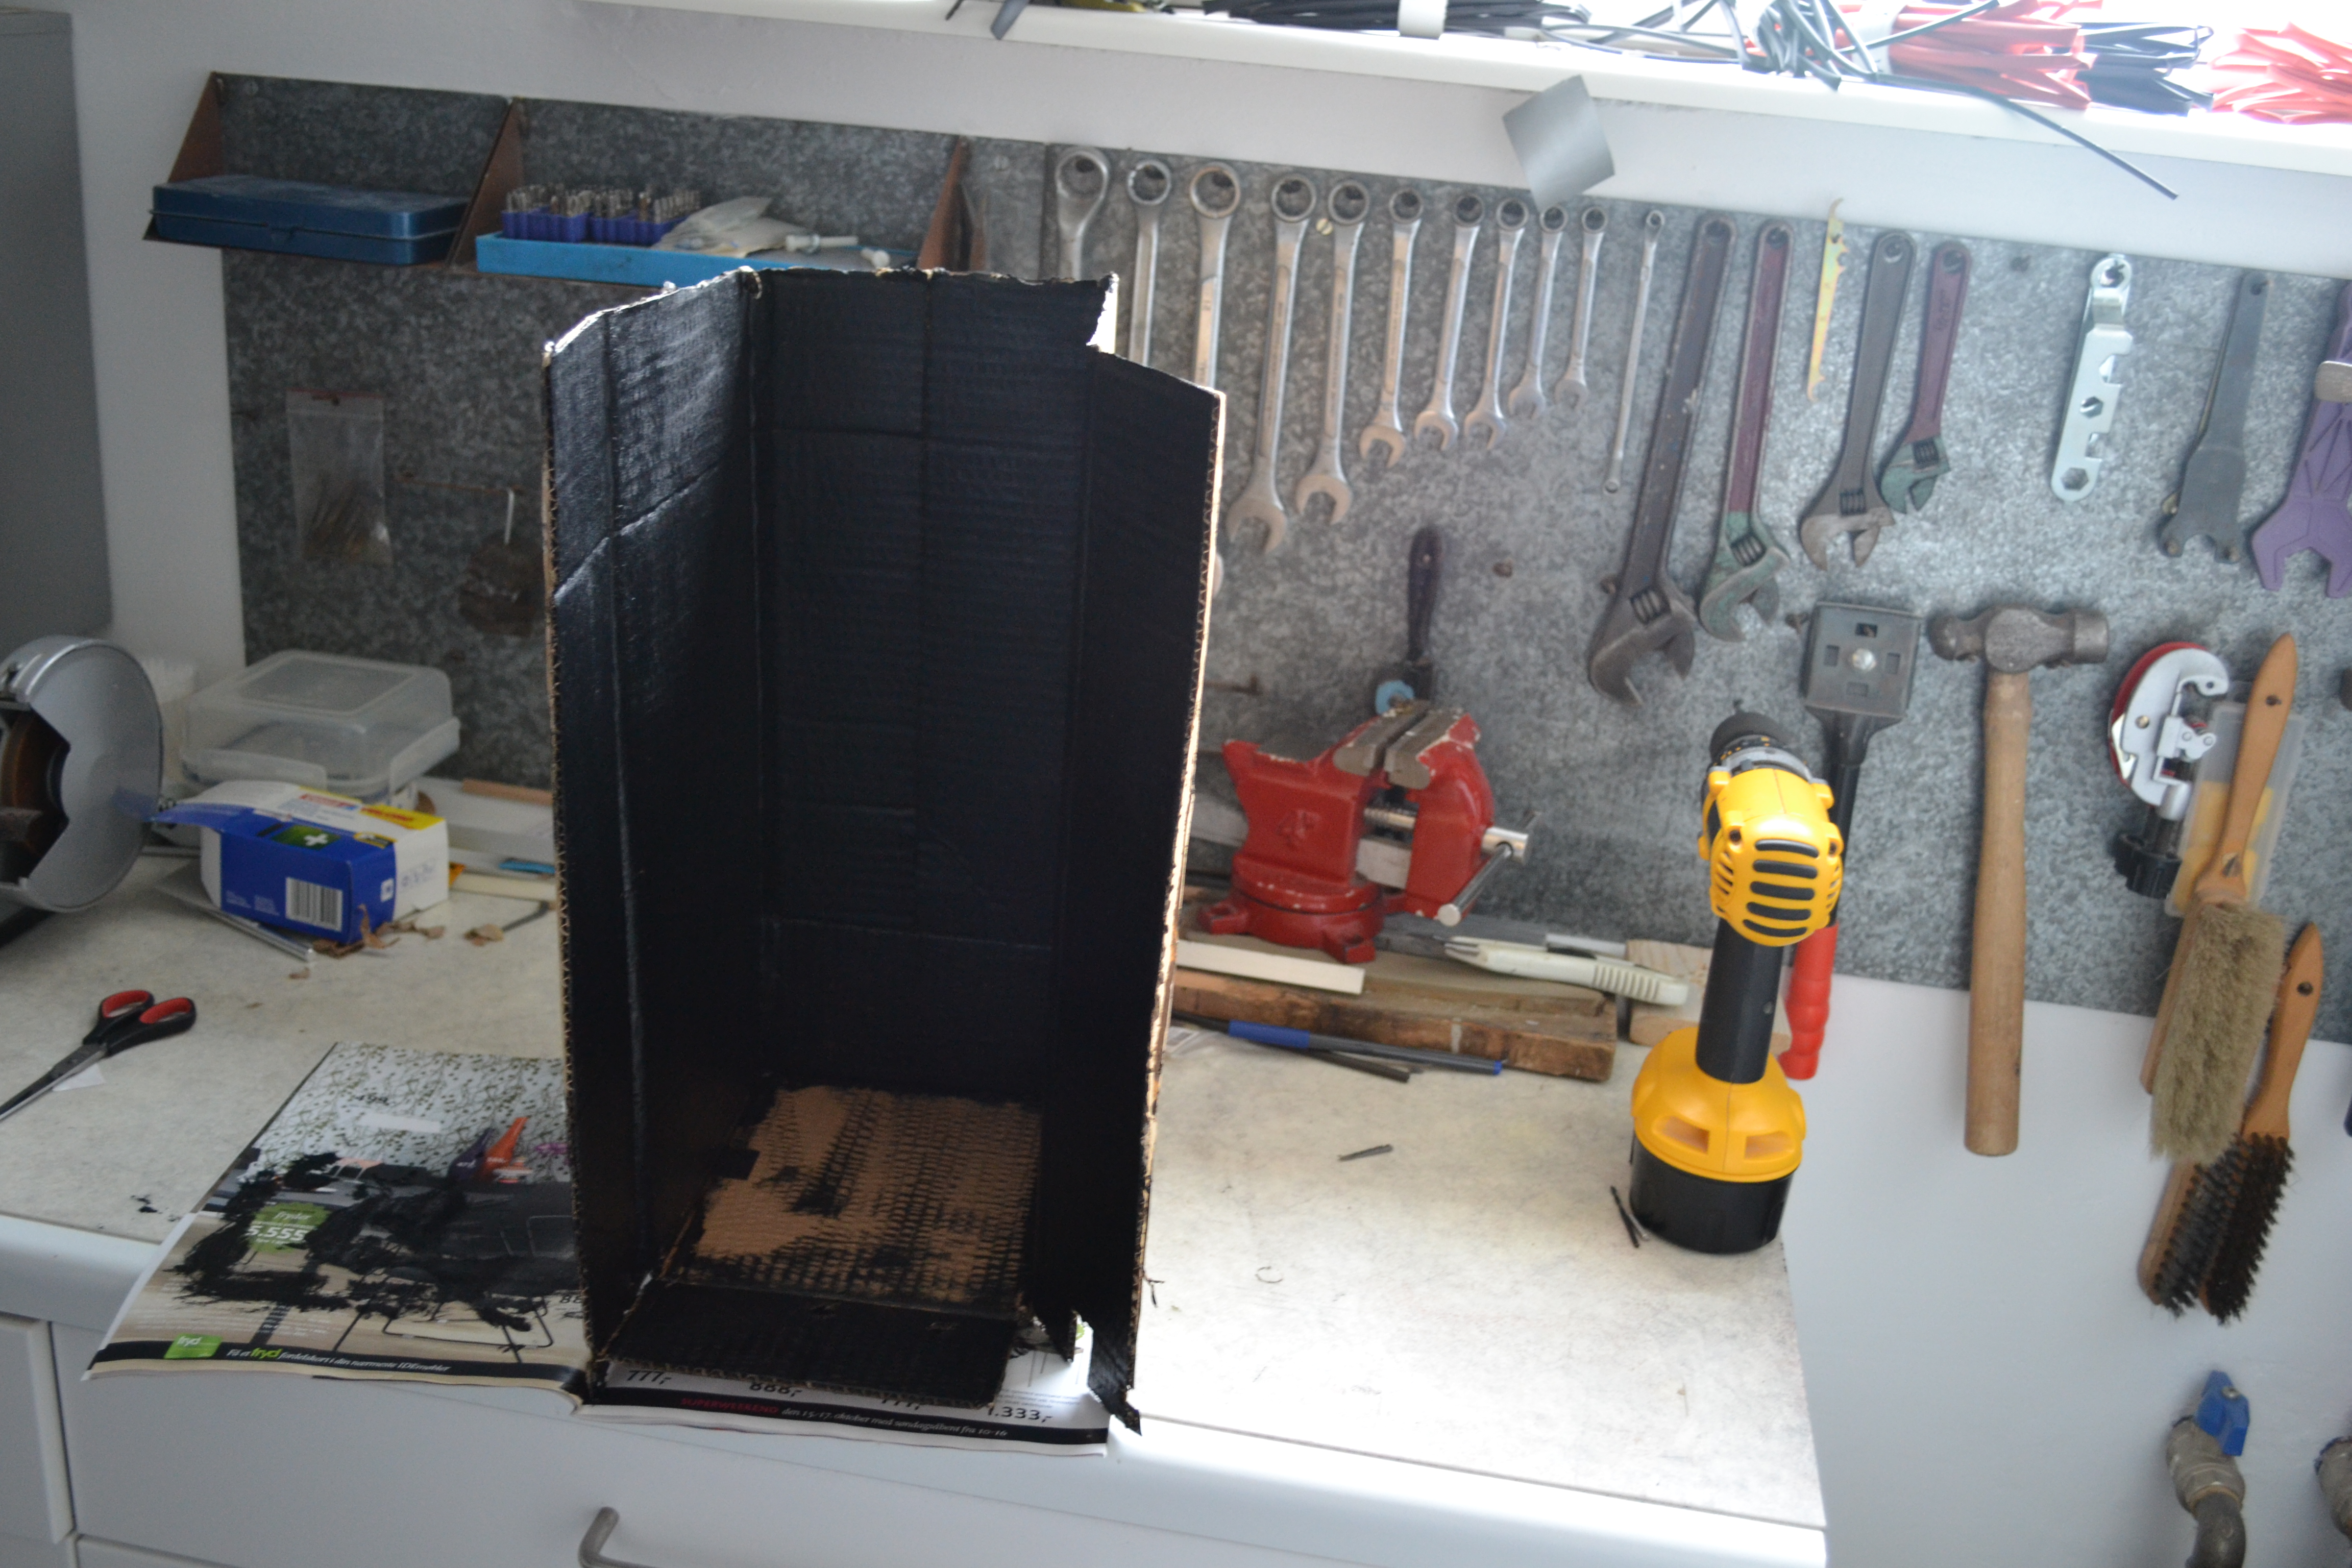
Find a cardboard box. I just used the outer box my HobbyKing bixler plane came in, and cut it down to a little bit smaller than half the box.

Step 3:
Make sure your 7"-9" screen fits inside the box.

(That black thing at the back of the box is my Scansonic 7" car screen) If it fits, find a way to secure it in the bottom. I used velcro so i can pull out the screen if needed.
Step 4:
Paint the inside of the box completely black so that the light from the sun (or just the environment) can't penetrate on the inside on the box and therefore won't shine in the screen at disturb it.
Step 5:
Drill some holes in the box that matches the video and power inputs on the screen when mounted.

(video in is the first hole on the left, the right hole is 12v power input to the screen)
Step 6:
Solder a connector harness to power all your components from a single battery. This is the hardest part of the whole build.
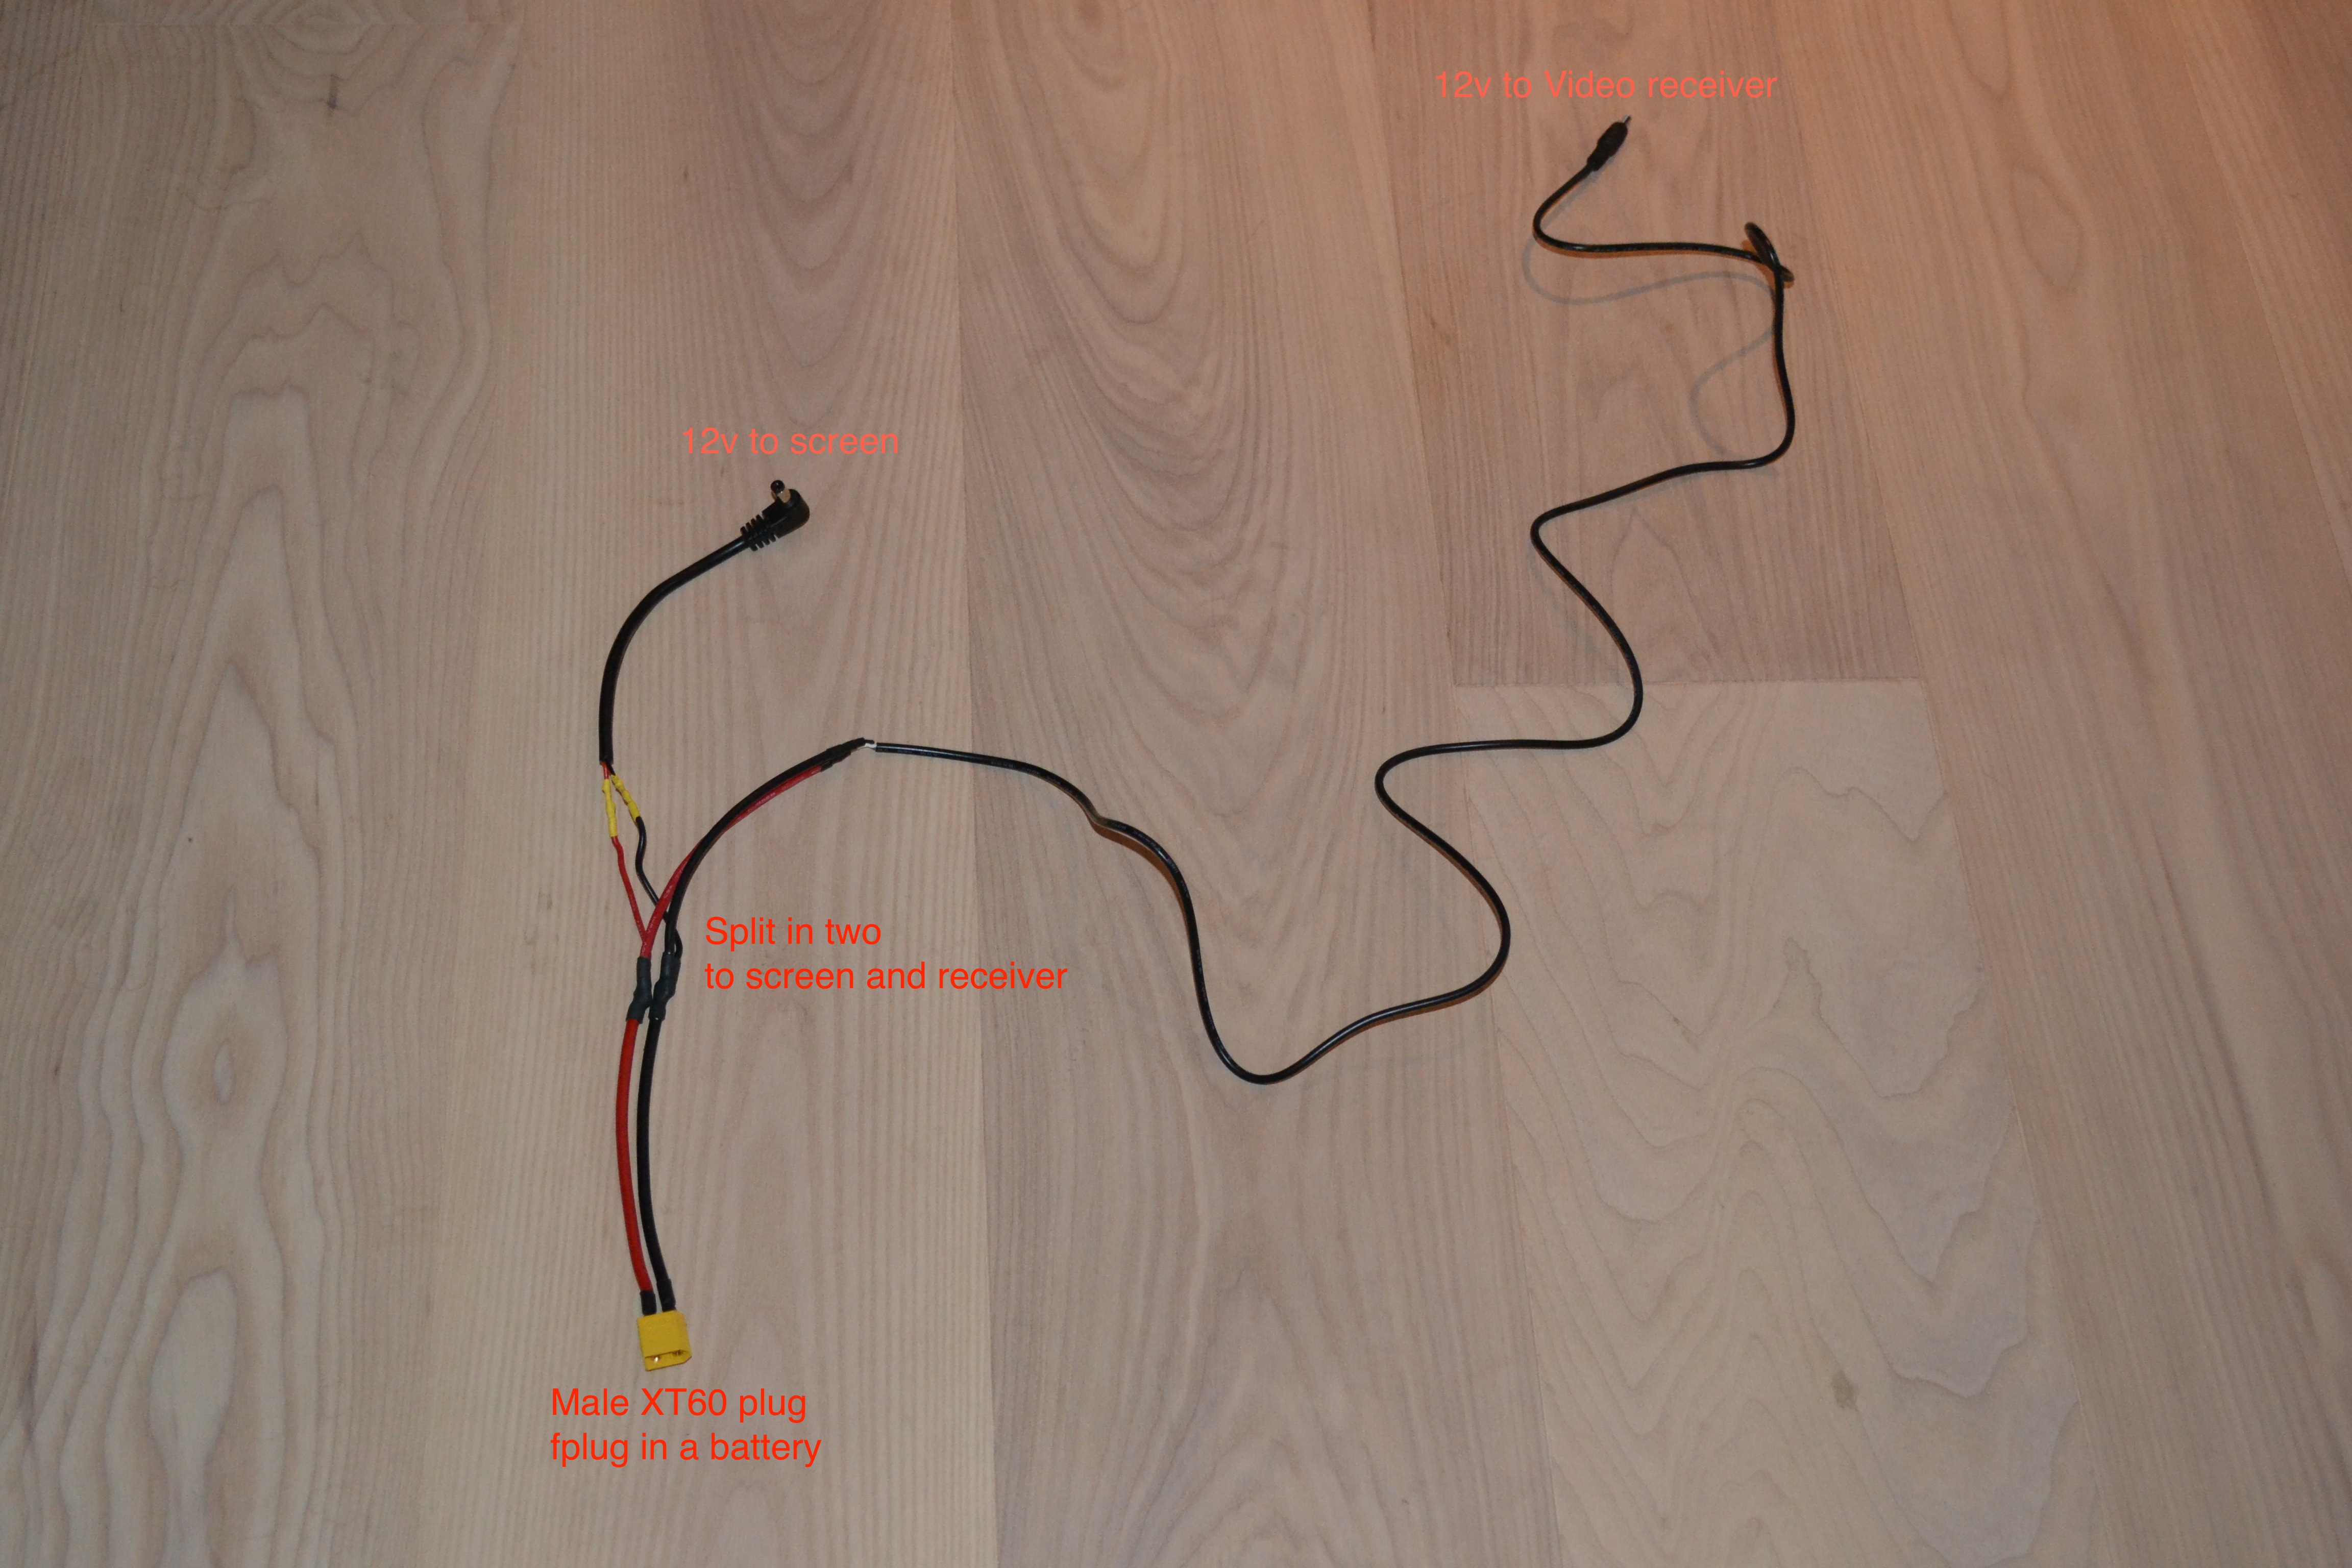
I used a 14 AWG wire from the male XT60 connector to the plug to the screen. I just chopped the plug of from the original 12 car power lead and found the negative and positive wires using a OHM resistance mode in a digital multimeter, but enough of that. The picture is pretty self explanatory so i will leave at that.
Step 7:
Reinforce the card box by using duct tape or glass fiber tape wrapping it (Almost) all over the box. And make sure you are sealing all the holes that that is on the box (Except for the input holes) to make sure no light gets in.
Step 8:
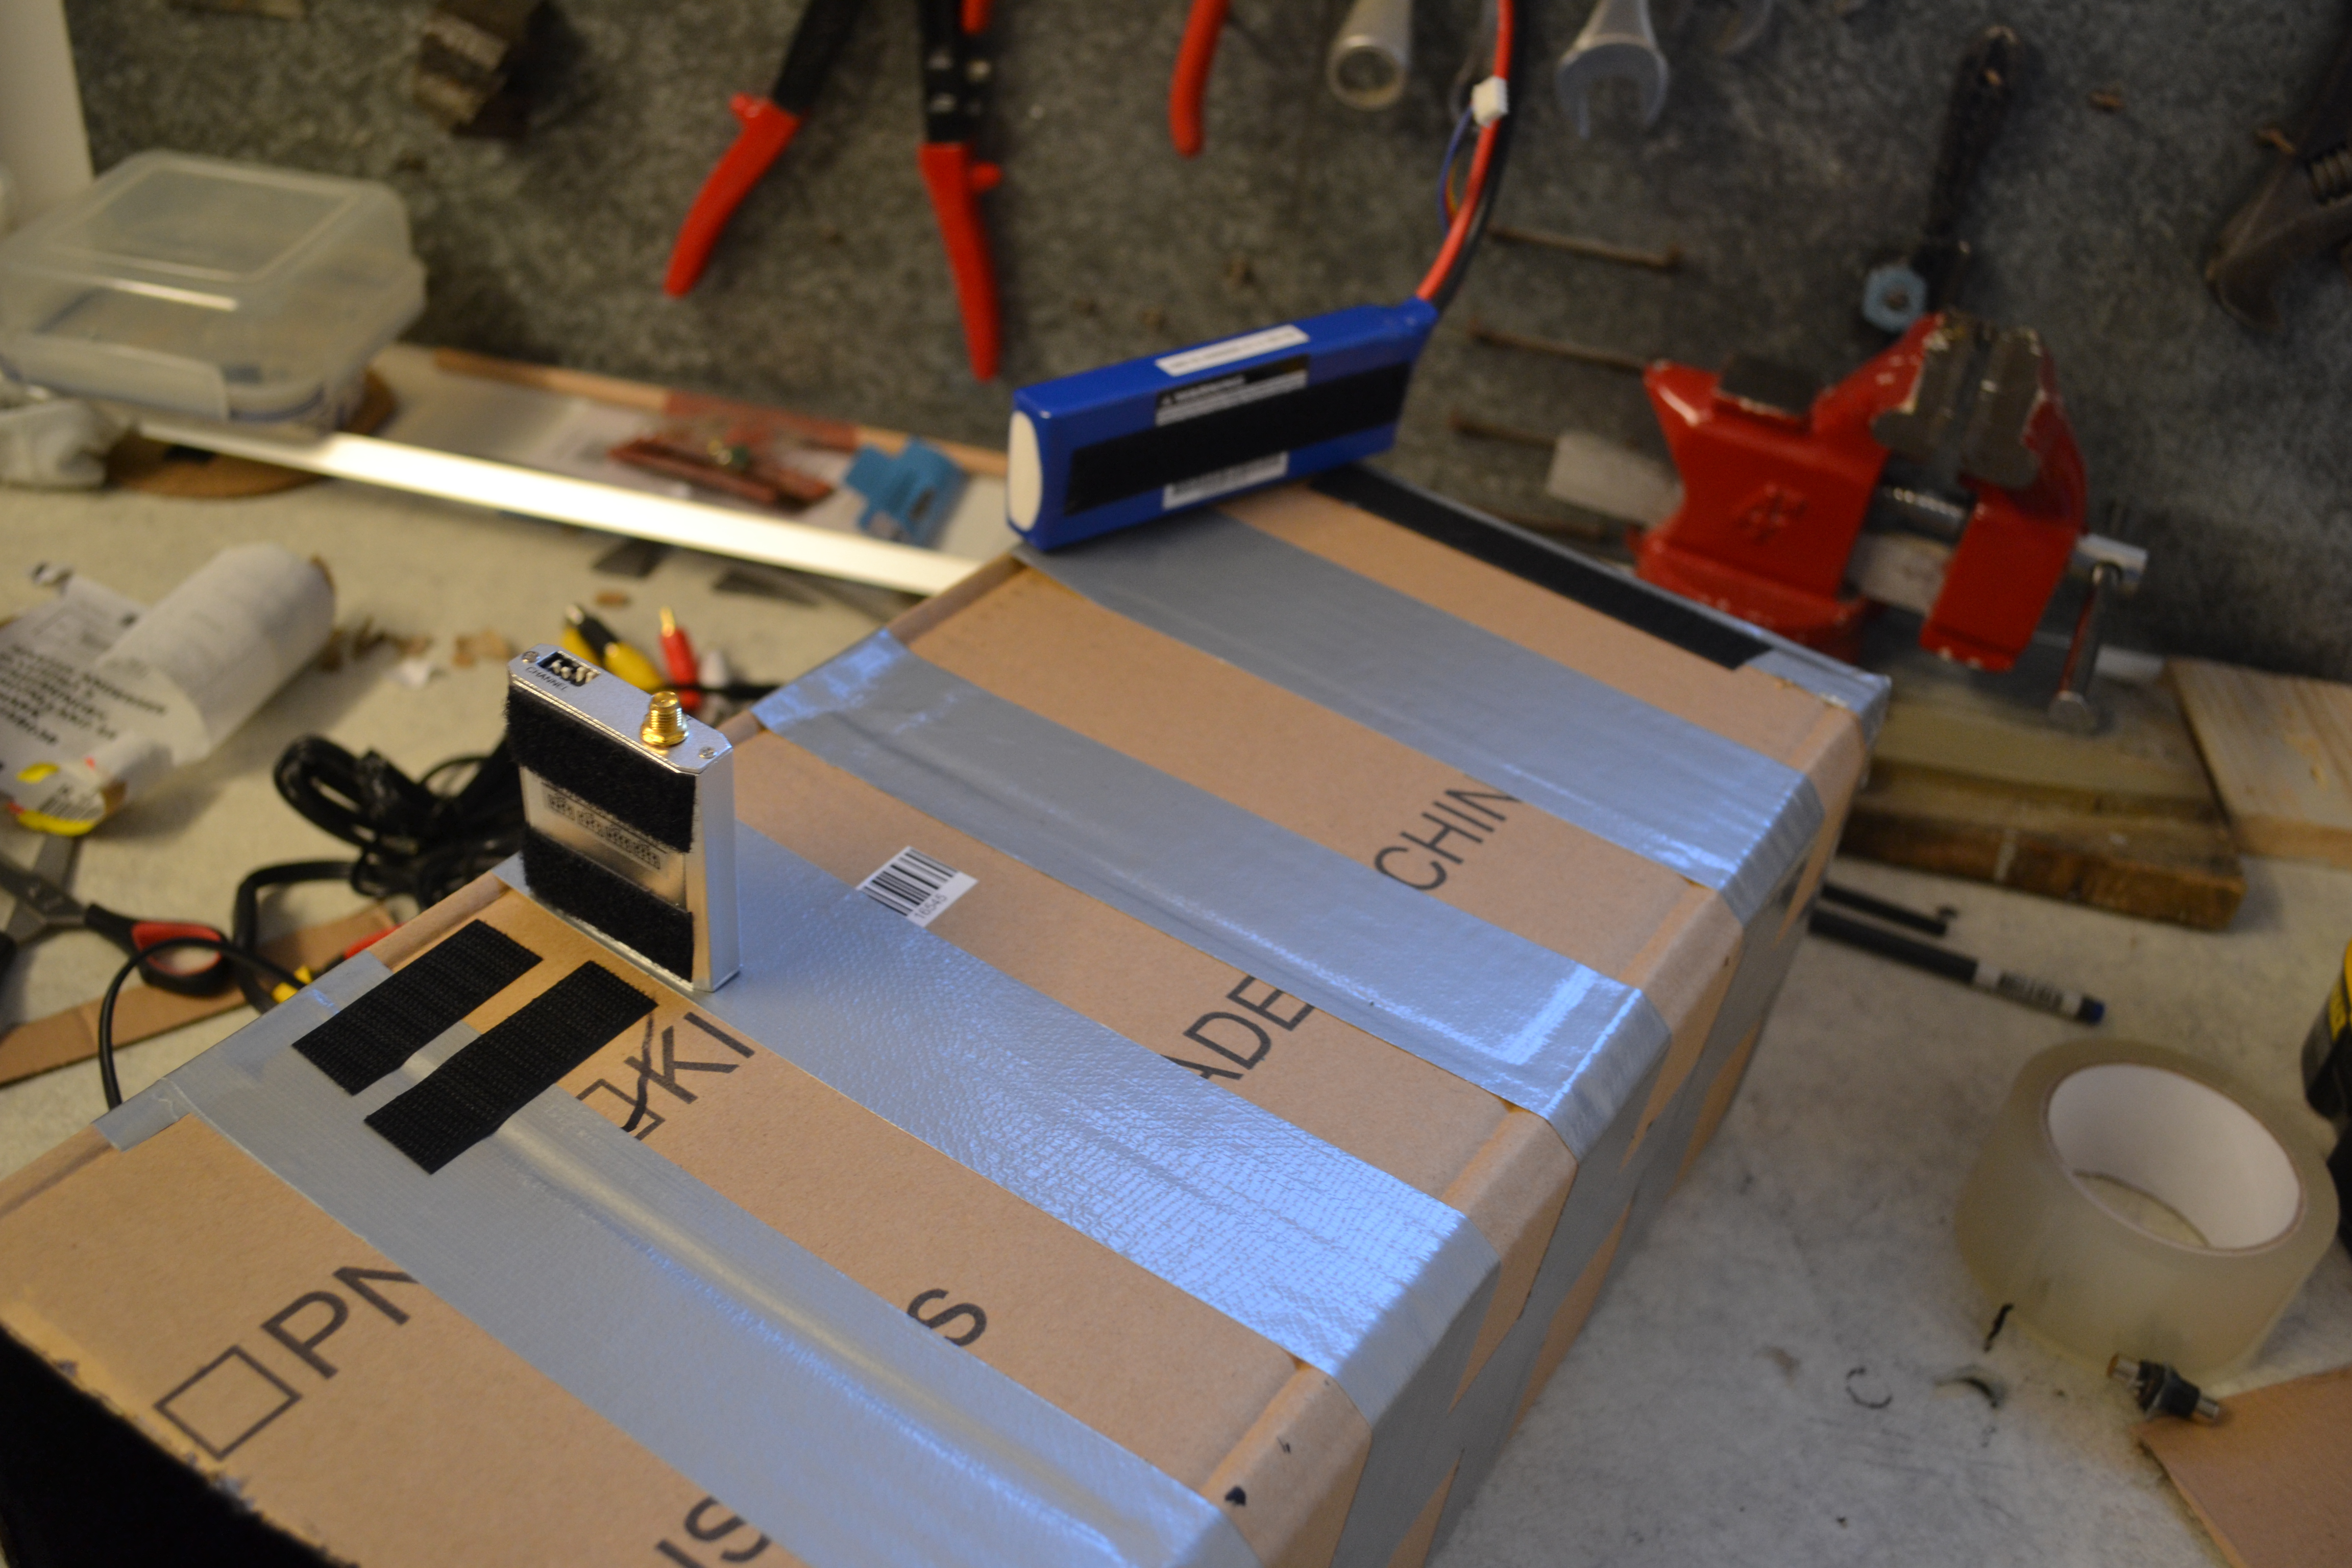
Now place the components such as the video receiver and battery on top of the box by using some self adhesive velcro, always attach the soft side of the velcro to the component that needs to be taken of. In this case that would be the battery or the video receiver.
Step 9:
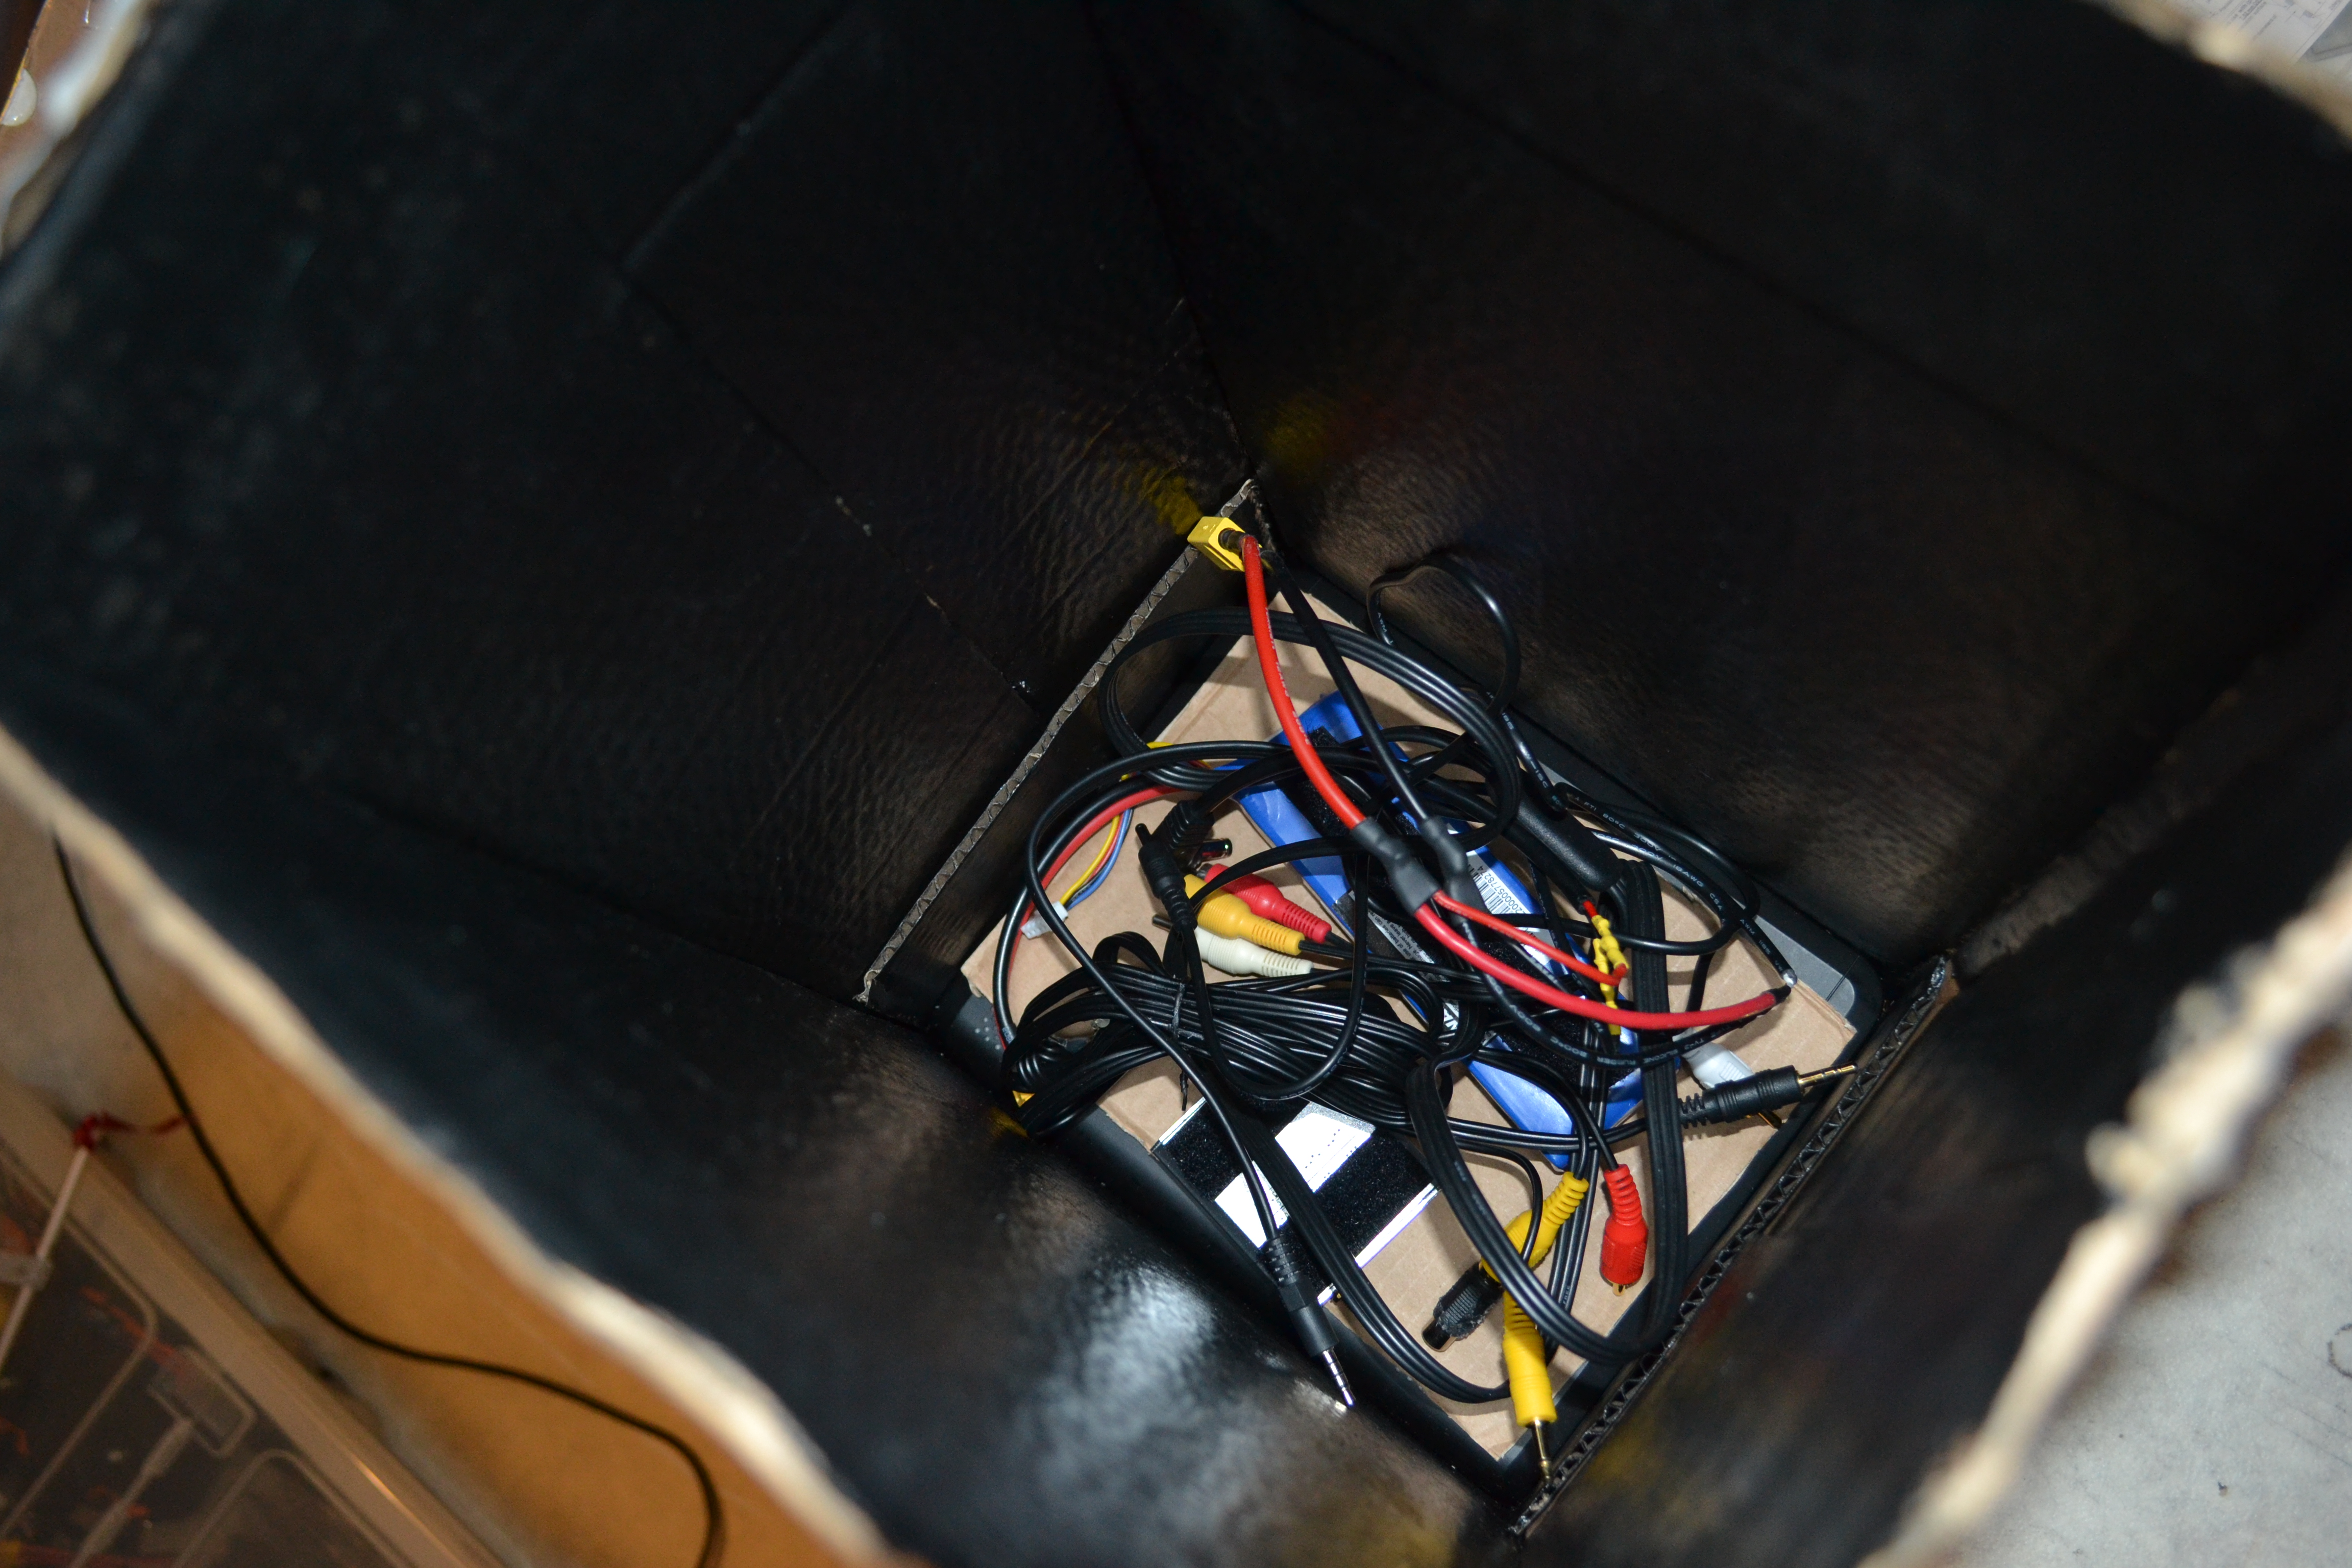
Cut out a small cardboard square board, that fits into the box nicely. This way, when transporting, you can lay this piece of cardboard over the screen/monitor and then put all the gear that was on the to of the ground station and all the wires needed on top of that cardboard piece and thereby not damaging the screen. See below picture.
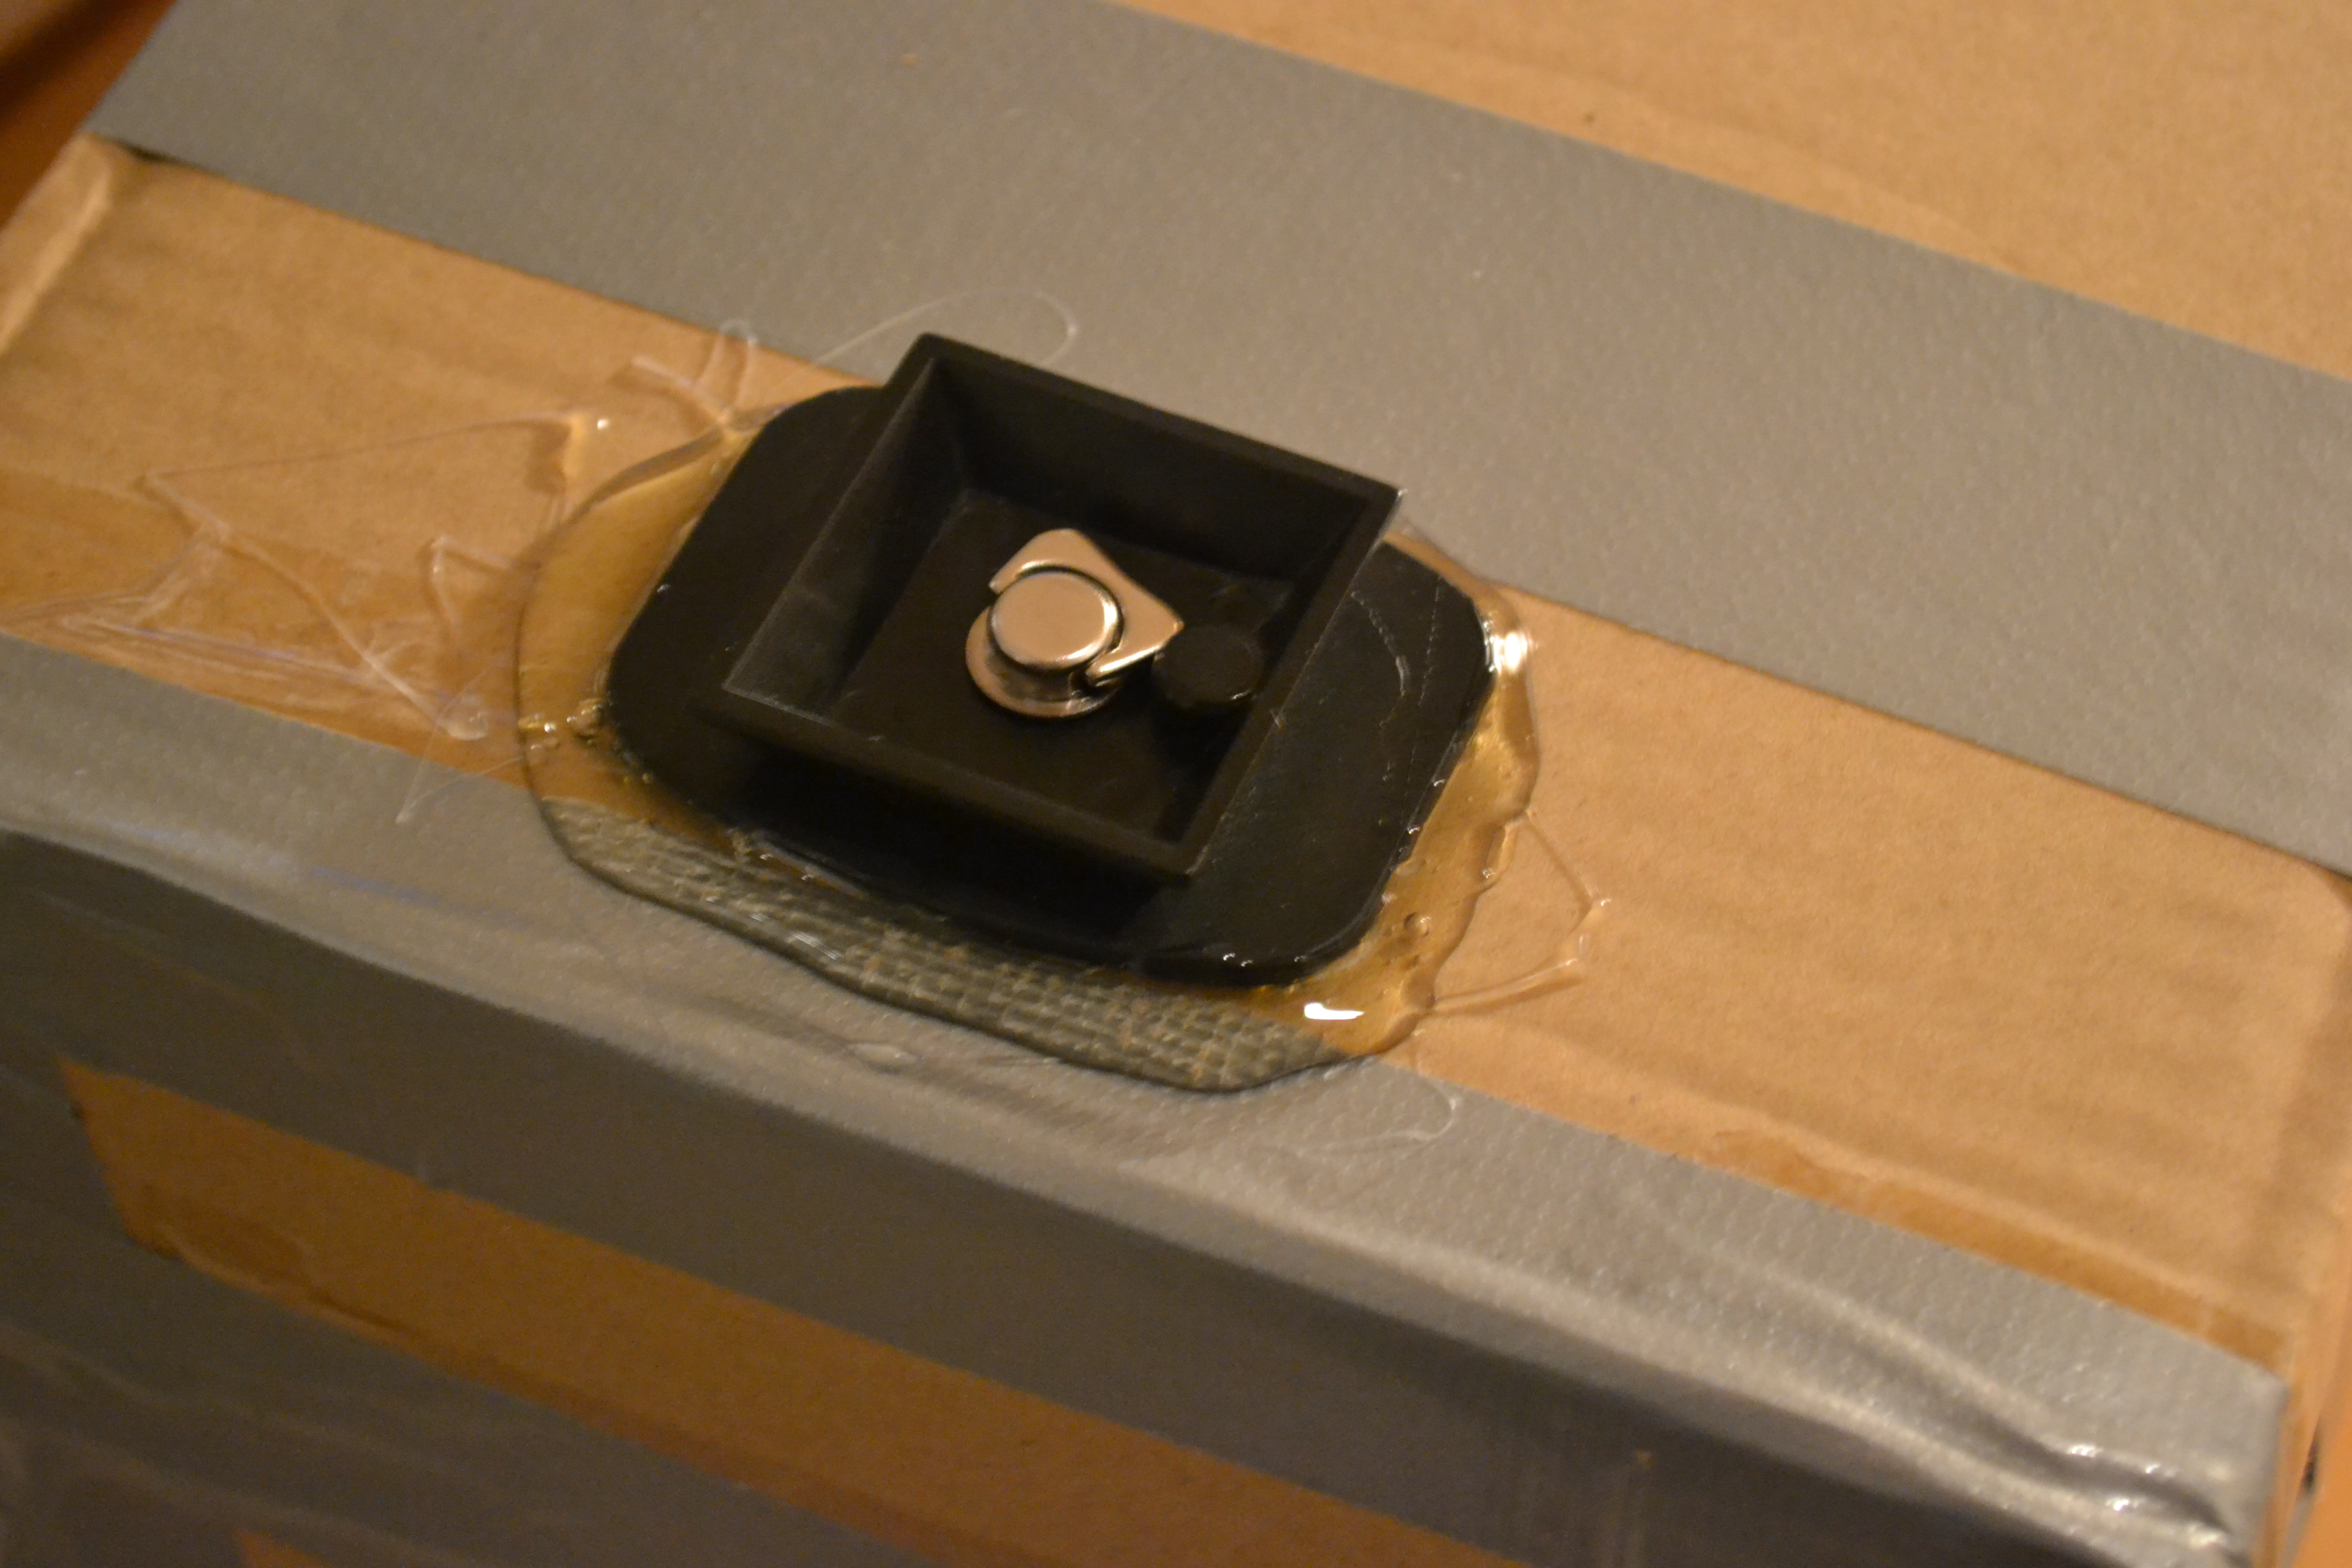
Step 10:
Glue a tripod adapter to the bottom of the ground station. This way you can now put it on a tripod and get it up in eyesight. I used hot glue (and a lot of it!!) to secure the mount.
Step 11:
Mount it on the tripod, connect everything up and test if everything works. If so go out and fly!

Happy flying!
/Martin


No Comments Yet
Be the first to leave one!