So a few months ago I go a BAT-SAFE charging box, and so far it has been very helpful to my peace of mind knowing that just in case something does go wrong my house won't go down too. However, there is one apparent issue I have found with it. If you put the charger inside of the box for charging, when the charger starts beeping alerting you that your battery is done, you can't hear it! This is pretty bad because sometimes I'll leave a battery on charge then forget about it, and then the next morning I realize that I only have one battery charged. So I was looking for a solution, but when I looked online I really couldn't find anything that matched my criteria. However, I recently had gotten into Arduino coding and I realized that this would be a perfect first project! My main goal for the project was to have an Arduino send my phone a notification when charging is complete, but my Arduino UNO didn't have a built-in WIFI function. So I turned to the ESP8266 board, basically an Arduino Nano with a built-in WIFI module. And these things are cheap! I went on Amazon and got two of these things for $12.99!

For what this board can do, I think that 7 bucks each isn't bad. So now that I had my board, I needed a sensor to detect when the LIPO was done charging. My original idea was to use a sound sensor that would detect when the charger went off.
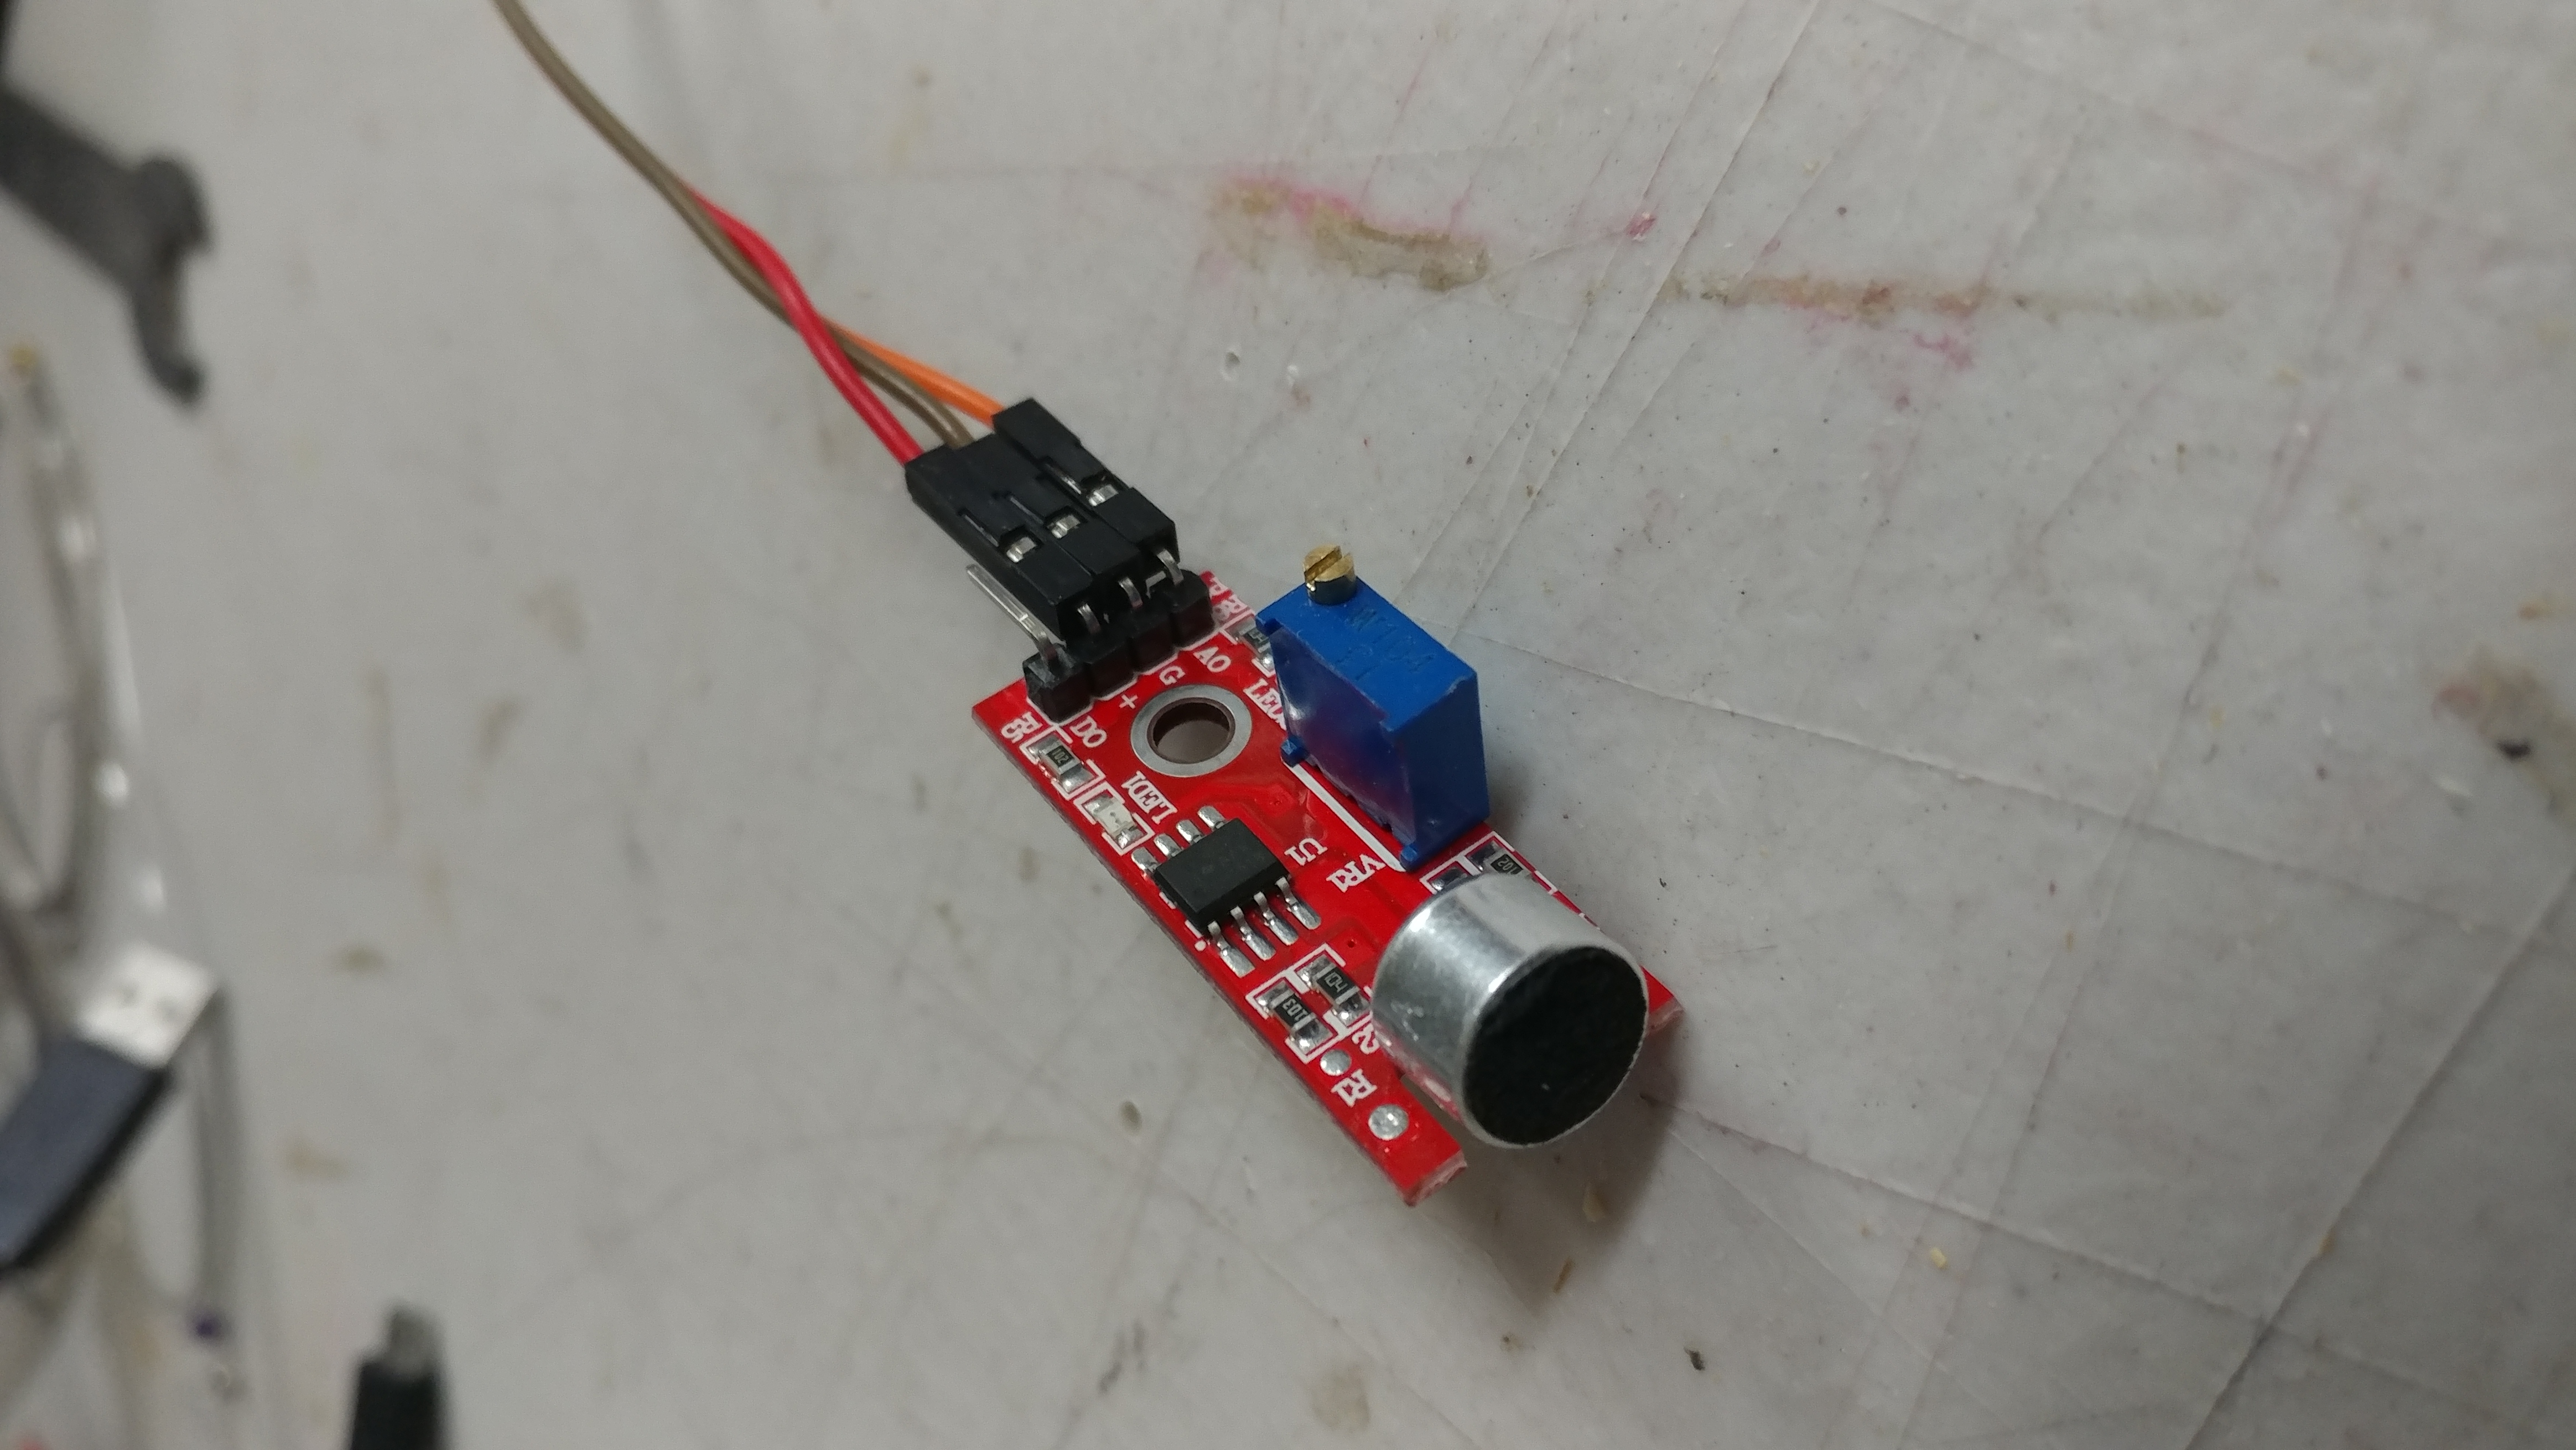
However, the sound sensor just isn't quite sensitive enough to detect the charger tone consistently. So, I replaced it with a voltage sensor.
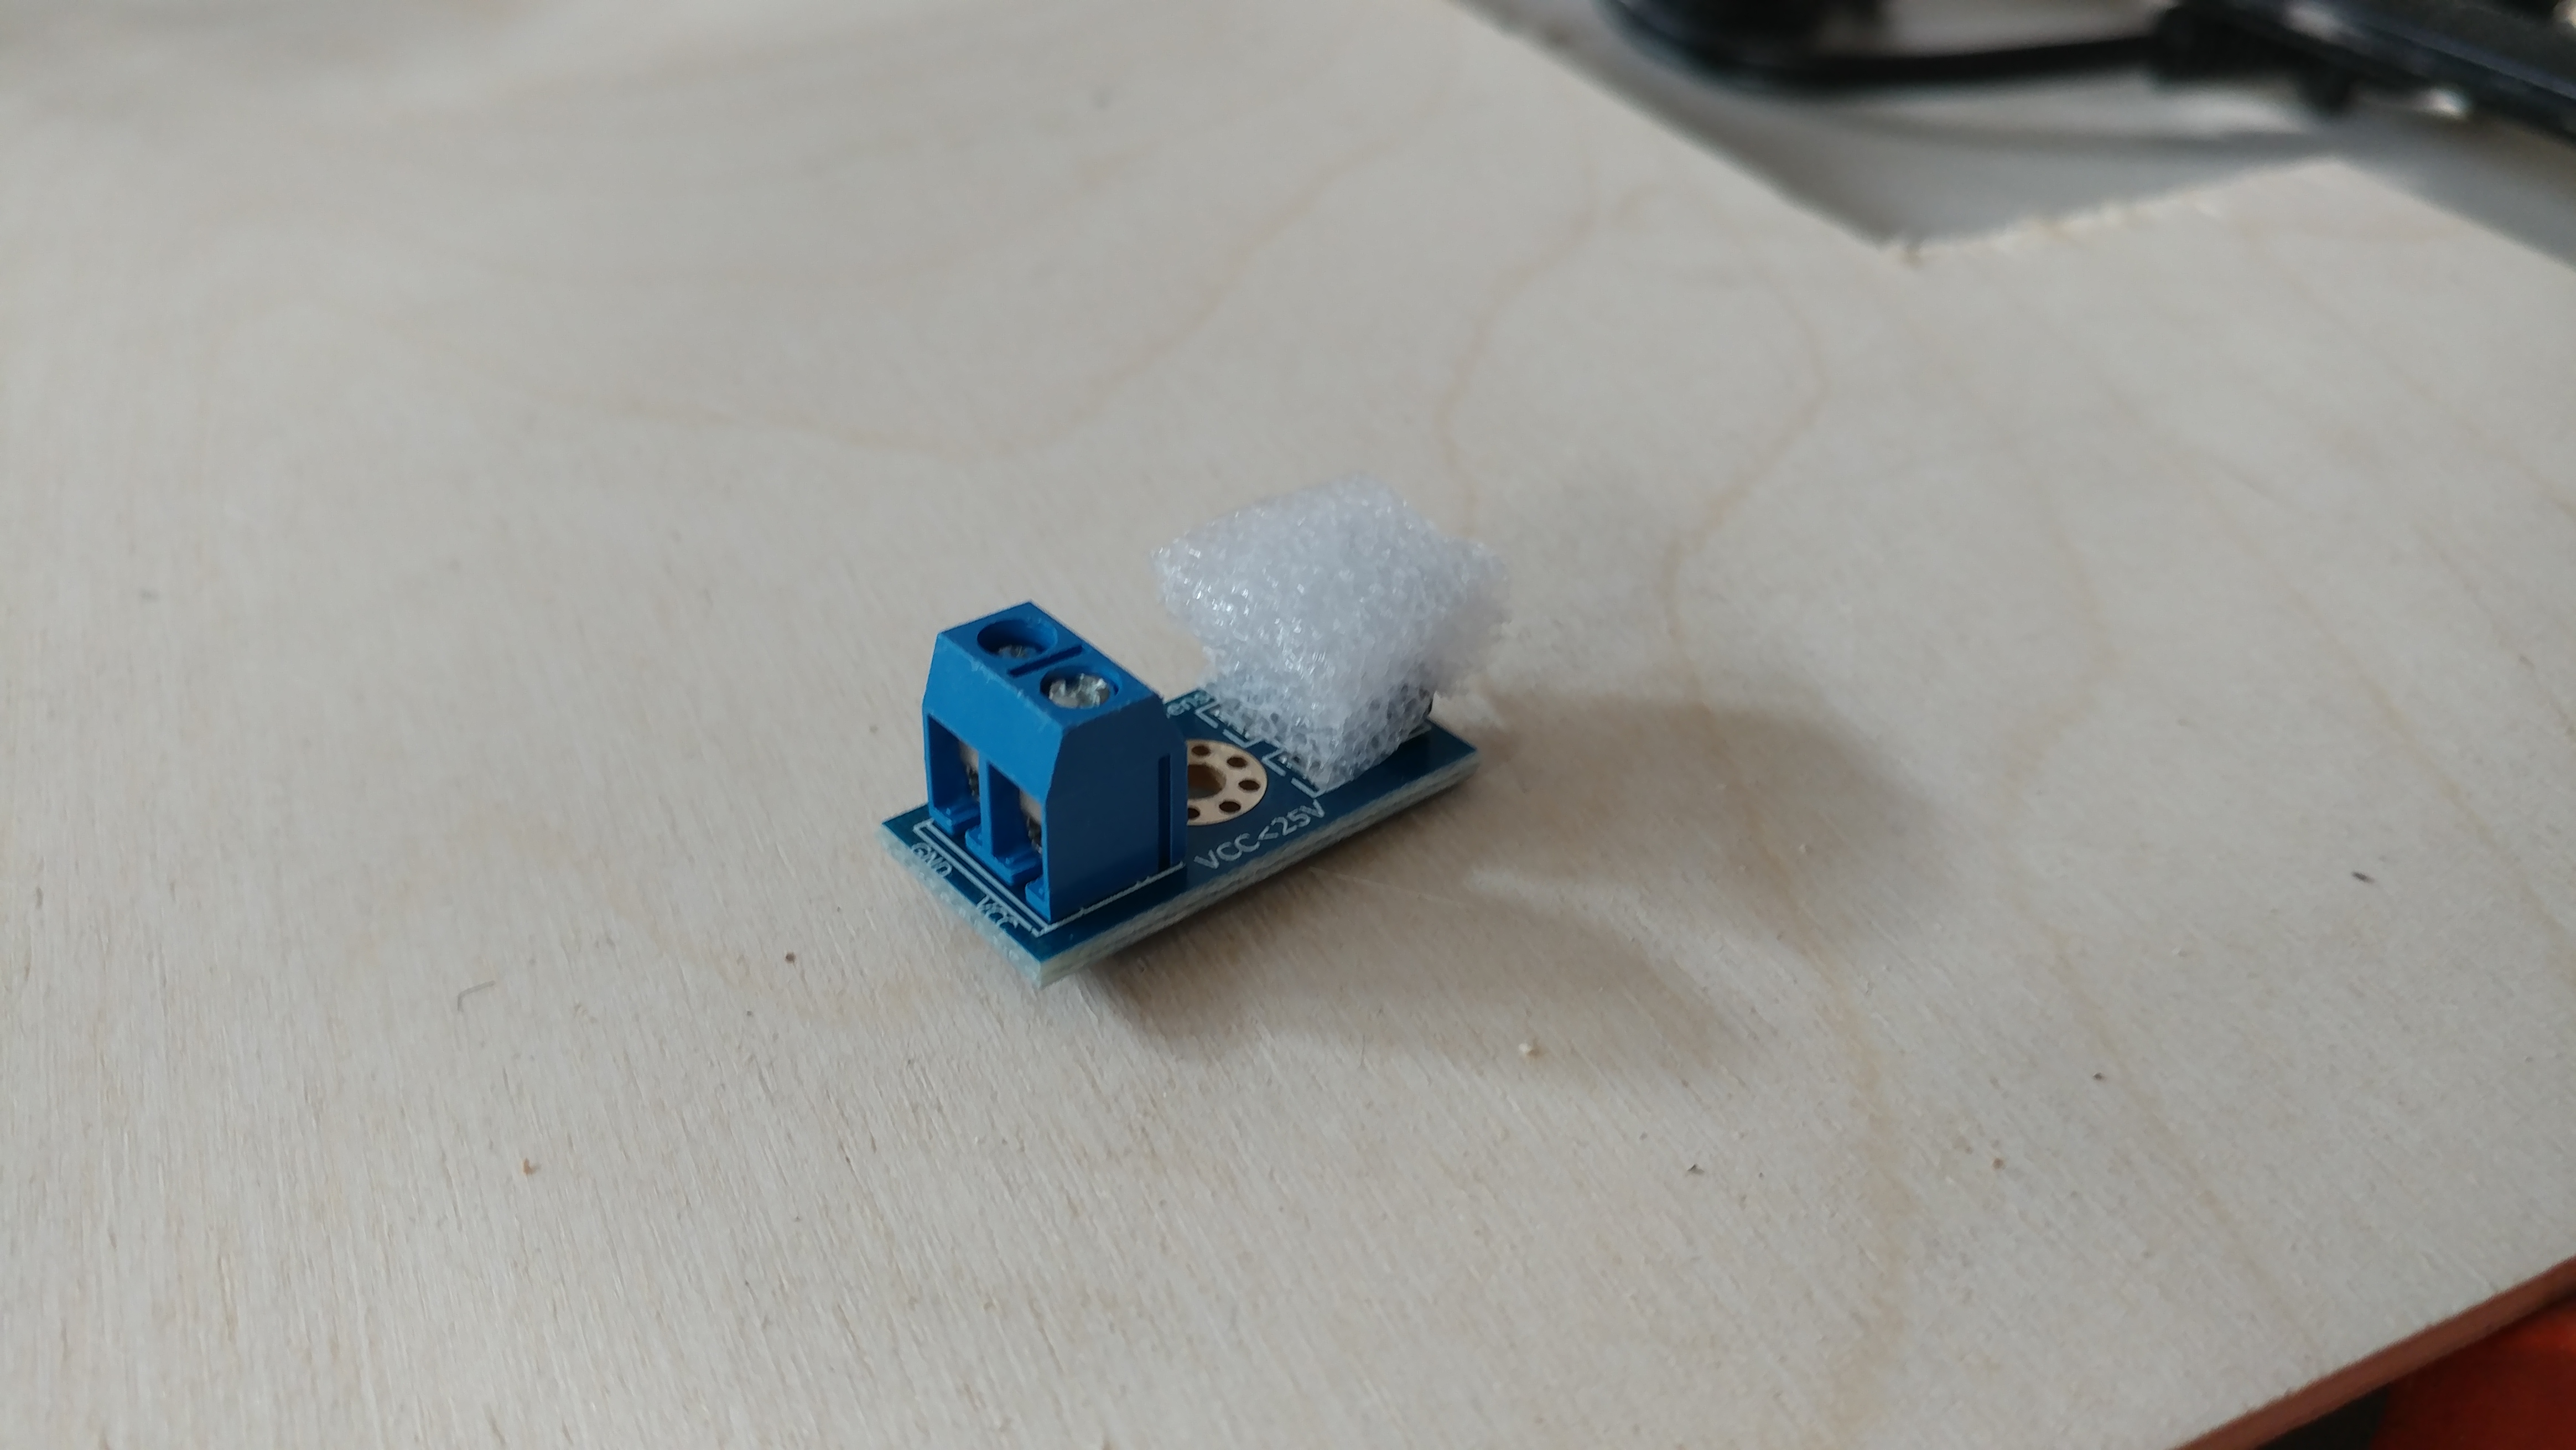
Again these things are pretty cheap.

Now, this sensor is rated for 25v. So I would be careful if your planning to run 6s on this. But since I mainly charge 3s batteries it wasn't a big deal for me. So for this to detect the voltage of the battery here's what I did.
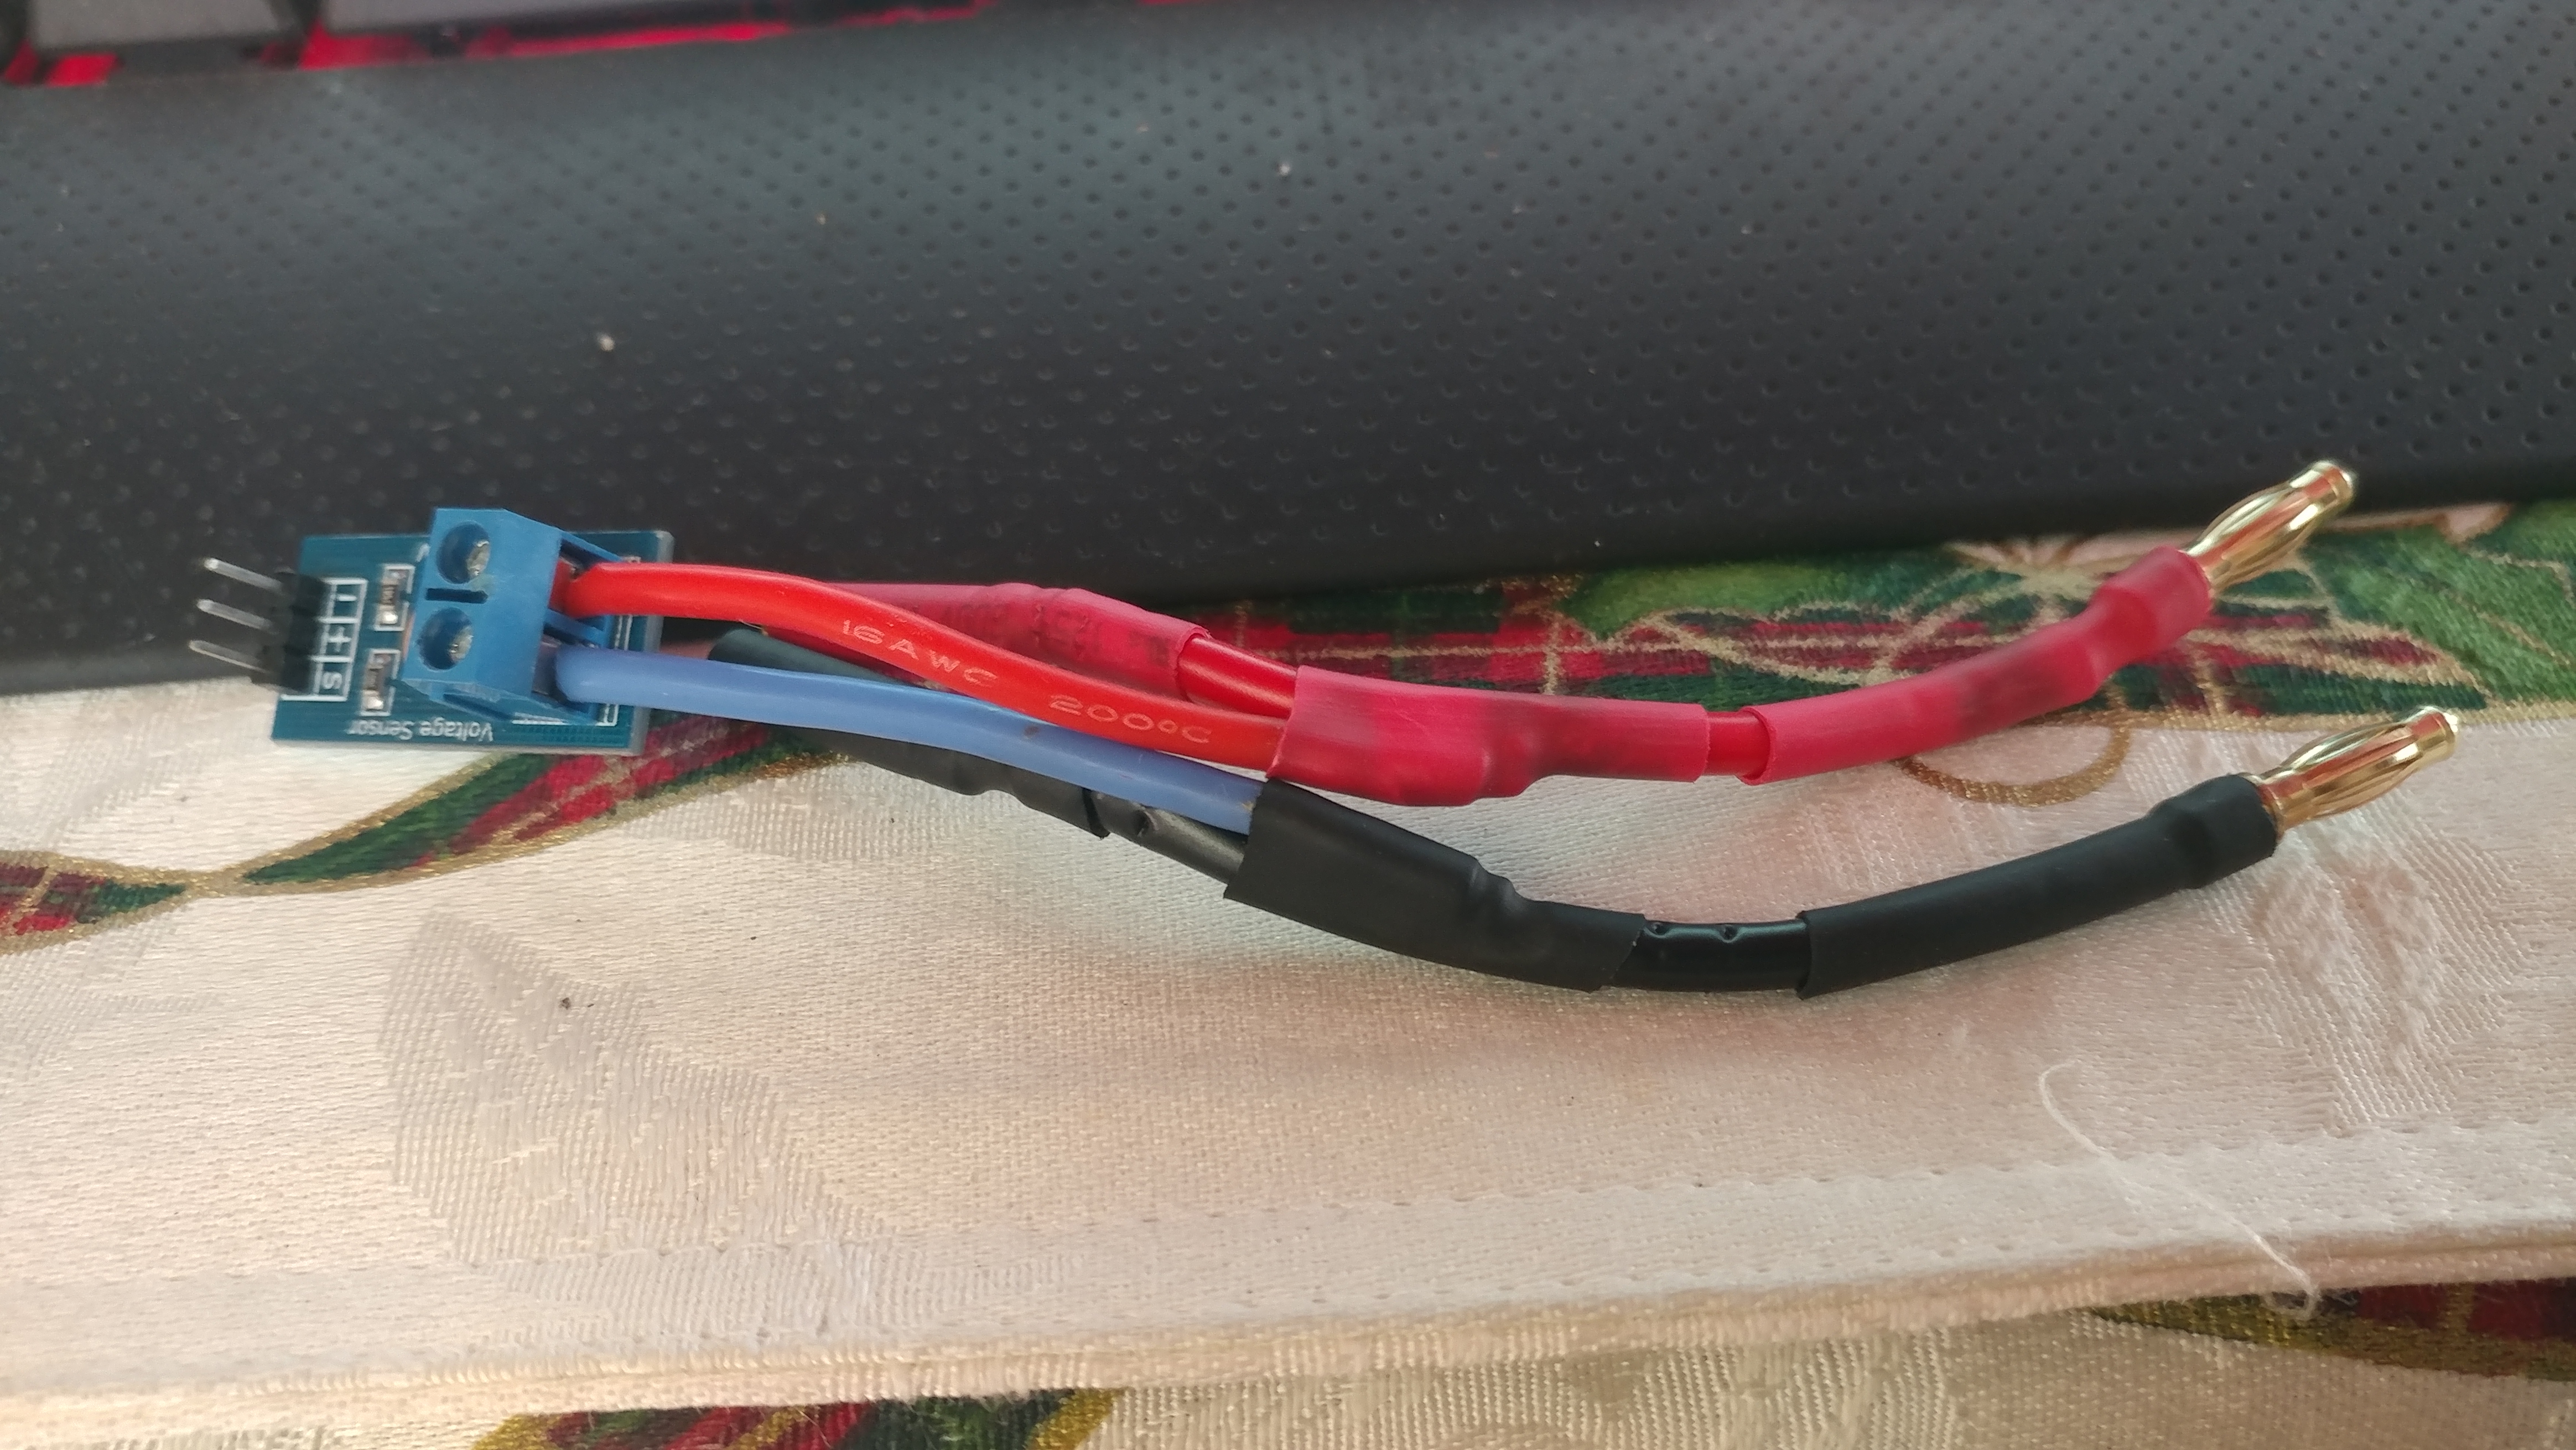
All I did is first I made a small 2in extension for my battery charger using 4mm bullet connectors. After that, I added two small wires to the extension, one to the positive and one to the negative. This means that the sensor can now read the voltage of the battery while it's charging. So the first thing I did with the sensor was find how many analog points were in a volt. So I plugged in the sensor with the signal pin running to A0 and ran this simple code.

All this code does is it prints out to the serial monitor the value from the sensor. This means if you plug in a battery you can find how many analog points are in a volt. For example, if I plug in a 12v battery and the serial monitor is reading 800 then I can divide 800/12 and find how many analog points per volt. What I ended up with was 64.6409749671 per volt. Now with this info in mind, I turned to Blynk for connecting my smartphone to the Arduino.
Now I like Blynk because compared to all the other options out there, the user interface looks and interacts a lot better. However, the coding took a bit of time to get used to. So I'll offer my messy code for those who don't want to deal with coding. However, I highly recommend learning Arduino coding because not only will it help you with this, but it's a good skill to have in general.
 (The picture doesn't show the whole code, if you want the whole code please download it below)
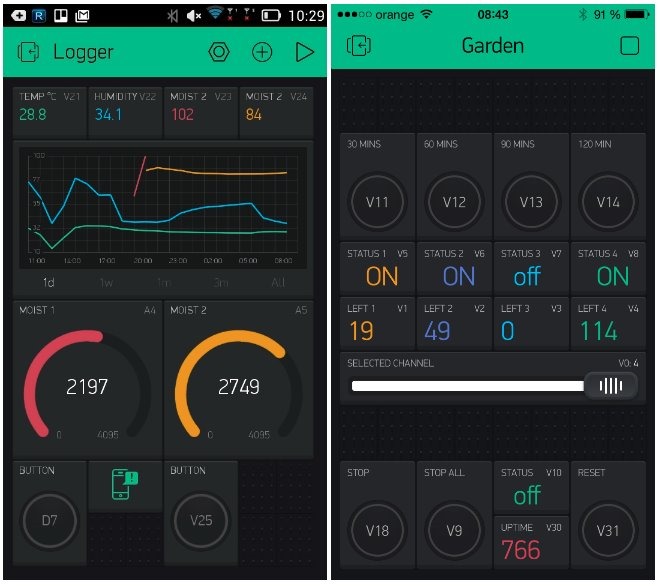
To setup the app side of this, first put in a Step widget and set it to pin V1. Then, put in a Value Display and set that to pin V2. After that, put in a Button of some sort and set it to pin V3. Lastly, put in a notification widget. All of this fits within the 2,000 energy that is provided free with the app.
Now I need to give a HUGE thanks to my dad for helping with the code. My dad mainly works with code in his daily job so when I showed him Arduino, he was just as excited as me. So whenever I had an issue with the code, my dad would come over and help me troubleshoot it, so a HUGGGEEE thanks to him for helping with the project. If anyone wants me to explain how the code works, I can make a video later detailing how the code works as it would take too long for me to explain everything in text format, but here's the basic functions of the code.
1. Detect what cell count has been chosen in the app
2. Provide live voltage data of the battery
3. Alert a smartphone when a battery is done charging
If you do download the code, remember to put in your WIFI credentials into the spaces provided and replace the values in void #cell with the values you've figured out. Also, remember to put in the authentication token in the space provided as well. You can get the auth token when you install the app and create a new project. Lastly, change any other values that may be different between my project and yours.
So now you'll be able to check on the live voltage of your charging battery and receive a push notification when your battery is done charging. I'm pretty sure I explained this pretty bad so if you have any questions, post them here and I'll try to get to them. Anyways, I hope somebody will find this project useful and have a great time with it!


Thanks for this post! I'll try to find time someday to attempt it.
Log In to reply
Log In to reply
Log In to reply
Log In to reply
Log In to reply
Log In to reply
bokul9064@gmail.com
thank you
Log In to reply