Hello, I’m RcAirplaneNoob or formally Tyler J. This is my first full Article on Flitetest, all my others were simple YouTube videos that I filmed and edited. Feel free to check them out on YouTube under the user RcAirplaneNoob. Stay tuned because later this week I will be uploading an Article on how I made swappable snow-skis. I’ve tested them and they work on asphalt but haven’t had any snow yet J. Anyway, back the current article, I will show you how I upgraded my ParkZone Polecat to 2s BrushLESS.
To do this upgrade you need the following.
- Ap1405 3000 kv motor from Hobbyking.com
- Turnigy Plush 6amp Brushless ESC from Hobbyking.com
- GWS 5030 props from Hobbyking.com
- A soldering station
- Hot glue gun
- A battery of your choice, I tried two 1s 500mah in series and it proved too heavy I recommend a 2s 180-200mah 25-50c battery (I use NanoTech from Hobbyking)
- 3/32nd plywood sheet
- Some small mounting screws for the firewall
- 1N400x Diodes
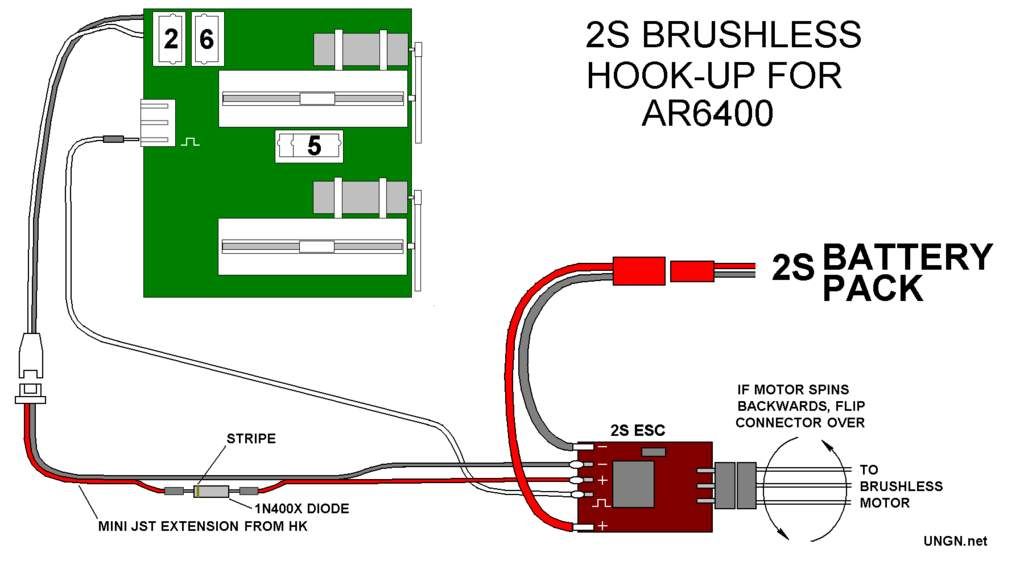
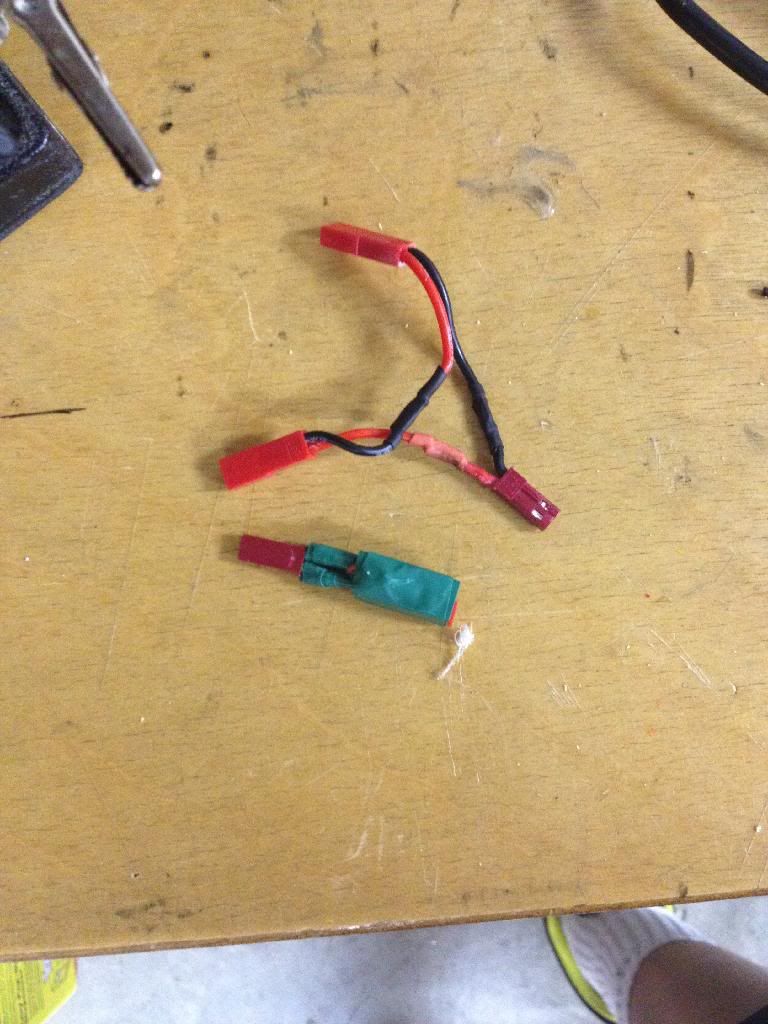
Anyway, to the modification, first off you need to open up your Polecat and remove the board and motor along with the gearbox. You then need to wire up the board to the esc in this fashion, note I didn’t use the extension pictured below, I just hard-wired everything.
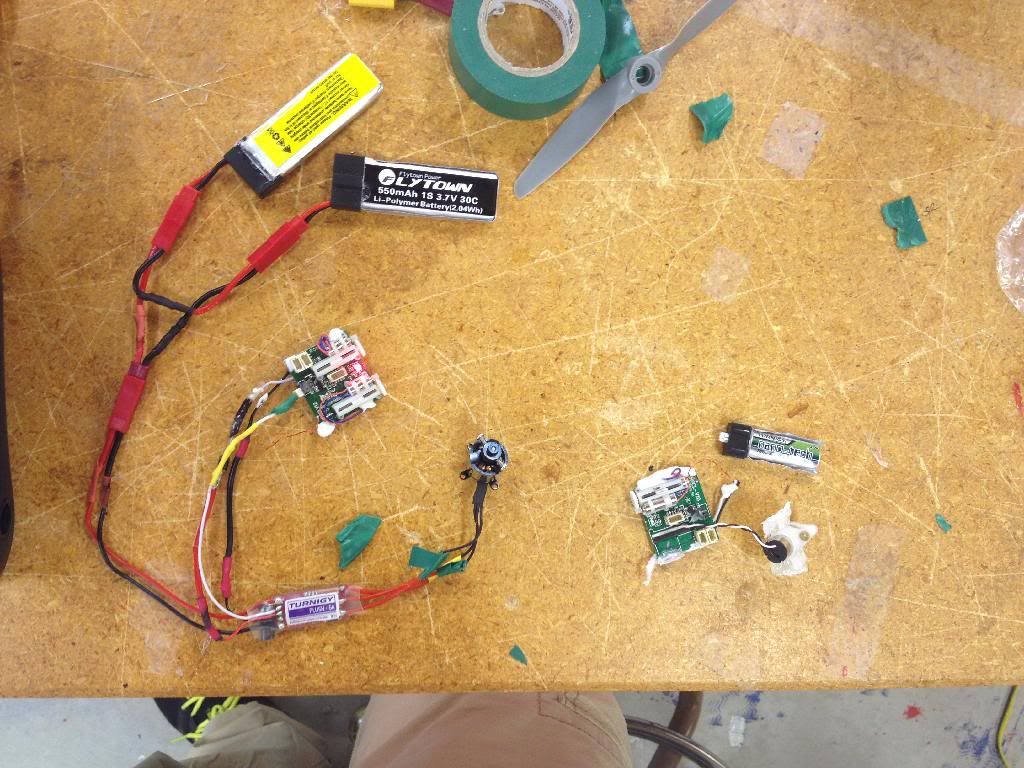
Here is what mine looks like (on left) compared to the stock setup (on Right).
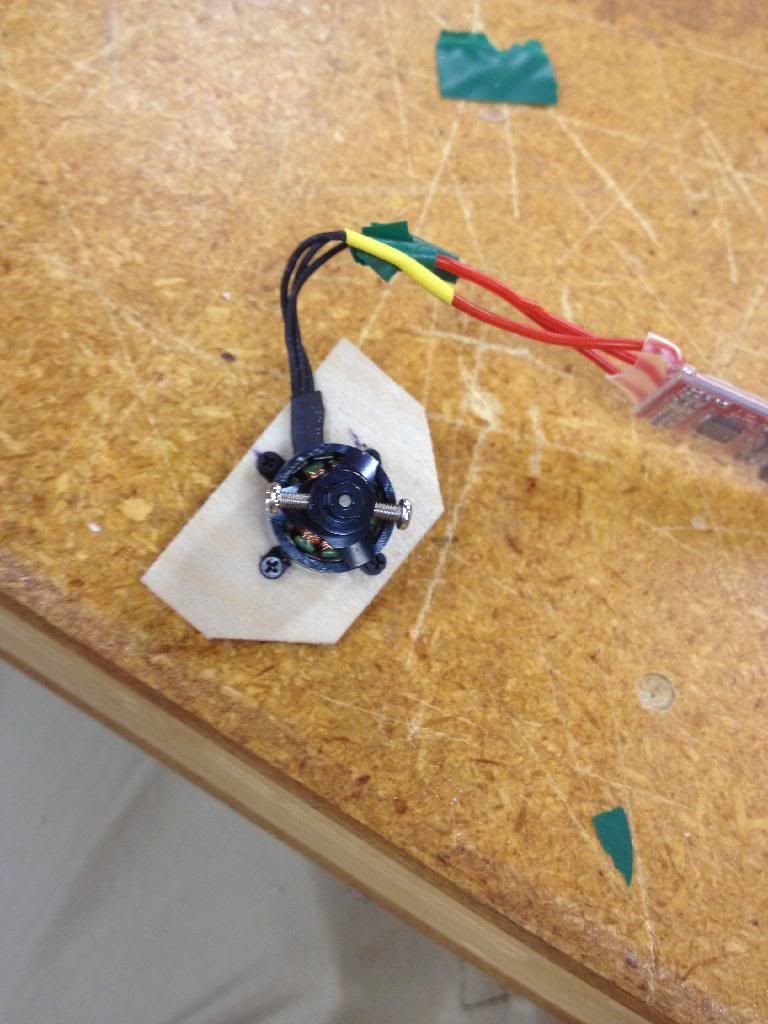
After you have this setup and made sure your prop is spinning in the correct direction, you need to make your firewall. Here is what mine ended up looking like. What shape you make it doesn’t matter as long as it is sturdy.
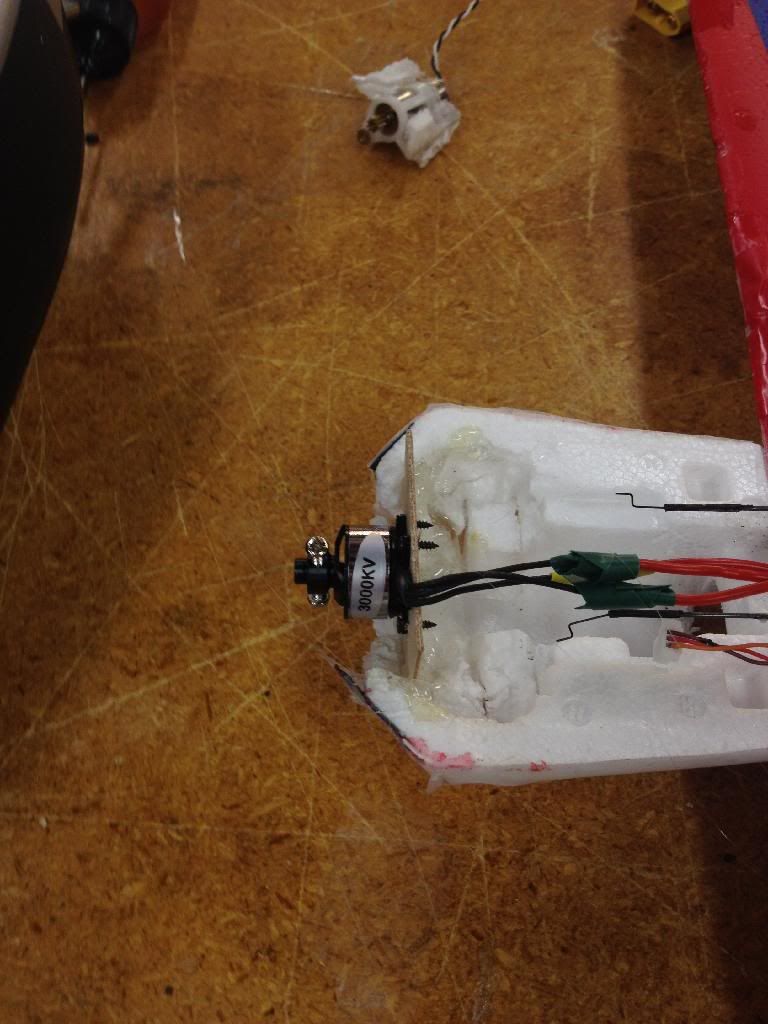
Once you have the firewall cut out you need to attach the firewall to your model, in my case the ParkZone Polecat. Below is a picture of my firewall installed in my Polecat.
Next up you have to attach the motor to the firewall, I used some small HO gauge train Track screws I got off eBay a long time ago so I don’t know the specs etc. I used a pin vise for pilot holes, but that is optional. Then once the motor is attached to the firewall y
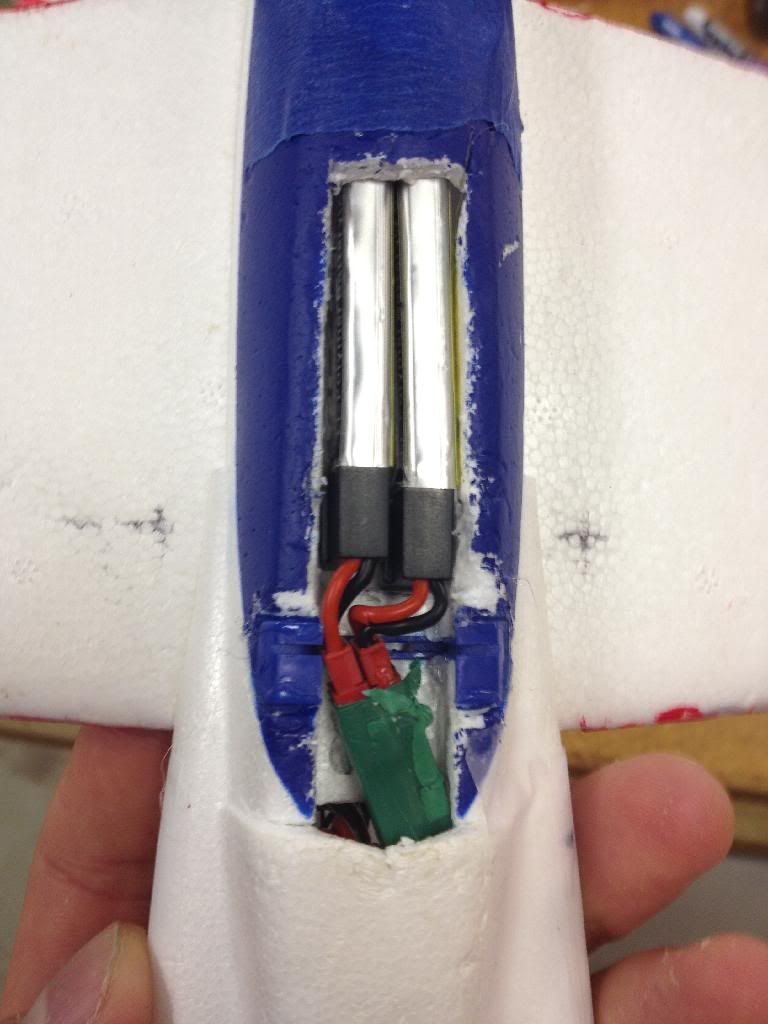
If you do choose to put you batteries in parallel I began with the larger JST adapter that I made and then made the smaller one on the bottom due to lack of space.
Next, as you can see, however I don’t recommend it due to weight, is two 1s 500mah batteries in series which fit rather well into the cut out battery bay.
Lastly, you have to install all the other electronics into the model. First, I installed my esc under where the “brick” goes with a dab of hot glue. Then just shove the rest of the wires under and glue the “brick” back into the model. I also used some BBQ skewers behind the firewall just to add some strength. Under these BBQ skewers I installed a small epoxy stirring stick to keep the wires from contacting the linear servos on the AR6400. Next follow the manual to put your AR6400 in brushless mode. Here is a link to the Spektrum site depicting the process. Ar6400 Manual
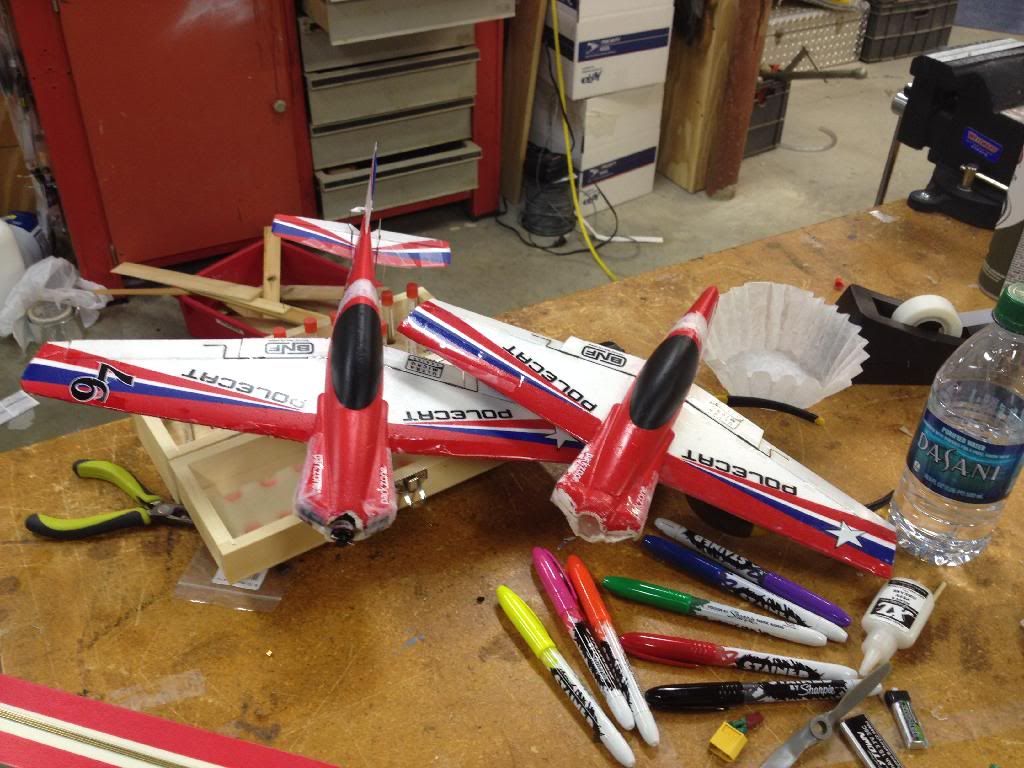
As you can see in the below picture, the Polecat looks no different on the outside!
Enjoy your brushless Polecat!


Log In to reply
Log In to reply