Over Christmas, I decided to build a Blunt-nosed Versawing. My long term goal for it was to use it for FPV, and as I've never flown FPV before, I also planned to install an Ardupilot APM2.6 - the return to launch feature would come in handy if I became disoriented!
In the first stage of the project, I just wanted to fly it line of sight. However, I found it incredibly difficult to balance the Versa without any FPV gear in the front. In fact I had to add a huge quantity of huge nuts and bolts at the nose - the total weight of which exceeded the weight of the 2200mAh battery I was using! This did not seem acceptable to me. Even allowing for a camera in front I would need a lot of dead weight to achieve balance.
I'm not sure if this is the case for all blunt nosed versas, although checking the forums I found plenty of other cases of people having problems balancing their wings. I suspect that the foam board I used may be heavier than Dollar Tree used in the US (I am in Australia and we don't have Adams board available) which might have exacerbated the problem.
I could also see an additional problem - even with the blunt nose, I didn't think there would be enough room to install the APM, it's power supply, GPS, FPV equipment and batteries.
The solution I went with was inspired by the Synapse by Ed from Experimental Airlines. Ed's design includes a small tubular fuselage attached below the wing, into which the electronics and battery can be installed. The tray extends out towards the front somewhat, making it much easier to balance the plane without adding dead nose weight.

In my modified Versa wing, I added a rectangular section fuselage tube. I did not use the Experimental Airlines method to construct the fuselage, rather I used Flitetest style B-folds.
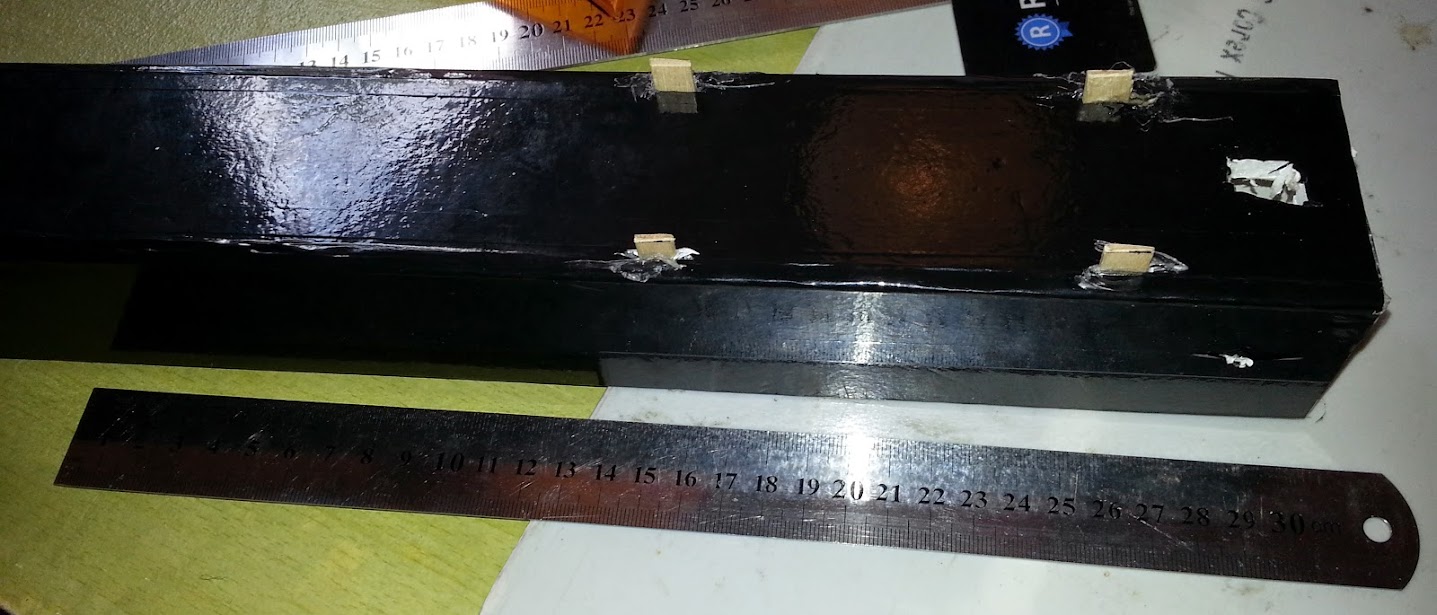
The fuselage has an external section of 60 x 50mm and is 40cm long. Approx 20cm of the fuselage projects from the front of the wing. It turns out that might be slightly too much - ironically depending on the gear installed I now have to add some weight to the back - so perhaps a fuselage tube length of 35cm or even 30cm might be better.
To make the fuselage, take a section of foam board 40cm x 22cm. Along the 22cm edge, rule lines at distances of 5mm, 50mm, 5mm, 50mm, 5mm, 50mm, 5mm, 50mm. across the full length. Score through just short of the paper along these lines, then crack along them to fold up the fuselage.
As if you were making a FliteTest Powerpod or similar, remove the foam from the 5mm sections to leave just the paper, and make 'B' folds (ie. sides of the fuselage are beside the top and bottom). Once it all fits neatly, working on one edge at a time, run hot glue inside the 5mm trenches and fold up, using a set square to ensure the glue sets at a 90% angle. Finally cover joins with packing tape.
By the way, I favour covering my planes with coloured packing tape all over, rather than using Minwax. In addition to sealing against moisture, it seems to add more strength. If you are going to do that, it is best to apply the tape to what will be the outer surface before you cut and fold up the fuselage. Experimental Airlines has an excellent series of videos on youtube showing techniques for applying the tape without getting too many bubbles under it.
To locate the fuselage on the wing, I used four popsicle sticks cut to approx 30mm in length. I cut holes in the fuselage at the join between the side cheeks and the top, applied glue to the side of the popsicles sticks and inserted them in the holes with the glue side against the inner face of the fuselage side.

On the bottom surface of the wing, I cut four slots to accept the popsicle sticks.
To hold the fuselage in position, I added two bamboo skewers in the front (the really thick ones) placed so they would be slightly either side of the fuselage. I placed some additional foam inside the nose so that there would be plenty of material for the skewers to glue into. When the fuselage is in position, rubber bands go around these skewers and around the fuselage, holding it up to the wing.

To secure the rear, I used a cable tie in the same way as the FT swappable pod is attached. I glued two popsicle sticks inside the wing for reinforcement, cut some holes and passed the cable tie around creating a loop which extends below the wing. I cut a matching hole in the fuselage, and poked a skewer through the fuselage and through the cable tie loop. Then I tightened the cable tie until the fuselage was being held snugly.

As you can see, when I did fly with a camera on the front, it was necessary to add ballast to the rear. The skewer was handy for that too!
Finally, I cut some hatches for access to the interior.

One on the front, for the battery. Note the re-inforcing popsicle sticks both at the hinge and the front, to stop the hatch from getting pushed in, delaminating the paper.


Log In to reply
Log In to reply