**DISCLAIMER**: This build is NOT for beginners! If you have to ask yourself, "Am I capable of flying this?", then this is NOT for you!
So you want to build a big ol 12' Kraken, huh?
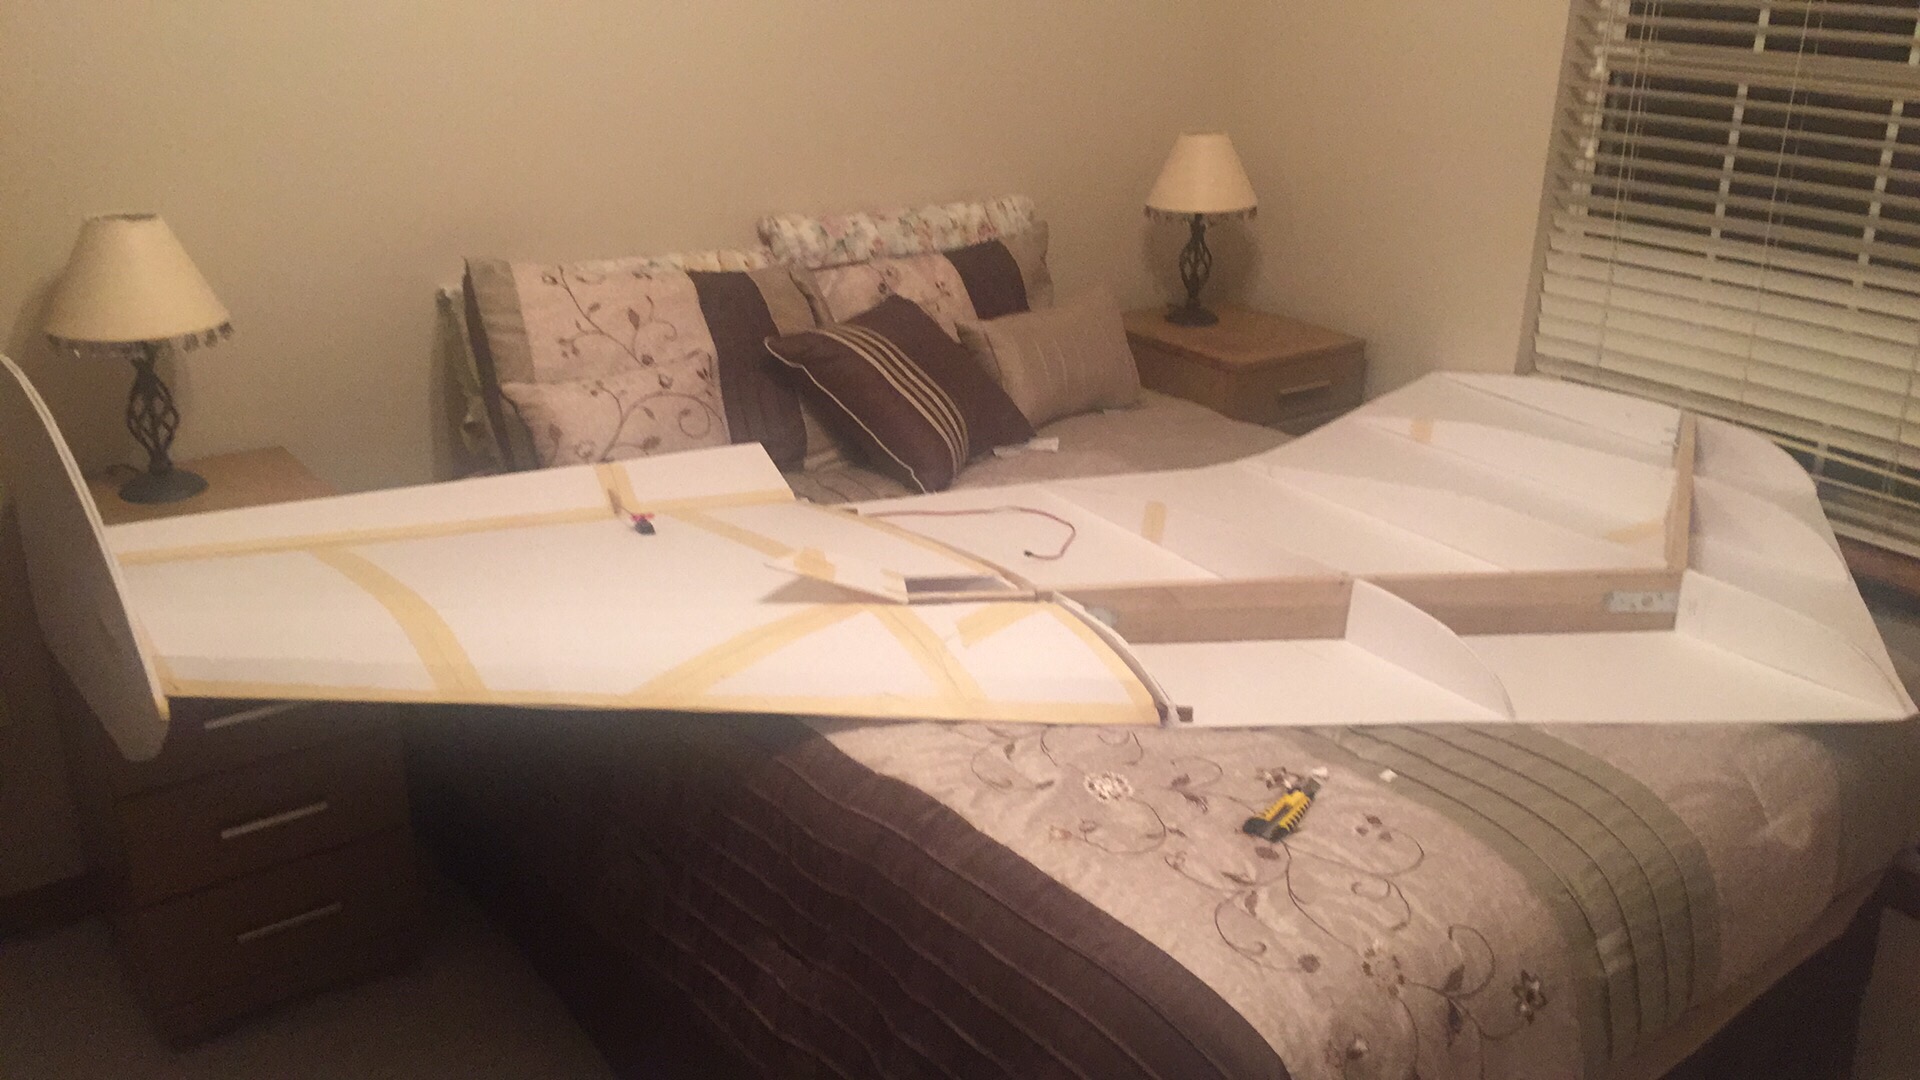
Step one: Clear a room in your house. This will be the Kraken room, and only the Kraken room. This thing is BIG, okay?
Ok, now that that's done, lets make a spar for this beast. I used two poplar 1"x4"x8' boards from Lowes. You can use other materials if you want, just make sure it's strong. Don't use the dirt-cheap 1x4 boards, they break easier, have many imperfections, and are often warped.
To join them at the center, I used some flat aluminum plates along with stainless bolts with nylock nuts. First I chamfered the edge of the 1x4 to the correct angle with a jigsaw, then bent the aluminum brackets to fit in place at that angle. Drill the holes, and put the bolts though. Torque them down with the nylock nuts as tight as you can without stripping them, this joint takes a lot of stress and you do NOT want it coming loose.

At this point, you need to decide where the plane will separate for transport. Cut the spar at those two spots, and use more aluminum brackets+ bolts to hold it together. The inner bolts get nylock nuts, but the outer ones only get normal nuts as you need to be able to undo them for transport.
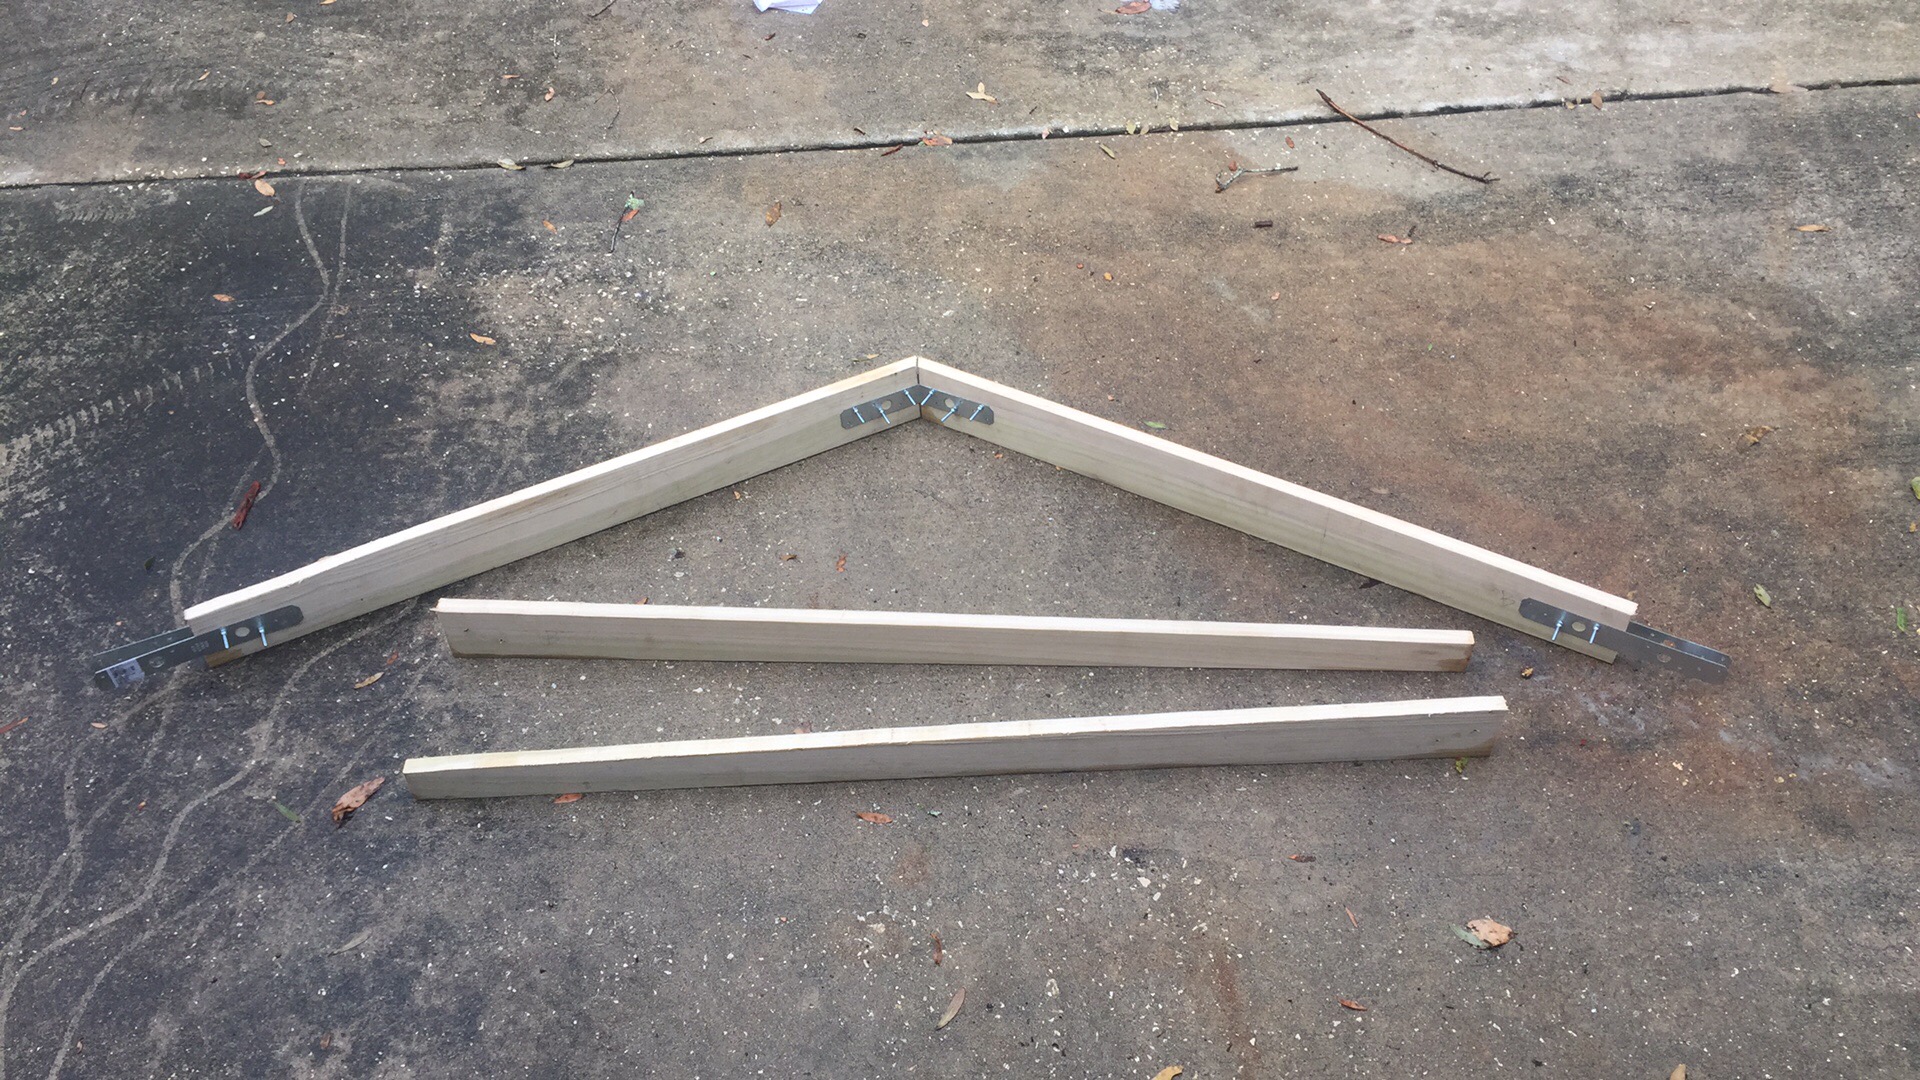
I did the trimming of the spar height with a normal jigsaw. A circular saw would be even better.
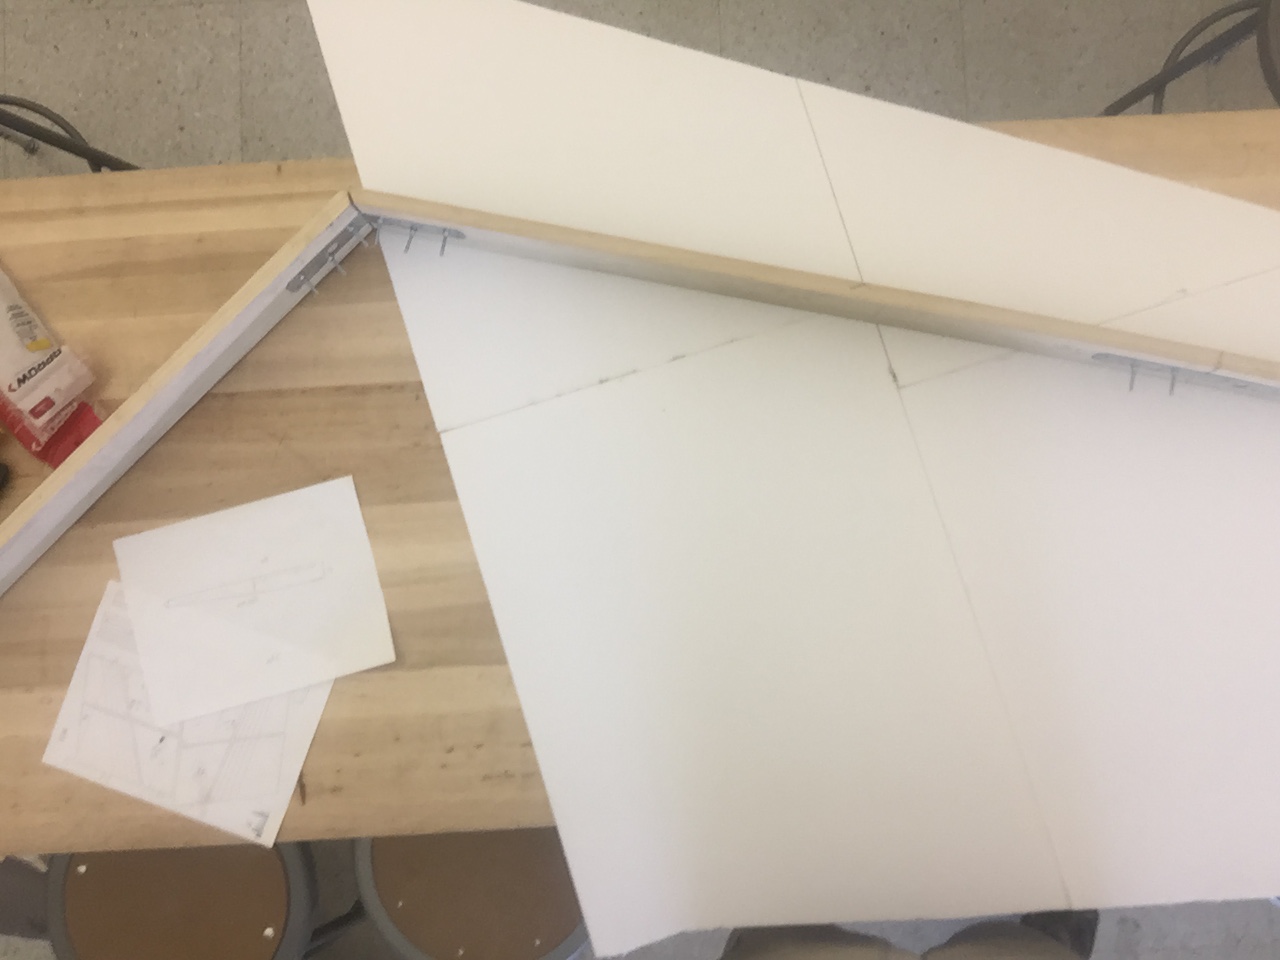
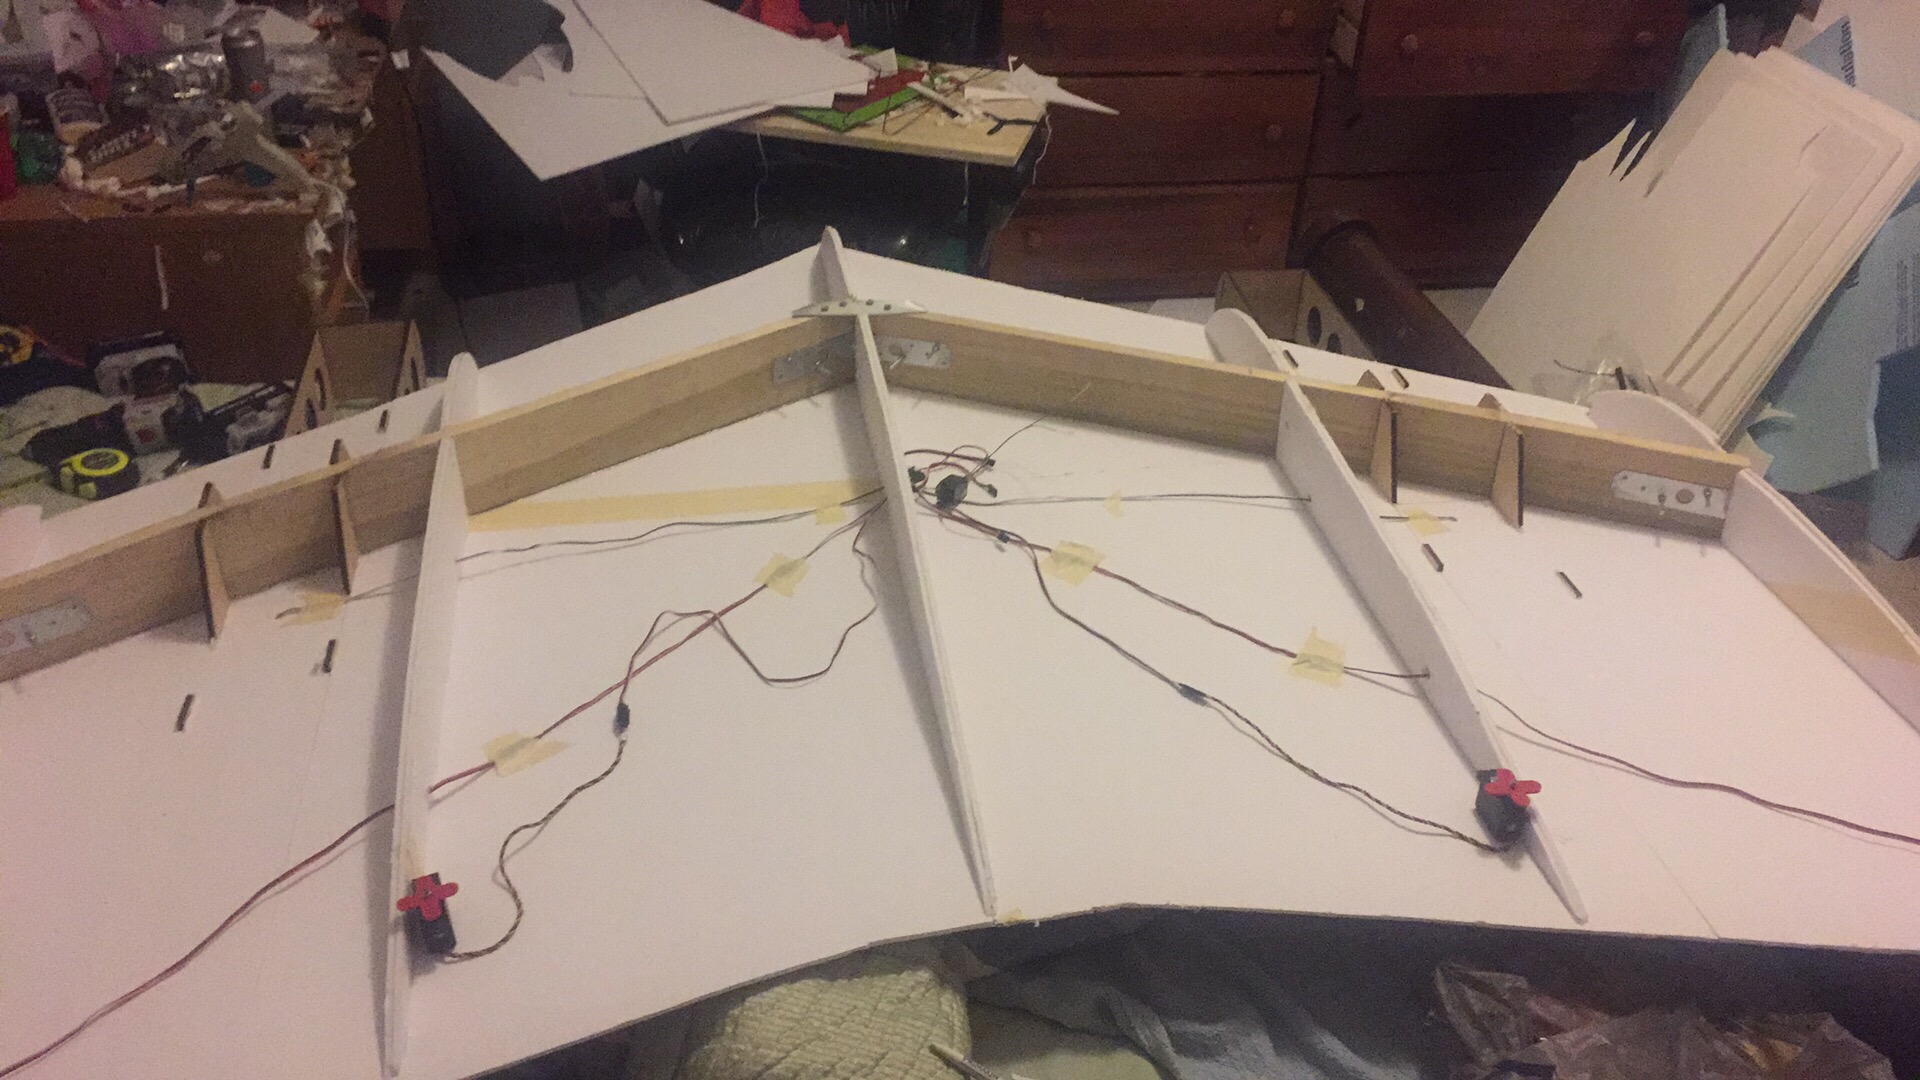
The next step of the build is cutting out all of the wing panels. My process is to lay out sheets of foam, tape/glue them together, and THEN plot out the wing panel and cut it in one go. Remember to make the top panels larger than the bottom ones! You can always trim them later. Save the scraps!
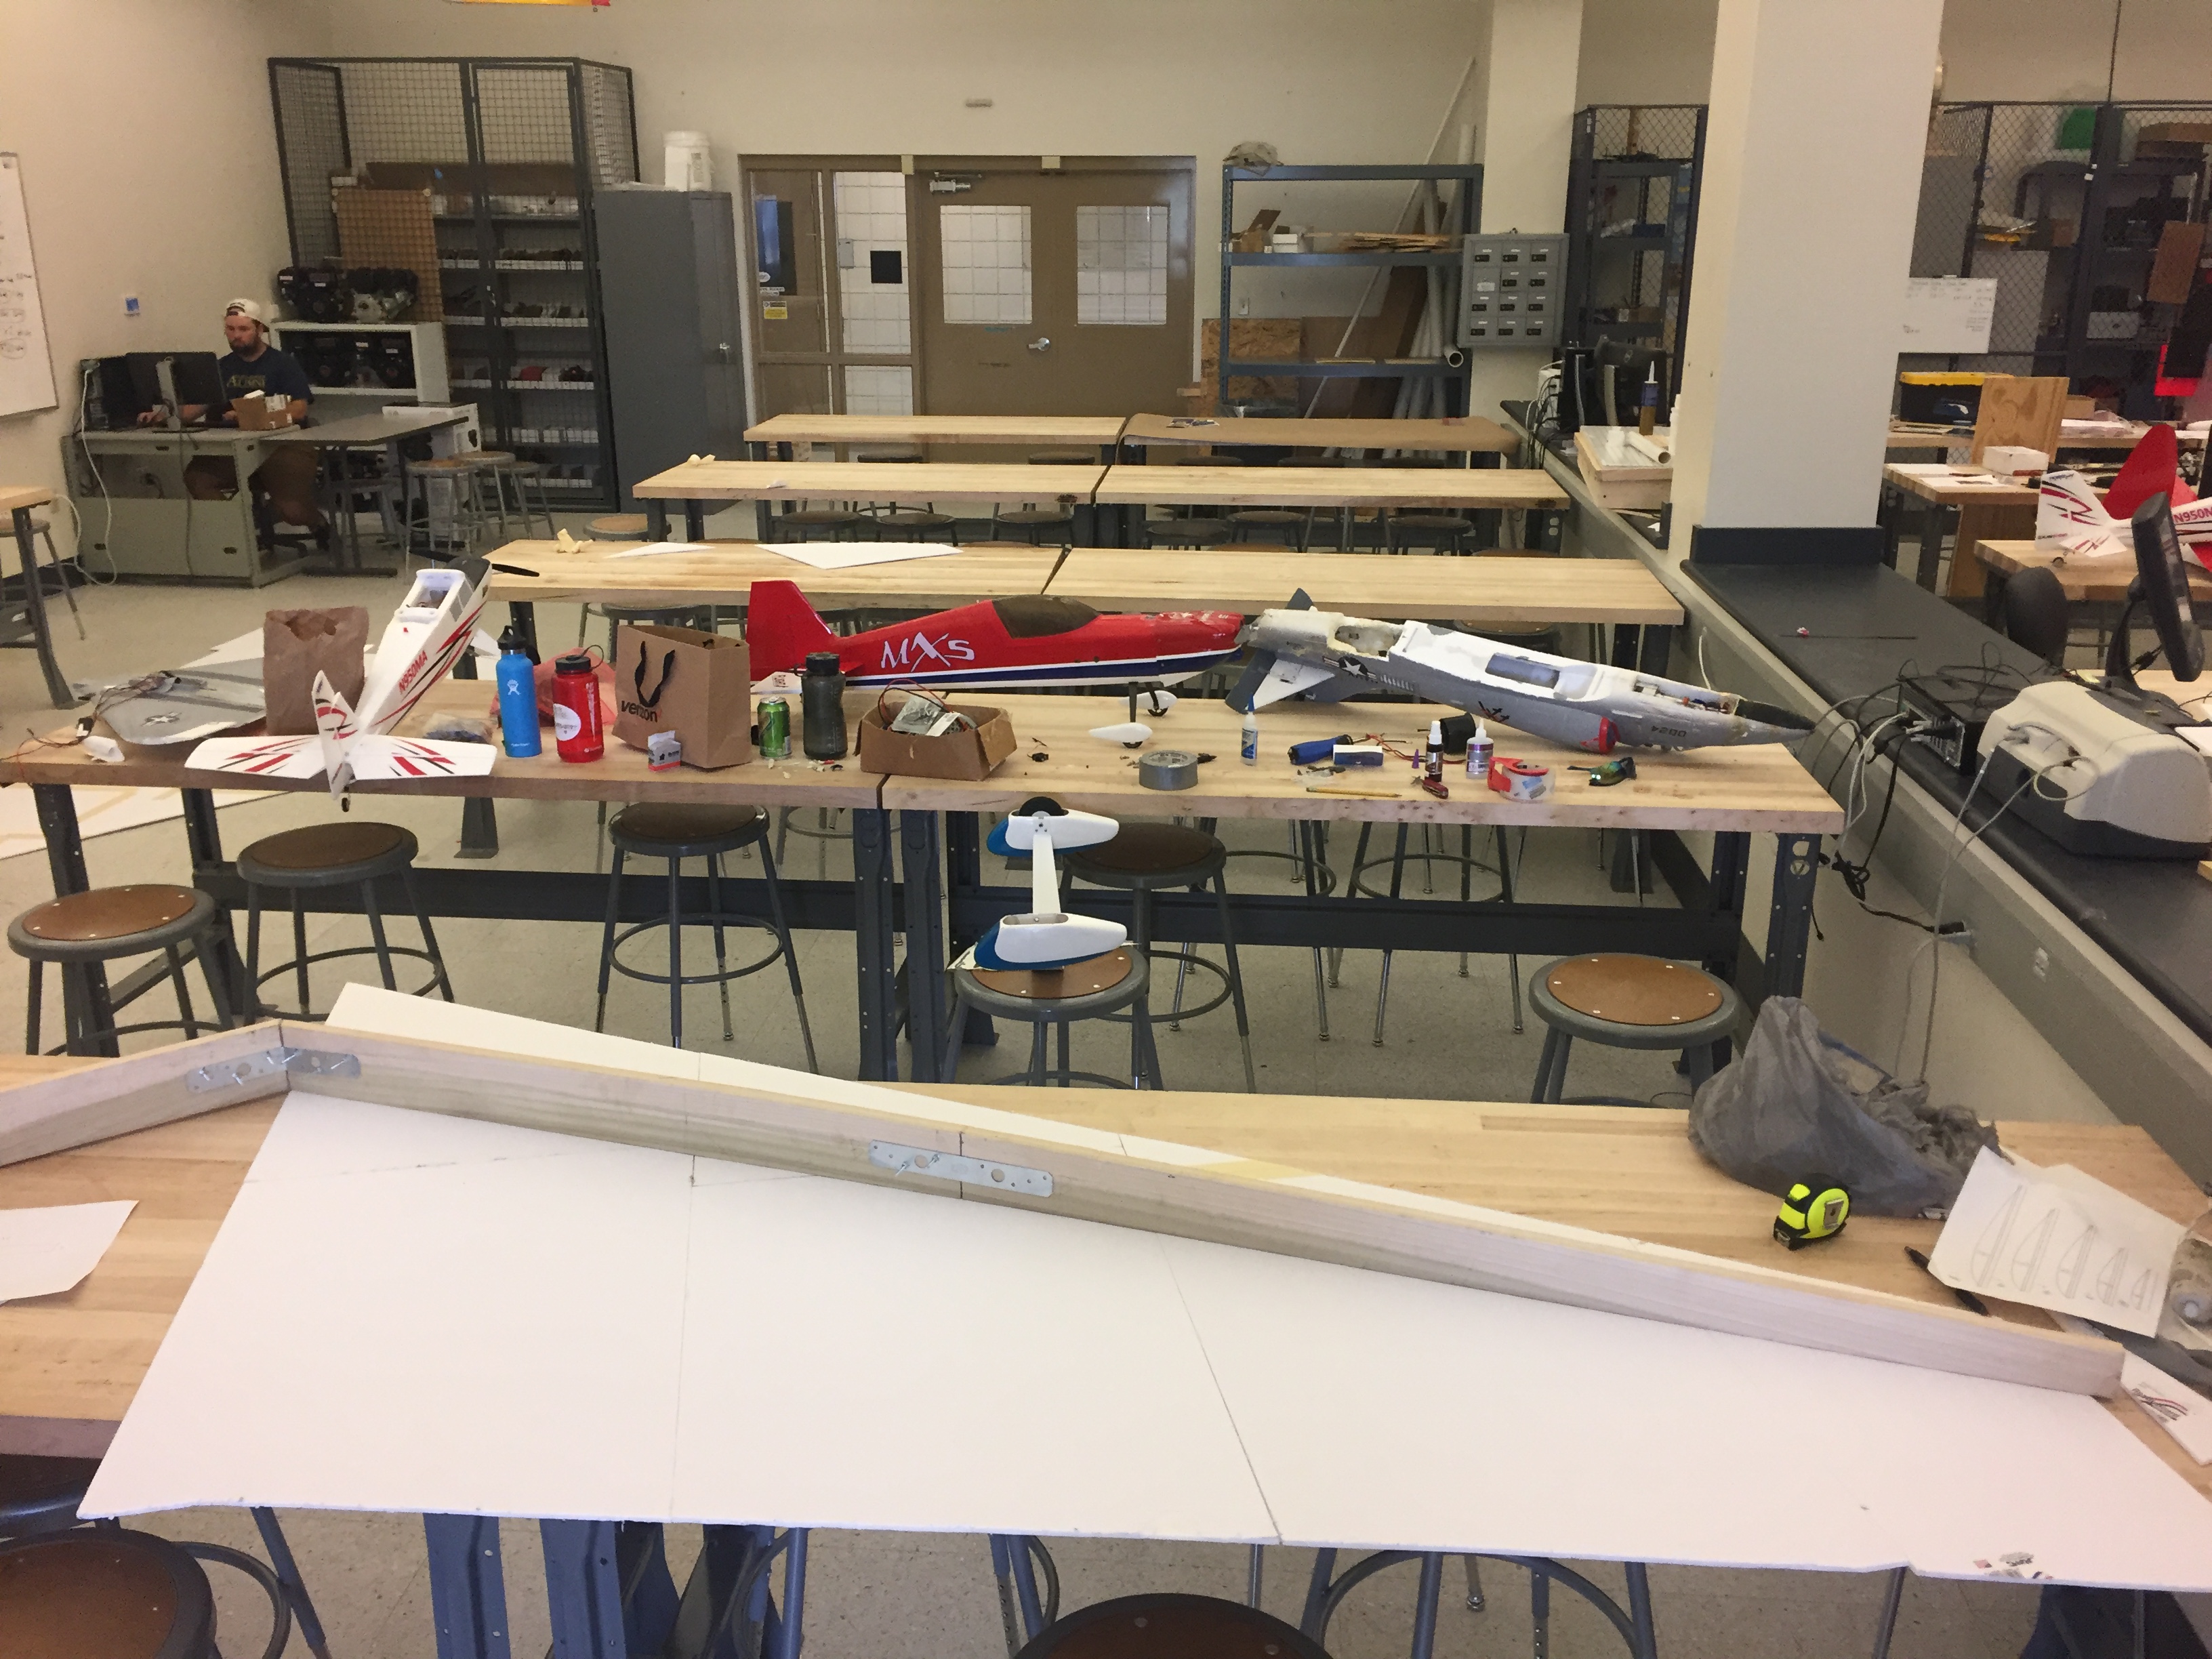
Next is ribs! I like to use less ribs than a balsa build would, but double them up for rigidity. Seeing as this is a swept wing with variable chord and thickness, the easiest way to plan your ribs is to simply cut out ribs in the approximate size you need and then trim it to fit. Then trace out your "fit" rib until you have enough to suit your needs. To save foam, you can make ribs out of the scrap material from making the panels. It doesn't matter if they have tape and glue lines, the double thickness reinforces them enough to withstand the stress.

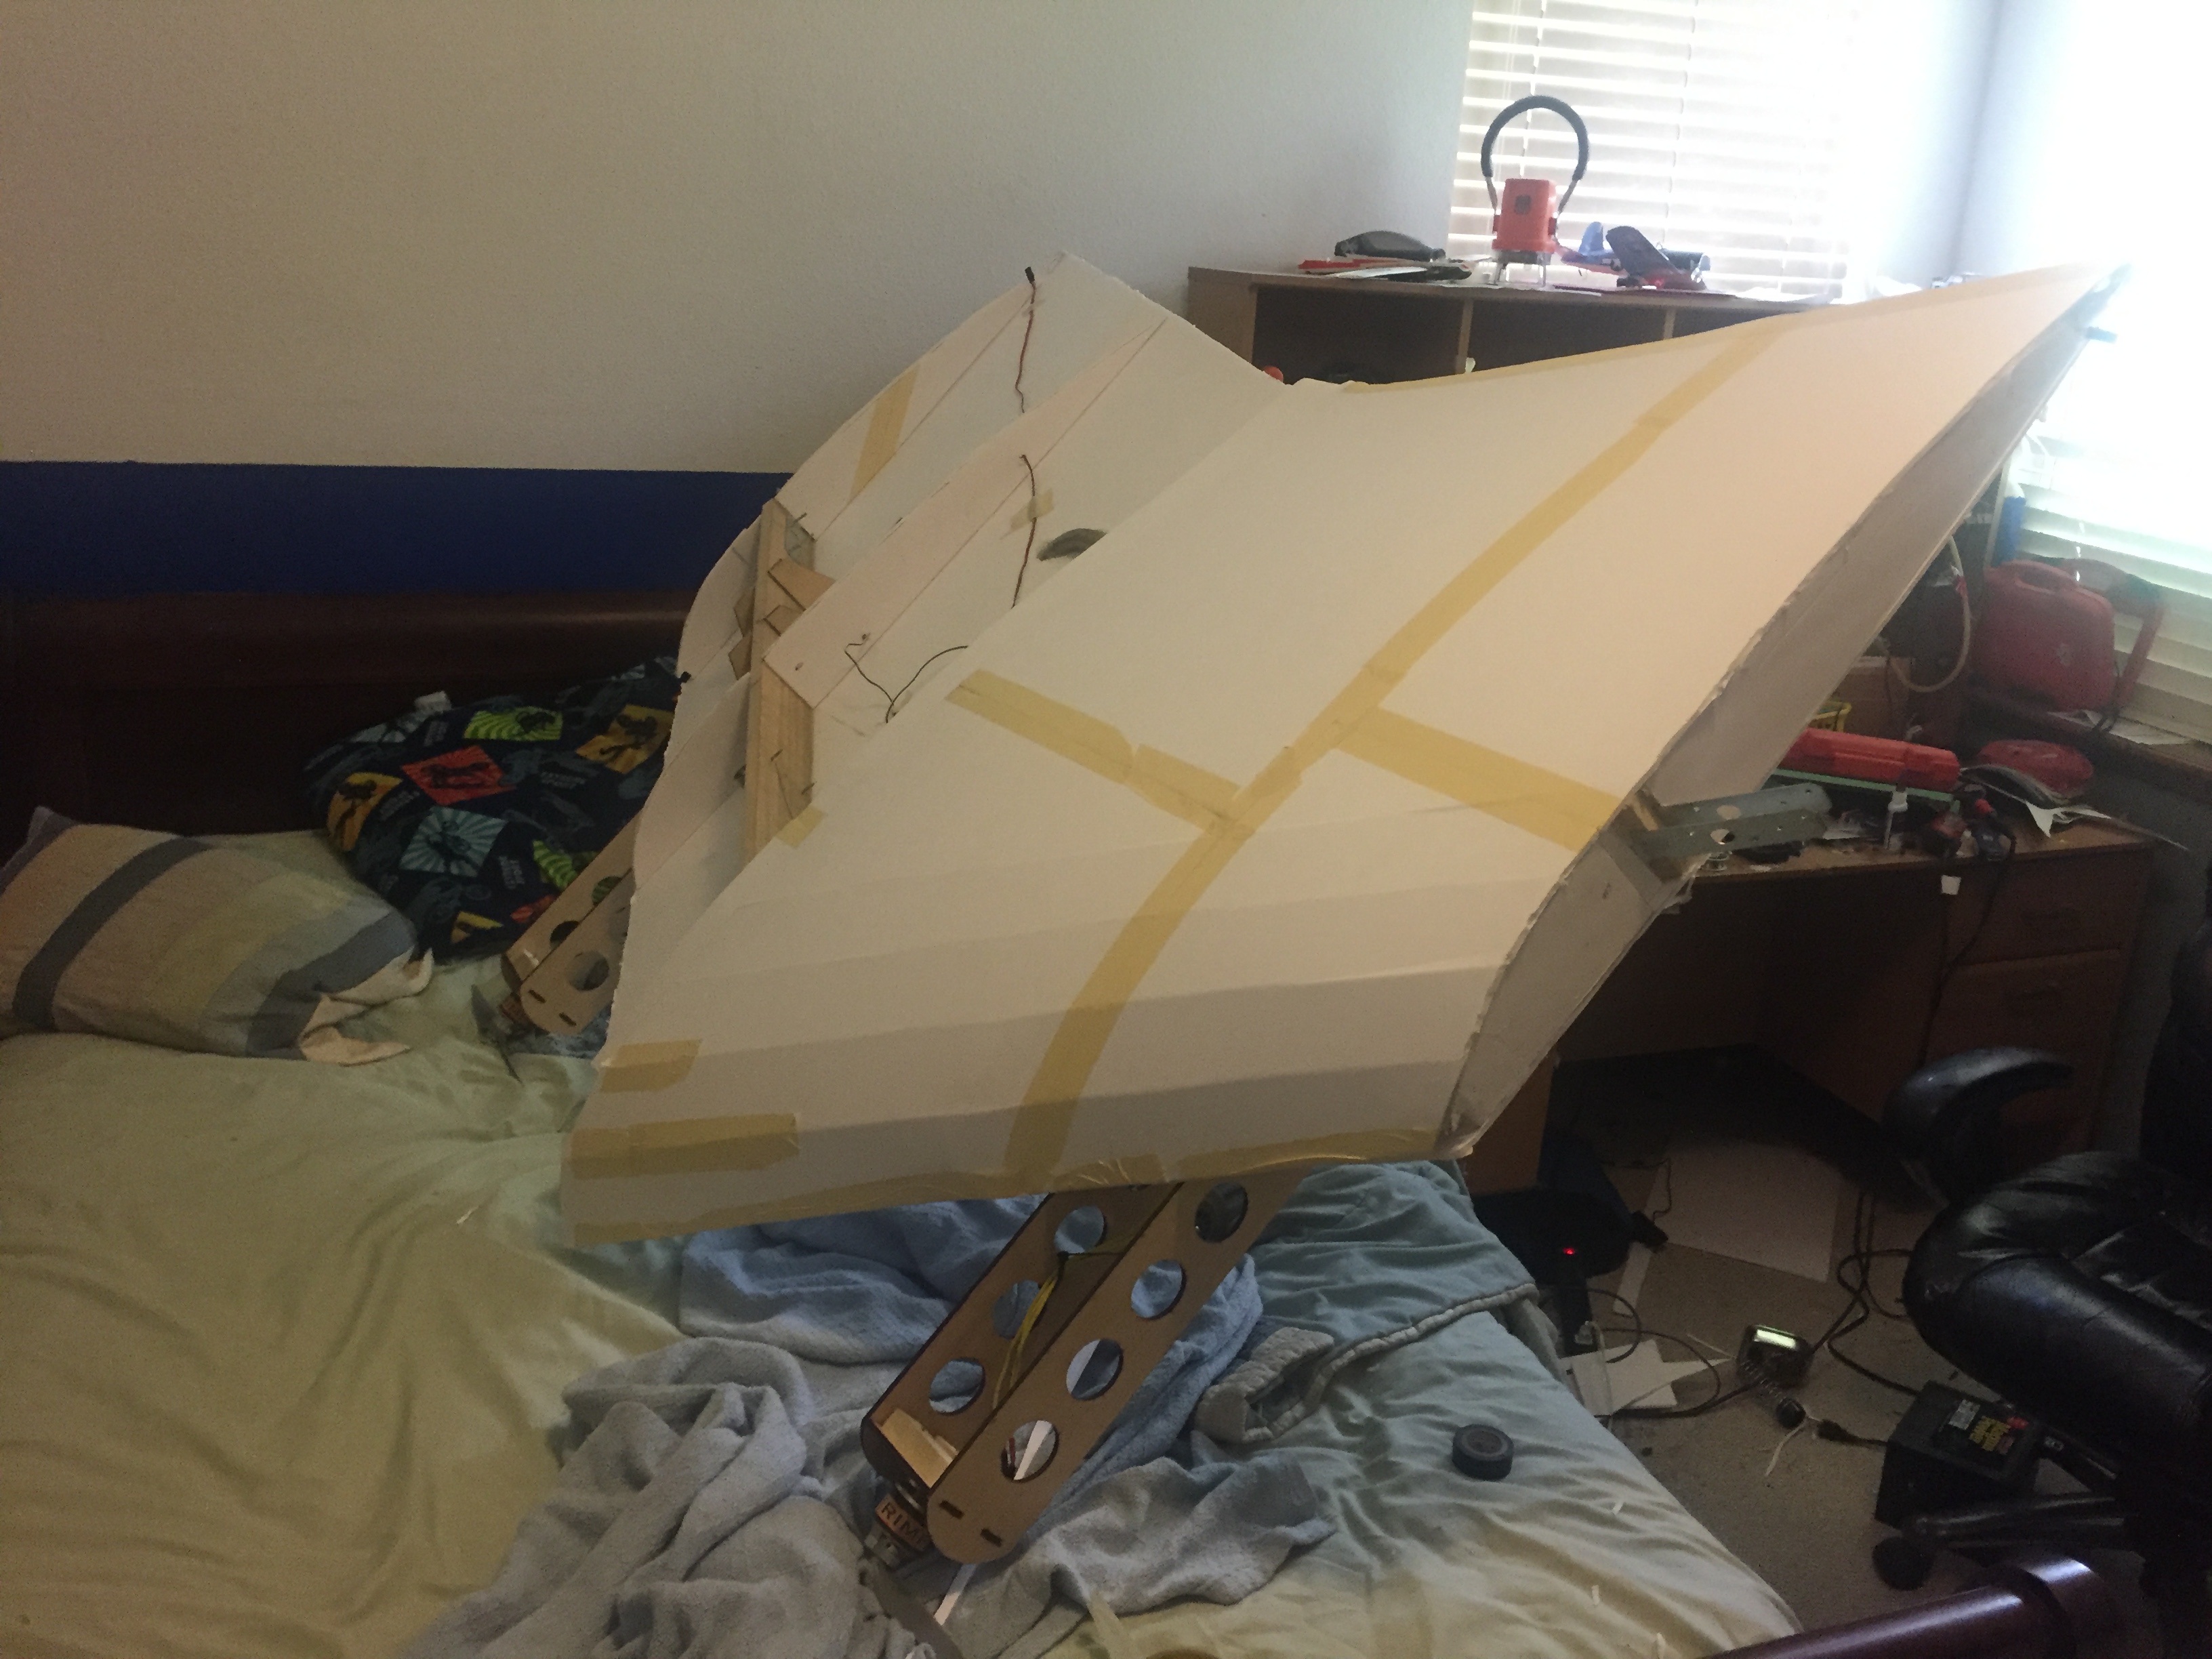
Now you can put your top panels on the outer wing sections. Don't cover the center, however, there is still a lot of work to do on it before it can be covered.
You can also do your vertical stabs at this point. Do those however you want, I did a simple screw-attached mounting system into the spar. Keep in mind that these fins have to support the rear of the aircraft during takeoff and landing.
I did the outer control surfaces at this point, they are just taped on. It is using hitec servos, a mix of 645MGs and 5645MGs.
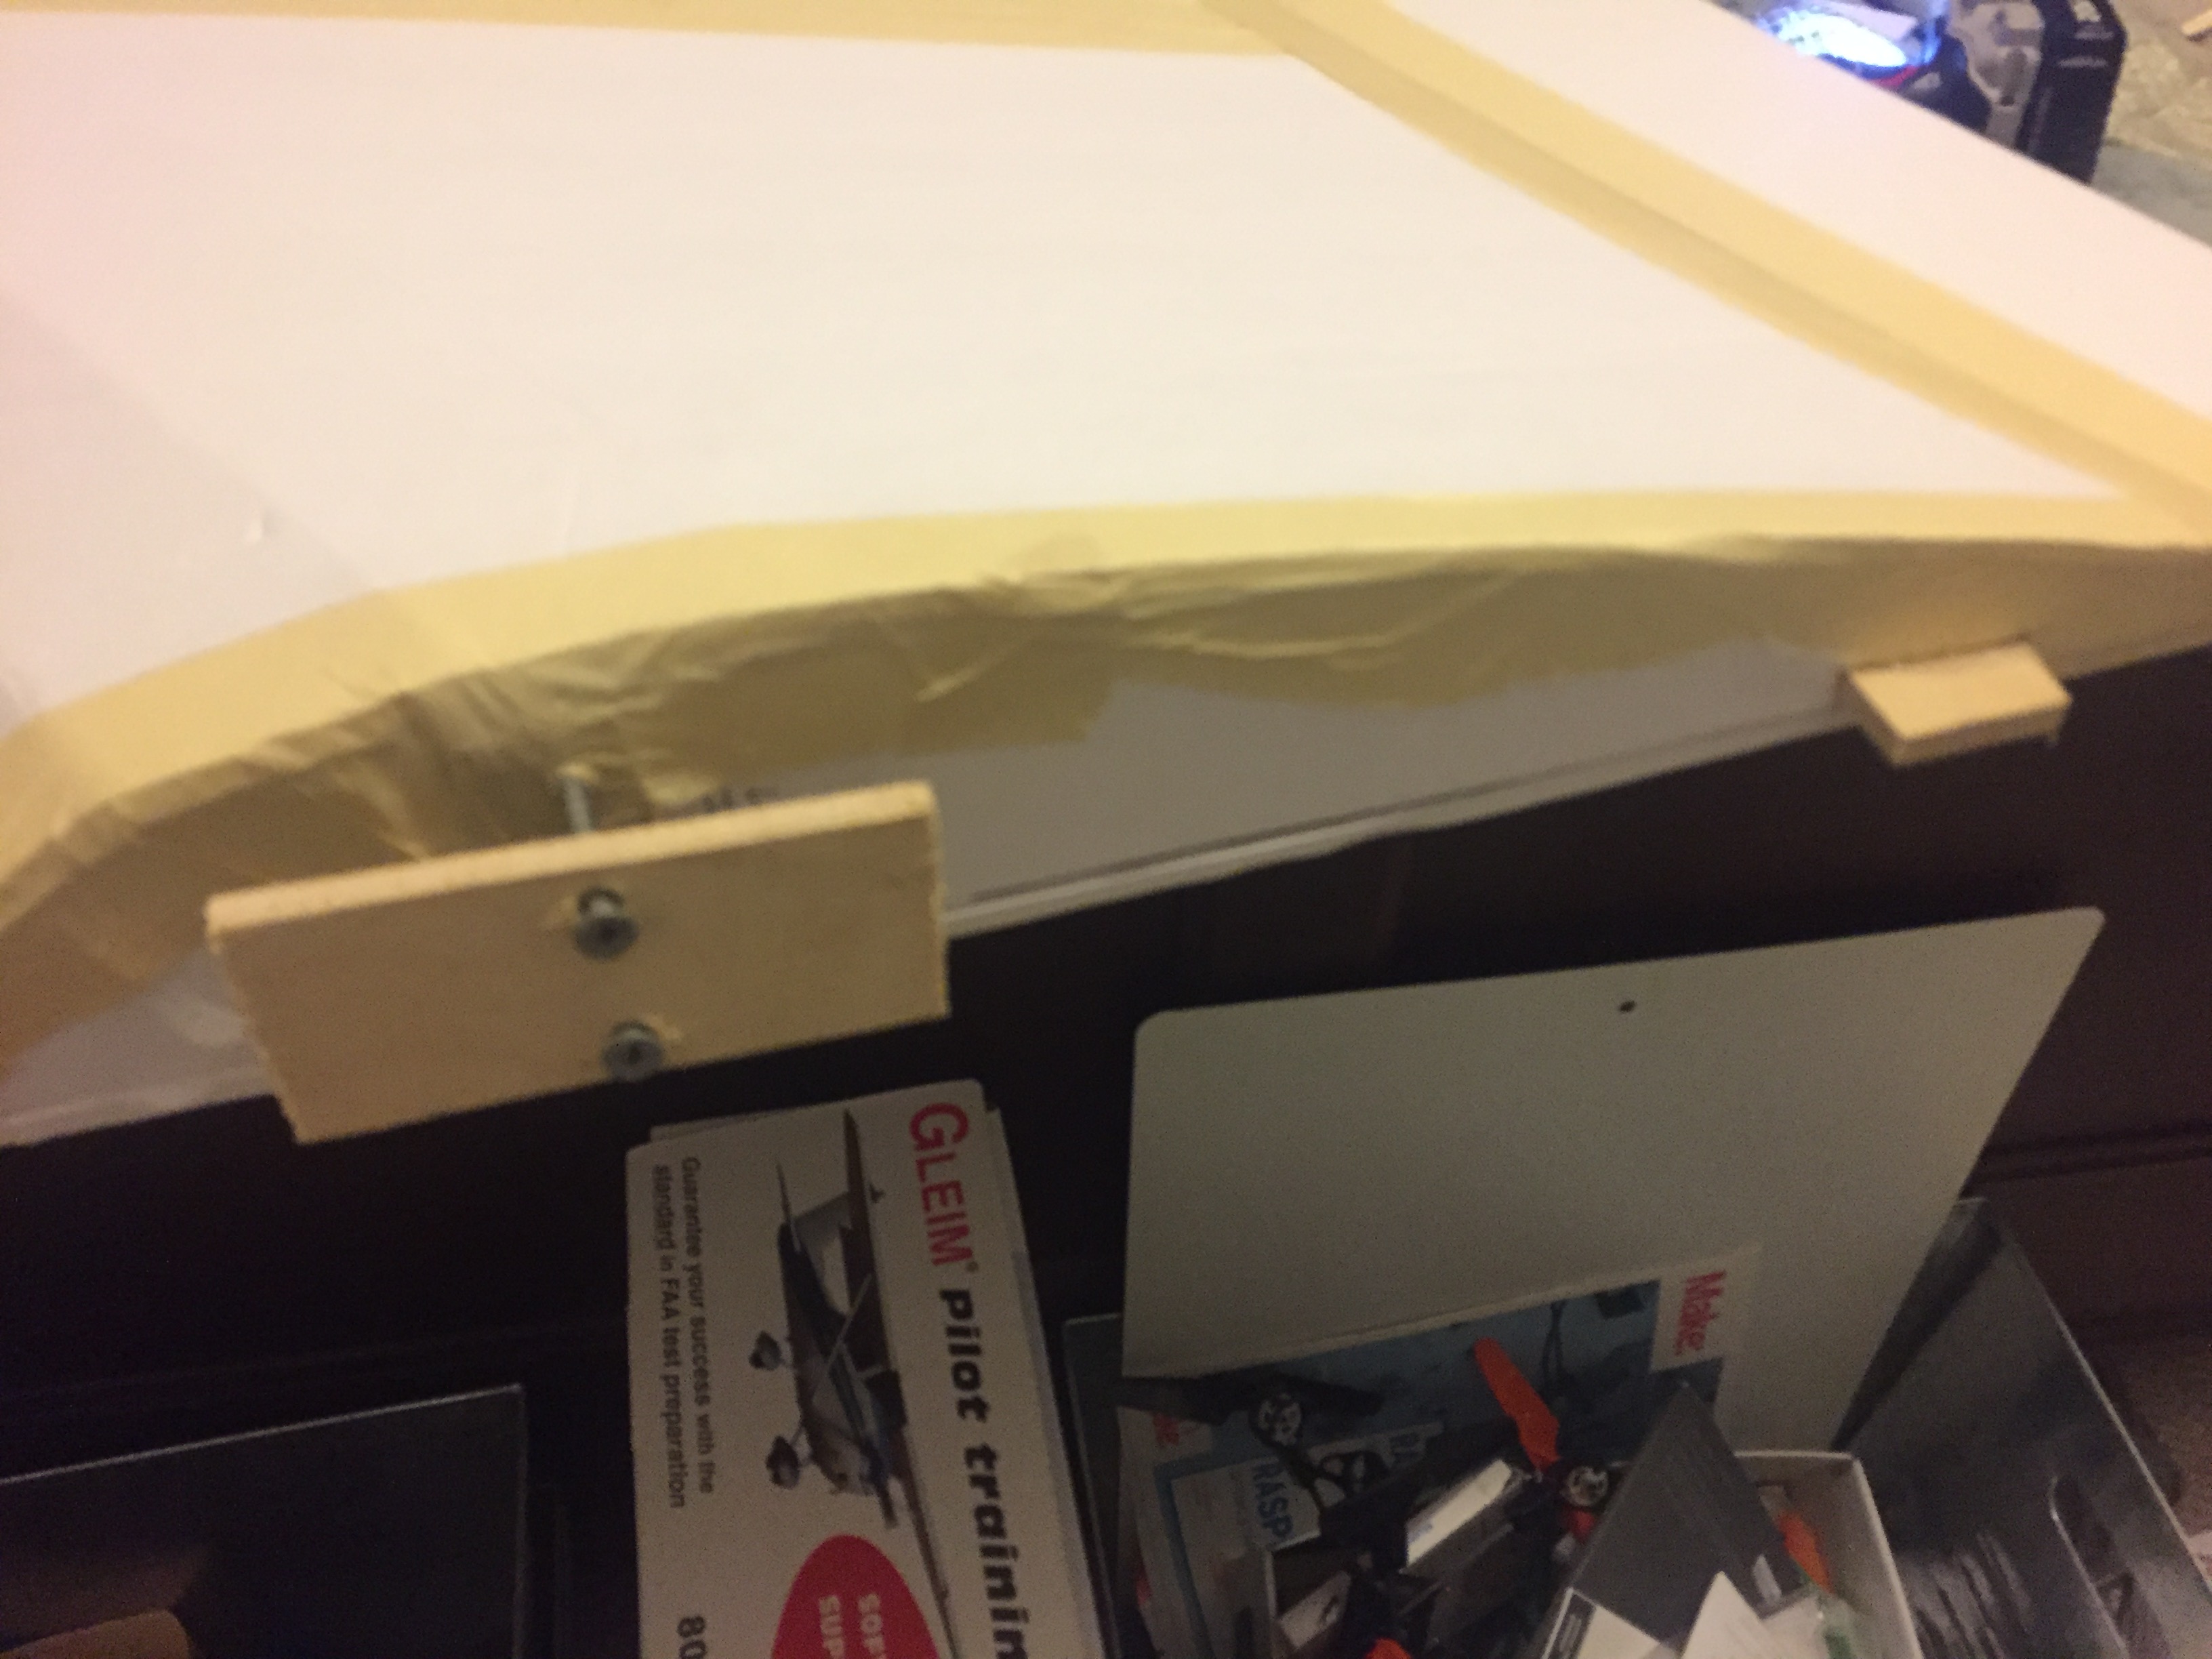
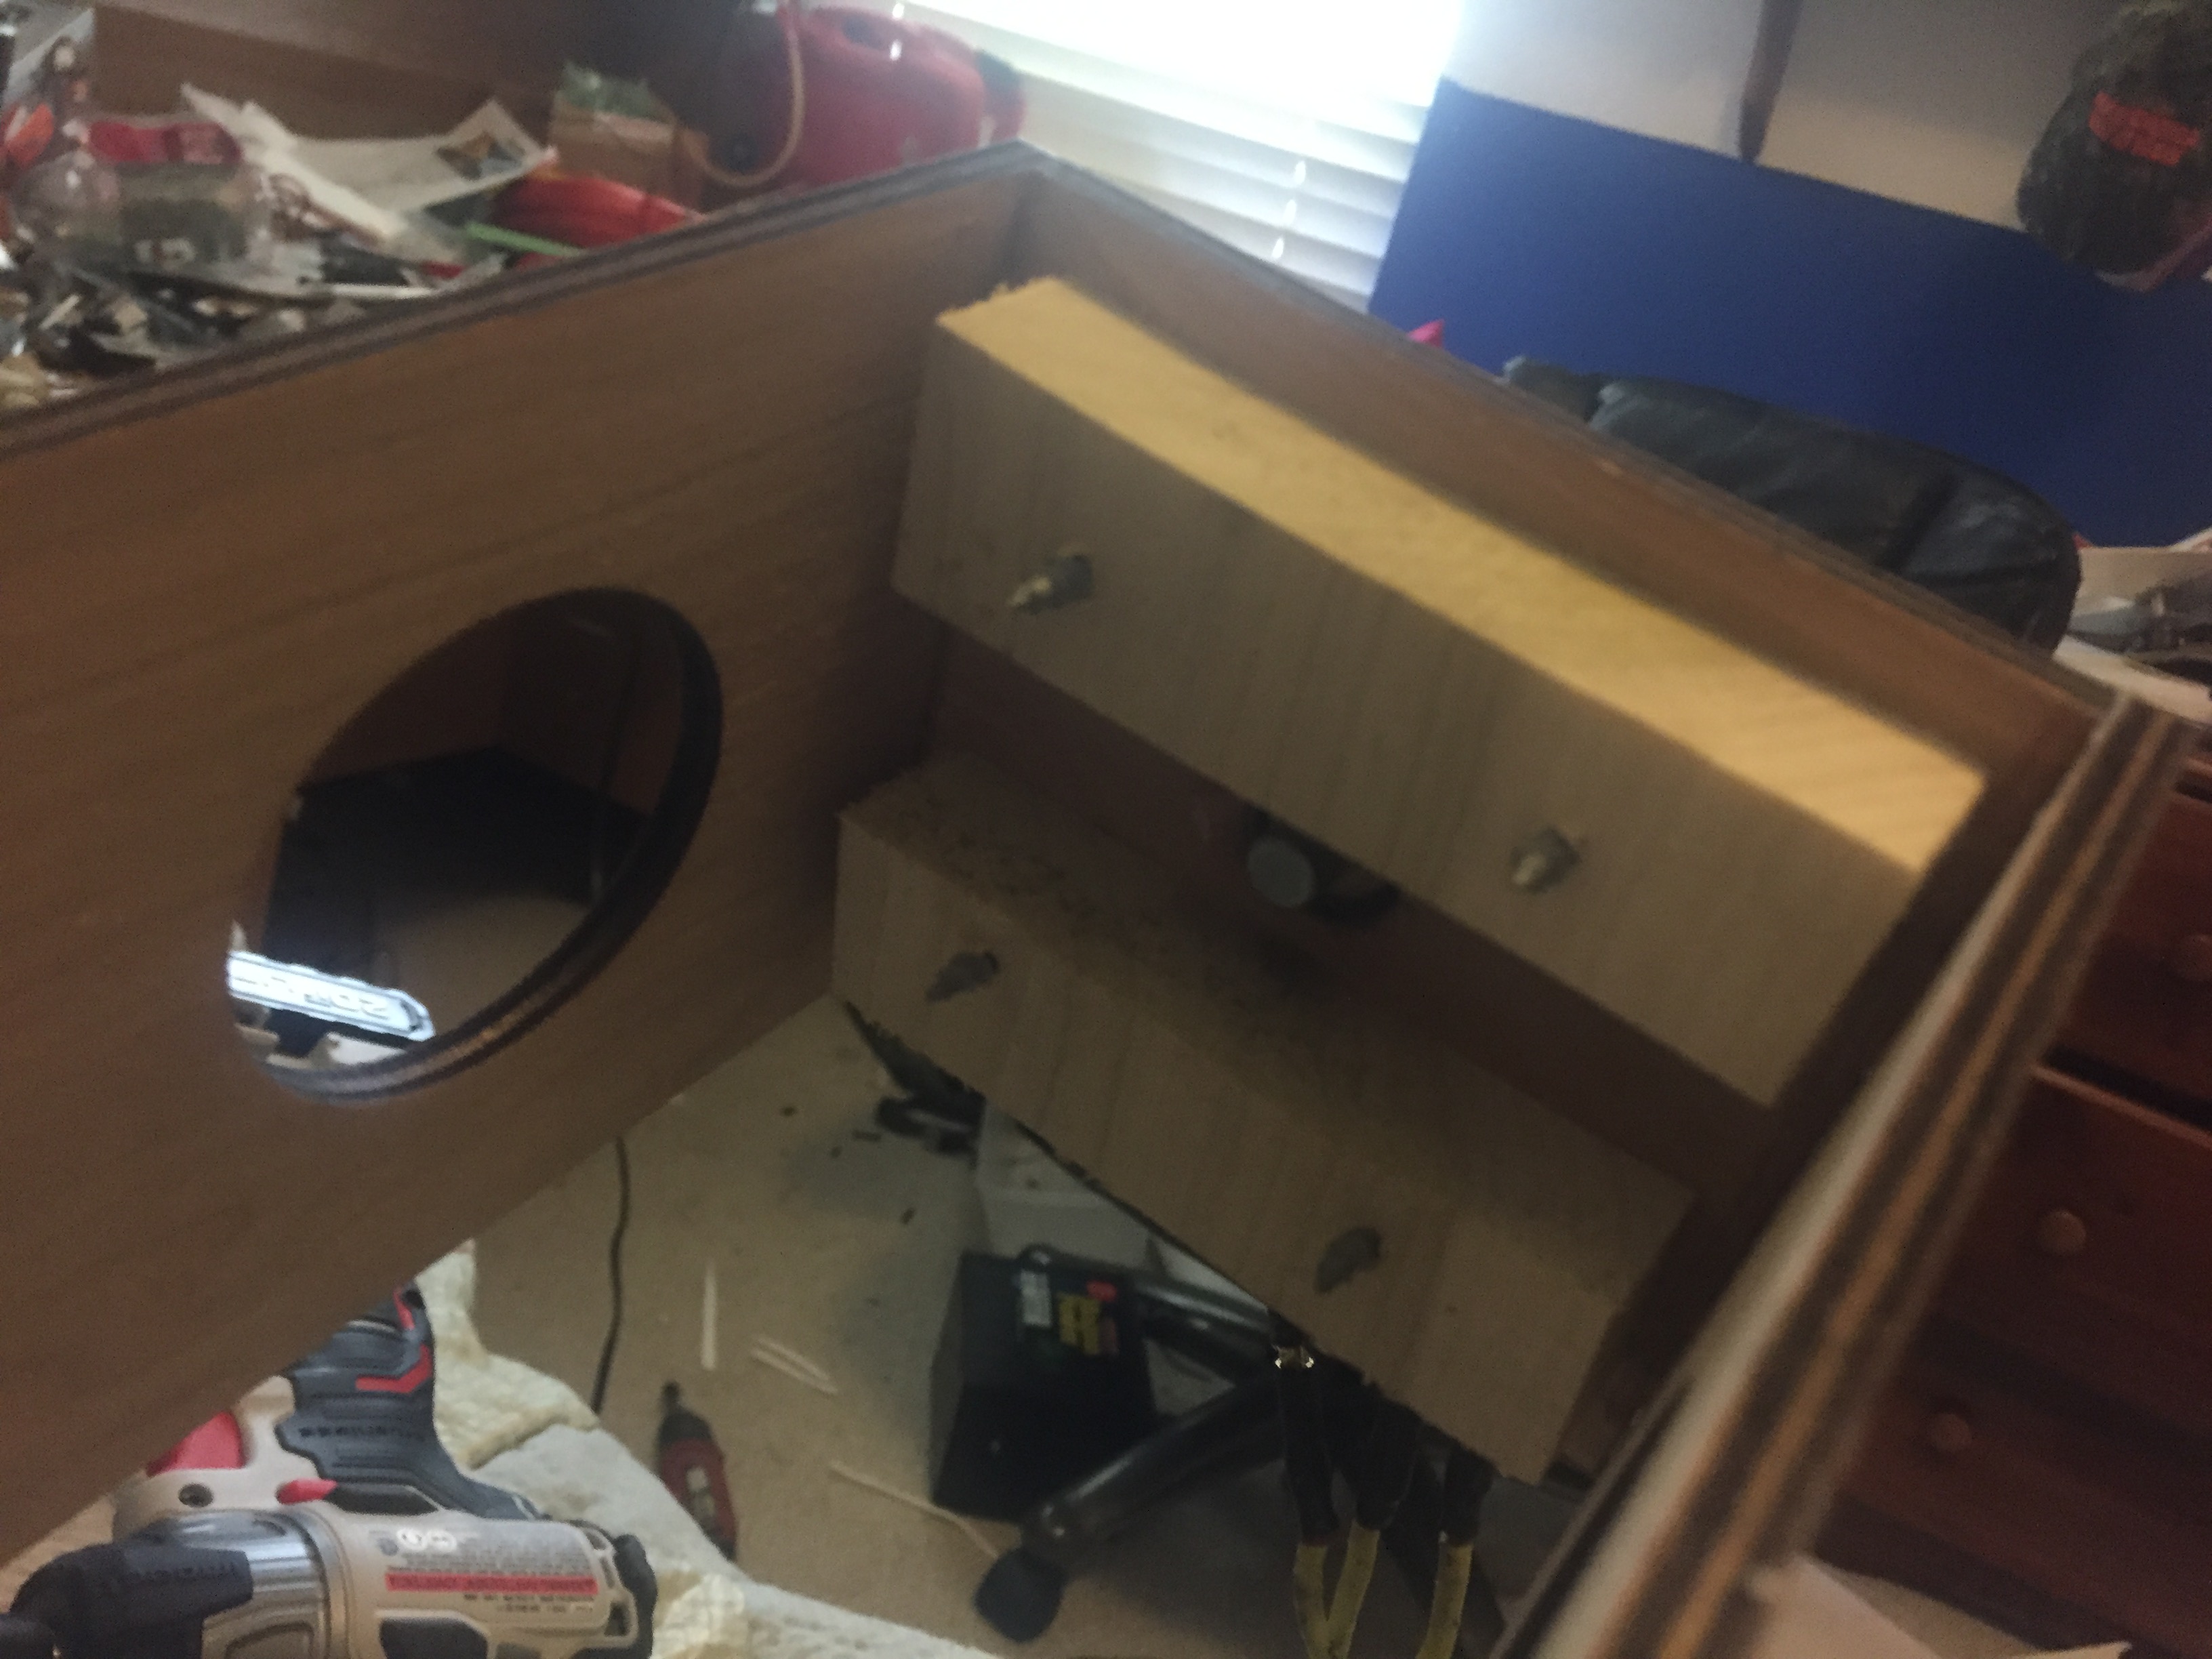
You'll need to cut a hatch to access the bolts that hold on the outer wing sections.
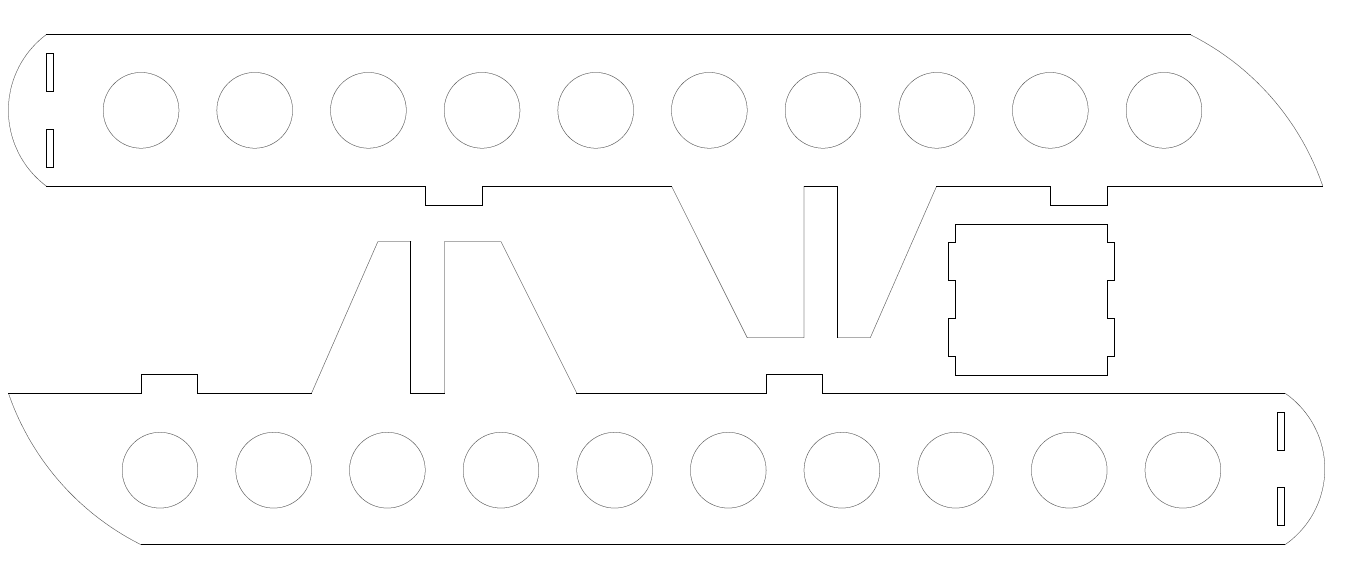
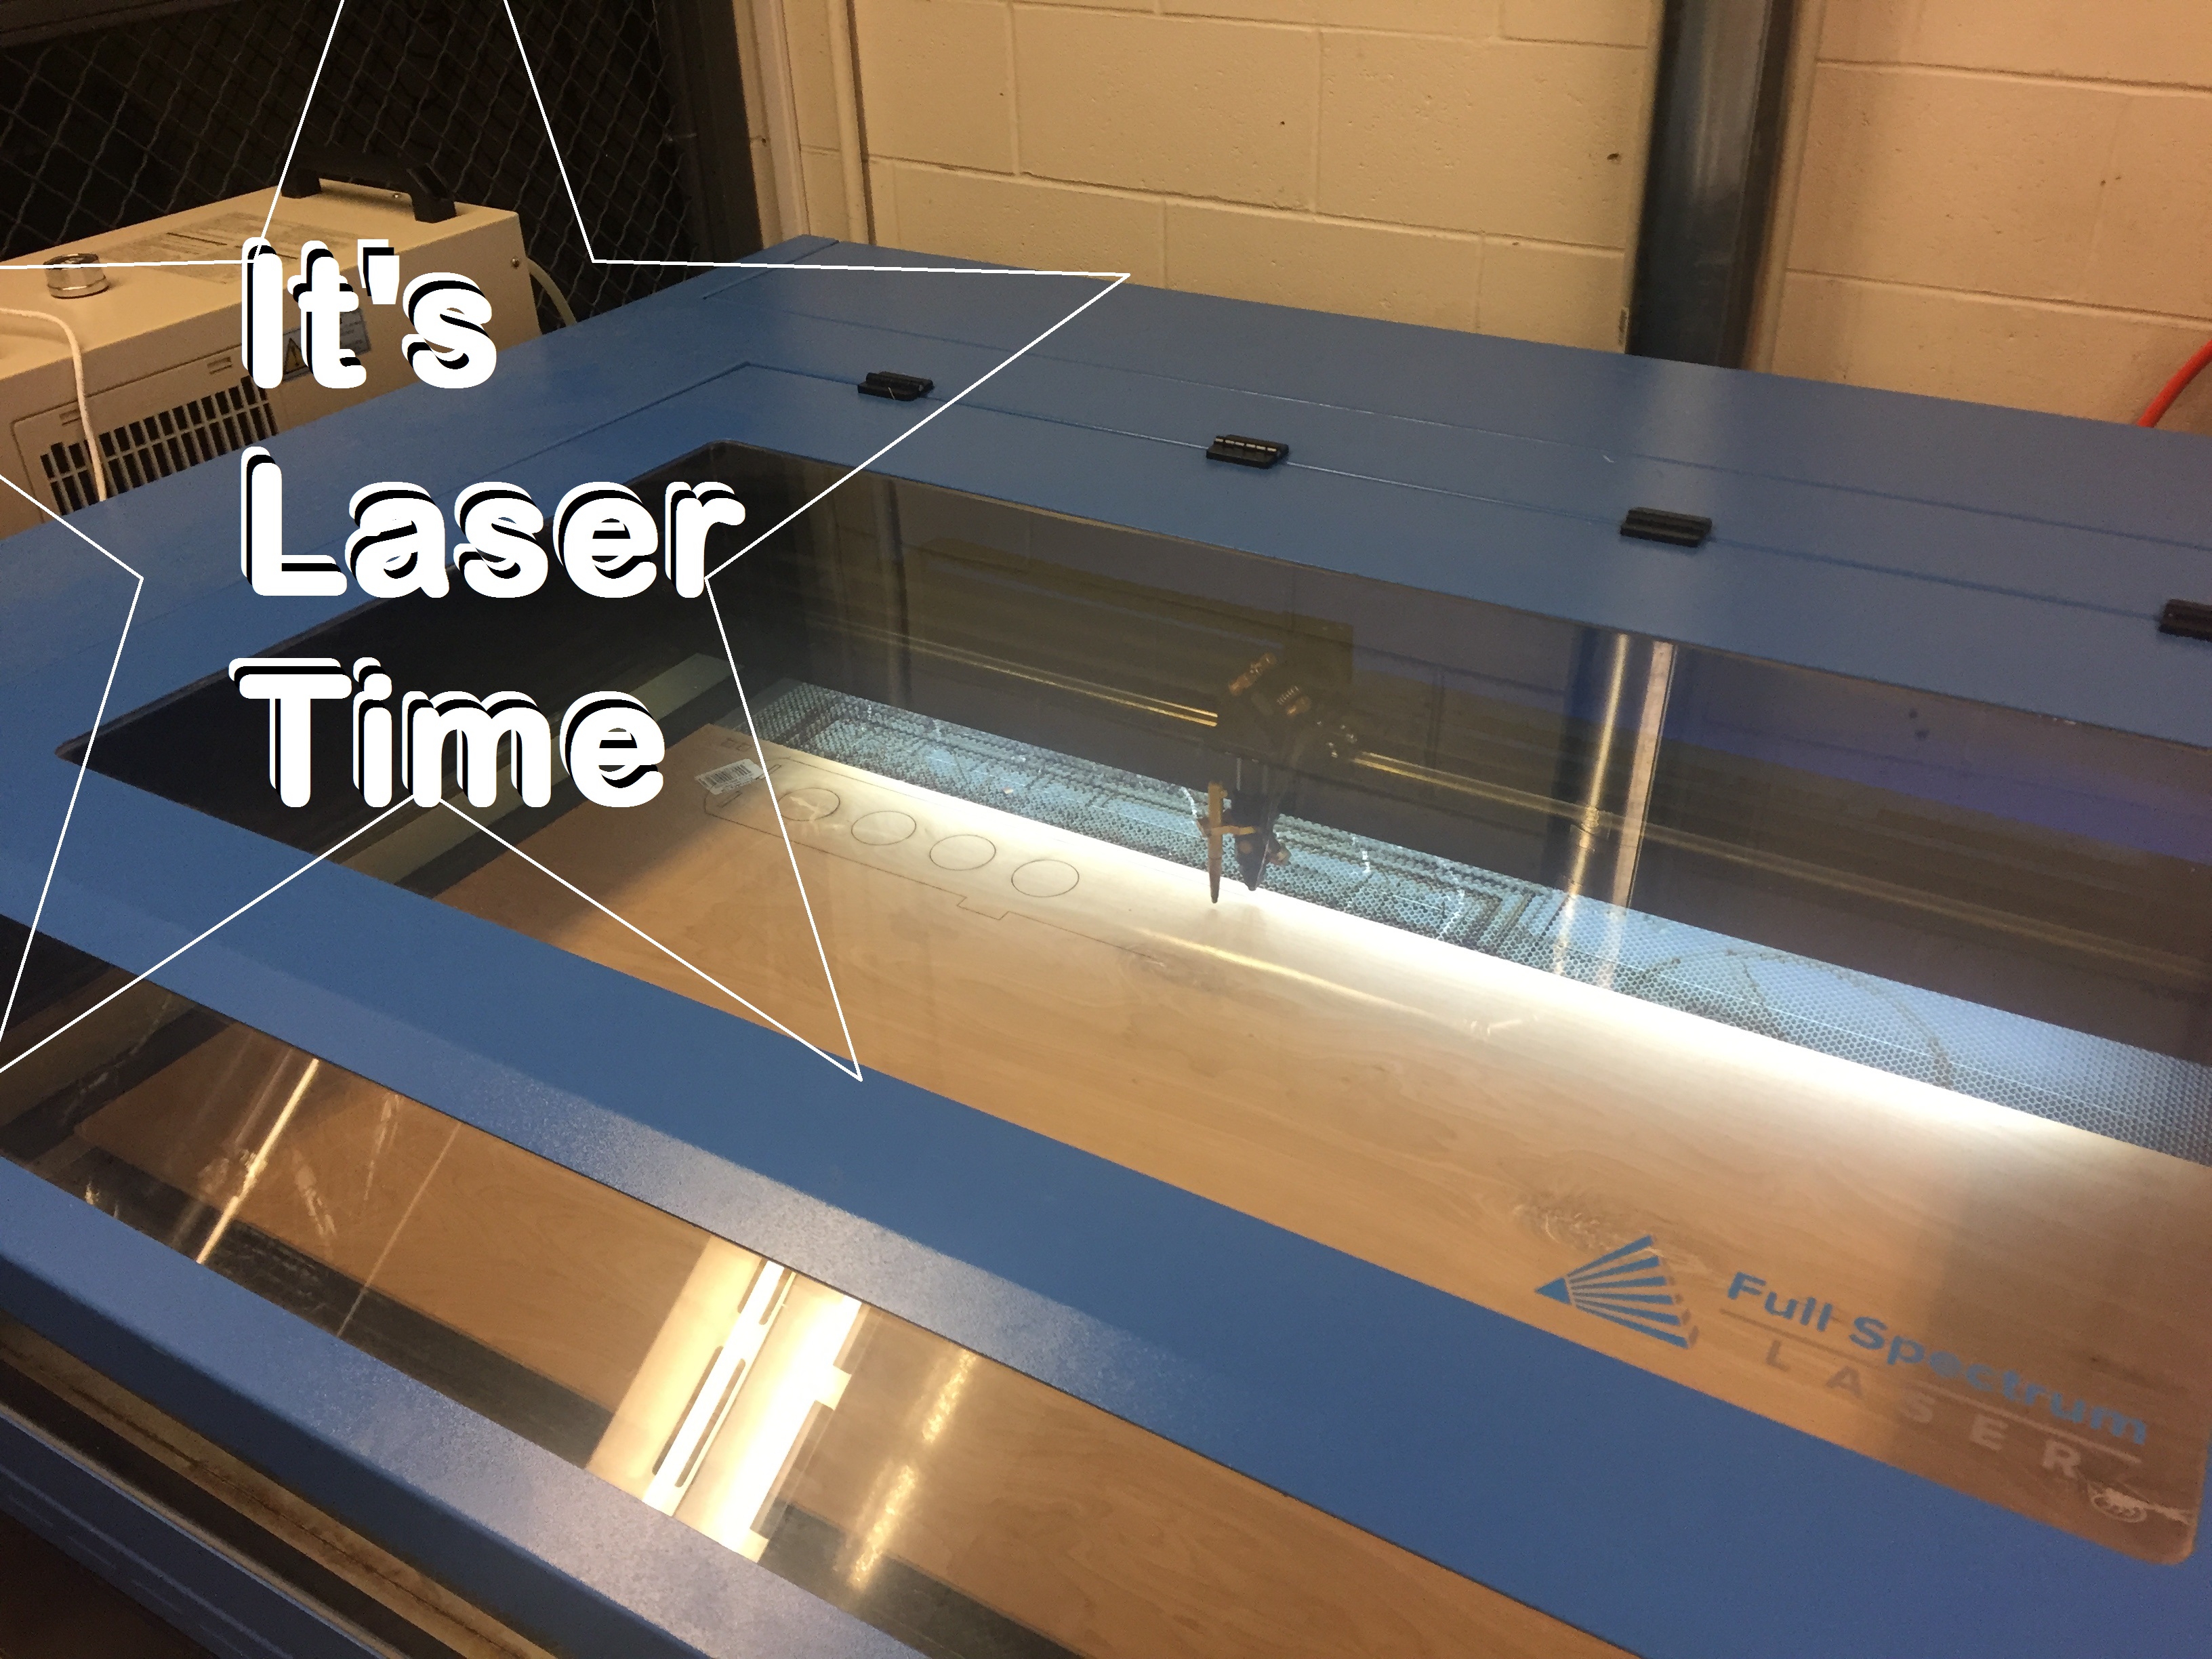
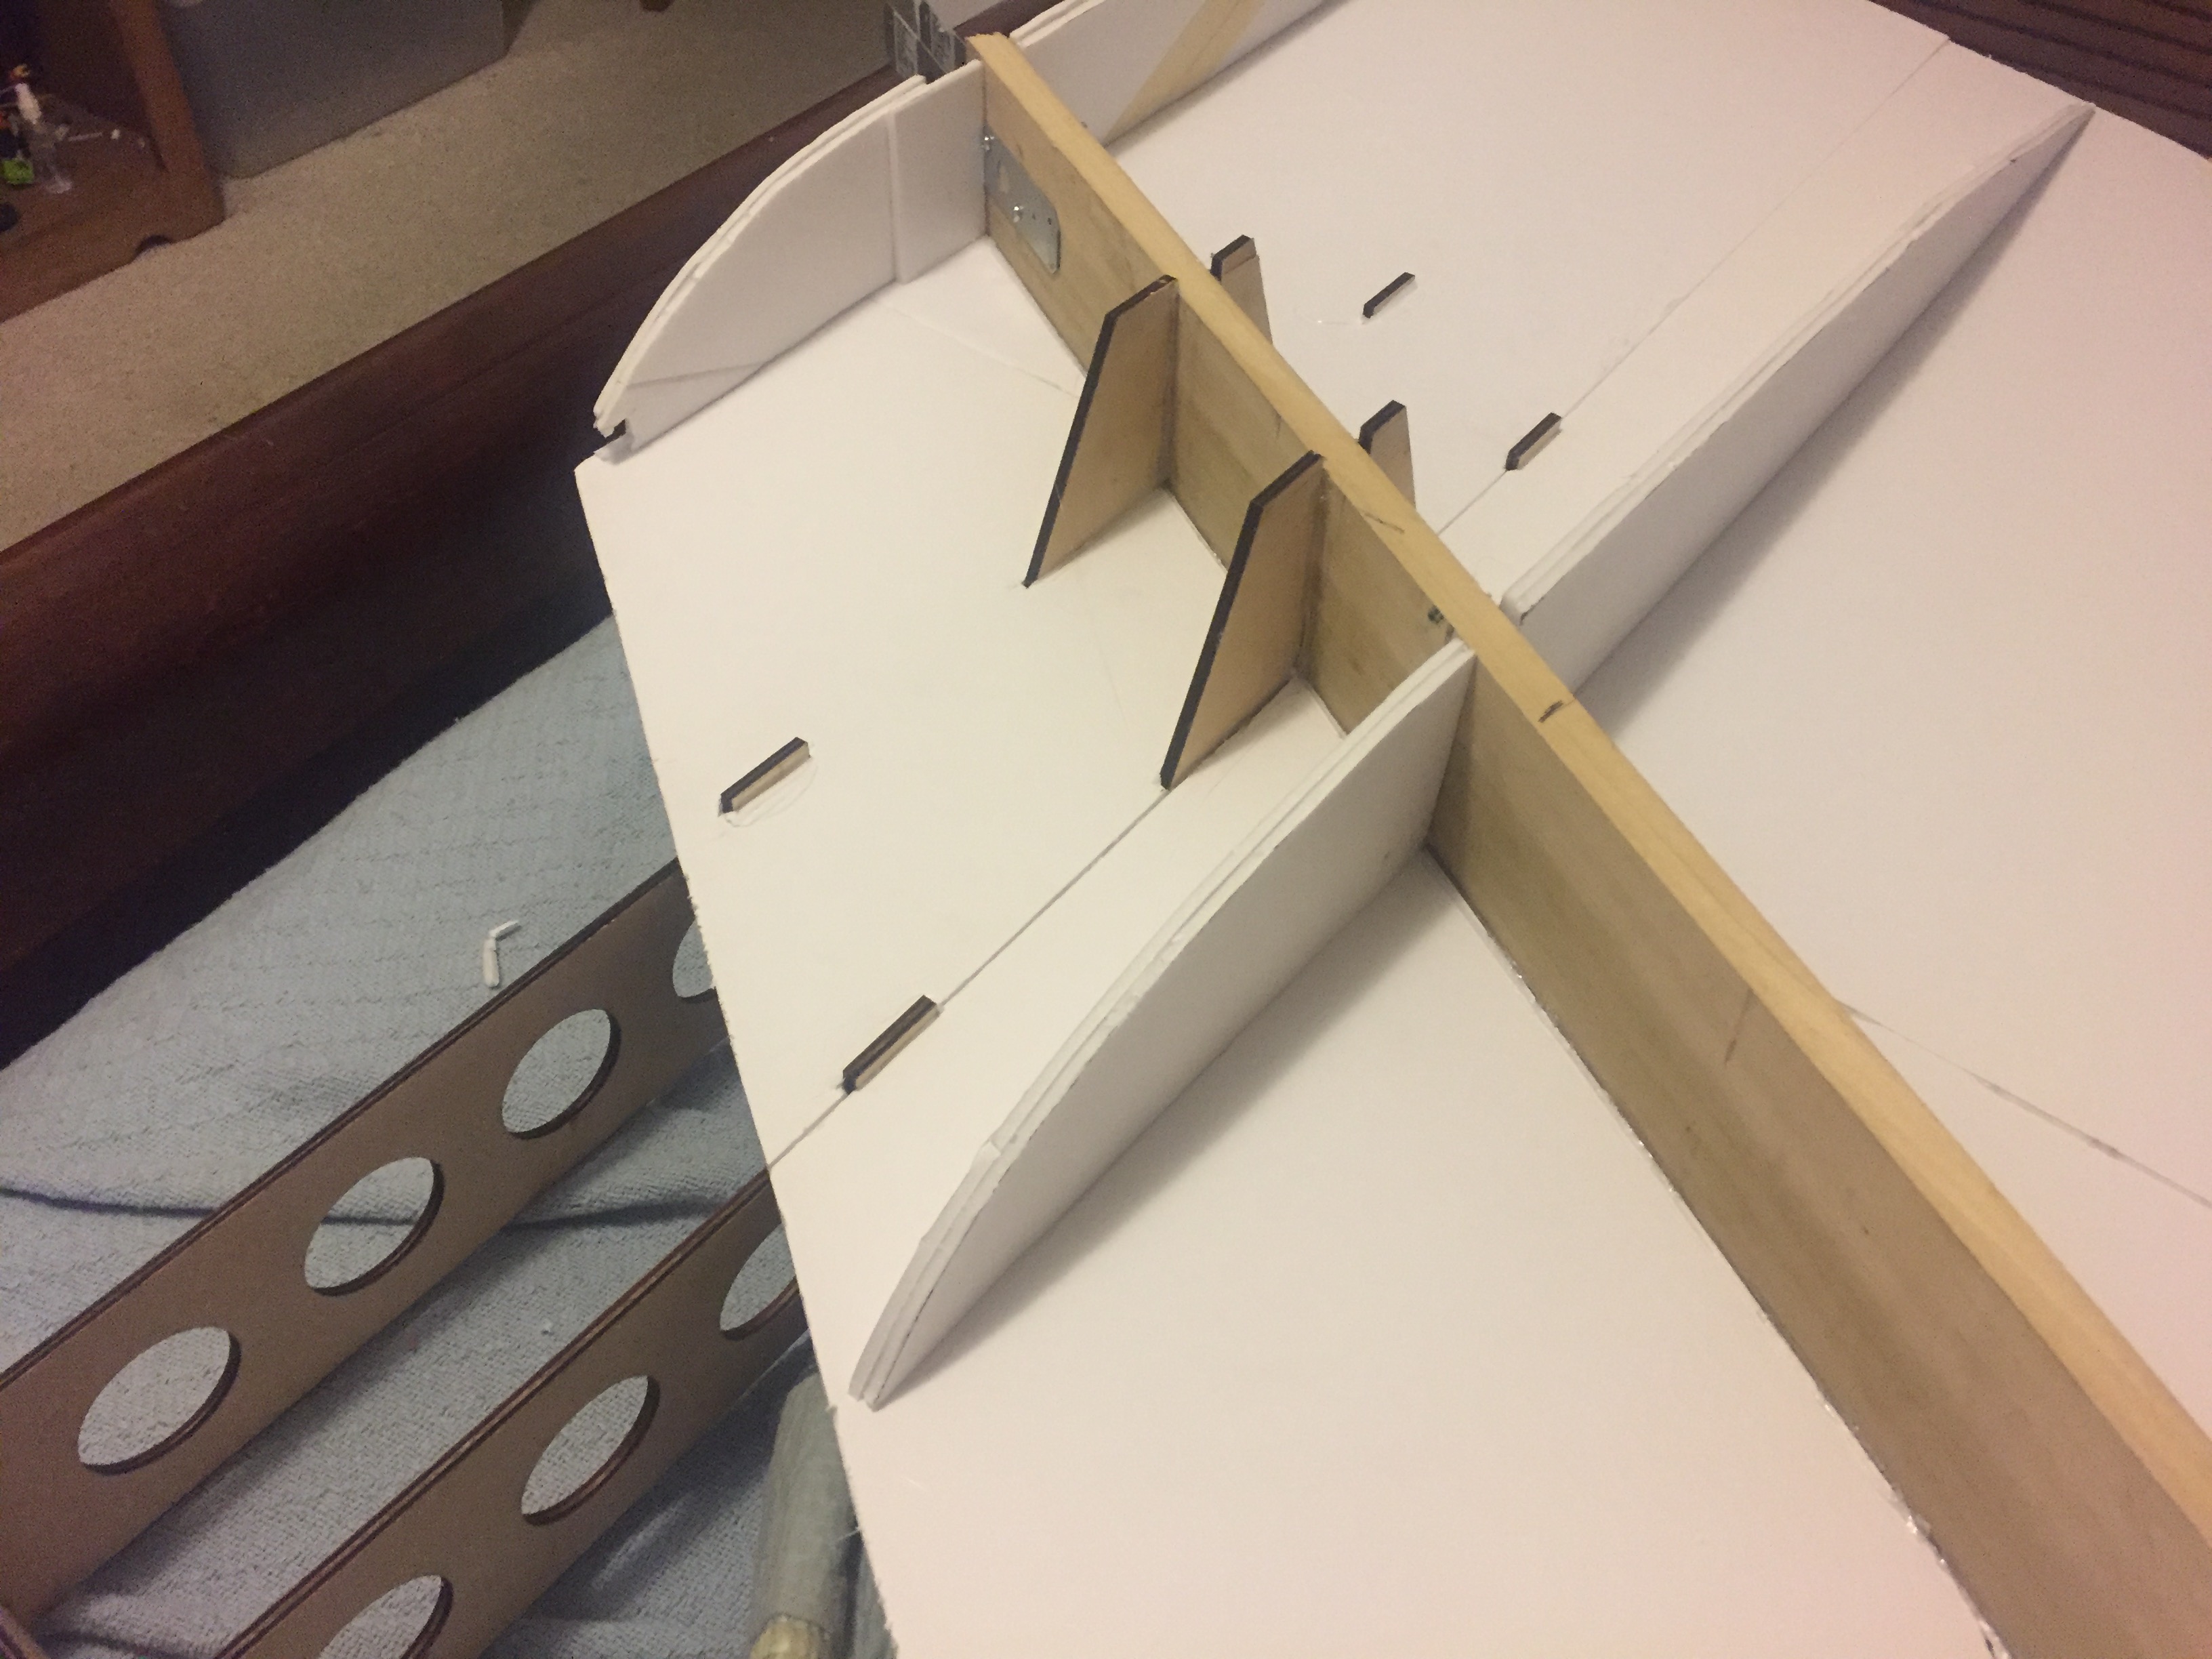
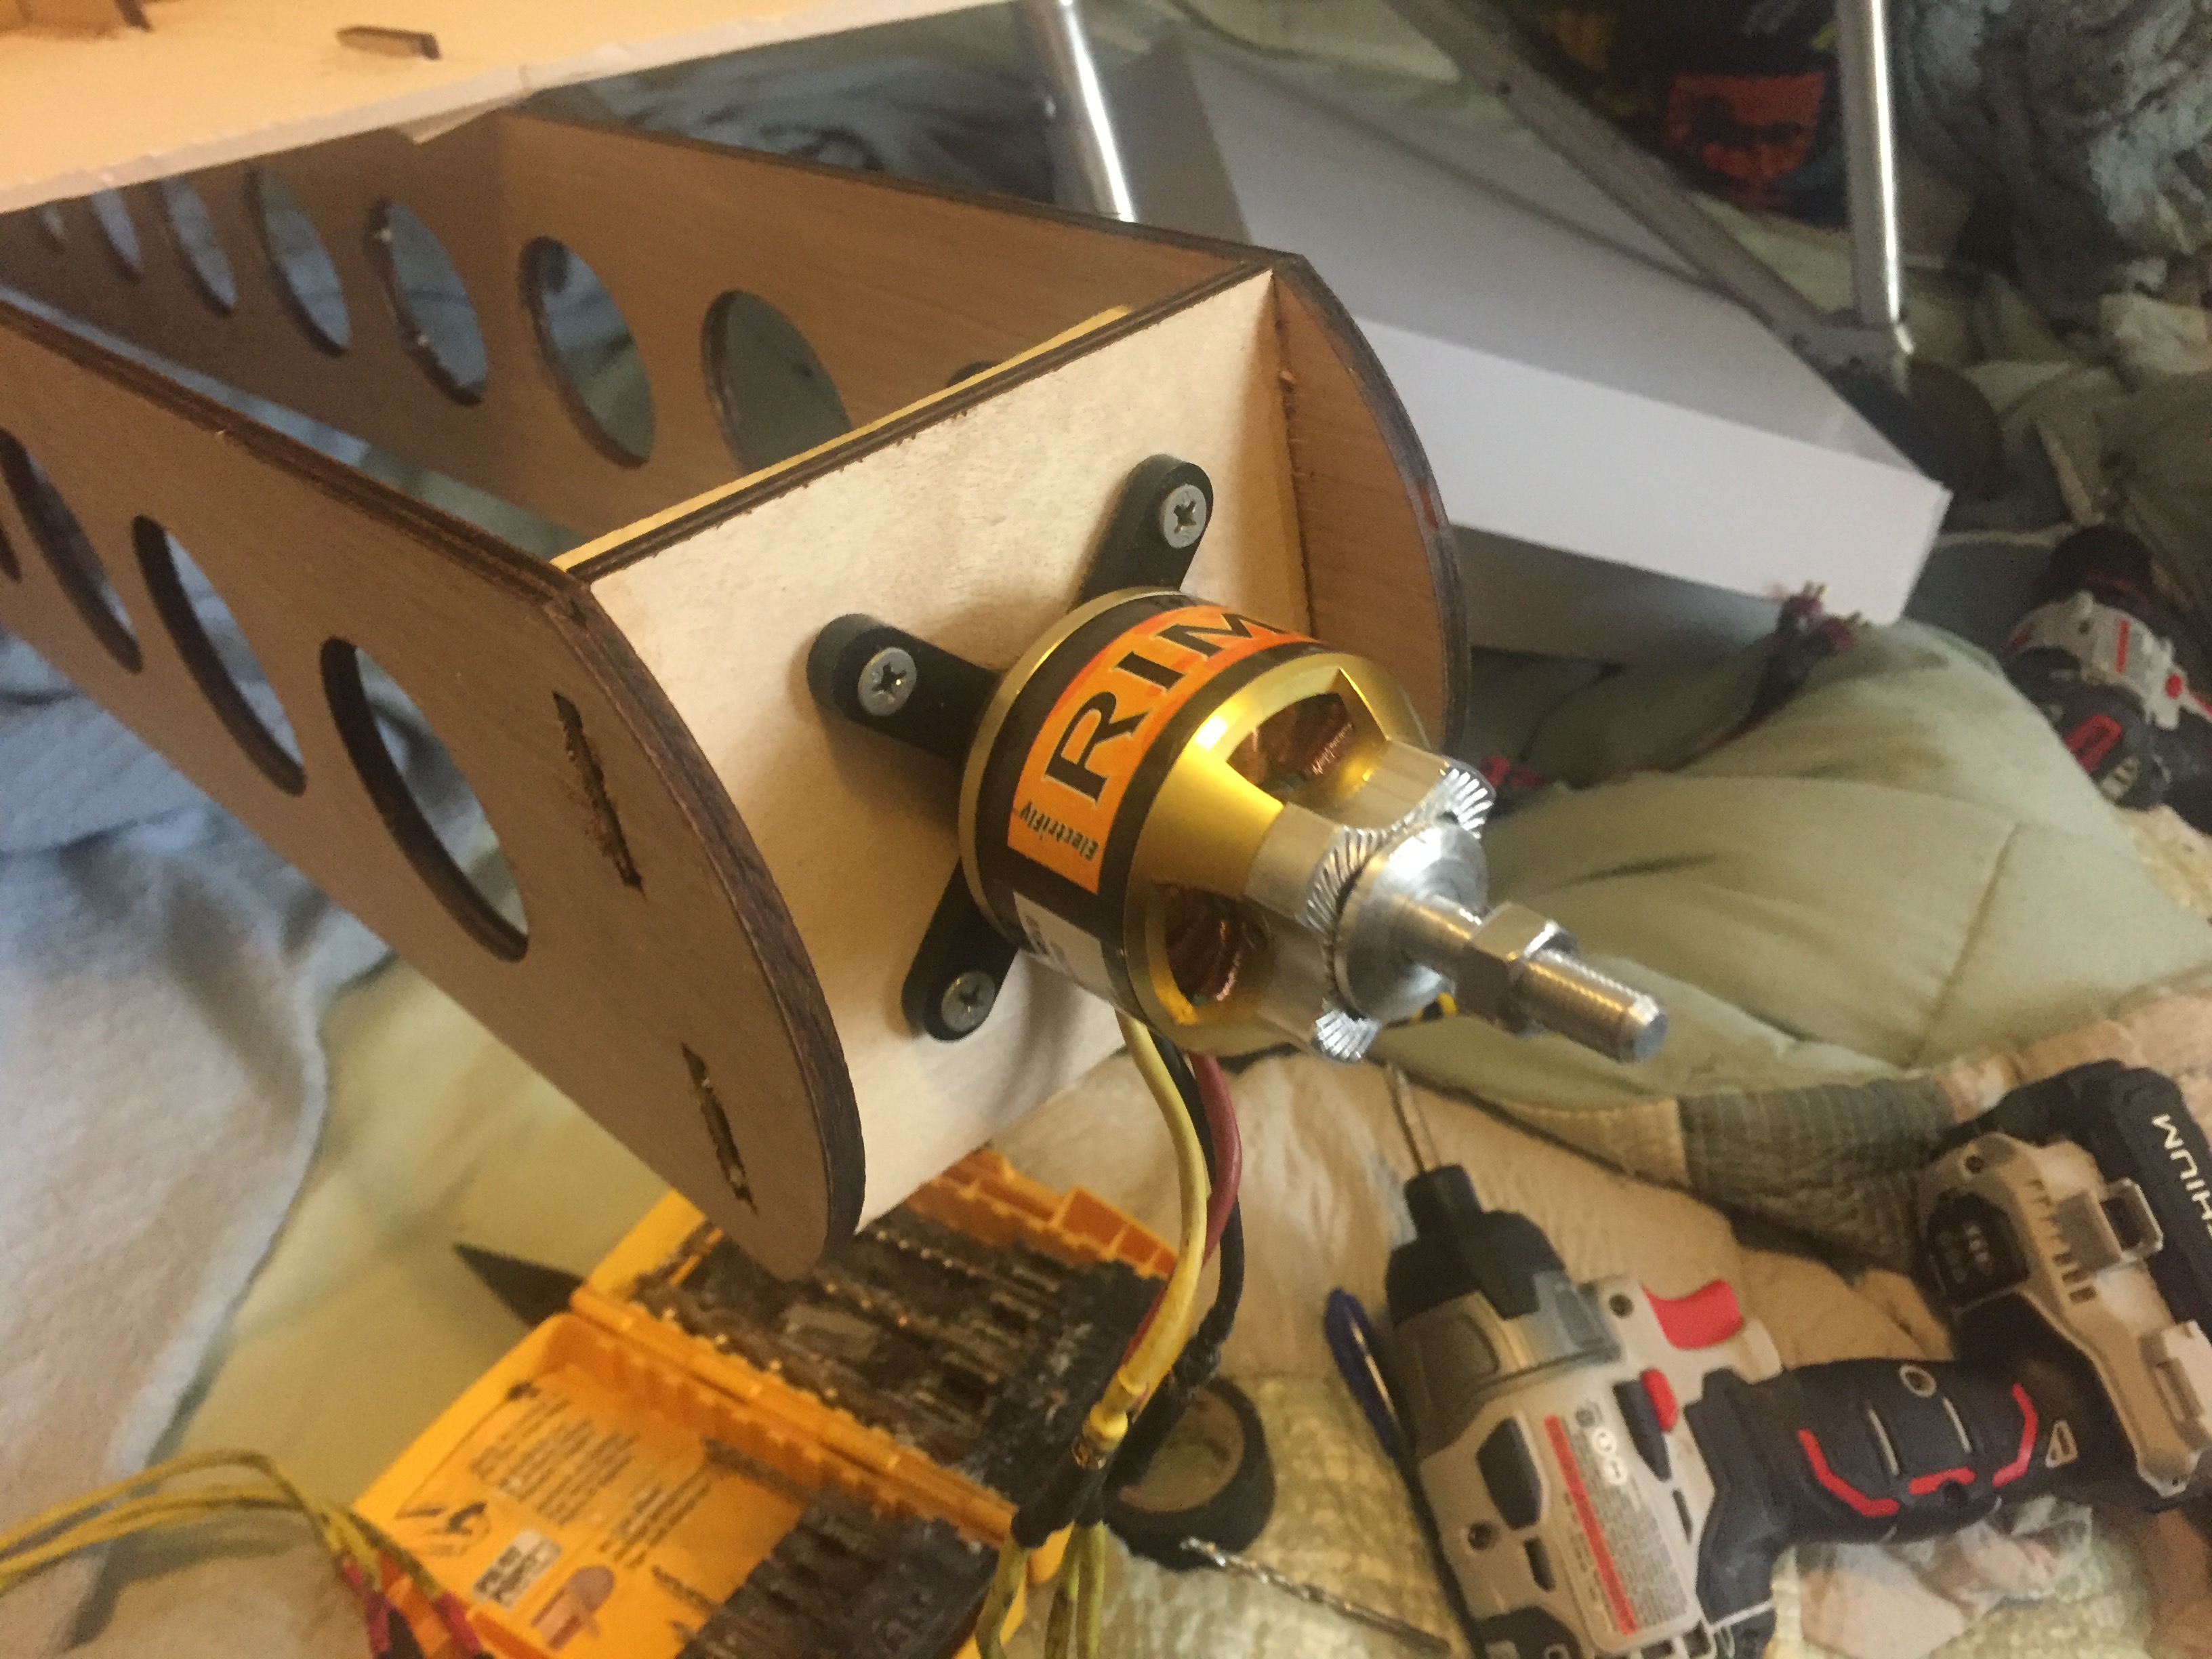
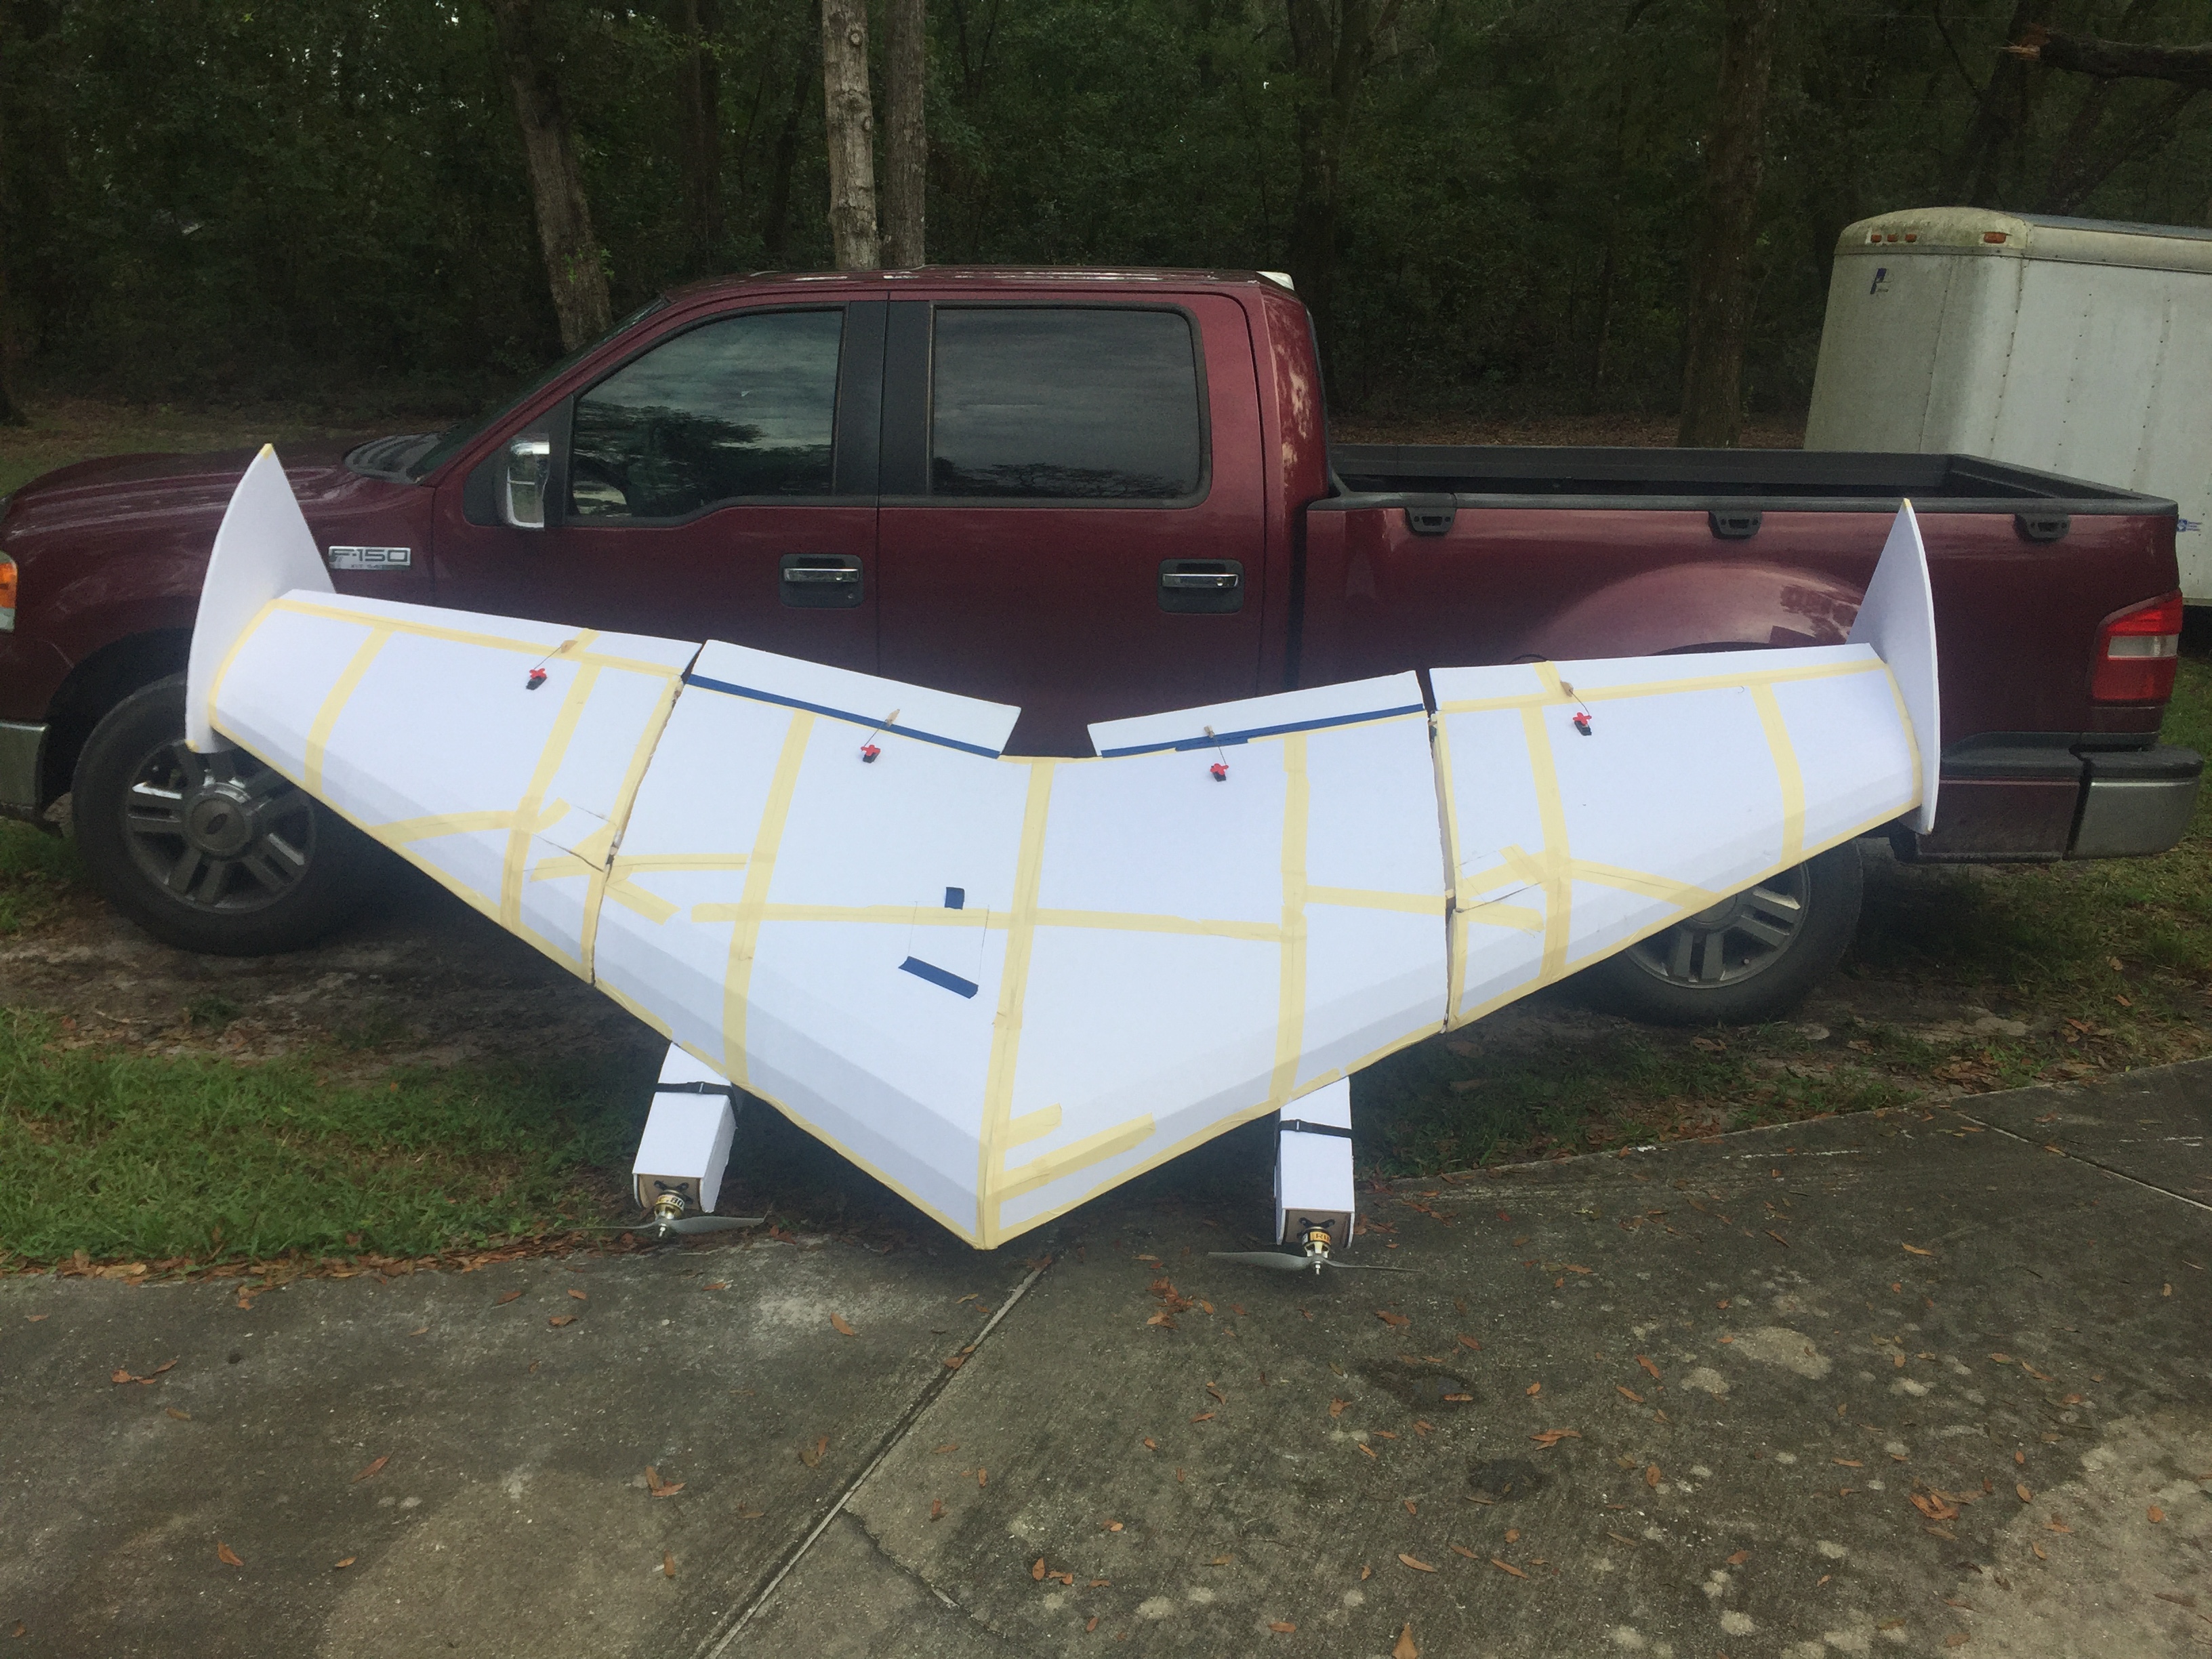
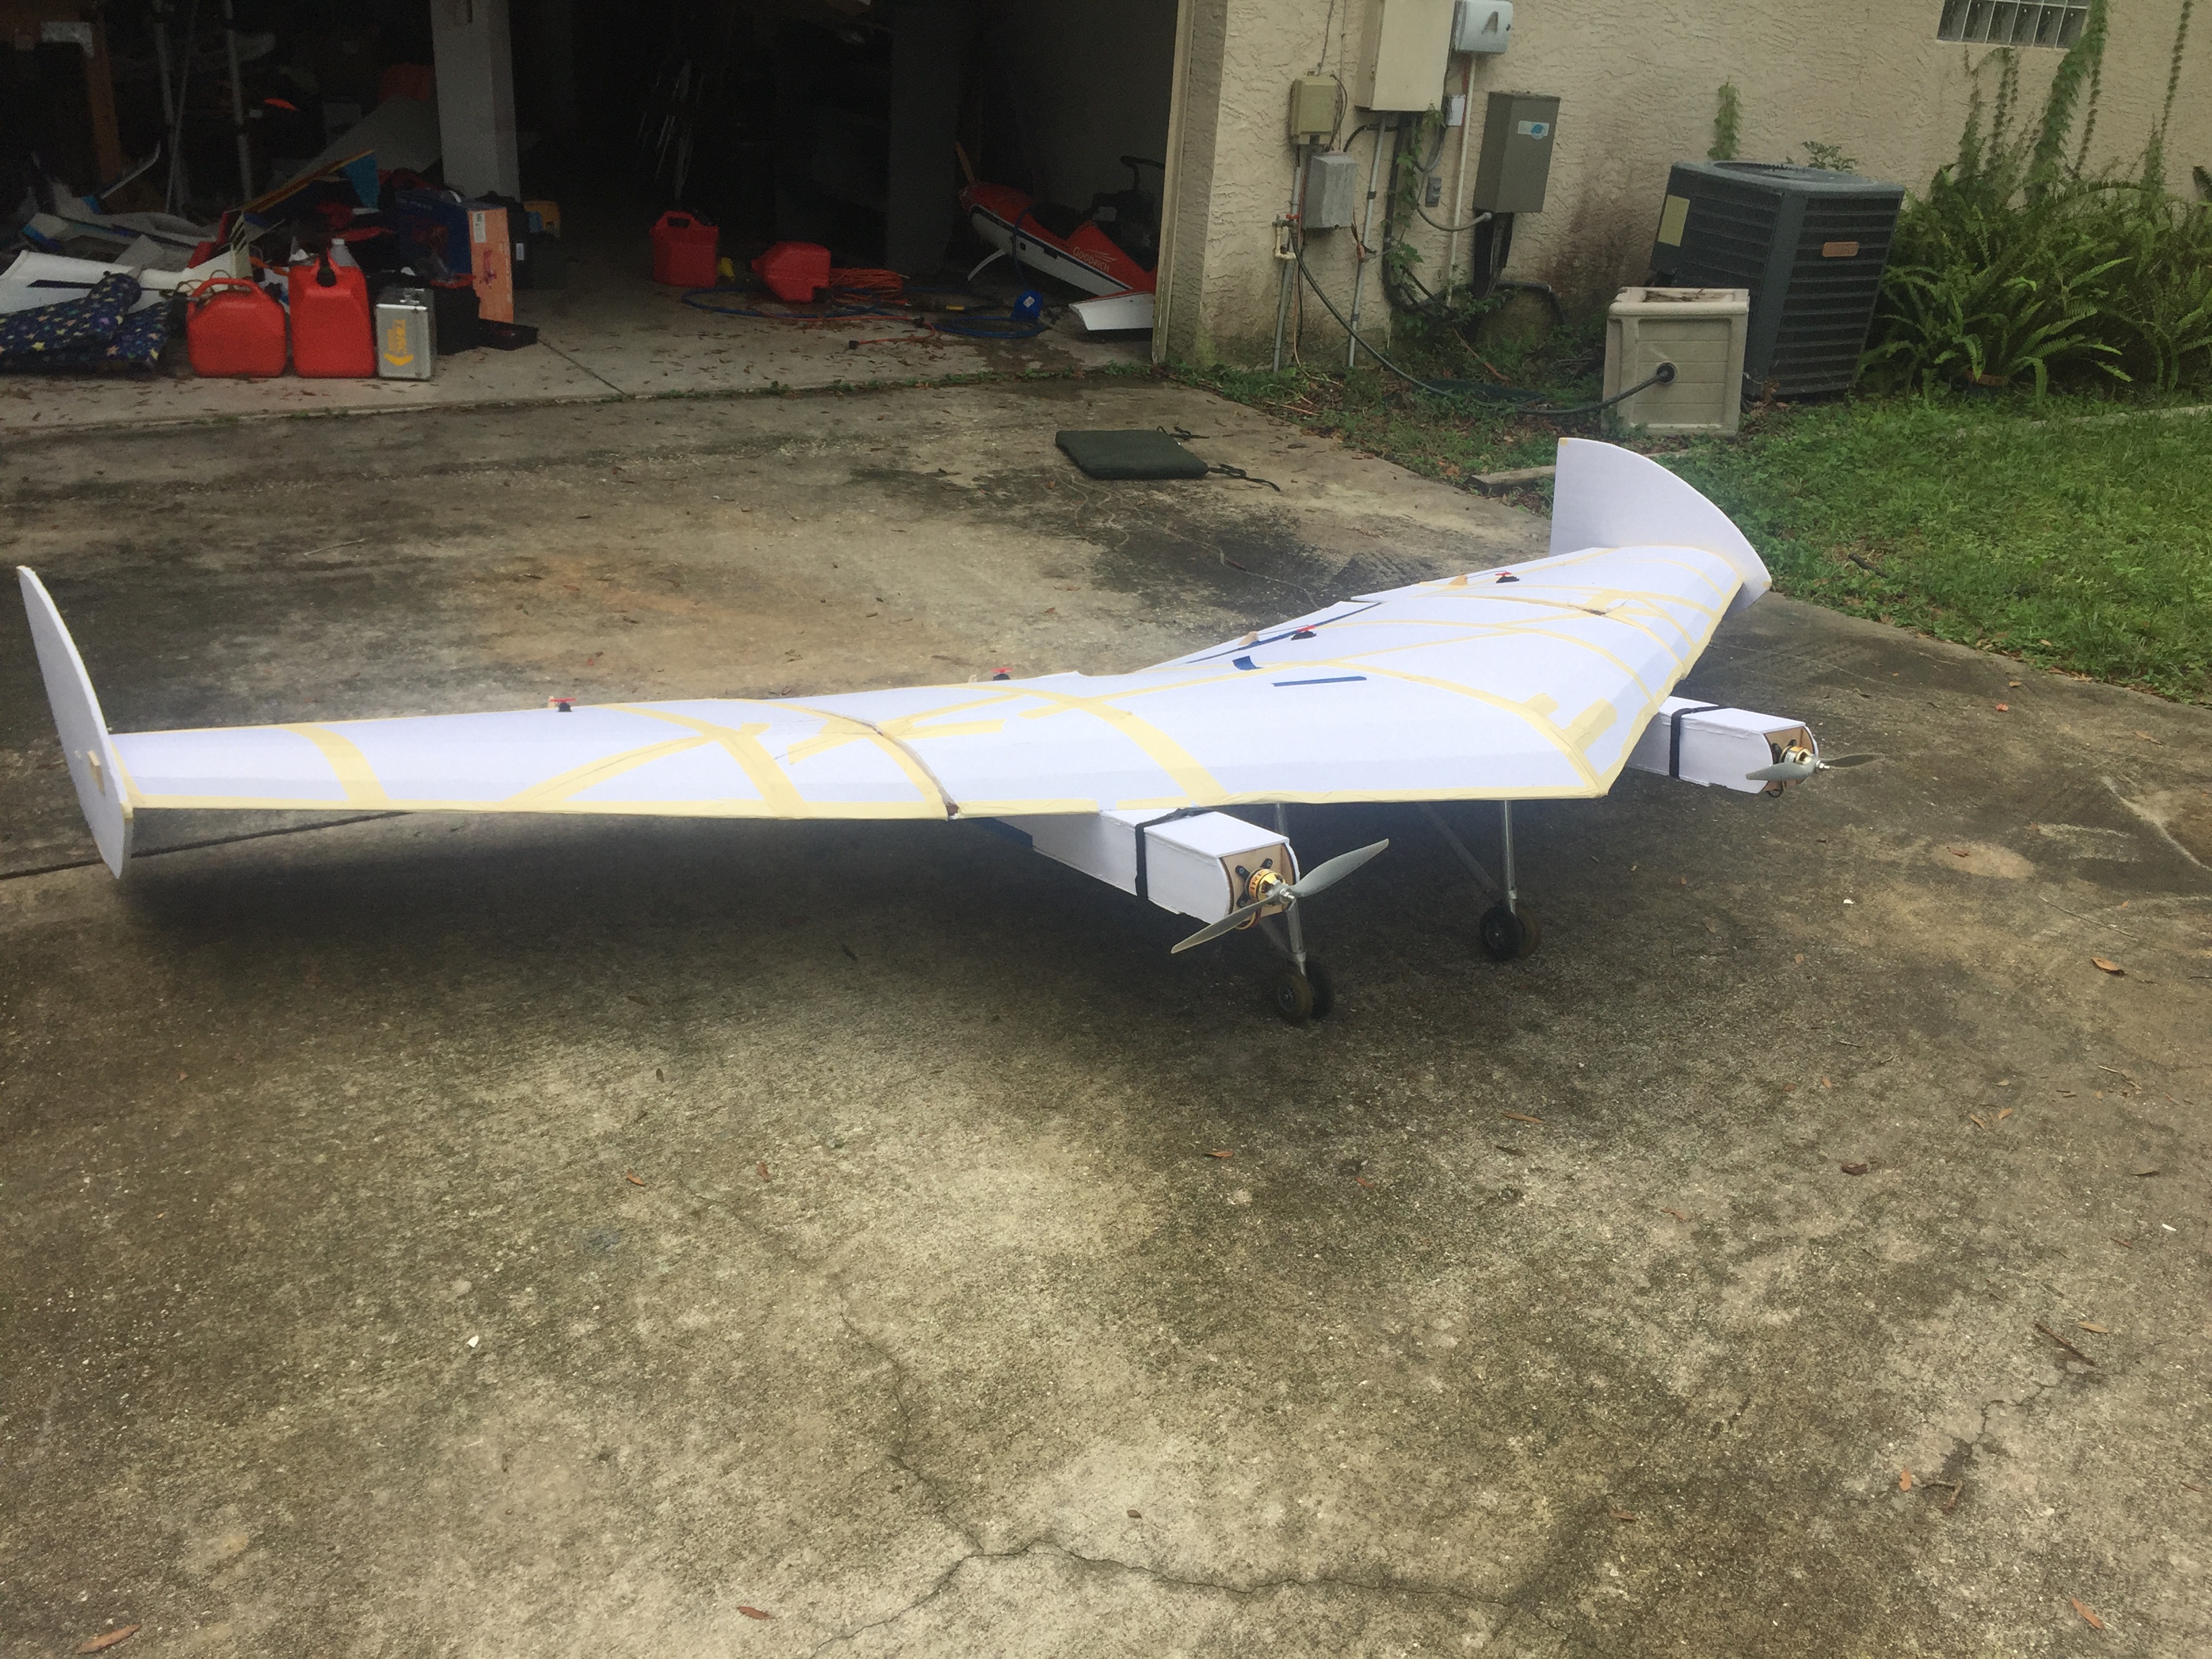
Now, let's take a moment to talk about power pods. Obviously, the normal size kraken uses normal size power pods, made of foam. However, at this size, that simply will not work. You need something stronger. For my own build, I designed some plywood power pods in CAD software, and had them lasercut by a friend at Embry Riddle. (Don't use the image of the CAD design. If you want it, PM me, I'll send you a PDF for the proper updated one)

They lock on to the spar pretty tightly, and I used a good amount of glue to make sure they don't come loose
Add in your wiring. You'll need extensions for your inboard servos, outboard servos, and ESC signal wires. Your ESCs and batteries go in the power pods.
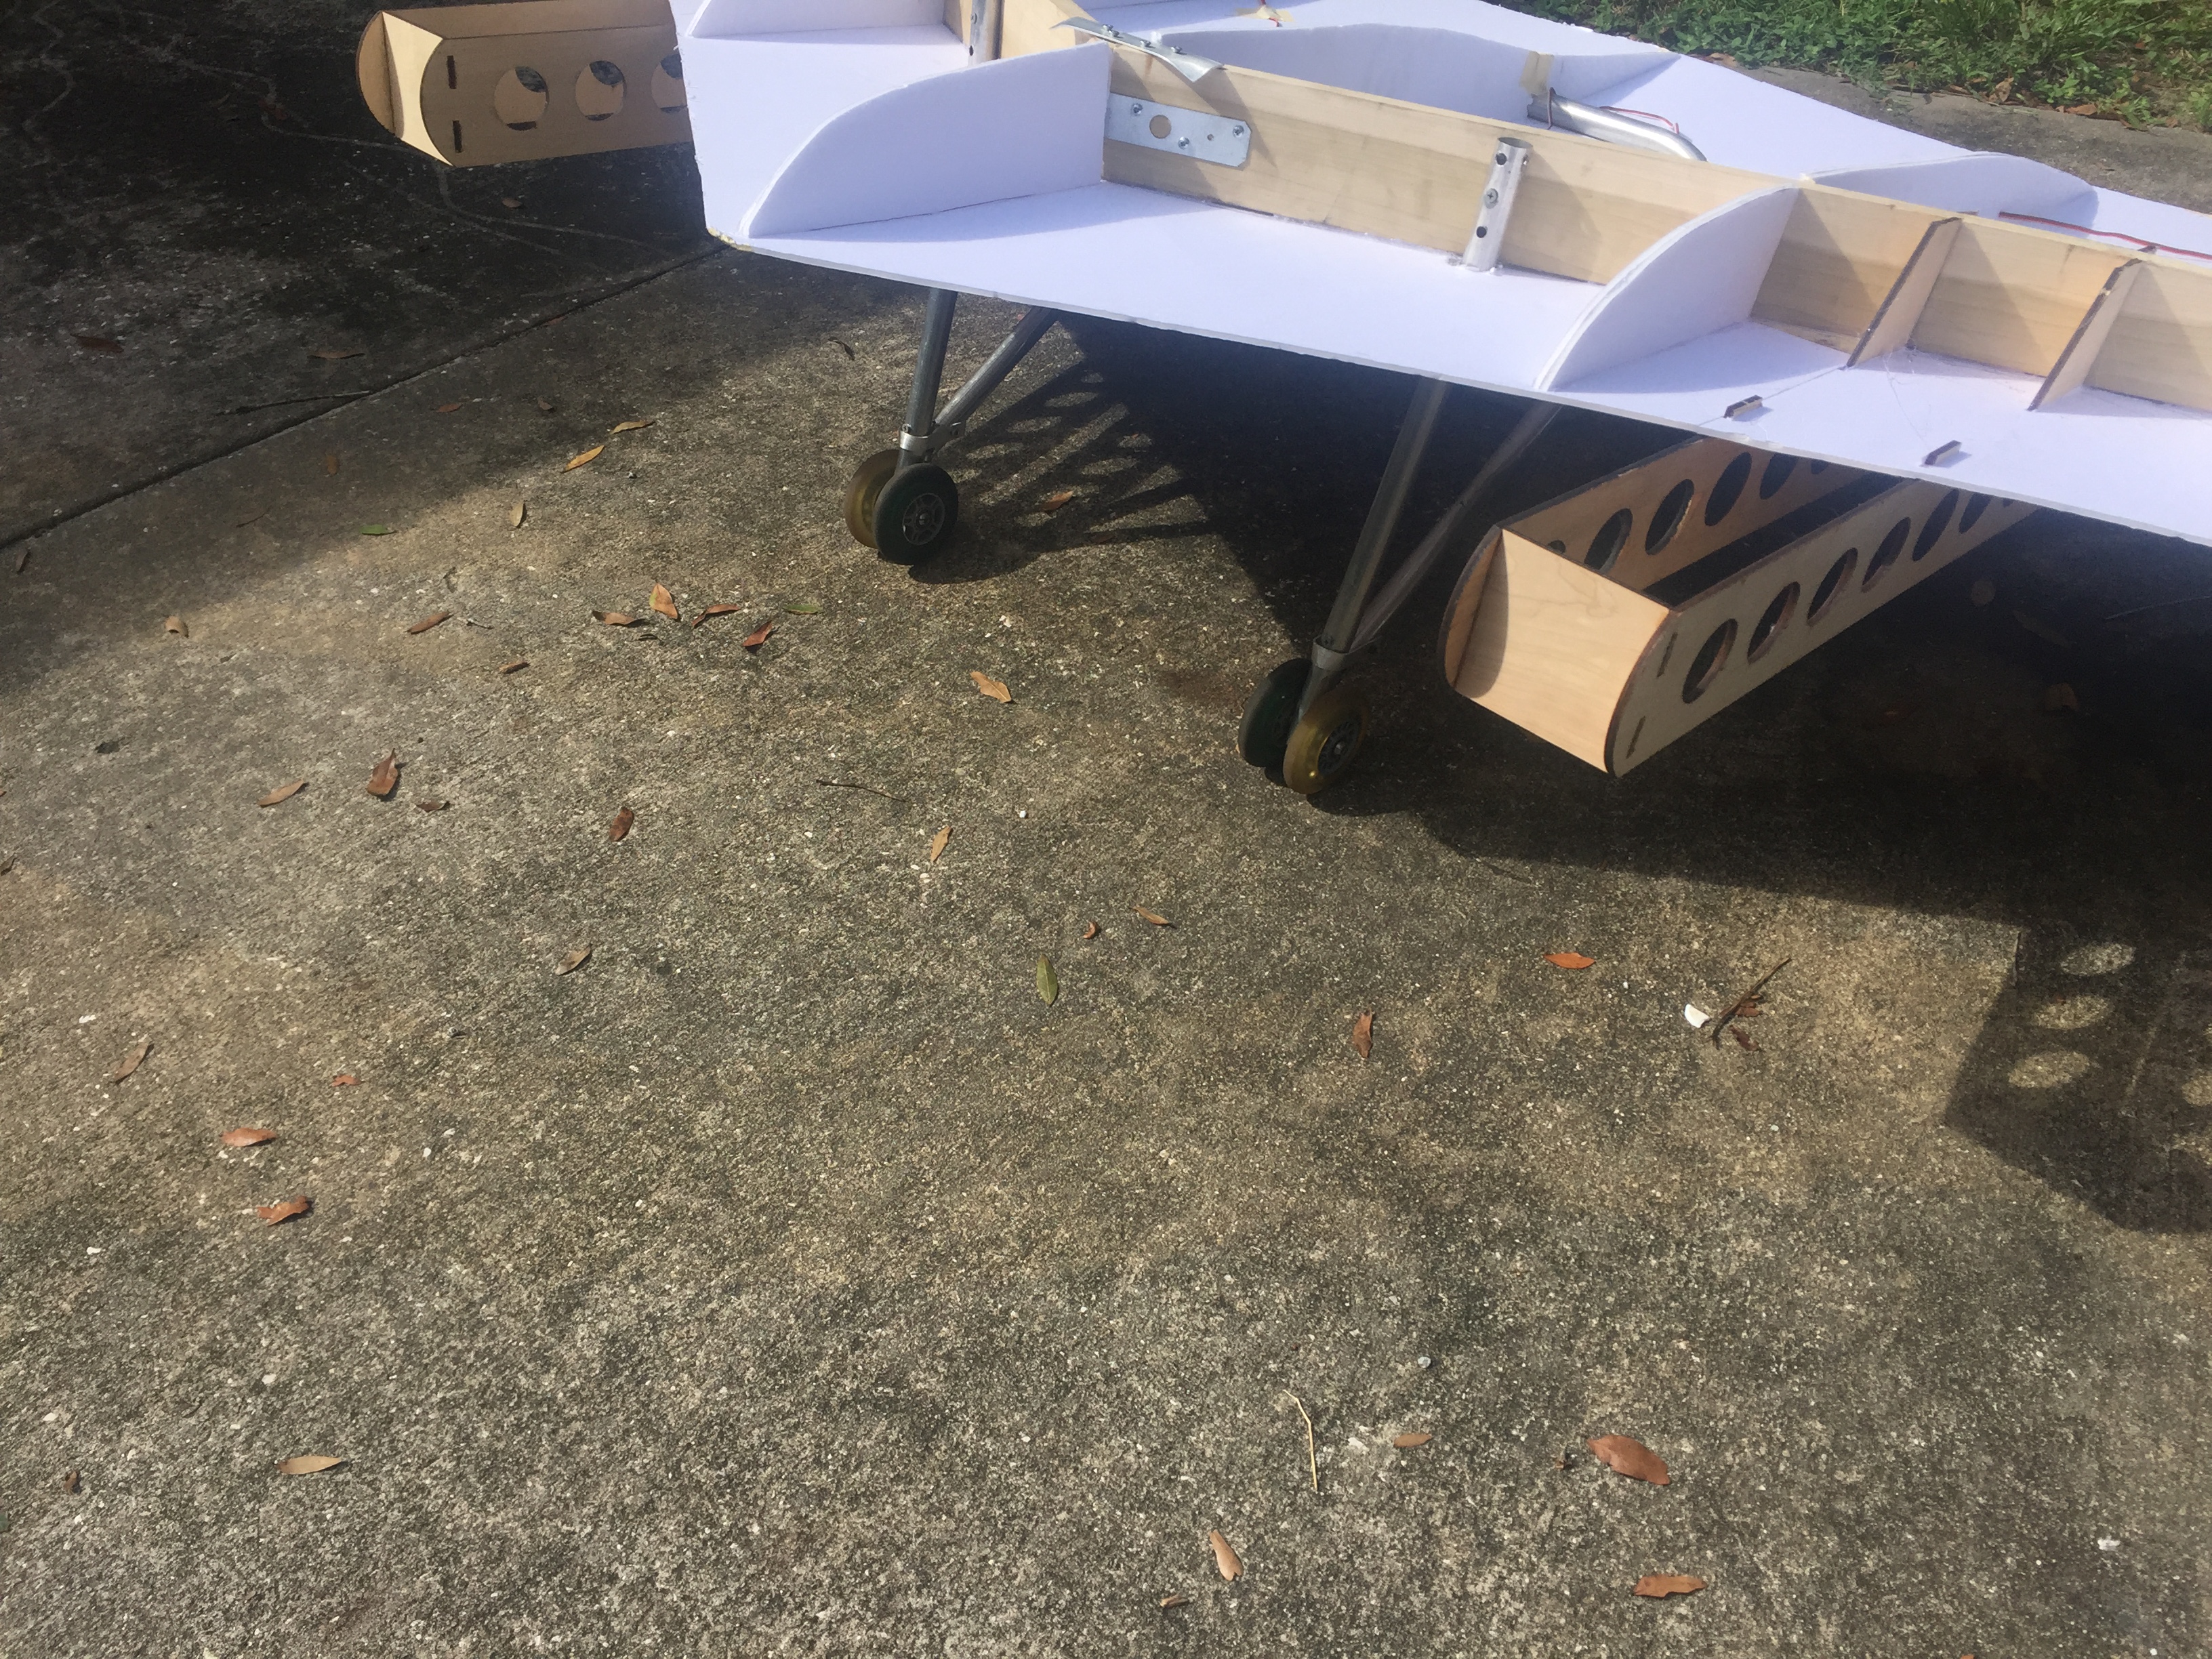
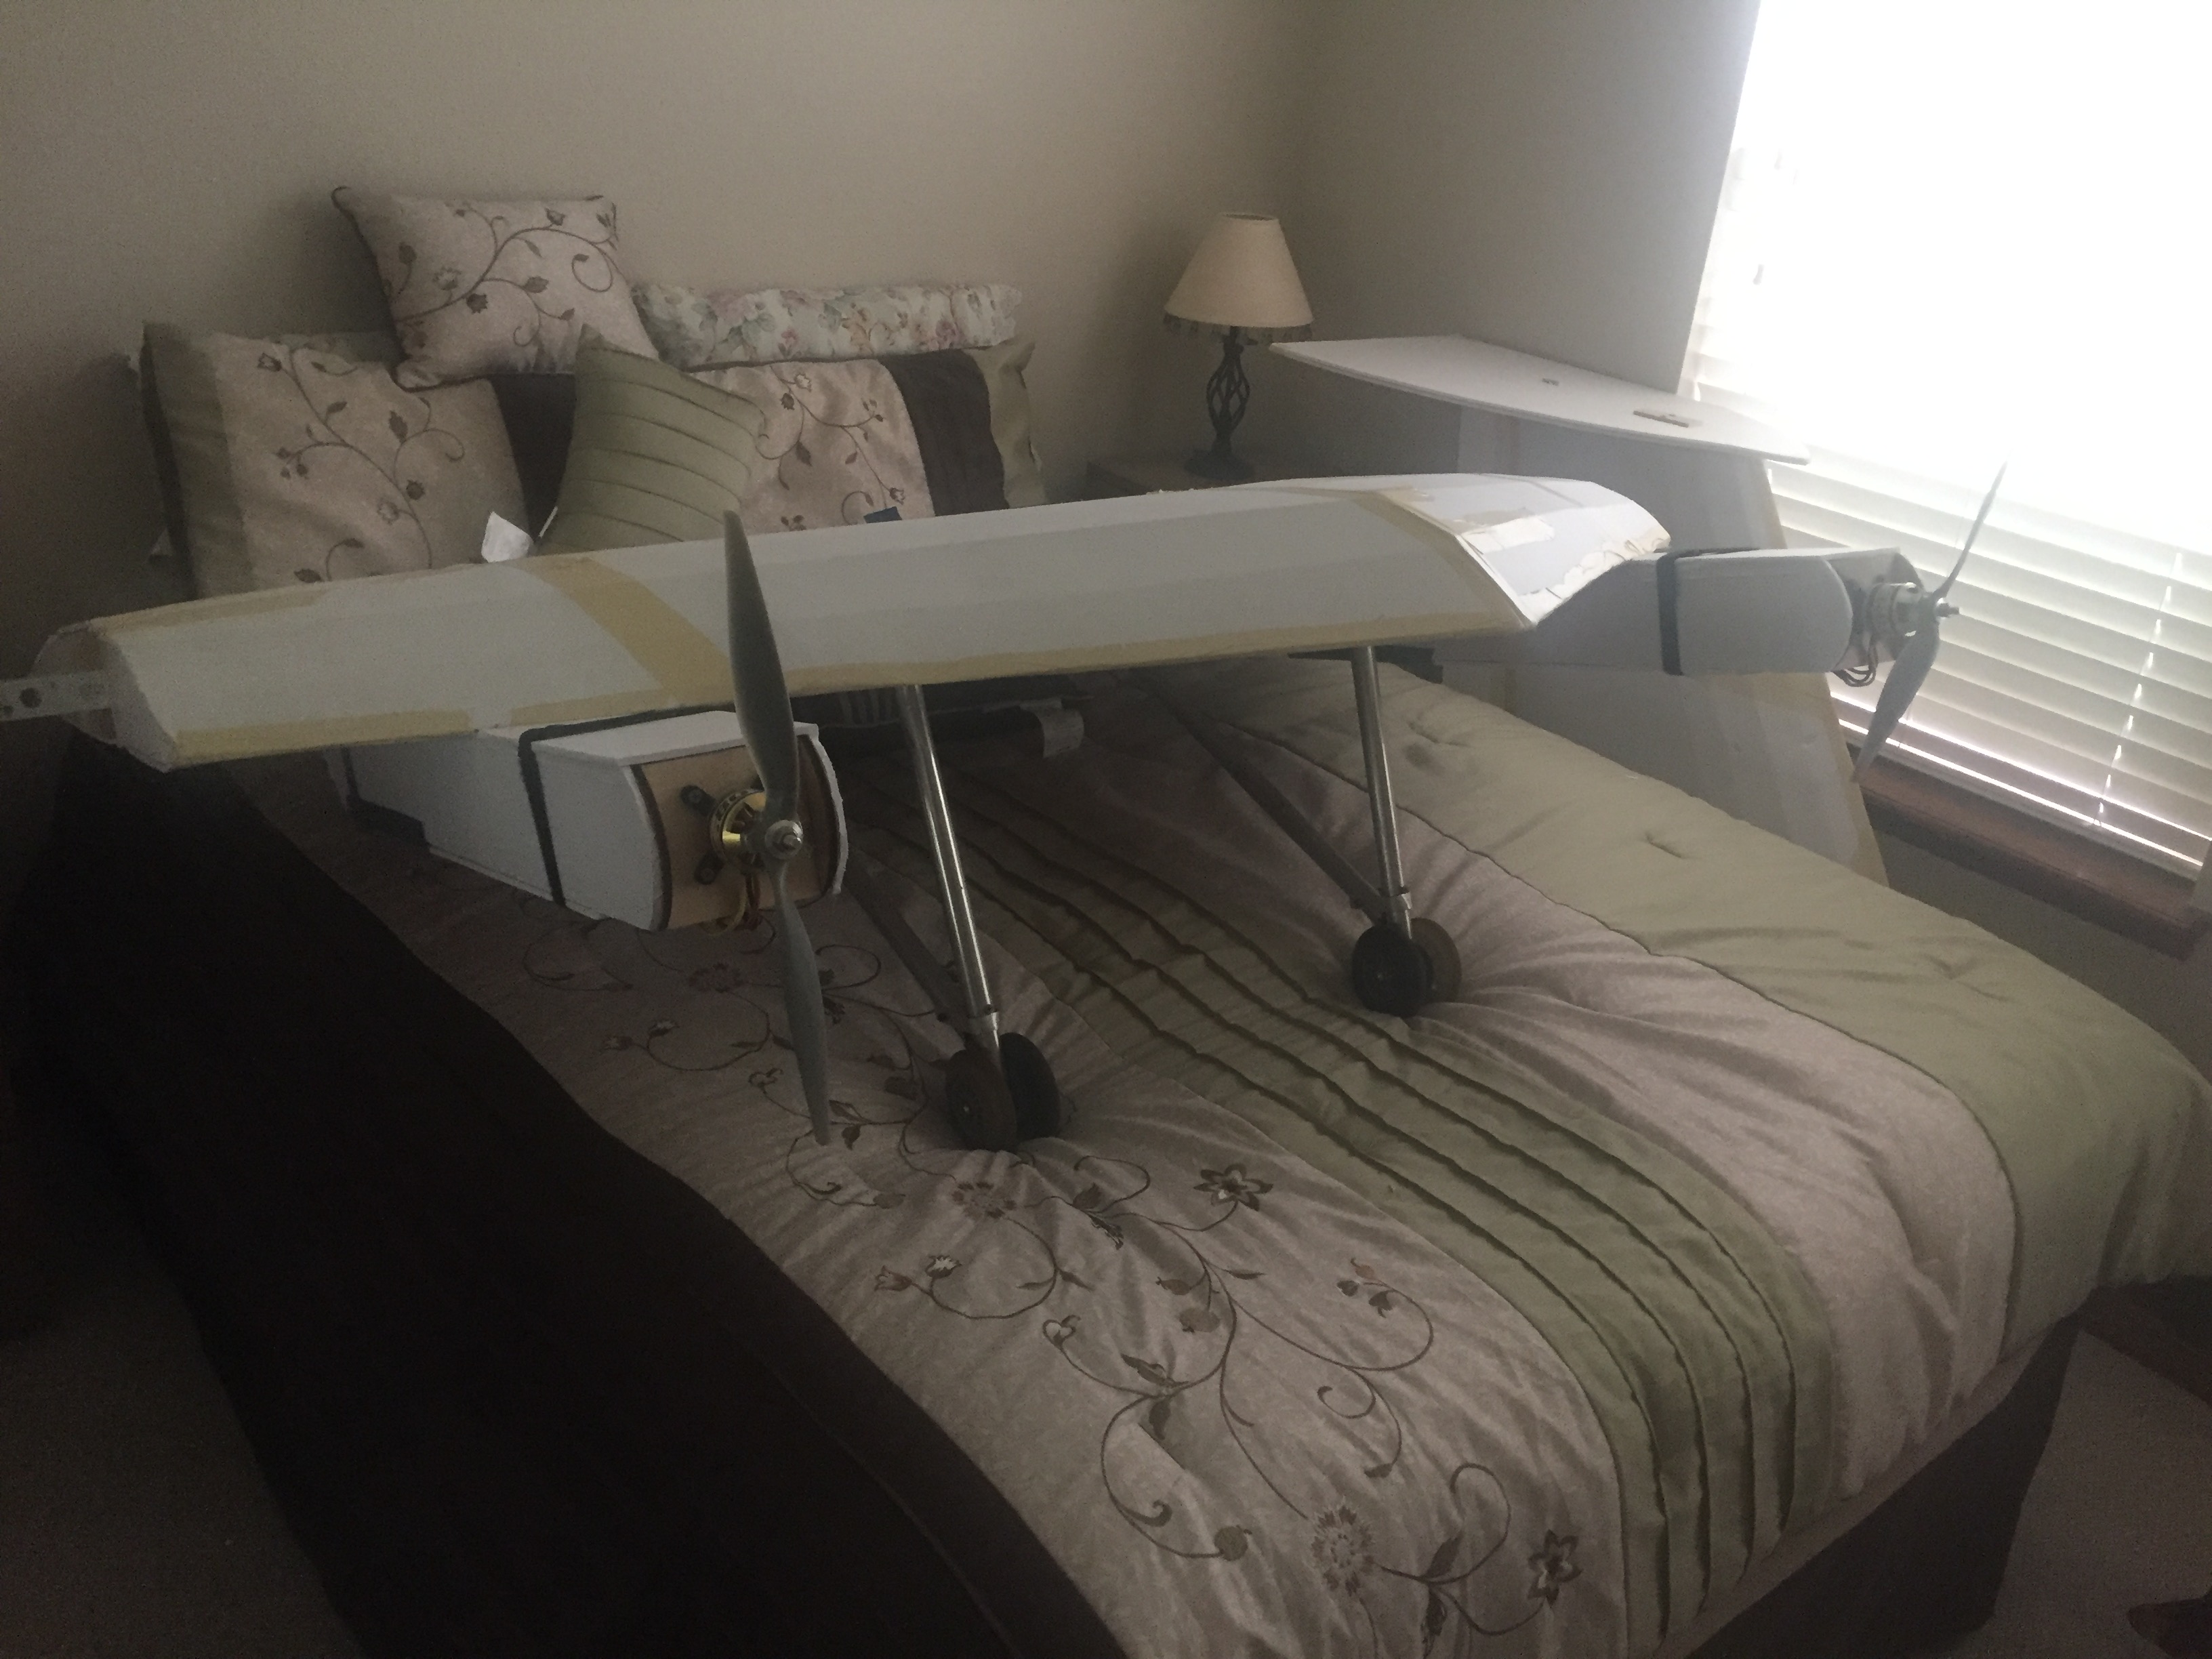
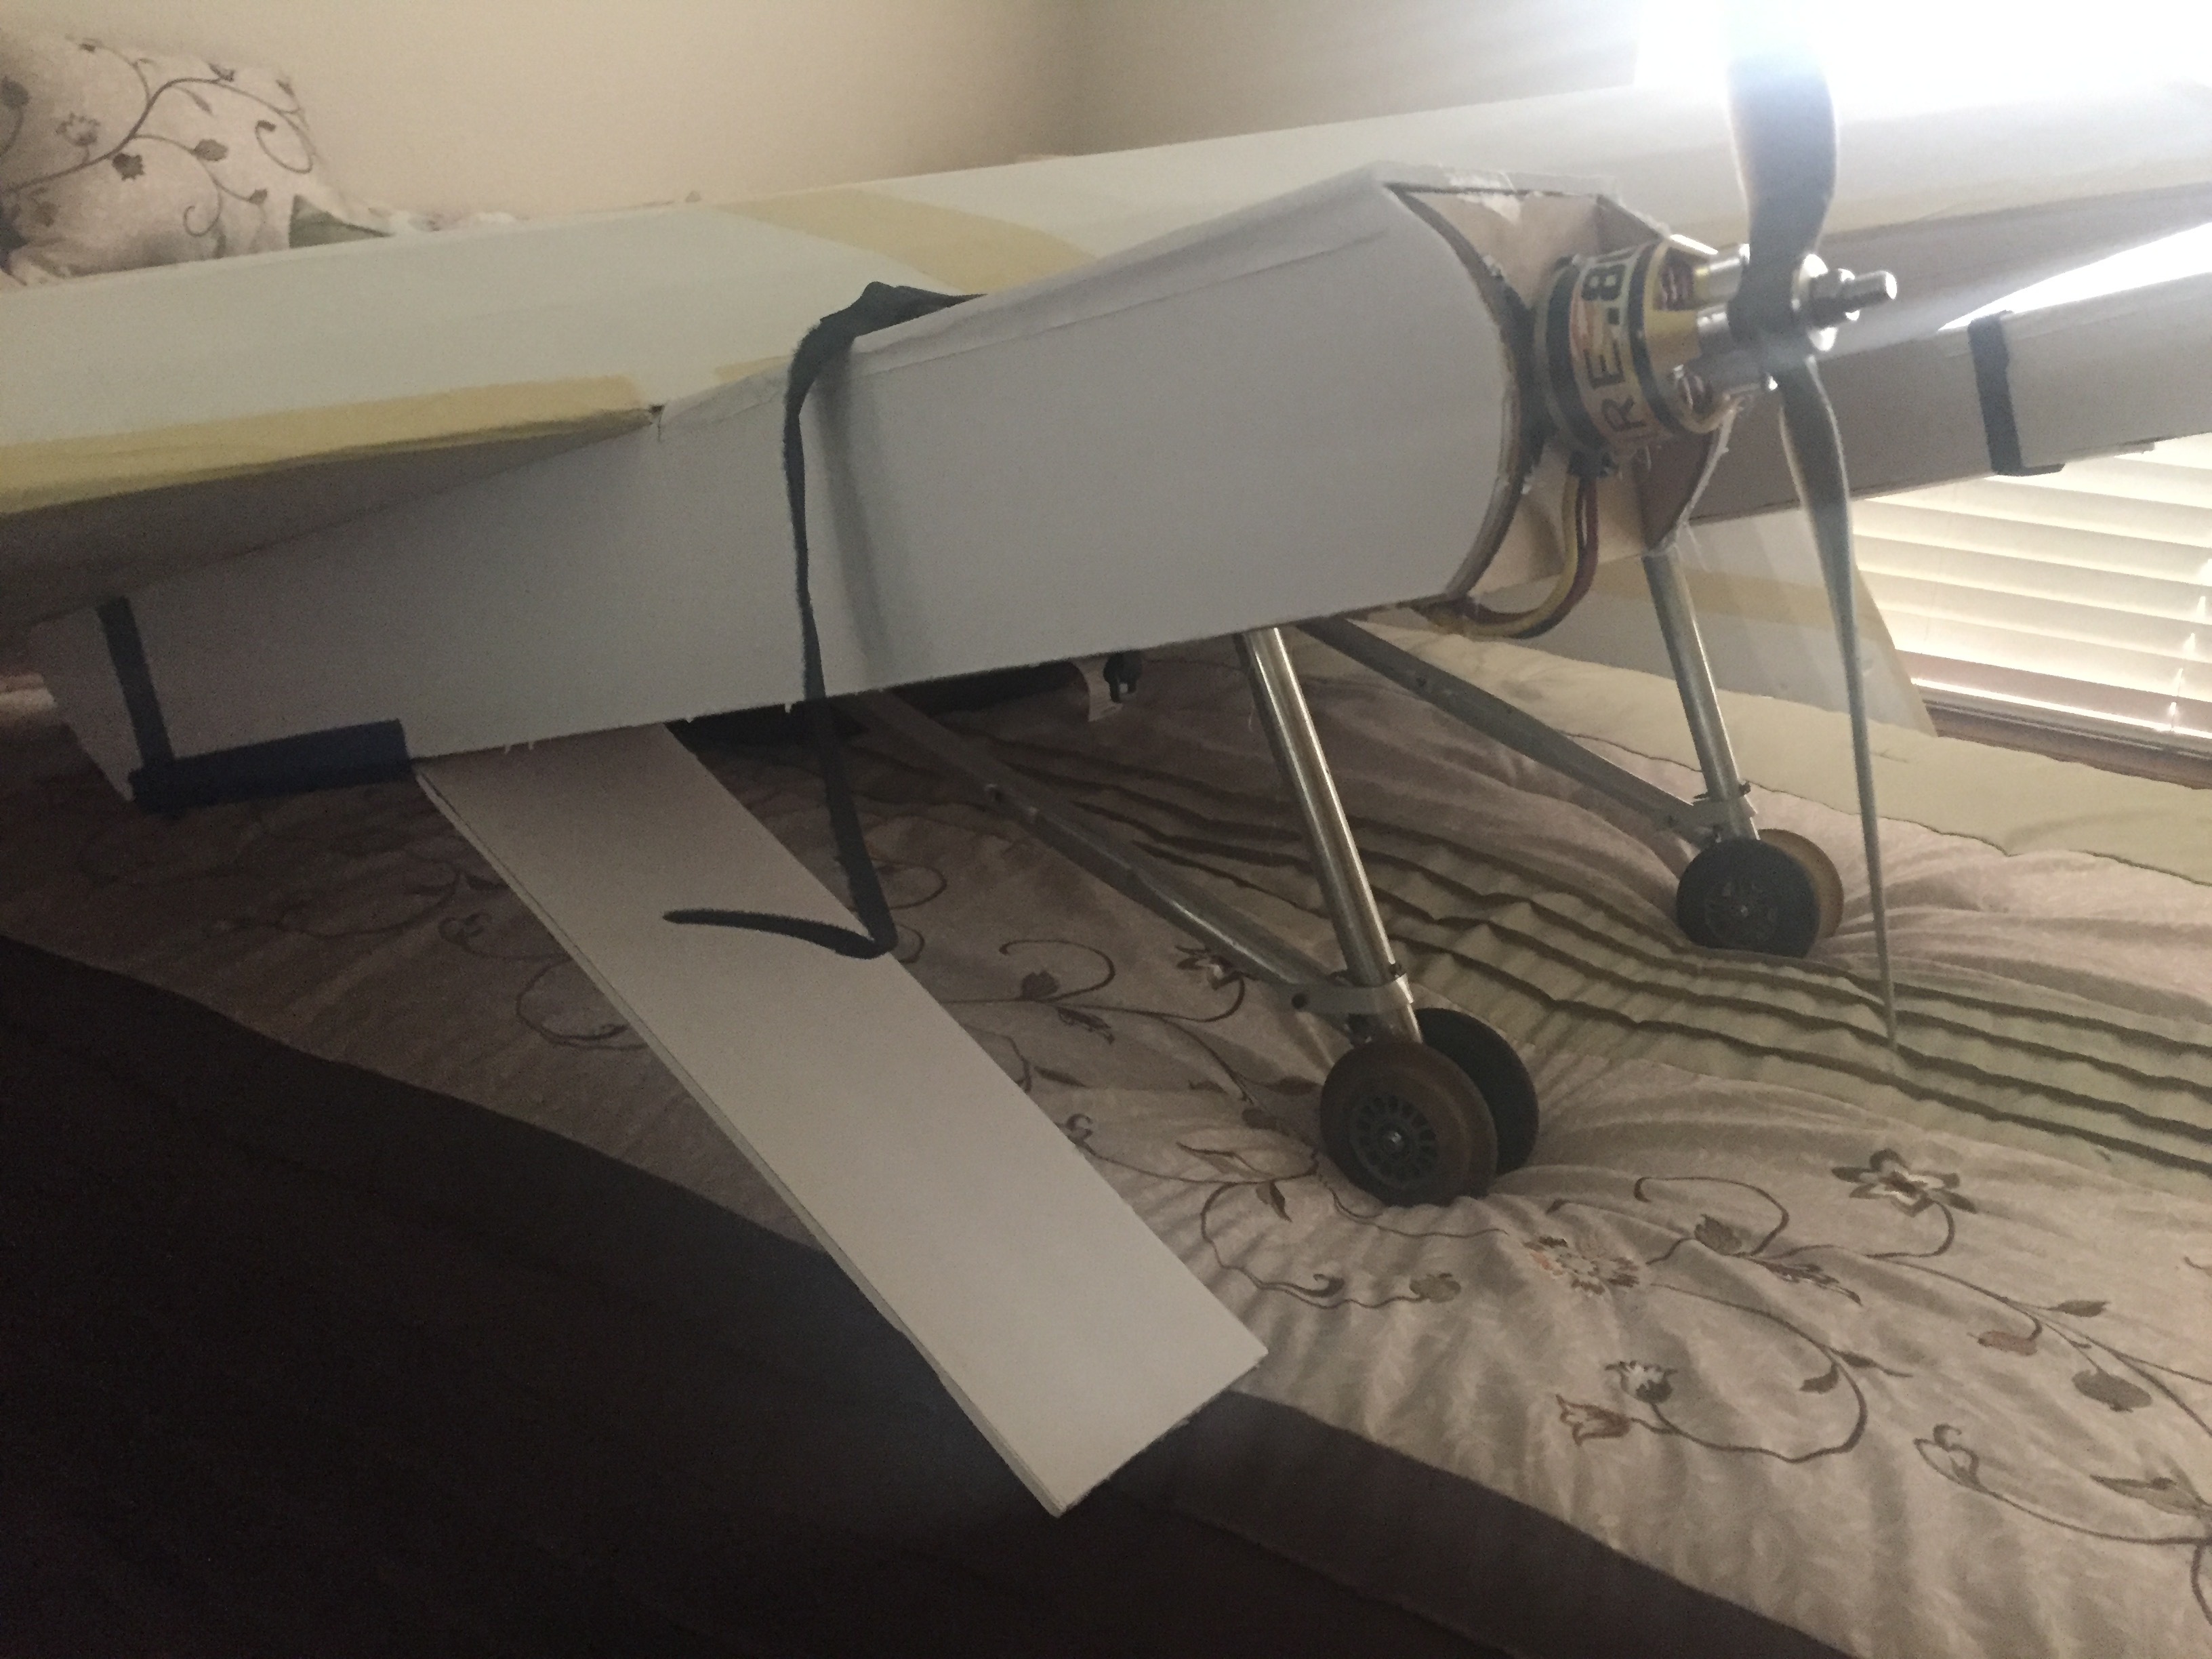
I didn't have the motors yet at this point, so I'm going to move on to the landing gear. I made mine out of an old lawnchair and some Razor Scooters. I'm not saying that this is a GOOD idea, but it was an idea, and I did it, and it seems to hold up okay if done right.
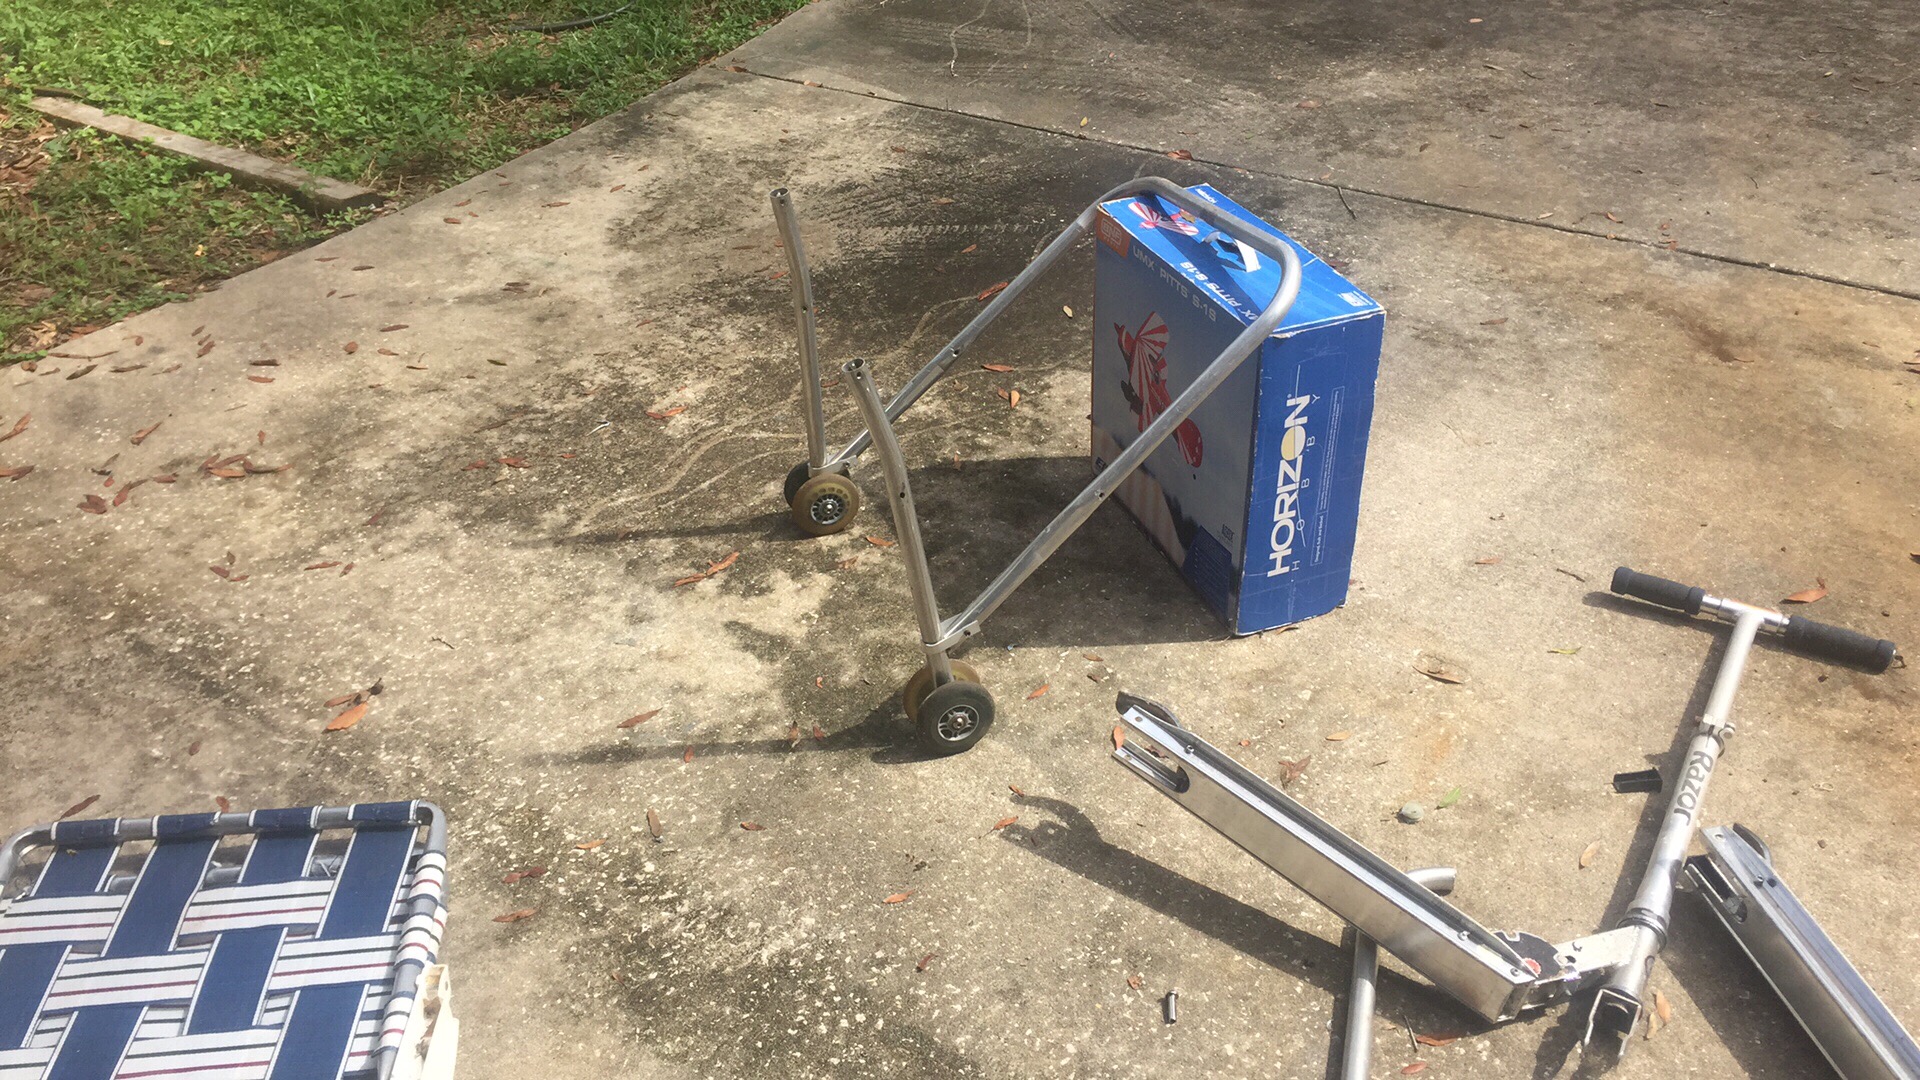
It's mounted directly to the spar with three woodscrews on each side.
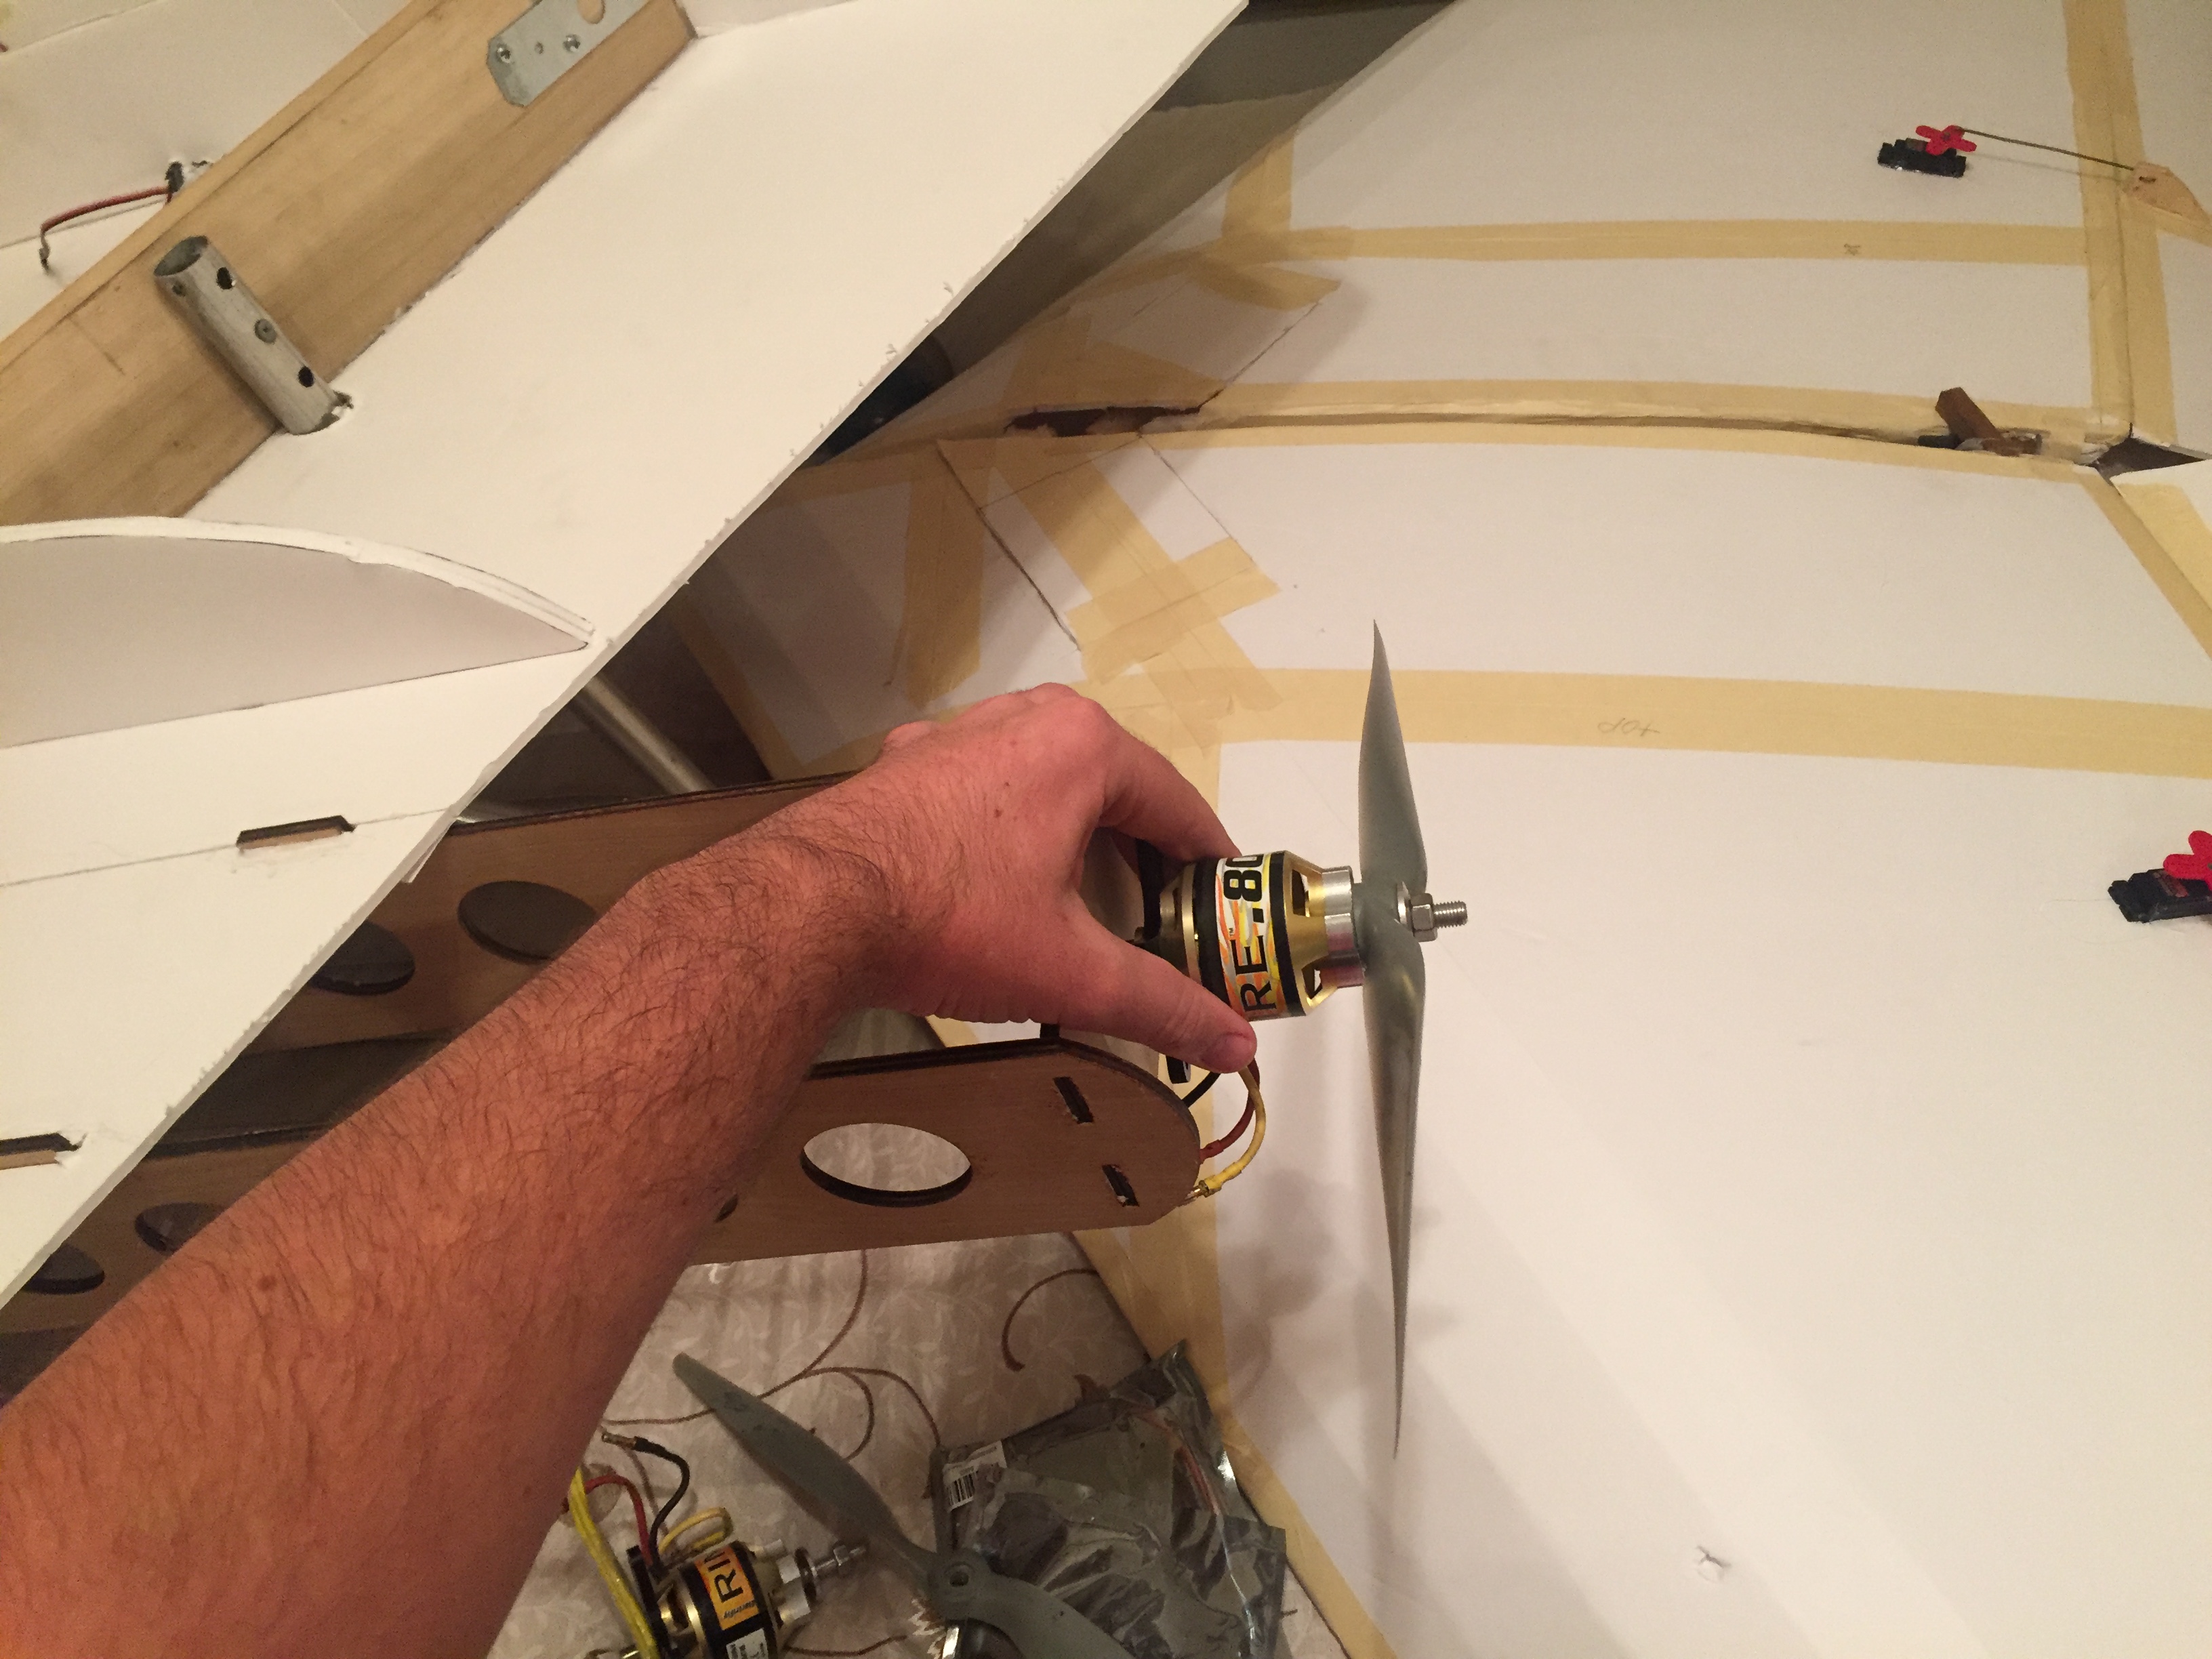
Now I'm going to add the motors and ESCs. I used Rimfire .80 motors (50-55-500kv) with 15" props, 90a ESCs from hobbyking, and 6s Lipo packs.
I used some scrap bits of the spar material to make blocks that help hold the screws in.
And I found a pilot. Apparently. (Please do not fly your pets.)
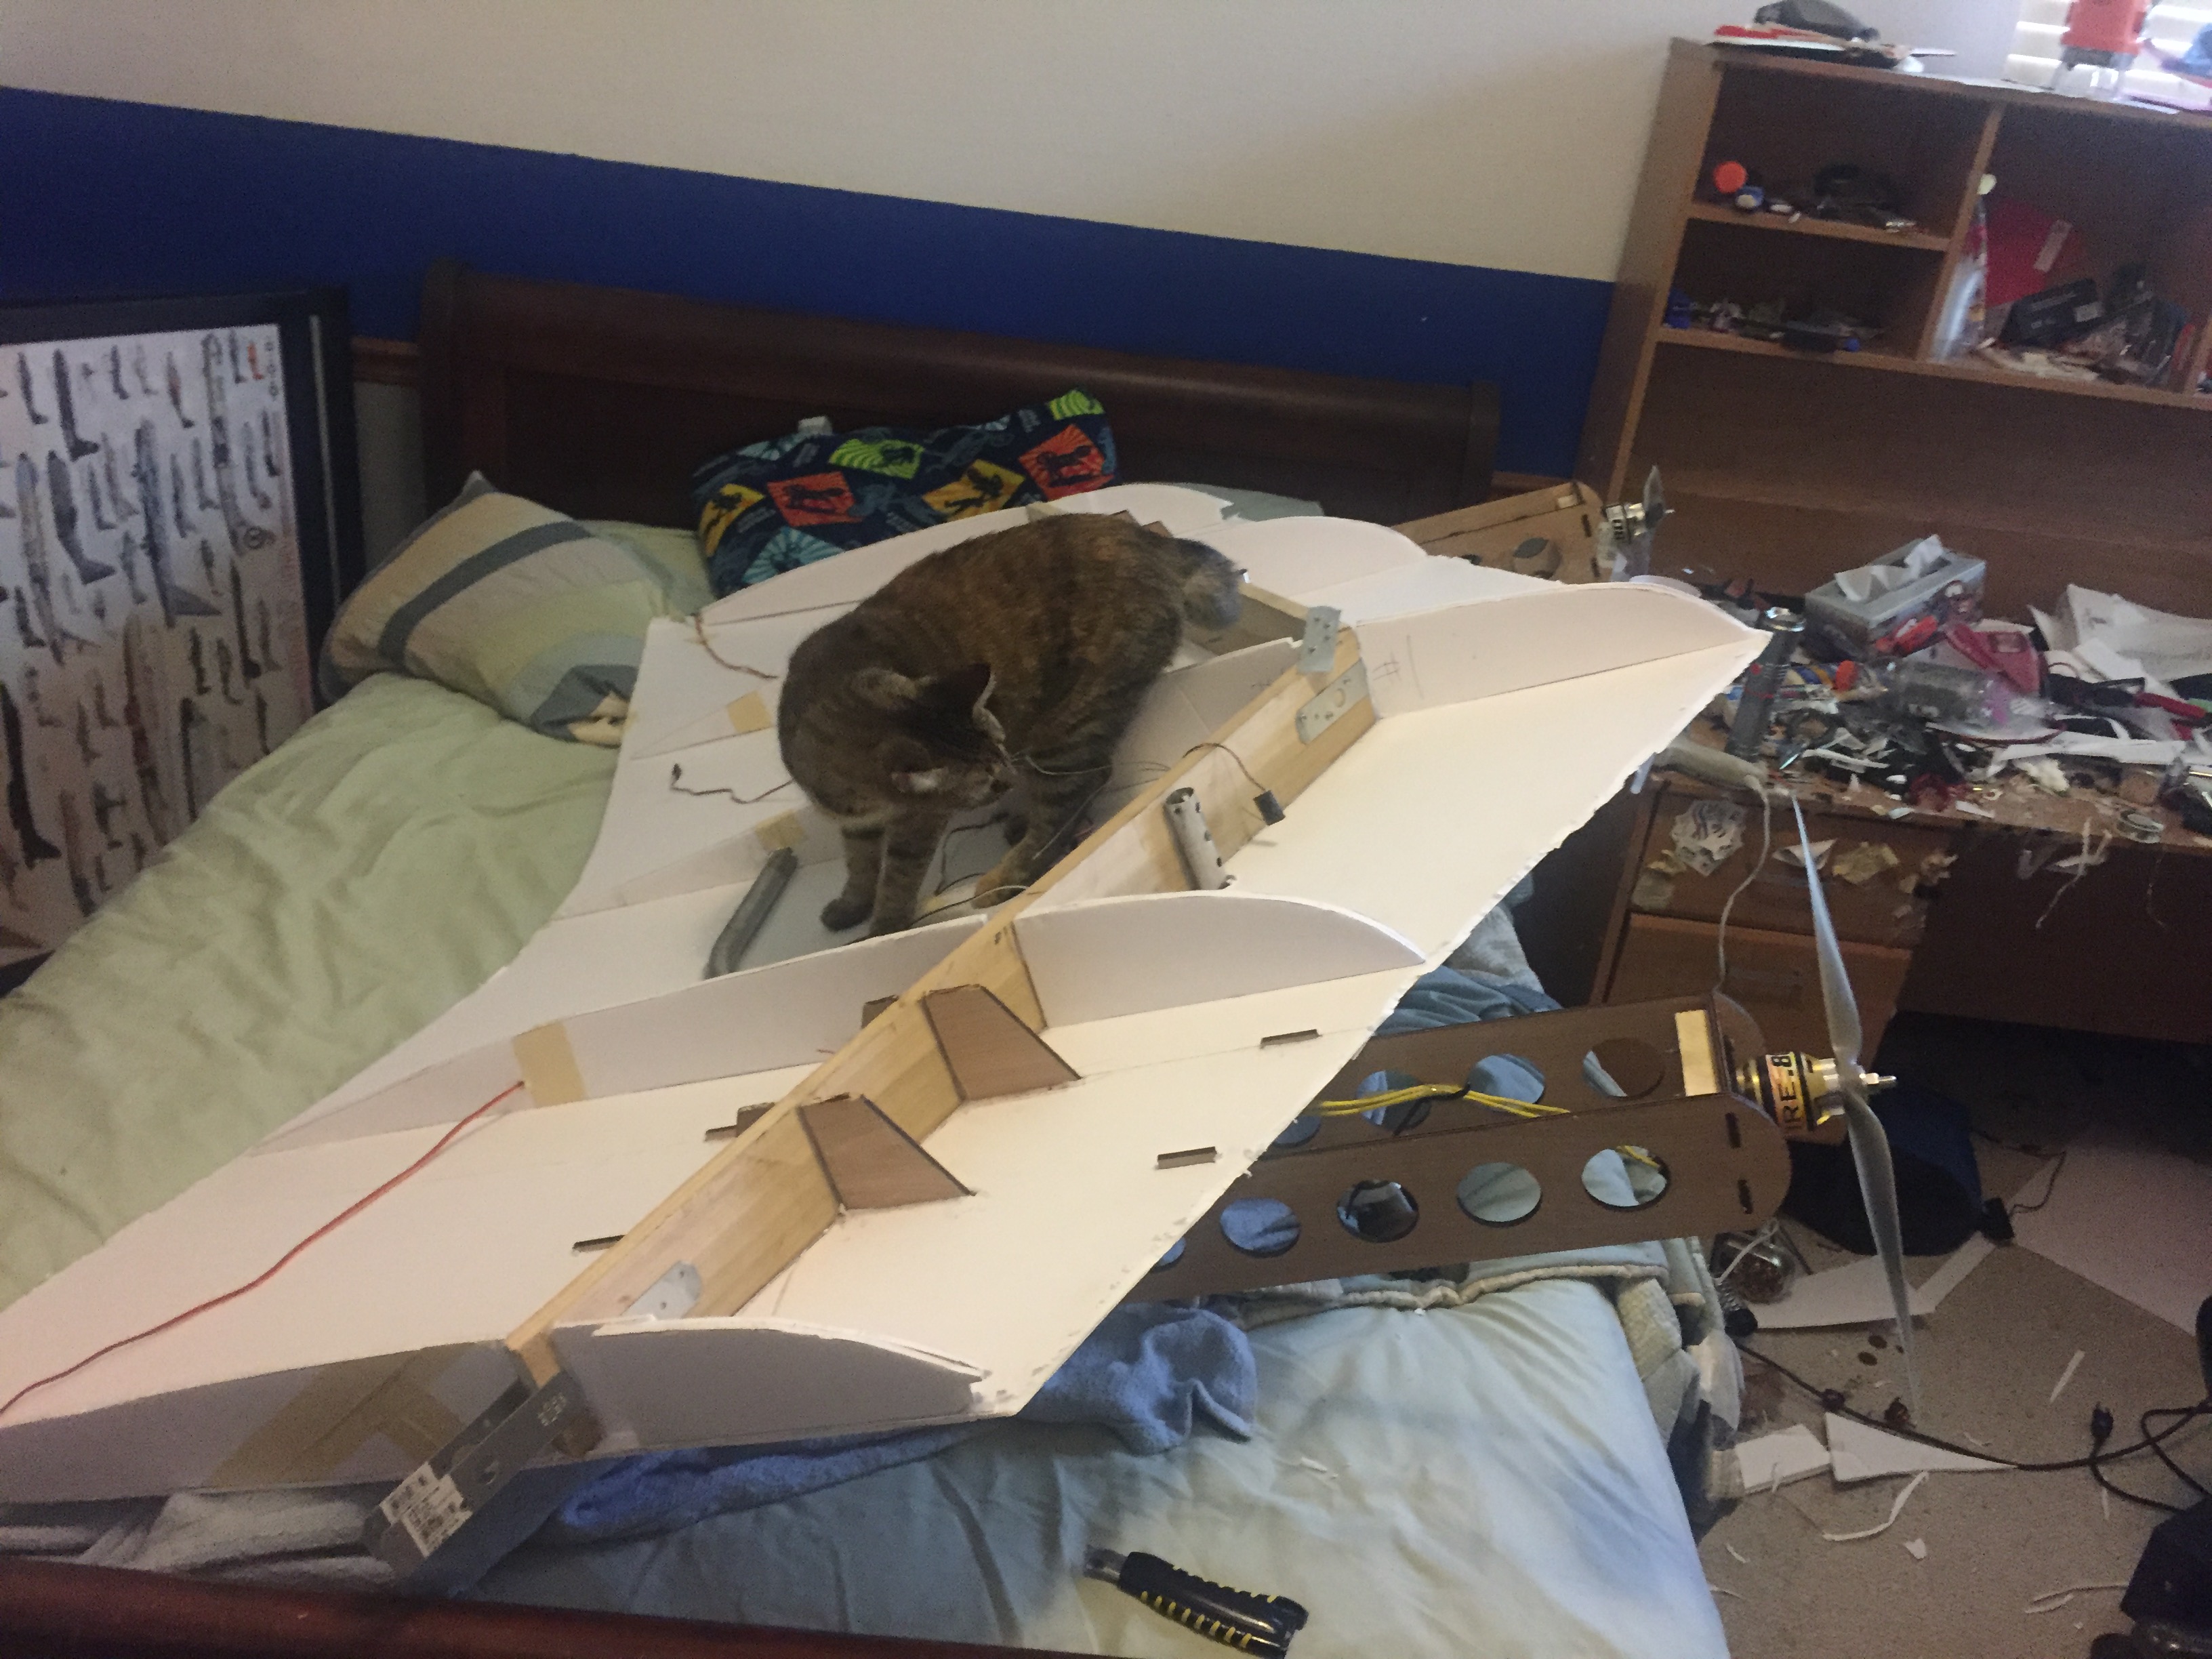
With most of the major work done, now we can put the top wing panels on the center section, along with the two remaining servos and control surfaces.
Make a hatch to access the receiver and servo battery. I don't recommend using a BEC to power this thing, an independent battery will be much safer and the weight is negligible 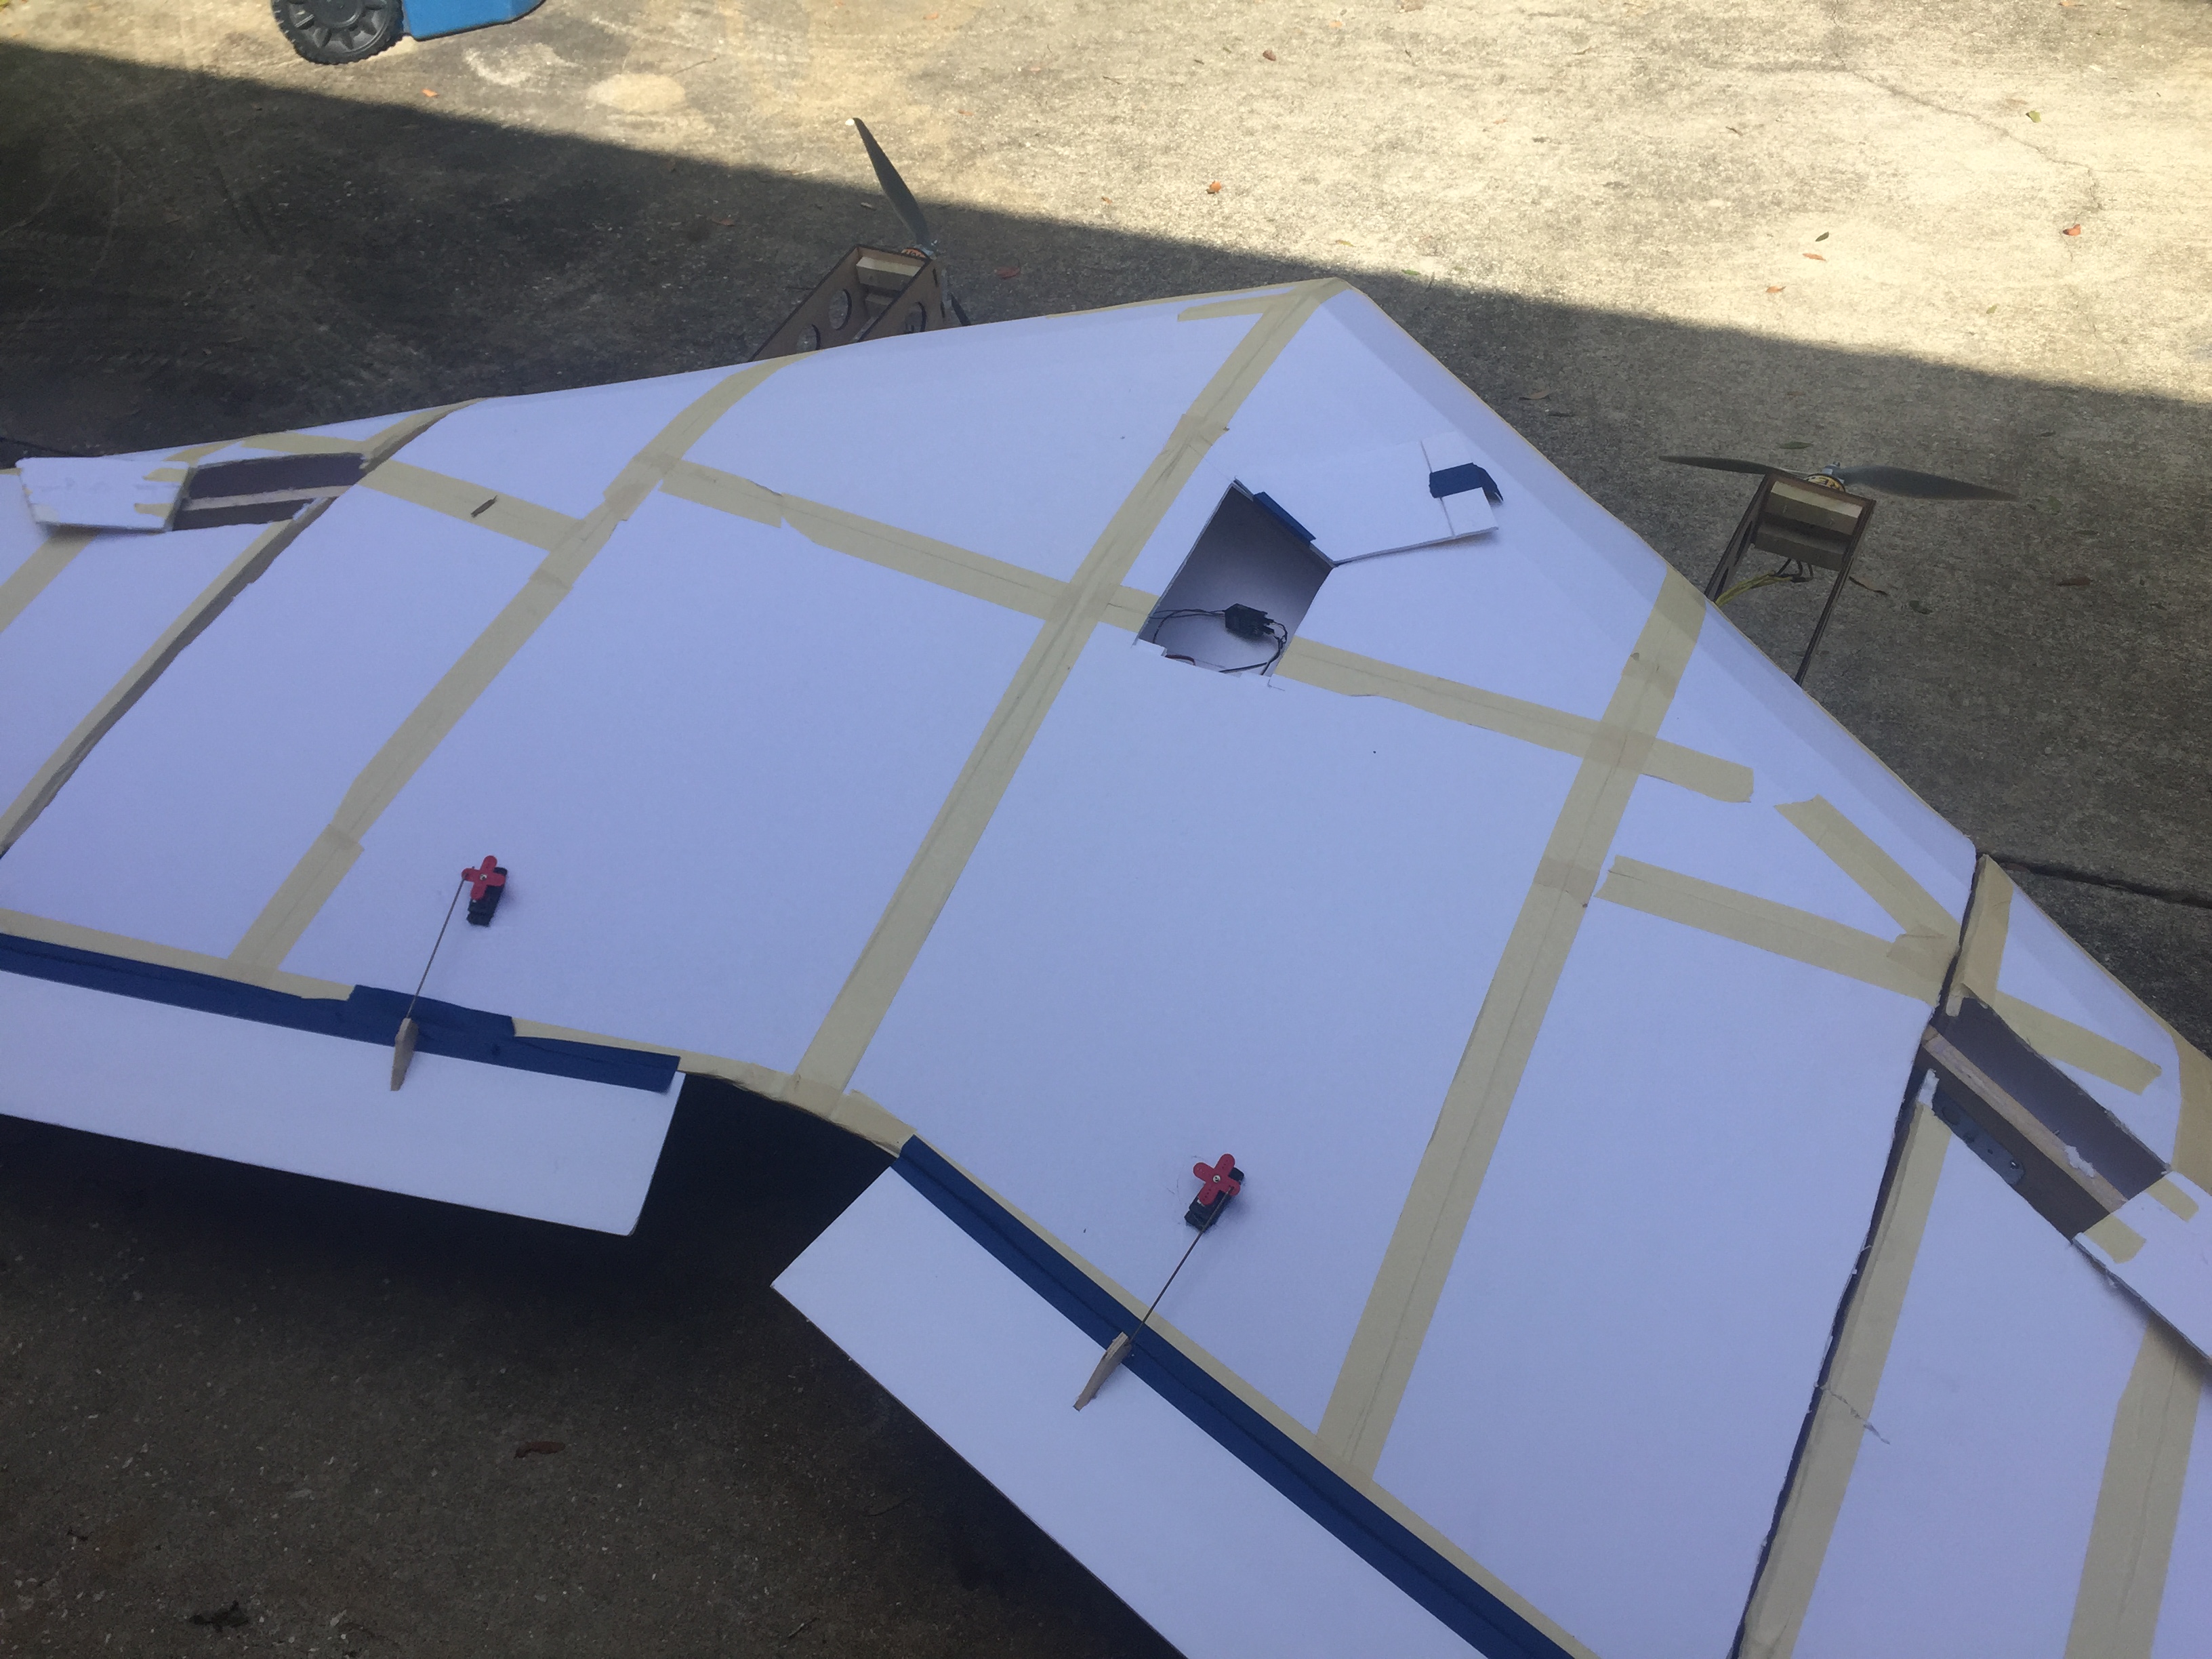
Now comes the small details. Skinning the power pods, radio setup, CG, etc.
All that's left now is getting it to the flying field. Which is actually a bit difficult. You need either a van or a trailer, this wont fit in a pickup or SUV.
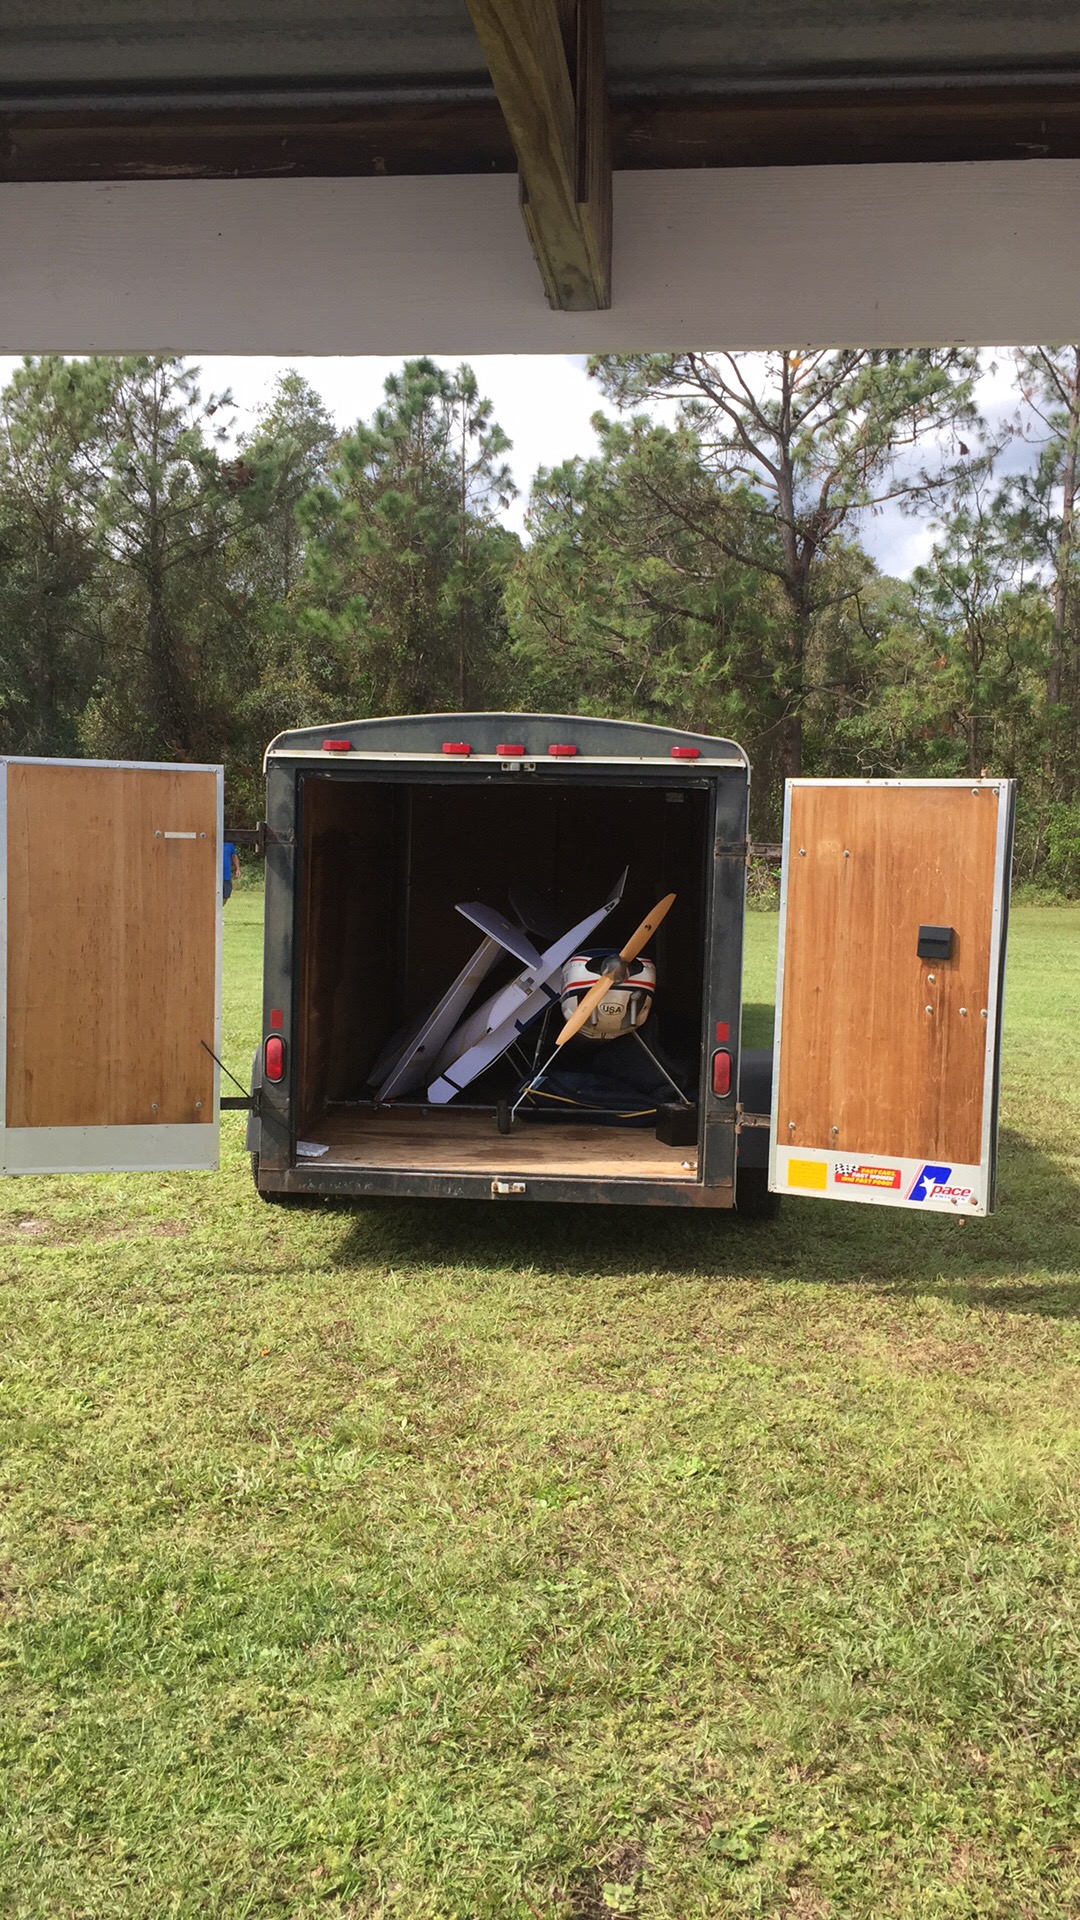
You need a BIG field to fly this in. I recommend going to your local AMA club, if you have one. It looks slow, but it still eats space very quickly.
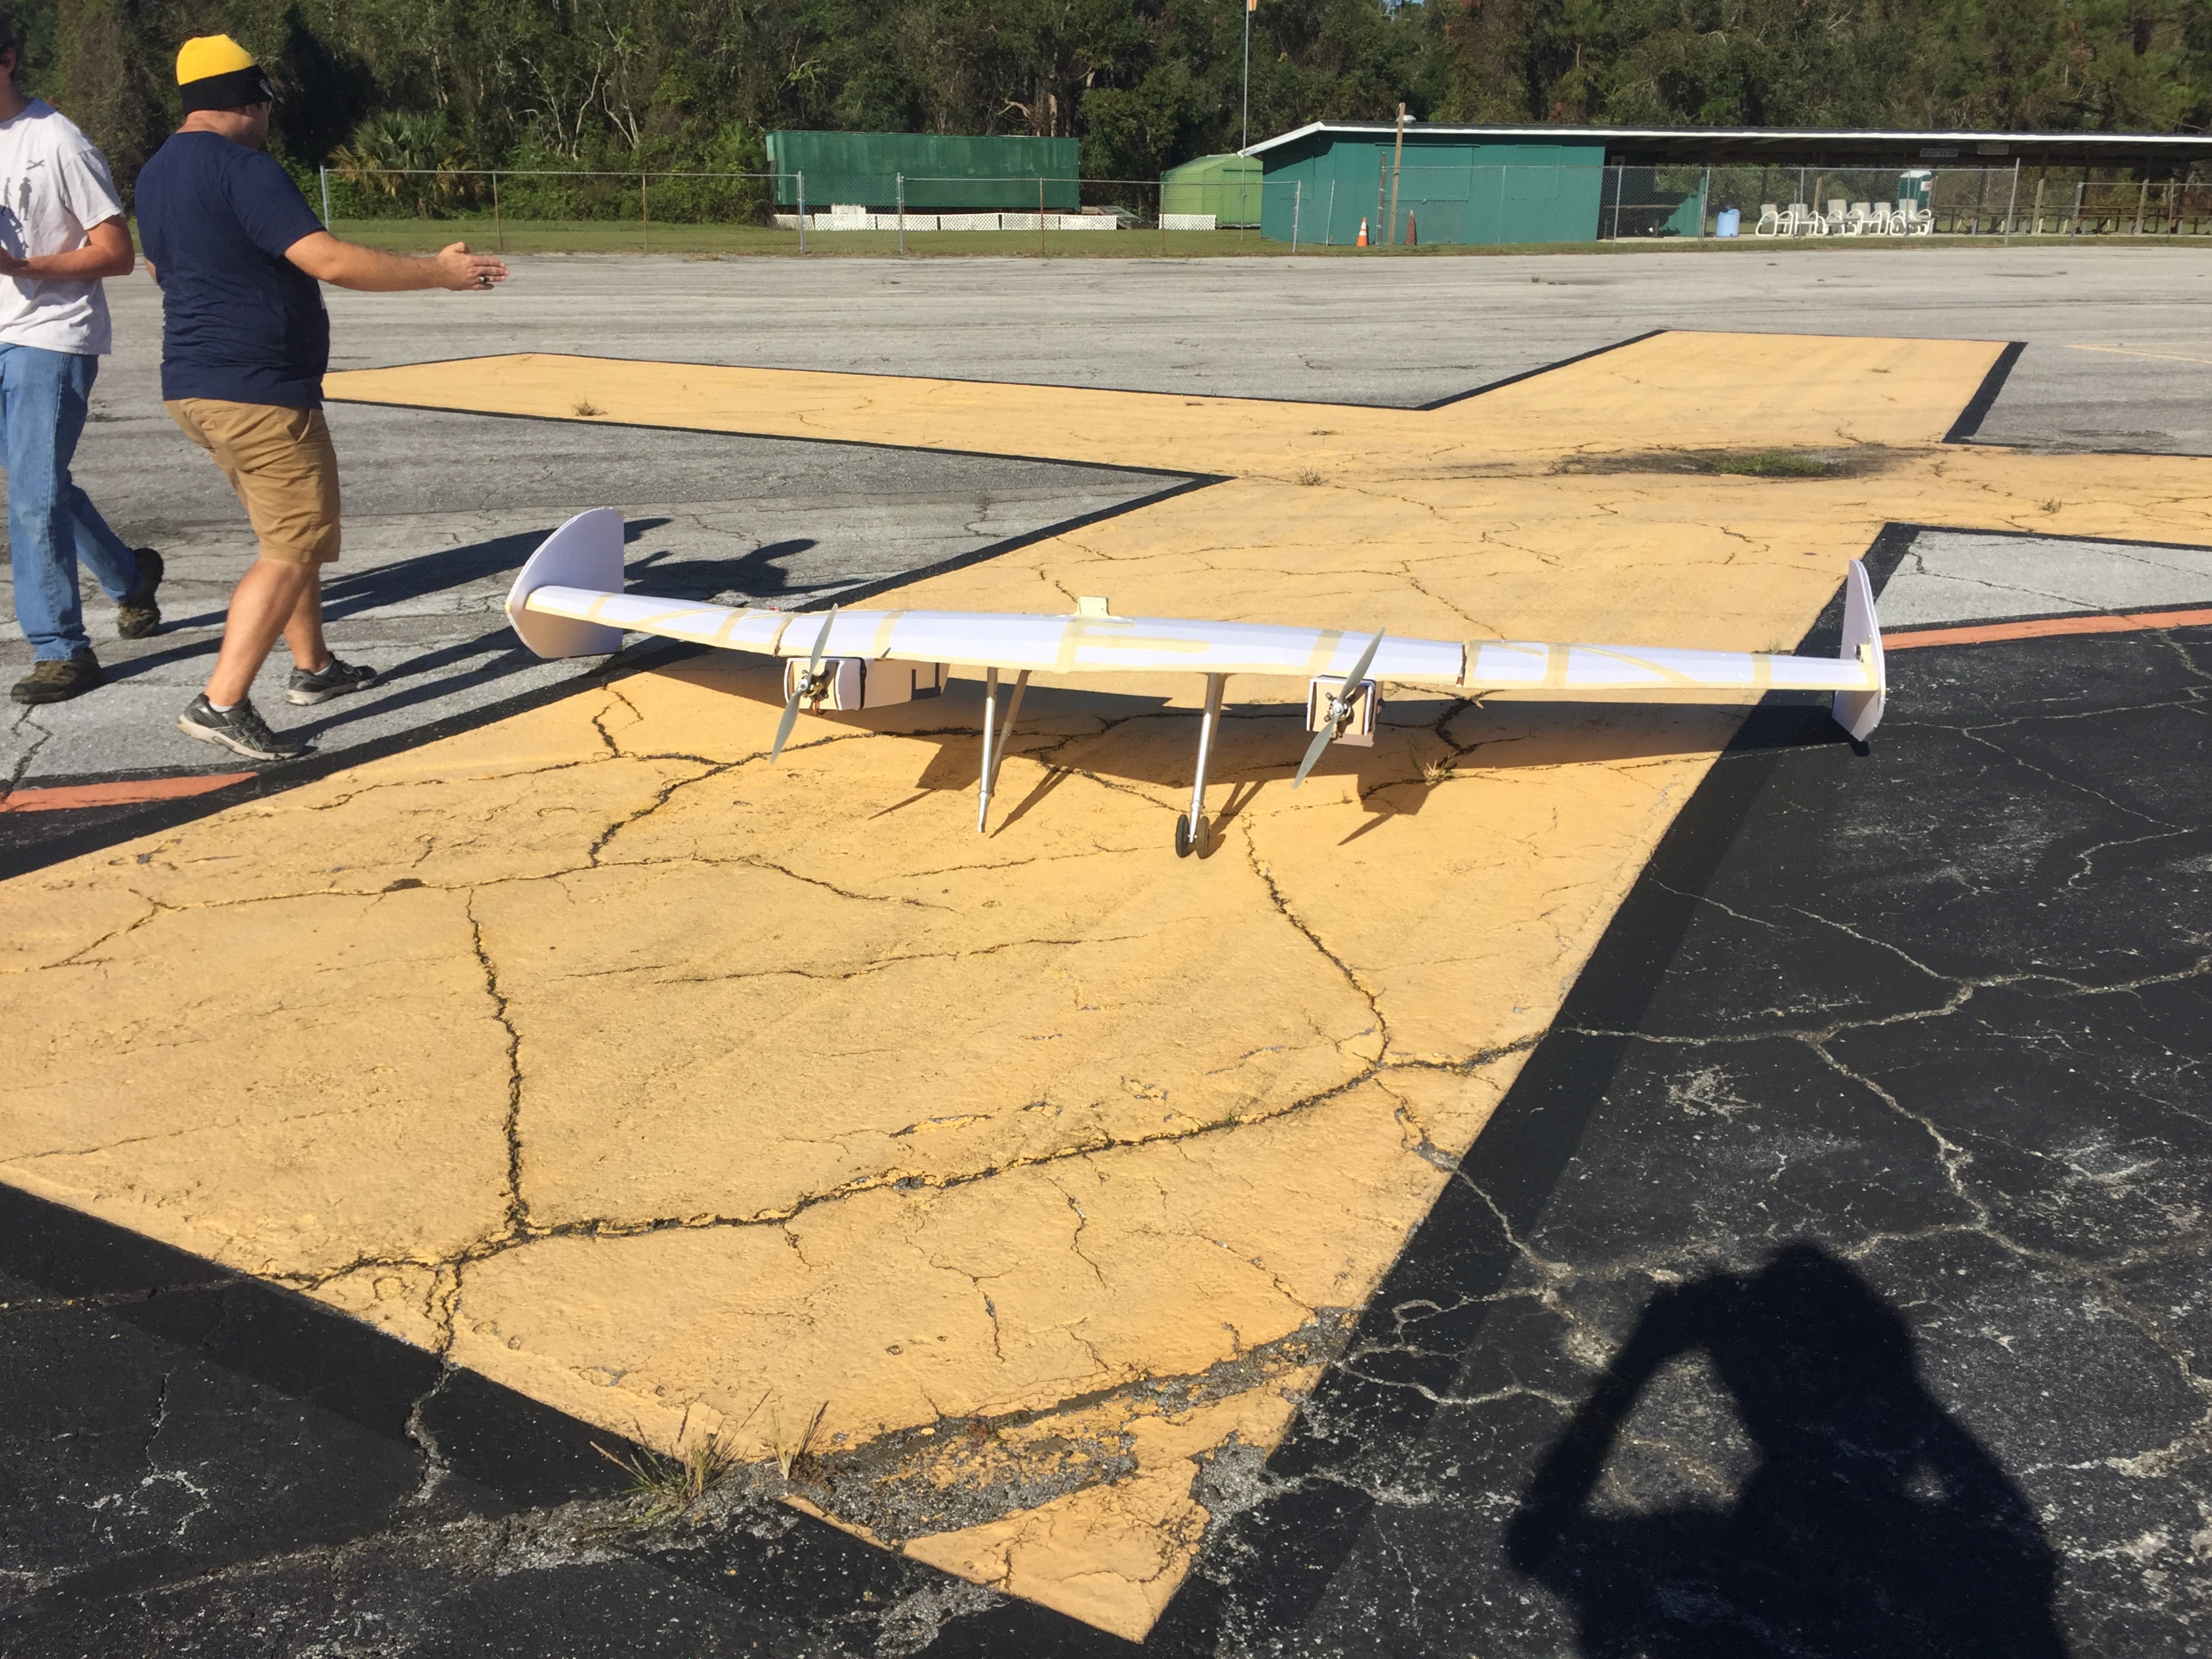
Ready for takeoff!

And that's all! This plane is still very much a work-in-progress, but I will have it at Flitefest South 2017, and you can see it there!


Firstly, I must congratulate you on this monster build. I had thought of doing this plane as 200% or even 300% and even had plans, but decided it wasn't worth it. Now, to the details:
I noticed several things:
-Your plane seems to be very pitch sensitive, which isn't normal with a Kraken. Dial in some Expo
-You have something close to negative dihedral. I don't know if this is coming from design of the spar or such, but it would be much more stable if you changed something in that respect
-The pirouettes: I have a Kraken, and had the same problem with it spinning around every takeoff and landing. Try to put your landing gear farther apart, and possible add some shocks on this model. If you land very hard, you might over-stress the spar. Second, get differential thrust. This overall makes this plane much more enjoyable to fly, especially when battling the wind. (It's a downhill battle: literally) I might also recommend either using waterproof foam next time, or skin it with something like monokote.
Nice job. You had the guts to do what I didn't.
Log In to reply
By the way does anyone have the original Kraken build plans? Link? I can't find them.
Log In to reply