Warning: This article details the use of substances that are hazardous. Please read all instructions on the materials you use and adhere to them. They may be different to the materials I have used. Even though I'm not wearing gloves in the process I suggest you do as the picture frame glass can have sharp edges, and you don't want to get the resin on your hands.
I am about to start my Tricopter v2.5 build, and as much as I would like to buy Davids CNC cut boards, I thought I would have a go at making my own.
Unfortunately I cant seem to find any fiberglass sheet readily available so I am making my own. This article is for those that would also like to make their own fiberglass board and note its end use not just limited to Tricopter builds.
Materials and Tools required:
 This is a list of everything you will need to make your own fiberglass sheet.
- Fiberglass Resin and Activator
- Fiberglass cloth/mat (I prefer the look of the woven cloth over the mat)
- 2 glass panes larger than the size sheet you want (get them out of cheap picture frames from your discount store)
- Razor/utility knife blades
- Straightedge and of framing square
- Sharpie marker
- Paint scraper
- Paint brush (cheap ones - you wont be able to reuse it)
- Paint roller (cheap as well)
- Paddlepop sticks
- Old glass cup/jar
- Car wax (eg turtle wax)
- Old T-shirt/towel
- Something heavy (e.g. 2.5-5kg barbell plates)
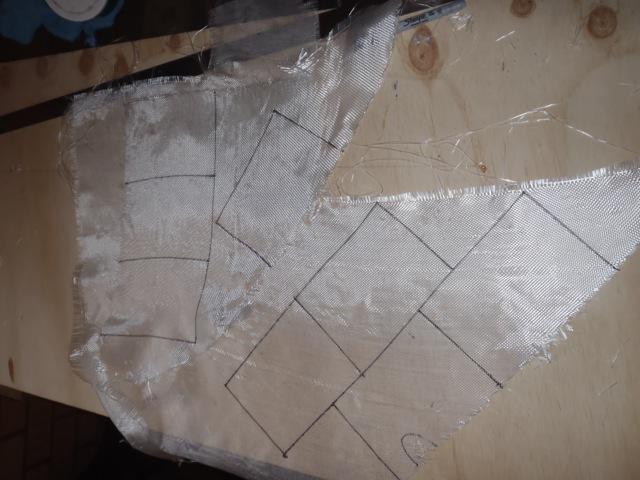
Lay out your FG cloth on a flat clean surface that you can cut on. Using a Sharpie marker, mark up how you are going to cut it with the square or straight edge. As this is a laminated sheet I cut half the pieces in line with the sheet and the other half at a 45deg angle to that. For the tricopter frame I am making a sheet that is 120 x 170mm this allows me some room incase the edges of the cloth moving in the assembly step. Be careful when moving the cloth as it is very delicate.
Note: Be sure to wash your hands after handeling the cloth as the fibers are very irritating to eyes and other sensitive body parts.
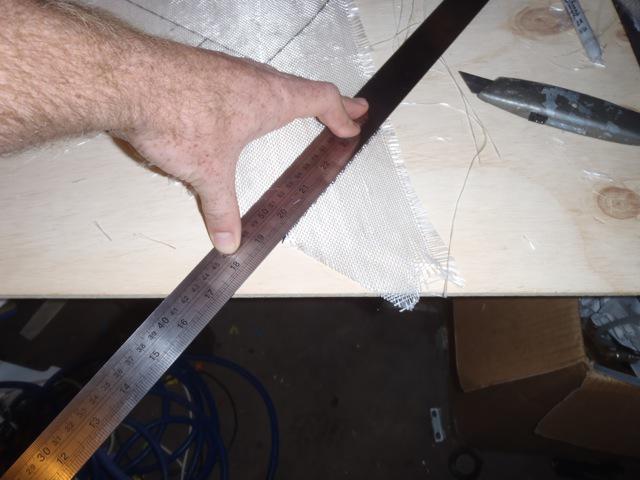
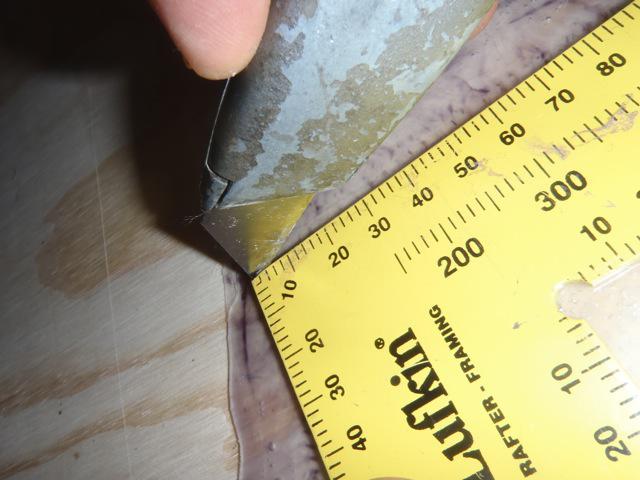
Using the straight edge to hold the cloth down (this prevents the knife messing up the weave) carefully cut out the pieces.
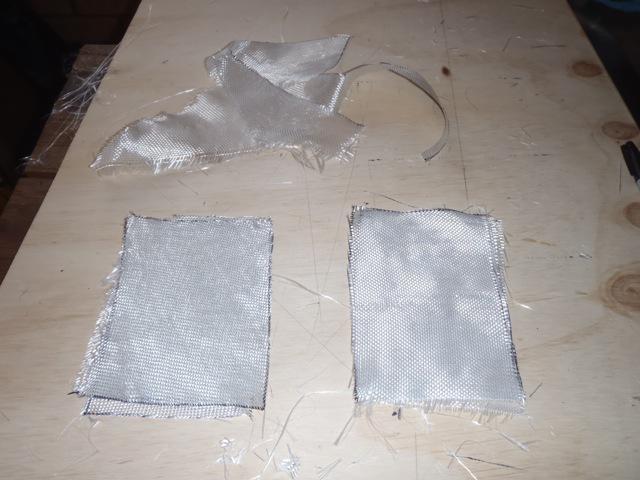
Once you have all the pieces cut out stack them into two piles. One for the square orientation and the other for the 45deg.
Prepare mould for Glassing
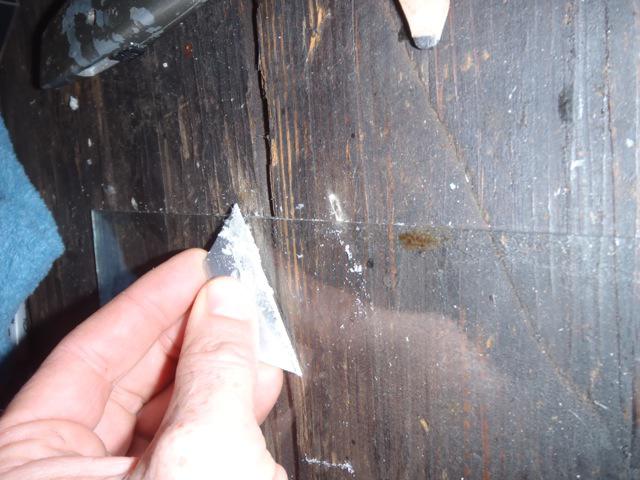
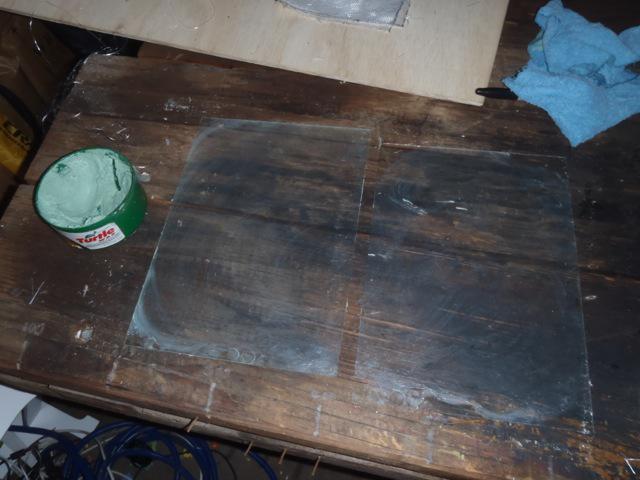
If you have made one already you will need to remove any excess resin from the side of the glass that you will be building your board on. Using a utility knife blade scrape off all old resin so the surface is smooth and clean.
Once the surfaces are smooth and clean its time to get your Karate Kid on and "Wax on, wax off!"
Apply wax evenly to both panes of glass then buff clear.
Wax on...
Wax off...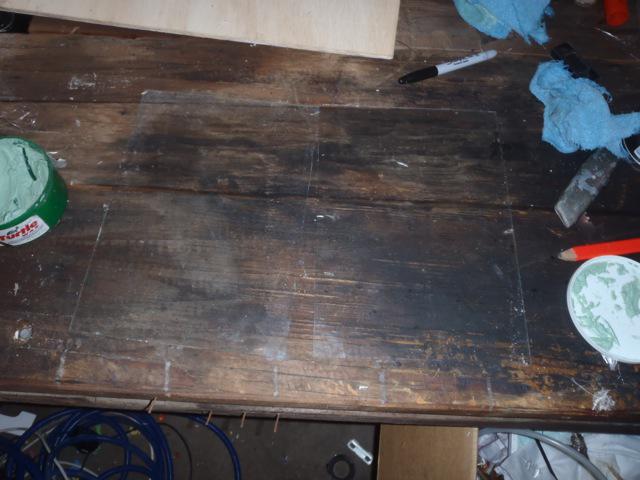
Putting it together
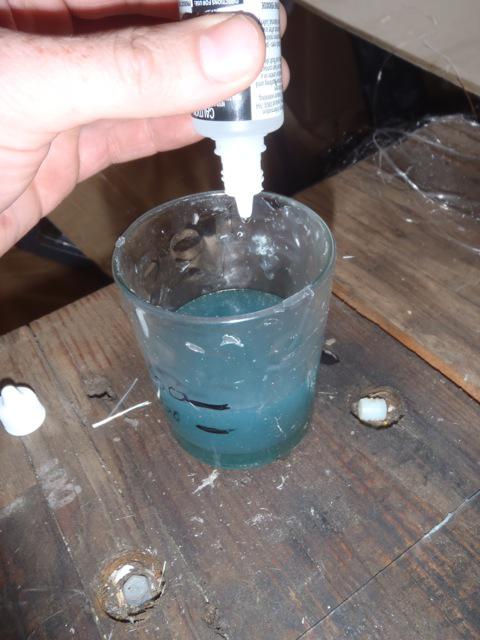
For a 120mm x 170mm 7 ply sheet you will need approximately 100ml of fiberglass resin. To help measure it I filled an old glass with 100ml of water and marked the outside, then tipped out the water and completely dried the glass. This allowed me to fill my old glass with 100ml of resin.
Waring: The following steps should be done in a well ventilated room/outdoors. Mix the resin as directed on the packaging.
Note: In hotter climates you will need less activator than in colder areas.
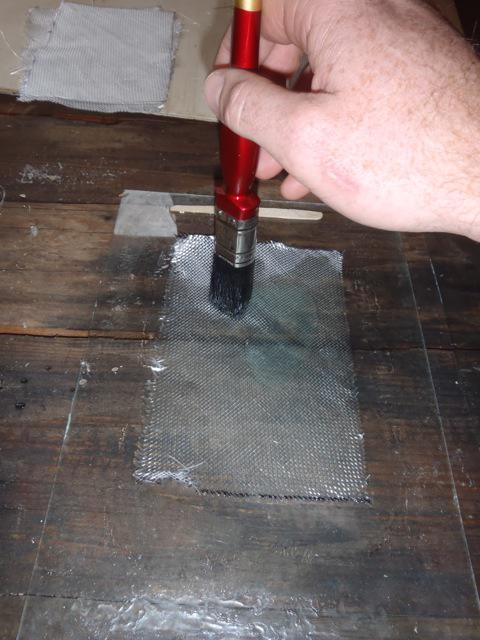
Using a cheap paintbrush apply a thick coat to the bottom pane of your 'mould' to an area just larger than your FG cloth. (The paddlepop stick was used for mixing)
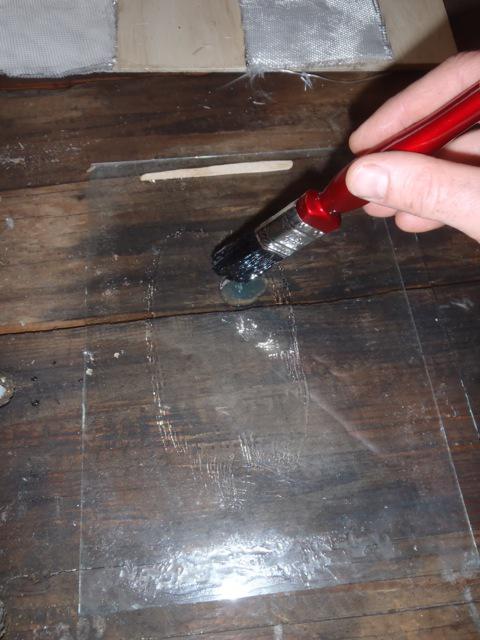
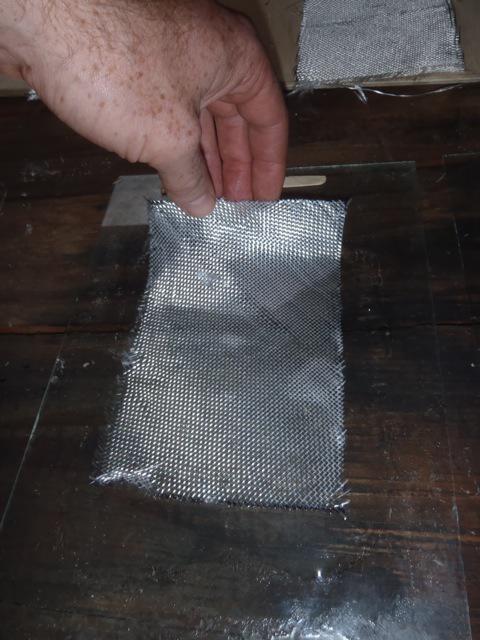
Working reasonable quickly, but not rushing, begin laying down the cloth. I'm using one of my 45deg pieces first.
Apply some more Resin on top of this but dont brush it use a dabbing motion to ensure you dont move the weave.
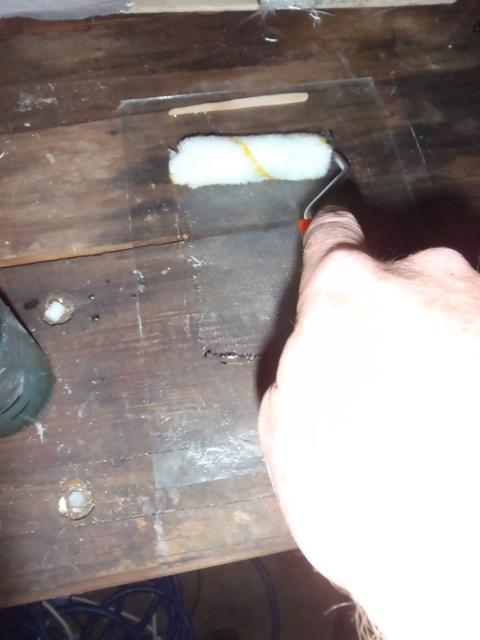
Squeeze out any air bubbles in the fibres by using the paint roller. You may have to add some more resin as the roller will take some up.
Repeat the above process as you lay down each layer. If you decide to use two different orientations on your weave be sure to alternate orientations between laminations. e.g. 45deg - square - 45deg - square - ...
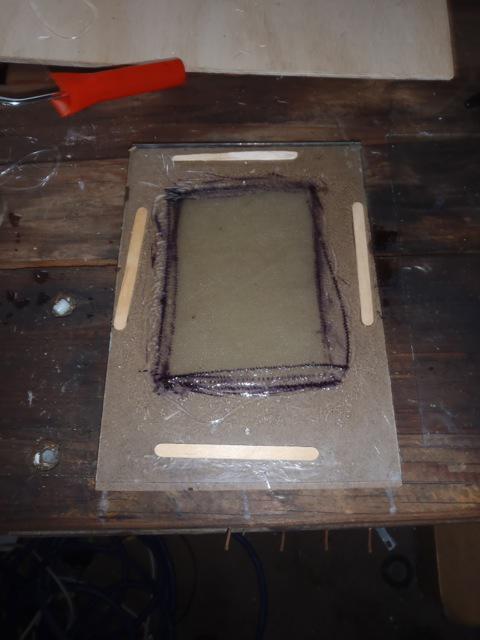
Once you have laid down and rolled each of your laminations you should have something similar looking to below. After about 10 minutes of assembly notice how the epoxy resin has begun polymerising (indicated by the change in colour). The resin also acts as a solvent on the sharpie marker and spreads the ink around :(
To make a set thickness board use spacers around the edge of the glass pane. Such as paddlepop stick pictured below. In the end I chose not to use the spacers
Side note: if you want to make a solid coloured board have the hardware/paint store mix approx 5% colour pigment through the resin.
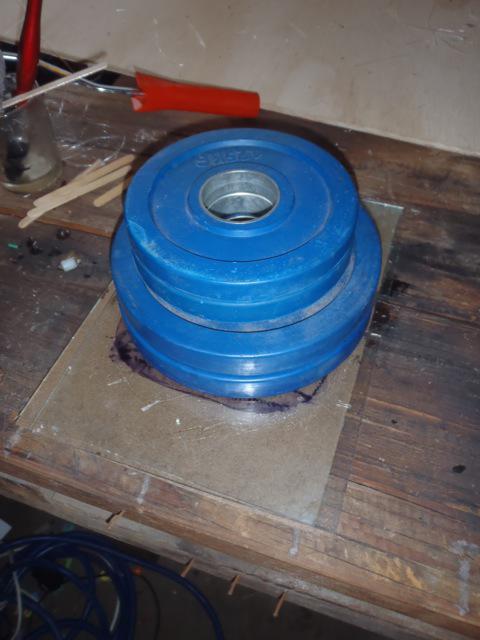
Place your second pane of glass, wax side down, on top and carefully apply some weights to squeeze it all together (I used 7.5 kg). Then leave overnight to allow to cure.
De-moulding
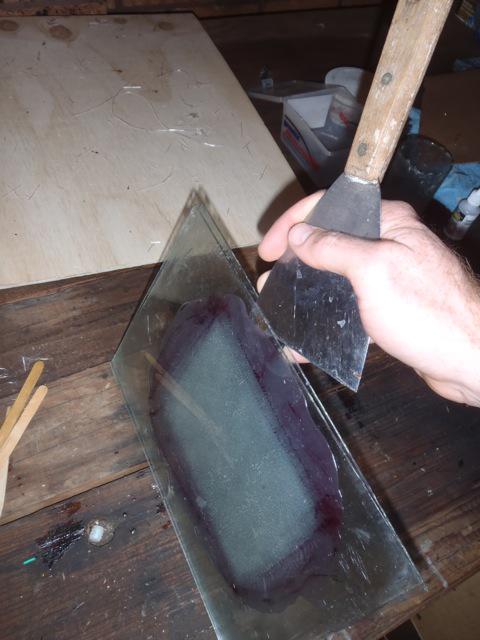
After curing overnight you are now ready to remove the FG sheet from the panes. To do this, carefully lever one of the panes of glass off using a paint scrapper. Be careful to slowly work your way around doing a little at a time. Use too much pressure here and you will surely crack the glass.
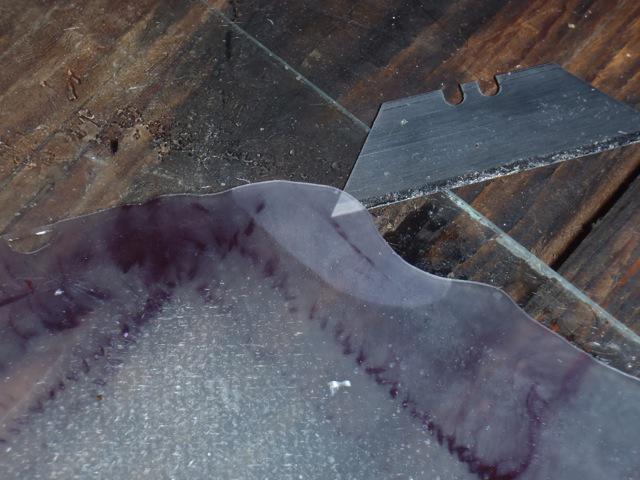
You can then use a utility knife blade to begin lifting the sheet from the other pane of glass.
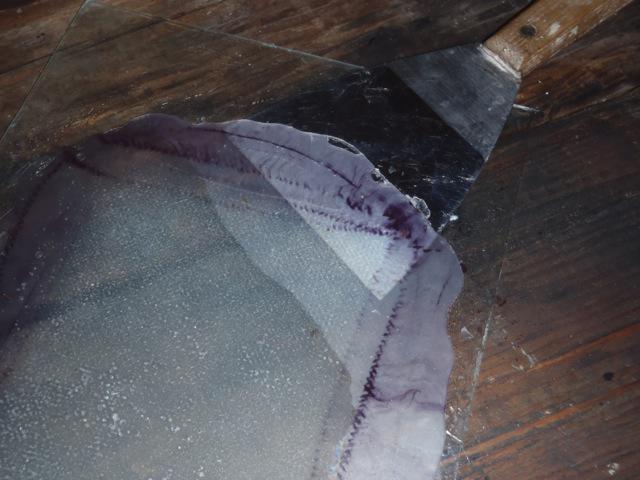
Once it is started you can go back to the paint scrapper to quickly and easily remove the rest of the sheet.
Once the FG sheet has been lifted from the glass you can use your utility knife and square/straight edge to cut off the excess resin. I recommend making several passes on each side of the board before bending the cut to break the excess off. Any fibres still holding the board together can be trimmed with the utility knife.
It may pay to let it cure for another 24 hours after de-moulding to let the board achieve maximum strength before you machine it or put it through its paces in the air.
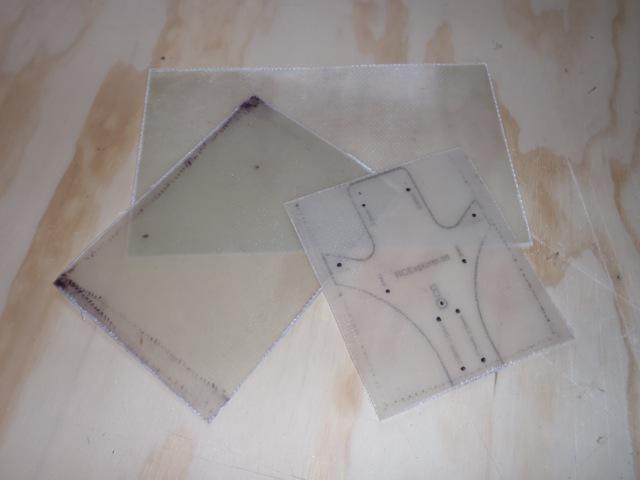
So there you have it!
Your own homemade fiberglass sheet that you can use to make a tri/quad/any number of copter or even something else.
If you found this useful be sure to rate it 5 stars!
Cheers,
Tom
PS. I'll show you how to quickly put a complex design onto the board (like the RCExplorer tricopter body above) in my next article.


Log In to reply
Log In to reply
Log In to reply
Log In to reply
Log In to reply
Log In to reply
Log In to reply
http://www.undcon.com/colorex
Log In to reply
Log In to reply
DO look at the link above, especially the ASSEMBLY diagram; you will need to change spacing of holes depending upon the size of arm you use (1/2 inch vs 10 mm for example). The geometry is important.
Also: Use either 3 mm screws, or , if you must use 'inch' use no bigger than 1/8. do not over do it, added weight is not worth it. invest in 3mm stuff, if u can.
C: maybe post a 1/2" version of coffin for us USA non-metric folks?
This post is great if you cannot readily buy fiberglass sheet, nor carbon fiber (I suspect the fiberglass is at least strong enough for Tris, and no electrical transmission problems.)
Thanks all.
Log In to reply
Log In to reply
Log In to reply