The original Idea:
I came across an old iPod Nano that I hadn't used for quite a while and it sparked an idea, why not put a sound system into an airplane? I could use the iPod for audio files such as real engine sounds, but how would I get the sound to play?
The Search for Parts:
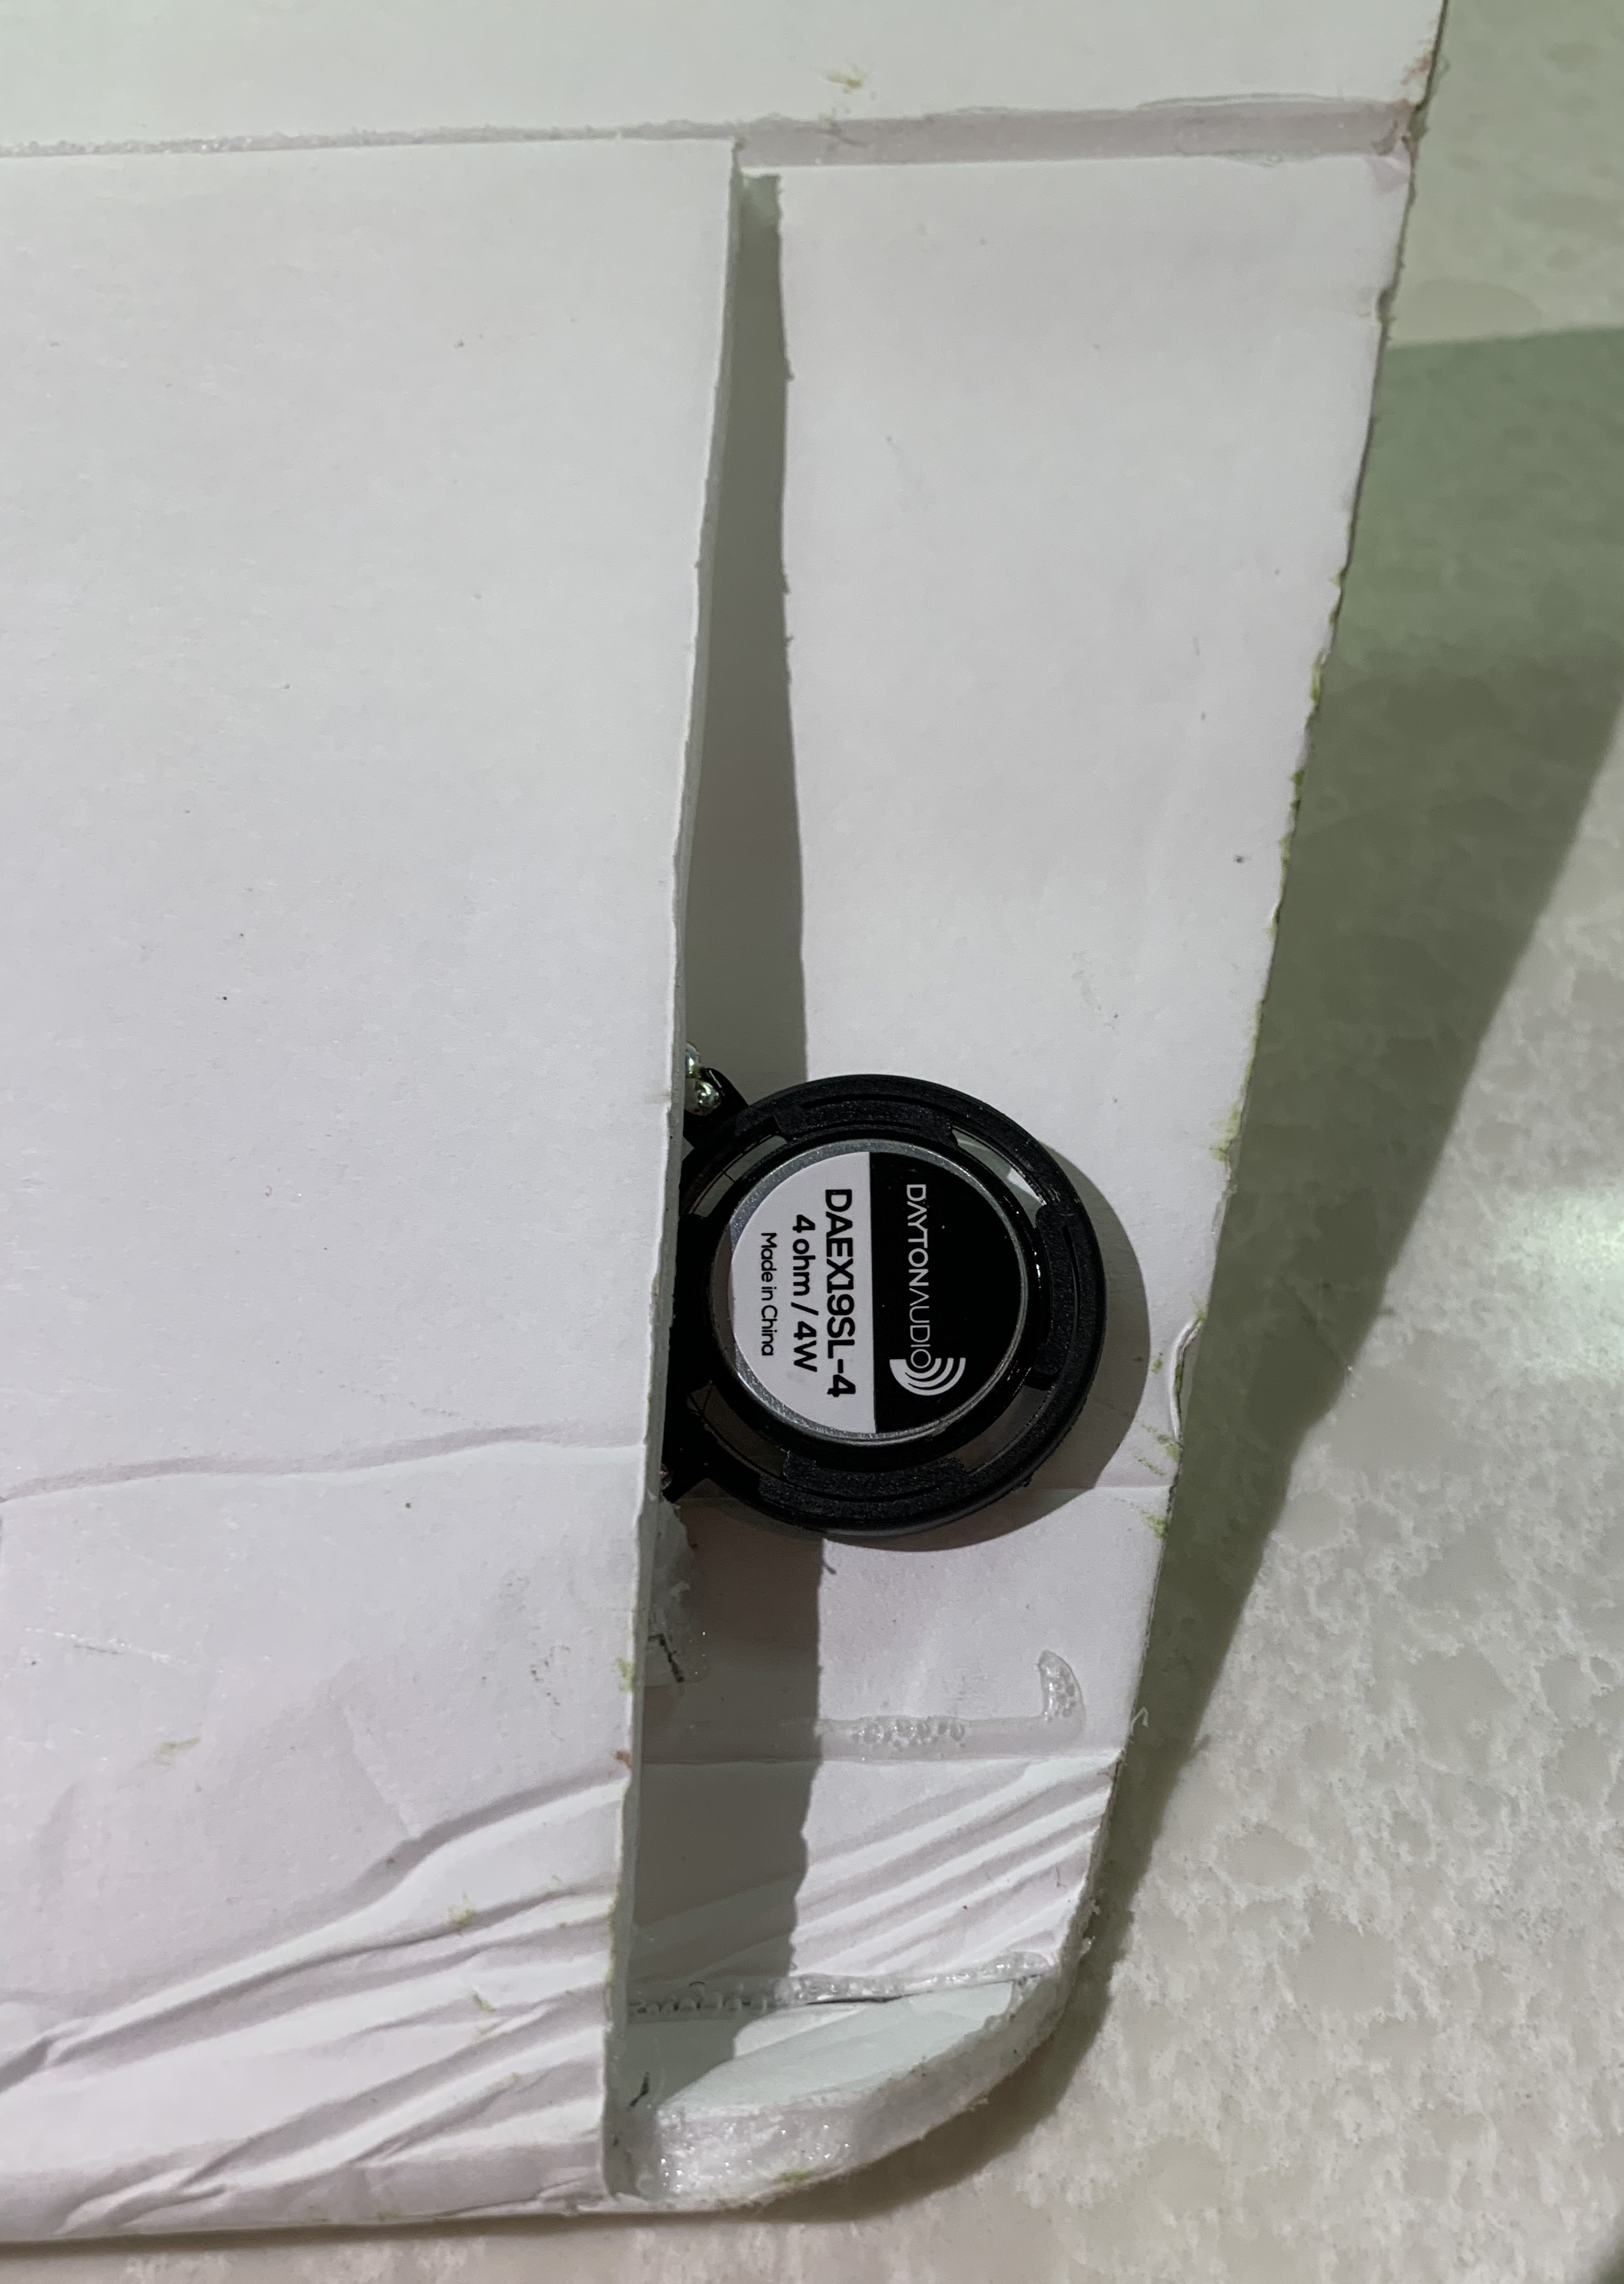
I remembered seeing audio exciters made by Dayton Audio on the Parts Express site and looked to see if they made any small enough to use. If you are not familiar with exciters, they are basically the driver part of a speaker without an attached cone. To get sound from them they need to be attached to another surface. In this case the inside surface of a foam board airplane wing. I found some exciters that were quite small, the Dayton Audio DAEX19SL-4 which is about 1.3" diameter by 0.26" thick. The stated weight is 13.5 grams. Now I needed a battery powered amplifier. Parts Express sells an amplifier that runs off of 7-15Vdc, is 1.57" x 1.26" and has a 3.5mm stereo jack for audio input. I ordered two of the exciters ($4.28 each), one of the amplifiers ($8.09), and a compatible DC power plug. I have to note that one thing that made this much more doable is Flitetest having added an auxiliary JST power connector to their ESCs. I made a short power cable with a JST connector to a 2.1mm x 5.5mm DC plug to supply power to the amplifier. As many projects go what was the spark of the original idea can lead to more ideas as the project progresses. While waiting for my parts to arrive, I found a very small board on eBay that has an MP3 decoder, amplifier and Micro SD card reader ($6.98), so I decided to try that route as well. The MP3 board has a single mono output at 1W versus the amplifier board of 10W on 2 channels. The MP3 board has a different voltage requirement, I couldn't use the JST connector on my Flitetest ESC since I am using a 3s Lipo and the voltage exceeded the 3.7-5.5Vdc specified. The BEC that is in the ESC supplies 5Vdc at 3A to the receiver, so I used an old servo cable with the signal wire removed as my power cable for the MP3 player. The last item required was a 16GB Micro SD card ($6.19).
Test Bed:
The test bed for my experiment was my banged up scratch built, dollar store foam Bloody Baron. That thing has hit the ground more times than I can remember, but it is as tough as nails and still flies great. The pictures below show the parts I used and how I installed them. One change from the pictures is that I flipped the exciters so that they were driving the flat underside of the wing. It was possible to capture a picture of them installed in the wings. I used a little hot glue on the paper covering the adhesive on the exciters and was able to slide them into the already finished wing. For a new build the exciters would be more easily installed before closing up the wing, they have adhesive on them for attachment.
Tests:
I tried using the iPod nano hooked up to the amplifier, but it wasn't completely satisfactory in my opinion and that combination was heavier than other combinations. I tried hooking both exciters up to the MP3 board mono output and that wasn't very loud. I found that using the MP3 board attached to the amplifier with a 3.5 mm audio cable gave the best result. The low power amplifier on the MP3 board is like a pre-amp for the much more powerful amplifier board. It can be very loud, but goes into distortion at higher volumes. The solution is to lower the volume on the output of the MP3 board until the best sound is achieved.
Operation:
The volume potentiometer on the amplifier is set at maximum since you can't reach it easily. Once the flight battery is plugged in, the MP3 player starts to play automatically at full volume. You have to use the blunt end of a skewer or dowel to hold down the Next/Vol- button until you reach a reasonable volume. A hole on the bottom of the power pod allows access to the control buttons on the MP3 board. A quick momentary push of any of the buttons causes the first function (ie: Pre/Vol-), holding the button down for 2 seconds or more causes the second function (ie: Pre/Vol-). It must be noted that the MP3 player works with a Micro SD card of 16GB or less. I tried it with a 64GB card, and it would not work.
Conclusion:
I have yet to fly the plane since adding the sound system, and will update this article with the results once it is flown. I have already identified a lighter amplifier that I may try if all goes well in the flight testing.
 The test platform, my scratch built Bloody Baron. Maybe I should call it the Bloody Noisy Baron?
 The exciters with 24 awg wire attached weigh in at 32 grams each.
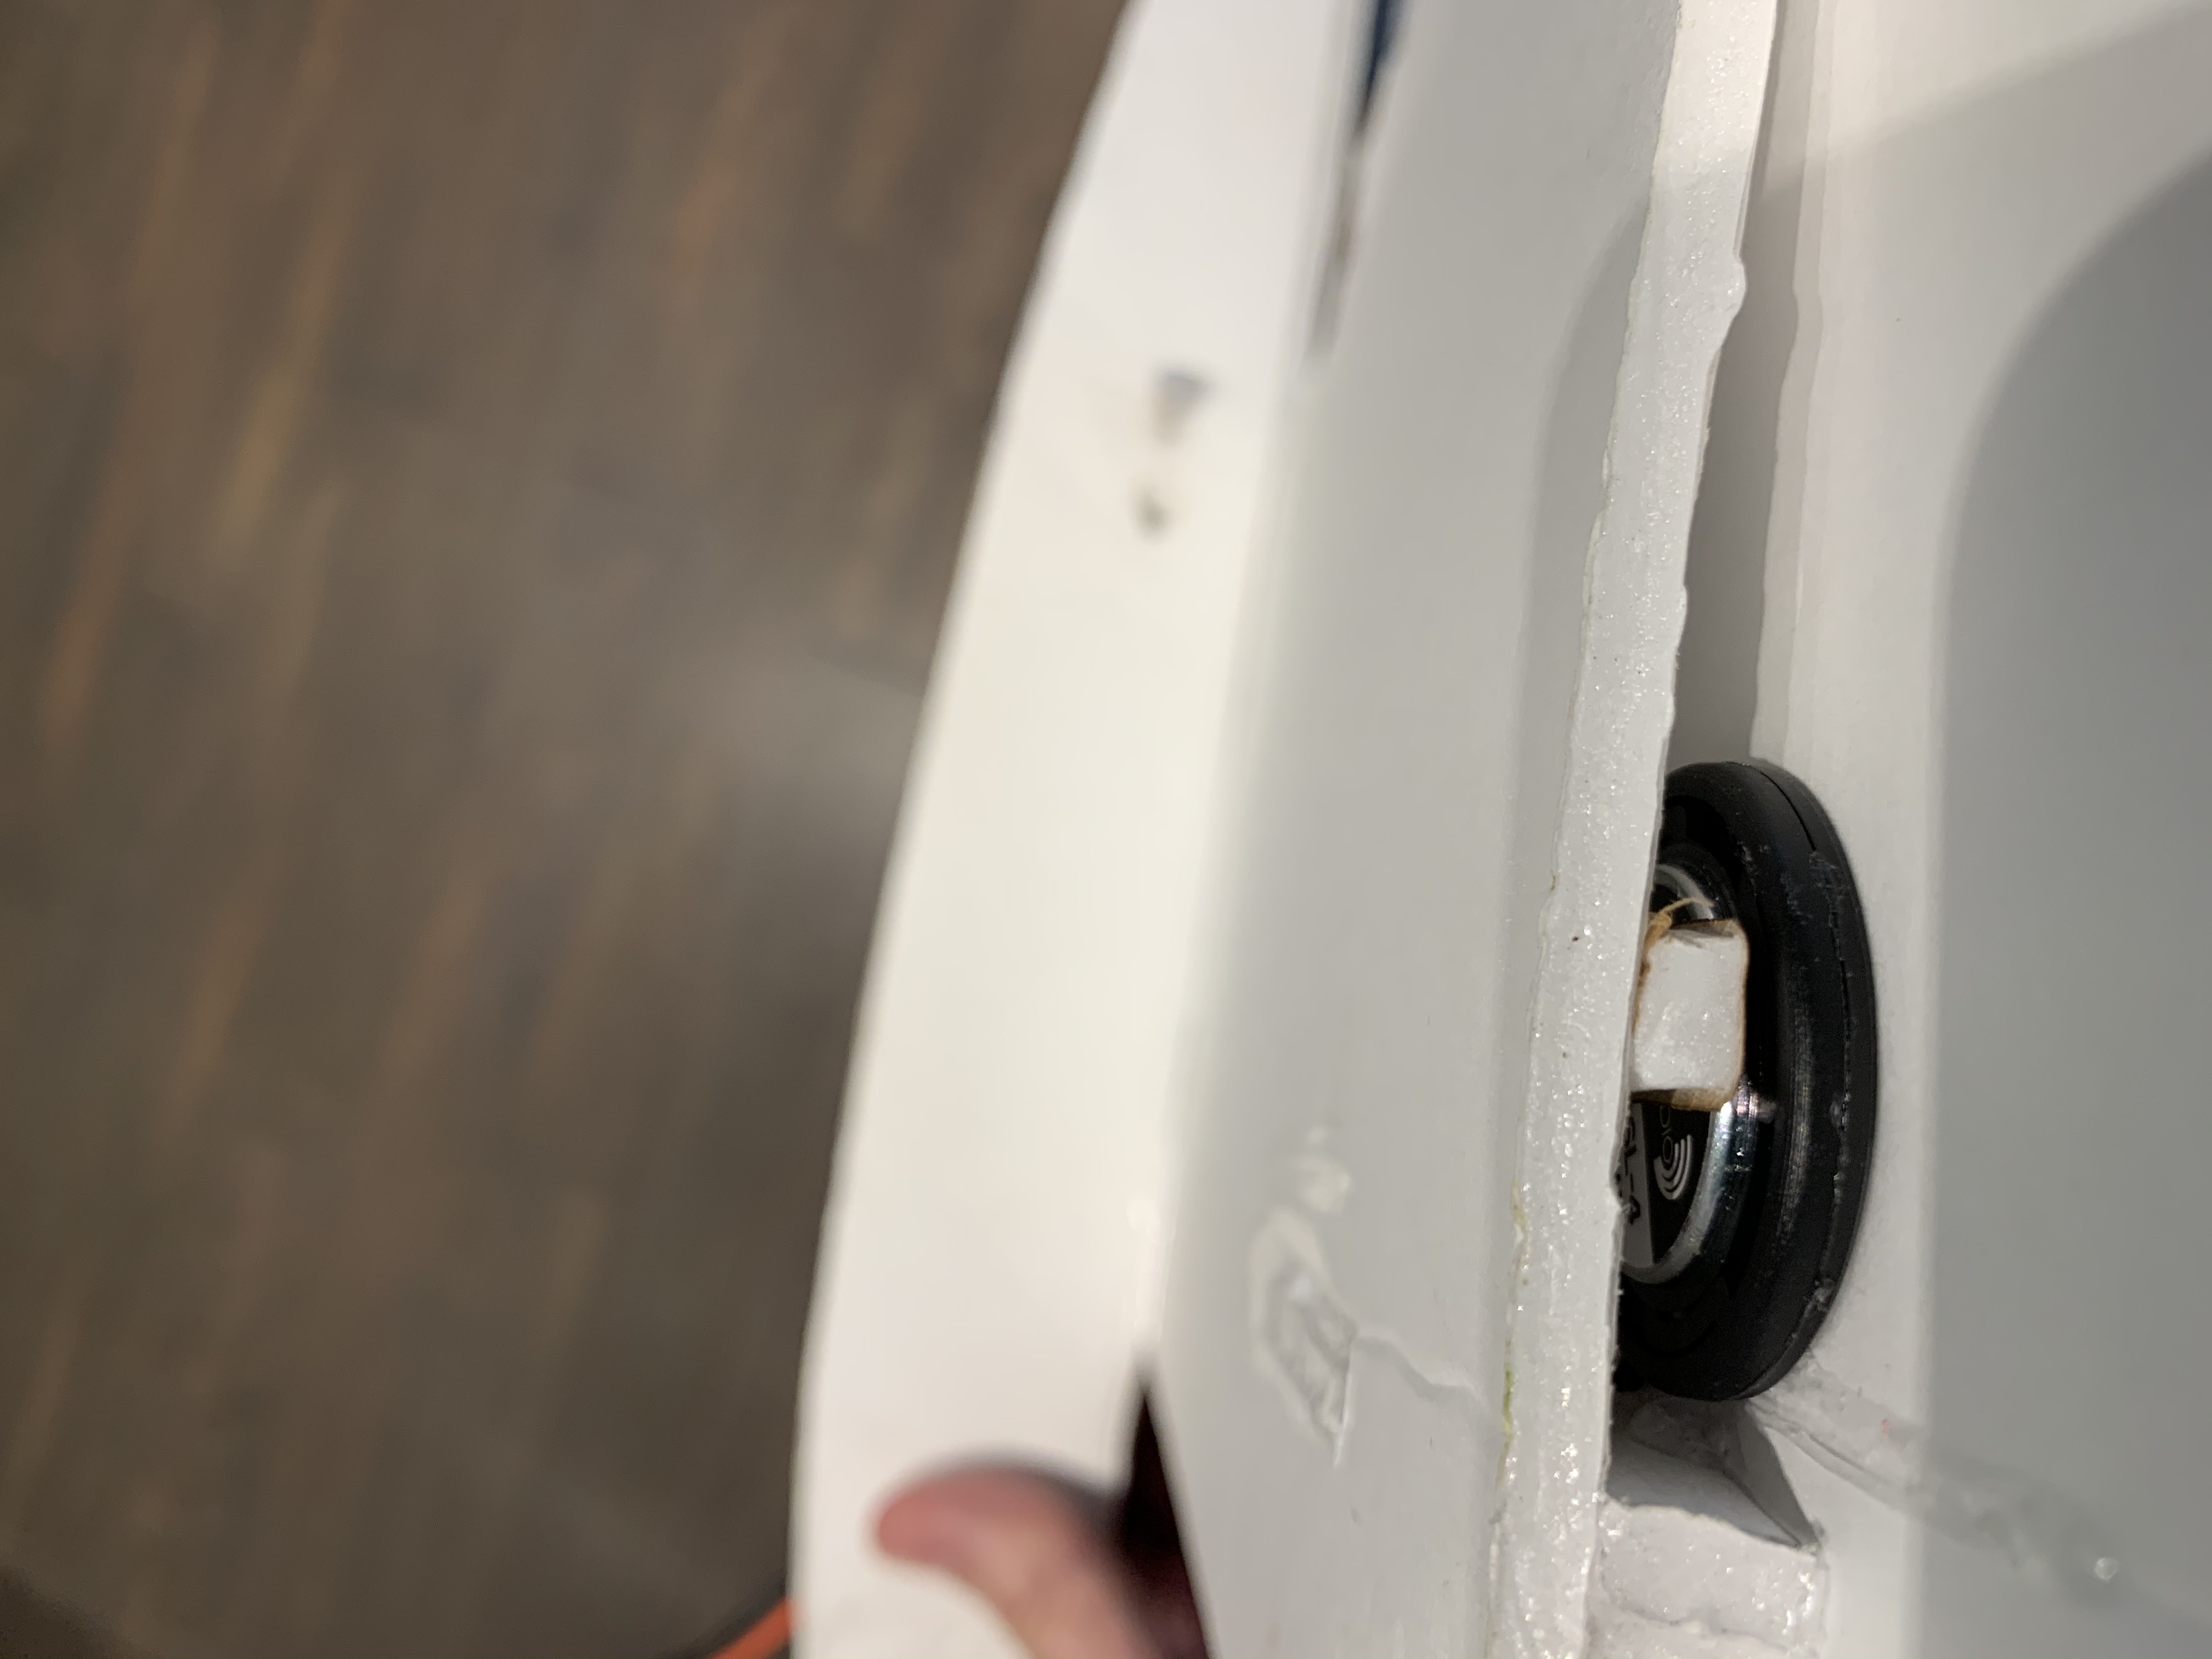 The exciter was hot glued to the inside of the wing surface. Here it is shown on the underside of the top of the wing, but I flipped it over and pushed it in a bit farther than this to get away from the edge of the wing.
 The exciters were inserted into the wing just aft of the spar of my Bloody Baron. I flipped them over to drive the bottom of the wing not exactly as shown here. This is the right wing from the underside. I installed an exciter in the left wing as well.
 The wires pass into the fuselage through a notch next to the aileron servo
 The bare MP3 player board weighs 11 grams
 The bare amplifier board weighs 25 grams
 Interior Layout of Components
 Assembled View
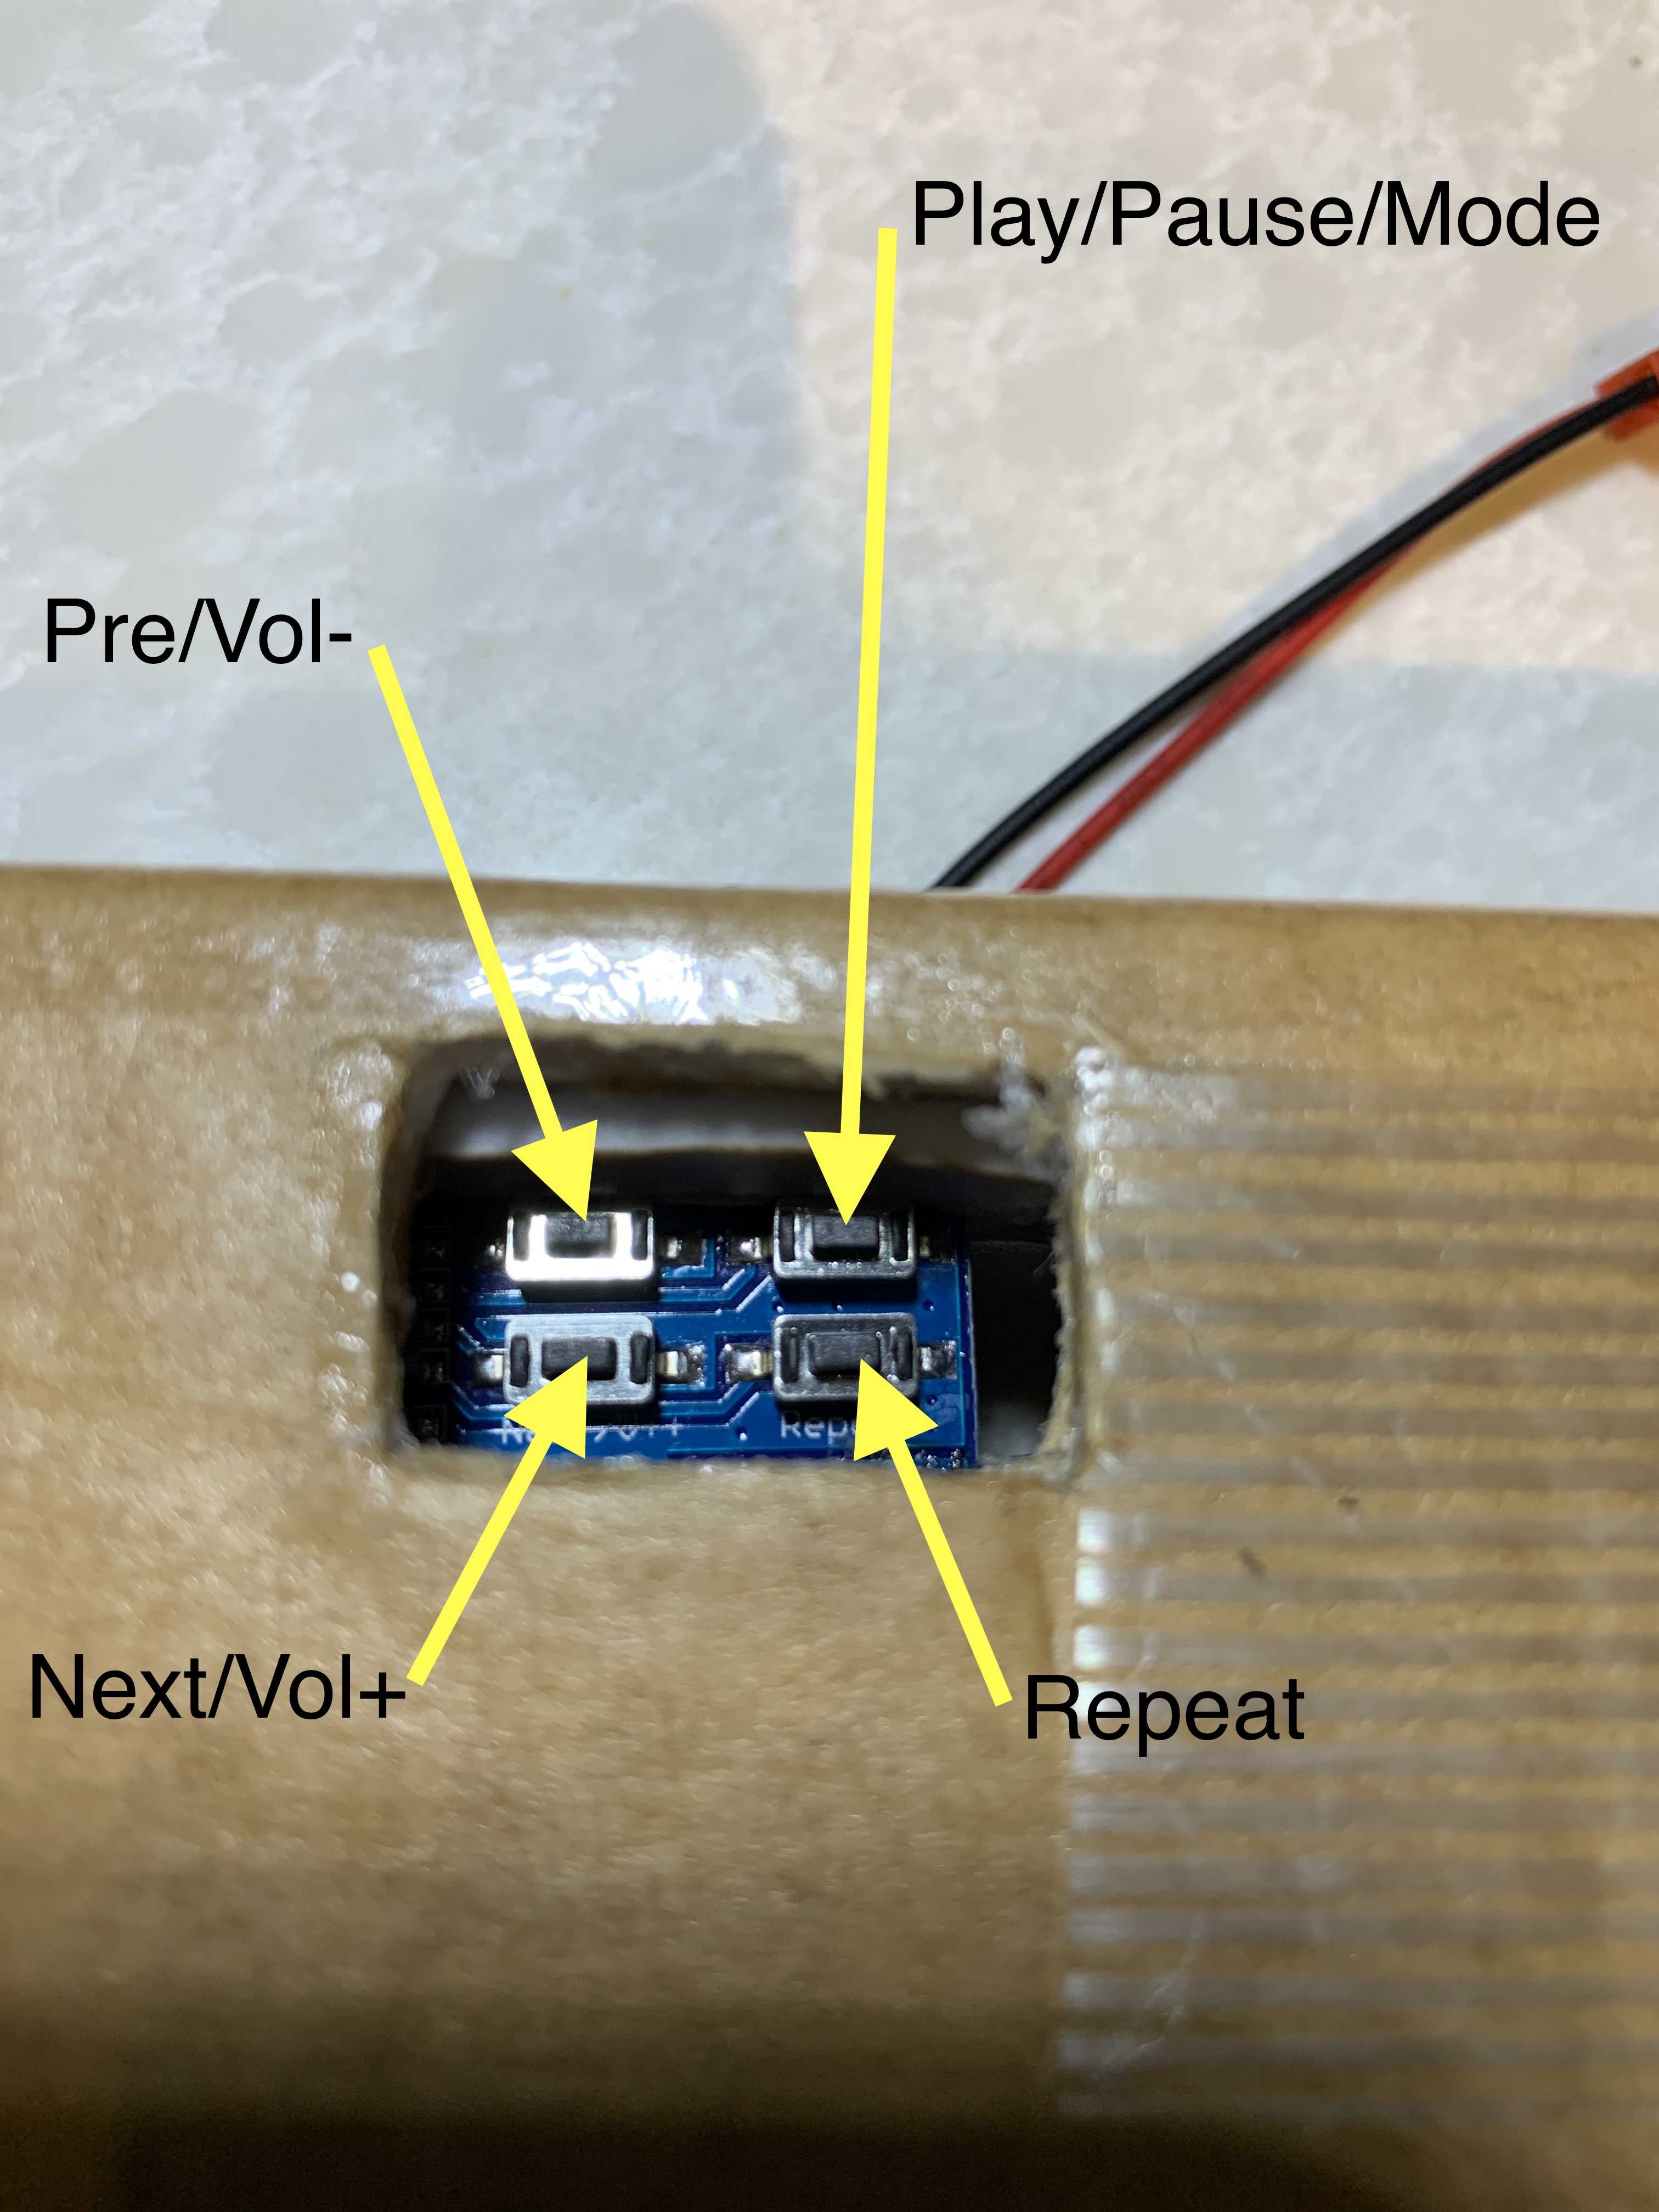 MP3 player controls


https://www.parts-express.com/dayton-audio-daex32qmb-4-quad-feet-mega-bass-32mm-exciter-40w-4-ohm--295-264
https://forum.flitetest.com/index.php?threads/90-flying-wing-build-ffw-2017.33913/
Log In to reply
Log In to reply