Hi everybody,
After having watched How to Train Your Dragon with my kids, I stumbled acros the FT Toothless (huge thanks to Josh Goates for that fun build). After having watched the build video, I decided I want to include two mods: A removable wing and an EDF instead of a prop.
Lets start with the EDF. I wanted to have an EDF rather than a prop as a dragon does not have a prop on its nose. When looking at the plans, I did a bit of math in order to figure out how big of an EDF could fit into the main fuselage. Also I had to decide where to put the battery. I wanted to stick to the original size of the plans. As the wing is rather far in the front, Toothless has a tendency to get tail heavy rather quickly. In the original build this is partly set-off by the motor moved to the very front of the fuselage and the battery fixed directly below.
For the EDF version I decided that the EDF would need to go to the bottom of the fuselage with the battery sitting on top, so that most of the weight is moved to the front of the main fuselage. That meant another constraint, the EDF and the battery, which need to be put on top of each other and which need to fit into the main fuselage. For the EDF a 50mm EDF is the max that fits into that fuselage. Also for the battery I was lucky to find a 4S battery that only builds up 23mm.
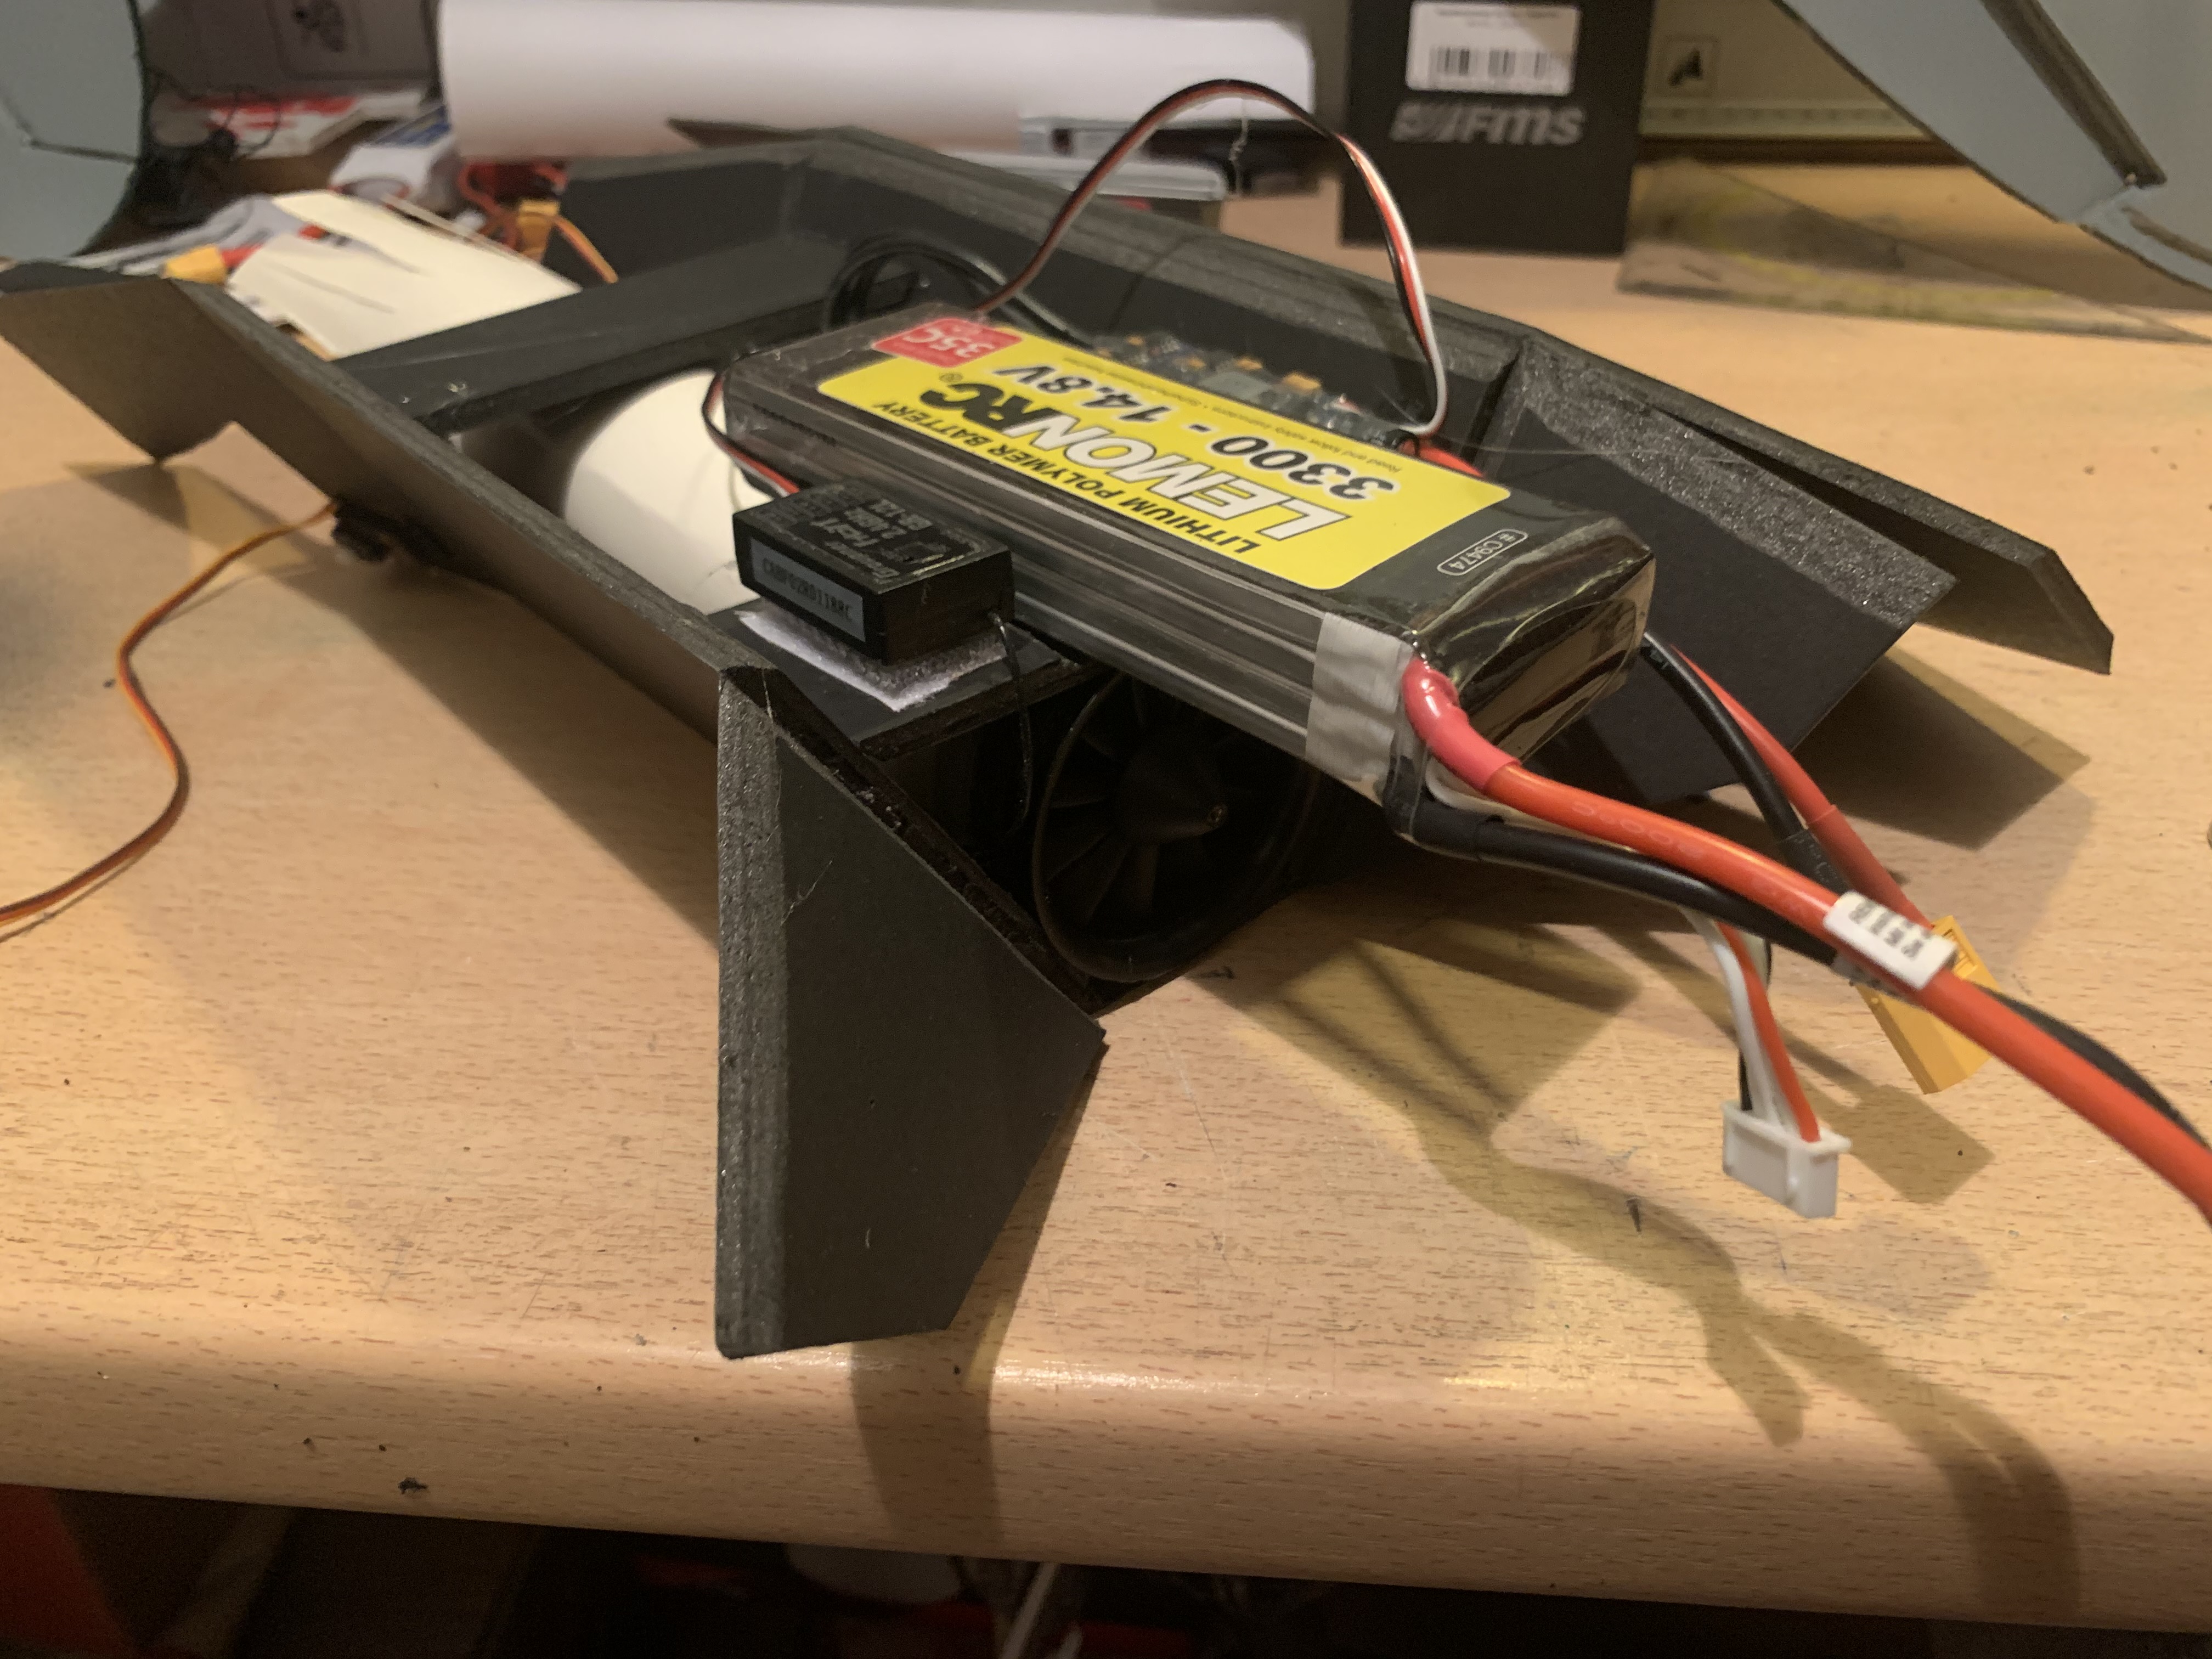
When building the main fuselage, first I did one small change on the plan for the main fuselage: In the original plans the last piece to close is the bottom part of the main fuselage. I changed that so that the last part to close is actually the top part. That way I had best access for installing the EDF, thrust tube, servos, electronics etc. You can see that I also moved the ESC and the receiver to the front in order to avoid Toothless to become tail heavy.
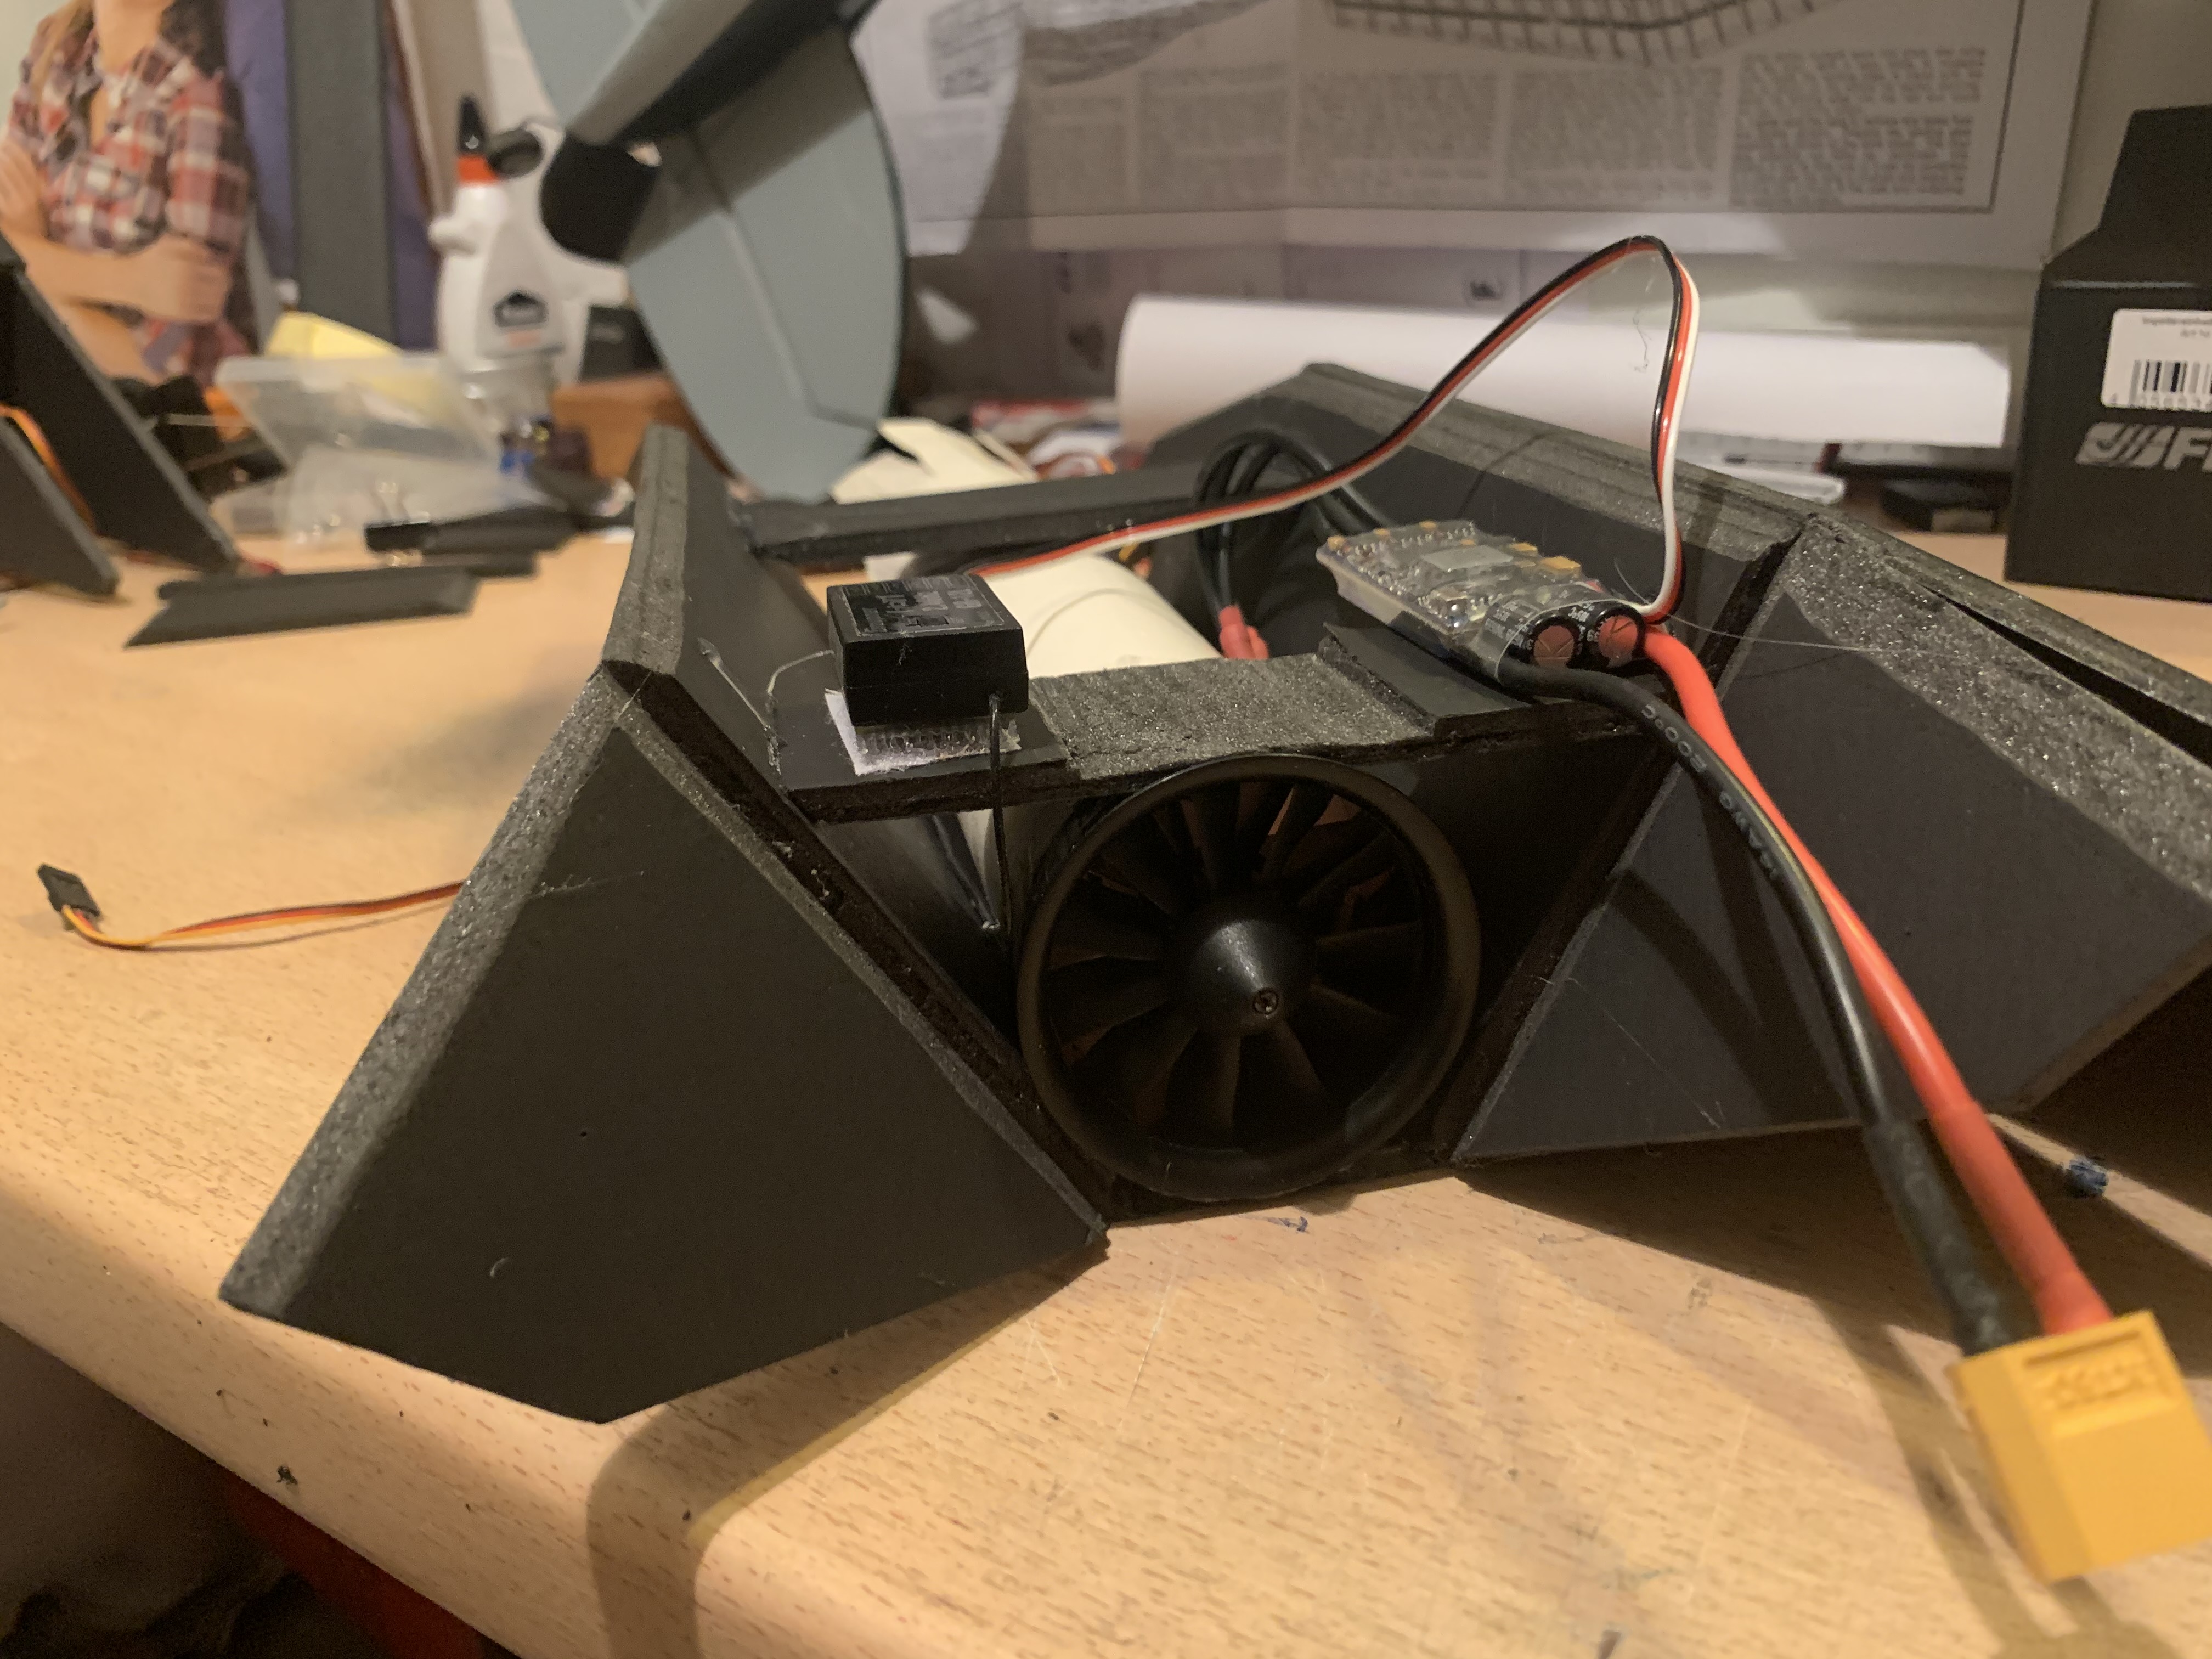
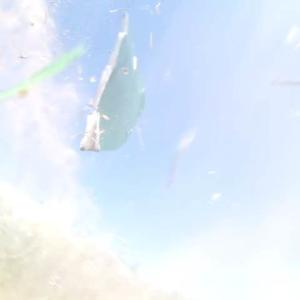
You can see on the above and below pictures that I inserted two pieces of foam in parallel to the bottom piece, one on top of the EDF to fix the EDF and one in the back to fix the thrust tube. On the back piece, I first did a test fit of the back piece of the fuselage to see how far to the back that can be moved. The front piece also serves as a carrier for the ESC and the receiver. On the front piece I needed to do a cut out, so that there is enough space for the battery. There is another cut out for the battery in the top plate.
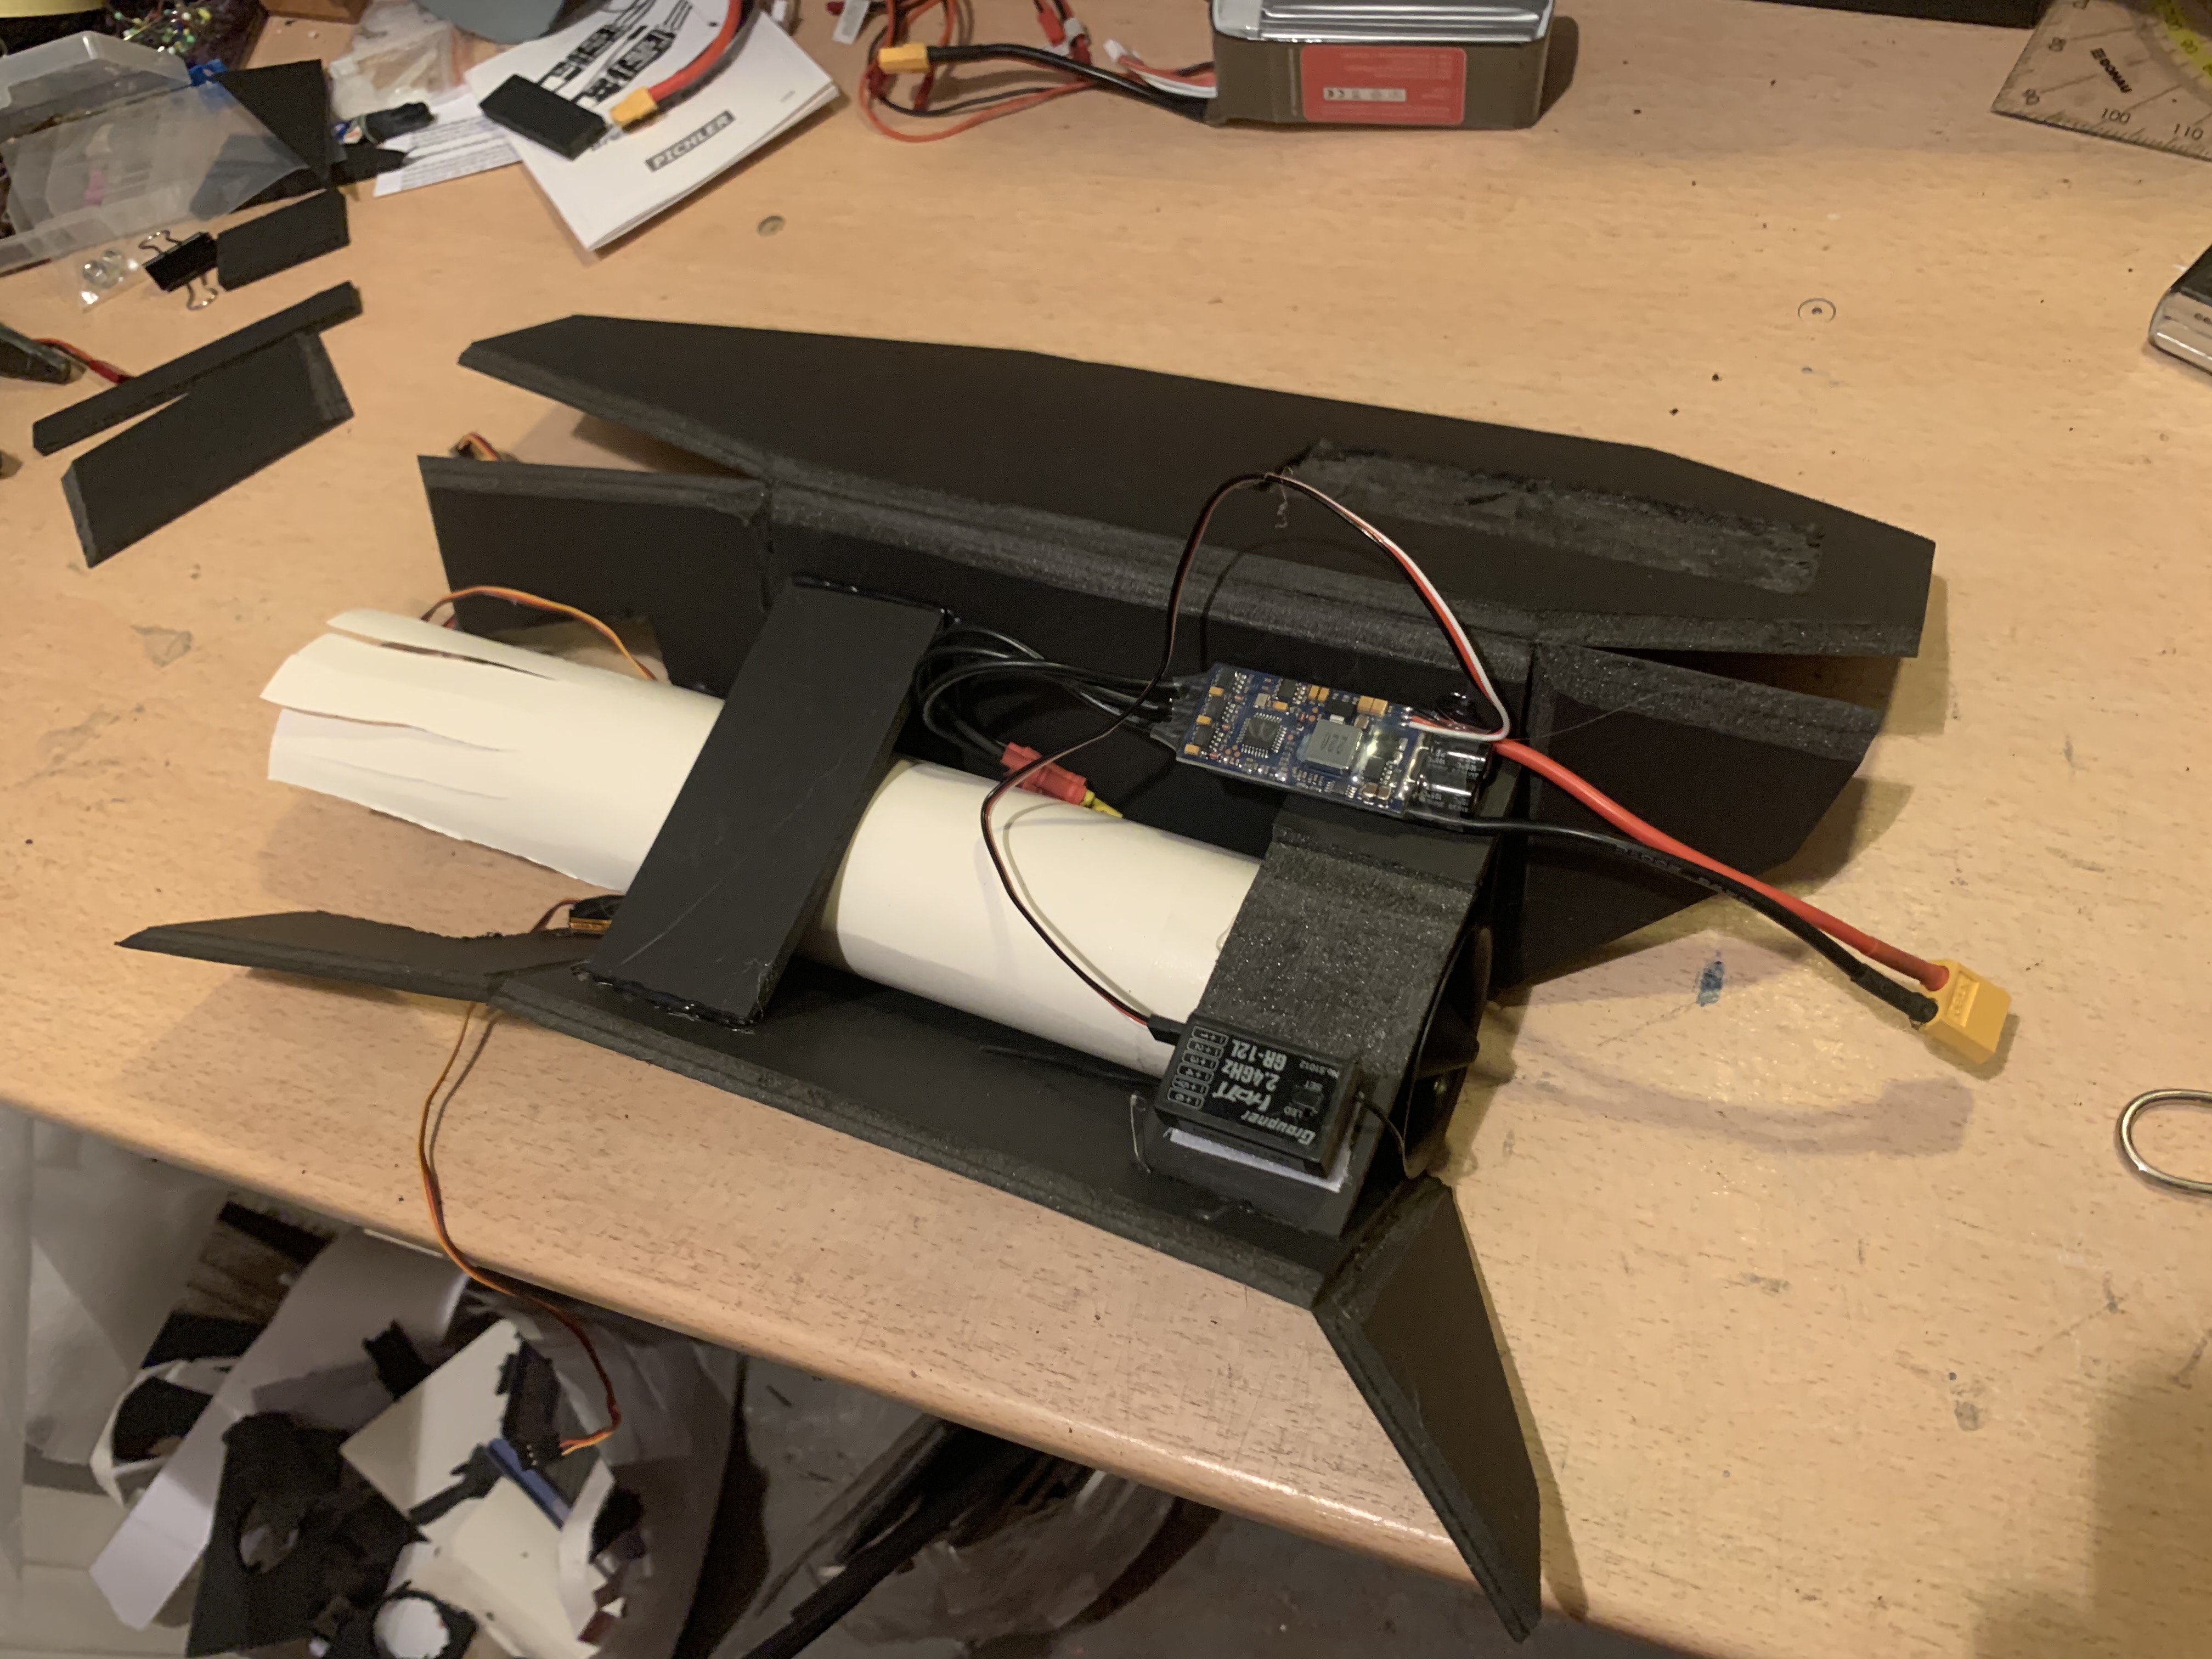
Your may notice that at the end of the thrust tube the lower half seems to be missing and that the last like 8 cm are cut in stripes. Actually, when I started putting together the main fuselage and inserted the EDF, my original idea was to simply cut the lower back triangle of the main fuselage to let the air exist there. However, because the back part of the fuselage needs to be inserted in the main fuselage, I worried that there might be too much resistance on the air exiting the EDF and the fuselage. Thus I included the thrust tube. The stripes at the back are slightly bent down so that the air is let around the tail part. This gives a bit of a thrust angle for the exiting air but I doubt that Toothless will have VTOL capabilities ;-)
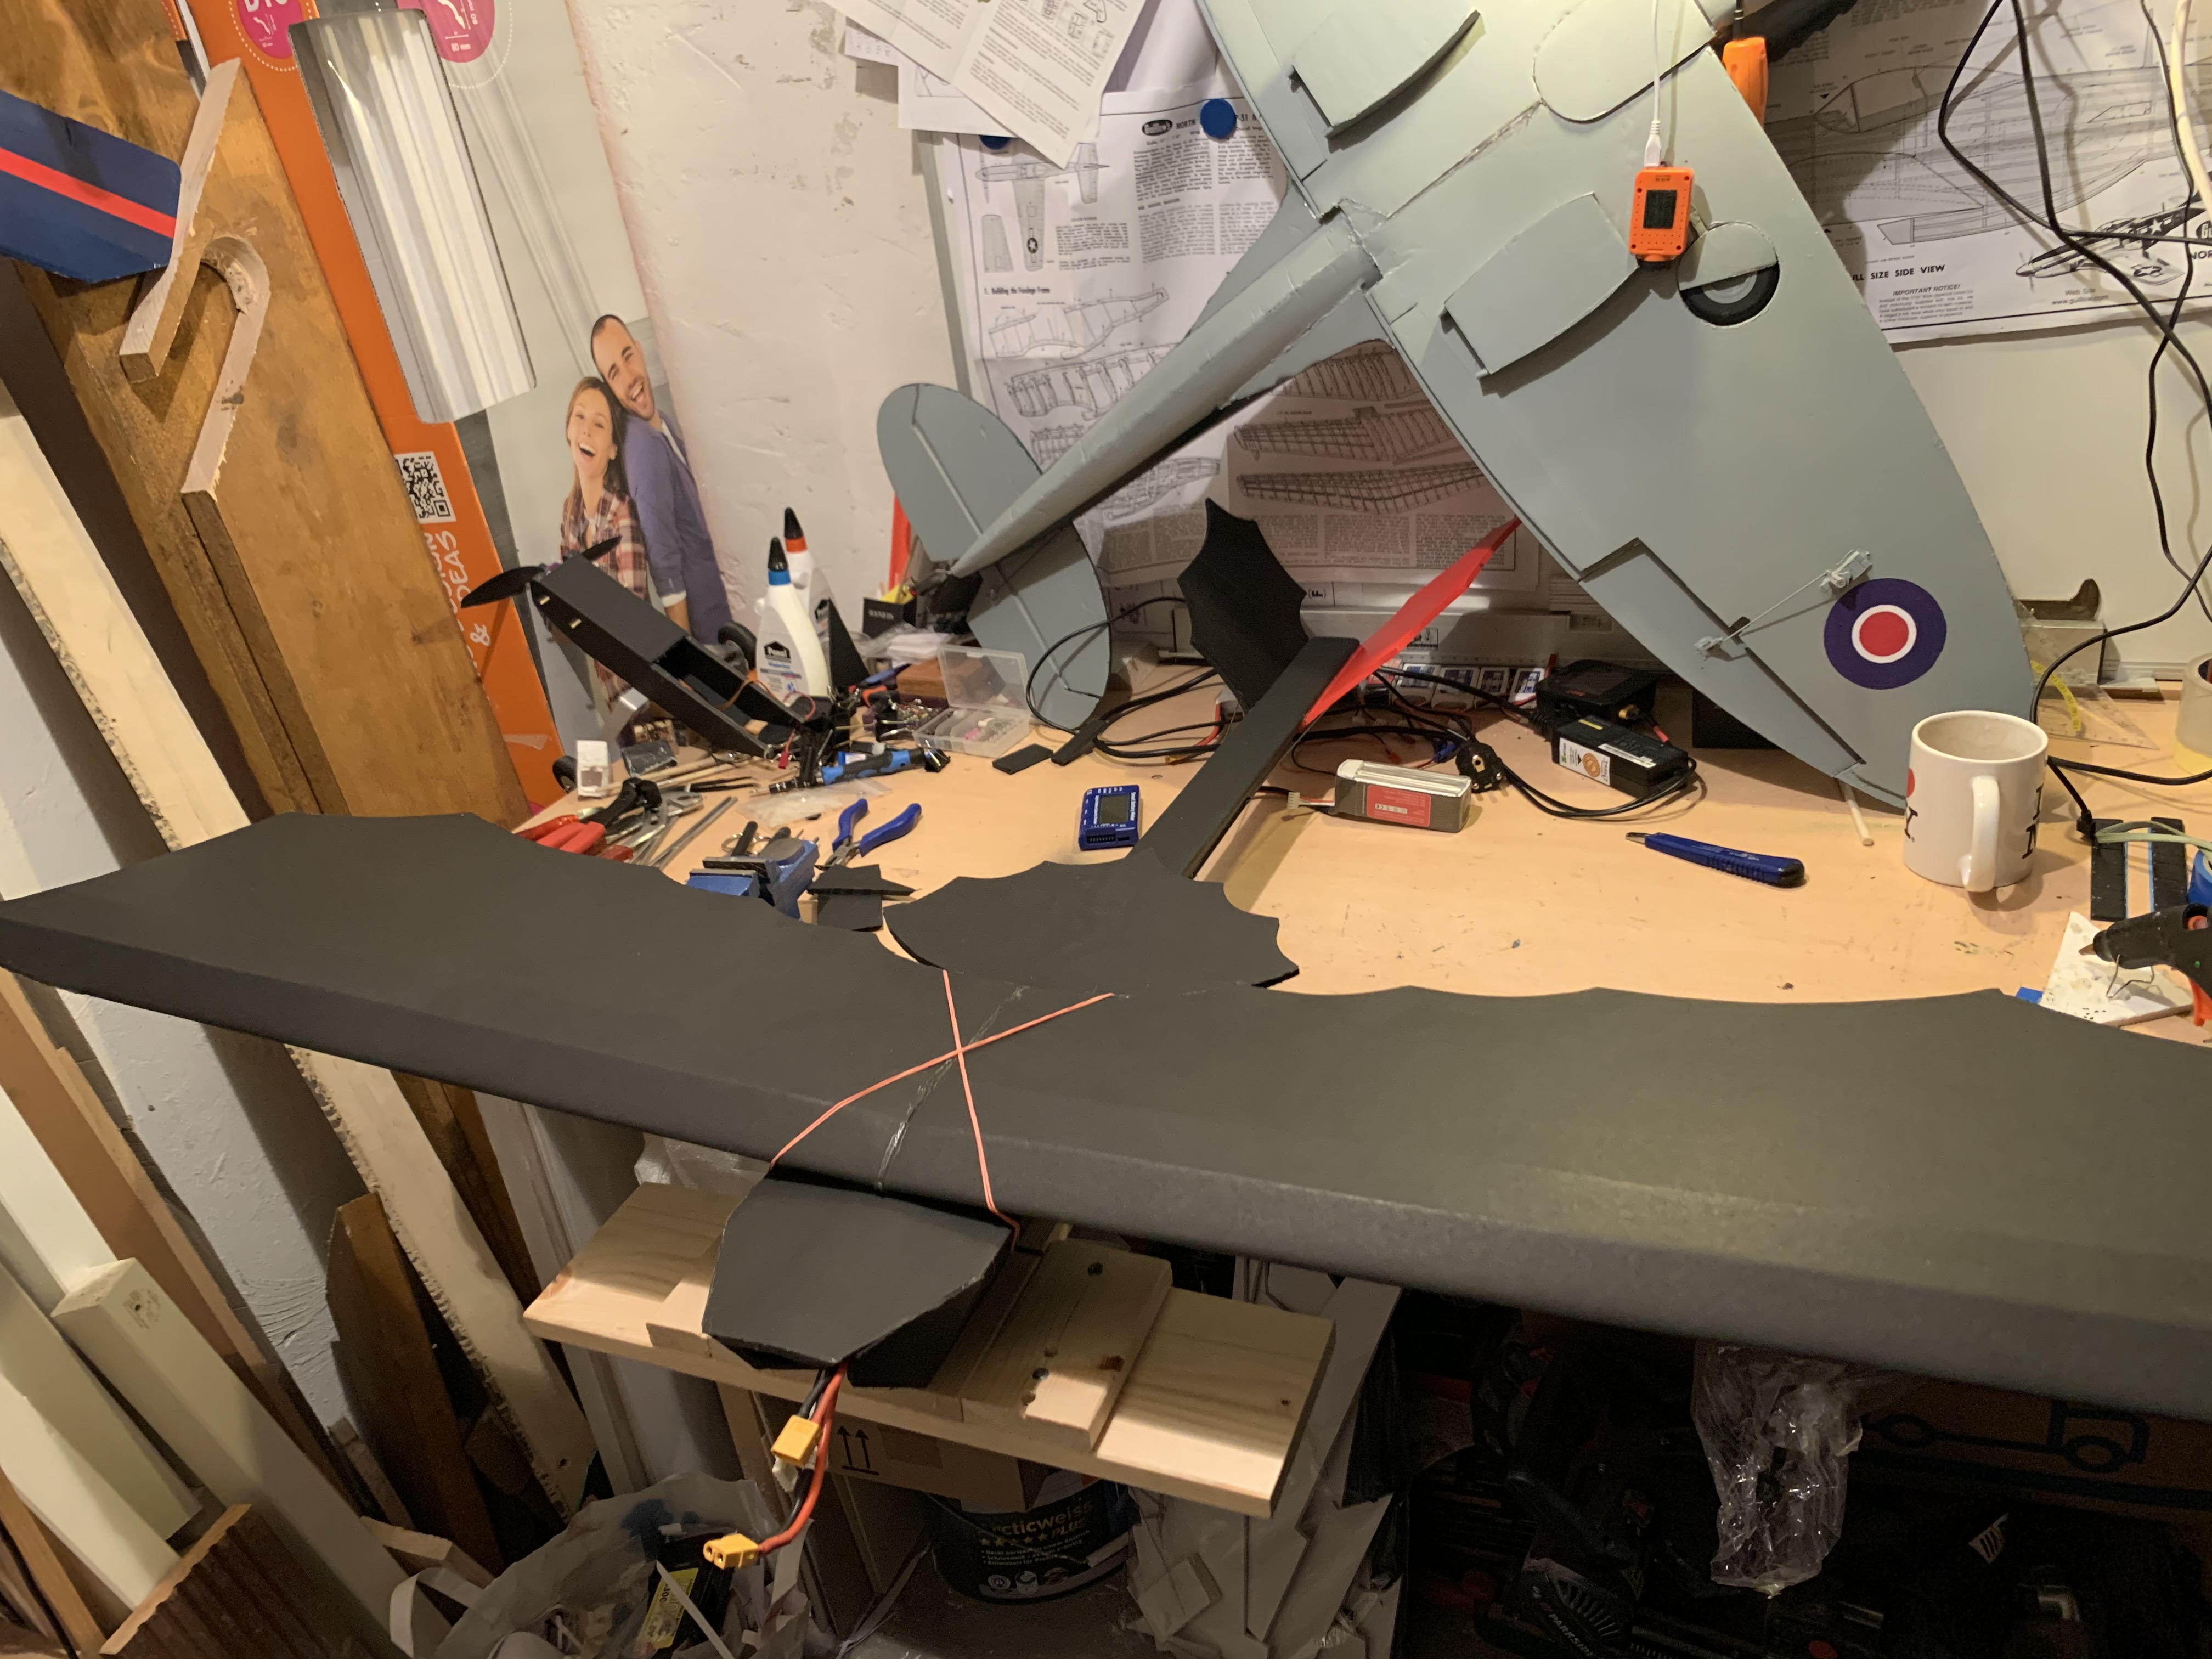
As mentioned in the intro, I wanted to have a removable wing as the FT Toothless wing is already rather long (I think its longer than most of the wings of the FT Master Series planes) and when transporting the FT Toothless, a fixed wing would be rather impractical.
When I started putting together the wing I also noticed that the connection between the two halves is rather light and having experienced some folding wings lately, I wanted to strengthen that connection. Therefore I inserted a short piece of carbon fibre in one half of the wing and then pushed together both halves with the piece of carbon fibre tube now sitting in the middle of the two halves (unfortunately I did not take any pictures of that). The length of the carbon fibre piece is around 20 cm, which was about the longest to ensure that the wing remains in a dihedral form. One of the additional benefits of this is, that I did not have to use any tape to connect the two halves of the wing.
To make the wing removable, I went for the good old BBQ skewer solution, pushing one skewer through the front and one through the back of the main fuselage. This proved to be rather tricky as with the EDF inside the main fuselage, there was not much room to maneuverer. On the pictures above you can see that the skewers needed to go through the foam above the EDF and the thrust tube. Once that was done, the wing was fixed with a few rubber bands.
I also did a few minor modifications. First, I used black foam board other than for the part of the tail, which was going to be painted in red. For that I used standard white foam board, as that is much easier to paint. Also I did not use any tape on the fuselage or wing, as I do not like the look. Instead of the coffee stirs for the pushrods I used short pieces of carbon fibre tube, which I glued to the tail part of the fuselage.
Maiden is yet to happen. Wish me luck.
Hope you enjoyed the read!


Log In to reply
Log In to reply
Log In to reply
Log In to reply
Log In to reply
Log In to reply
Log In to reply
Log In to reply