HilldaFlyer April 2017
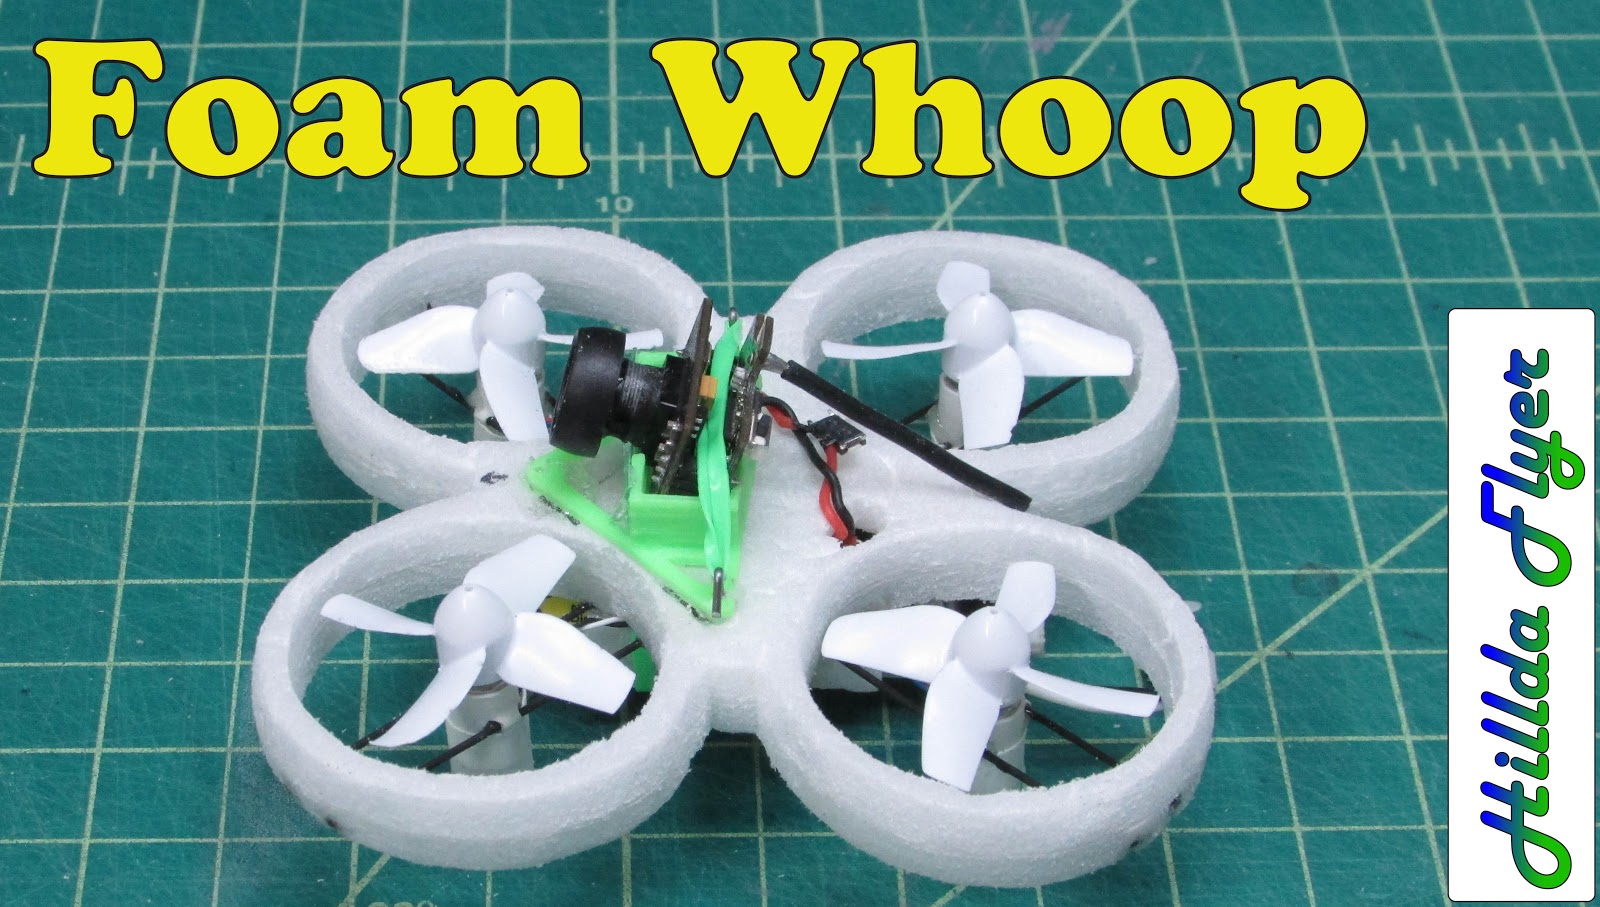
DIY replacement frame for Inductrix or Tiny Whoop made from foam core board.
The punishing winter indoor flying season took its toll on my Inductrix / Tiny Whoop. Overall I was really satisfied with the durability of the Induxtrix. A friend at my club 3D printed a camera stand and my journey into FPV was born.
Our club flew weekly at a gym where we would set up cardboard boxes, chairs, hula hoops, chairs, ladders etc as race gates. I was so hooked! Even though the frame is pretty durable, poor flying skills combined with the need for speed led to some pretty spectacular crashes. Eventually after gluing the motor mounts several times, I decided to try my hand at making a new frame.
Making the Frame
The first thing I thought of was foam board, but I thought that the foam alone would not have the strength to support the motors. Eric has built quads with foam, so I took a page from his designs.
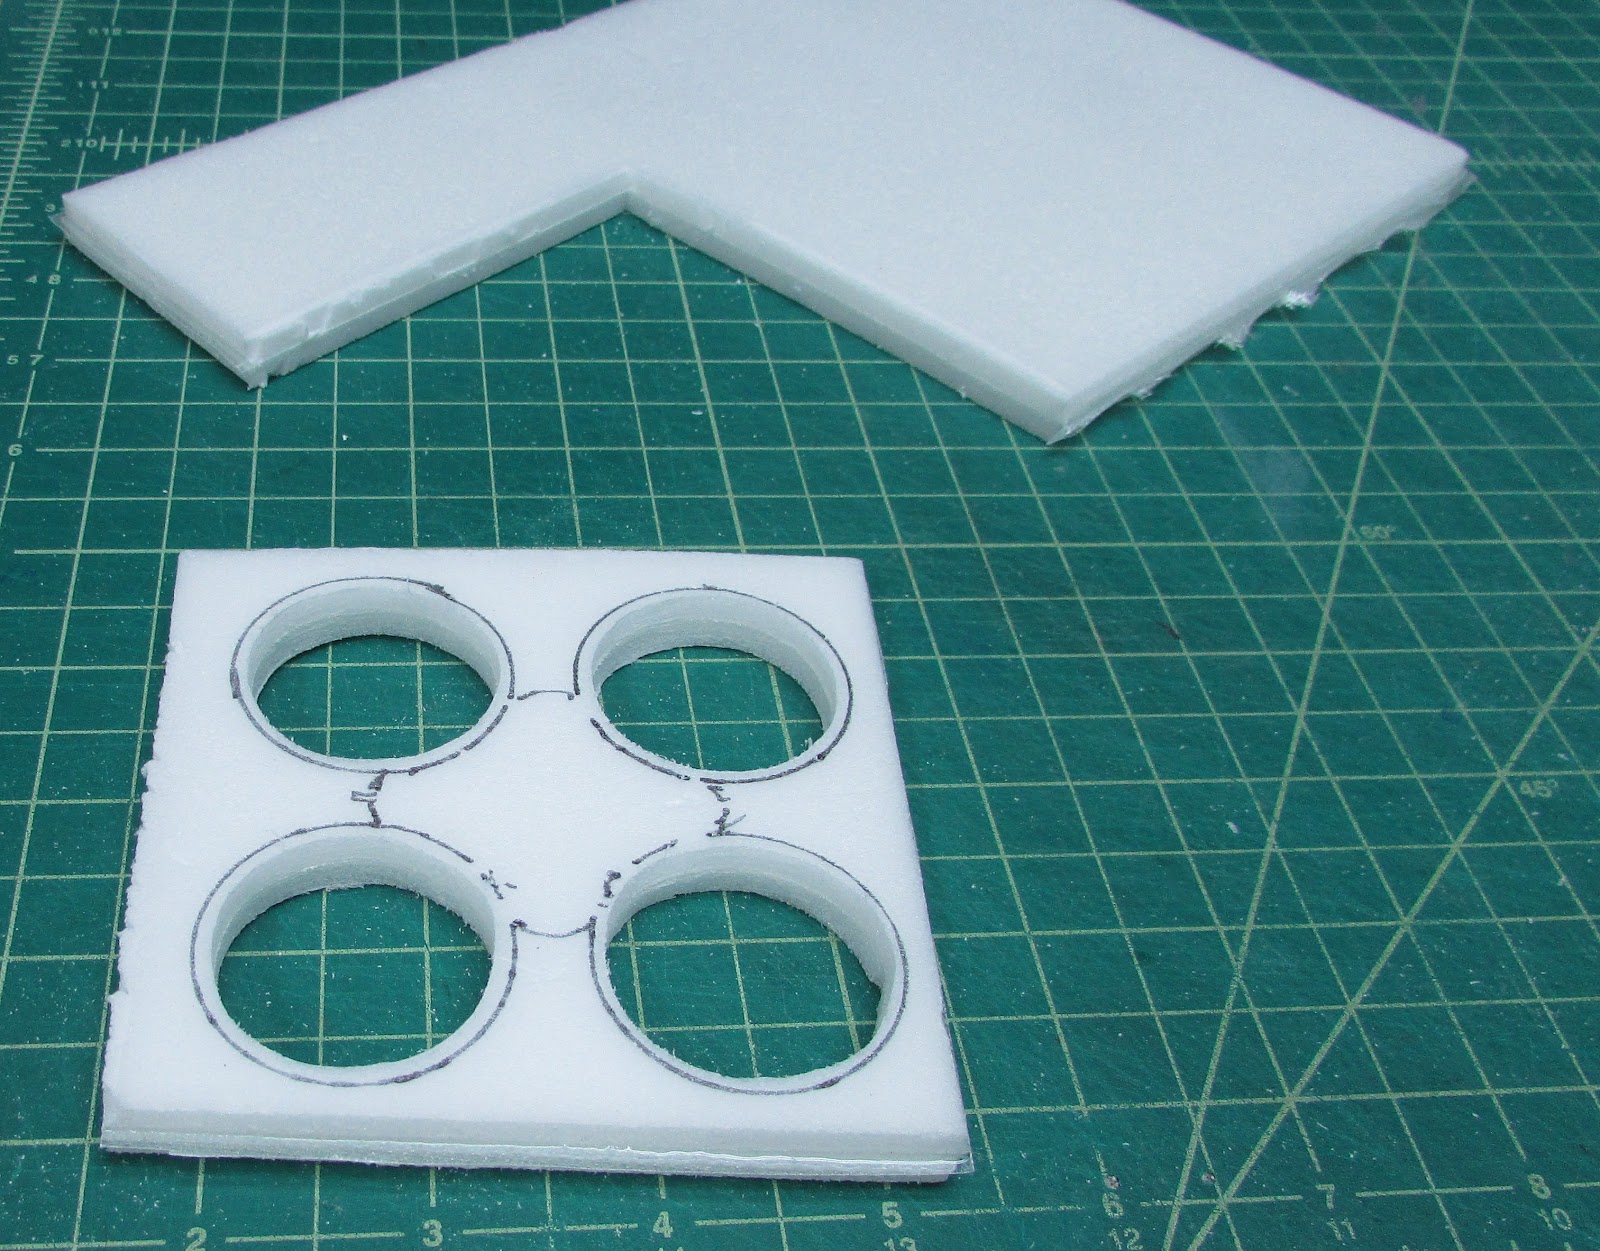
The frame was constructed from two ply foam core board sandwich with 3.44 oz/yd fiberglass cloth (Thayercraft.com on ebay) and Kwik Kick epoxy resin. The outline of the Inductrix frame was drawn on the foam with a pen. Removal of foam was performed using a 80 grit sanding drum on a Black and Decker rotary tool.

At some point when I got close to the lines I stopped using the rotary tool and used hand sanders.
Mounting the Flight Control Board
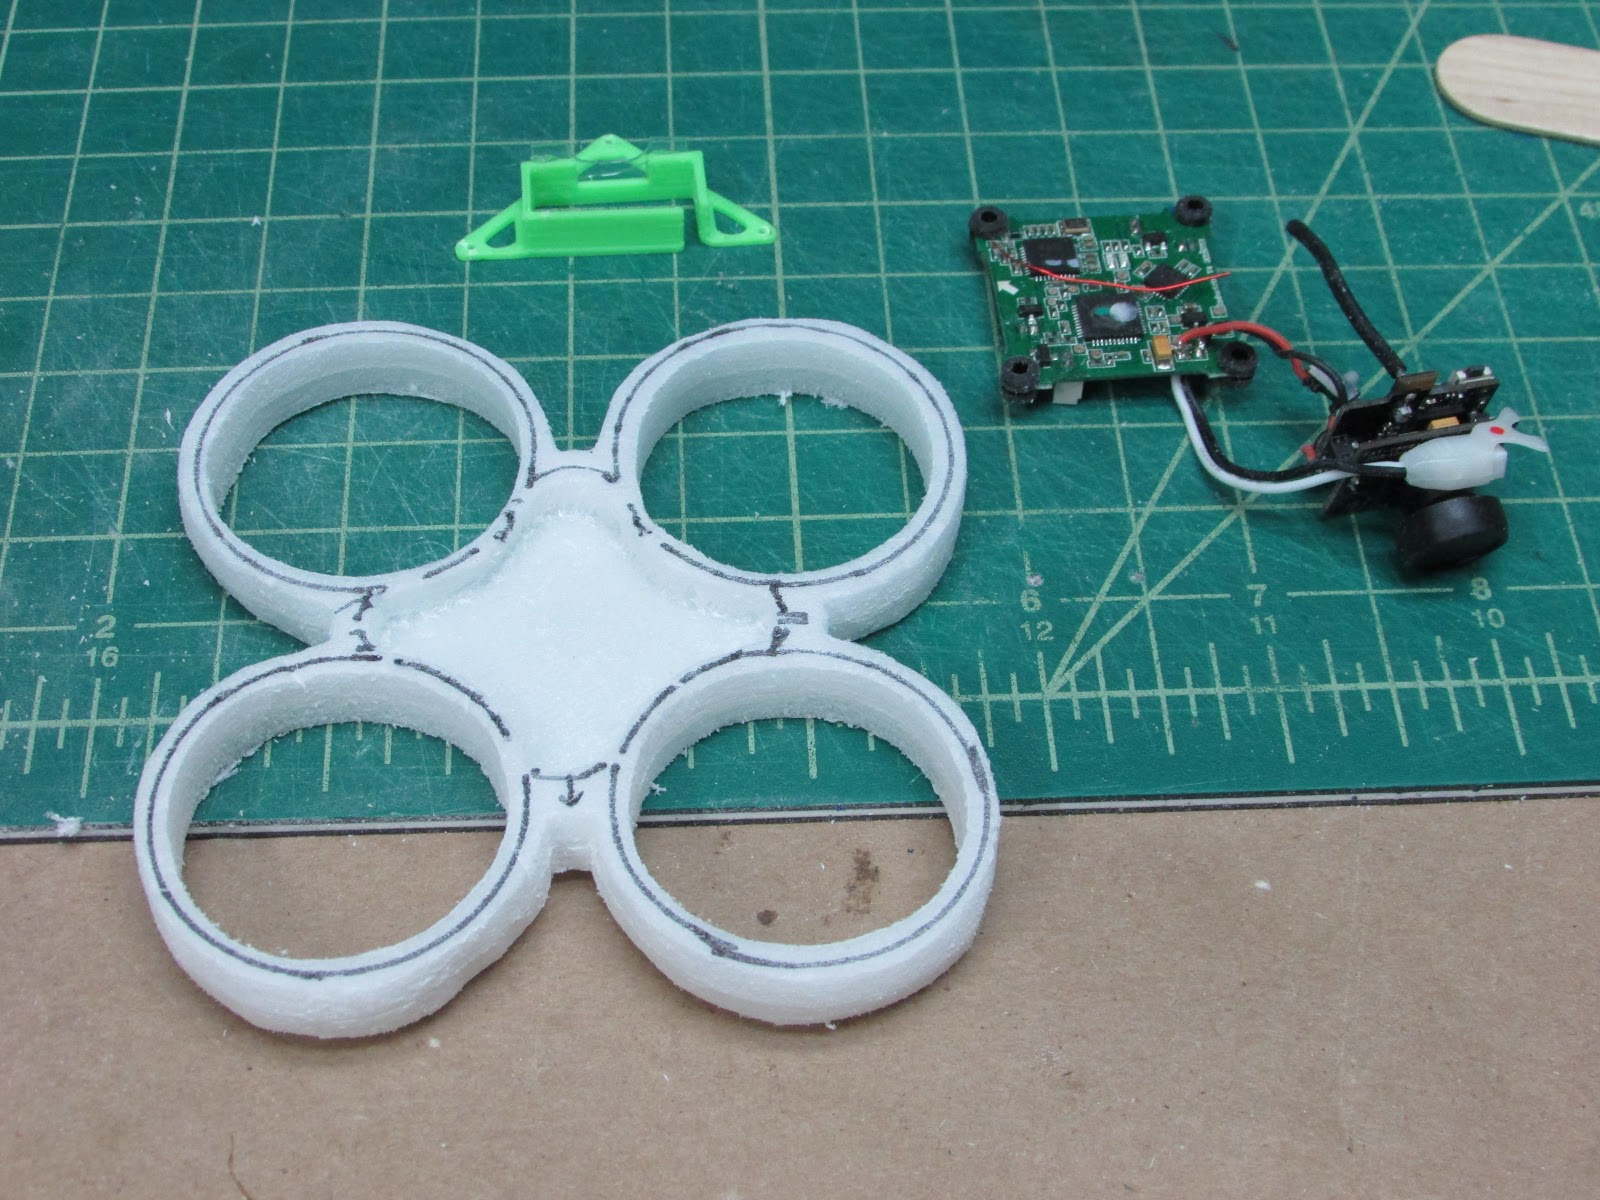
Mounting the control board was done by carving out one foam layer in the center of the frame.

Awe… perfect fit! I was going to use the screws to mount the board to the frame but decided to just remove the black rubber dampeners and hot glue the board to the frame. Just a dab at the four corners did the job.
Mounting the Camera

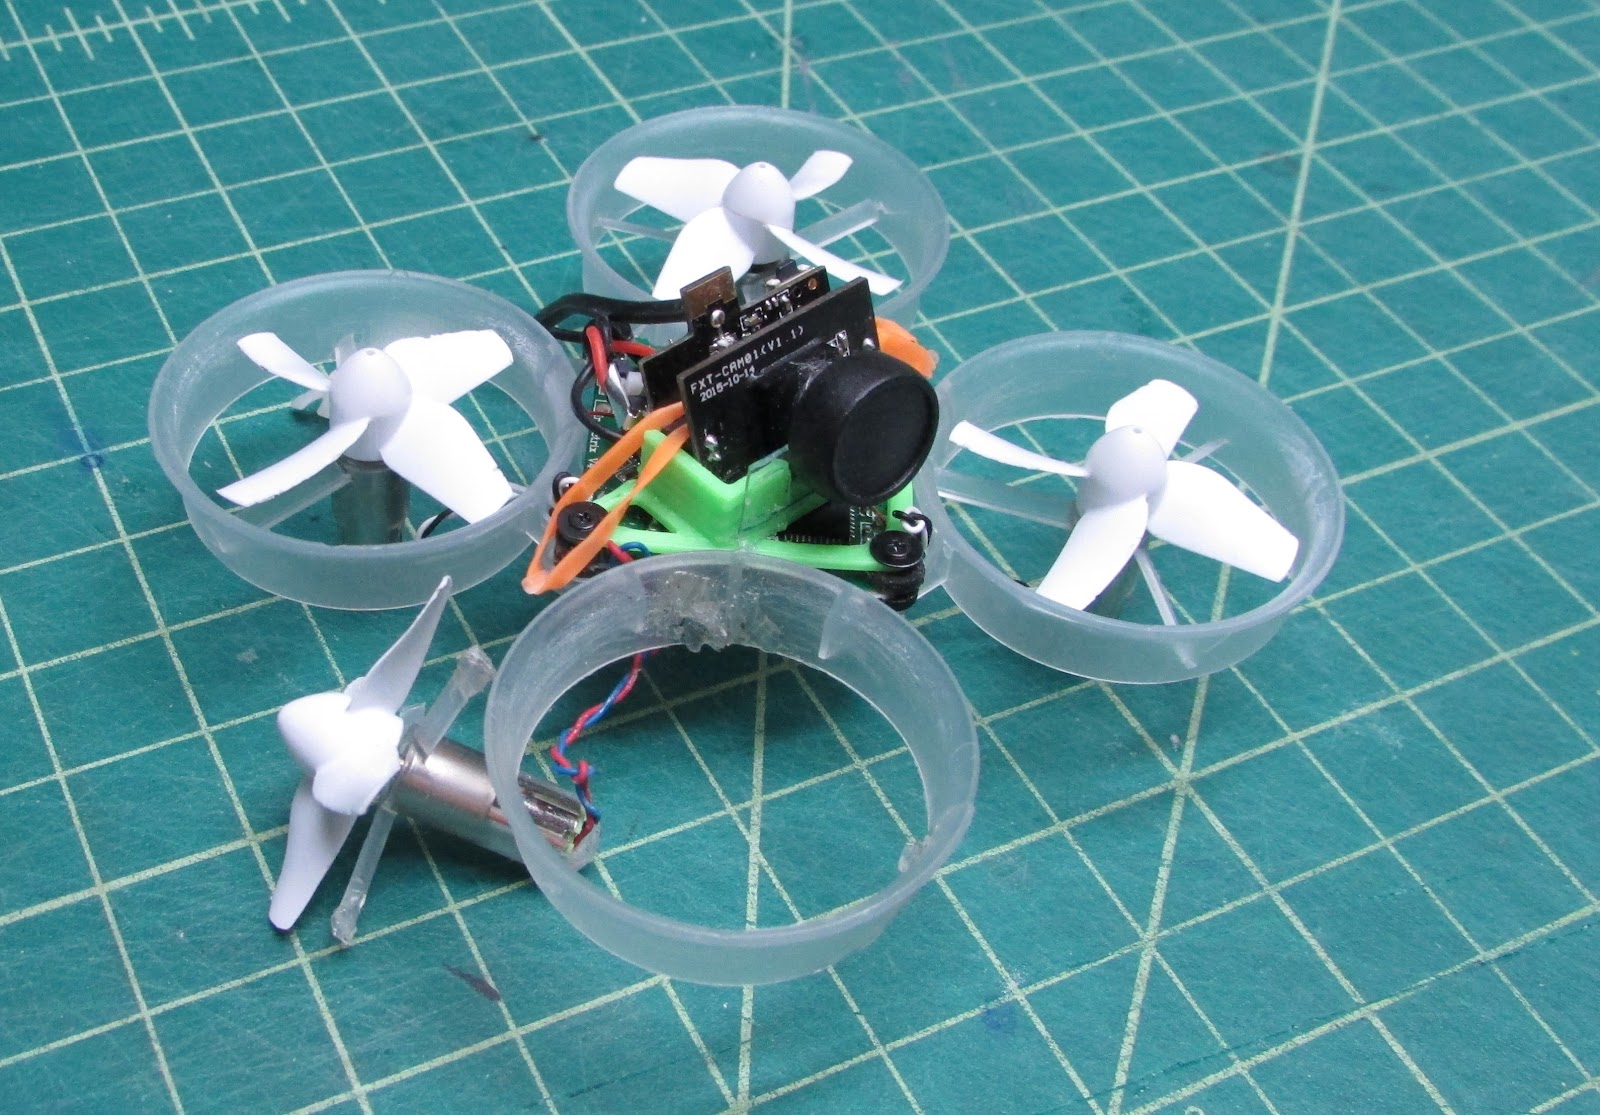
The camera mount was glued to the top of the frame with hot glue. I constructed two “S” shaped hooks from music wire that will be used to anchor the camera. The power wires for the camera were fed through a small hole cut in the frame and soldered to the flight controller board on the posts opposite the battery input leads.

A small hair rubber band can be used to secure the camera in the mount.
Mounting the Motors

Mounting the motors was a bit tricky, but this worked quite well. I used ¼ inch shrink tubing, laid it flat and punched to sets of holes through with a hot needle. Slide 0.8 mm Carbon Fiber rod (RadicalRC) through the holes and then slip the motors through the shrink tubing.

Lay the motors in place to ensure the motor is centered in the duct. While holding the motor centered, cut small slots in the foam for the carbon rods. A gentle push will seat the carbon rods in the slots. A dab of epoxy will secure the rods in place.
The shrink tubing is not strong enough to keep the motors from sliding, so I slid the motors away from center, put a very small dab of epoxy on the rods and slide the motors back into place.
Battery Trough

The battery holder was made from three pieces of bare foam with two hair rubber bands. The batteries just slide into the slot and are held very well. I added some more shrink tubing to the end of the motors to act as landing pads and to protect the motor wires from the landings.
For a lot of the Whoop racers… weight is everything.
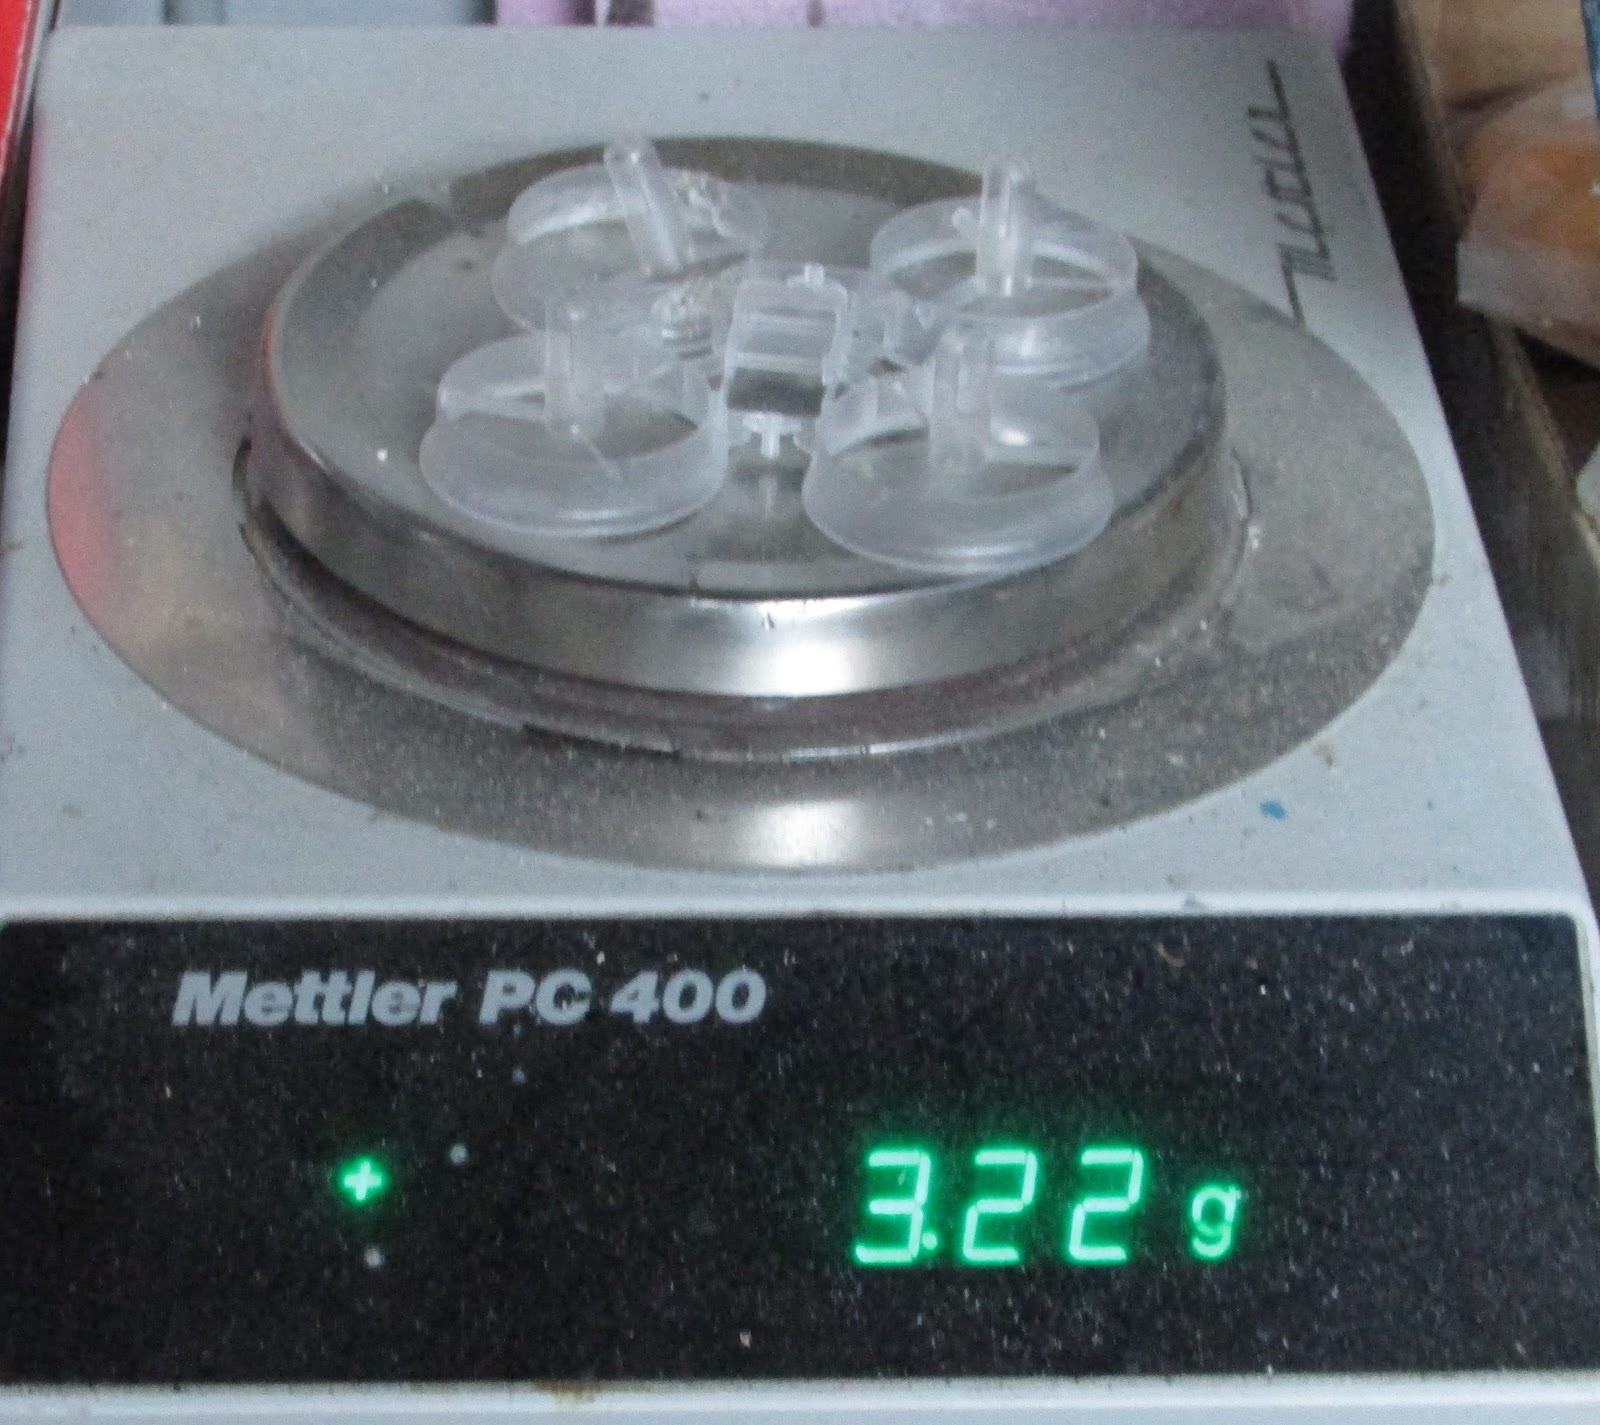
3.22 grams for the original plastic frame.

1.38 grams for the foam frame. This does not include the four pieces of carbon rod and shrink tubing for the motor mounts and the foam for the batter trough. So I came out way lighter...


Log In to reply
How's it hold up to crashes? I'd be concerned the blades would eat the frame in a crash.
Log In to reply
Log In to reply
Log In to reply
Log In to reply
Log In to reply
Log In to reply
Log In to reply