This is where it all begins...
- A project different from anything i've tackled so far, what did i get myself into??? -
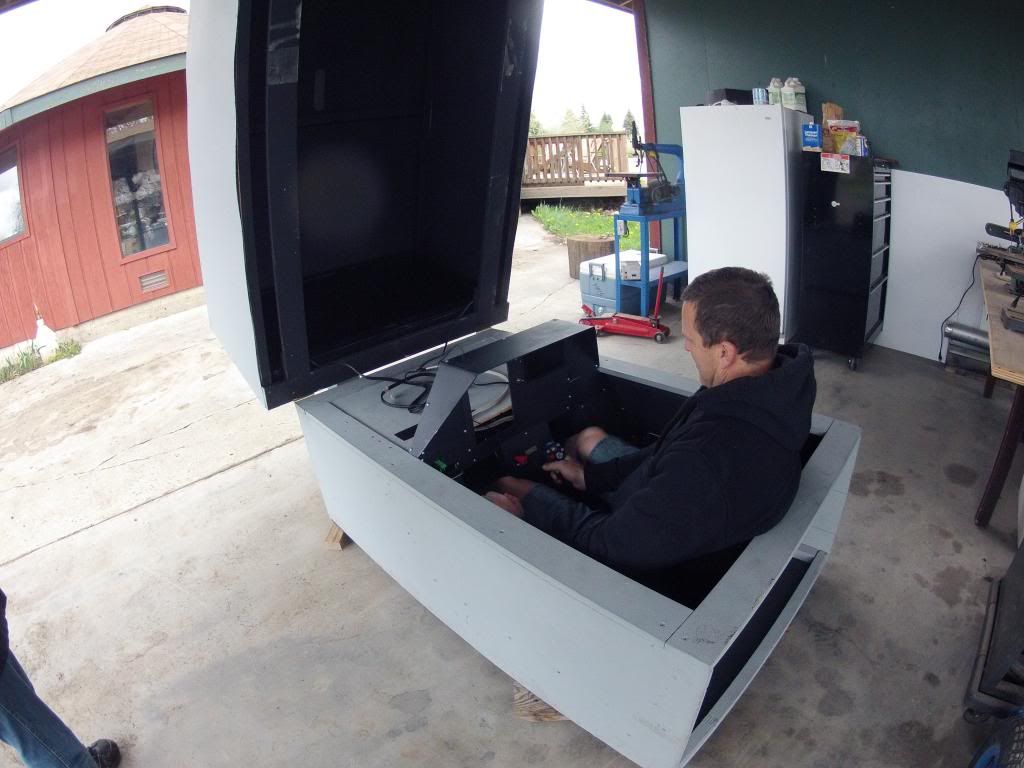
My interest in building such a flight station first came about after experiencing first hand the real enough feeling of sitting in another trailered ground station created by my good friend and mentor, Brett, aka C5 Galaxy Engineer on FPVLABS and who has a great article written up on the Flitetest site highlighting all the details going into what it takes to create this type of cockpit environment. Above shows what started this journey, Brett is solely to blame, lol...
Many factors are considered when deciding to undertake such a project on this scale:
First, the drive and desire to be able to start this project and have a plan on what you want it to do, and the ability to see the project through to the end. Otherwise it ends up like many projects that were started and held in eternal limbo due to losing interest, funds, availability of part or creativity just plain stopped.
Second, tracking down a suitable trailer to make the project work. It wasn't till a stroke of luck that I discovered a great deal with family for a small do it yourself utility trailer. Many trailers out there but most are too large for my truck to haul around and would have broke the bank.
Monster Ranger hauling the trailer home. That build is another story on Cardomain...(Google - Scott's 5.2 ranger)
![]()
Third, having the time to put aside when splitting up tasks with 4 kids and all their needs. Kind of find between that and getting sent out of town to work a couple weeks at a time really put a damper on building time.
There is several more to put out but these stand out the most. Just really grateful for all the support that I received during the build evolution and get it to a flyable state.
As what I experienced with Brett's ground station, I went for a more general aviation standard that would place the instrument panel fully from side to side with instruments and certain control switches and levers. Brett's was based more on a military fighter style and very functional.
When I first caught my eye on this, the incentive wasn't there for many years, the inlaws had used the frame of the trailer for hauling wood and before that, it was used for landscaping all the way back to the early 70's and possibly beyond that and was custom constructed, many heavy welds. The inlaws took and had a plywood box constructed within the last ten years or so and has a ribbed Connestoga cover that fits into insert along the top. As I kept this part in the shed, finding out it makes a great dual purpose as a tent for using out in the field if I decide there is going to be an overnight fpv camping trip. The hole inserts will also serve a great use for installing a catapult for future use.
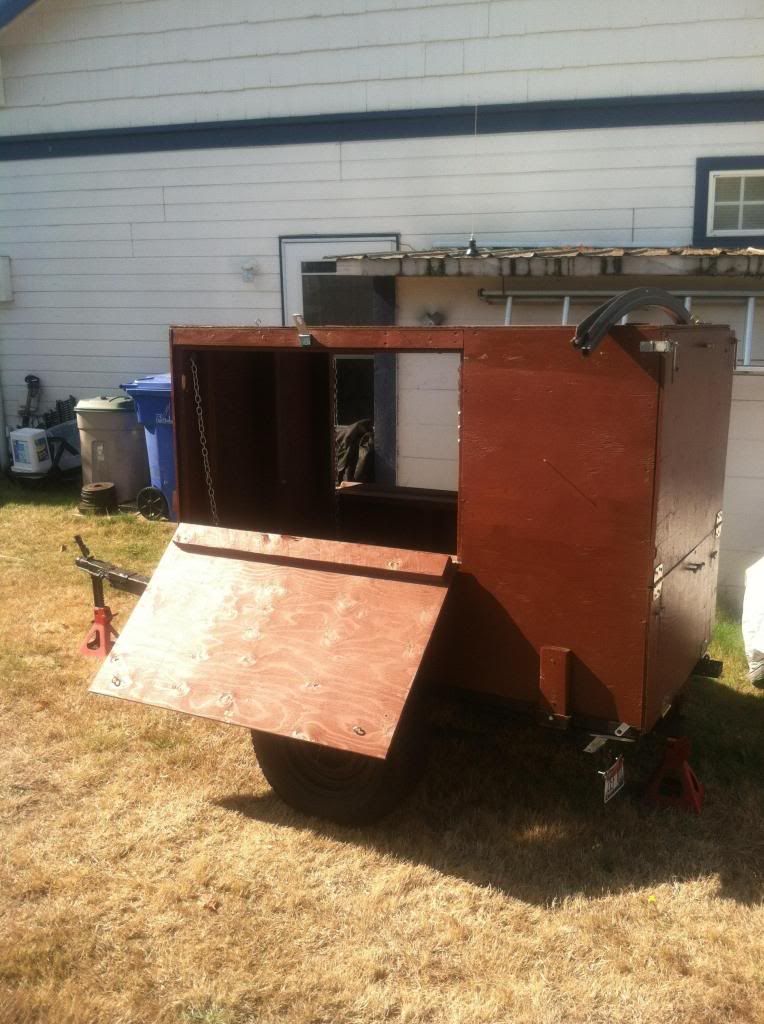
I took a good hard look at the trailer before and after hauling it home only to discover the corrosion that covered the frame was significant enough to take action or face the consequences later. The frame was going to need a good strip down and was fortunate enough to have another friend (Blakely1) from Fpvlabs join in and contribute time and materials with his sandblaster to get to the exposed metal quickly.
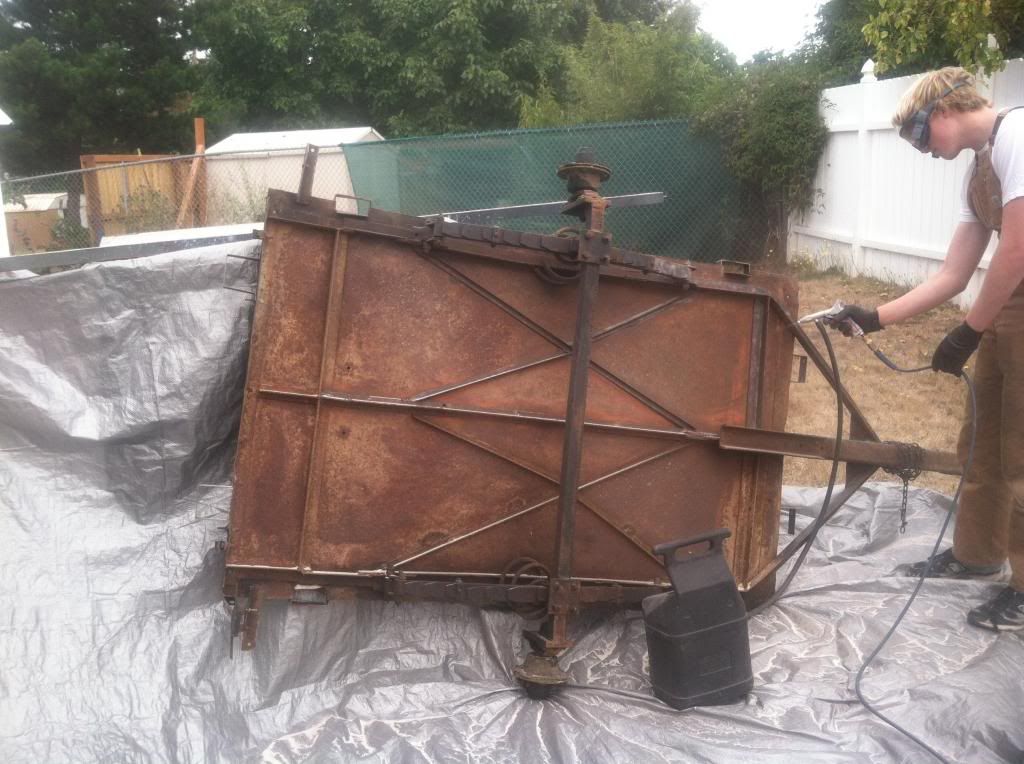
Not a pleasurable experience with a couple good showers after that to rid the glass media out of everything. Tasted the sand for a couple days afterward and still have some in places on the main box.
The frame got a coat of black sealer sprayed on before I left for a couple of weeks to work in San Diego. At that time, the rain had come down in buckets, typical Washington weather and the areas that weren't protected started rusting through. So a second coat would be needed. As I was tackling the corrosion problem, there was another problem to be tended to with handling as while hauling it down the road. The trailer had a nasty tendency to fishtail either to not being balanced enough or not having any shocks to dampen it out. It has a combination of leaf springs and coils for each wheel which caused it to sway right about 60 to 65 mph, not good if wanting to keep all your gear from flying unrestrained inside. The best way I felt to reduce this was using a couple of spare shocks that were removed from a Ford Explorer rear end. These were smaller that the standard shocks and allowed installation in a pattern similar to that on my Ranger.
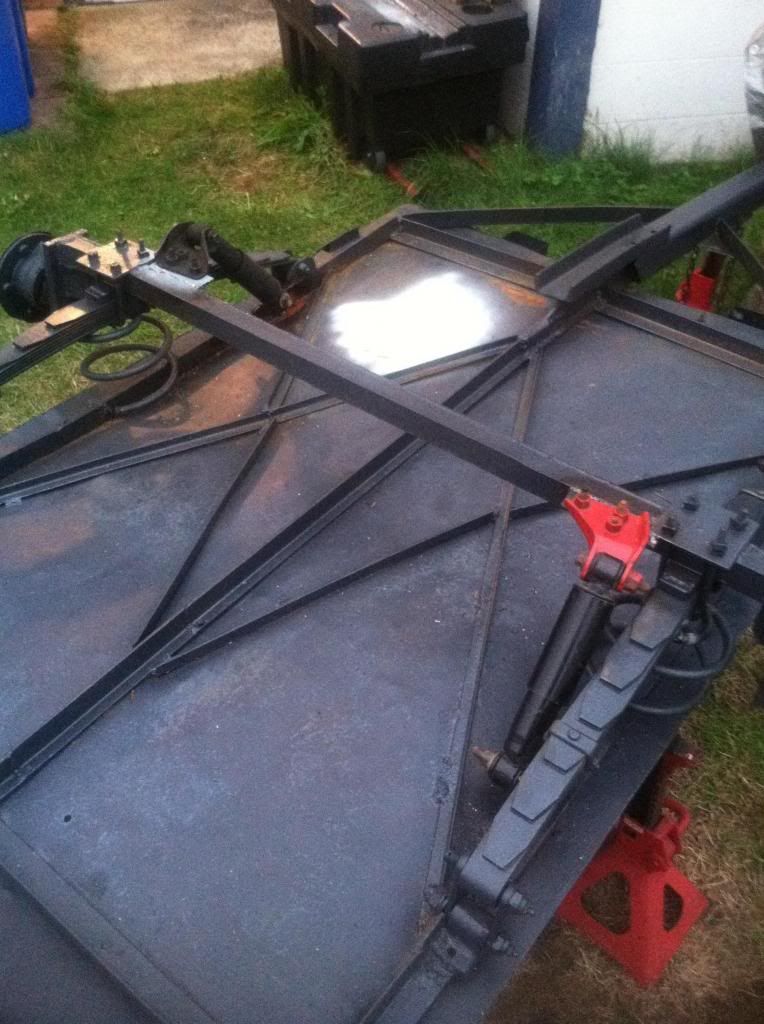
Welded a bracket to the axle next to the leaf spring mount and another to the frame at a 45' angle so both shocks could provide dampening equally to both sides.
The only thing left was to spray the rubberized undercoating, Atleast 8 cans worth which should keep the frame from rusting much at all in the next 10 years or so.
Now that the main box was placed back on top, it was time to wheel it into the garage and get to work on the internals.
Trailer finally in the garage with the freebie 2000 Watt generator and dish for the receiver.

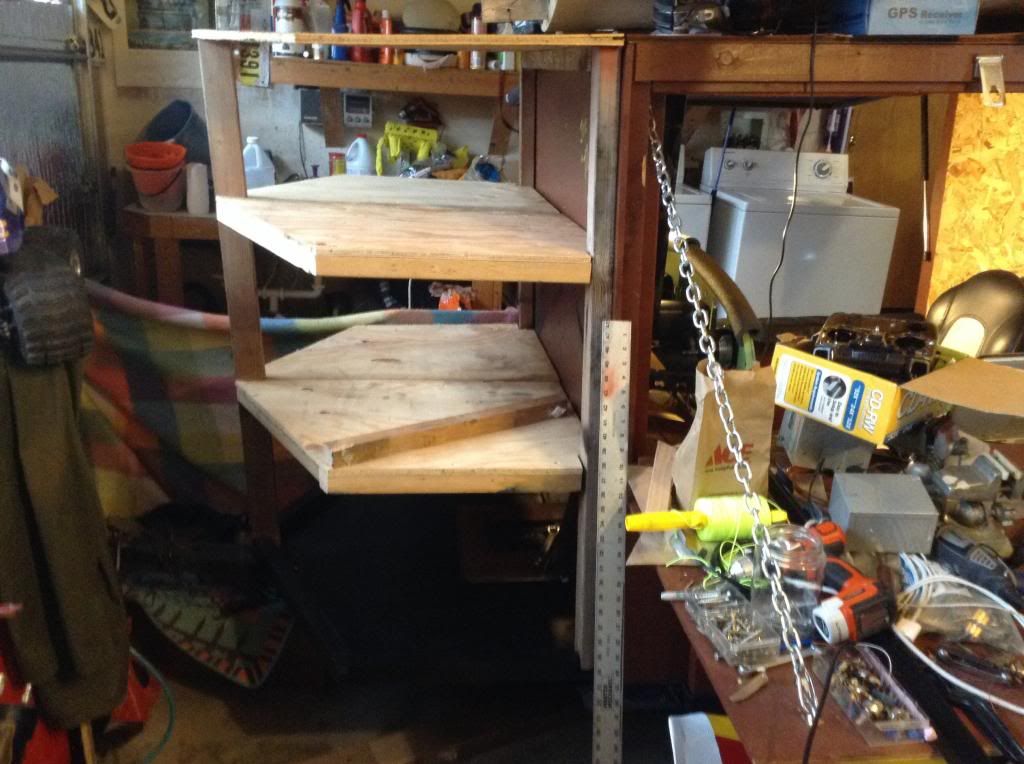
Have to excuse the mess, often times there was a couple projects going on at the same time and combine this with a lack of room. The trailer required so much room, often found I was using the back shelves of the trailer to store things since the top was already accommodating the spare wings.
When I first sat in the box using a small step stool, it was apparent that there was a lack of room for the legs. Looking at the rather large leg size of a friend and where his legs got bunched up, I was going to add a nose to the front to make use of a set of rudder pedals.
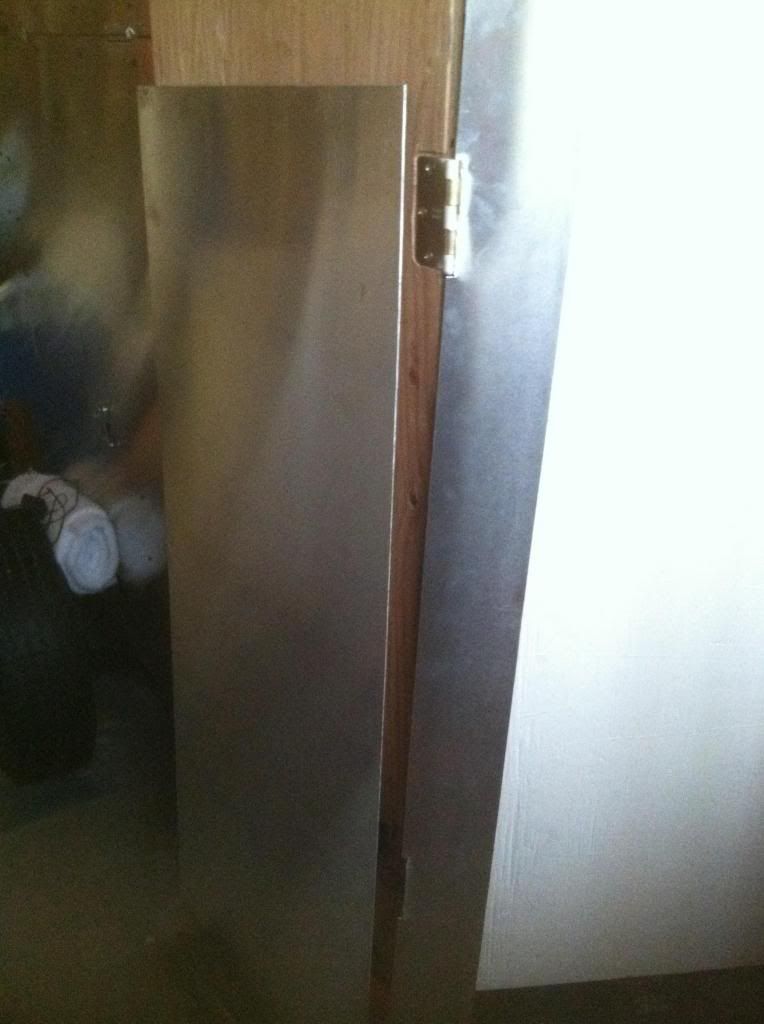
- Rudder access plate removal -
Once the access hole was made, I had my daughter sit in and show where the smaller end of the pilots were going to fit.
- Display system -
There was a debate to what type of display was going to be used. It shifted between using a projector, monitor, multiple monitors, etc... Eventually it came down to how much room is allotted inside and how much space is there for the pilot.
Projector sample
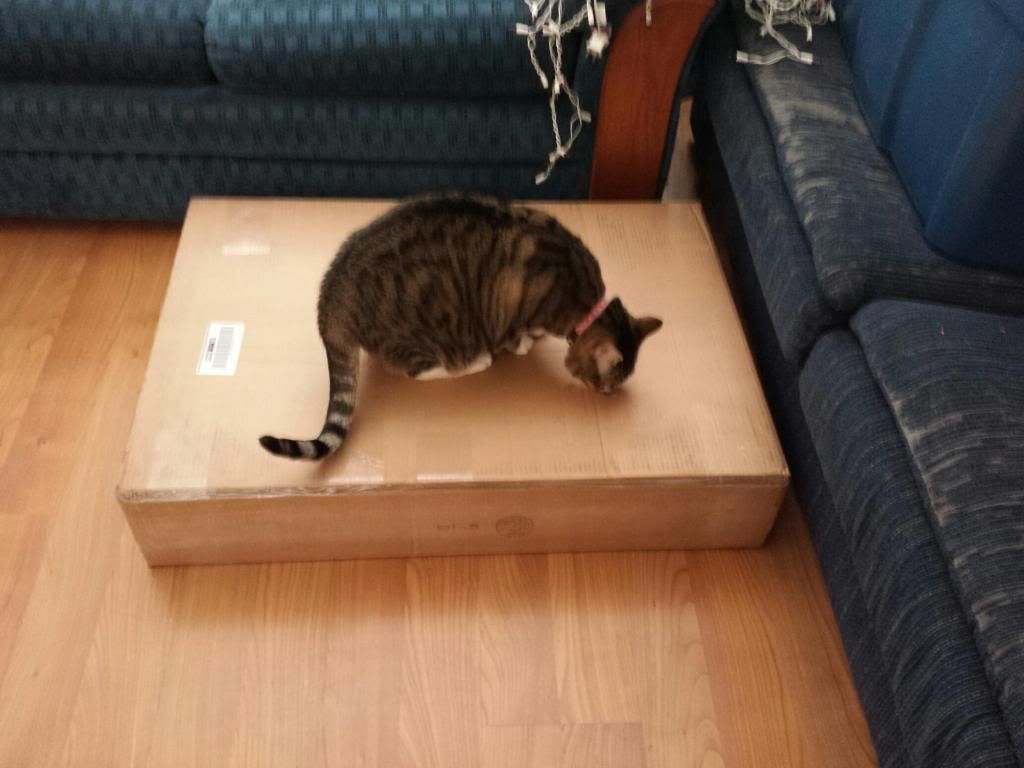
The projector was becoming a huge challenge due to space, how it would be positioned and how much screen would show. Problem is, there is not nearly any room to put one, either front or back. The trailer would need a major reconstruction and in the end not worth it. I finally settled on purchasing a 32" Led display from Emerson through EBay. It was delivered through UPS ground and took ten days, thought it would never arrive, as it got closer, they delayed moving out 3 days each time, even if it was only a 30 minute drive away for the last stop.
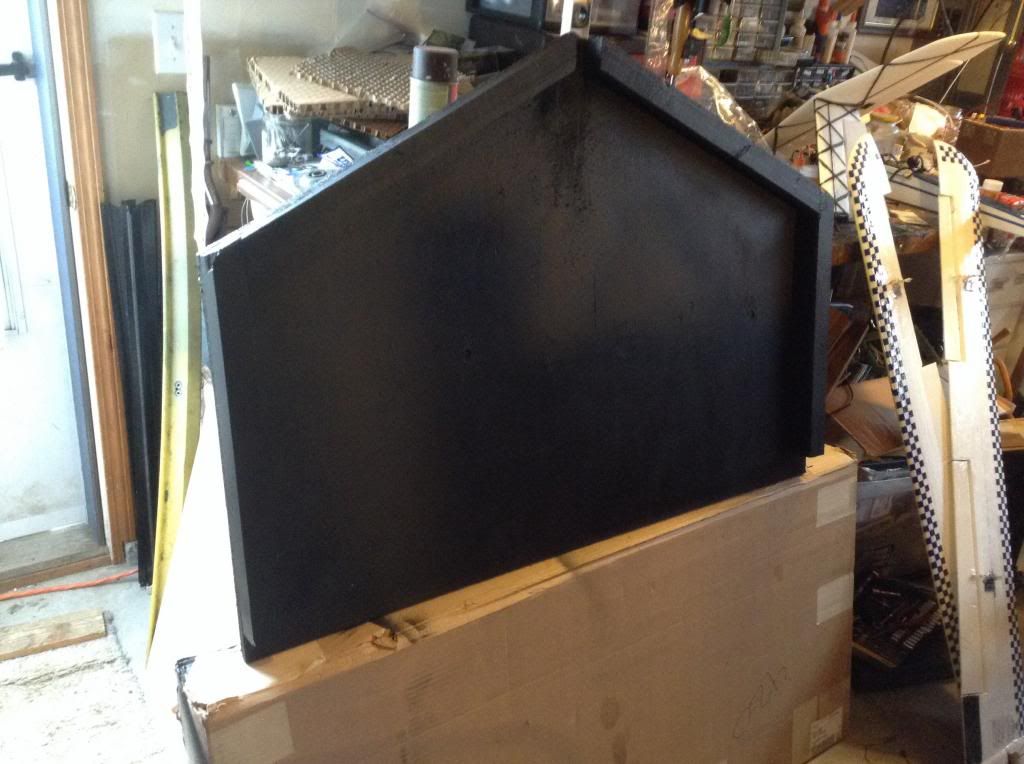
Upon arrival, the inspector scrutinized the package.
Fitting it into the enclosure, I could make use of the shock mounts to give the monitor some sort of protection.
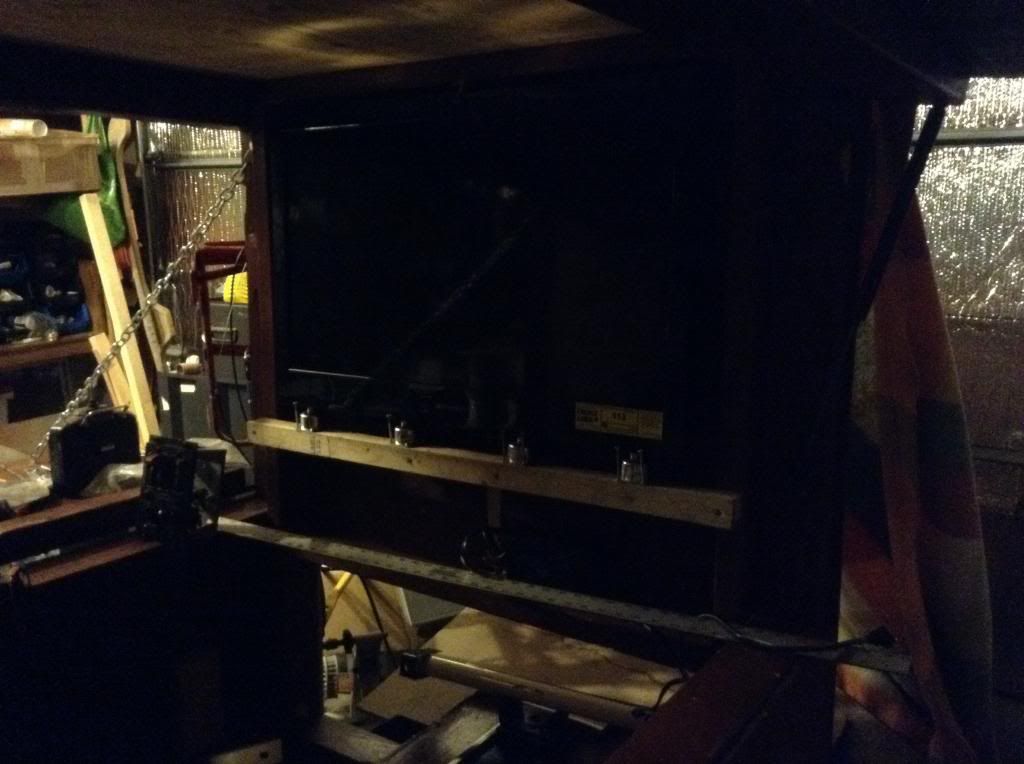
There was a problem that came up with the monitor and was able to order a new power supply board for it to get it repaired. Kind of frustrating with a new monitor that had reached the one year manufacture mark.
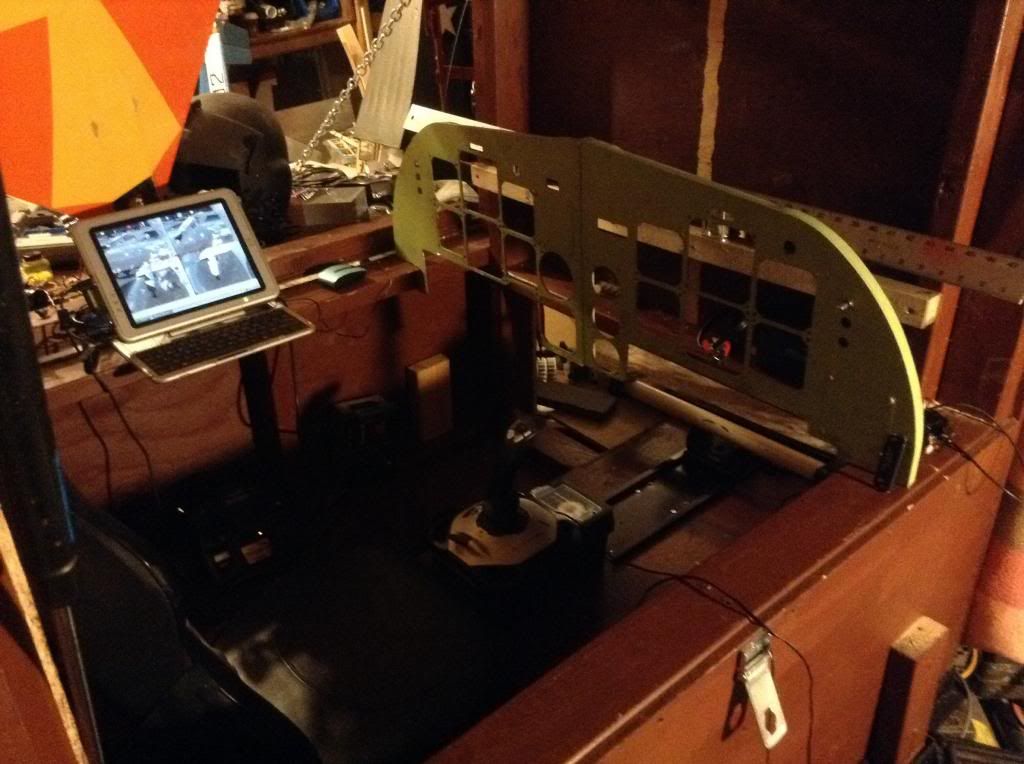
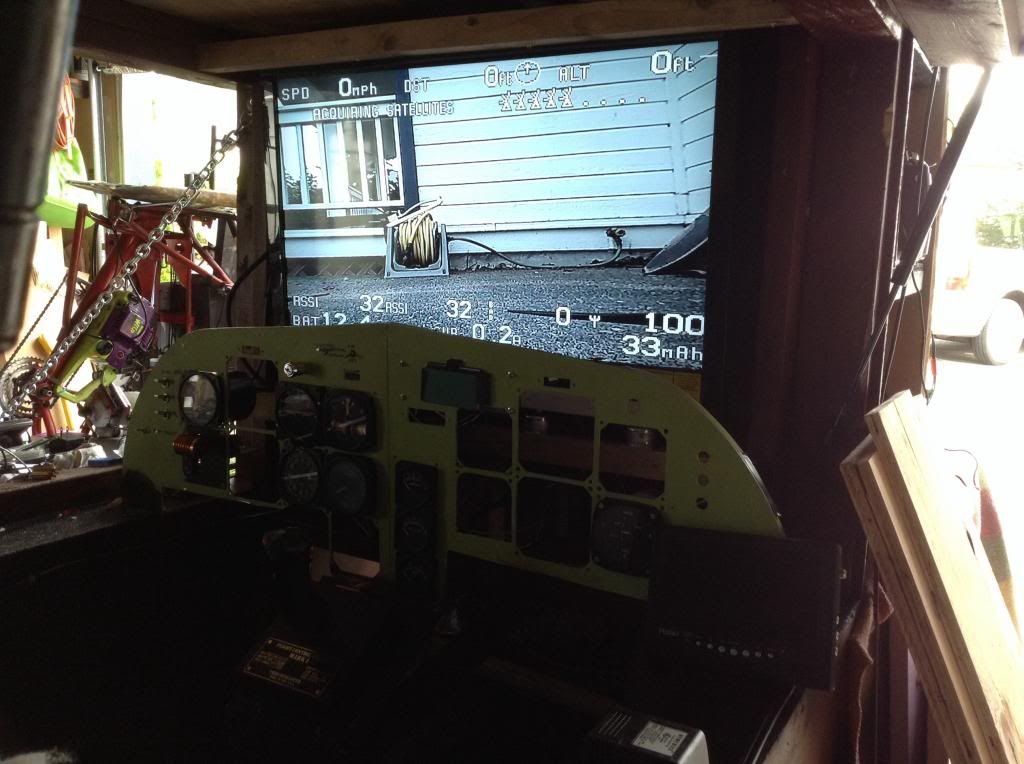
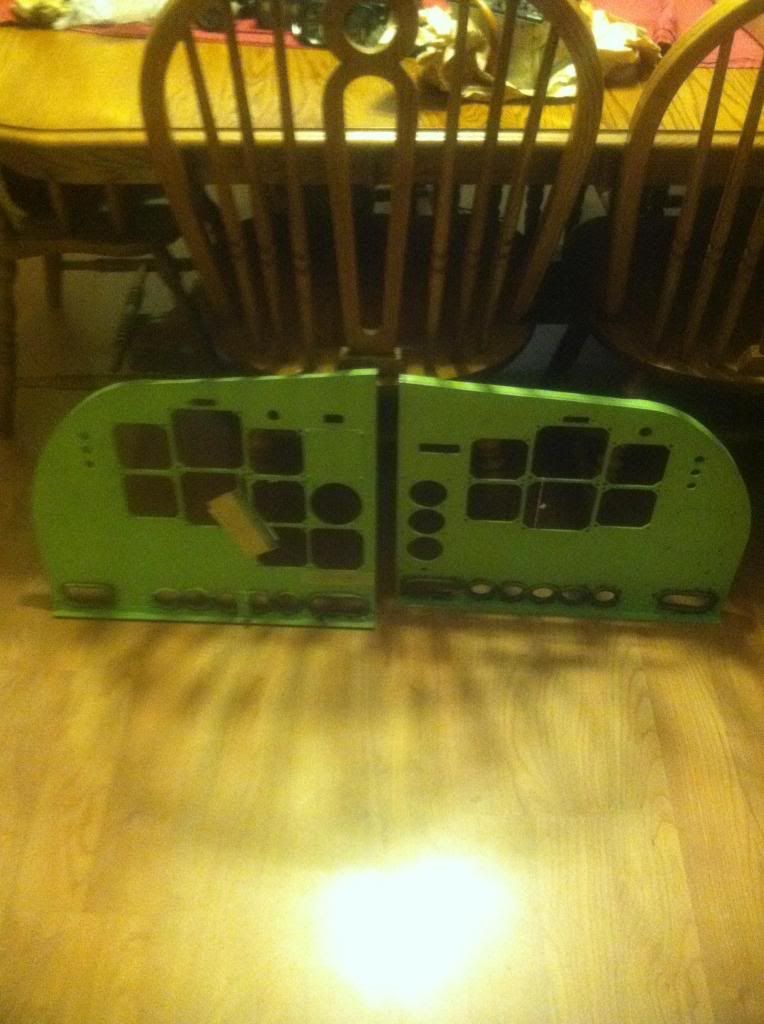
- Instrument panel -
Where the instrument panel came into being, it was thanks to a generous donation from a supplier in California who was looking for a convenient way to dispose of equipment that was taking up a lot of shelf space in his warehouse and had been sitting on the shelf for often more than 30 years. My father in law was able to work it through after passing word as to what I was building up. I considered it to be a huge Christmas present would like to thank him personally by giving him a ride in the station.
Early Merry Xmas!
![]()
![]()
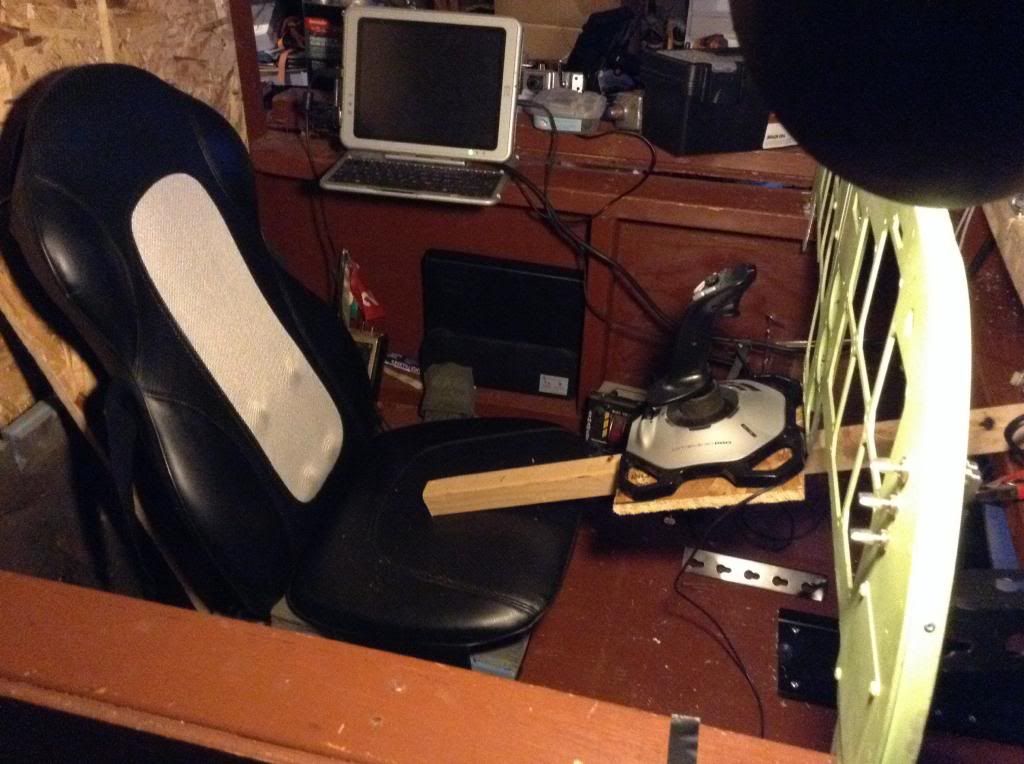
- Seat -
This was another great deal I found at a thrift store sitting in a corner. Only $7 and in great shape and running order. From Homedics, a quad roller chair, for therapeutic use. Nothing wrong with simulating slow turbulence and feeling like putty after your flight.
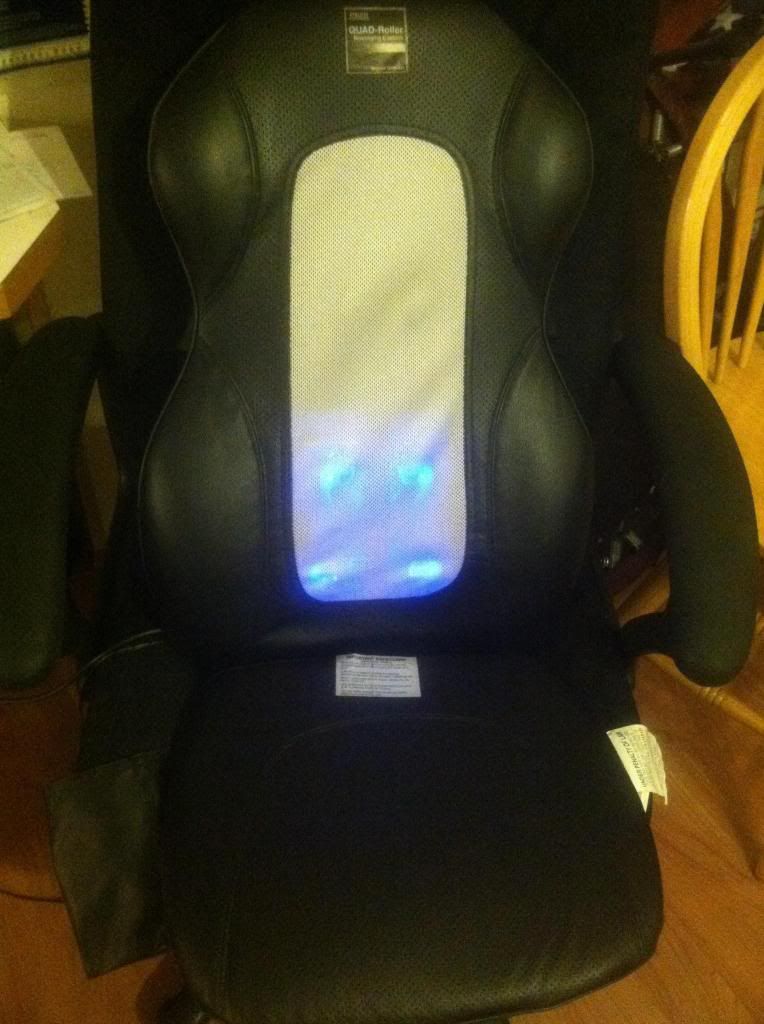
When I picked up the chair/seat, I was working out the spacing for a couple,of cushions and a thick piece of foam for the backing and the chair provided the dimensions for the platform to be installed to support the massage chair.
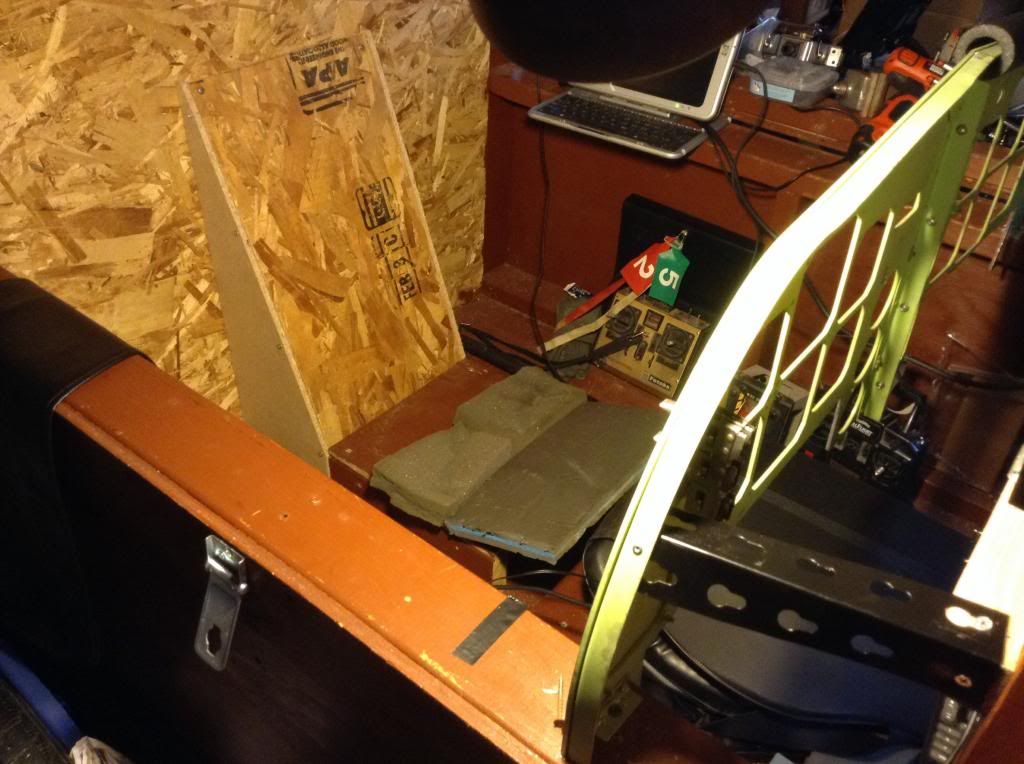
Constructed the base from Osb ply for the back and bottom, the sides from 1/4" particle board. At this angle, I had sat in the chair for a couple of hour long sessions for watching movies and found that the only absolute thing required was the use of a 6" thick foam pad under the seat pad otherwise the legs went numb after 15 to 20 minutes. I determined this step to be very important especially if I would dedicate some flight hours in the seat and not have to move excessively to keep the legs from falling asleep. Now I can't keep my kids from hopping in and running the massage, Atleast I know where to find the younger two when they're trying to hide.
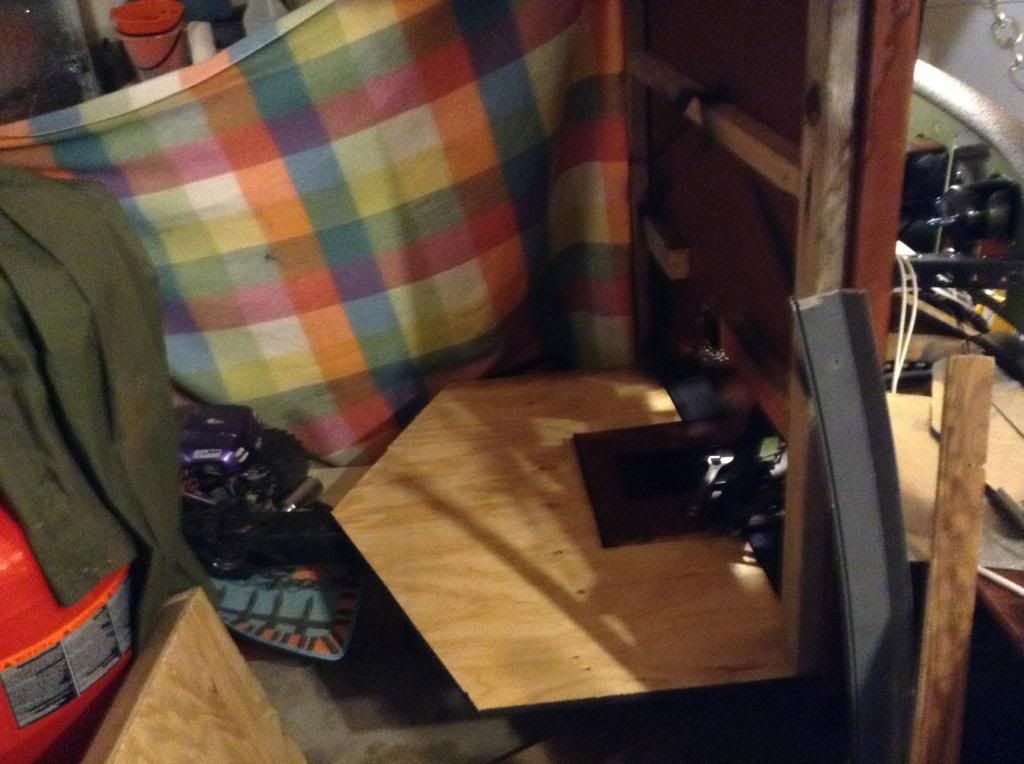
- New nose construction -
If I was going to provide a decent cover for the rudder pedals, I might as well give rest of the nose some decent shelf space and therefore the addition of a small 2000w generator. At that stage of cutting out the floor panels, I took measurements of the generator and the deep cycle marine battery to provide hours of use out in the field.
Bottom shelf
Generator shelf
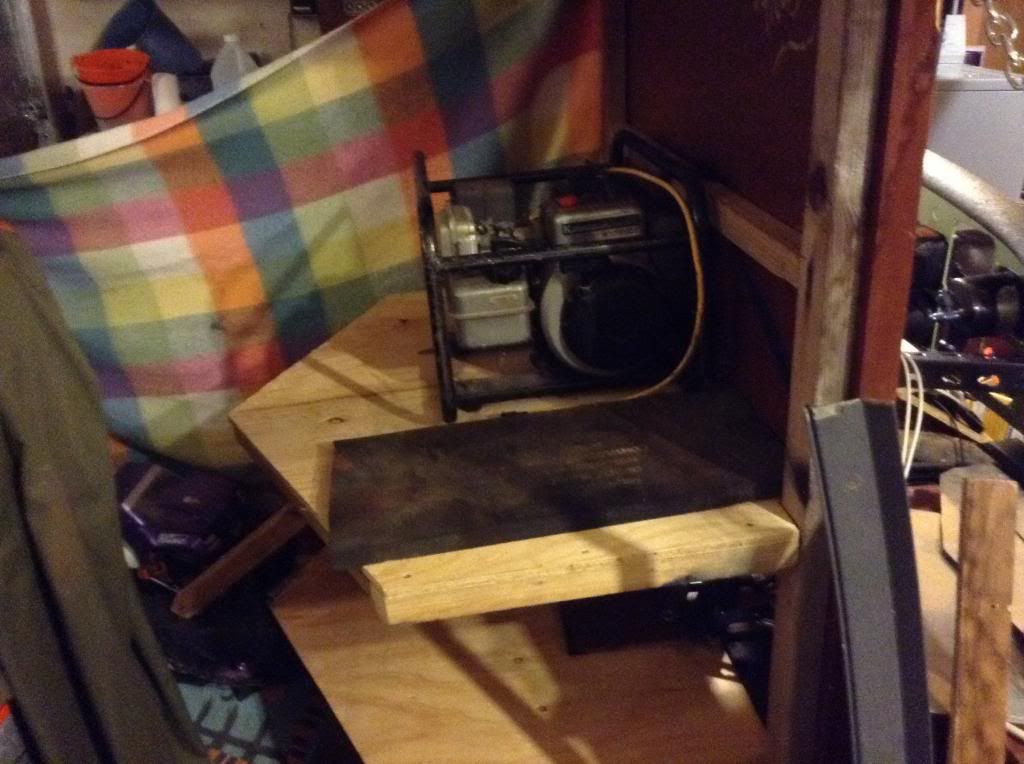
Waterproofing the bottom shelf
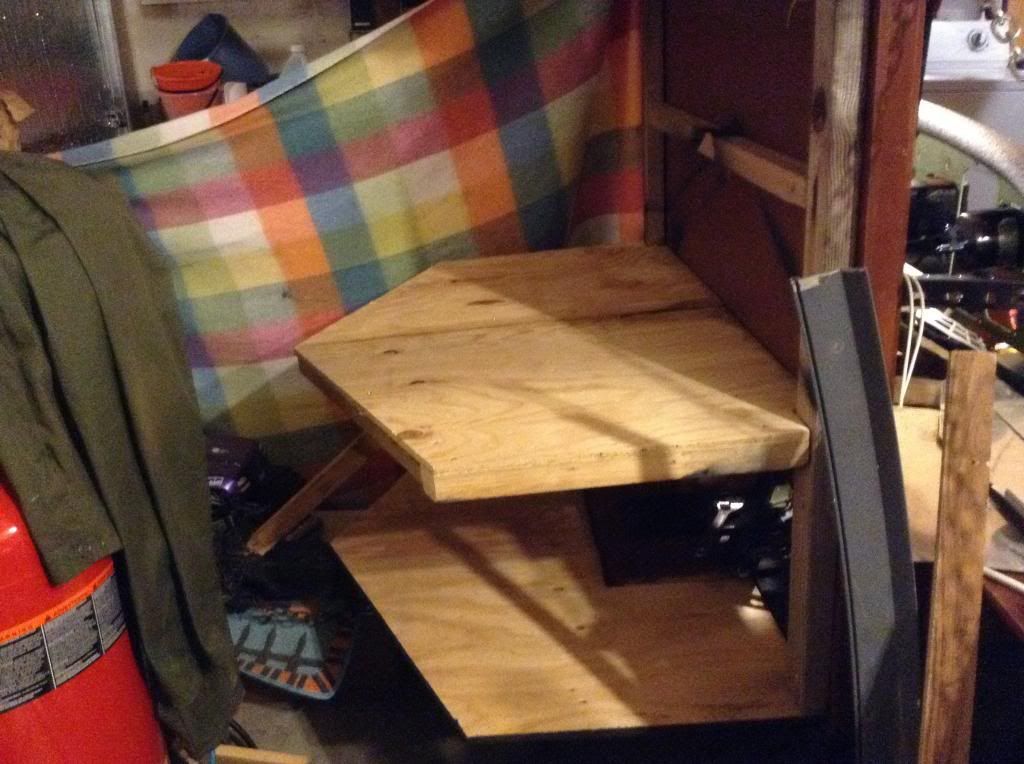
Battery shelf and top cover
This extended the center of the nose out by 30" and the sides by 20", plenty of room to provide additional storage for a second marine battery when able to purchase one. Side doors were of 3/4" ply and used heavy duty hinges.
- Control Radio -
Between Brett and I, we had been using the old 72 mhz Futaba 7 channel radio that only supported one airplane. This was not going to be sufficient for what we would be flying, especially multiple planes and having to reprogram the radio for each new plane was not feasible. I went through three other radio boxes that might be good candidates but none stacked up against the very inexpensive and functional Turnigy 9xr radio.
![]()
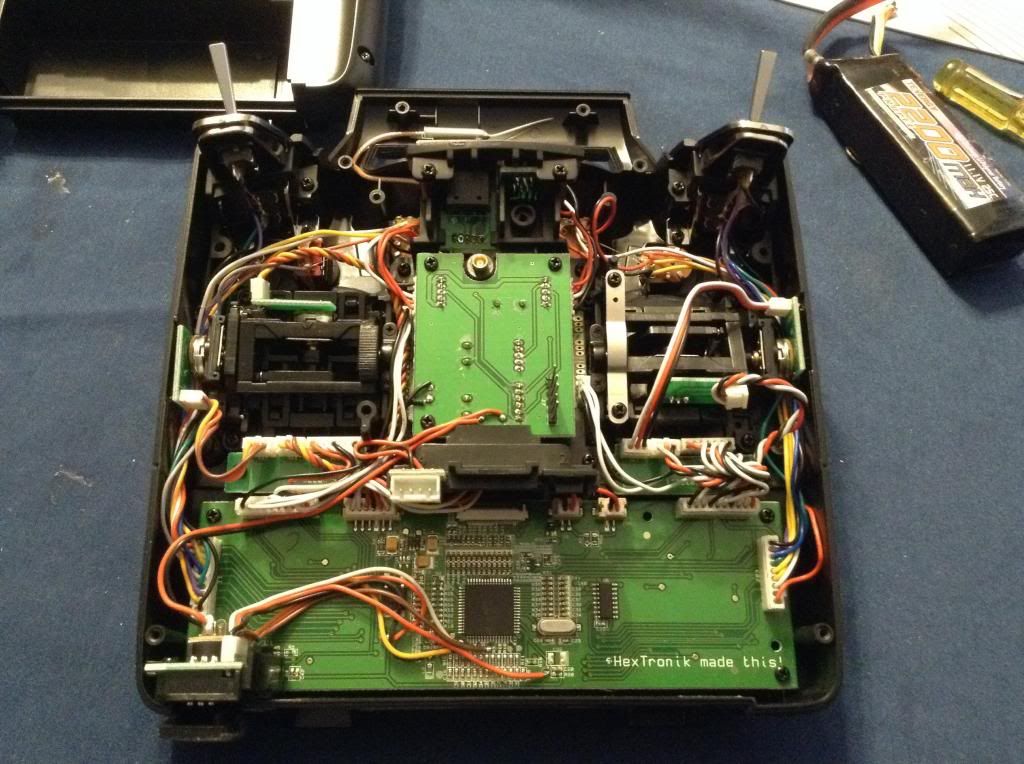
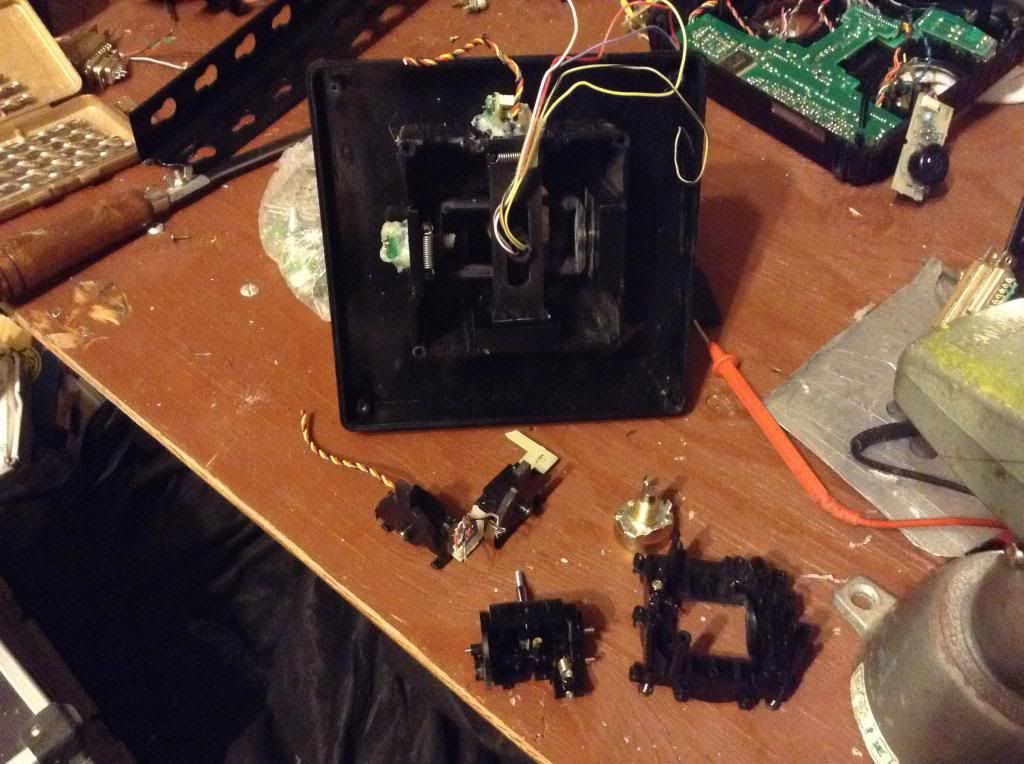
The Turnigy 9xr comes apart in a very simple manner and this is the other feature that convinced me it was the the right choice use for the cockpit control, more so when it came down to cost. Why spend $200 on a radio that will be only used for the motherboard and display. The versatility of the open source programming was a huge plus as this enhanced the method of how each control was set up and calibrated on the radio. Since I was able to use a variety of different value potentiometers, the calibration thus compensated for each provided that the electrical center is accounted for prior to activating the calibration mode. Otherwise it resulted in an uneven movement on the control.
![]()
The wiring for each control had to be planned out to work out the best place to allow anyone from 4 ft all the way up to 6' 3" would be able to work the joystick, rudder pedals and throttle quadrant without restrictive movements or inaccessible locations. This way my small daughter could benefit from the early flying lessons as well as certain friends that are almost ready to hang the towel up from one problem after another. The cockpit certainly changed my perceptions on being able to fly without footing the enormous bill for full scale flying.
Video - 9xr functions
- Flight Control Stick -
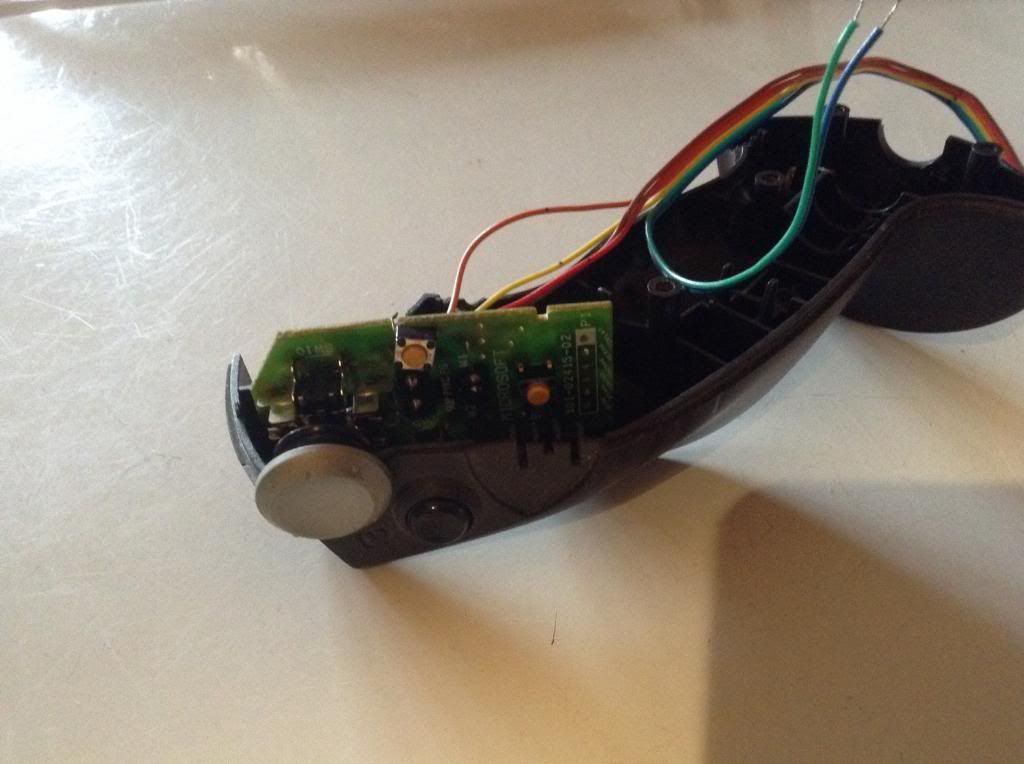
I had an old Thrustmaster joystick that was purchased back in the early 90's, just like many items still awaiting use on future projects. This one has the jet fighter appeal and was wired up in a relatively simplistic manner which would make hooking up to the 9xr easy enough, making the use of the hat switch for the aileron and elevator trims.


http://i1194.photobucket.com/albums/aa371/airtruksrus1/Trailer%20flight%20simulator%20progress/image-32.jpg
The remaining momentary switches were ganged with the Throttle cut switch for the auto trim on the top left button, the lower thumb switch is with the upper part of the flap mixing and the lower front is with the lower flap mixing position. This allowed the RVOSD to use the flap mixing momentary buttons to activate the screen switching and autopilot modes.
- Throttle Quadrant -
Here was a second old joystick that had failed to connect to the USB port and would serve as the throttle quadrant. Originally a Microsoft Sidewinder joystick that had many years of use, would better be served by operating the menu selects for the 9xr. So far it has proven to be extremely useful especially if there is a chance that something happens in flight needing to be changed slightly or enable the timer to estimate flight times before landing.
As with both joystick handles, the hat switches are hooked up with individual wires to each switch and a ganged ground line that attaches to each switch. Not much involved in prepping both for the 9xr use, just deciding what to use each for.

After the flying session in Oregon first week in July 2014, Brett presented me with another handle specifically made for the throttle quadrant and may have to replace the Sidewinder handle eventually.
The construction of the throttle quadrant was patterned after the typical style with a handle that moves a lever front to back with a pivot point at the bottom. More old parts were used to construct this and sometimes bike parts have a second lease on life. In this case a used/worn out crank and pedal converted over to a very smooth control handle where the Sidewinder handle inserted into the bottom bracket hole.
The pedal came apart and a couple 90' angle brackets installed on both sides to mount to the pedal and then screwed onto the vertical beam just to the left side of the pilot, placed so that the left arm would be comfortable holding on while operating.
3/16" fiberglass plates were used for the inner and outer sides with 1 1/2" spacers between to provide enough spacing for the bike crank arm. The spacers also provided the low and high limits, so making sure the electrical center is marked before closing up. A 10k ohm potentiometer was mounted on the back and JB welded in place. The pot shaft was fitted with a half round wheel with a zip tie attached on the one side and a spring off in the down side to provide tension on the throttle quadrant handle. Seemed to provide a very smooth control input and worked great over the last 5 flights to date.

It is still being worked on and want to finish it up with a good covering and possibly another lever if there is sufficient room to install one.
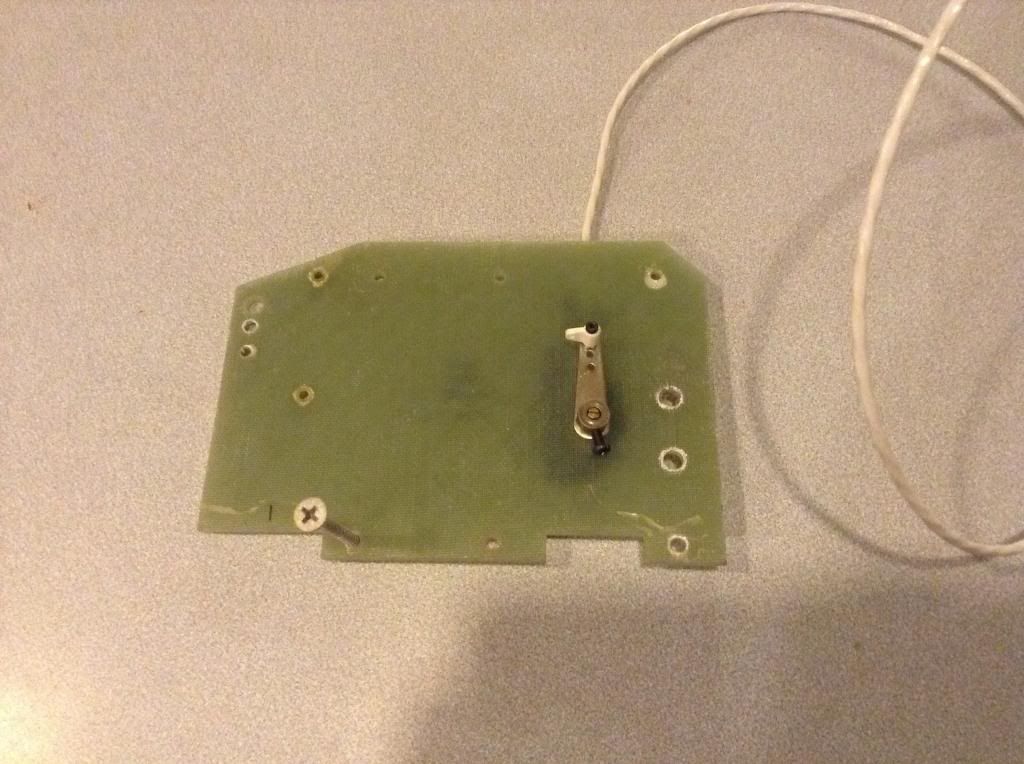
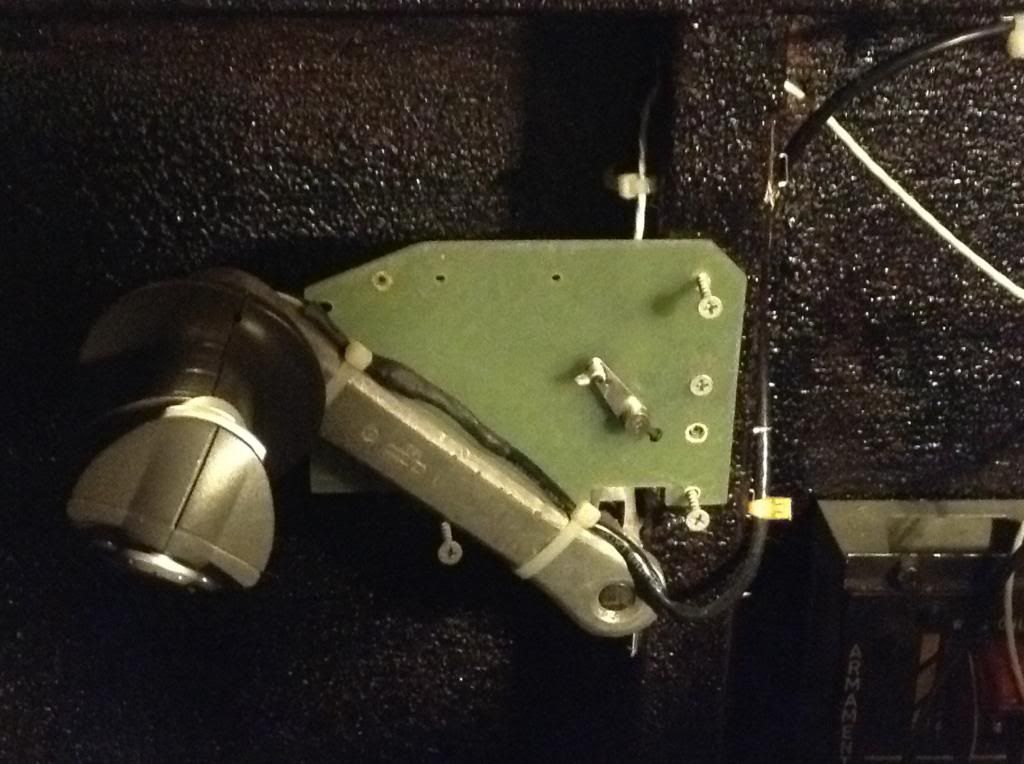
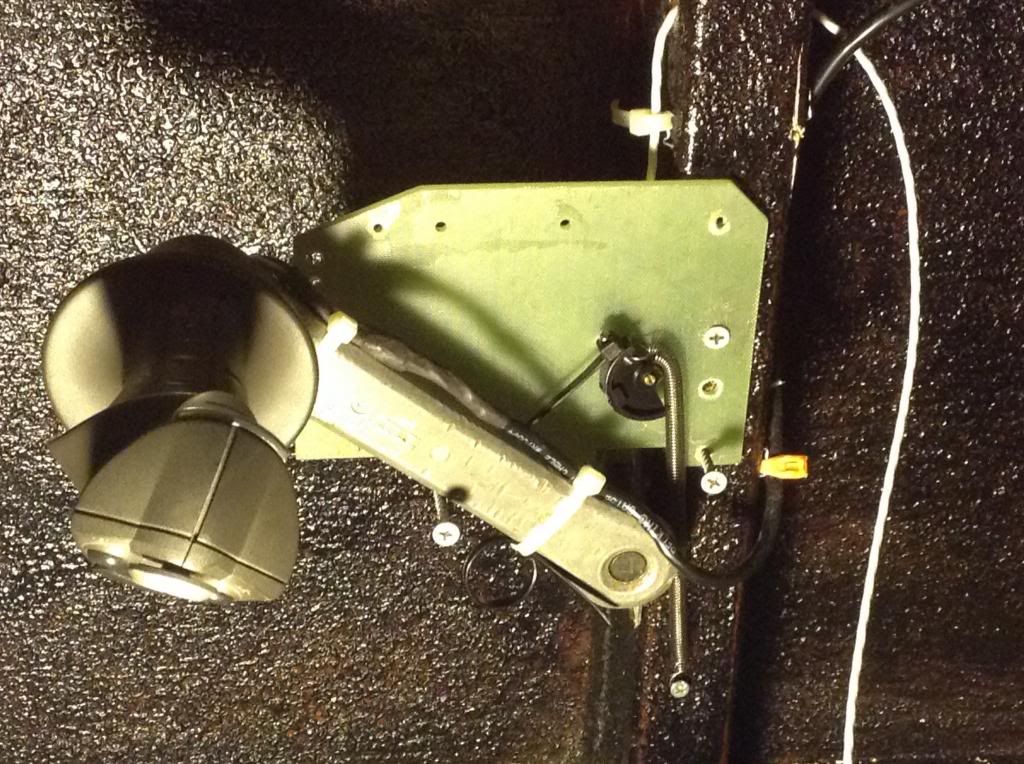
- Landing gear handle -
This is similar to the operation of Brett's landing gear control and had gotten a bit creative to make it look and function good.
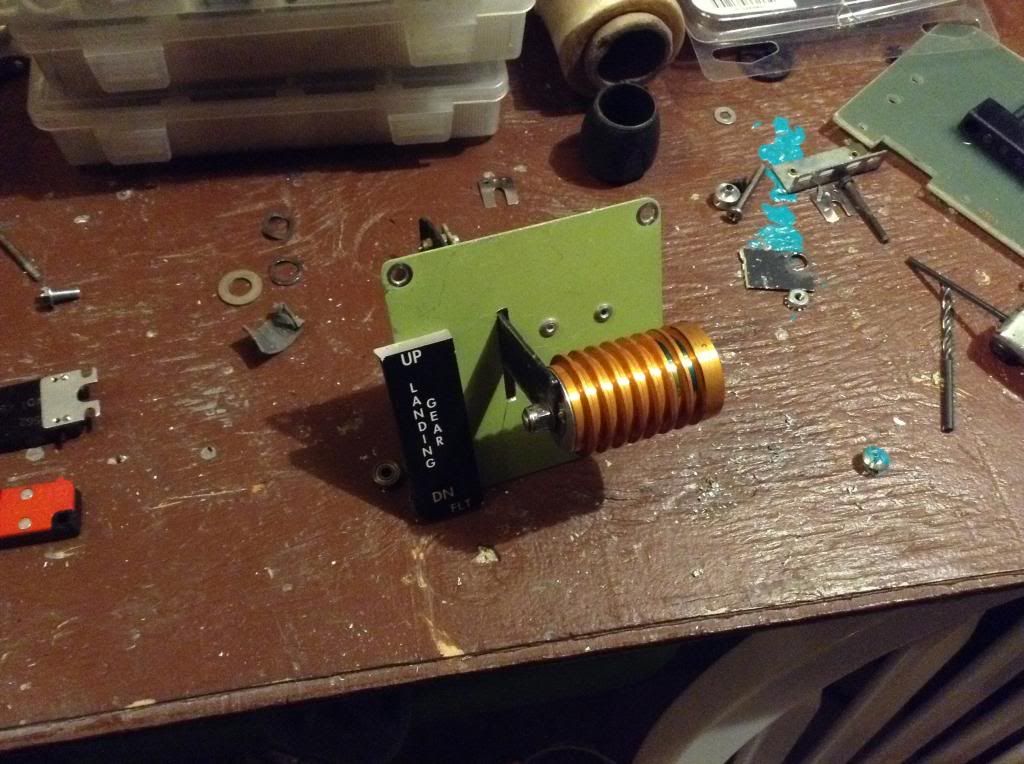
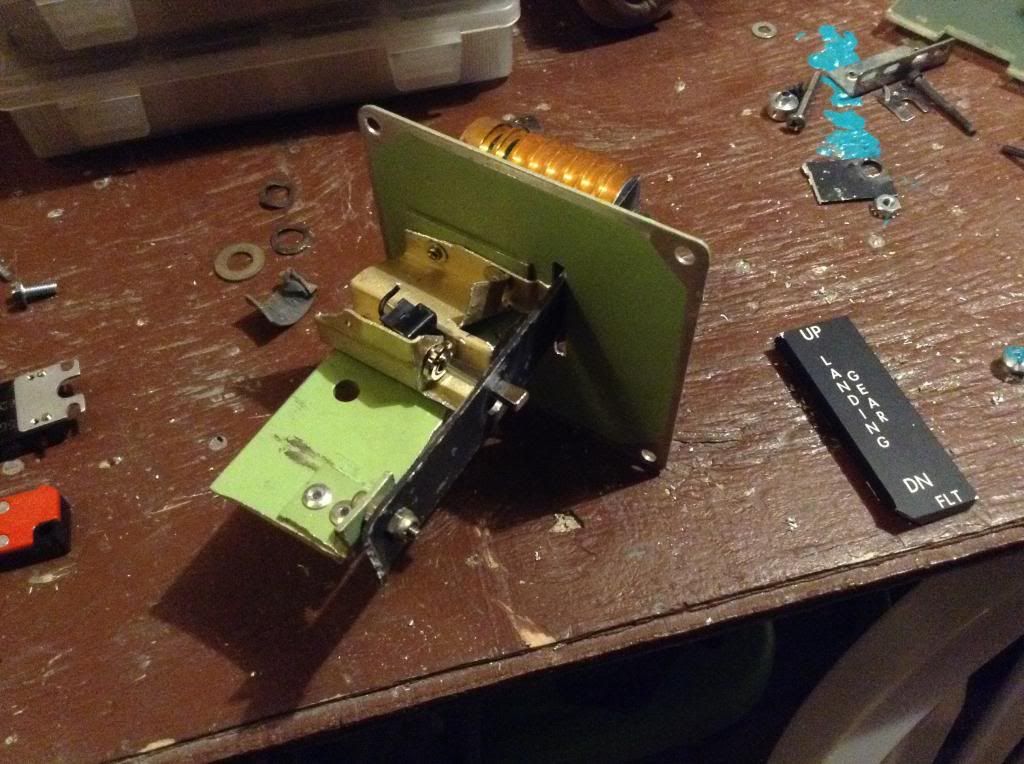
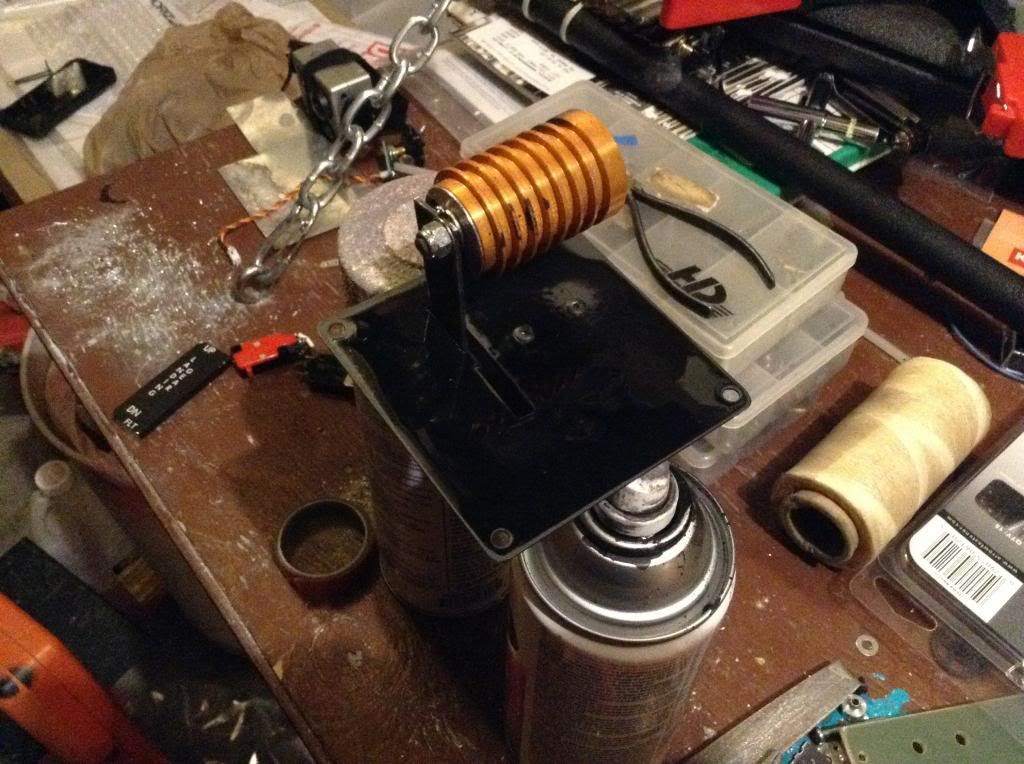
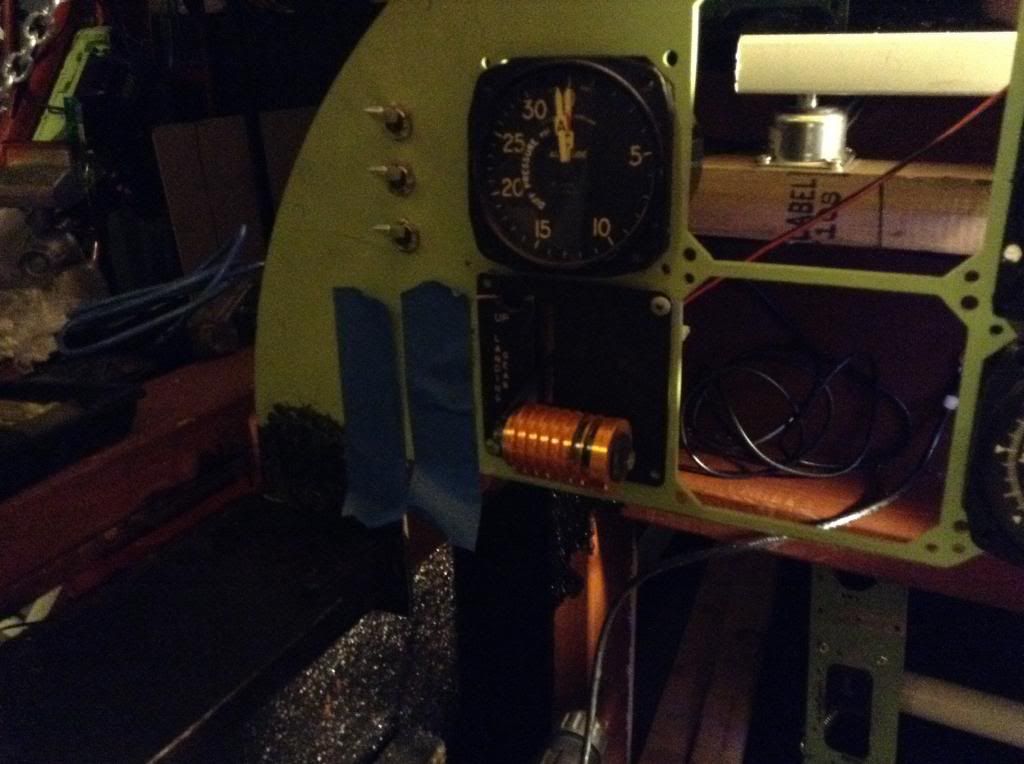
Used one of the blank off plates from the instrument panel to get started. From there, i formed a support for the handle. The knob is an old Astroflight 020 inrunner brushless motor casing that burned up on a flight. Placed a switch to allow the handle to activate on the down position. The label came from an old instrument panel, broken and able to trim the edges up and mount on the placard.
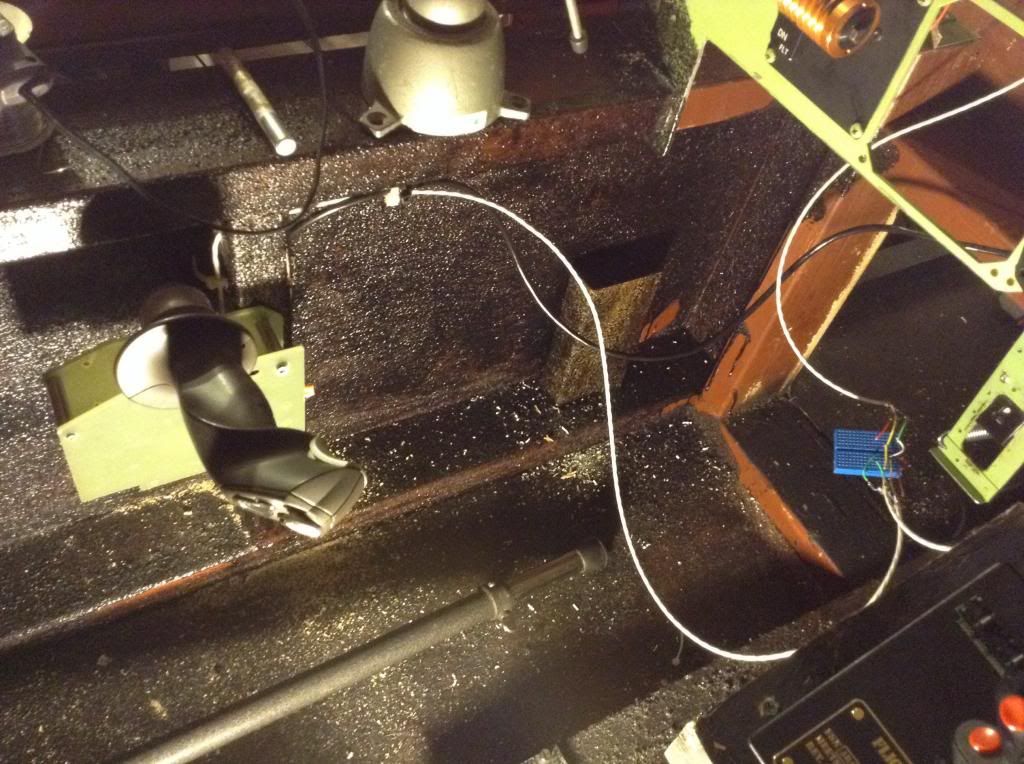
- Collective stick -
This was an addition that was included and given serious thought to after watching a friend from Australia who flies his 600 size helis from a retired old R22 Rotorway cab that had an unfortunate accident.
Link - Micks build thread
R22 Cockpit Ground Station Build
http://fpvlab.com/forums/showthread.php?21589-R22-COCKPIT-GROUND-STATION-BUILD
He had started out using a lawn chair with all the controls hooked up in a makeshift manner to offer a very realistic feel and worked very well for him till he took the next step and installed the R22 cab inside the back of a cargo van. Enough space to use a 50" display, he has been really tallying up the flight hours. Even he said that full scale pilots have found his to be very similar to the real thing and would be considered as part of a training program for novice pilots.
So this leads down to the collective stick install and how it is tied into the 9xr. First I had to look around for a suitable handle and that was already looked at with an old set of tripod legs that had a broken base. The leg has a second post that travels inside and gave the cyclic action through the twisting motion. The collective action given had to be accomplished by mounting the pivot point through the back and into the lower storage area. Plenty of range of motion on both which were utilizing the Hover pitch and Hover throttle potentiometers on the front of the 9xr. The pitch trim potentiometer action was installed on the knob end of the cyclic and operated by the thumb and forefinger. Important thing is, all 3 of the adjustment knobs are now operated by the left hand.
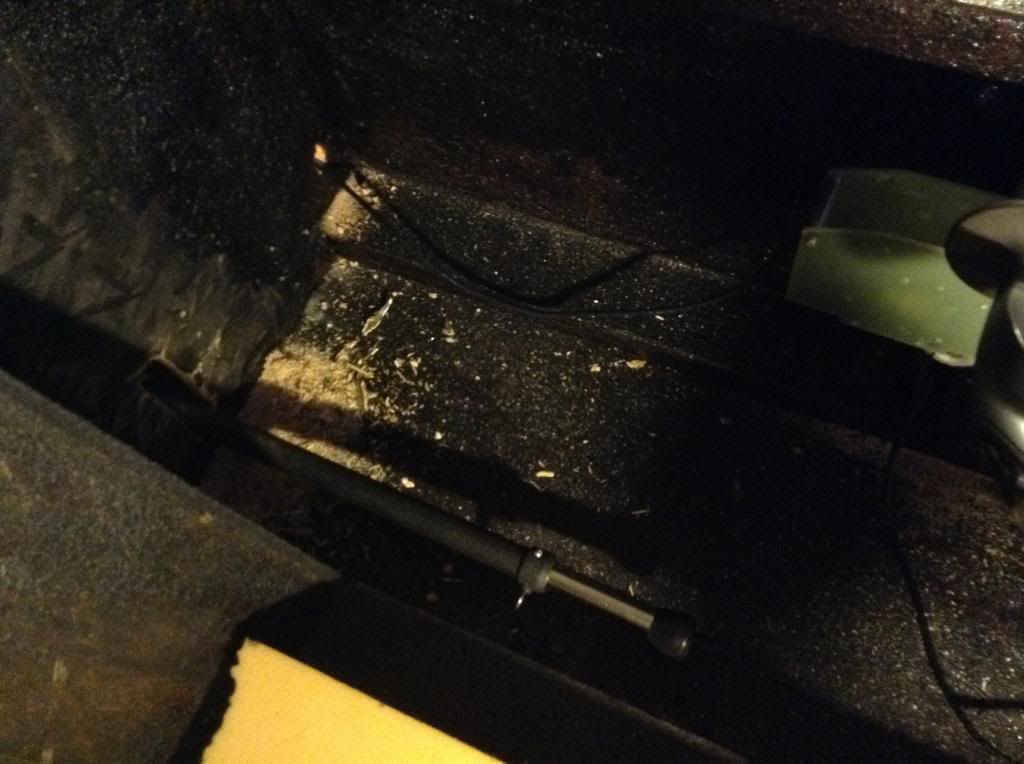
- Rudder Pedals -
This had me scratching my head when first looking at what I wanted from a set of rudder pedals and getting them to function like a regular set of pedals. The action of the pedal had to be linear so the feet would stay flat as when operating left and right. I did what I had done with all the other attachments, turned into another session to scrounge for parts and turn it into a work of art and functional at the same time.
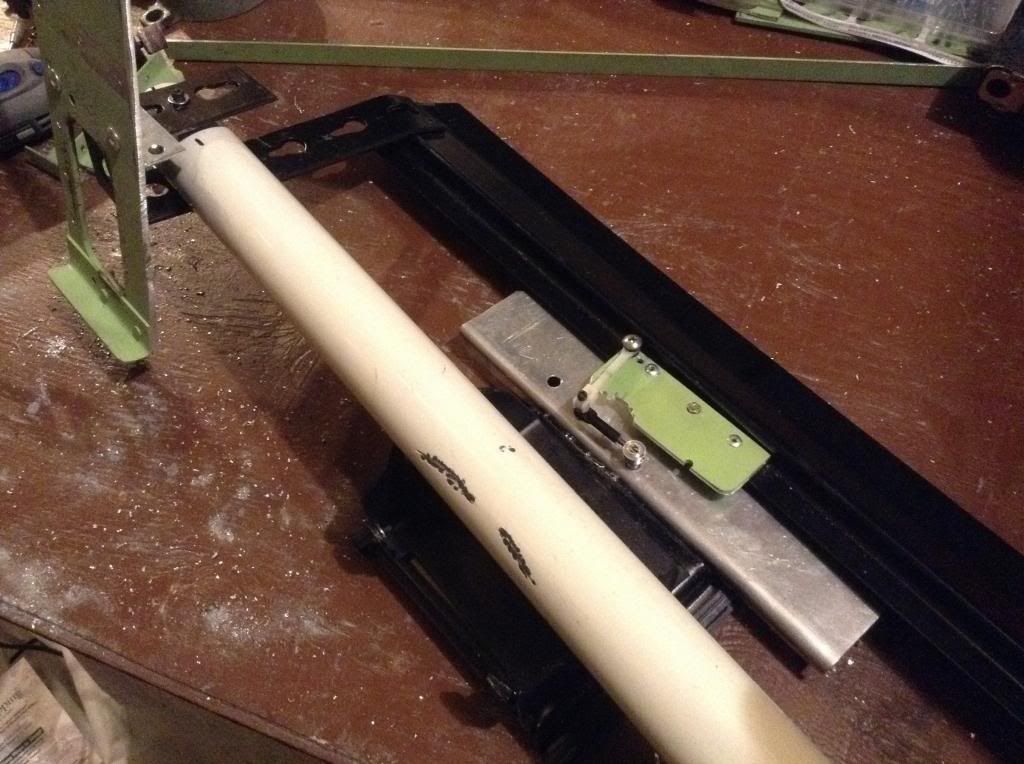
Rudder pedal base mount
![]()
The first part was by mistake and a recycled keyboard slider that was used on a computer desk fit the bill. As long as I can fit a clamp or slider stop, it would provide a means of allowing the smaller kids the use of the rudder pedals, all the way forward fits people up to 6'3" with relatively no problem.
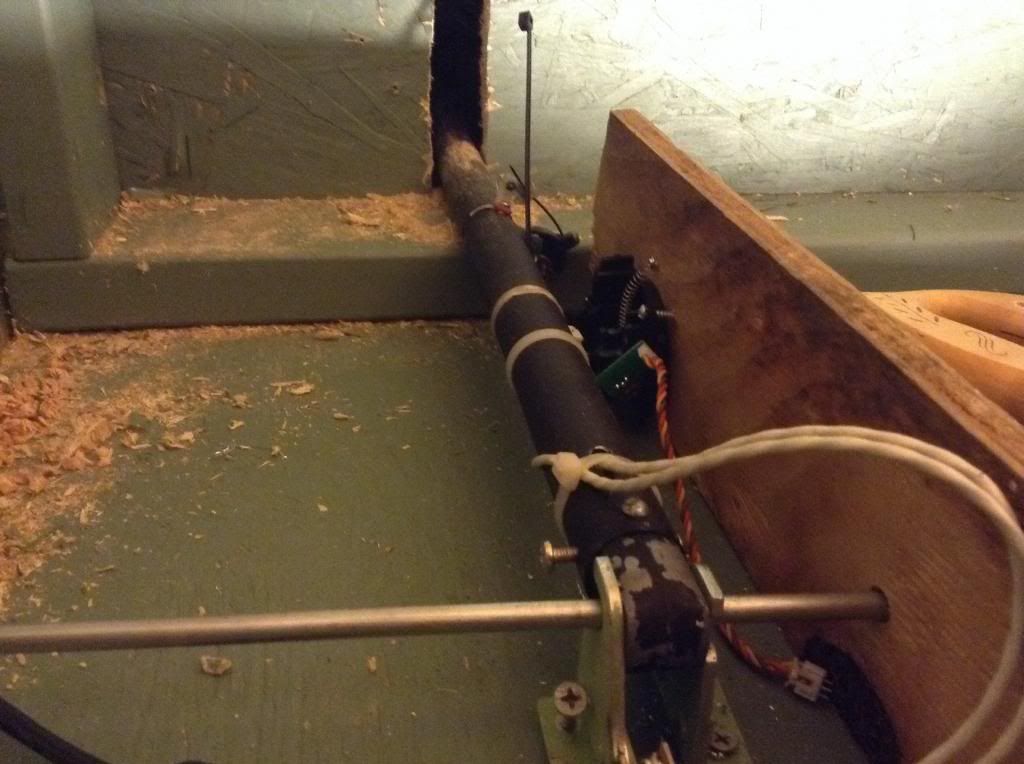
Rudder pedal post mount.
![]()
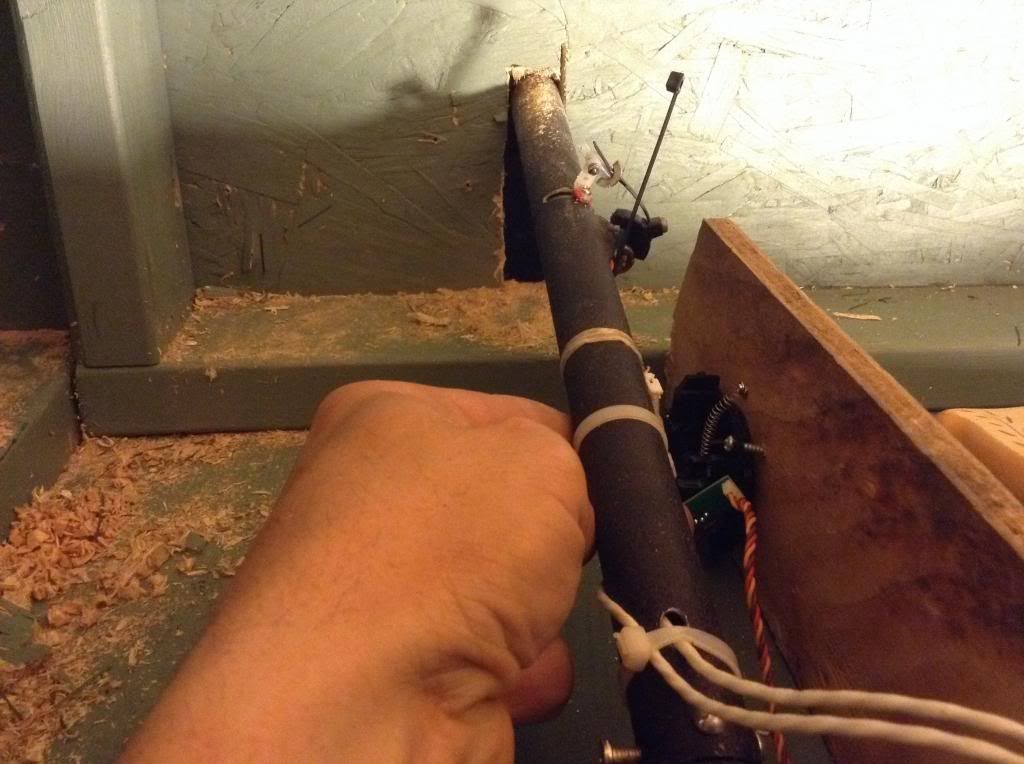
Rudder pedals
![]()
Rudder pedal assembly
The post mounted across is from an old lamp post and pop riveted to the top of the swivel, makes a strong platform for the pedals with no flexing. This will still go through design improvements as time goes on to help improve on the overall stiffness and durability. Perhaps as the parts search progresses, a spare set will present themselves with the rigging to keep it authentic.
- Video receiver equipment -
The current system based on the 1.28 Ghz was originally purchased through Rangevideo. Started out with a 12 channel receiver and an 800 mw transmitter with their v antenna and 8 dbi patch for the receiver. This gave me about a mile of range when using the 2.4 FrSky JR module for control and finally upgraded to the EzUhf radio with much better circular polarization antenna sets for the video system and has since pushed the range out to about 5 miles reliably. The receiver now consists of 2 1.28 Ghz modules hooked into the Rangevideo diversity board which allows a dual output going to both monitors to maintain video signal levels to lessen the chance of the blue screen effect. When the Sony Minidv handicam is hooked up in parallel with the 7" Haigher monitor, it provides the video recording and a 2" screen which doesn't lose the video and a last resort when the other screens lose the signal enough to go blue.
The second video receiver system is the 2.3 - 2.4 Ghz 12 channel unit that utilizes the Ibcrazy Mad Mushroom (5 lobe) cp antenna, a 5 turn helical rt hand polarized antenna or a 6 turn left hand polarized antenna used in conjunction with a direct tv satellite dish for the really long range. Only tested this out to 4 miles and the video was flawless before discovering a problem with the UHF interference in the local area where it was being tested. Wreaked havoc with the EzUhf and gave anywhere from 1/2 mile all the way out to the stated 4 miles before activating the failsafe.
These antenna systems have now been located on the top of the trailer with a temporary mini vise mount to give the height necessary to clear the aluminum siding and provide an excellent line of sight with the video signal. This also makes the video and power lines easier to hook up and shortens prep time. I'll be looking at making a pole mount so the antenna won't be succeptable to wind gusts and can be locked in place and plugged in within 10 seconds. Simplification is always being pushed on this build, ranks right up there with form and function to cut down on site setup and more time for flying.
- Preliminary system checkout -
The DJI 450 is the only copter flown briefly from this configuration, the collective is hooked up on channel 7 and move the throttle on the quad accordingly. The other control modes are hooked up to the flap and gear switch to operate the intelligent orientation and the GPS/manual modes. As it turned out it was either switched to manual mode or lost GPS lock when I lifted off in the driveway, sending it screaming out and trying to get it down without any damage.
I figure we all make mistakes, just try to minimize the risk when things go awry.
- Making ready for hauling down the road -
A very big step to finalize the trailer into a roadworthy state, still a bit of work left to do make it ready for the trip all the way to Oregon.
One of the nagging questions that was lingering during the entire build was what to cover the main part of the box with. As it sat originally with brown paint and dressed up like it was ready for the Conestoga wagon top for what it was designed for, I was looking at covering this up with diamond plate until the mention of weight and cost came about and changed to thin sheet aluminum. The trailer needed protection from the elements and so far has done an admirable job at protecting the sides and easy to clean up.
Aluminum siding cutting and attachment.

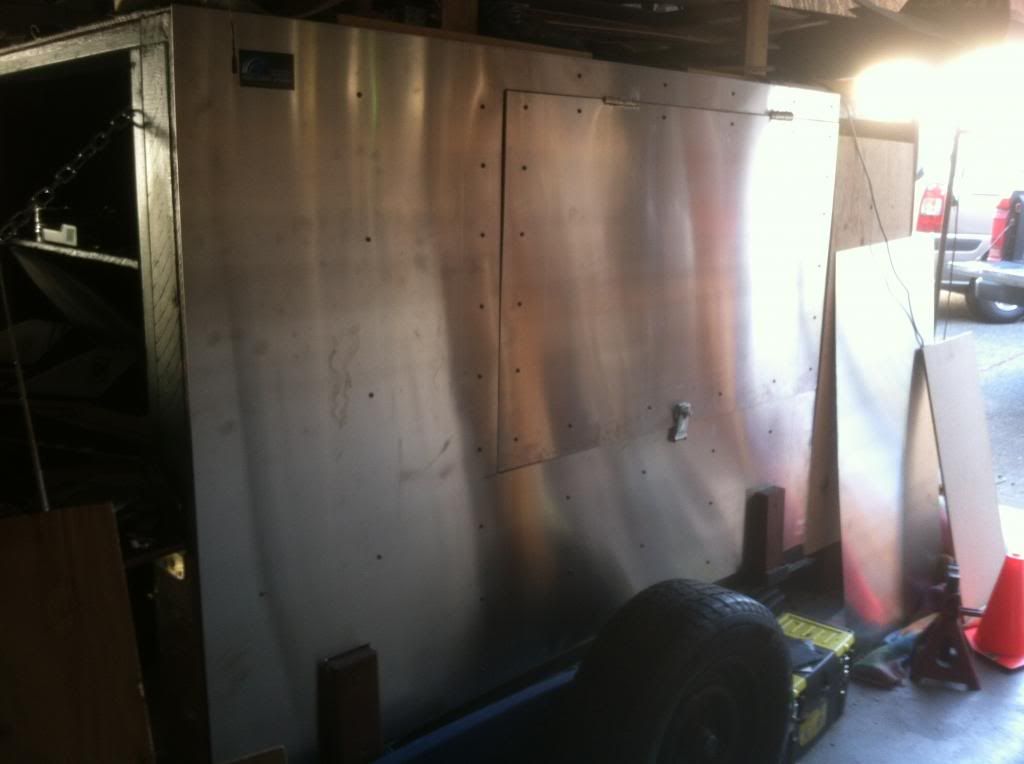
Skagit Steel in Burlington had fairly decent pricing at around $80 per 4x8 sheet when purchased 2 or more. Measurements were made and cutting was accomplished by a 10" skil saw with a metal cutting blade. Laid it flat and followed the lines with the blade set out far enough to cut just through the sheet. Used a couple of files to provide a rough finish on the edges folded up with with a sandpaper block. I then used 1/2" self tapping machine screws to attach the sheets to the sides, all sealed up with an industrial strength adhesive. Cuts were made around the hinges and formed to provide non-interference when opening the doors, so far has worked fairly well.
To protect the nose and roof, I used a gallon of Henry's flexible white roofing compound which also appears to keep the inside of the trailer rather cool on exceptionally hot afternoons. The roof doesn't get hot enough to even worry about and reflects probably 99% of the solar radiation beating down. Tried taking a pic but the brightness overexposed the picture while the trailer was in the garage.
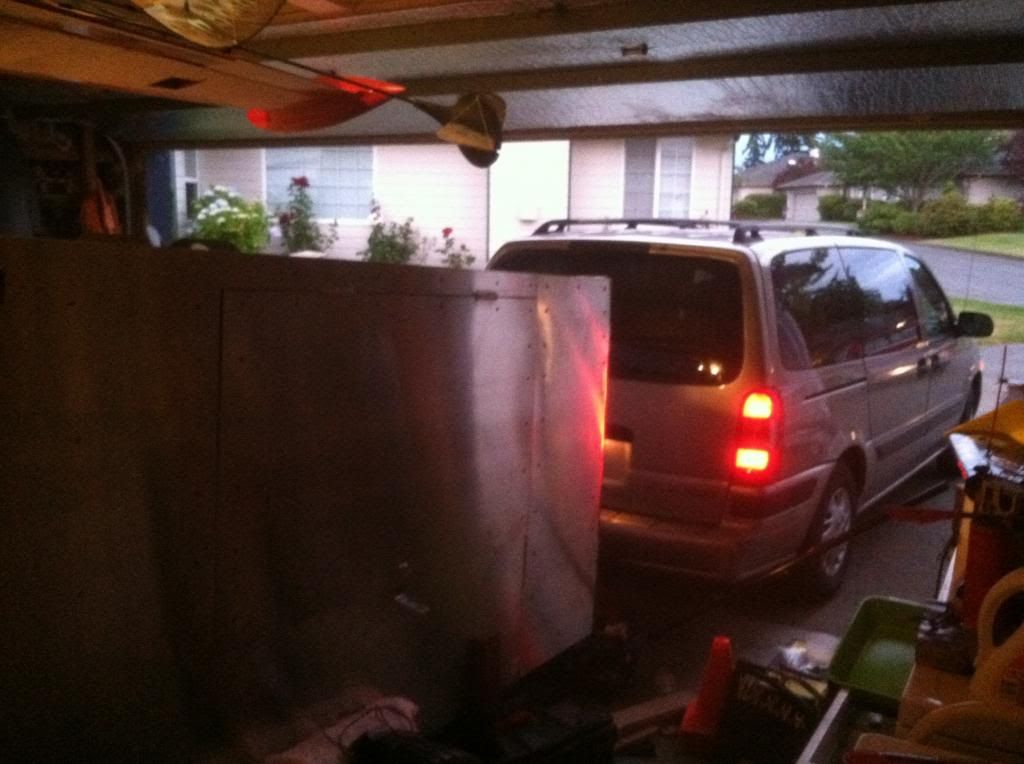
All that was really needed for the tow bar was the addition of a stowable wheel that was raised or lowered with a handle at the top. Made it convenient when moving the trailer around the driveway and hooking up but the handle has some interference with the nose as it is too close and unusable when down and locked.
Mounted the license plate and trailer lights to make it legal, routed the wires internally and the connector exits through the front right door.
Hooking up in the garage
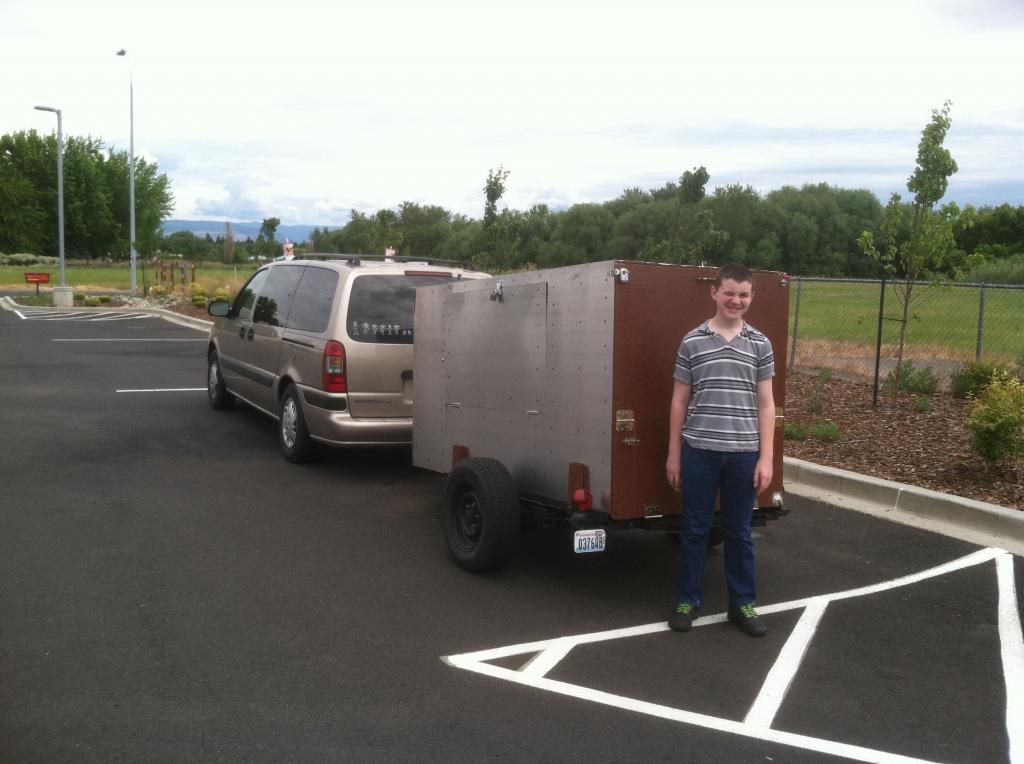
- First flight test -
The big day came to give the trailer a trip out to the Navy Outlying Field where I brought a TBS Caipirinha and hopefully a better flight with the DJI 450 quad as compared to the last attempt.
Getting to fly the TBS Caipirinha mini wing was a major undertaking after having all the issues trying to make it fly correct with the c\g issues, finally had a chance to try it out of the cockpit. The choice of motor left it flying as if it was a bit on the lethargic side which needed a strong toss to make it fly right.
As shown in the video, things started off a bit on the shaky side and then discovered the rates also needed to be cut down. As for the experience of flying in the cockpit in a controlled manner, I was very pleased as to the way the flight turned out. Wasn't able to fly the quad during this session due to a cold solder joint on one of the speed control power wires coming loose after the hard landing, easy fix about a month later.
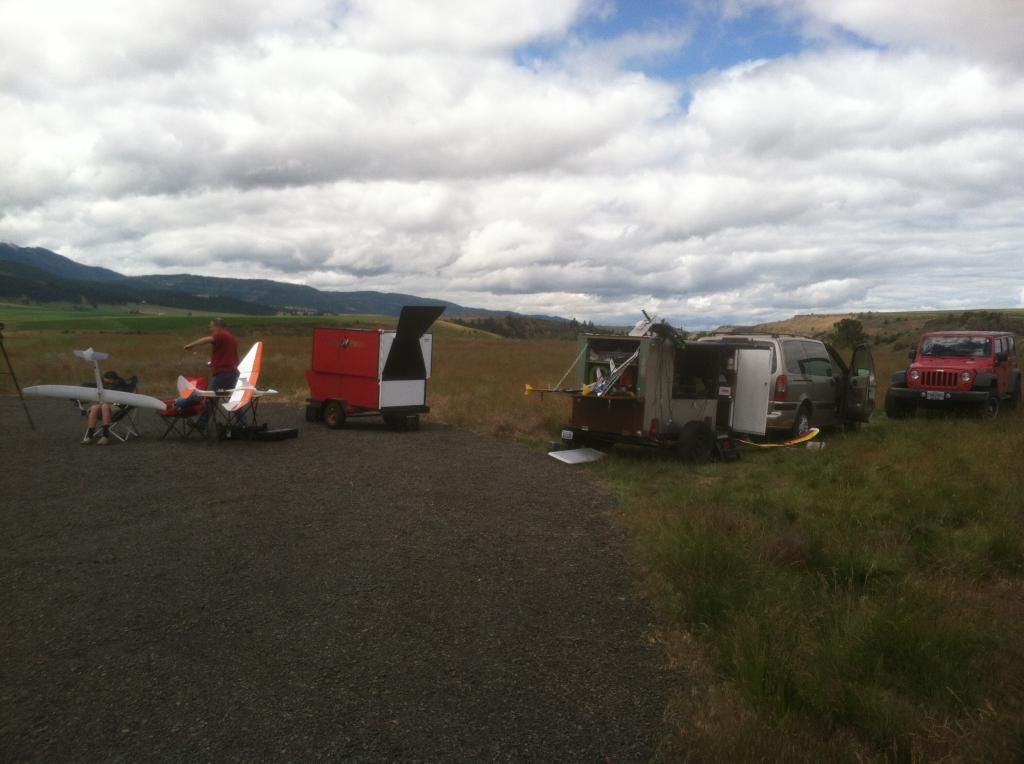
A couple weeks later, I had agreed to meet up with Brett at his place to get the trailers together and turned out to be a perfect opportunity to show off the progress. As we normally correspond with each other, the trailer needs another year to get it close to where i consider it even close to completion, mostly working out the bugs and completing the interior.
- On the road to Oregon -
Lunch break in Ellensburg Wa
As me and my son arrived in Enterprise Oregon, immediately checked into the hotel and had to perform some watersealing treatments to keep the upper shelf a little drier. For some reason there was a leak in between the panels and soaked the bags located there.
The following morning, we drove the short 1/2 mile to the flying site at the culdesac. Parked in such a way to level the trailer wth minimal adjustment using the car jack.
Trailers back to back
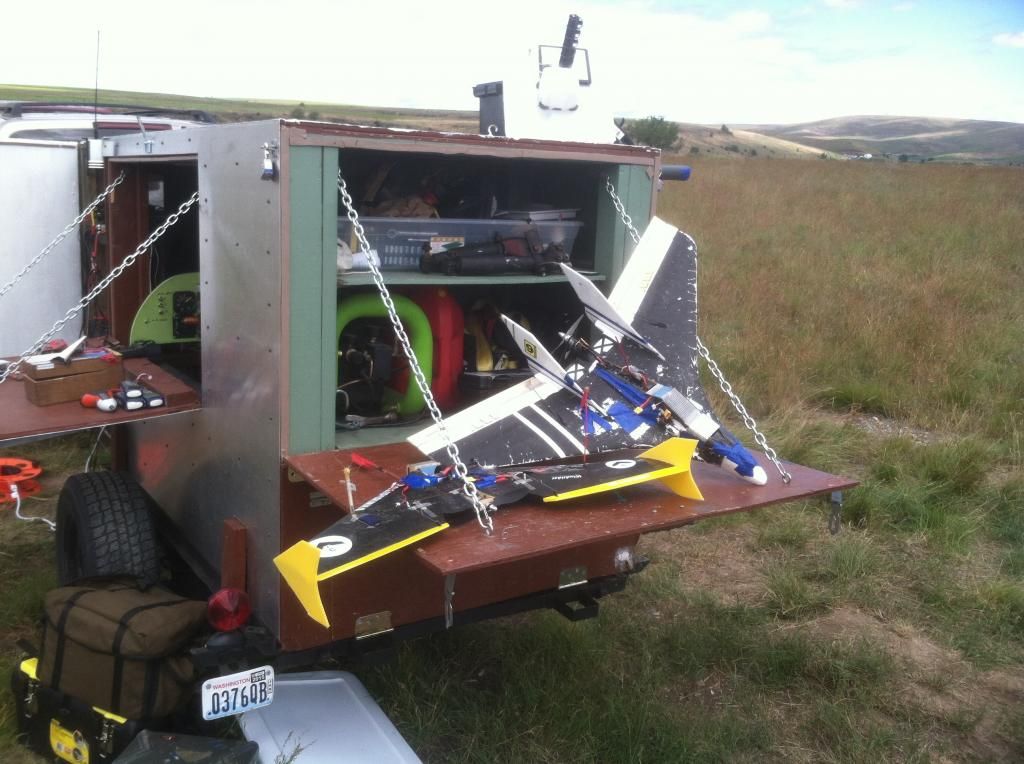
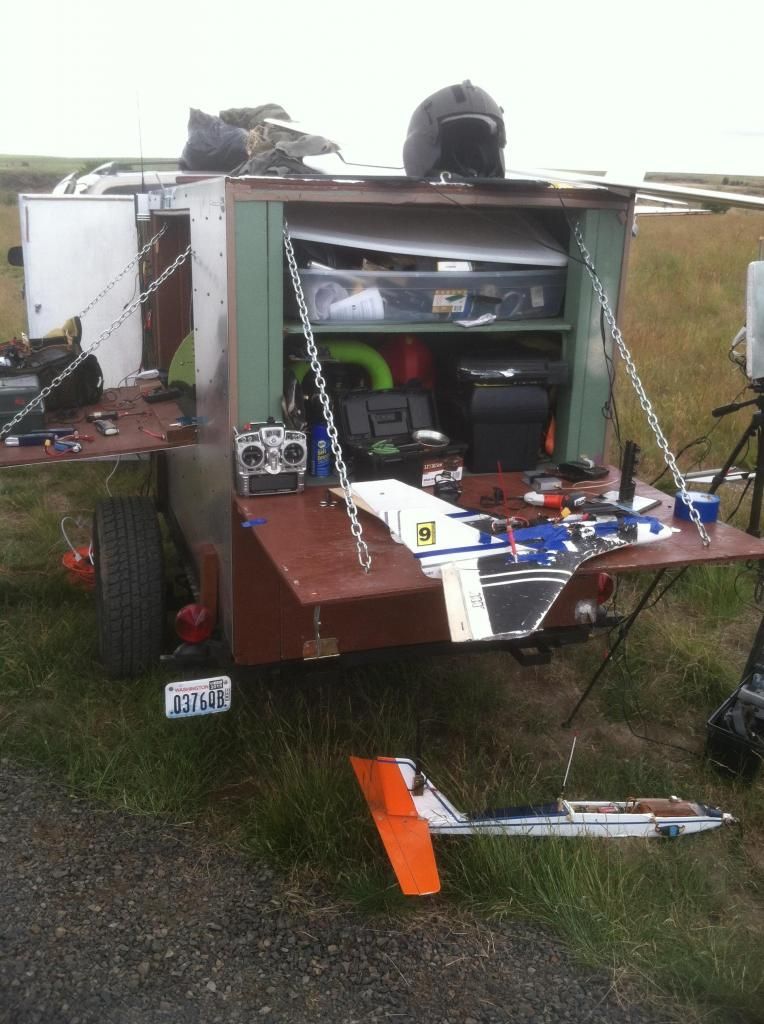
TBS Caipirinha and Hobbyzone Stryker
Brett and son preparing for launch
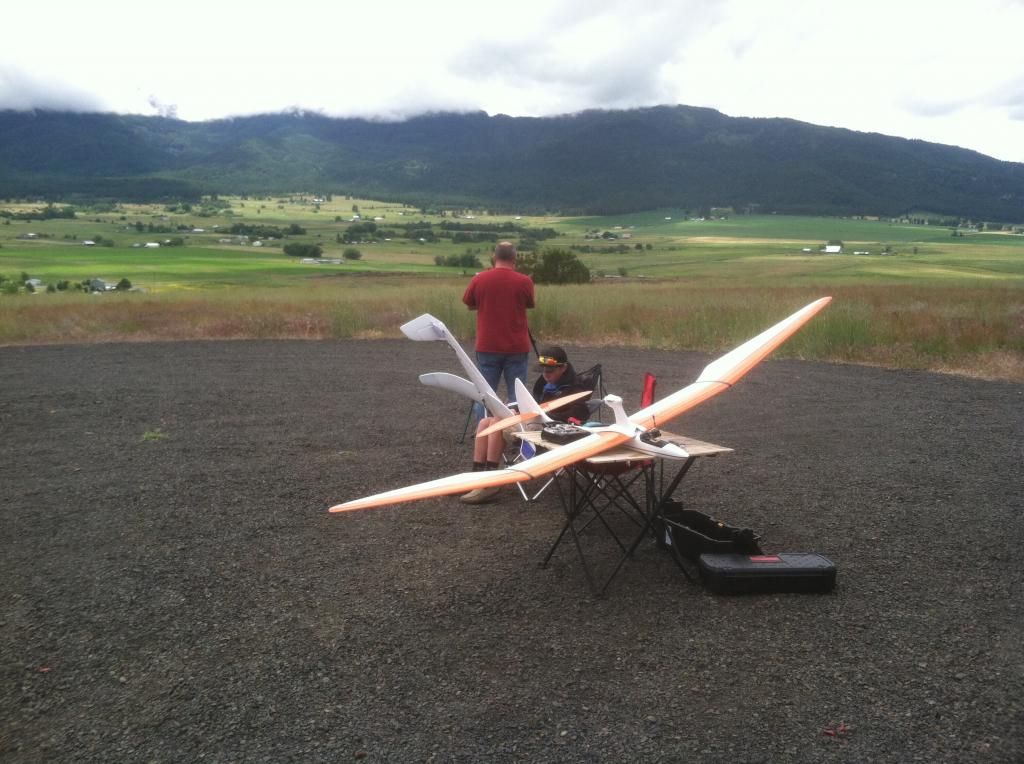
Father and son thermal chase

I was able to be launched and fly with them for a short while using the Caipirinha.
These were the 2 flights using the Stryker.
1st flight
2nd flight
Hope you enjoyed this as much as I have writing this article. Perhaps the Flitetest crew might get a chance to meet up and test out the pair of trailers as Brett had mentioned in his earlier article. Future updates will be shown in a second article to cover much of what was not included in this one.


Brett
a.k.a Galaxy Engineer
Log In to reply
Log In to reply
Log In to reply
Evan
Log In to reply
Log In to reply
Log In to reply