Hello, I am writing this as a 16-year-old judah. The first part of this article was 3 years ago. This was a long and complicated process, and it is so cool how you can see the change in my building skills go from extremely bad to just bad.
Anyway, I just want to say thanks to you if you read all of this:) ok by
And with no further delay, I give you a 13-year-old boy with a hope of building an easy warbird
P.S.most of this article is old, and my spell check is saying that I have 65 spelling mistakes soooo you can just ignore them, it would save my 70000000 years.
Hi, in this article, I will attempt to build an ME bf109.
But a little backstory on the plane in question.
It was designed by Willy Messerschmitt and first flown on the 28 of May 1935. The first flight was powered by, coincidentally, a Rolls-Royce Kestrel 695hp engine, but was swapped out for the Junkers Jumo 2100 inline power plant. But now for my BF 109, but slightly less powerful, model. This plane will be made from foam board, and be powered by an Amazon motor and ESC ( just search for motor and ESC kit), and 4 metal gear servos also from Amazon. The battery is going to be a 3s 1000mAh lipo, which I got from Unmanned Tech, and I will be using my trust FlyskFS-i6x6x with a simple 6-channel receiver.
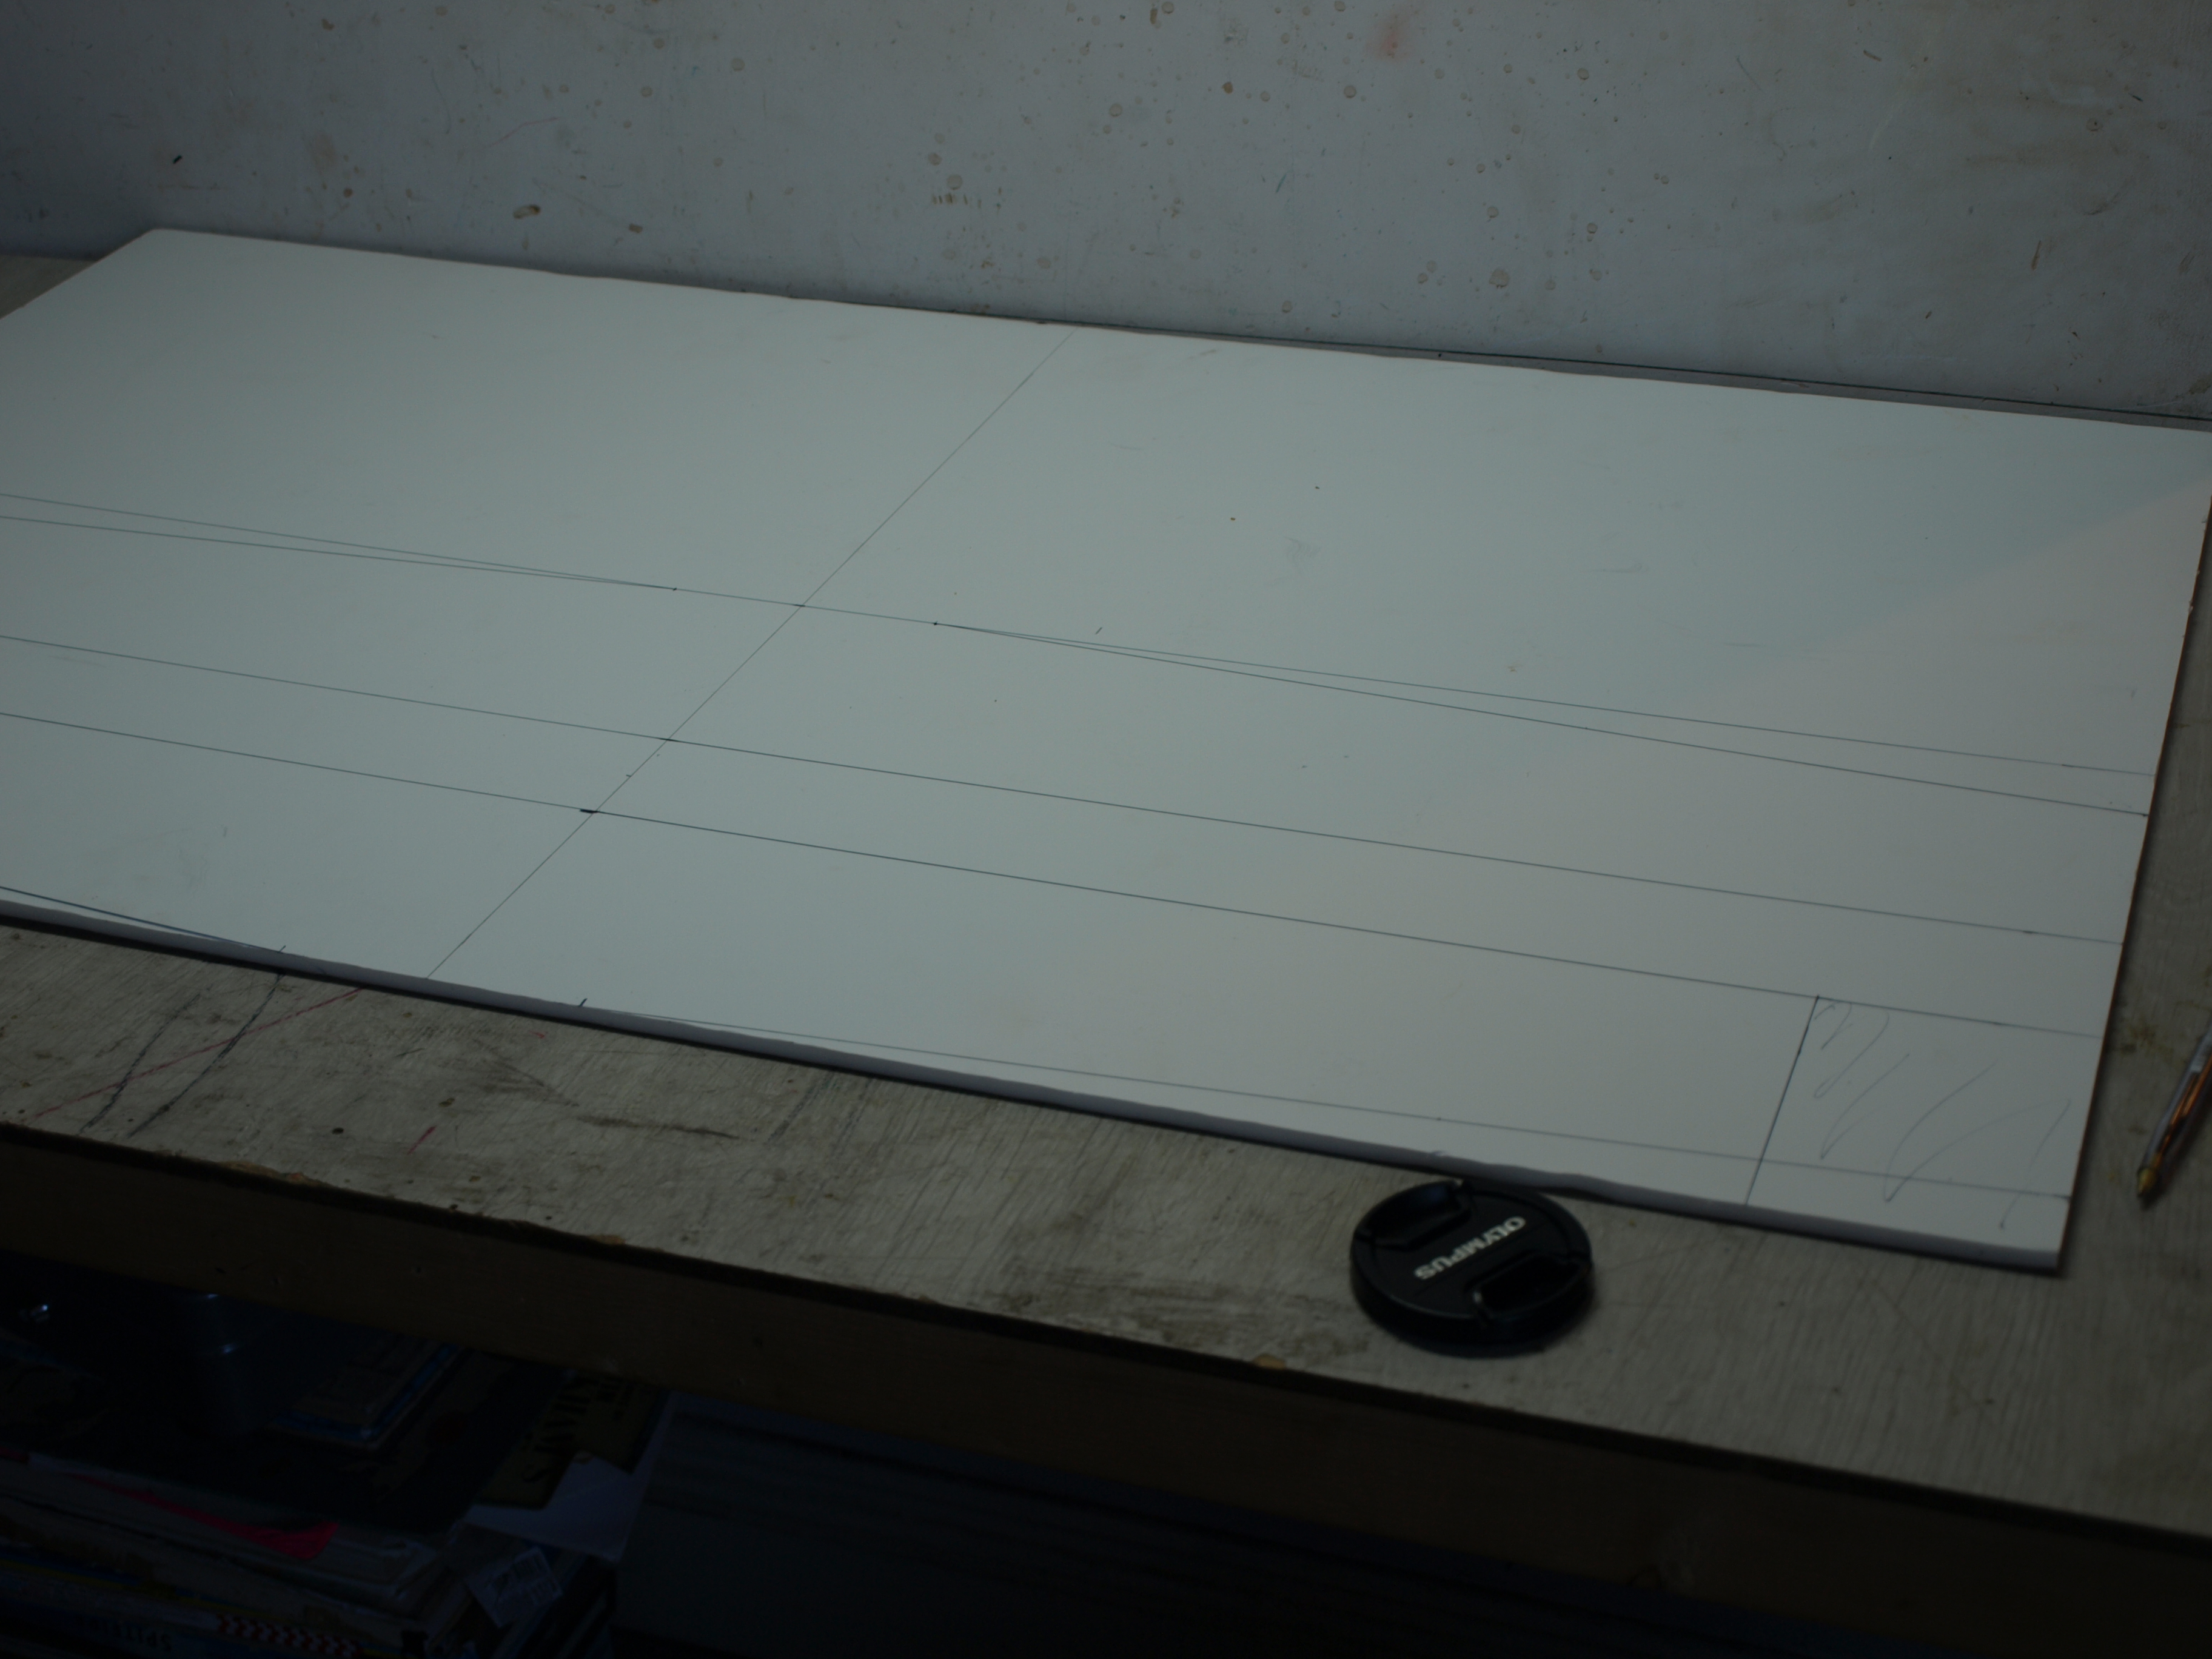
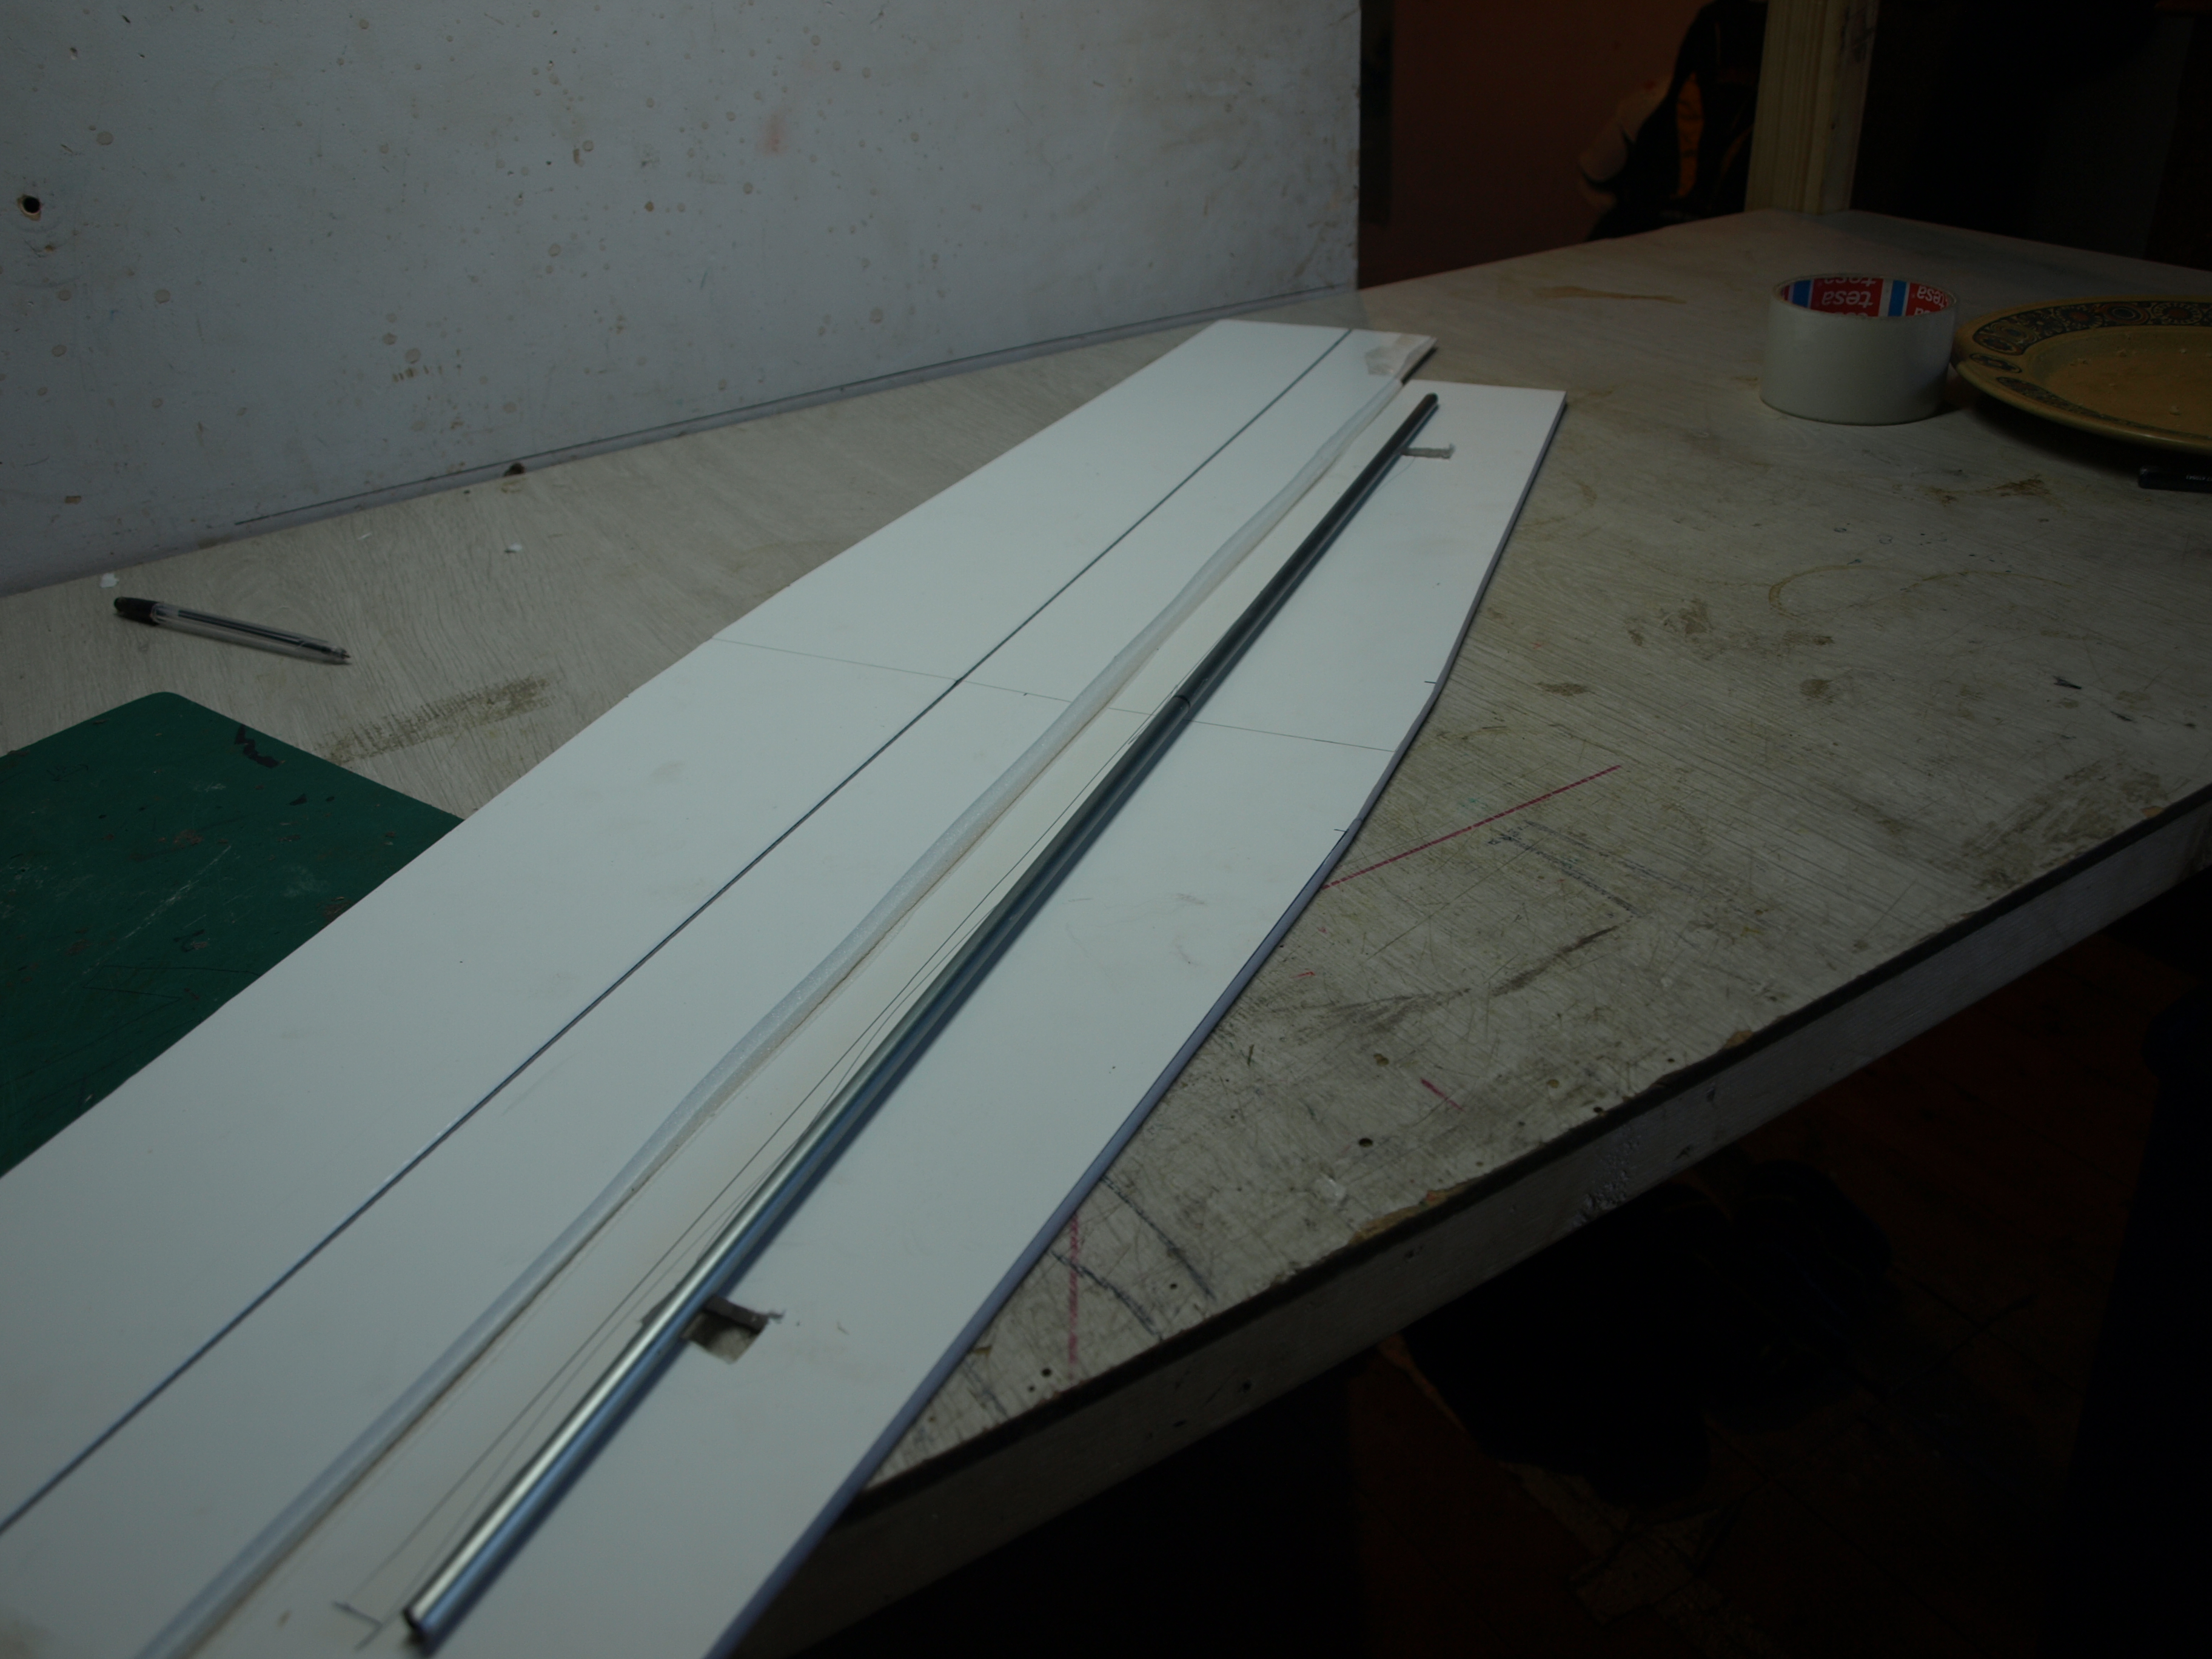
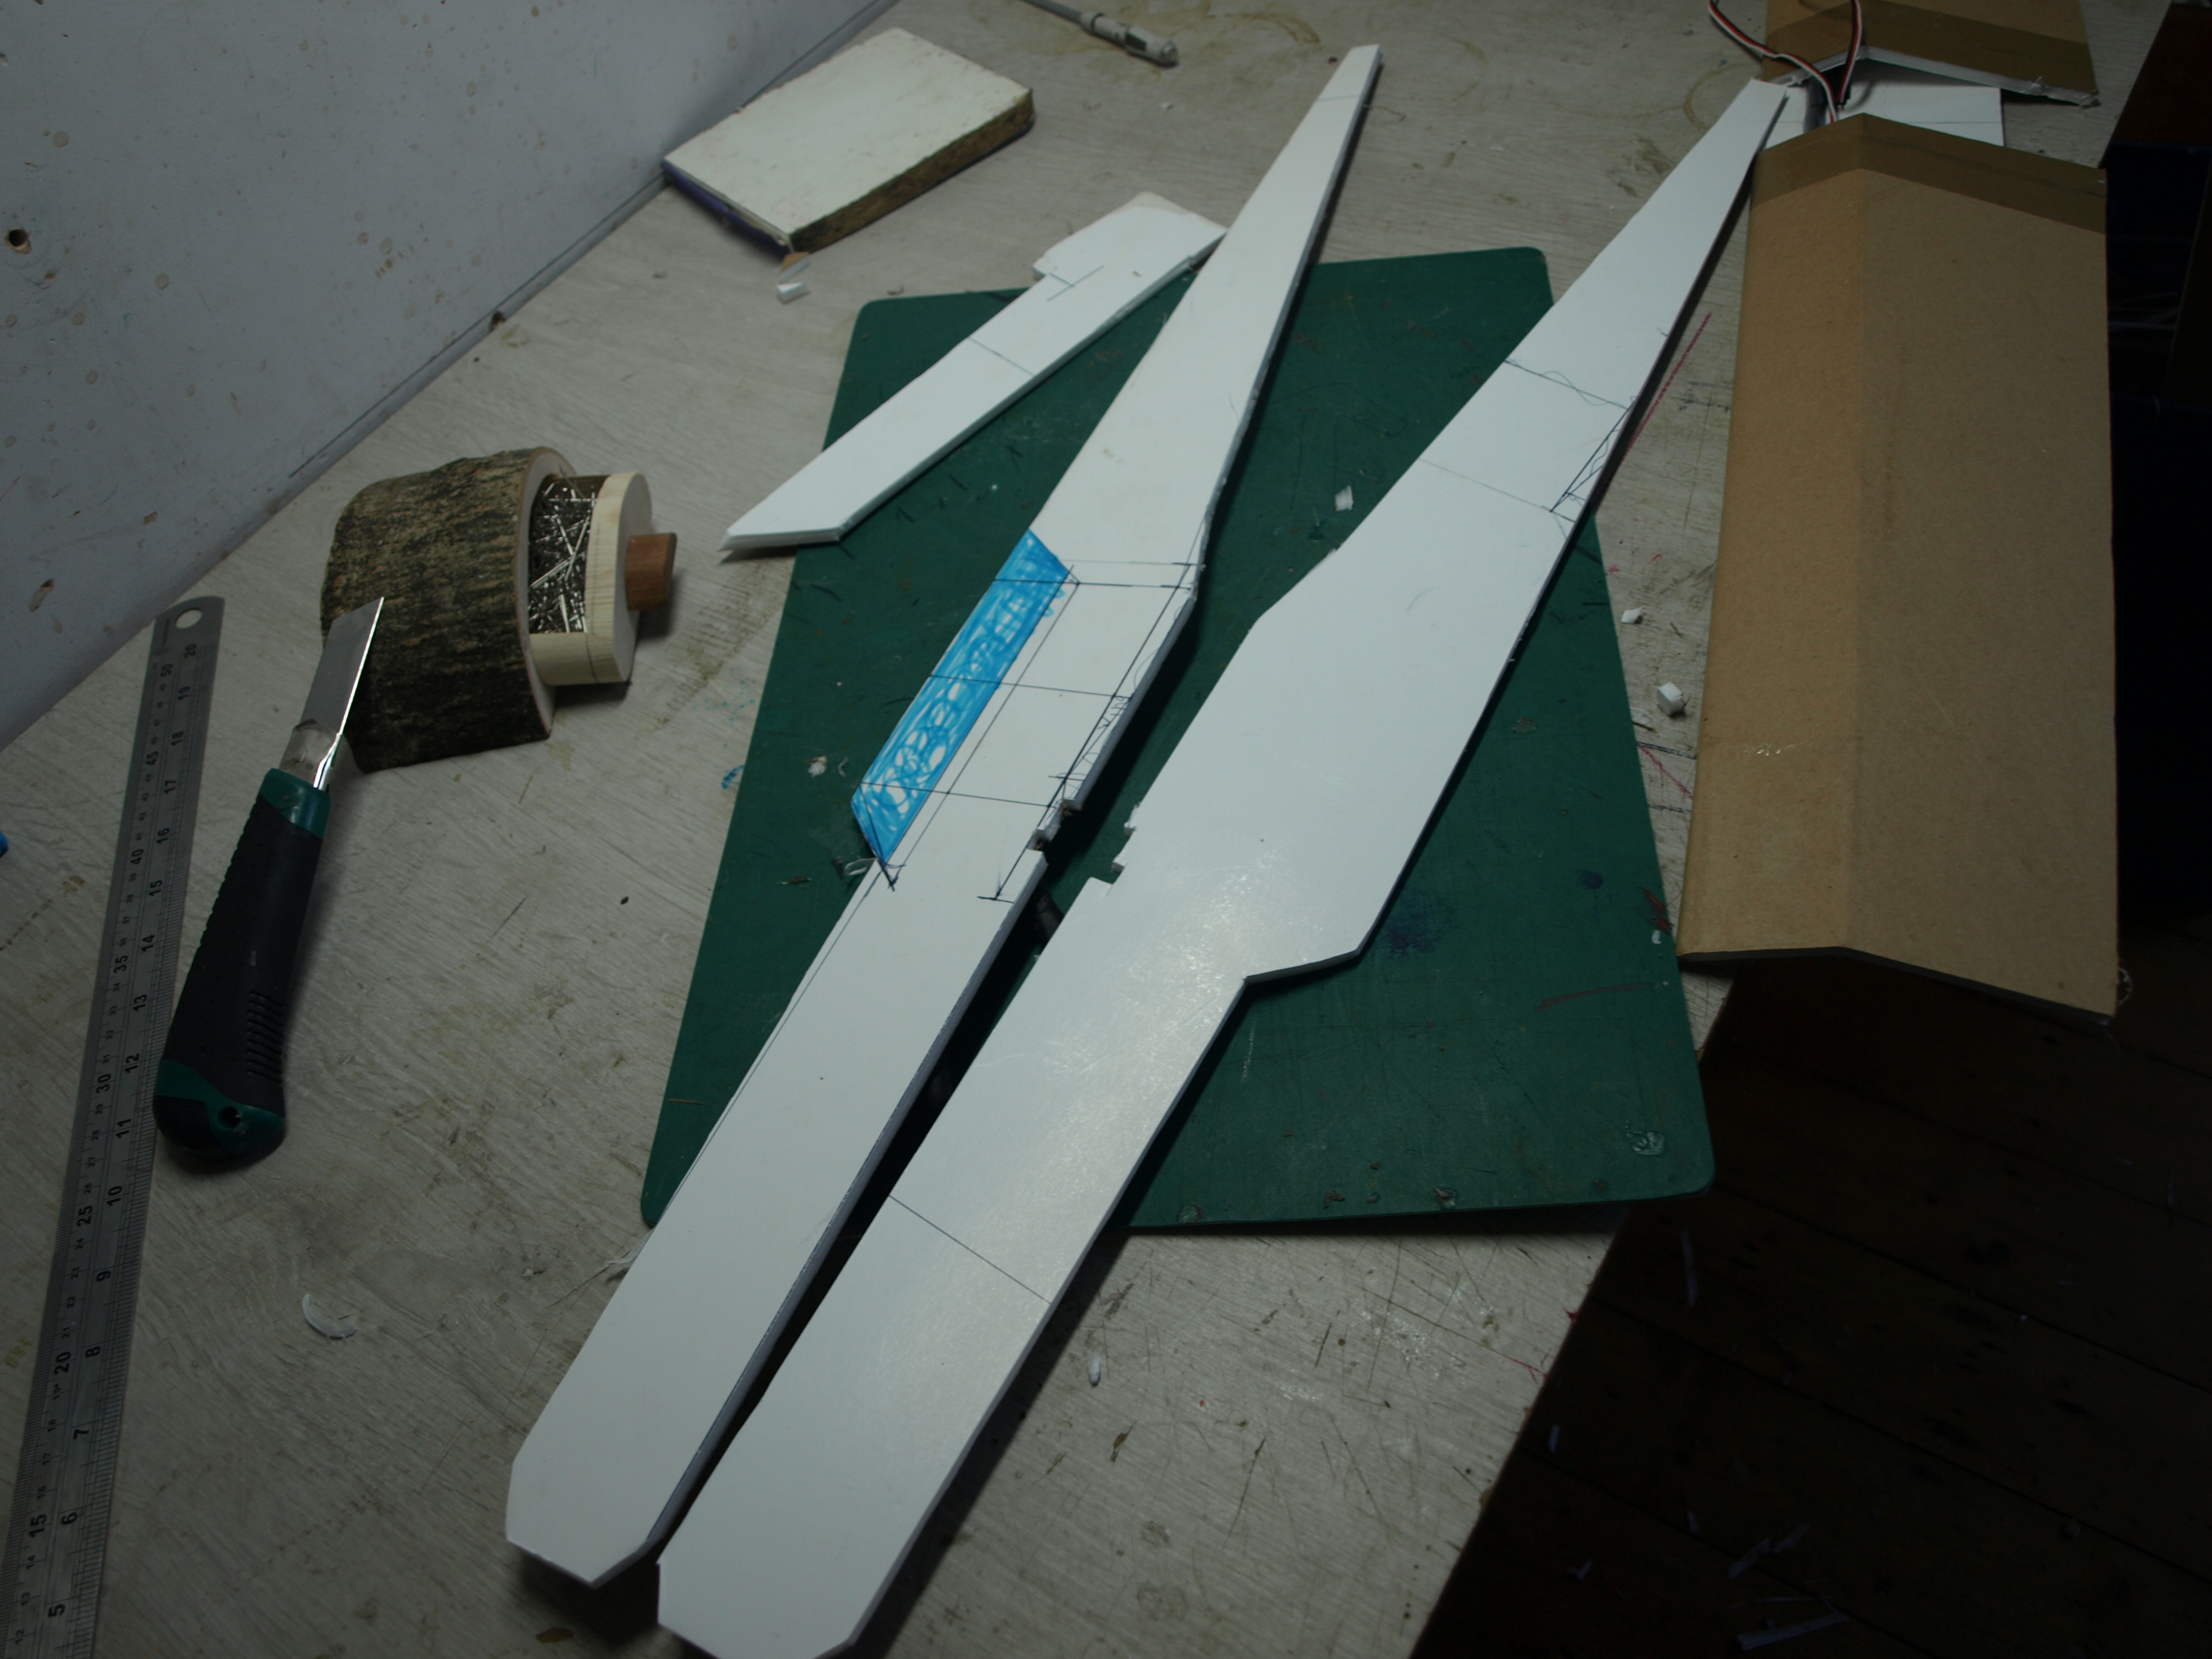
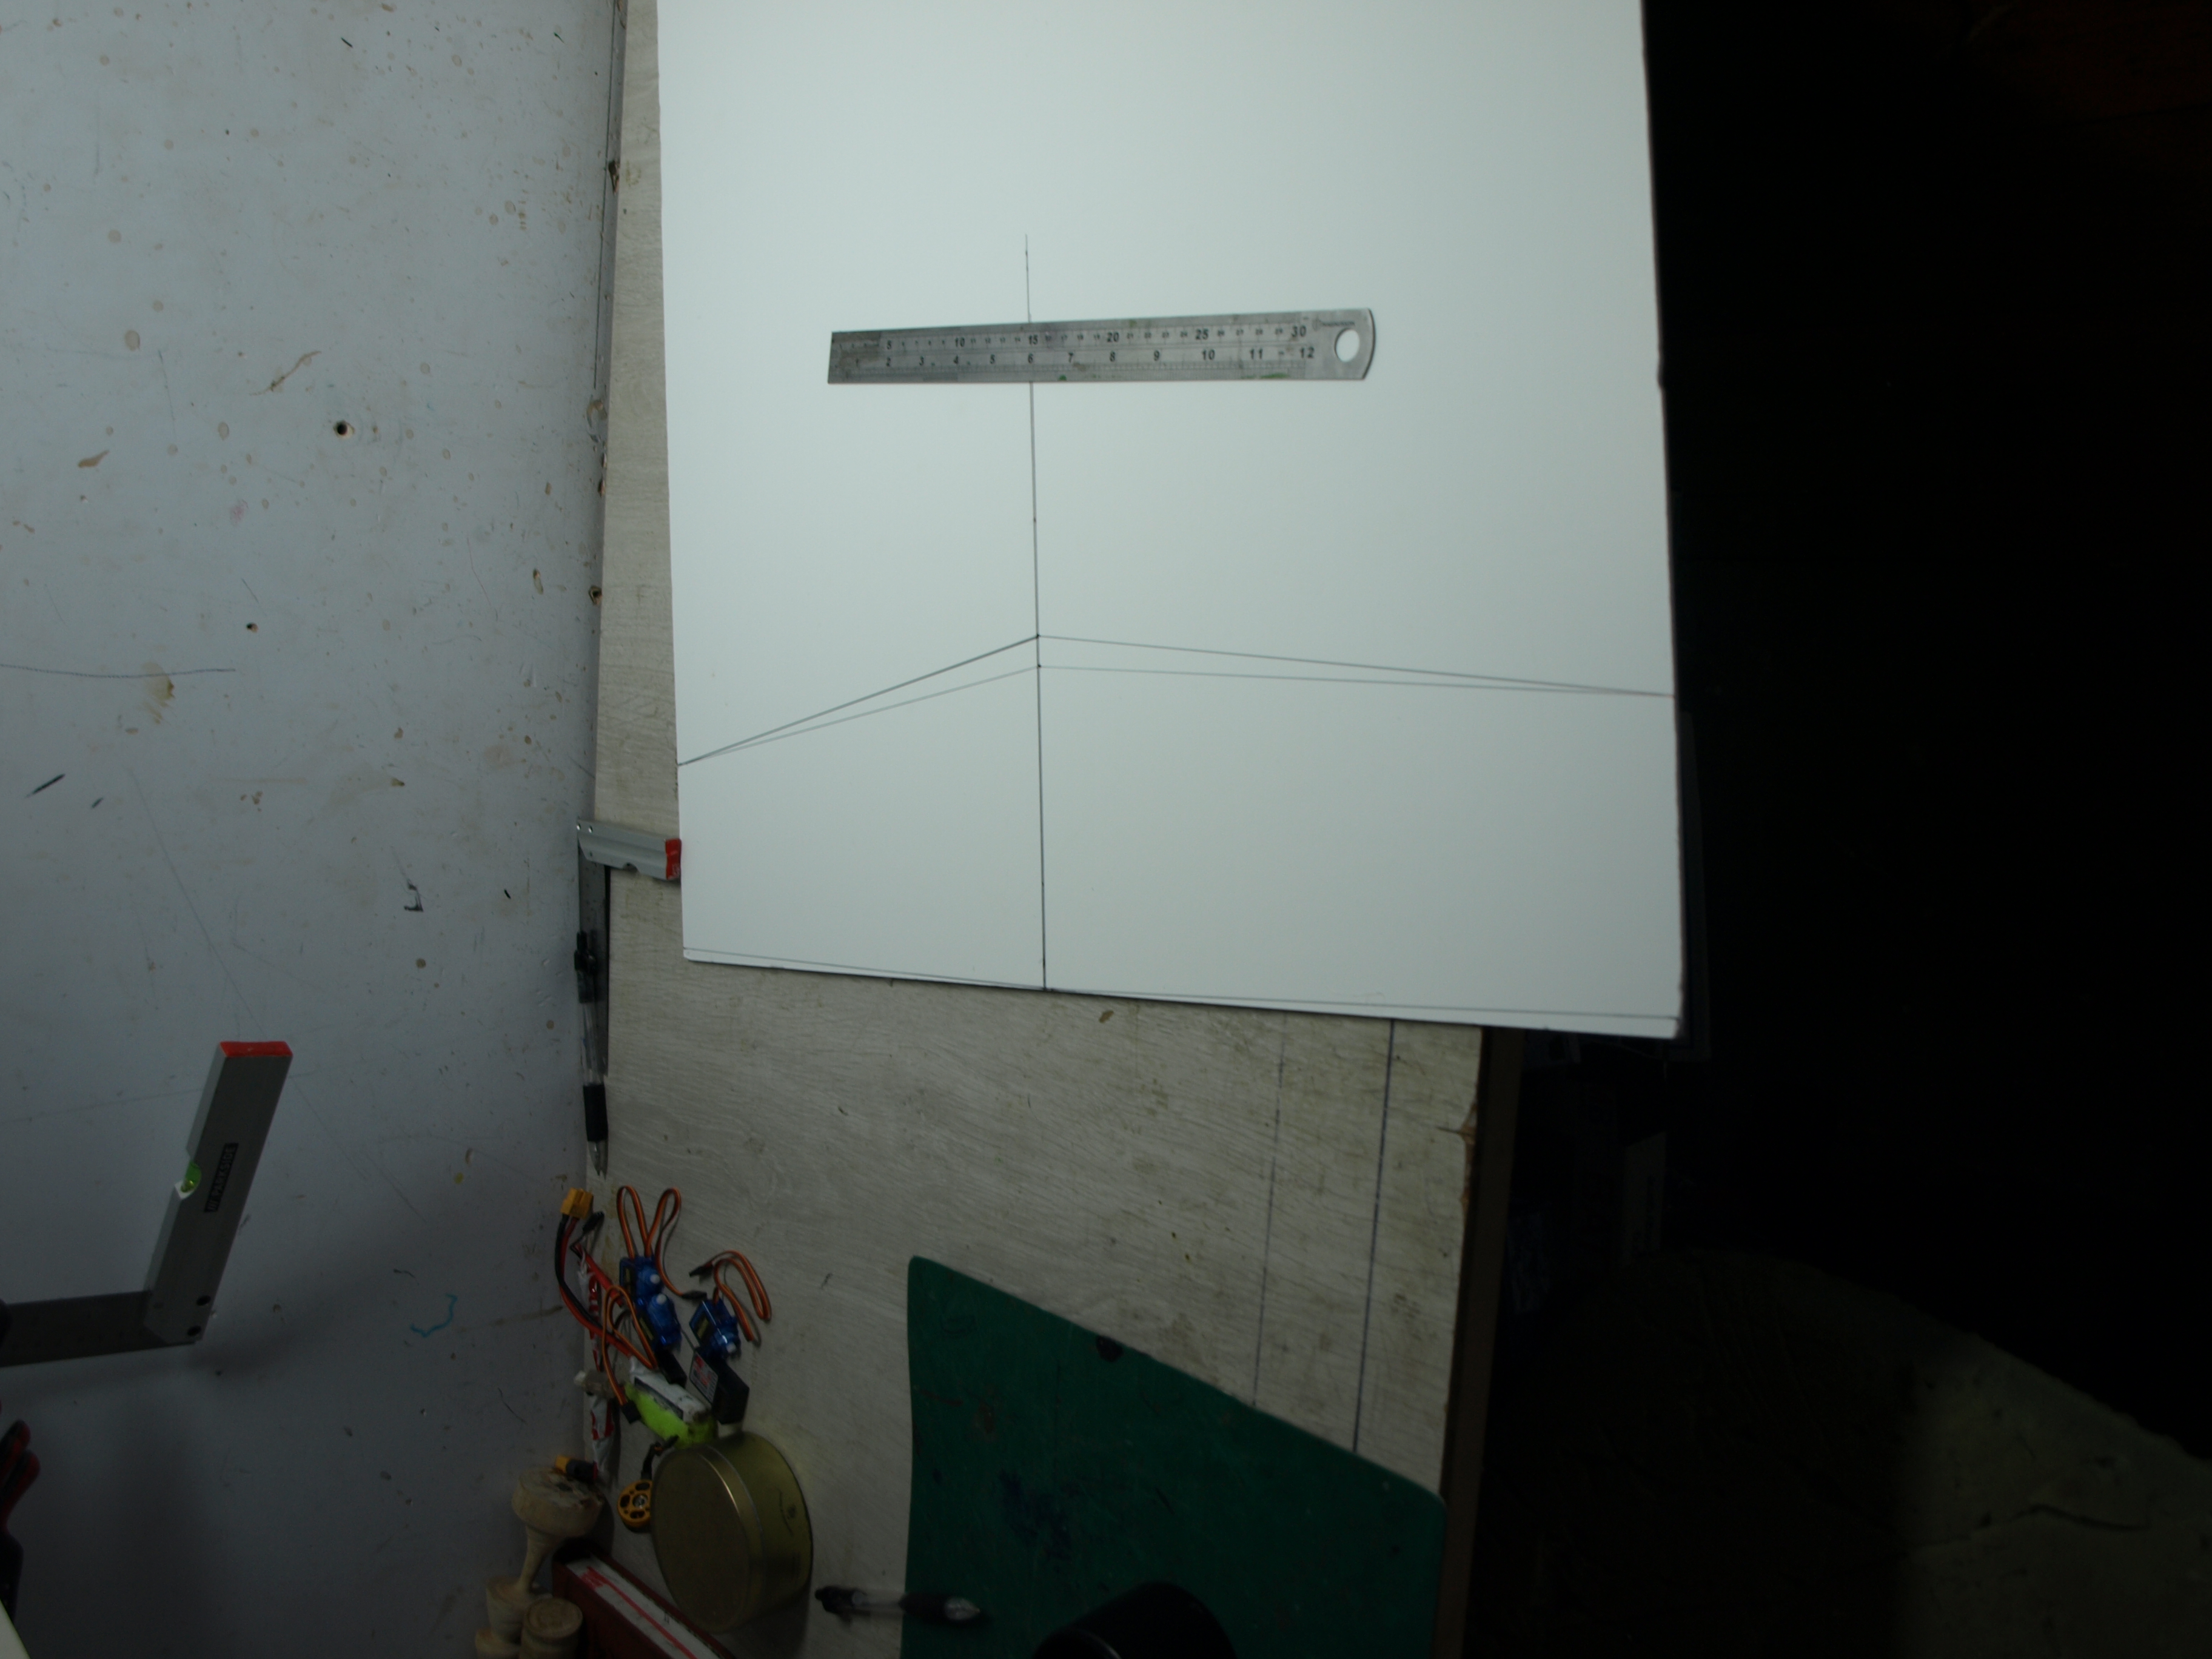
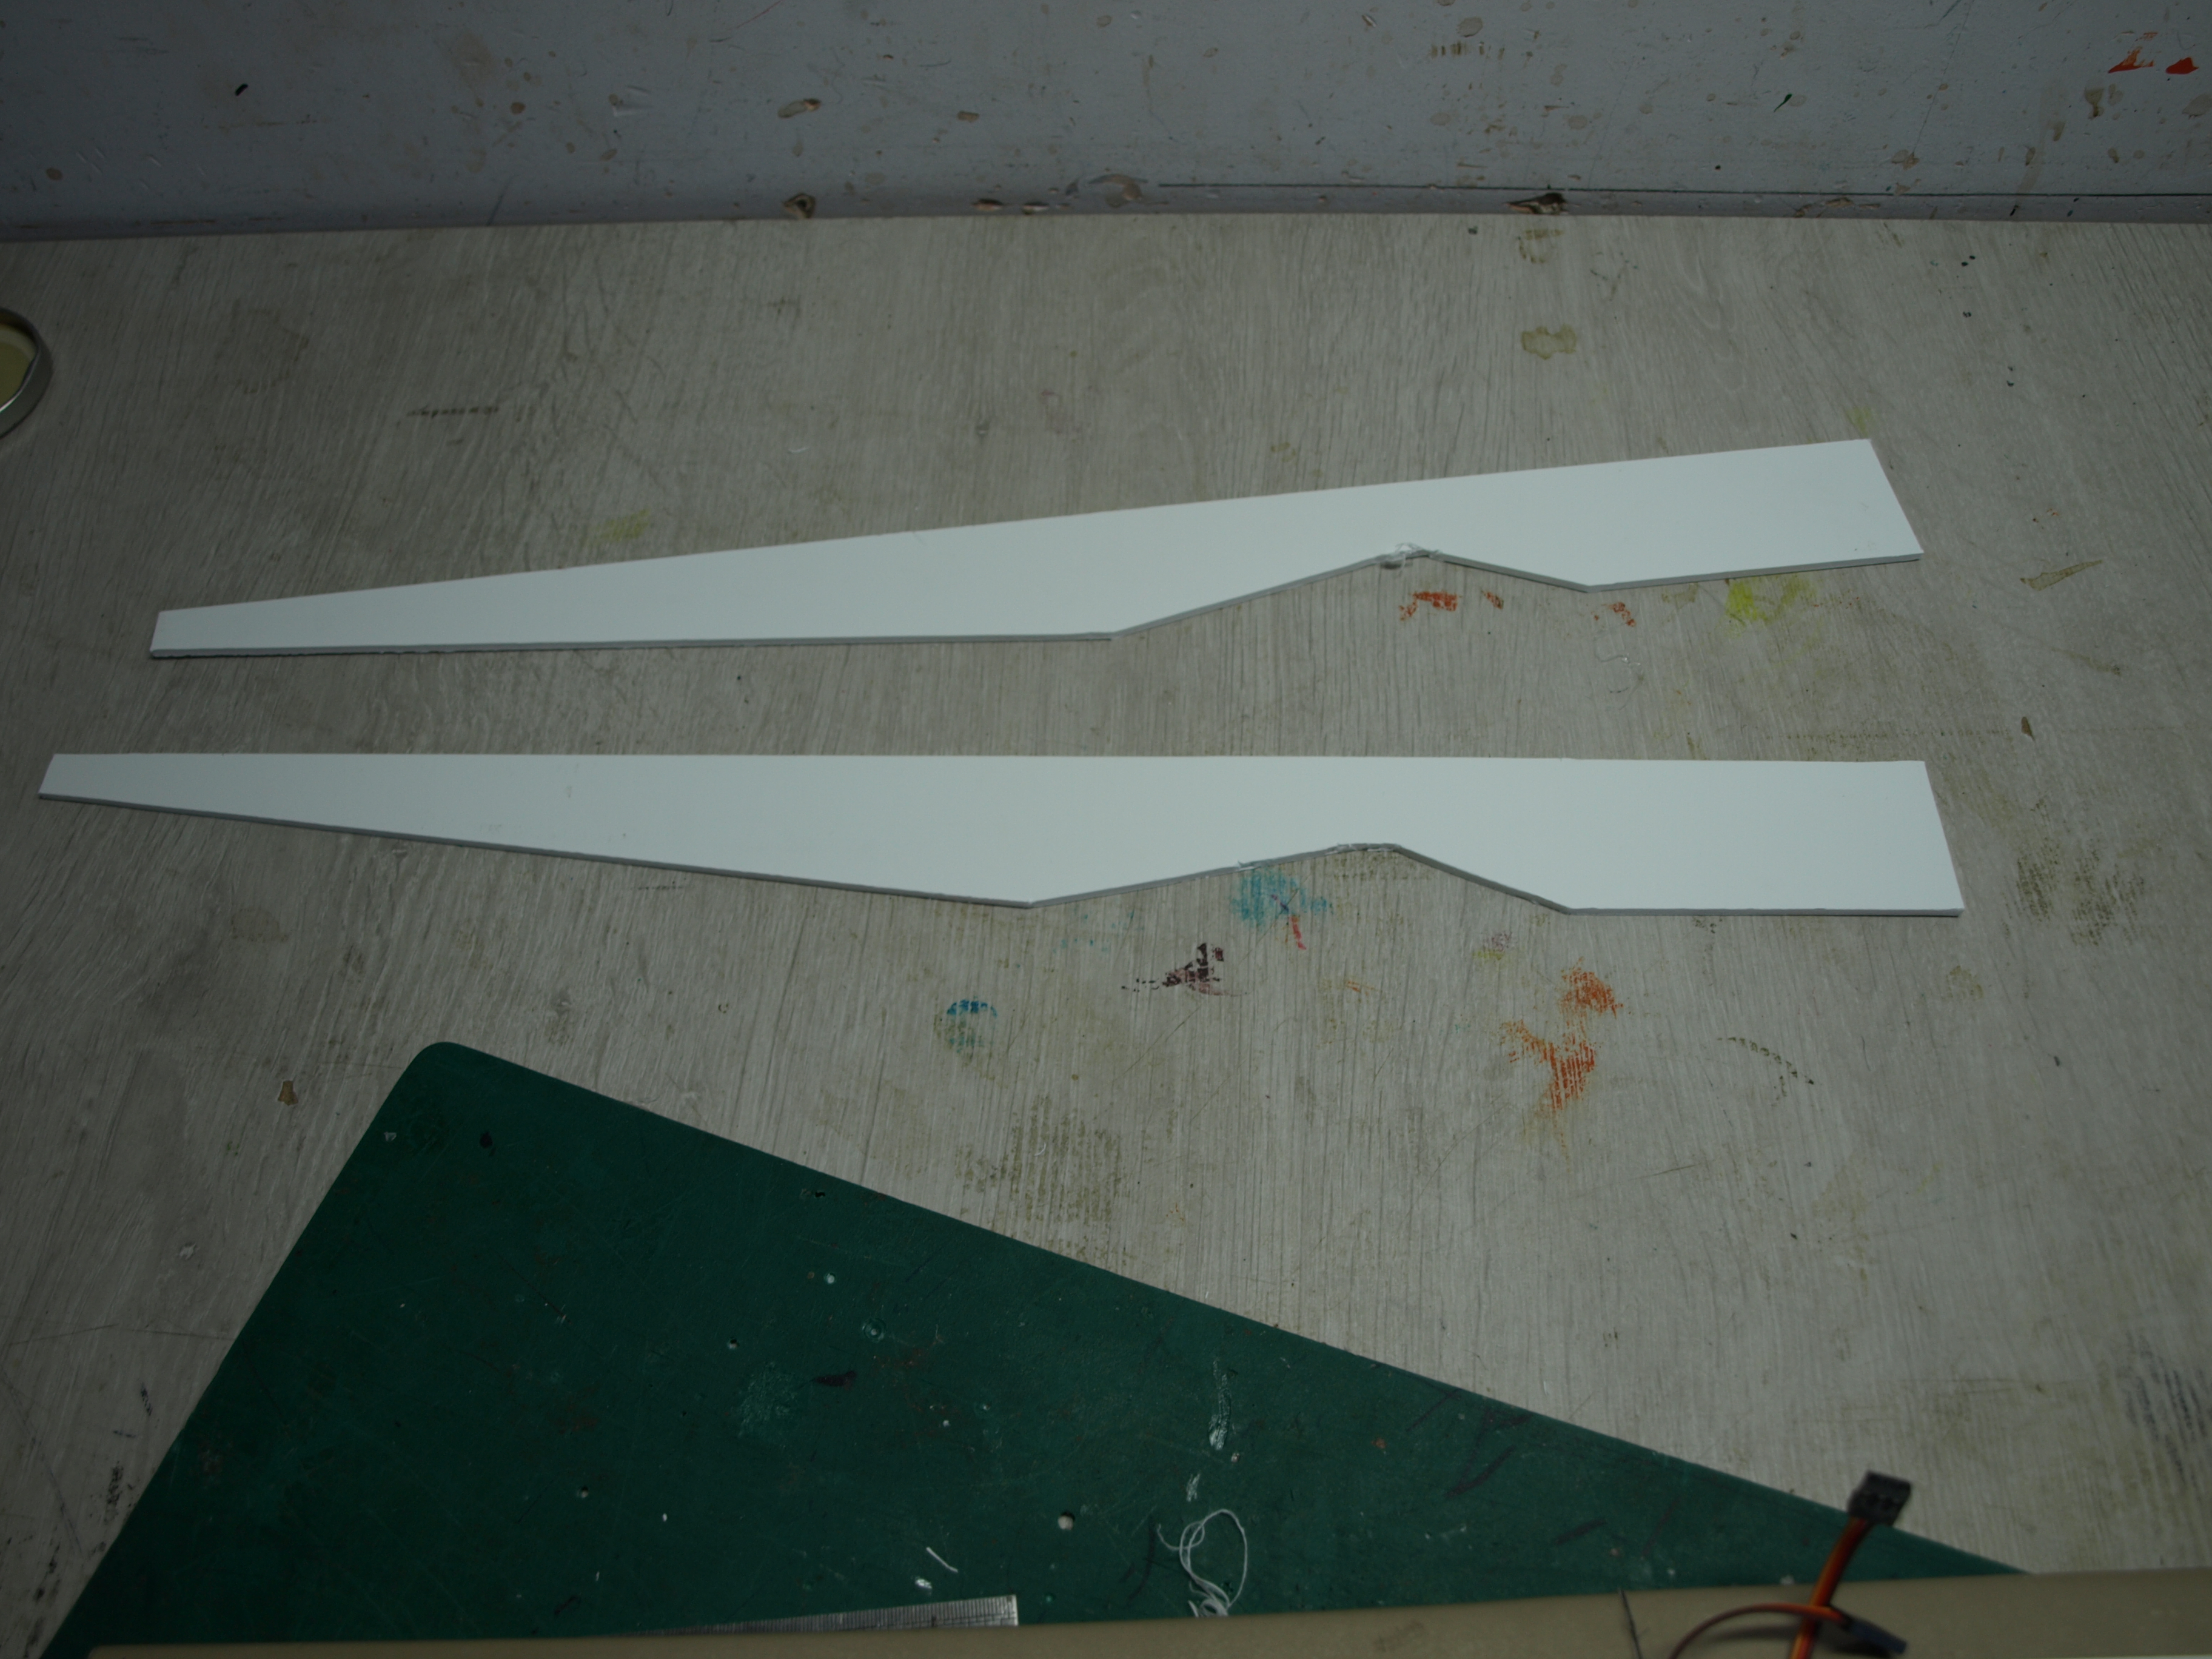
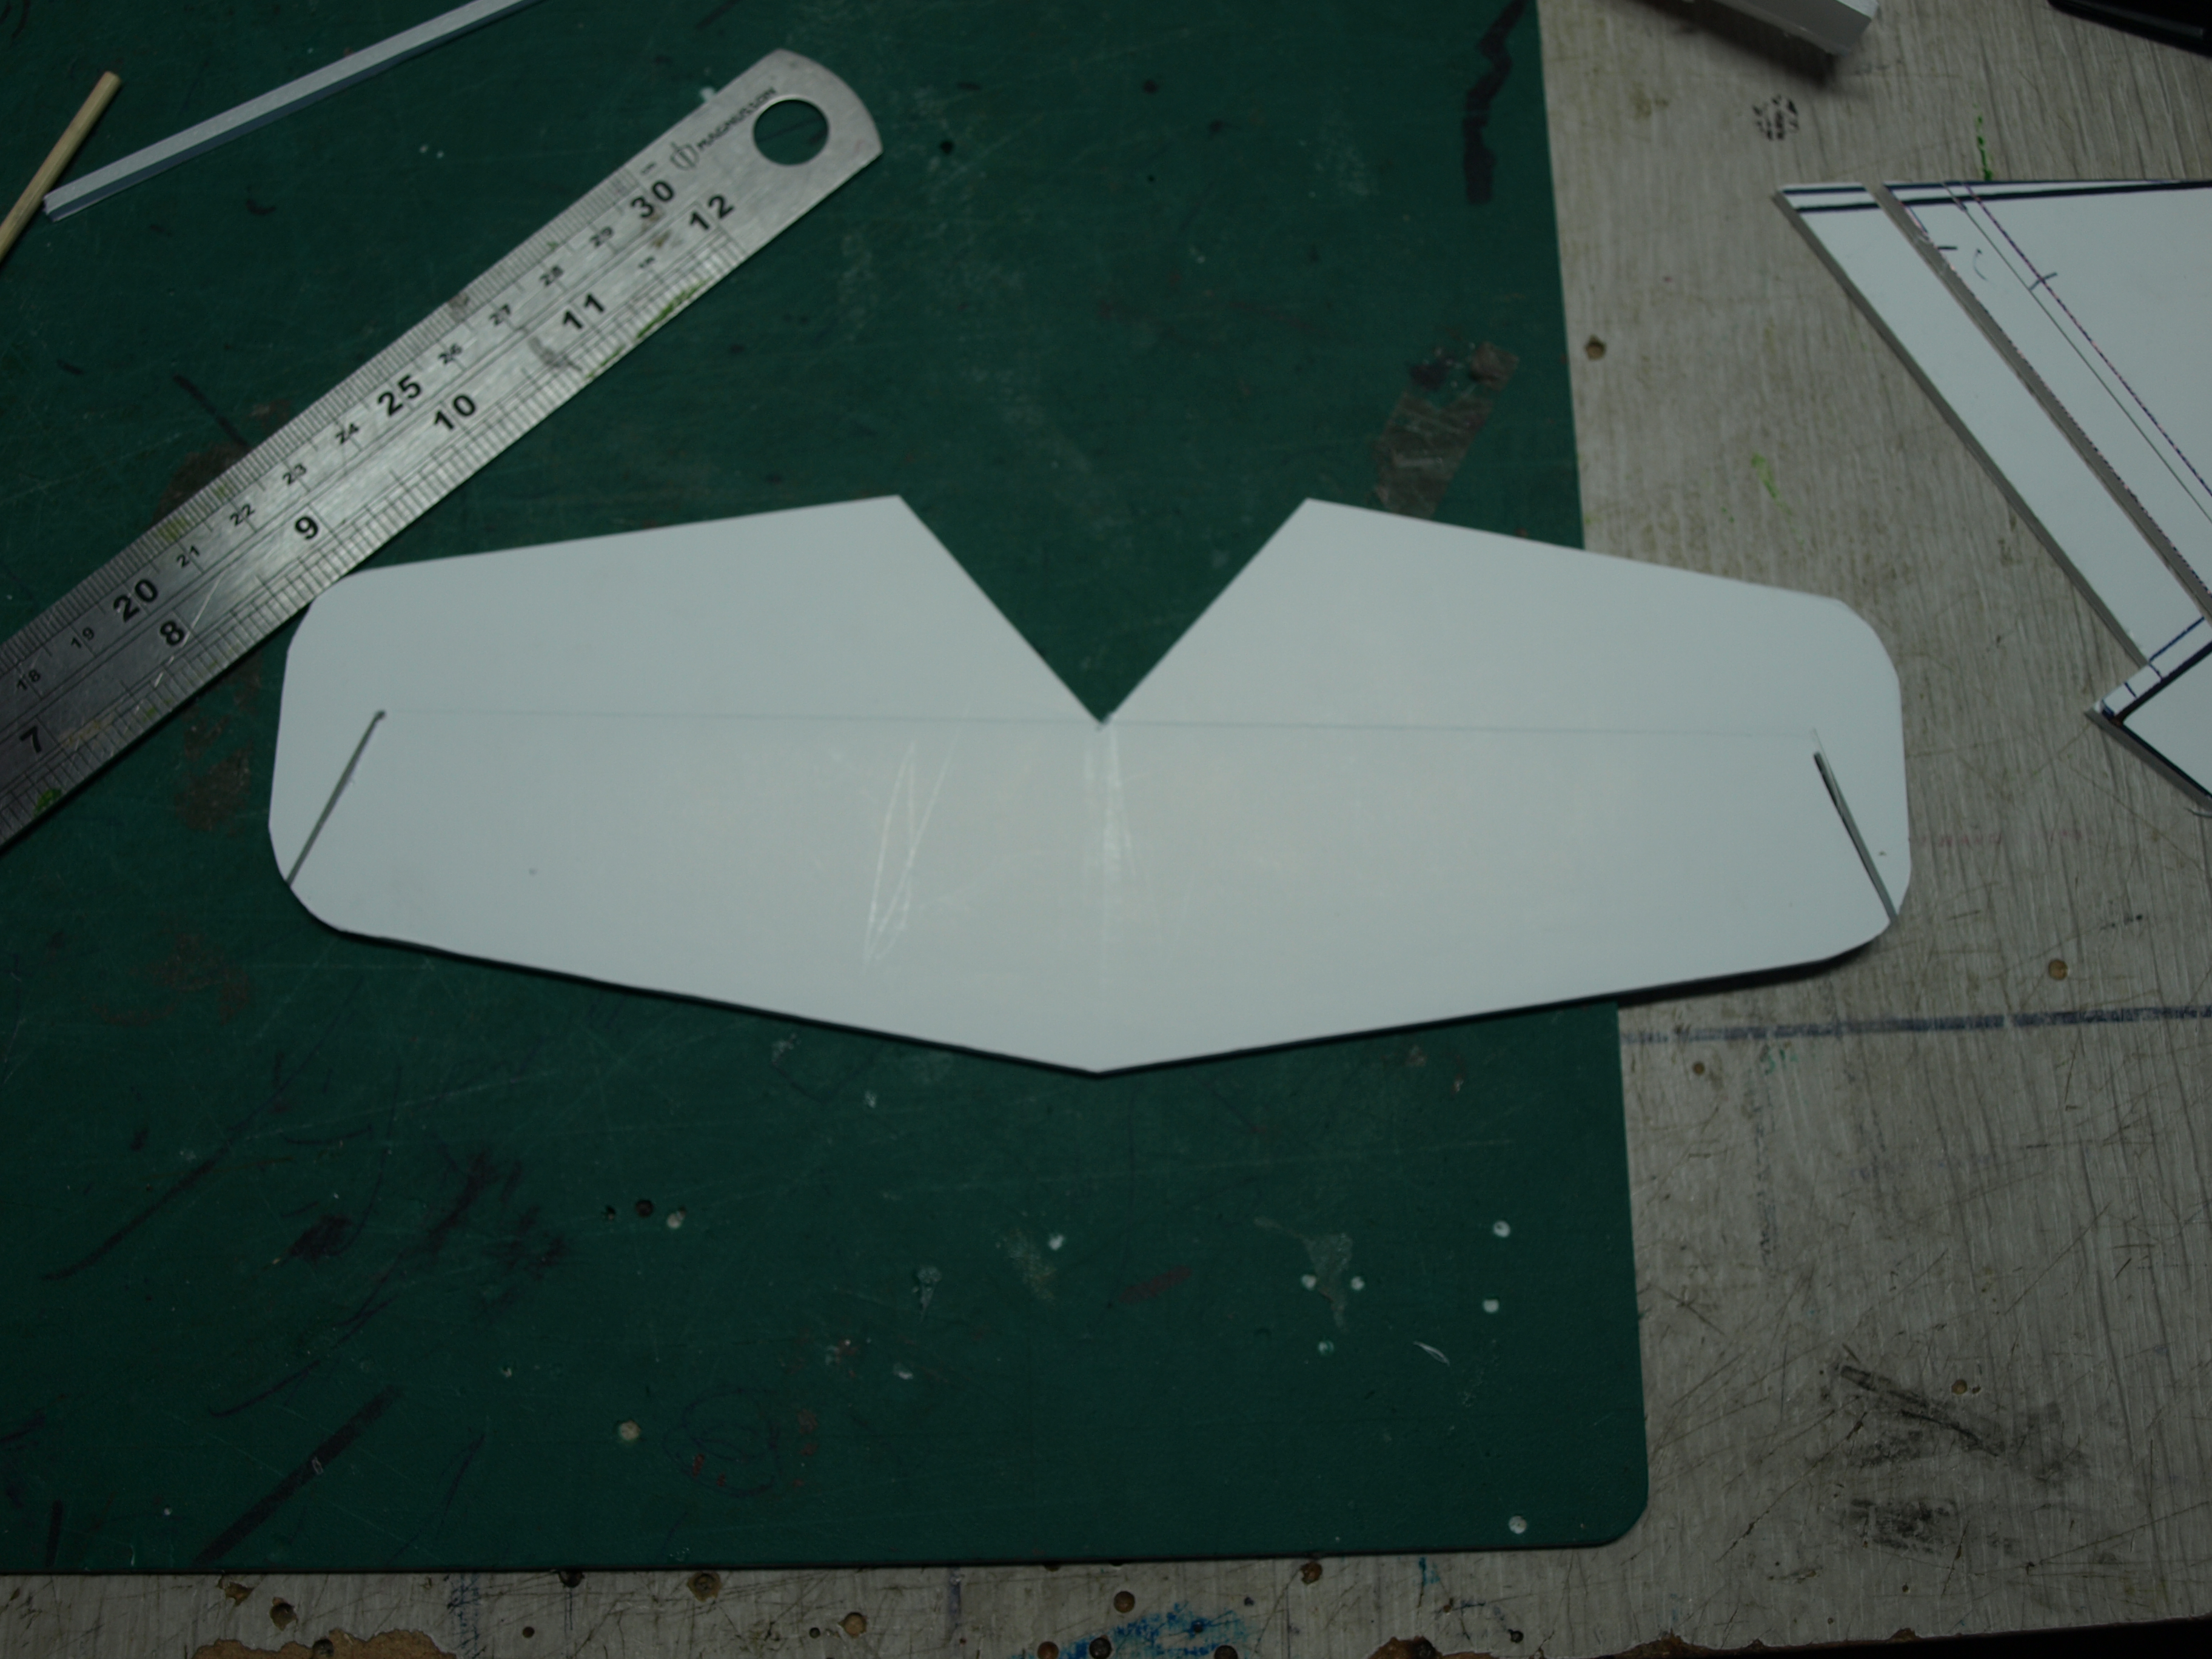
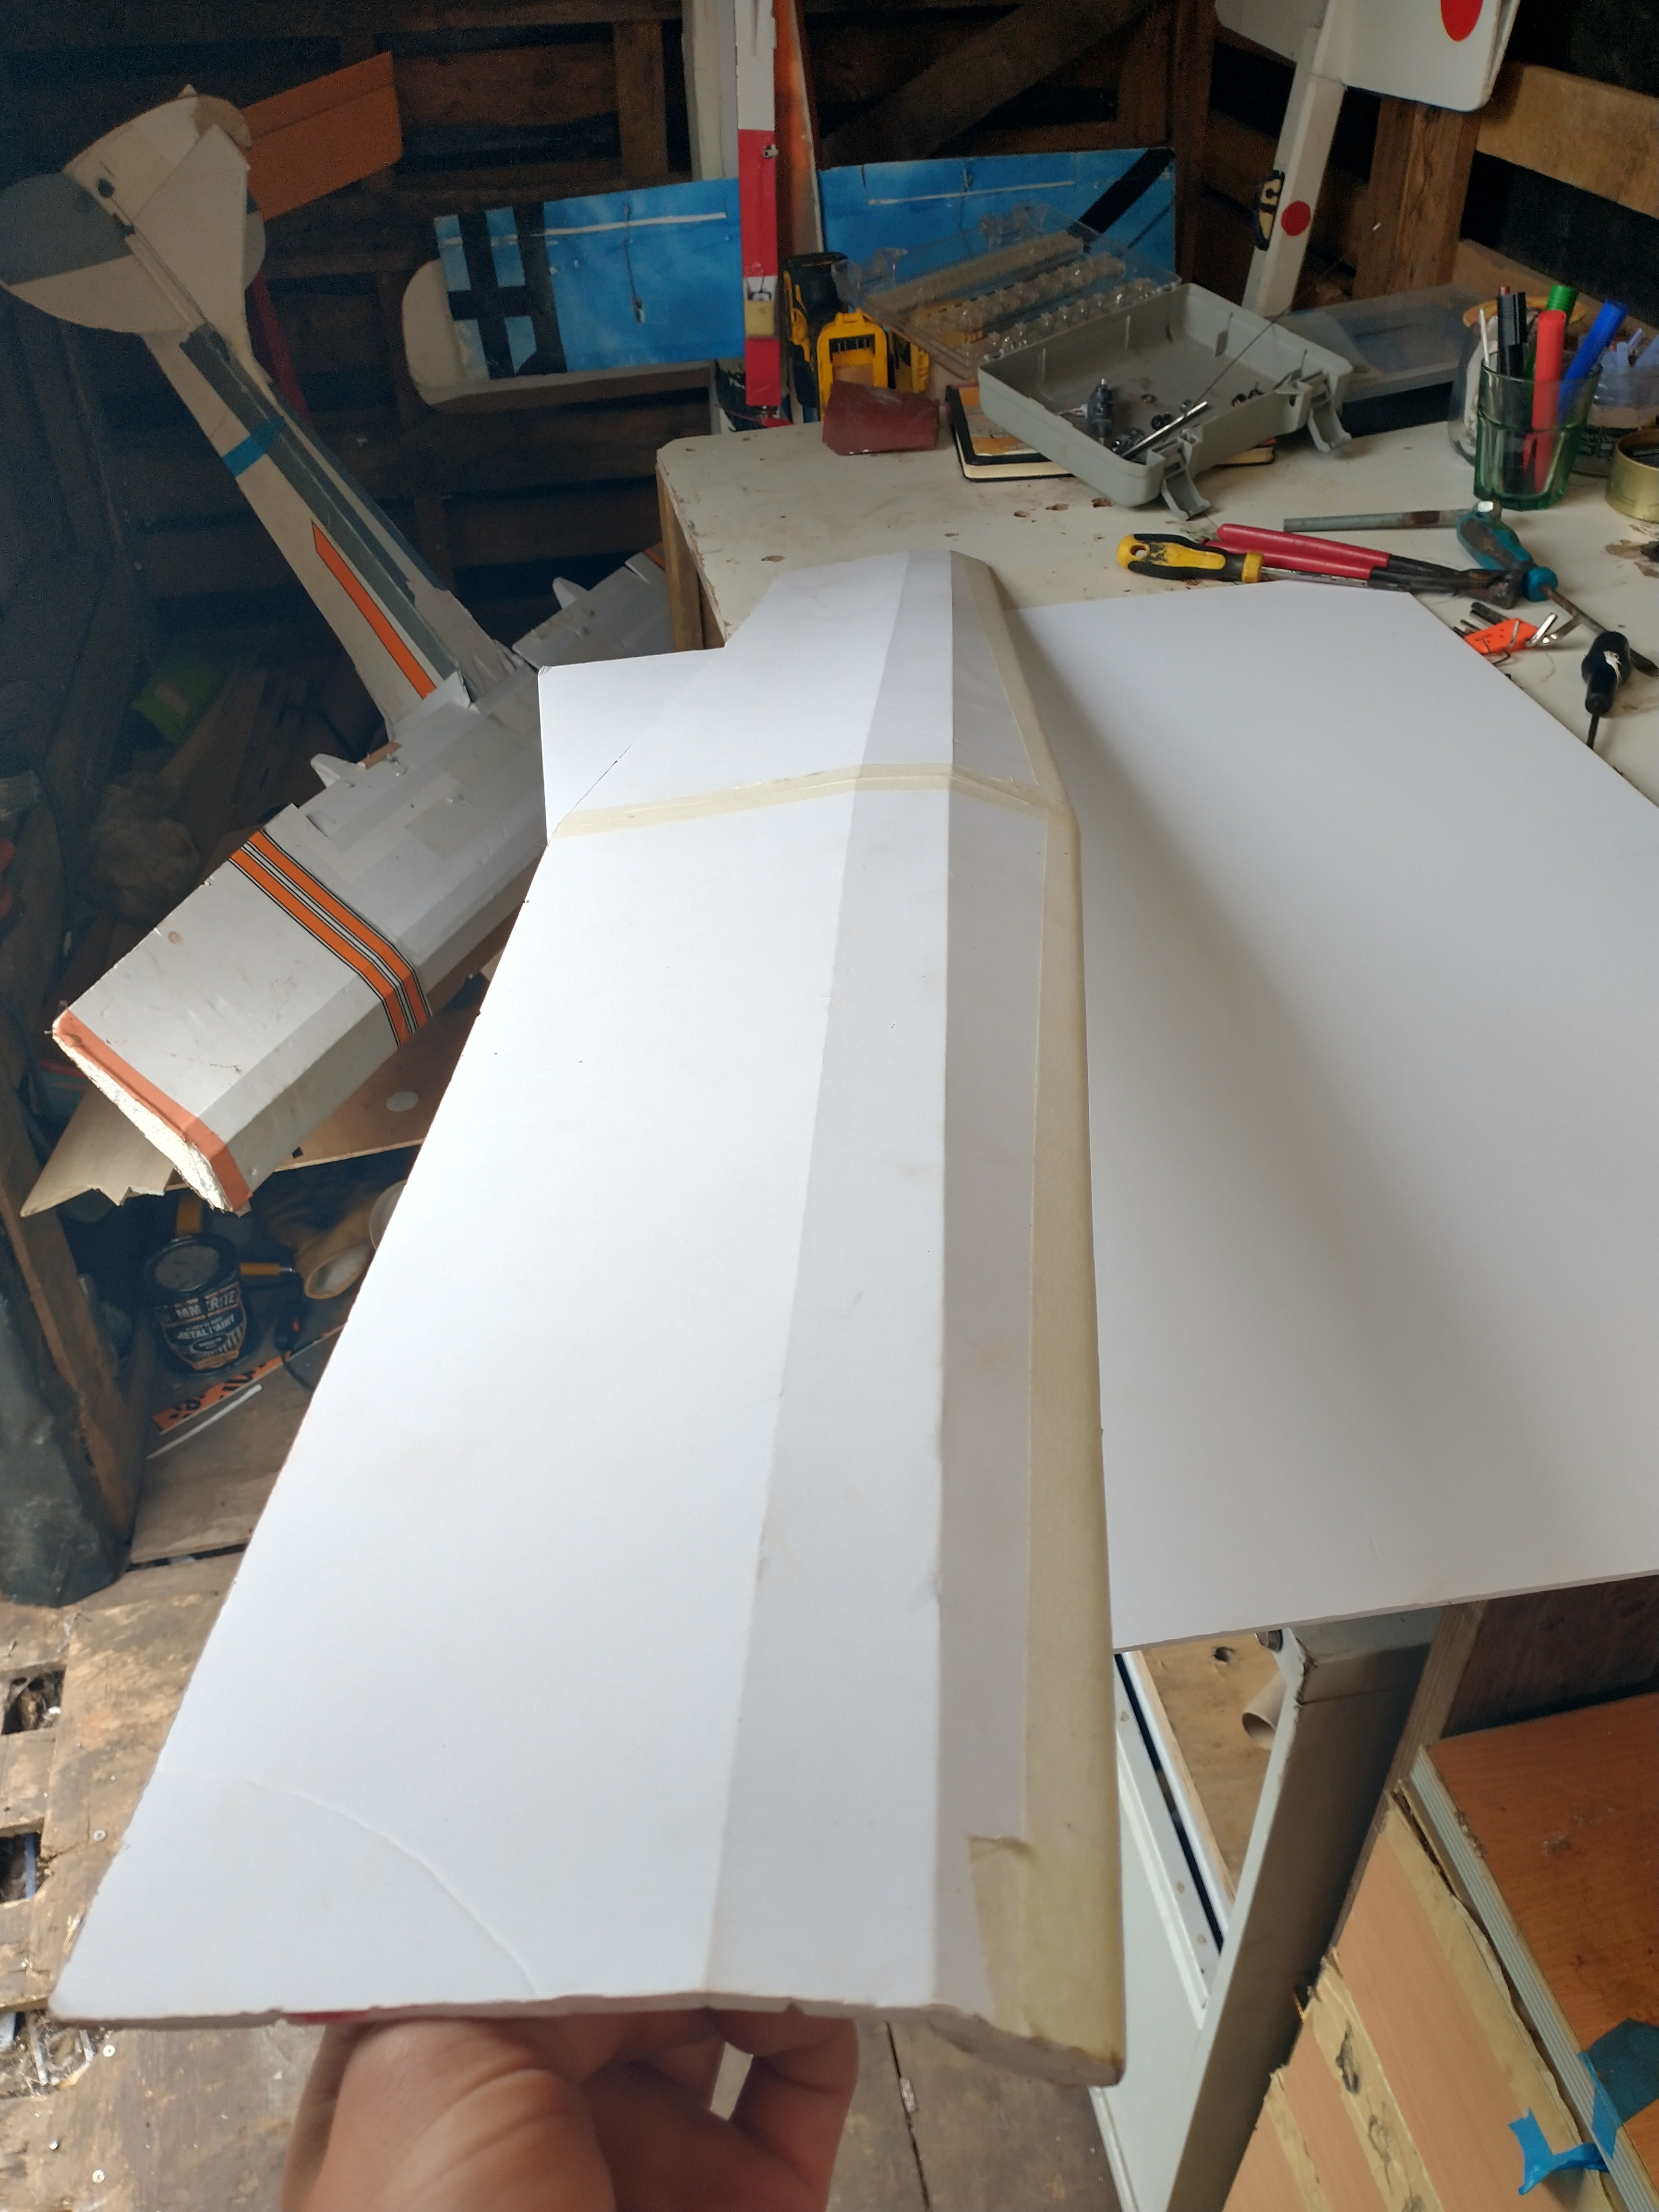
So, I started the build by sketching out the wing shape on the foam.
Before folding the wing, I double-beveled the leading edge so that it would bend without breaking.
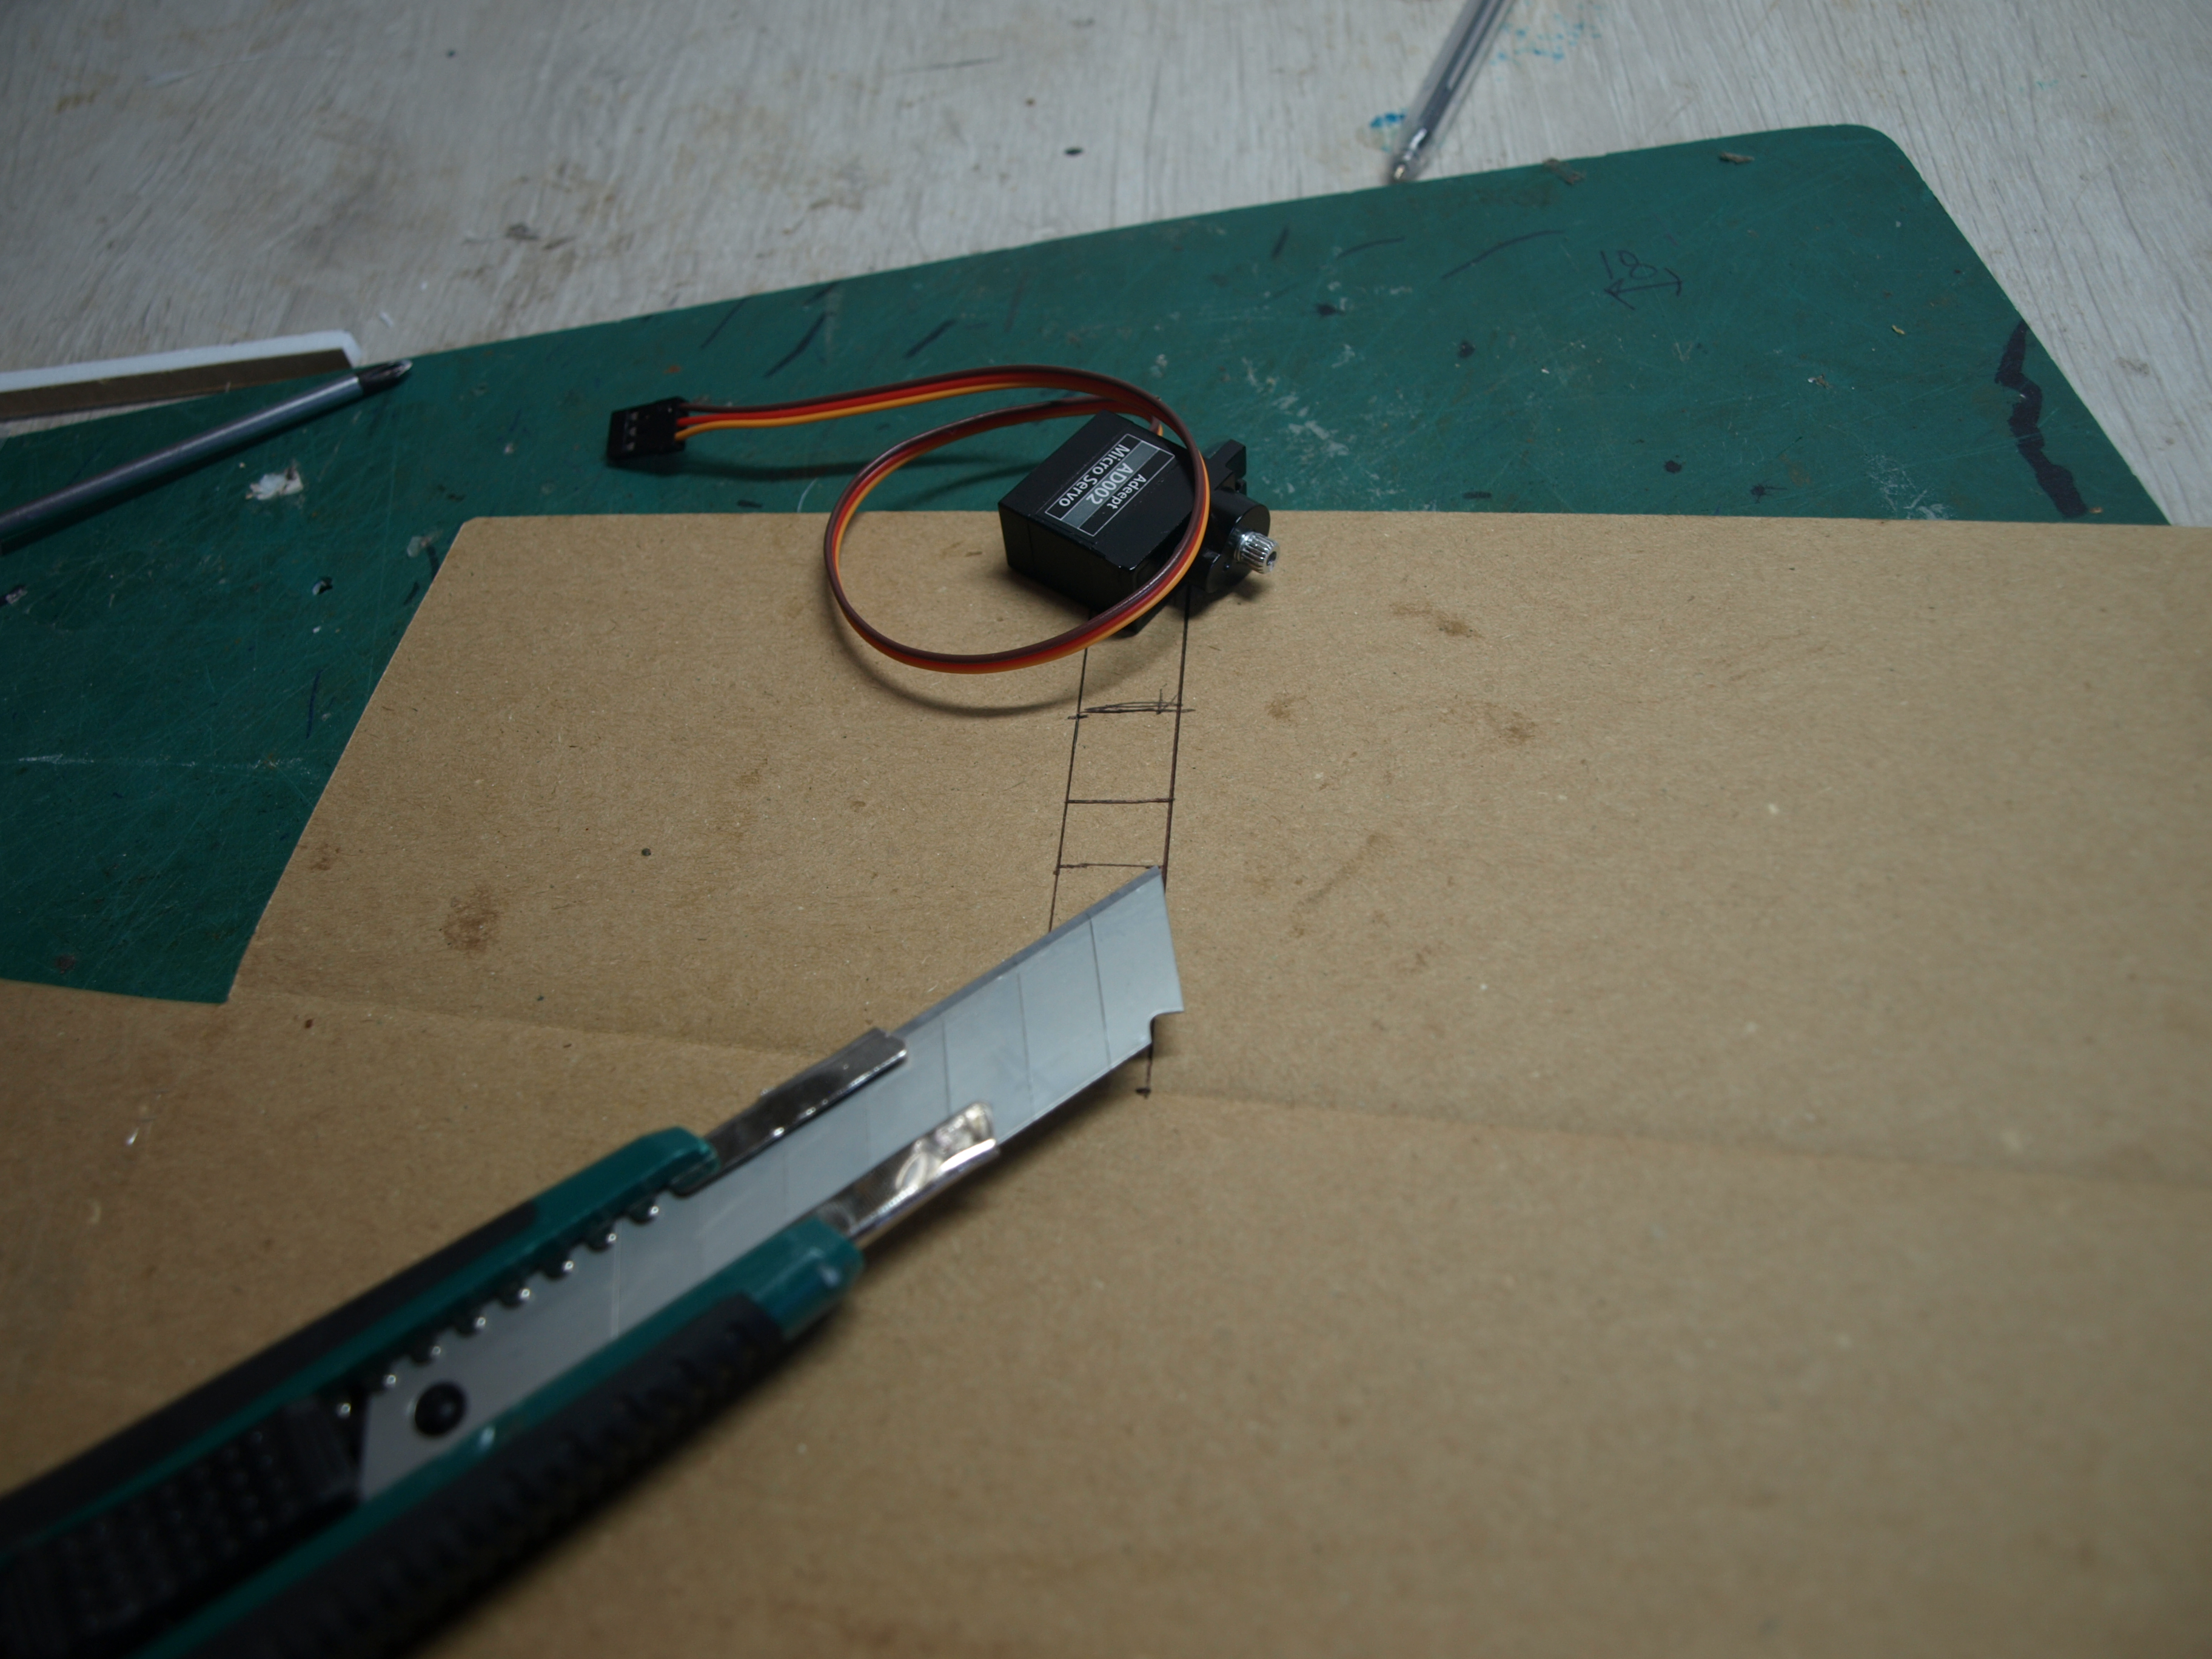
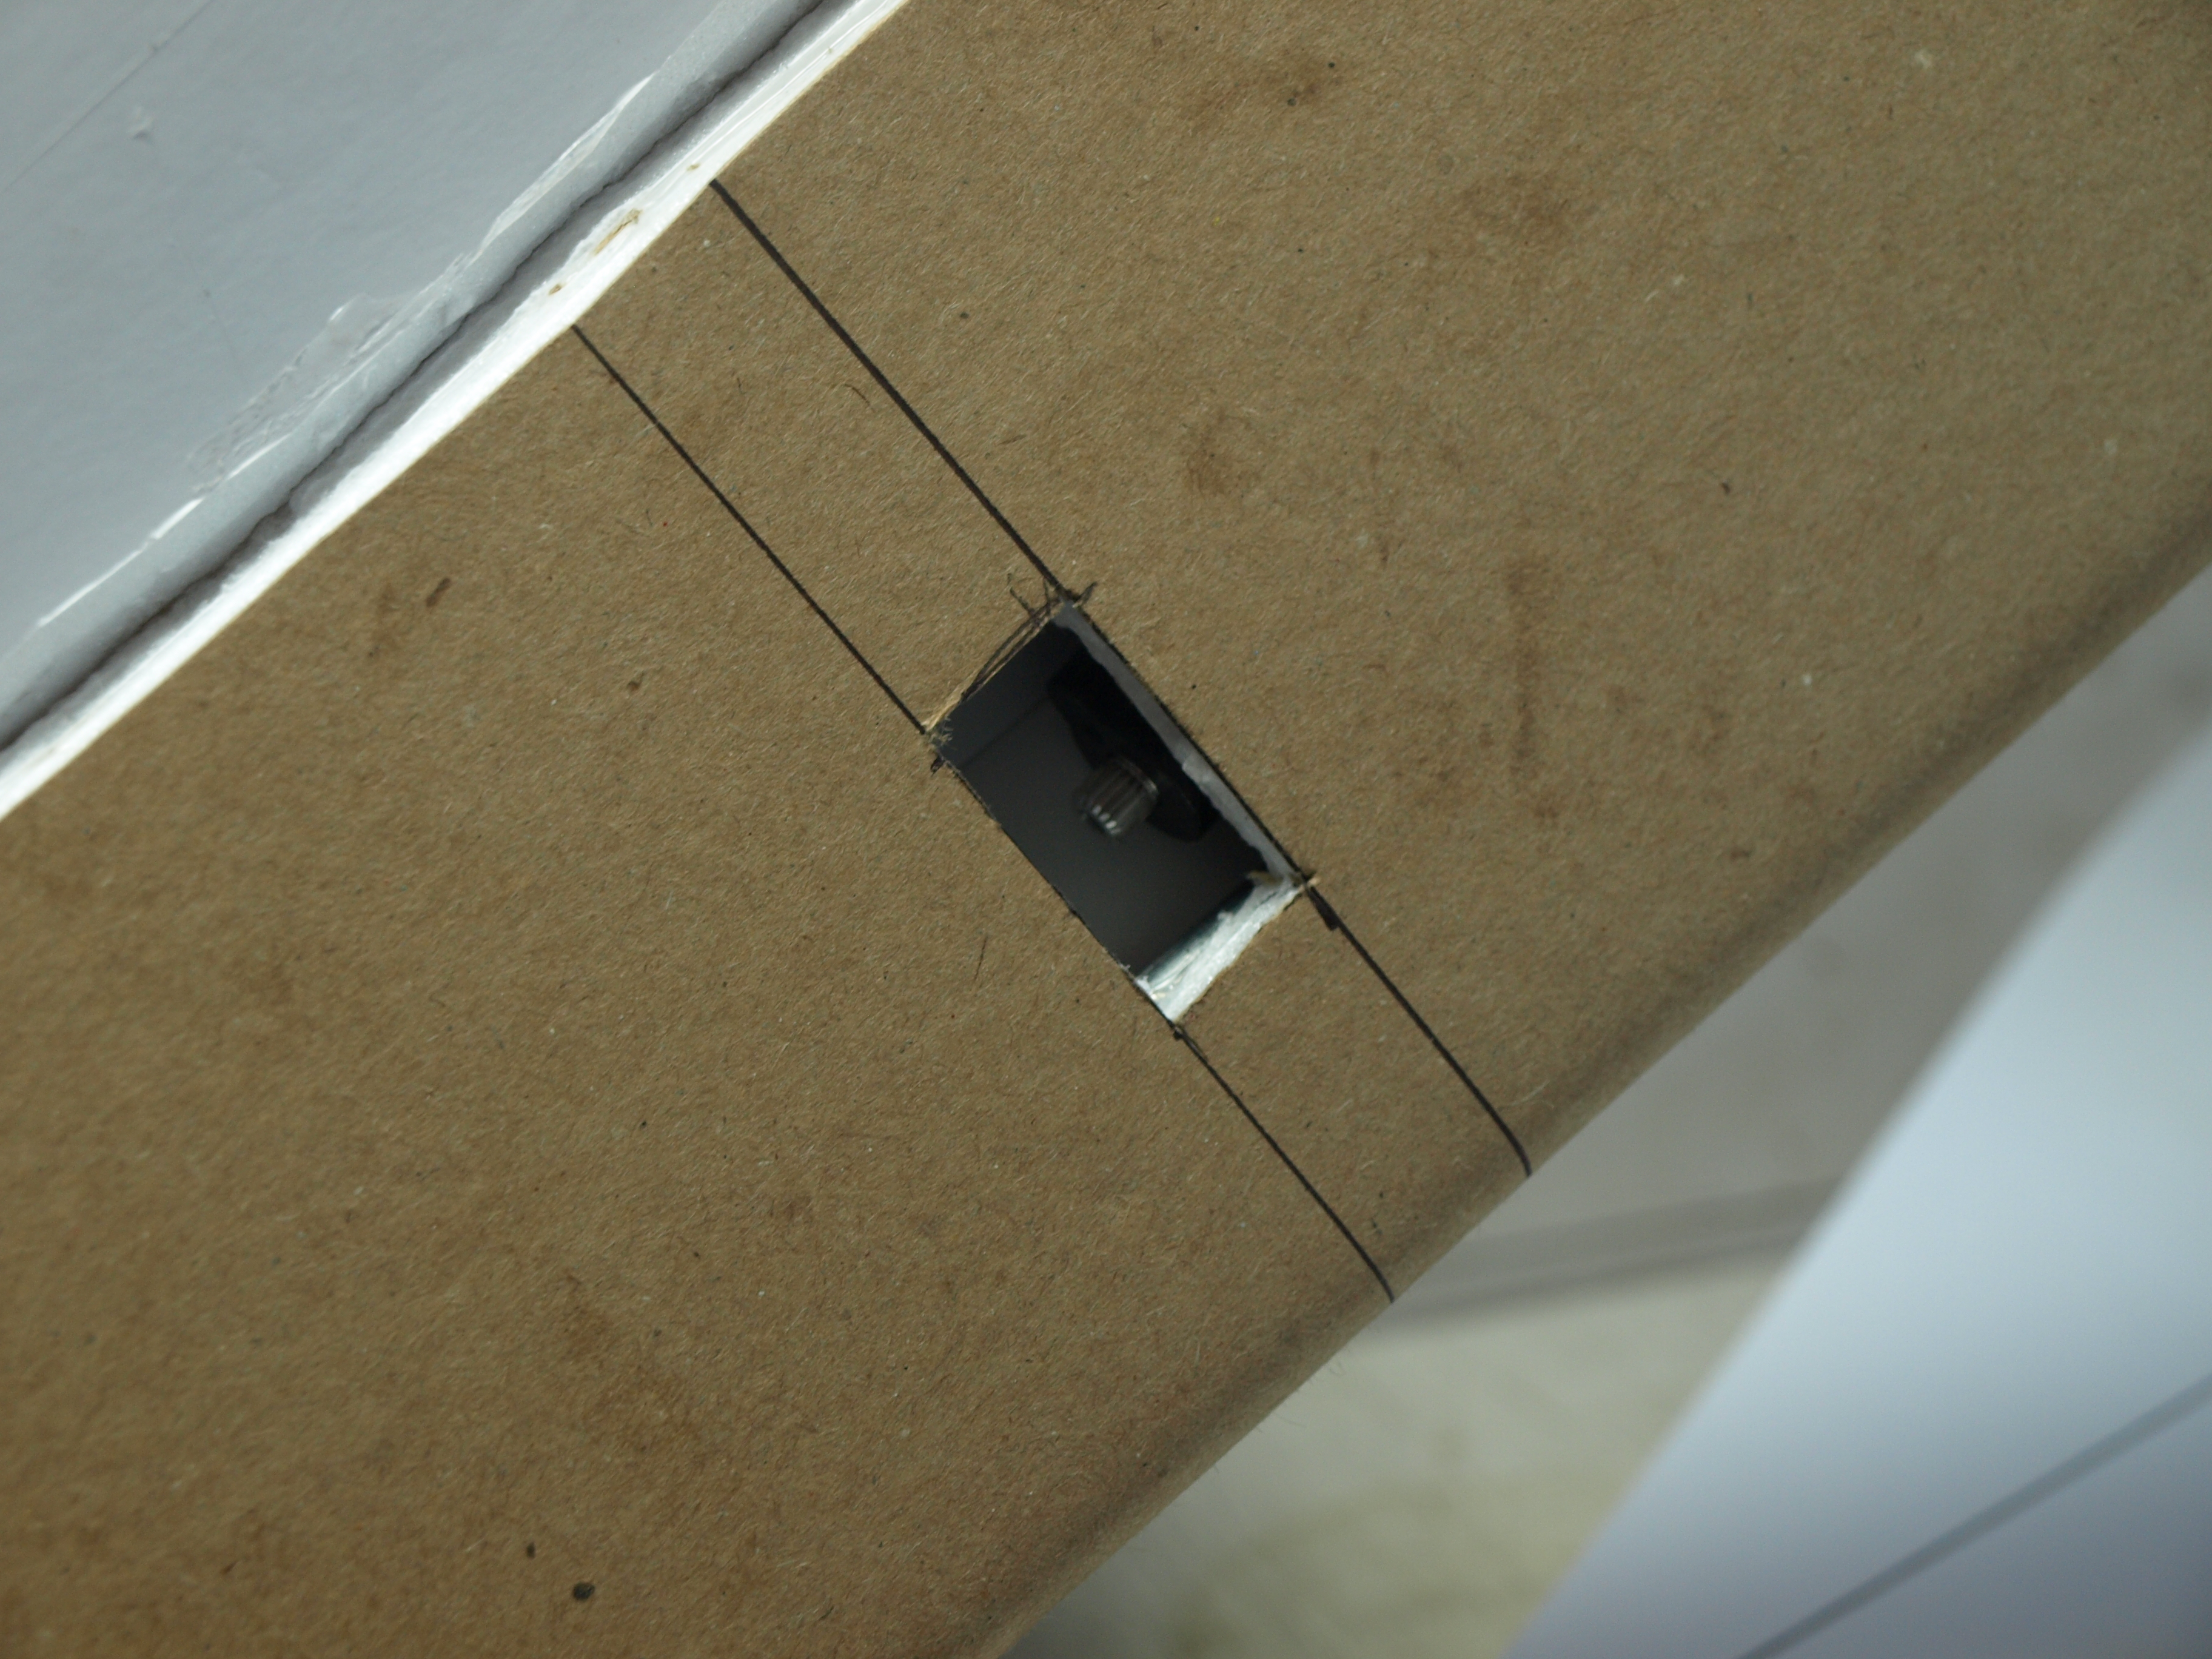
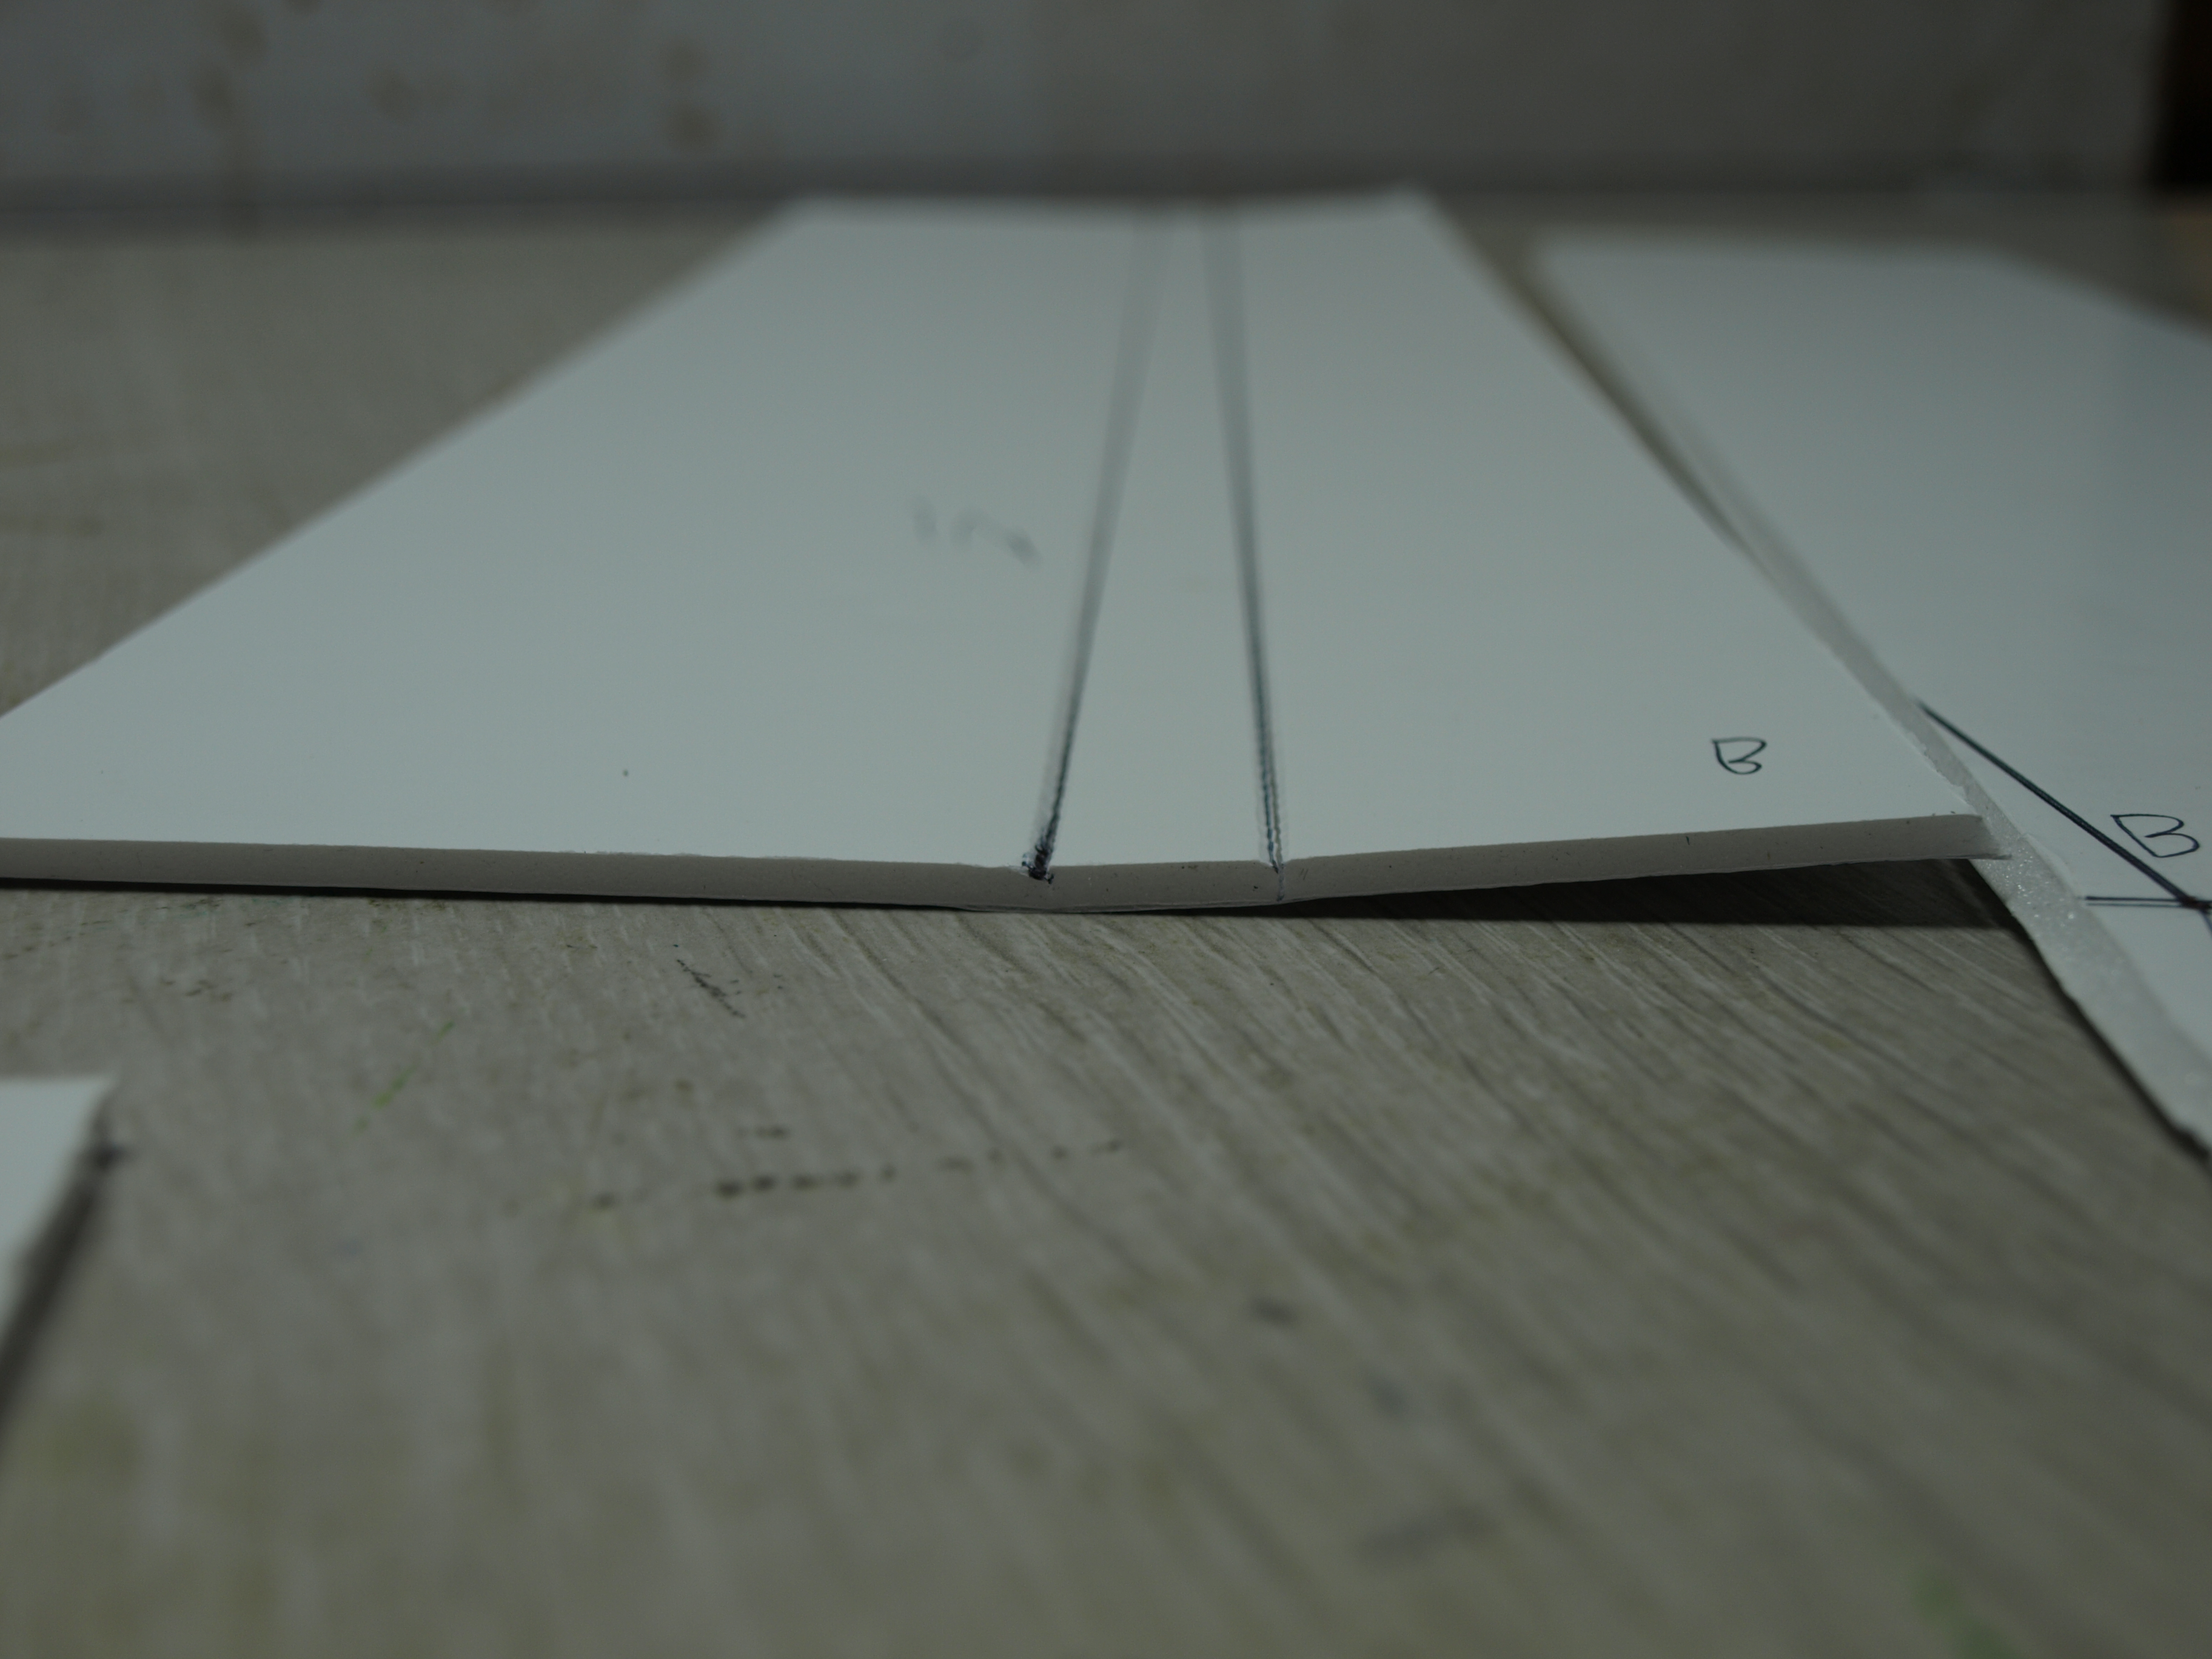
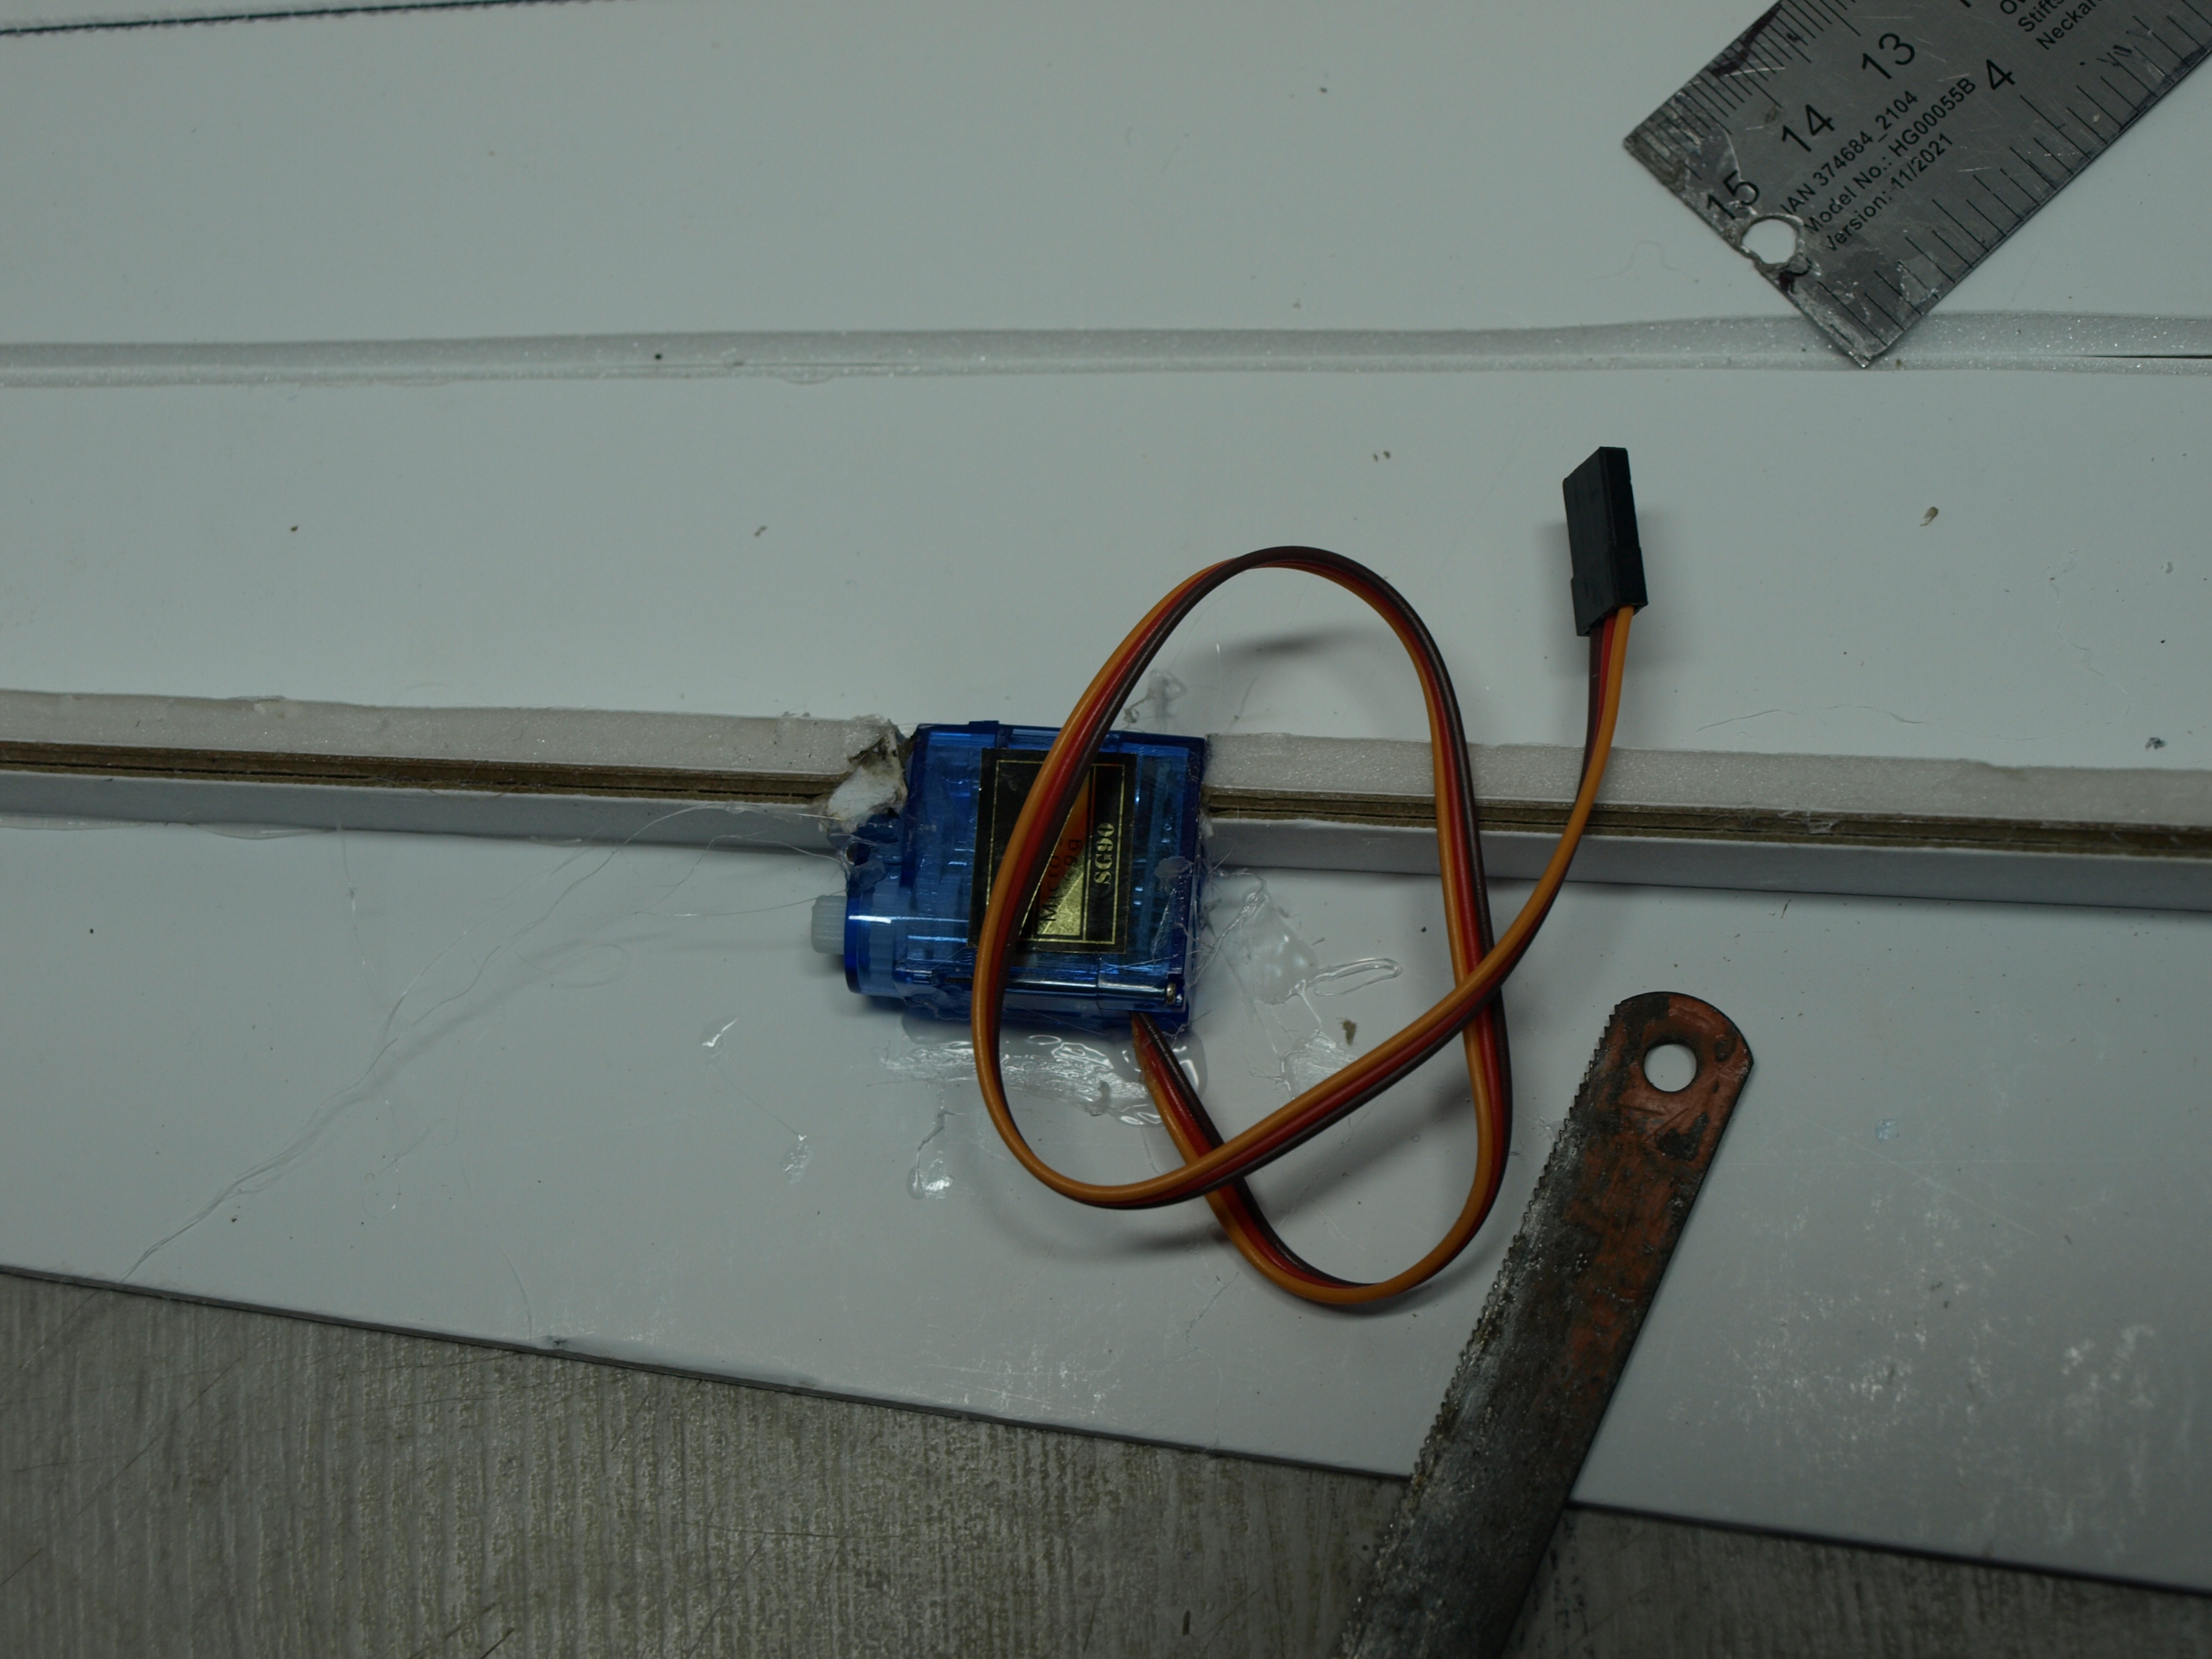
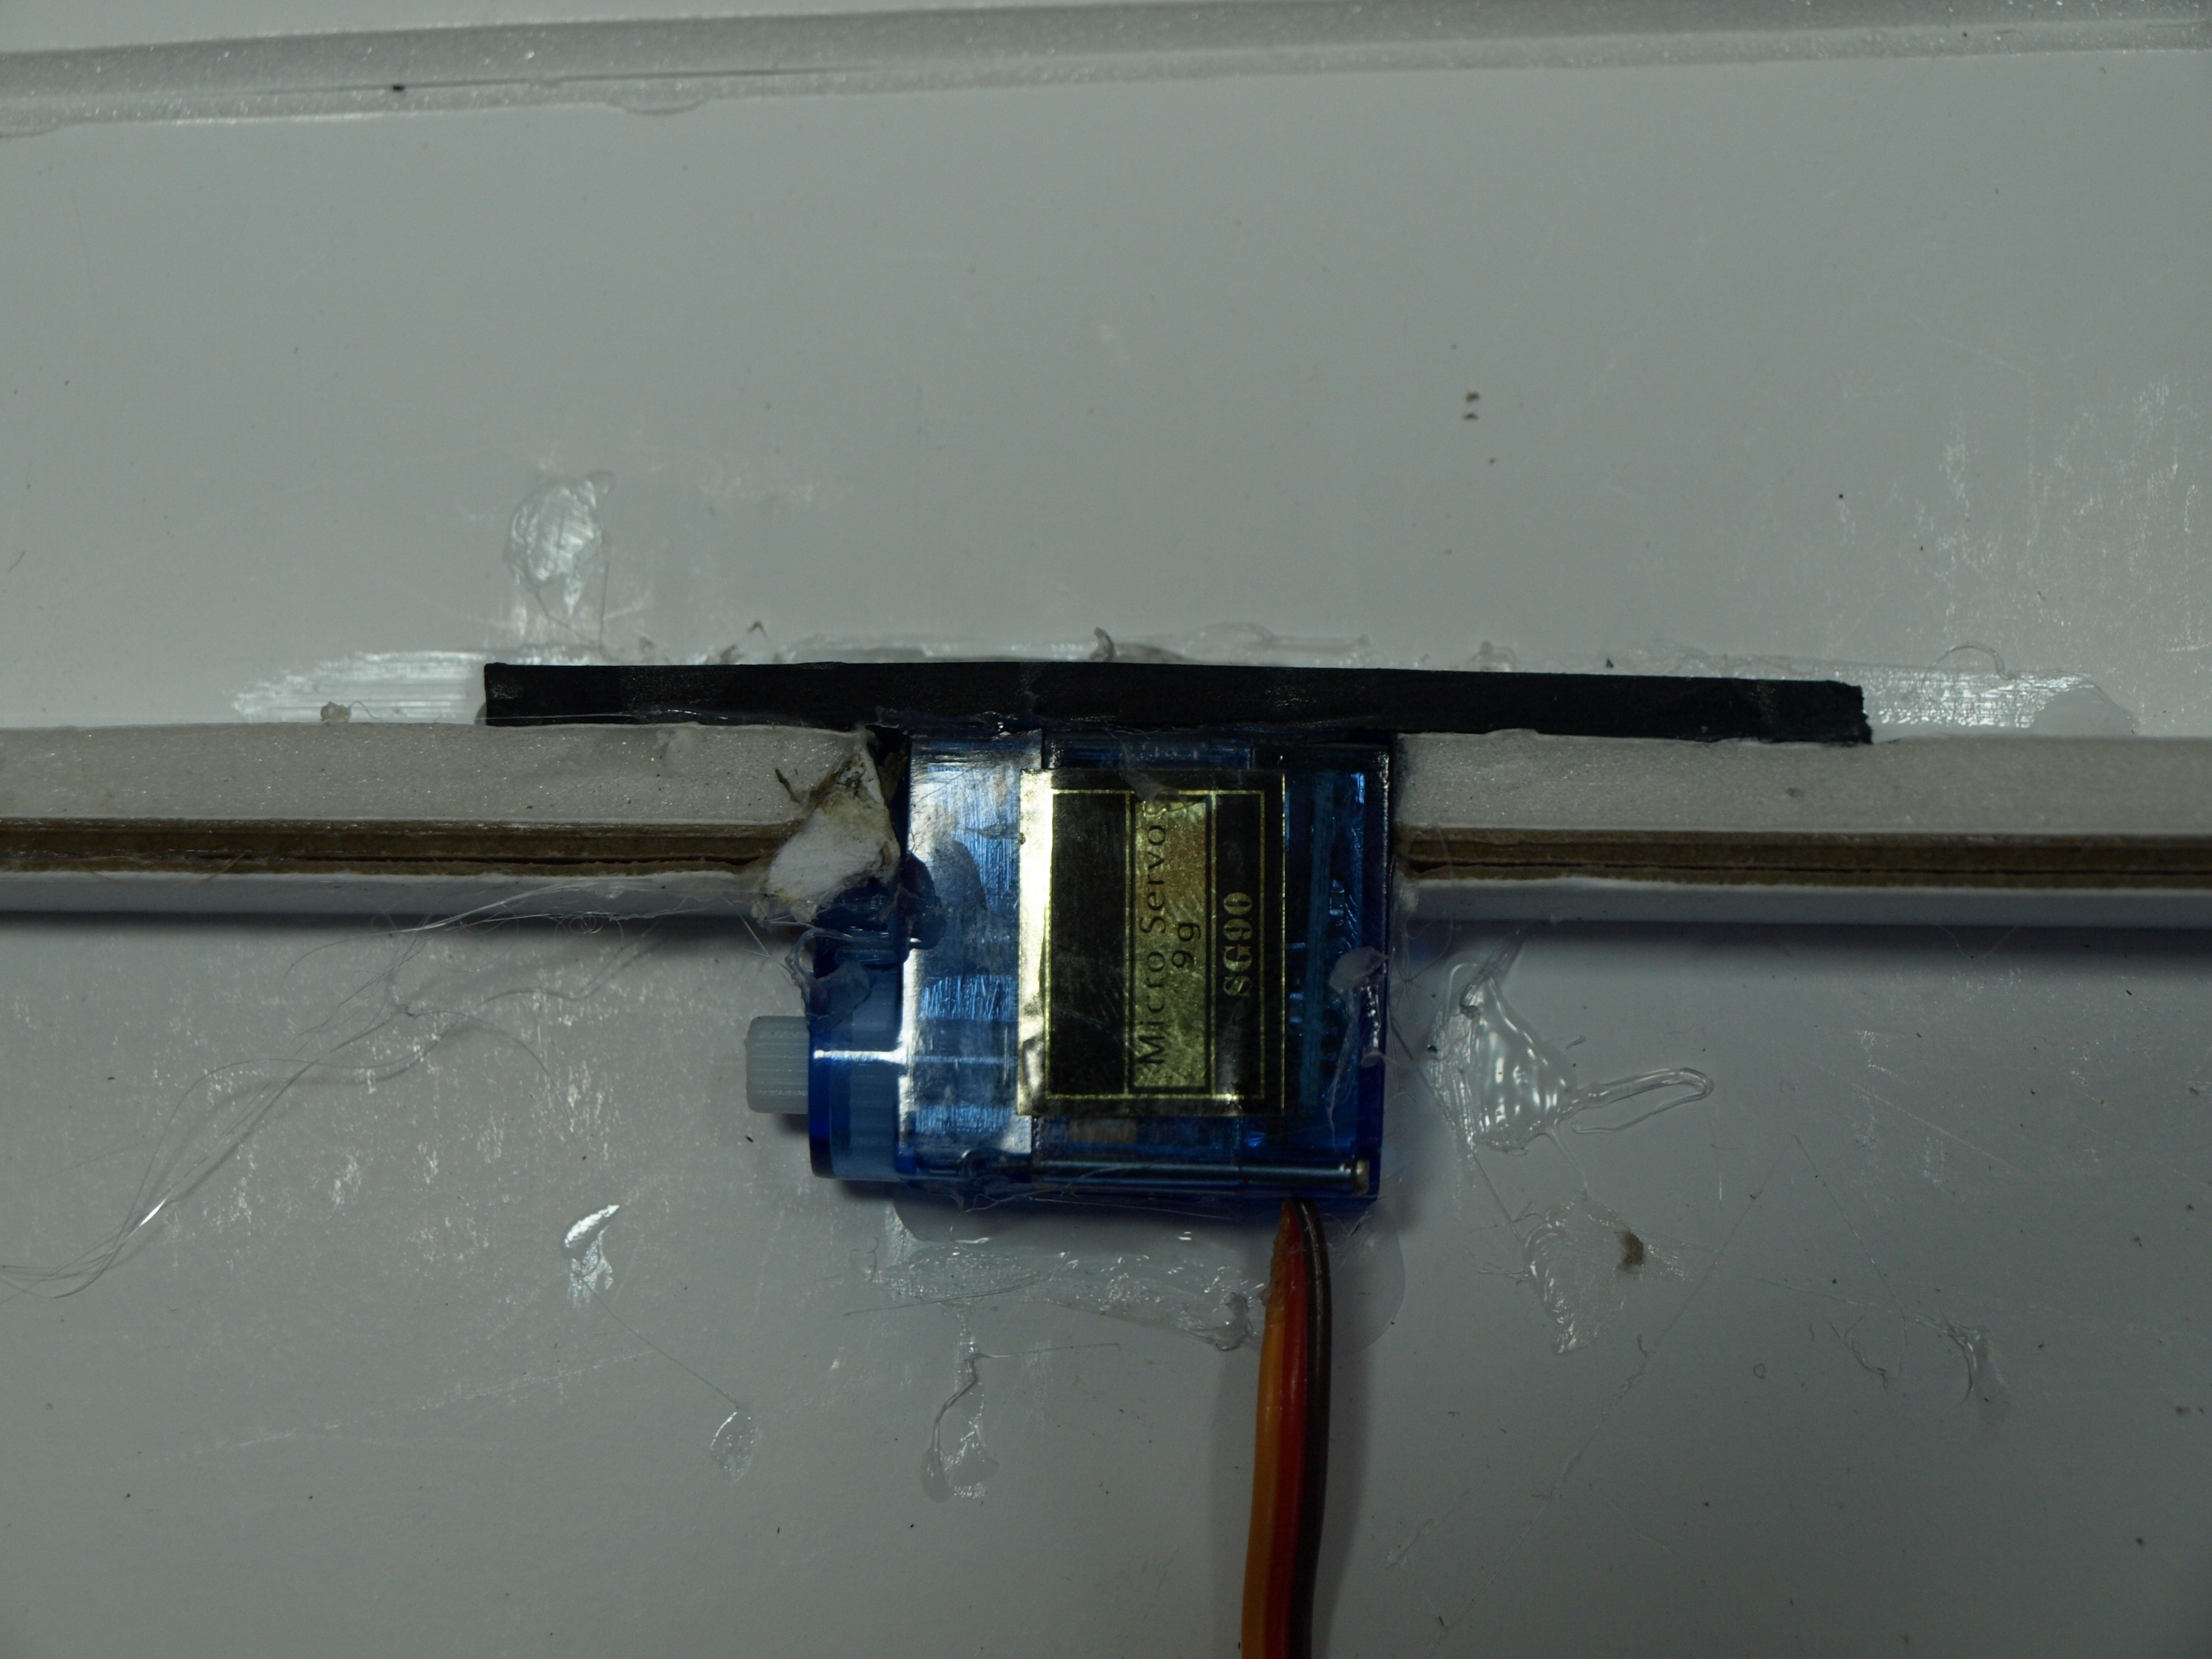
Then, before I folded the wing panels, I cut out spots for the servo horn to poke through the foam.
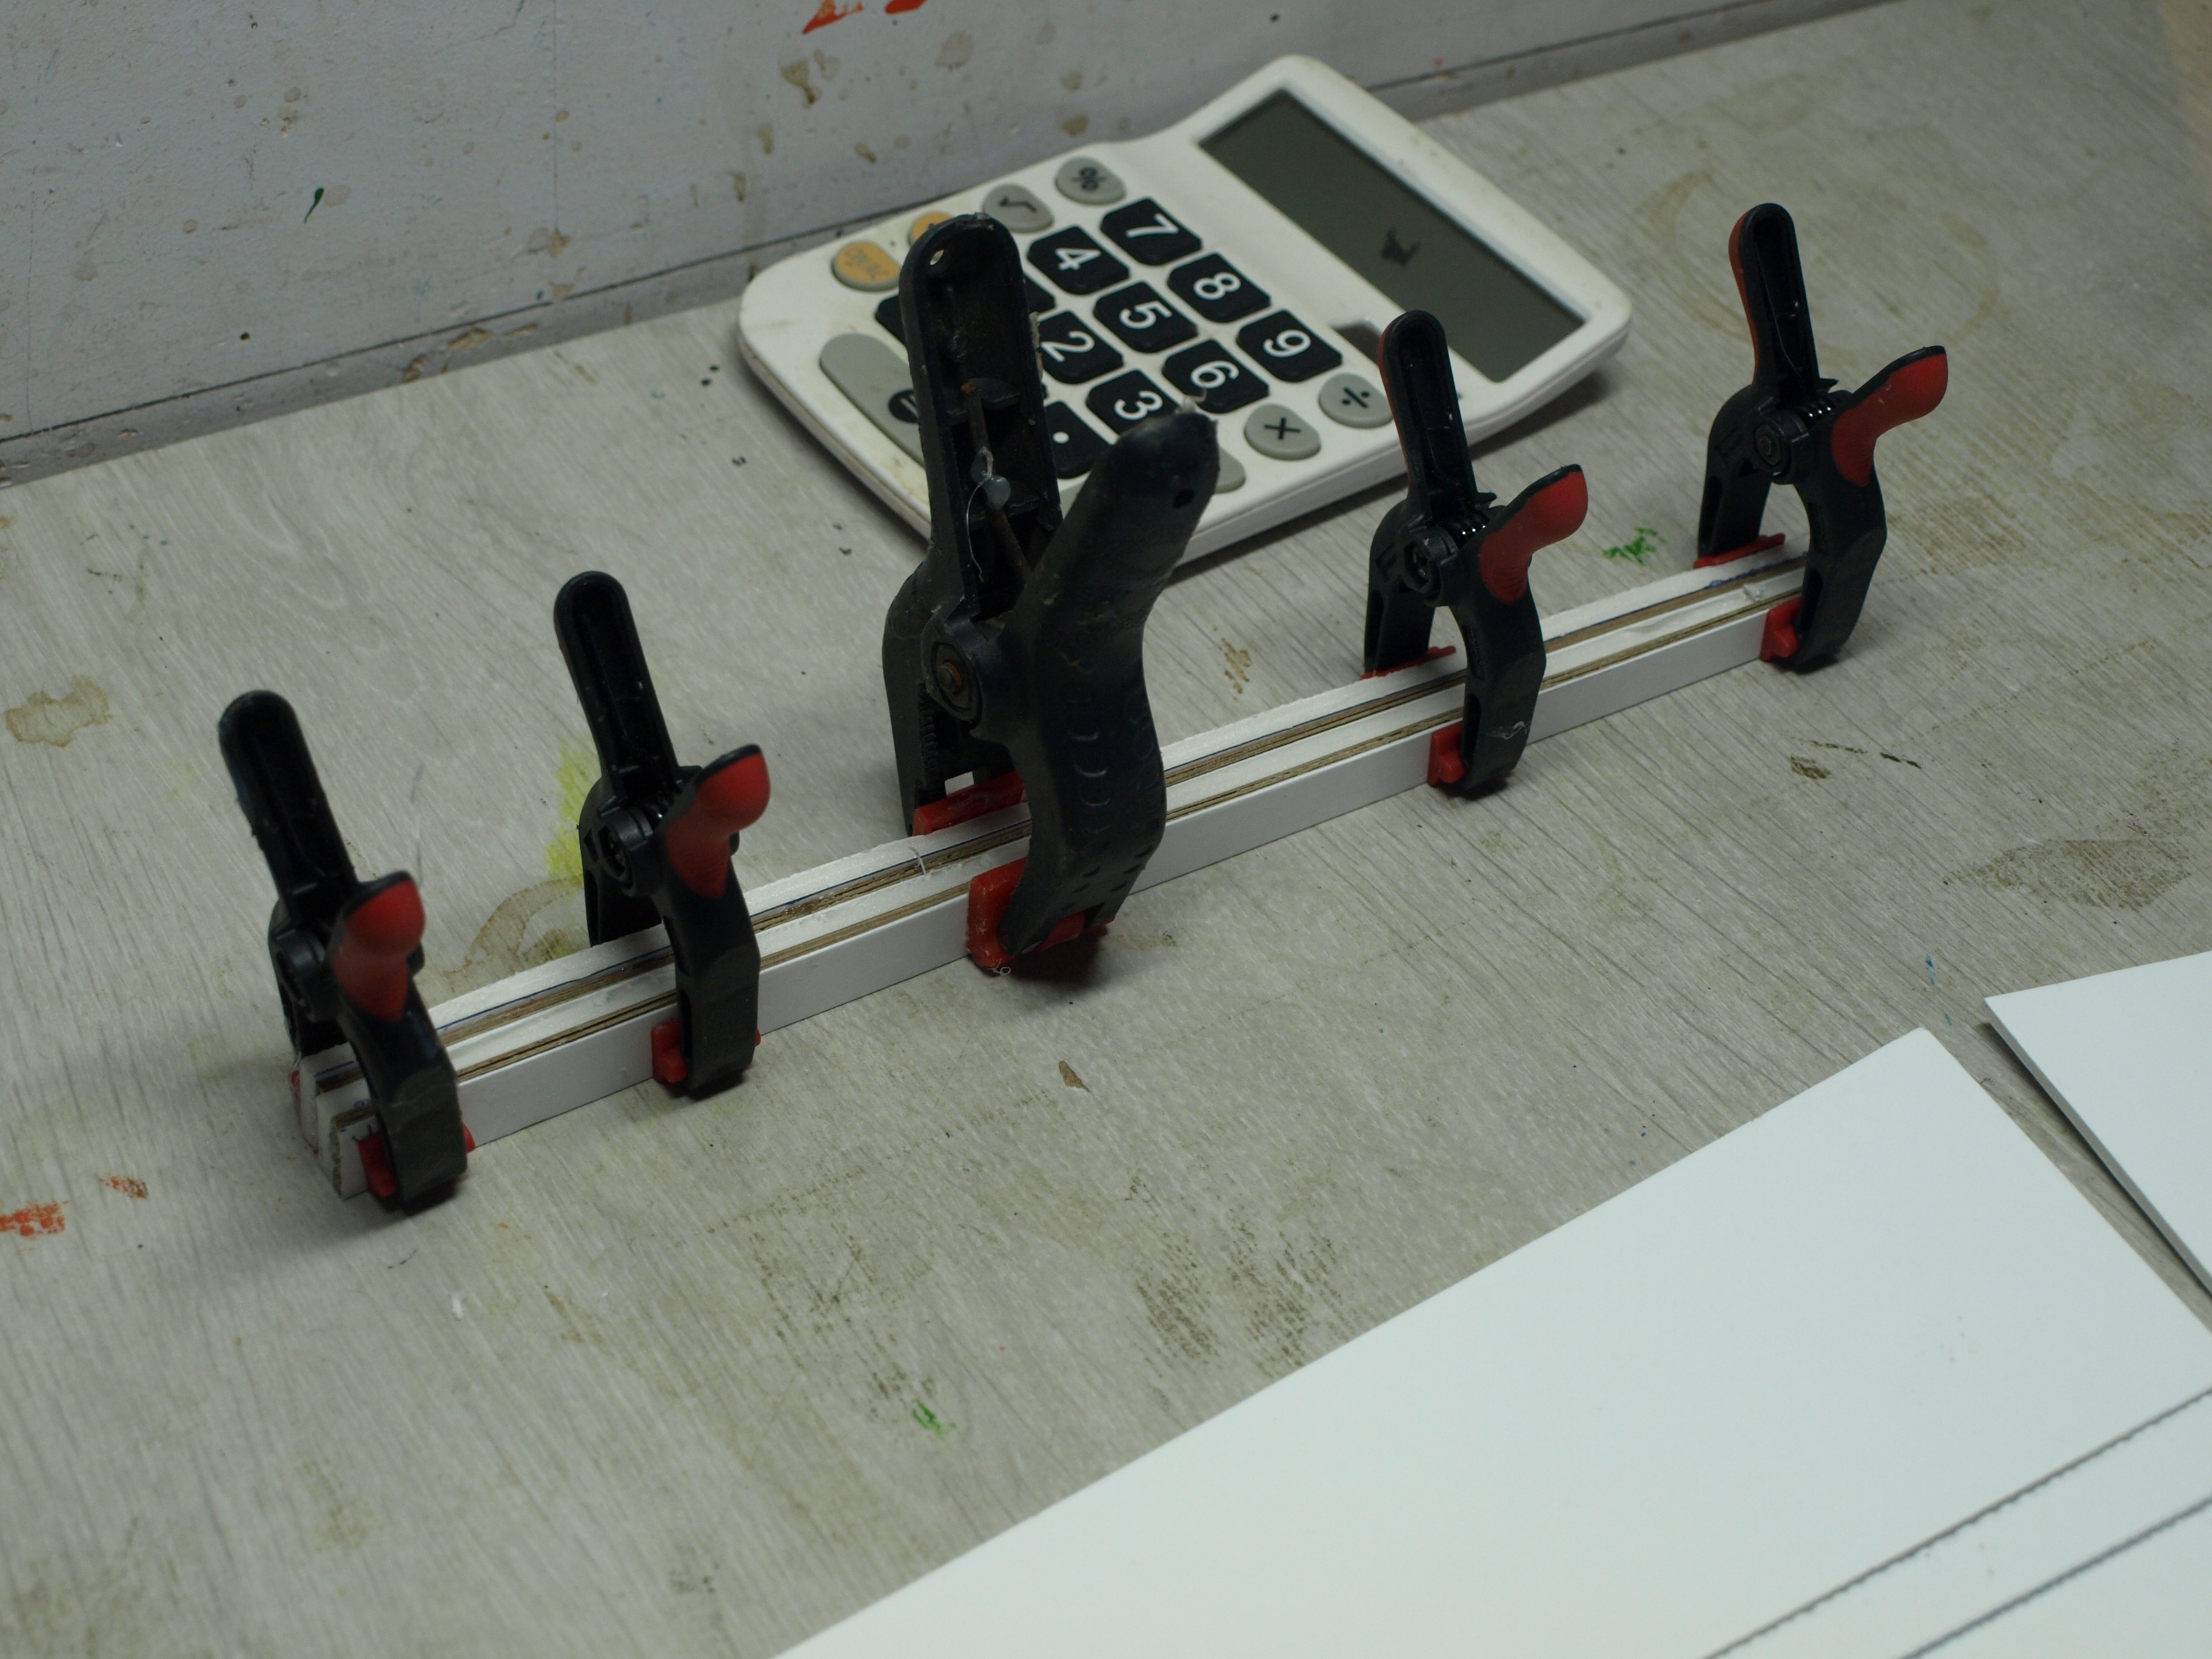
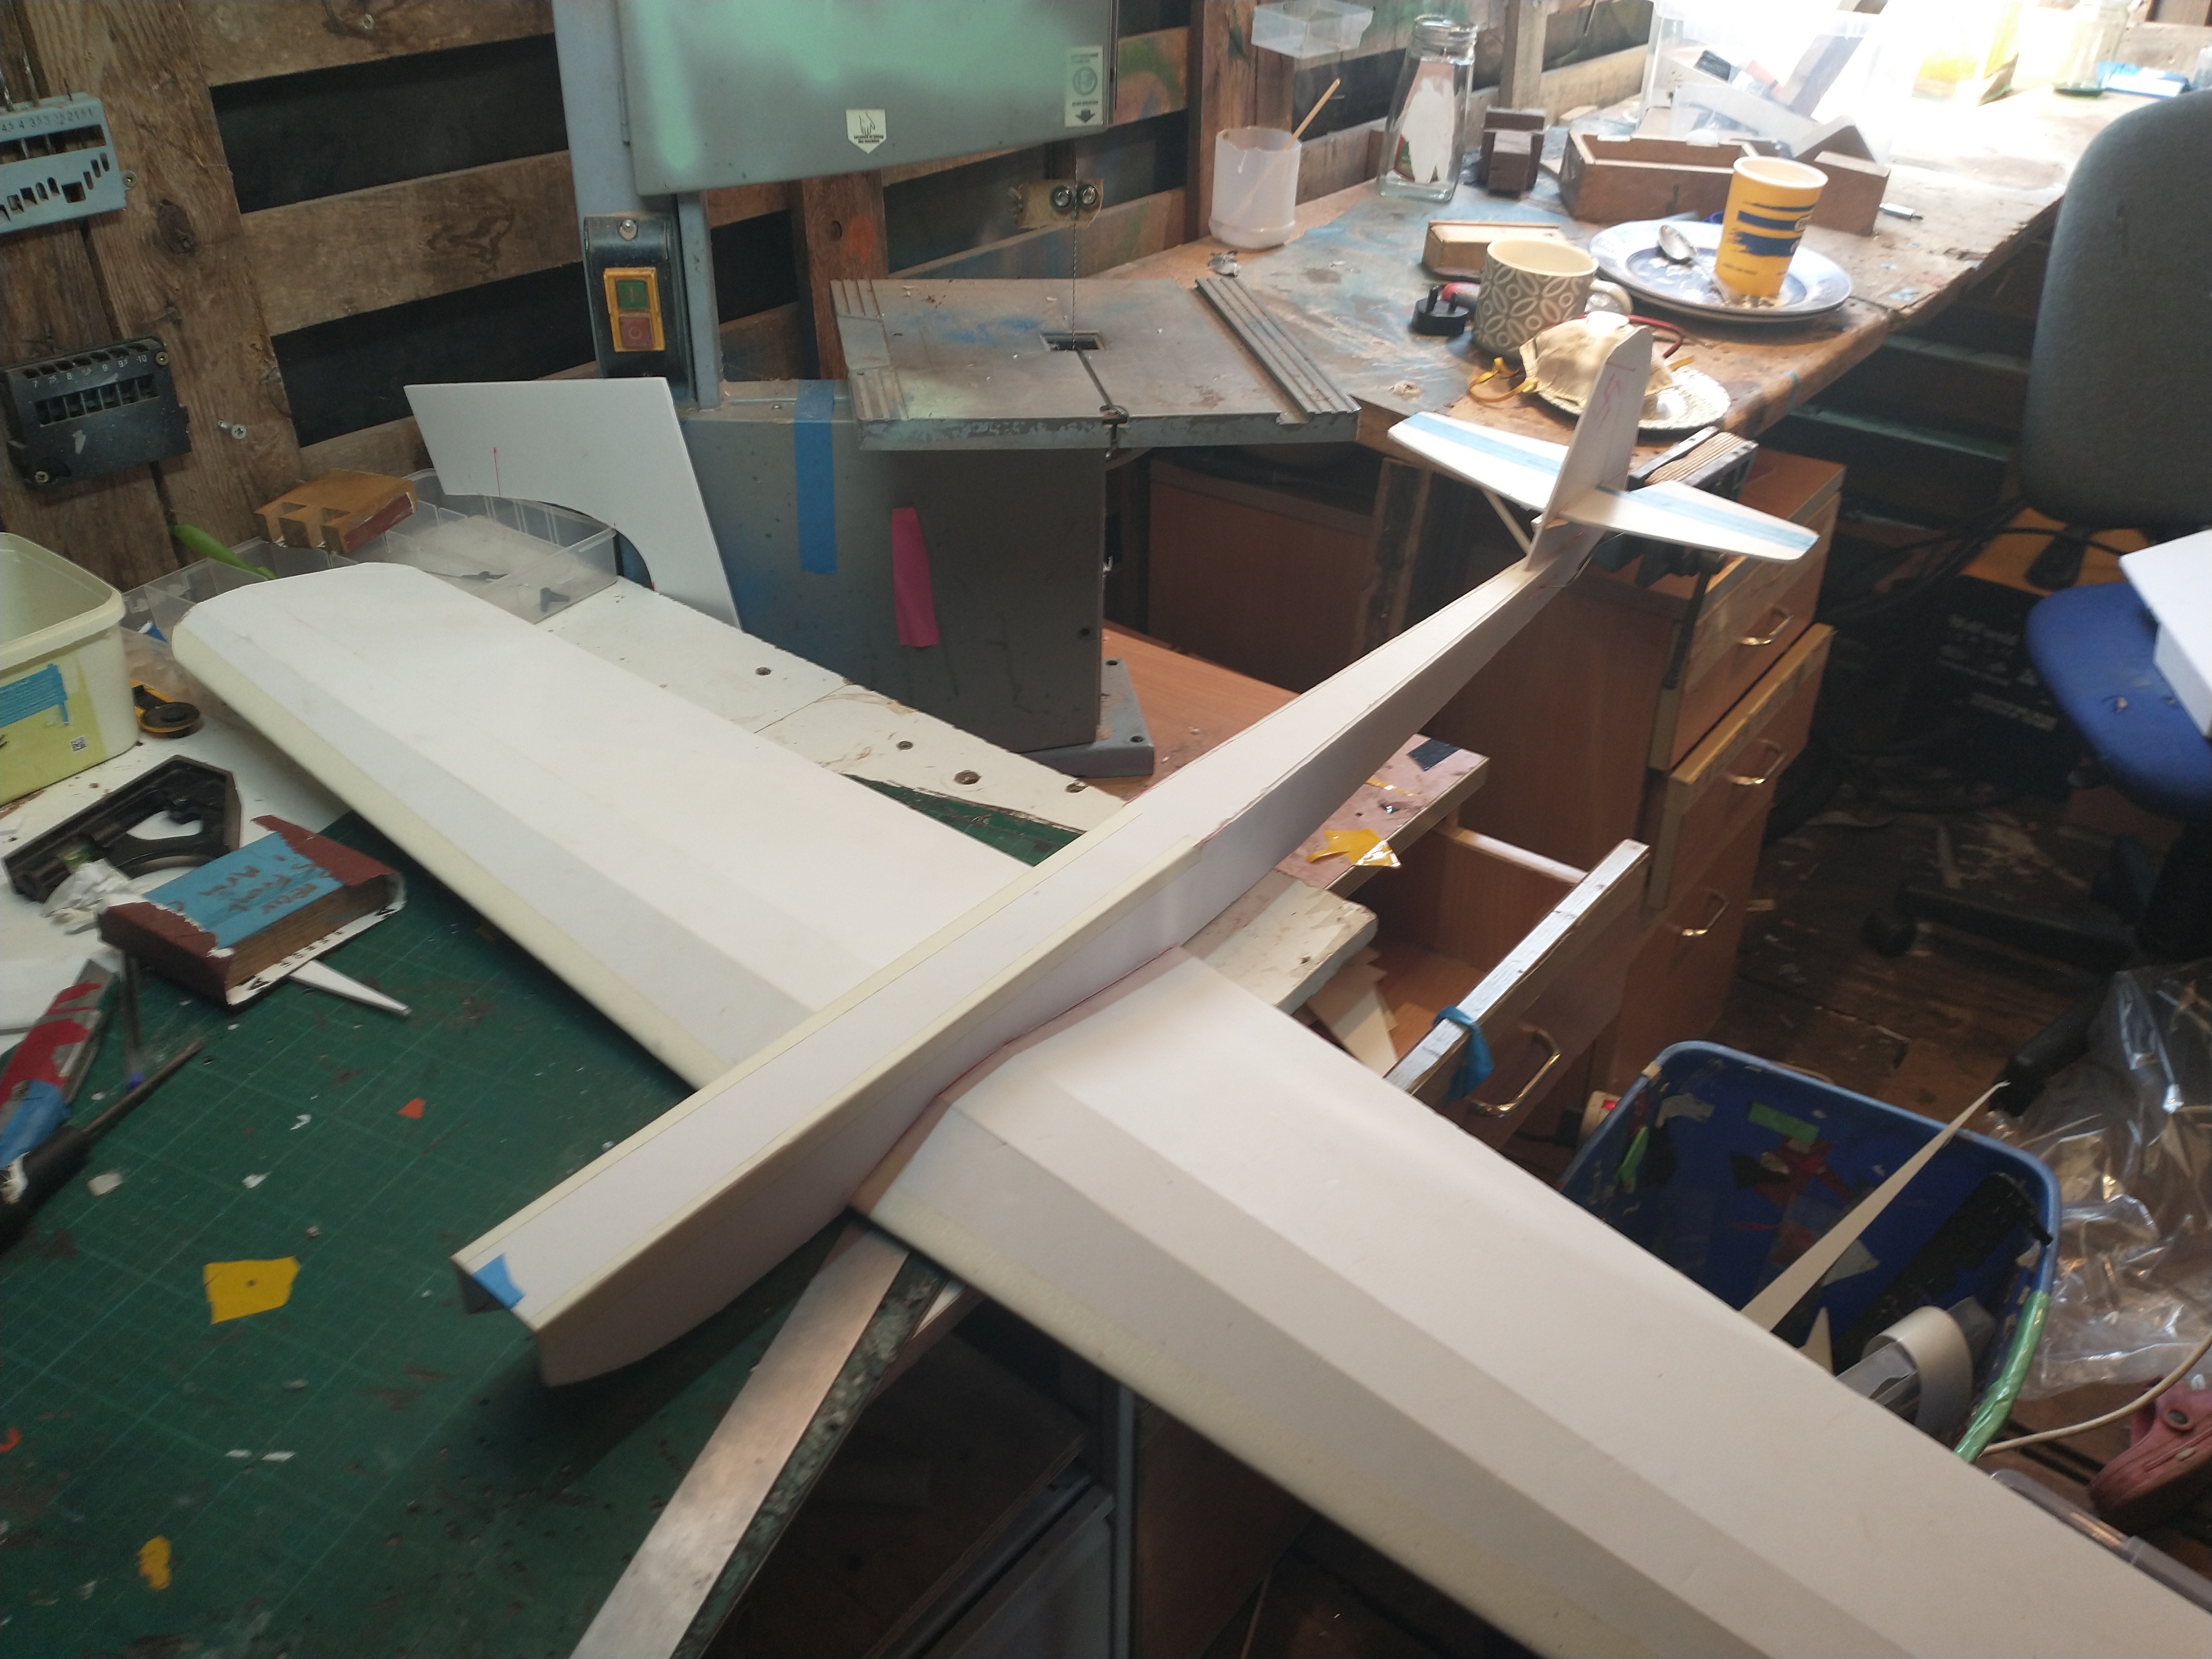
I glued in the main wing spar, which in this case is an old aluminum arrow shaft, and then I folded the wing, and it looked good!!!
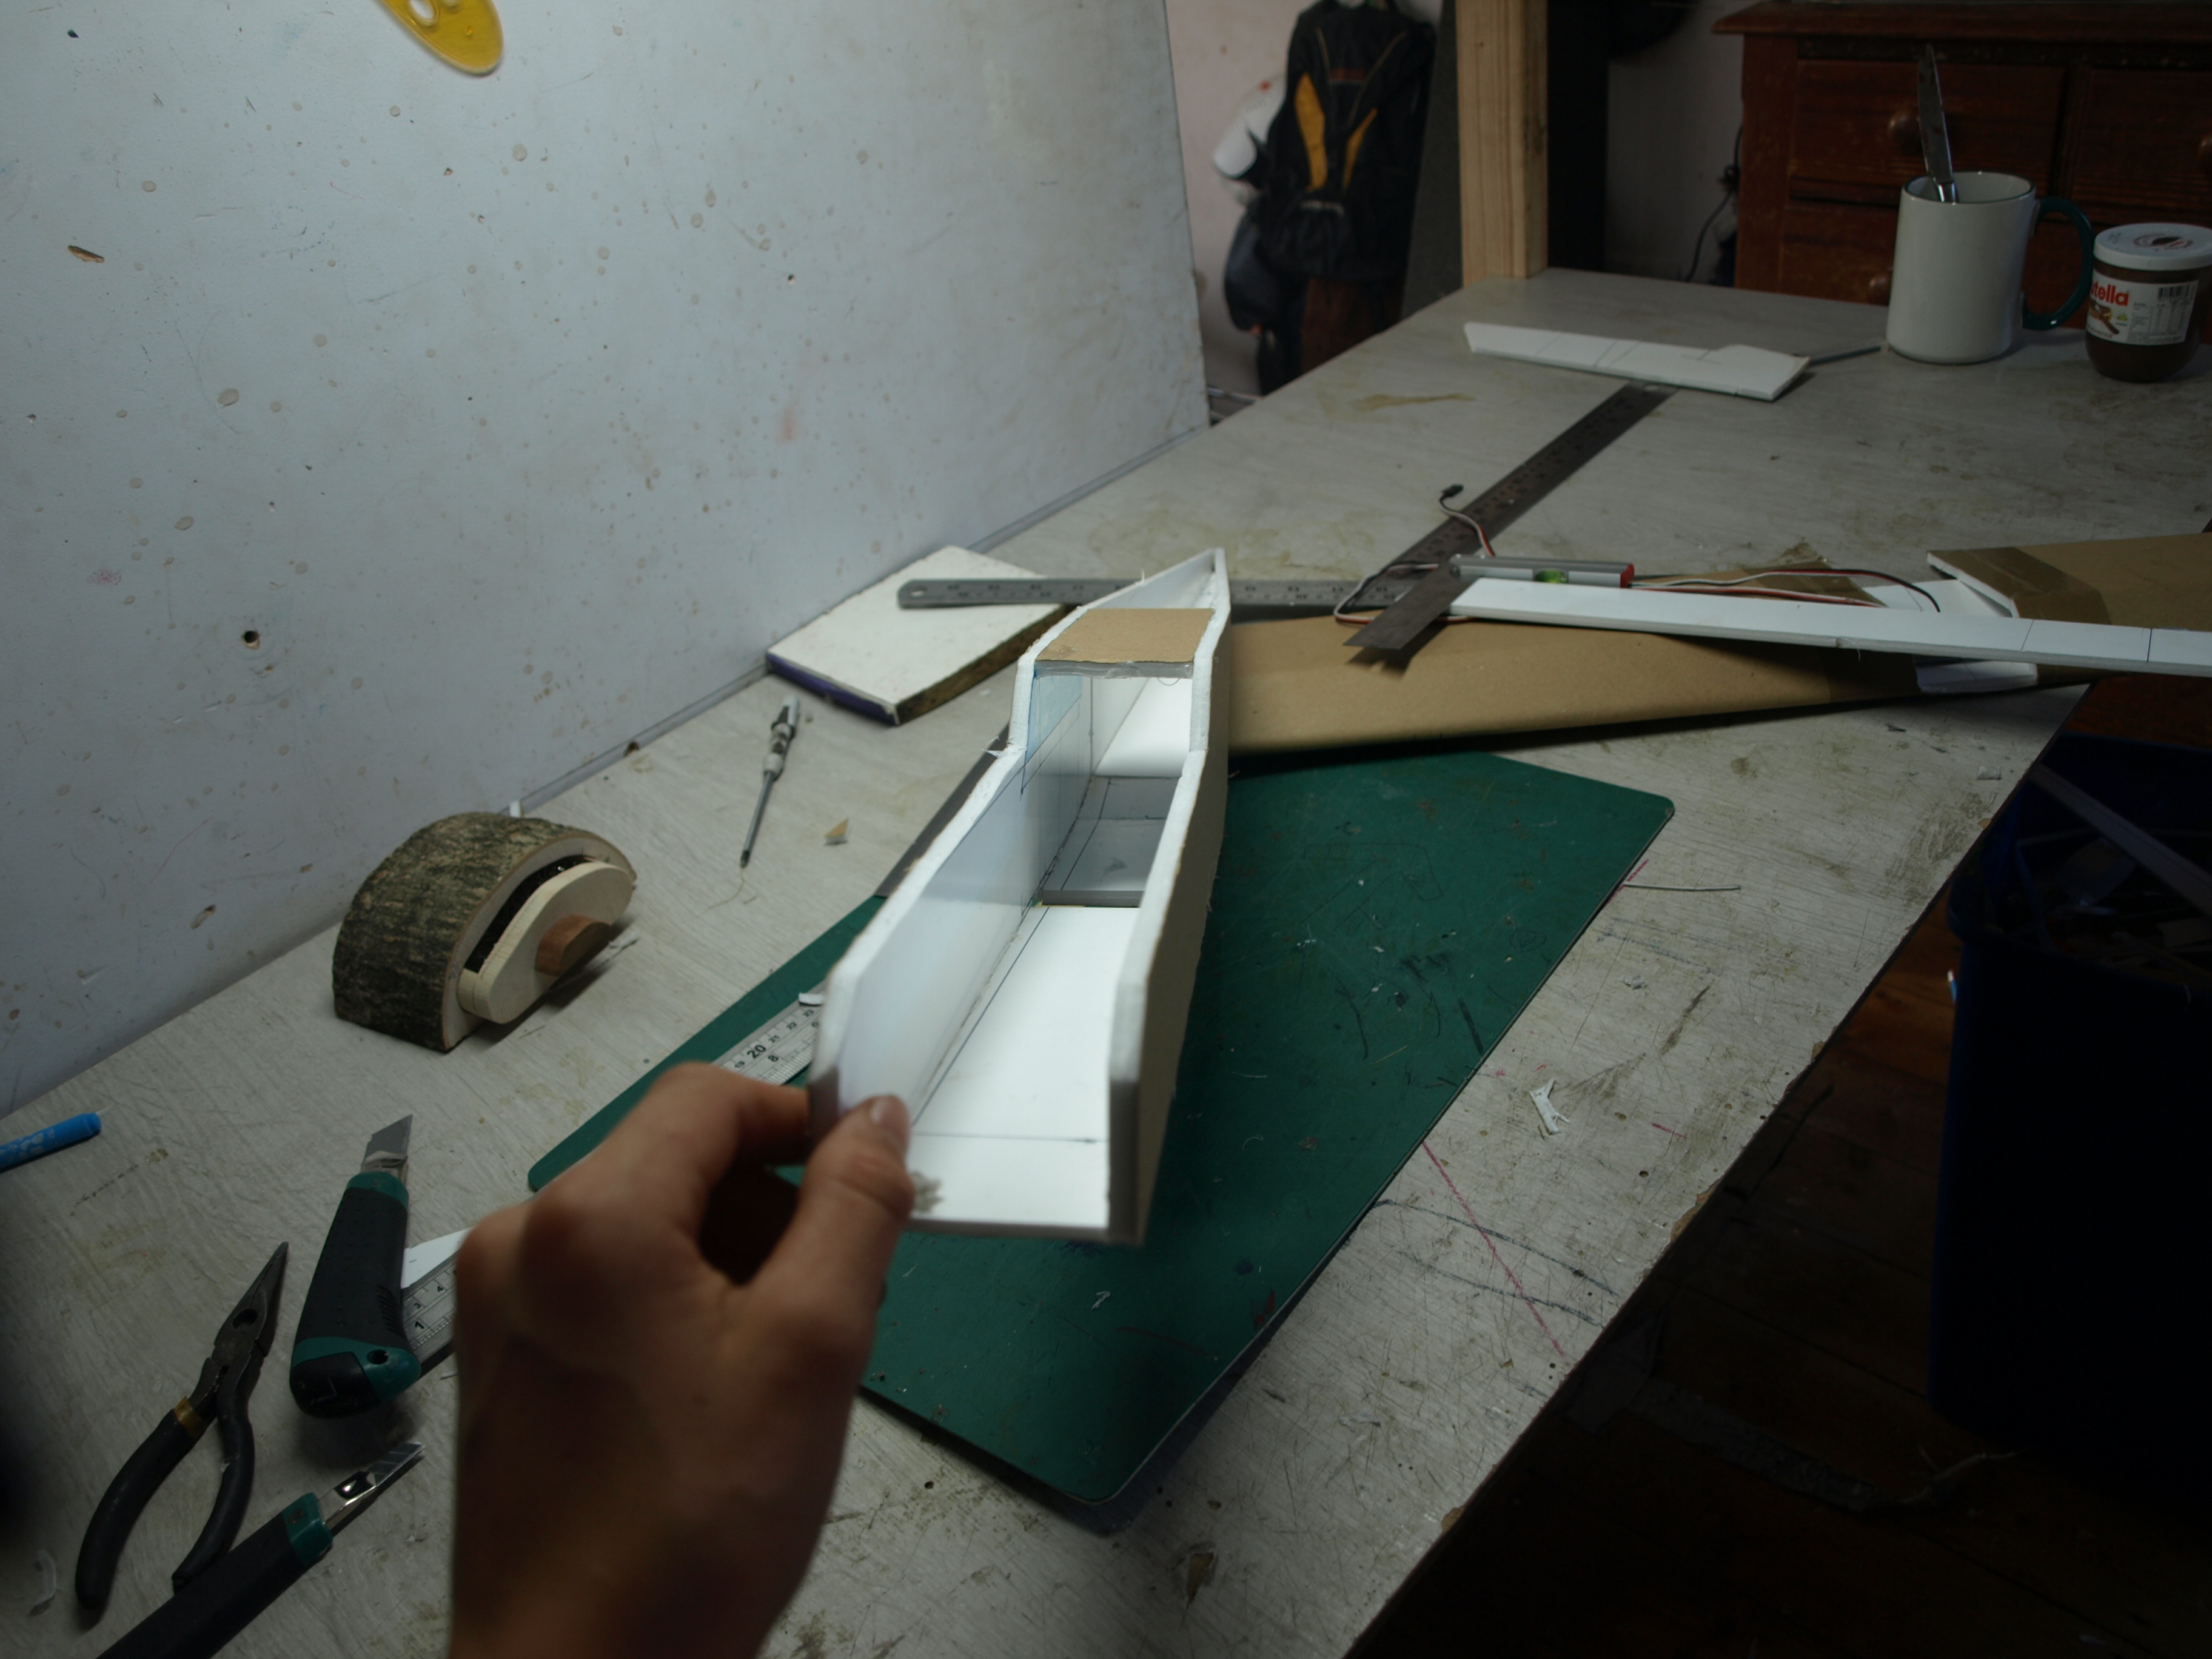
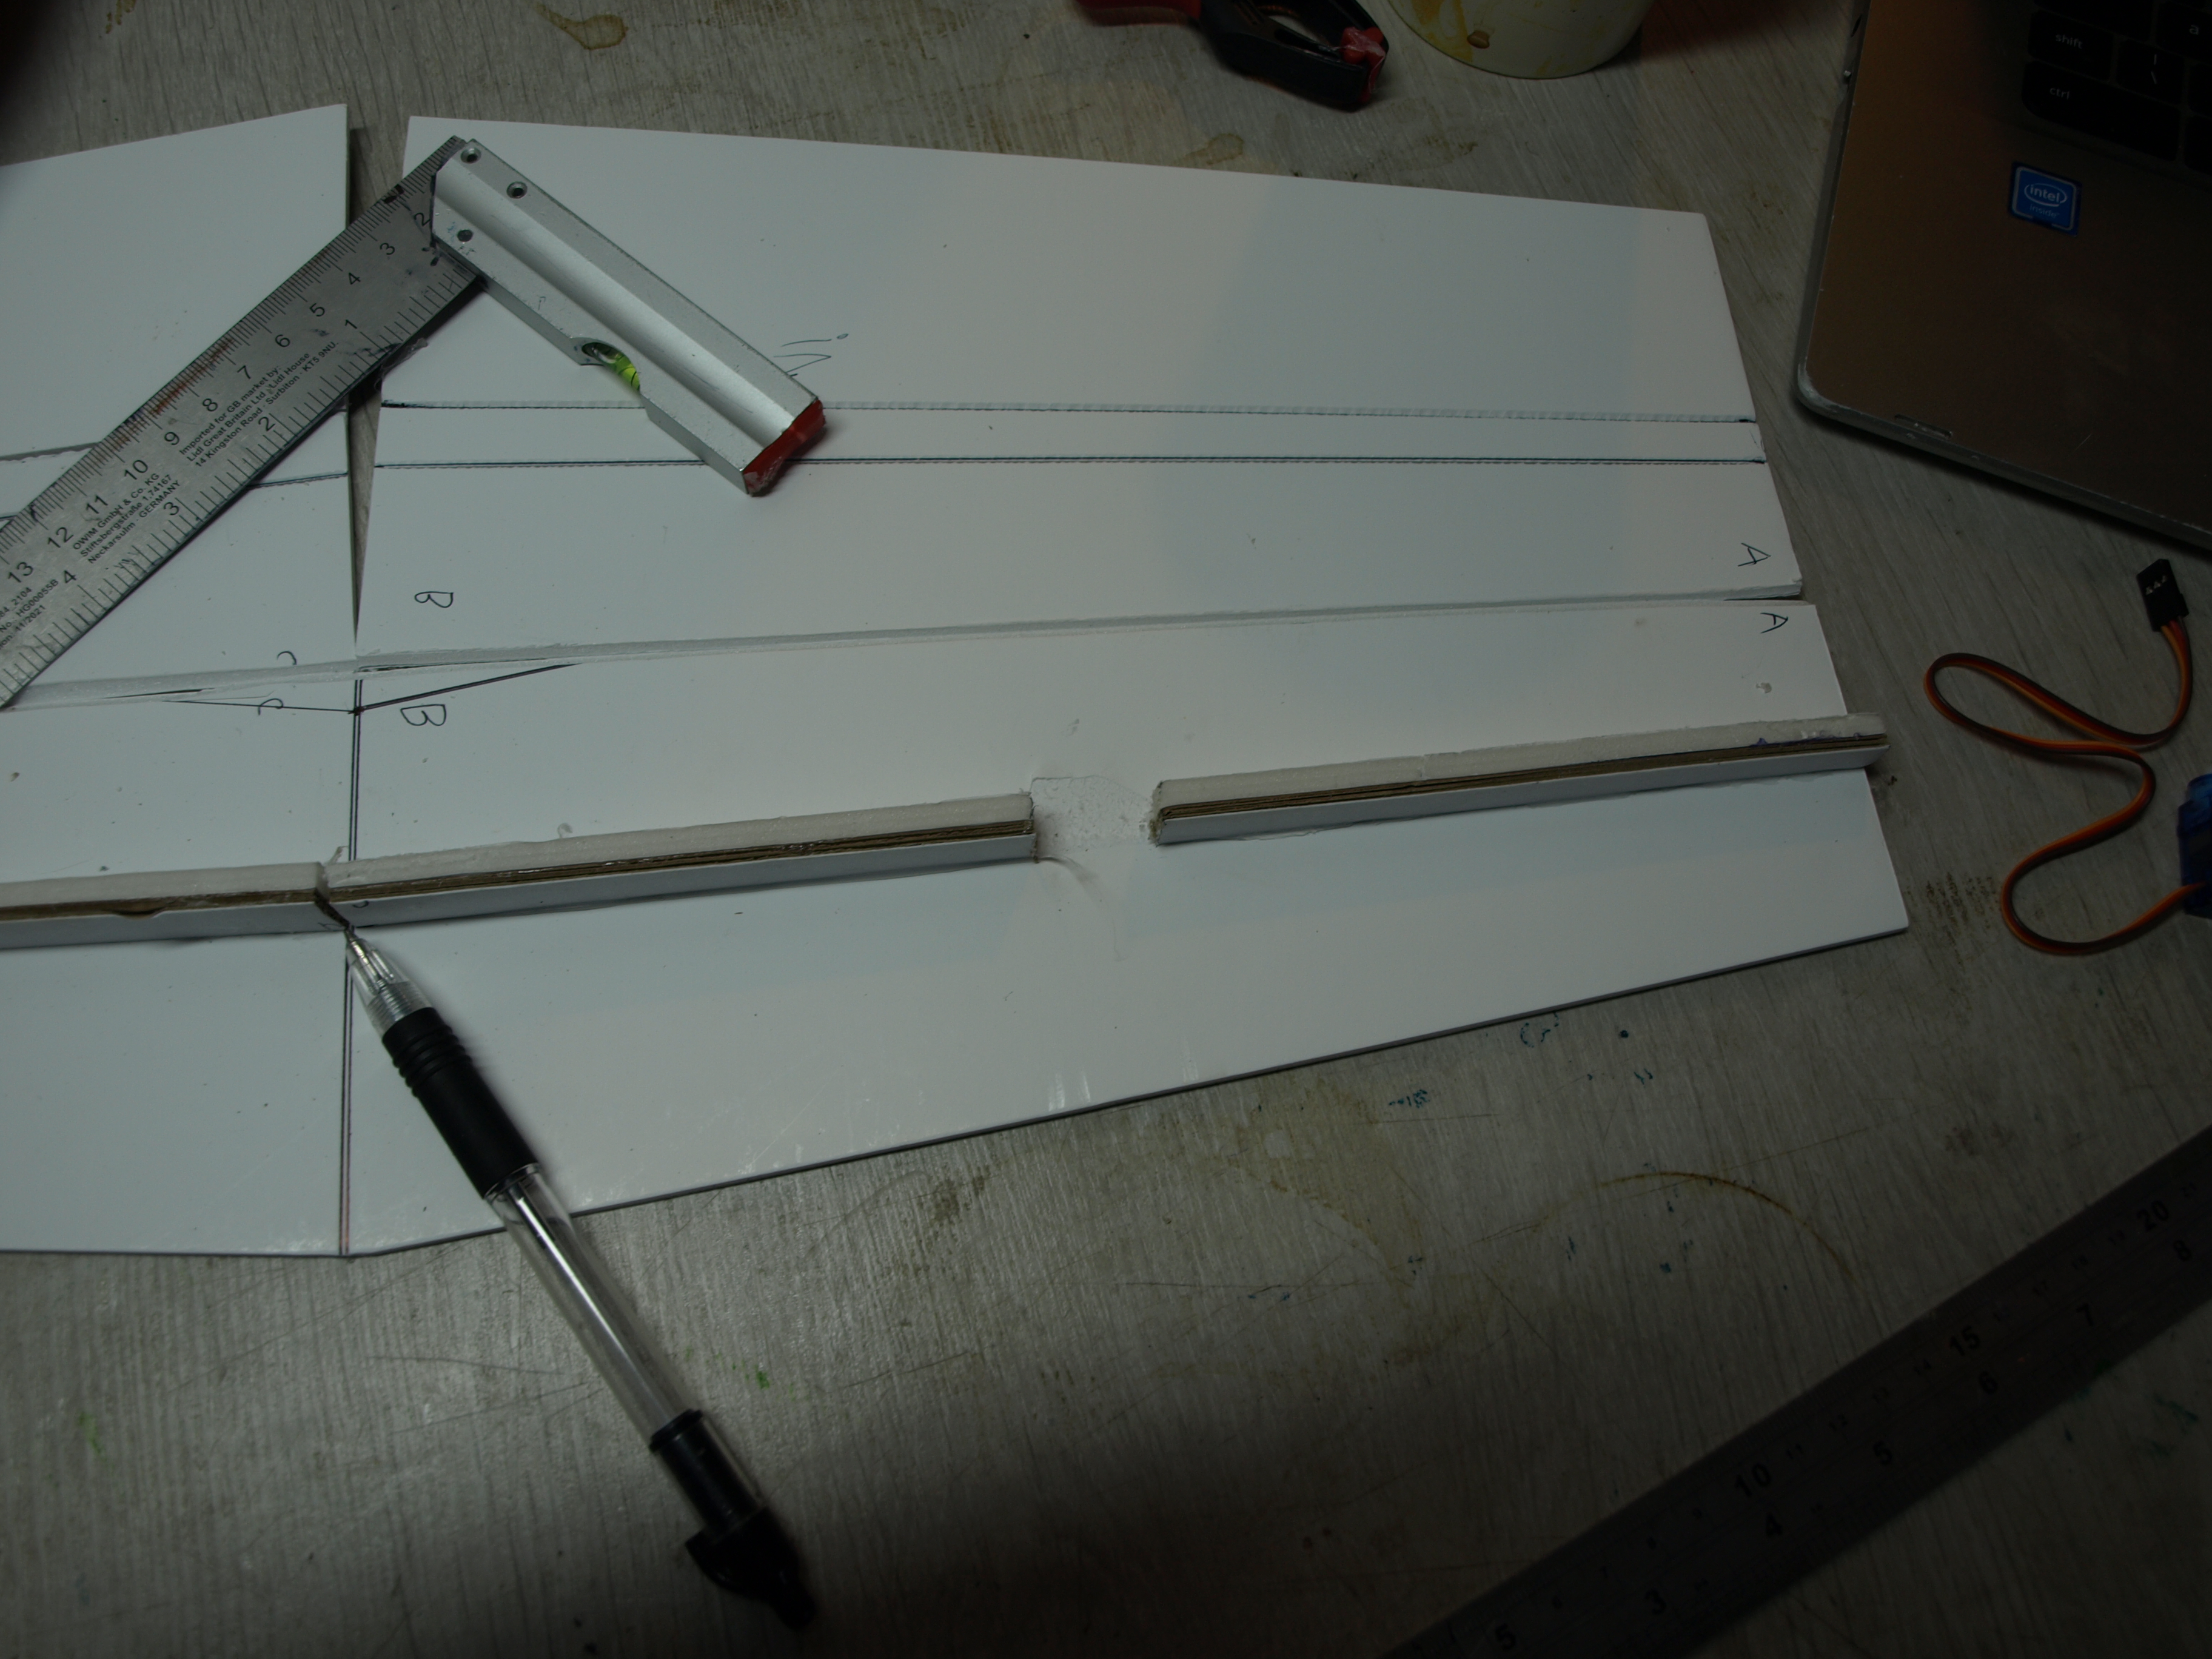
So now I started to build up the fuselage by just sketching on the foam as I did with the wing,
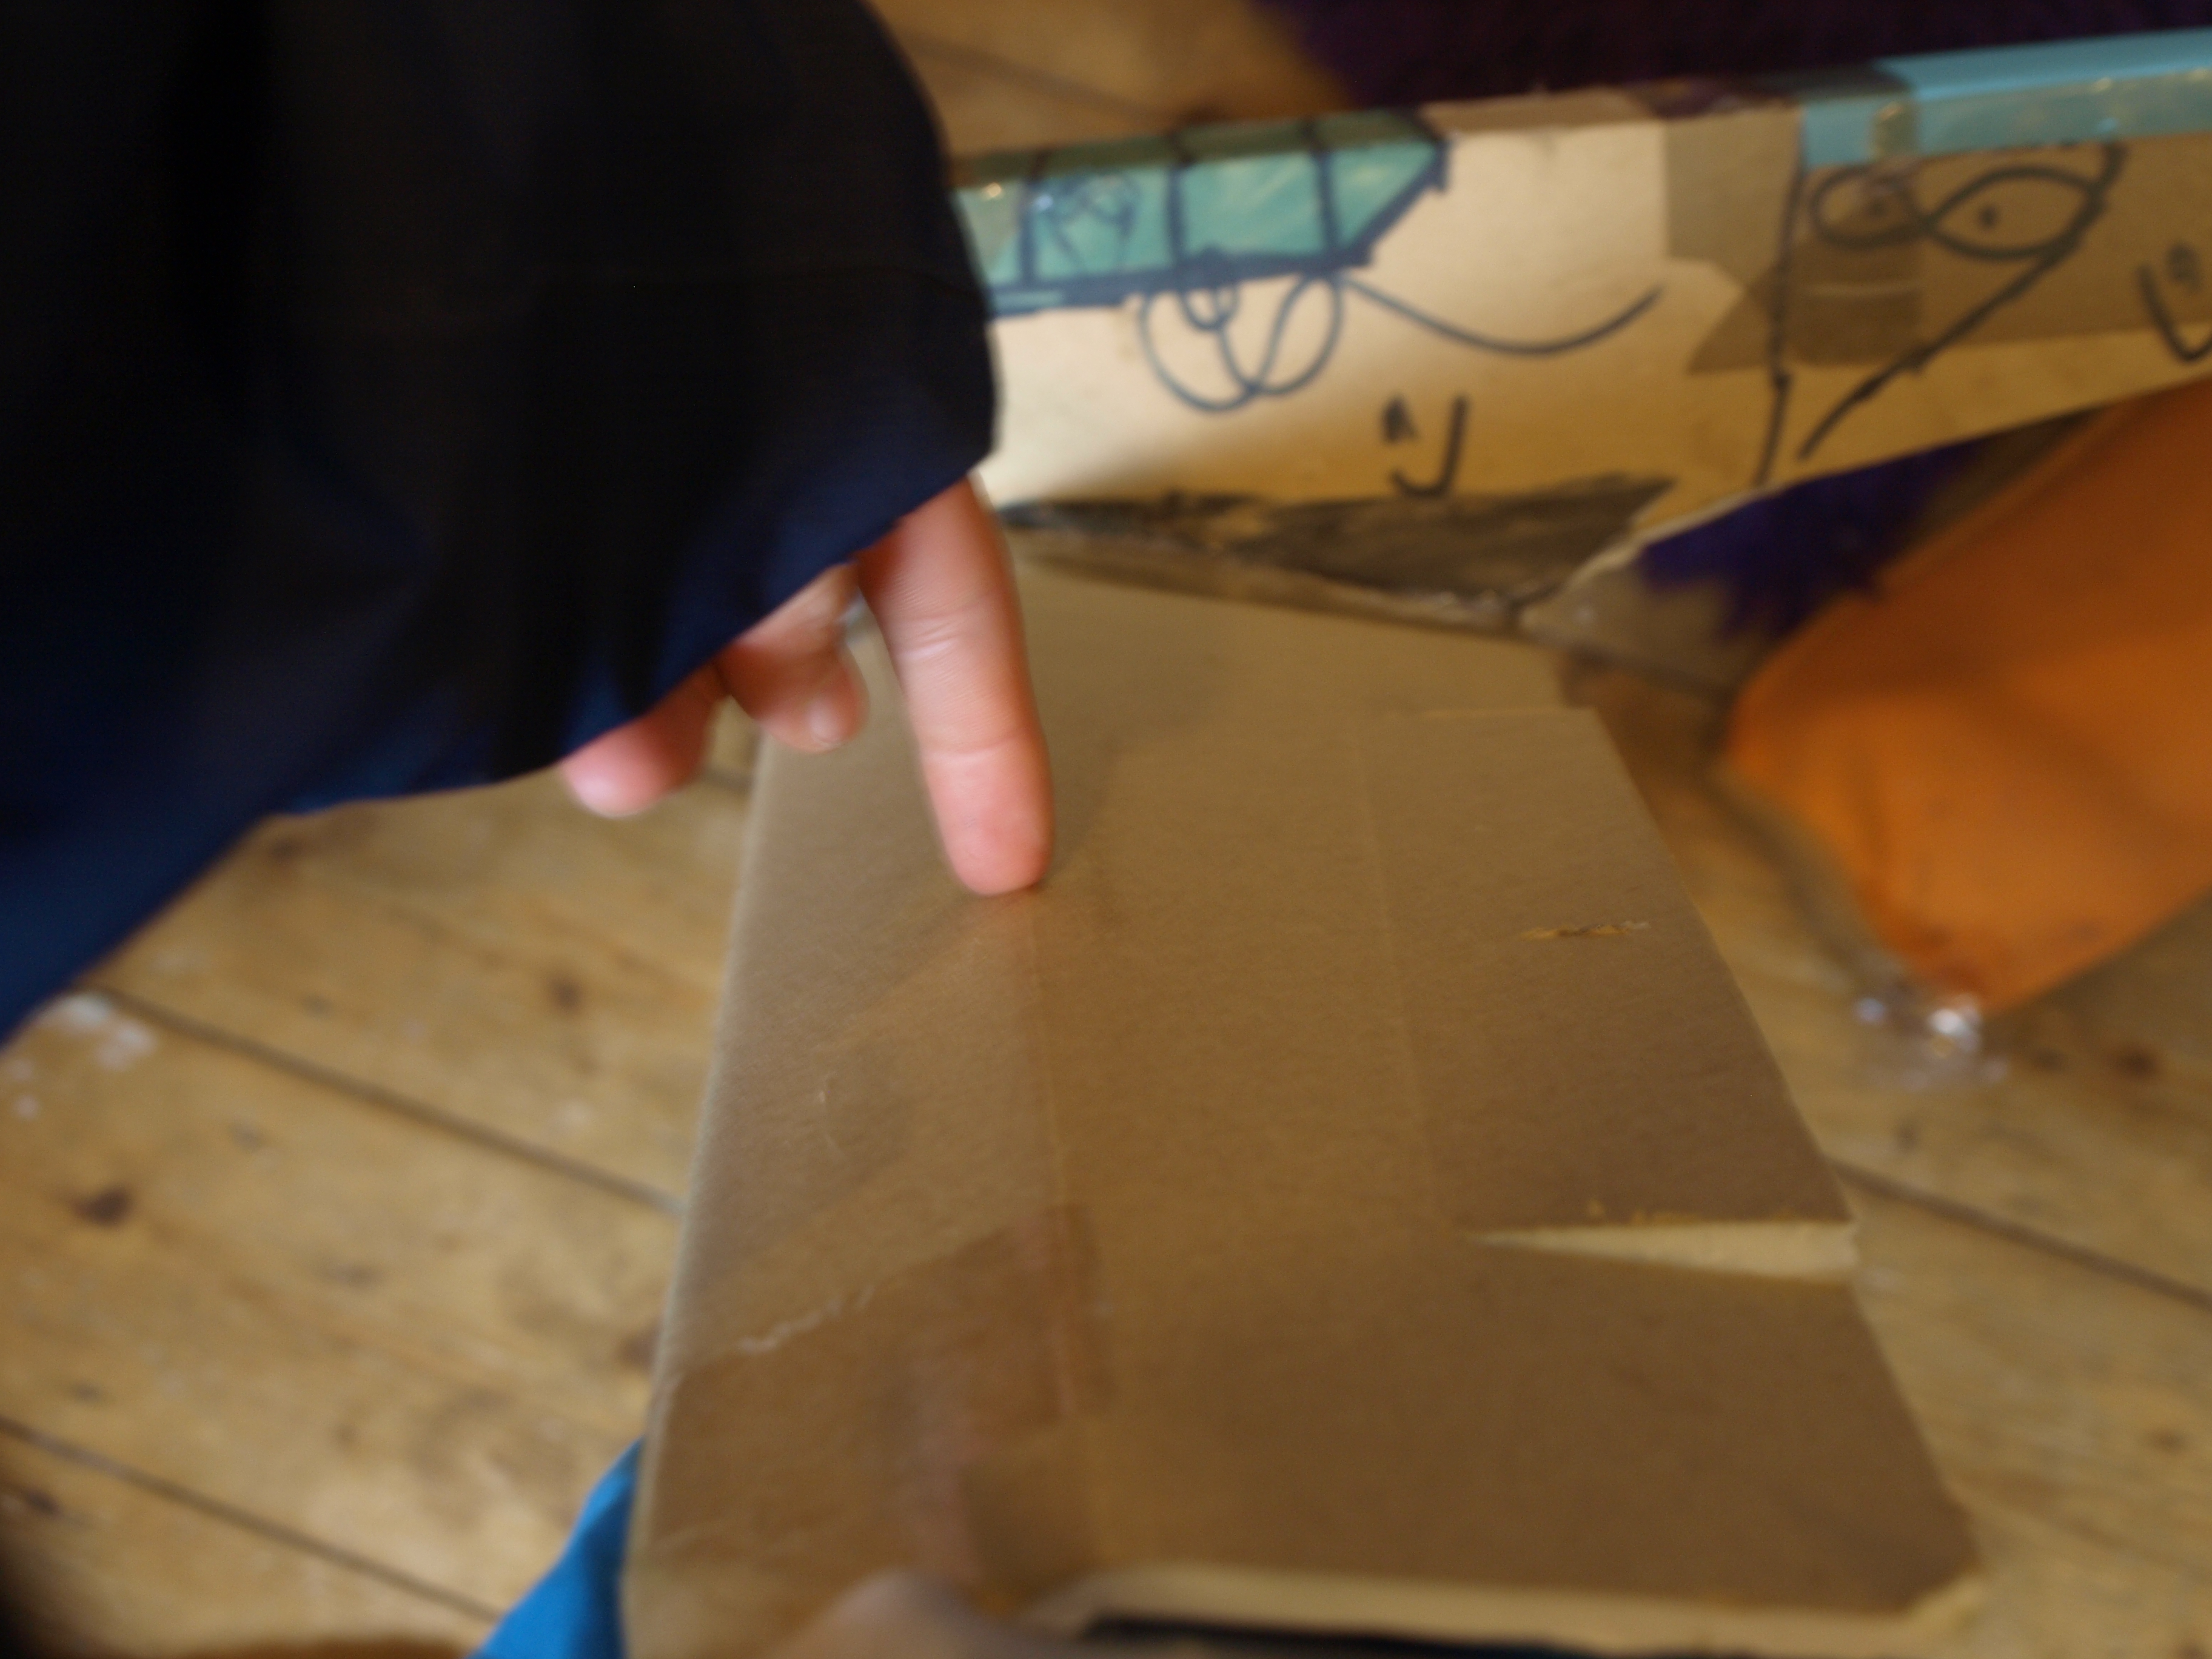
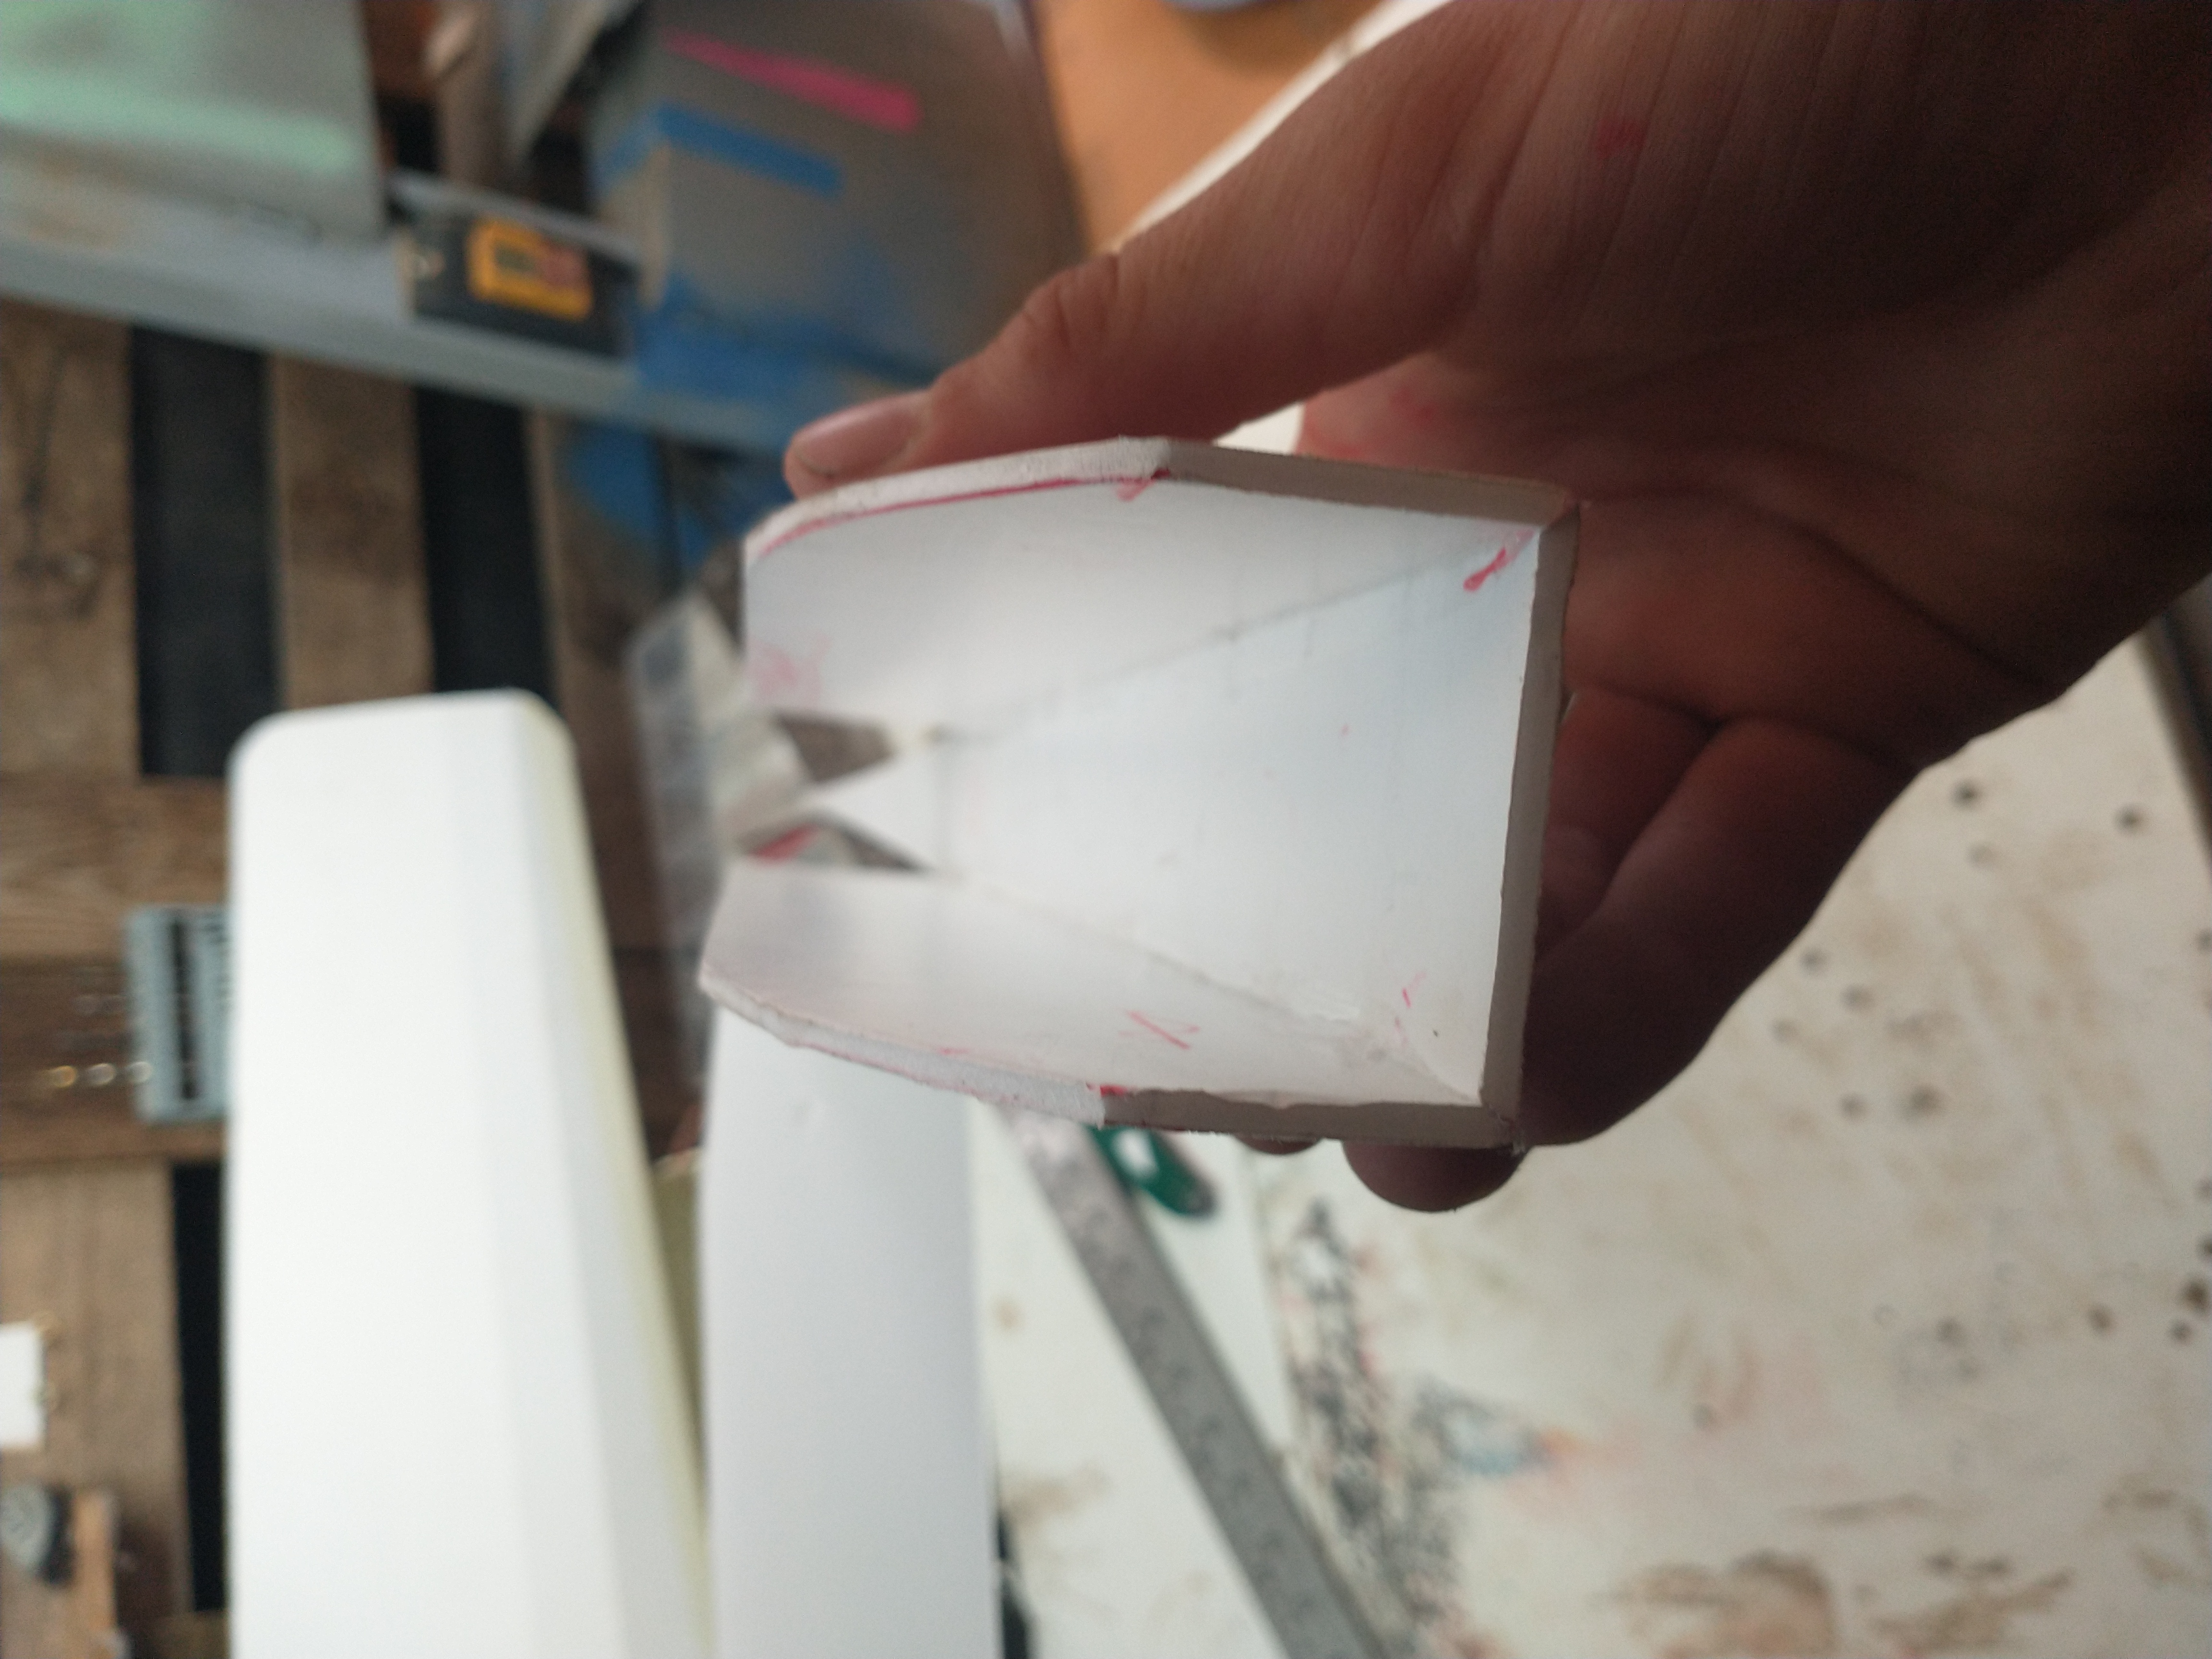
After choosing how wide the fuselage was going to be, in this case, 6cm, I cut that out of the wing.
Now I had one fuselage side that I liked the shape of, so I duplicated it.
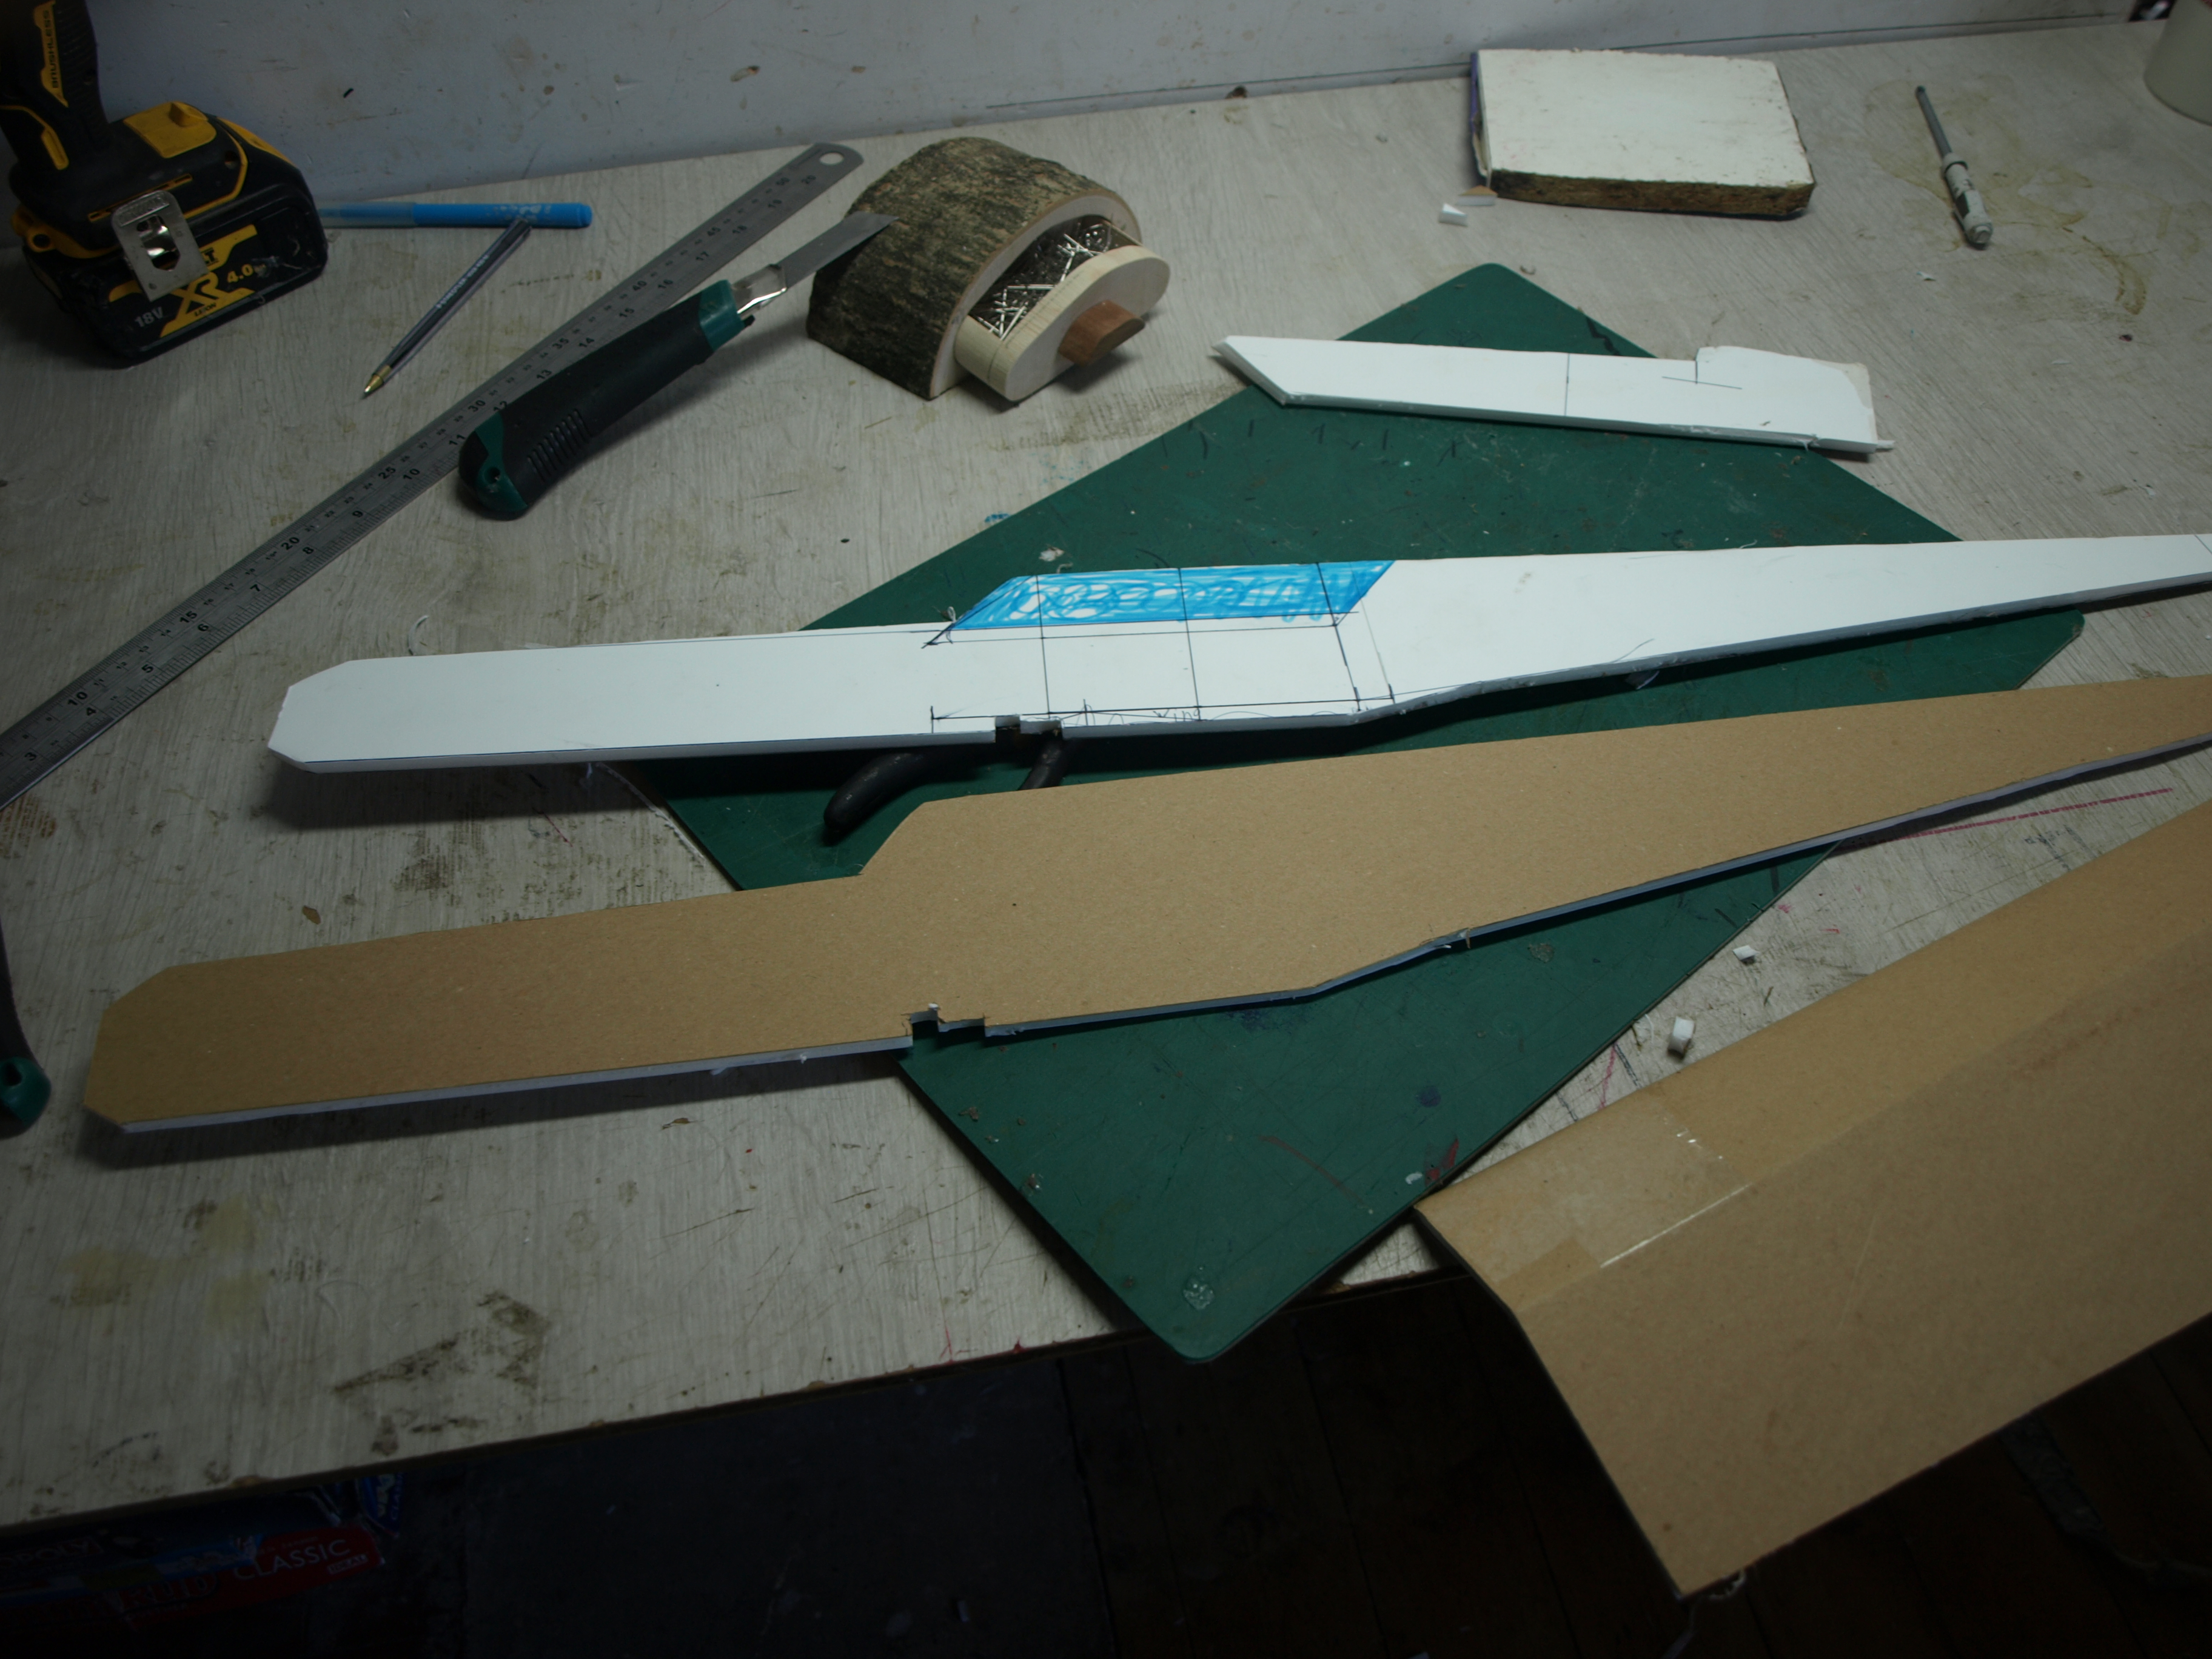
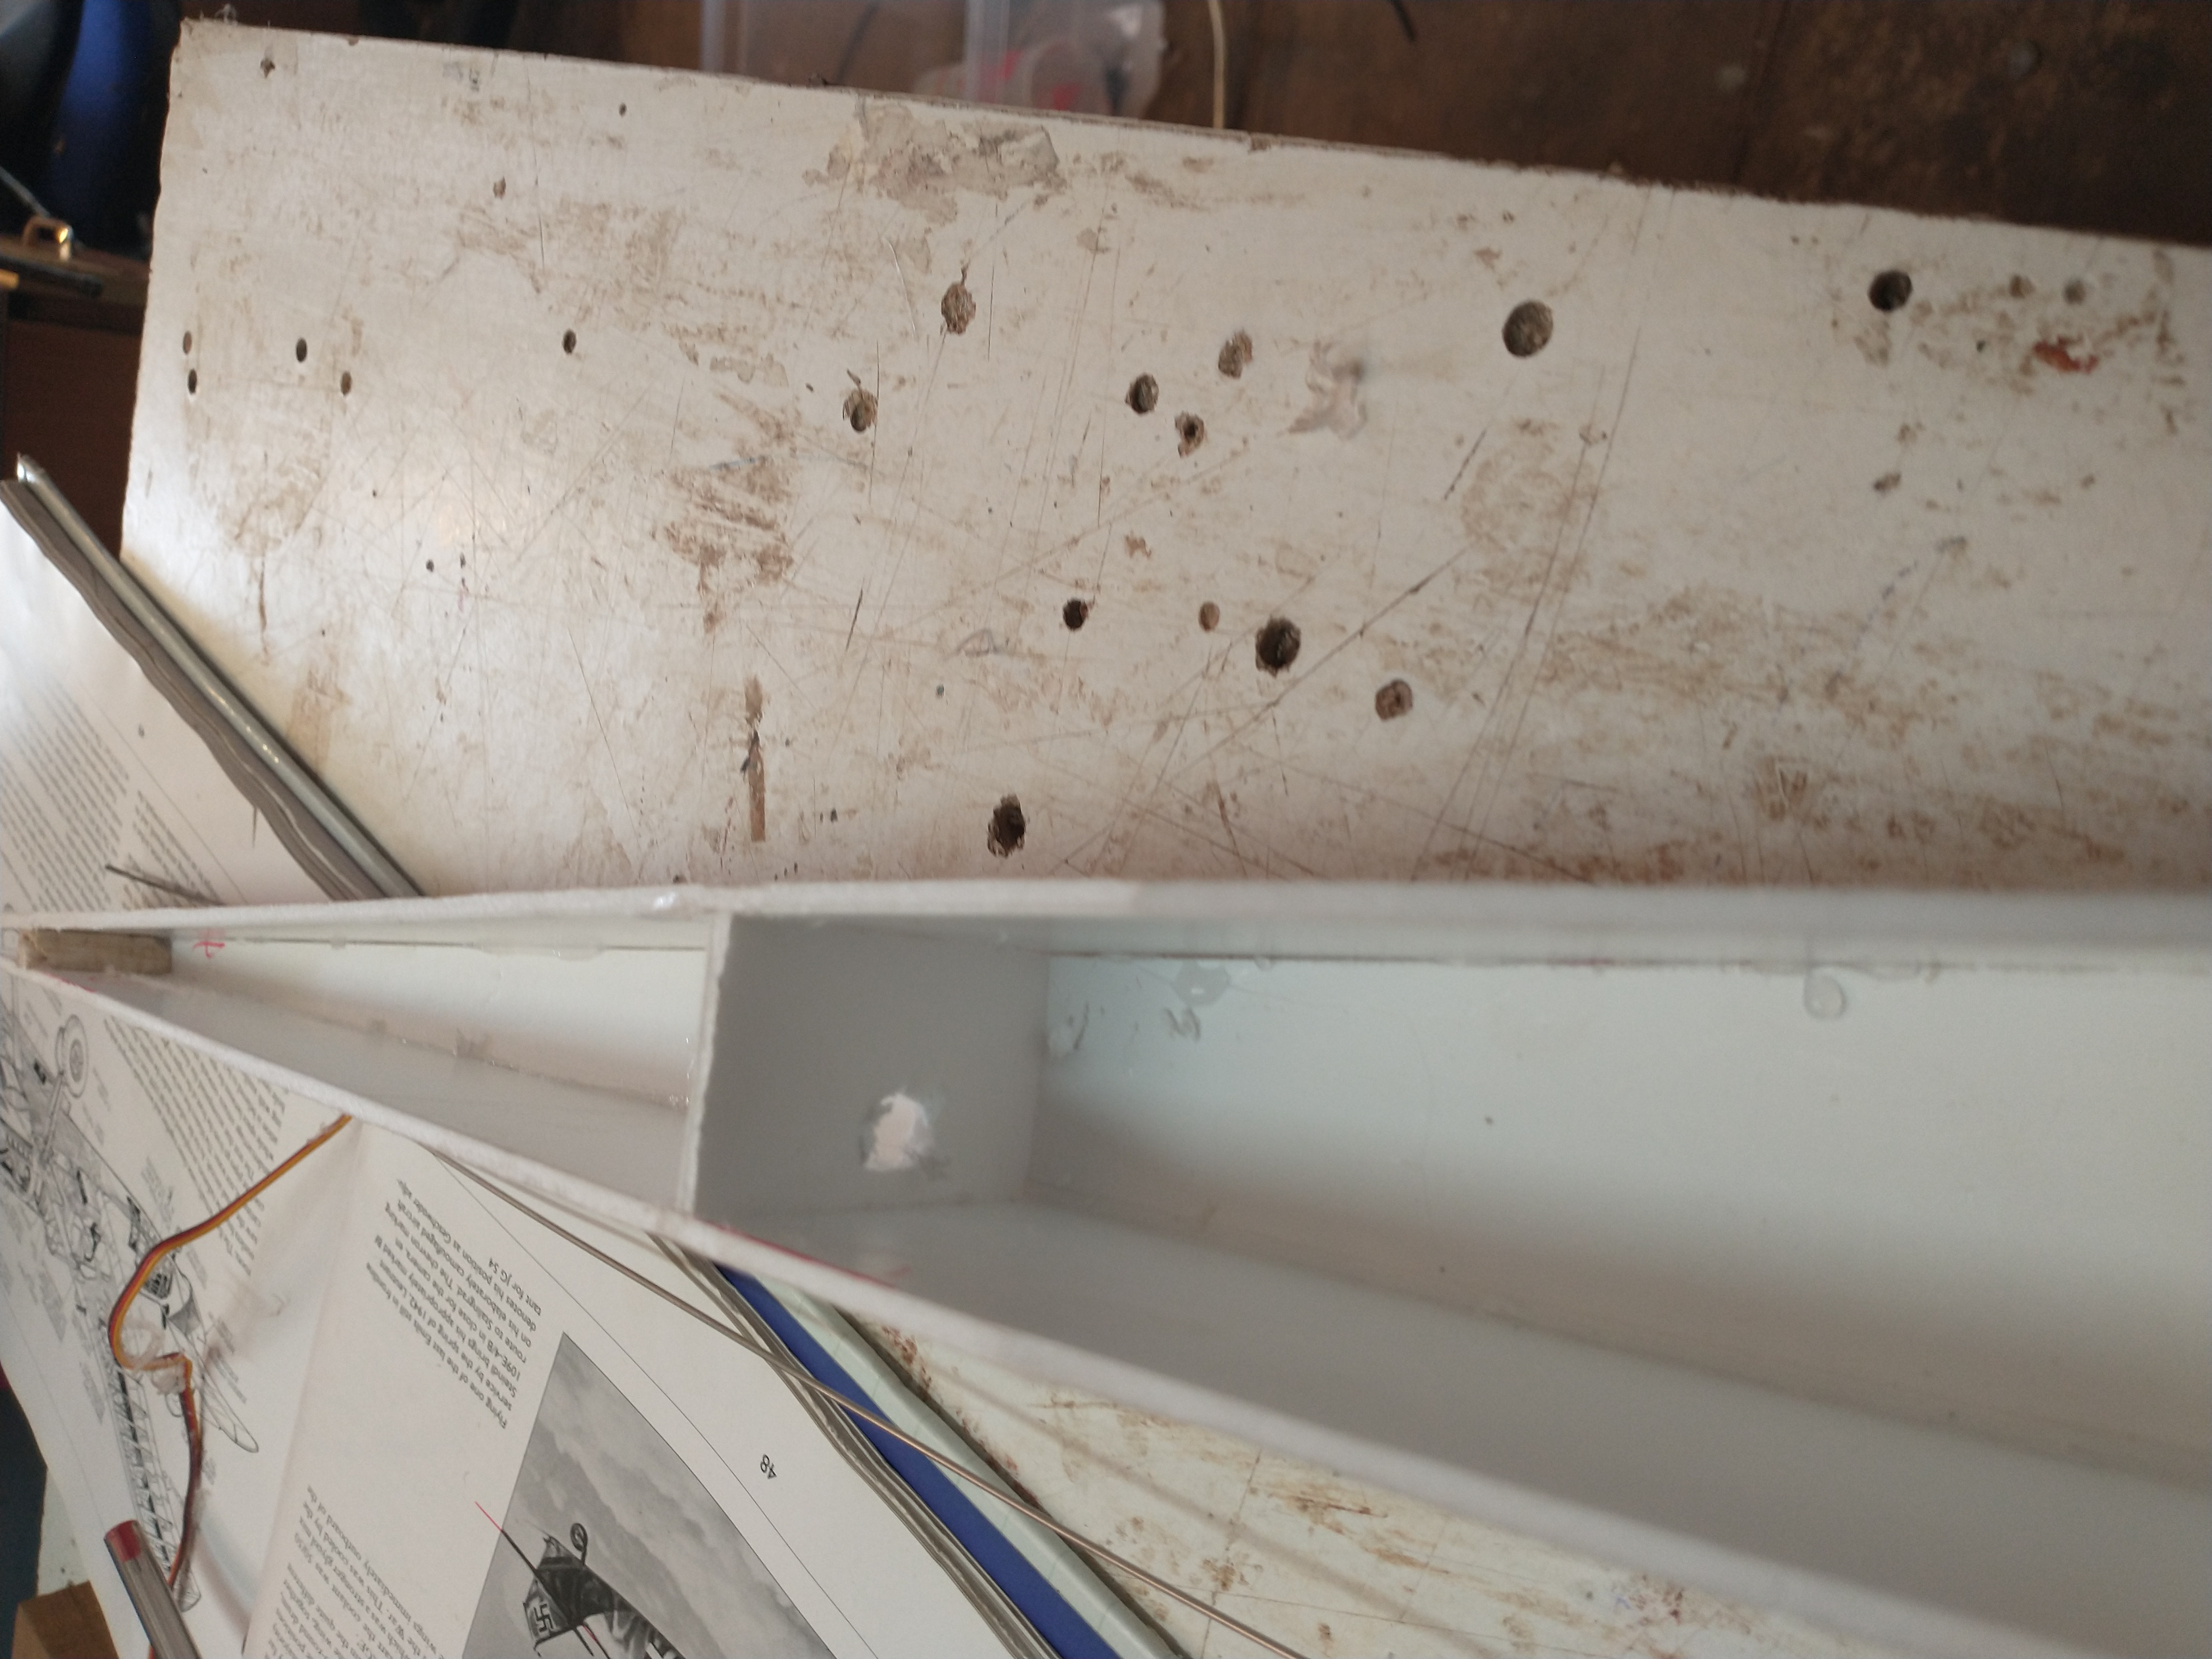
Then I could start gluing them together with foam board strips, 5cm wide, to accommodate the 5mm foam that the fuselage walls are made of.
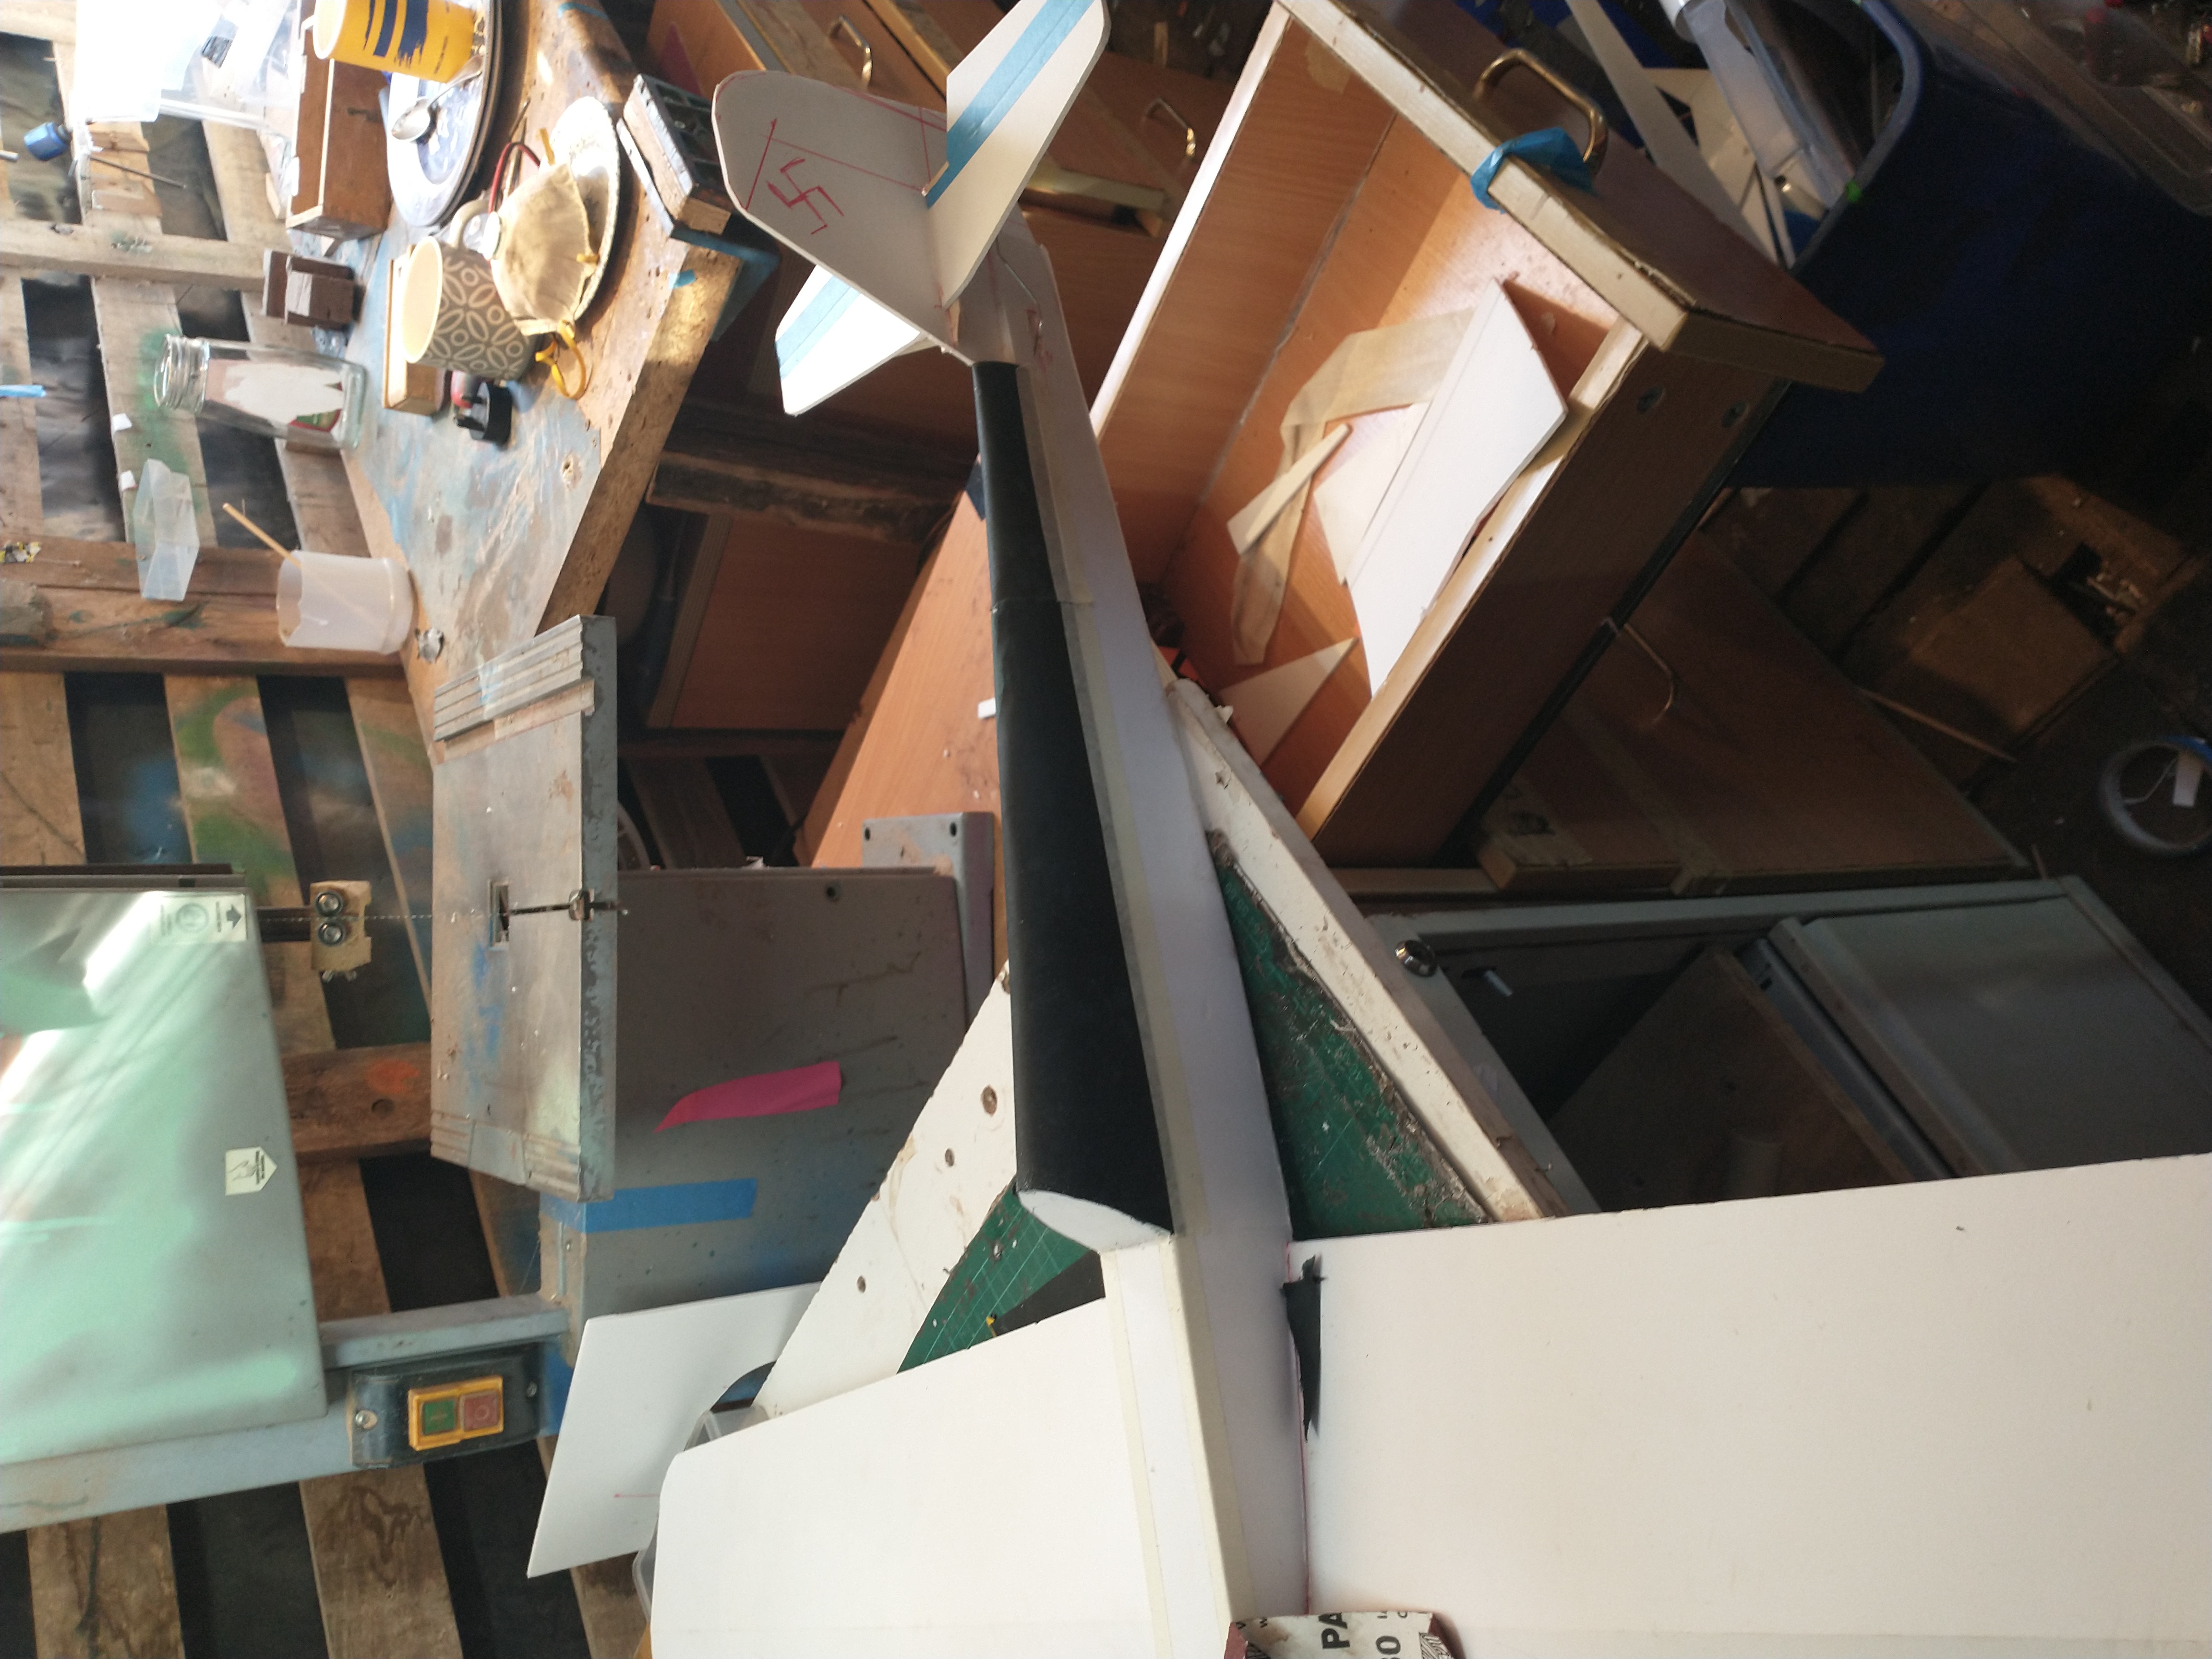
As you can see, the fuselage is coming together well!!!
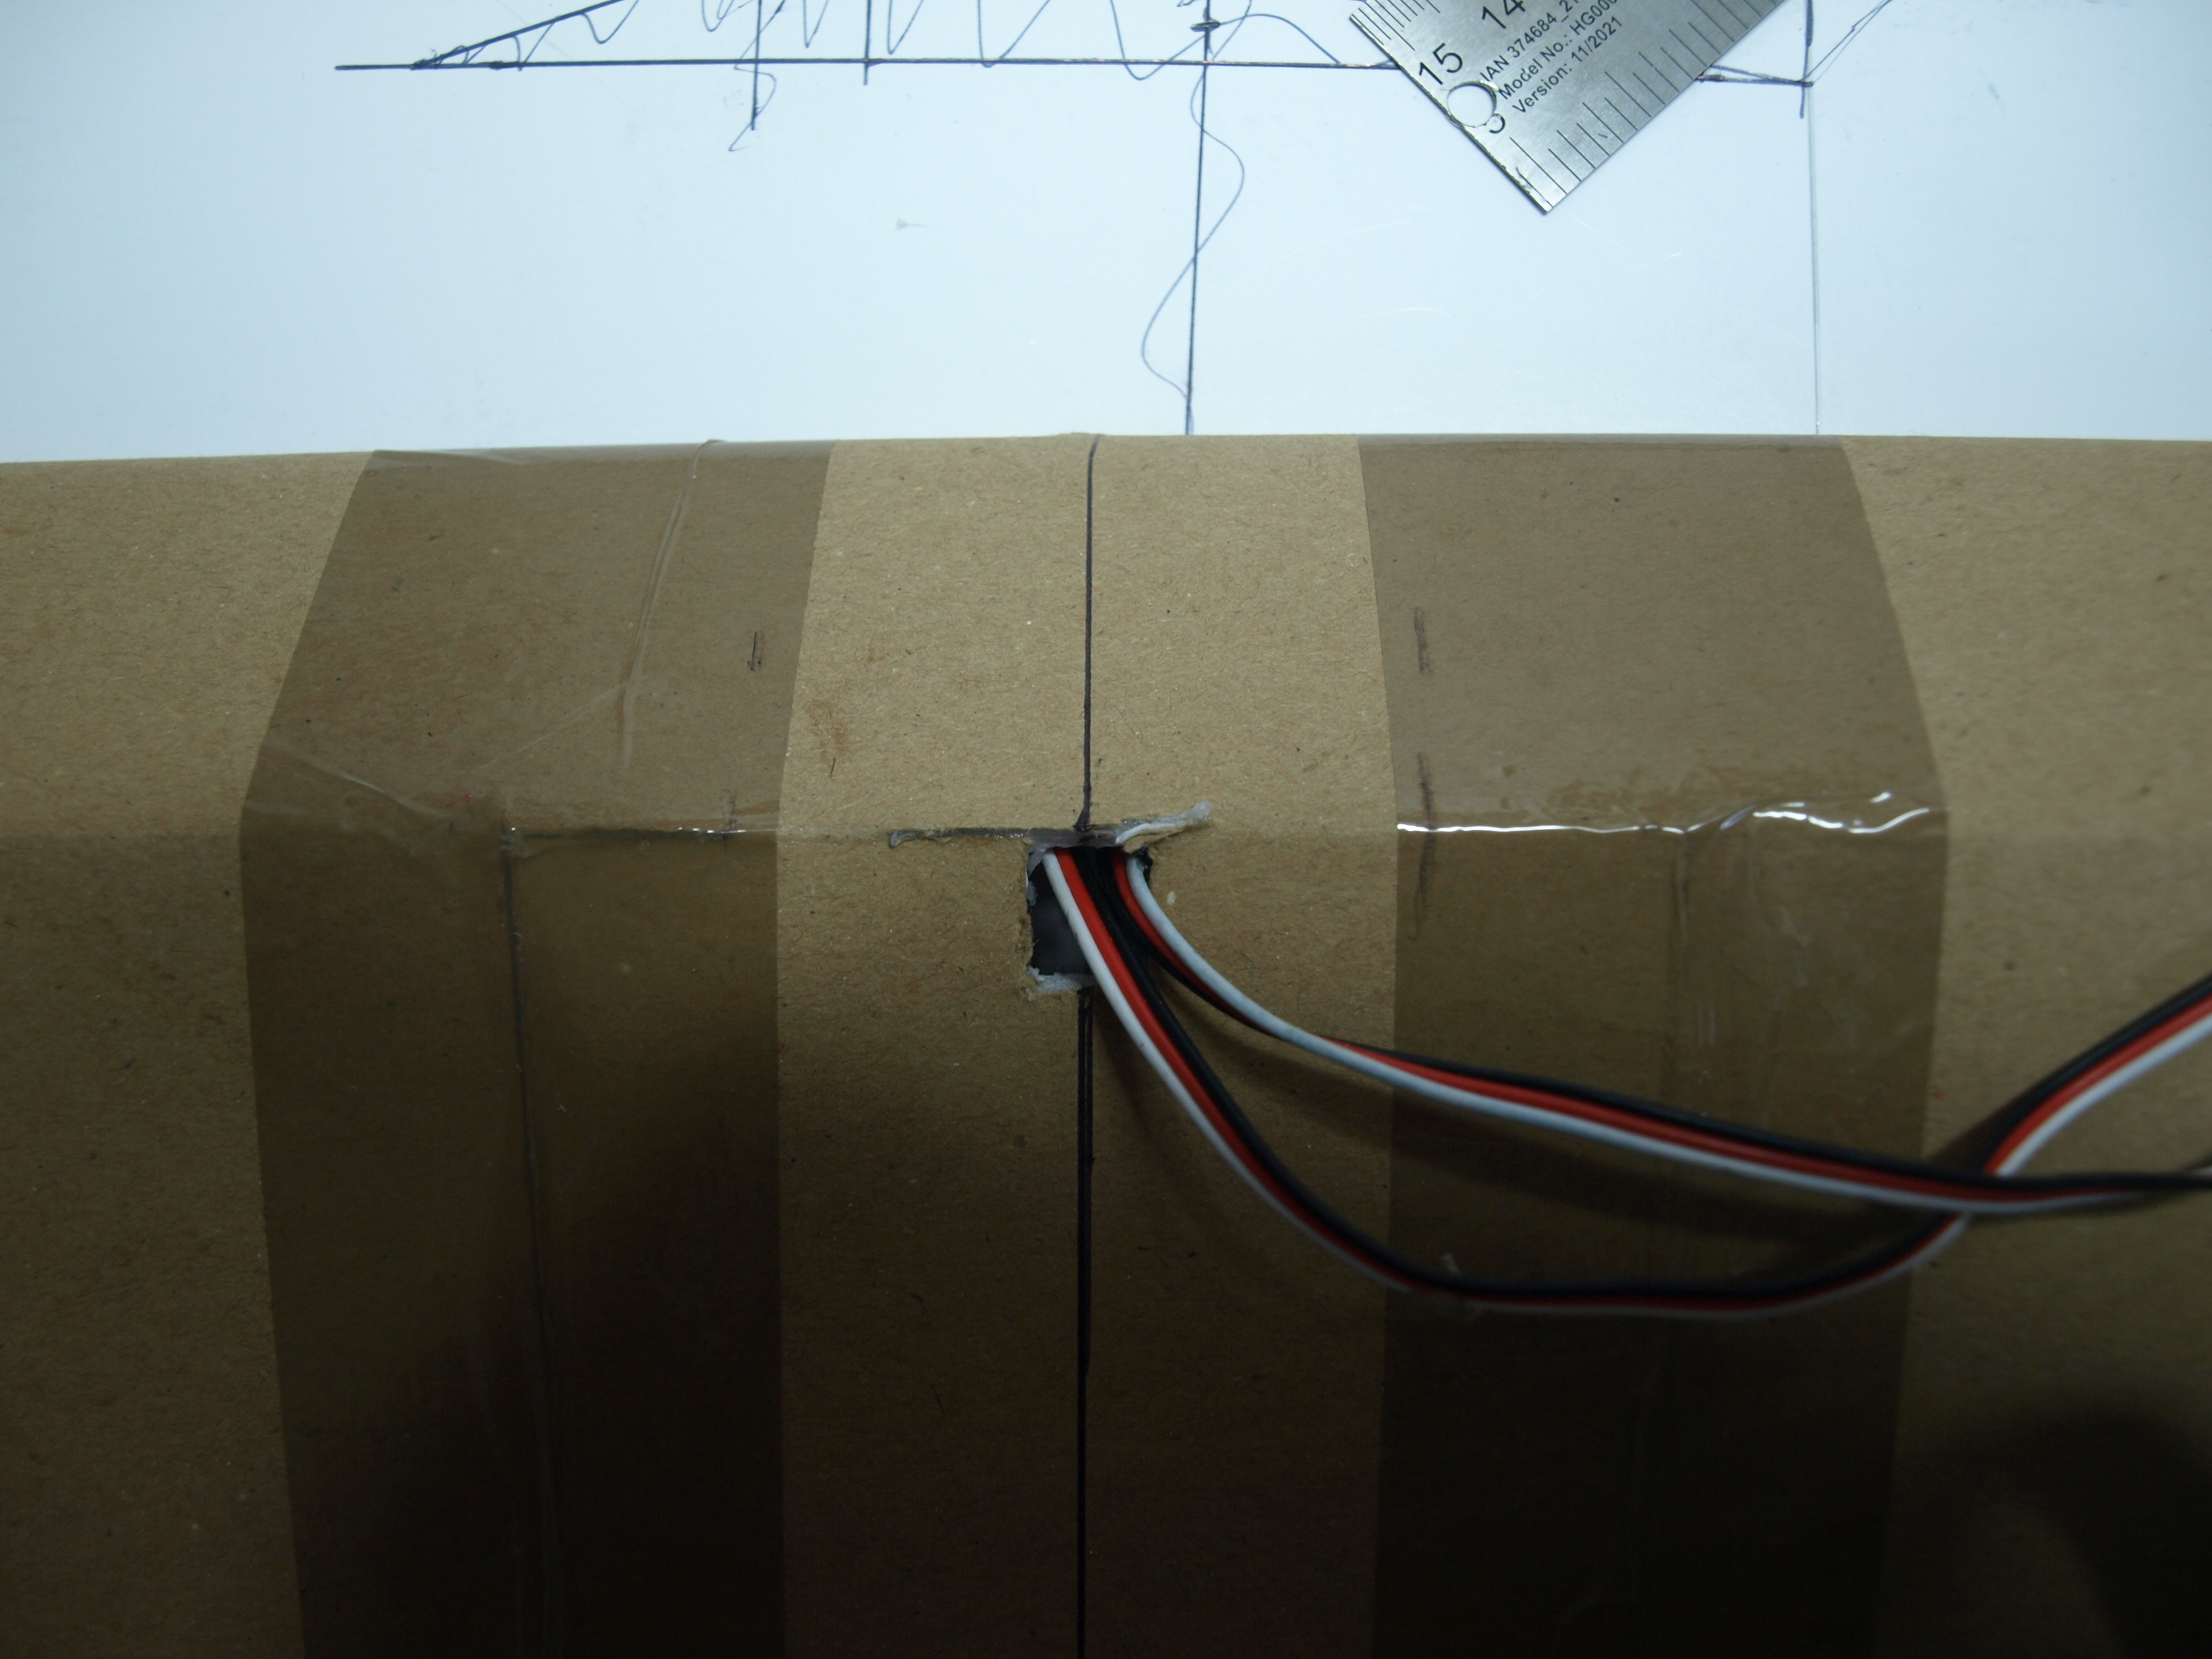
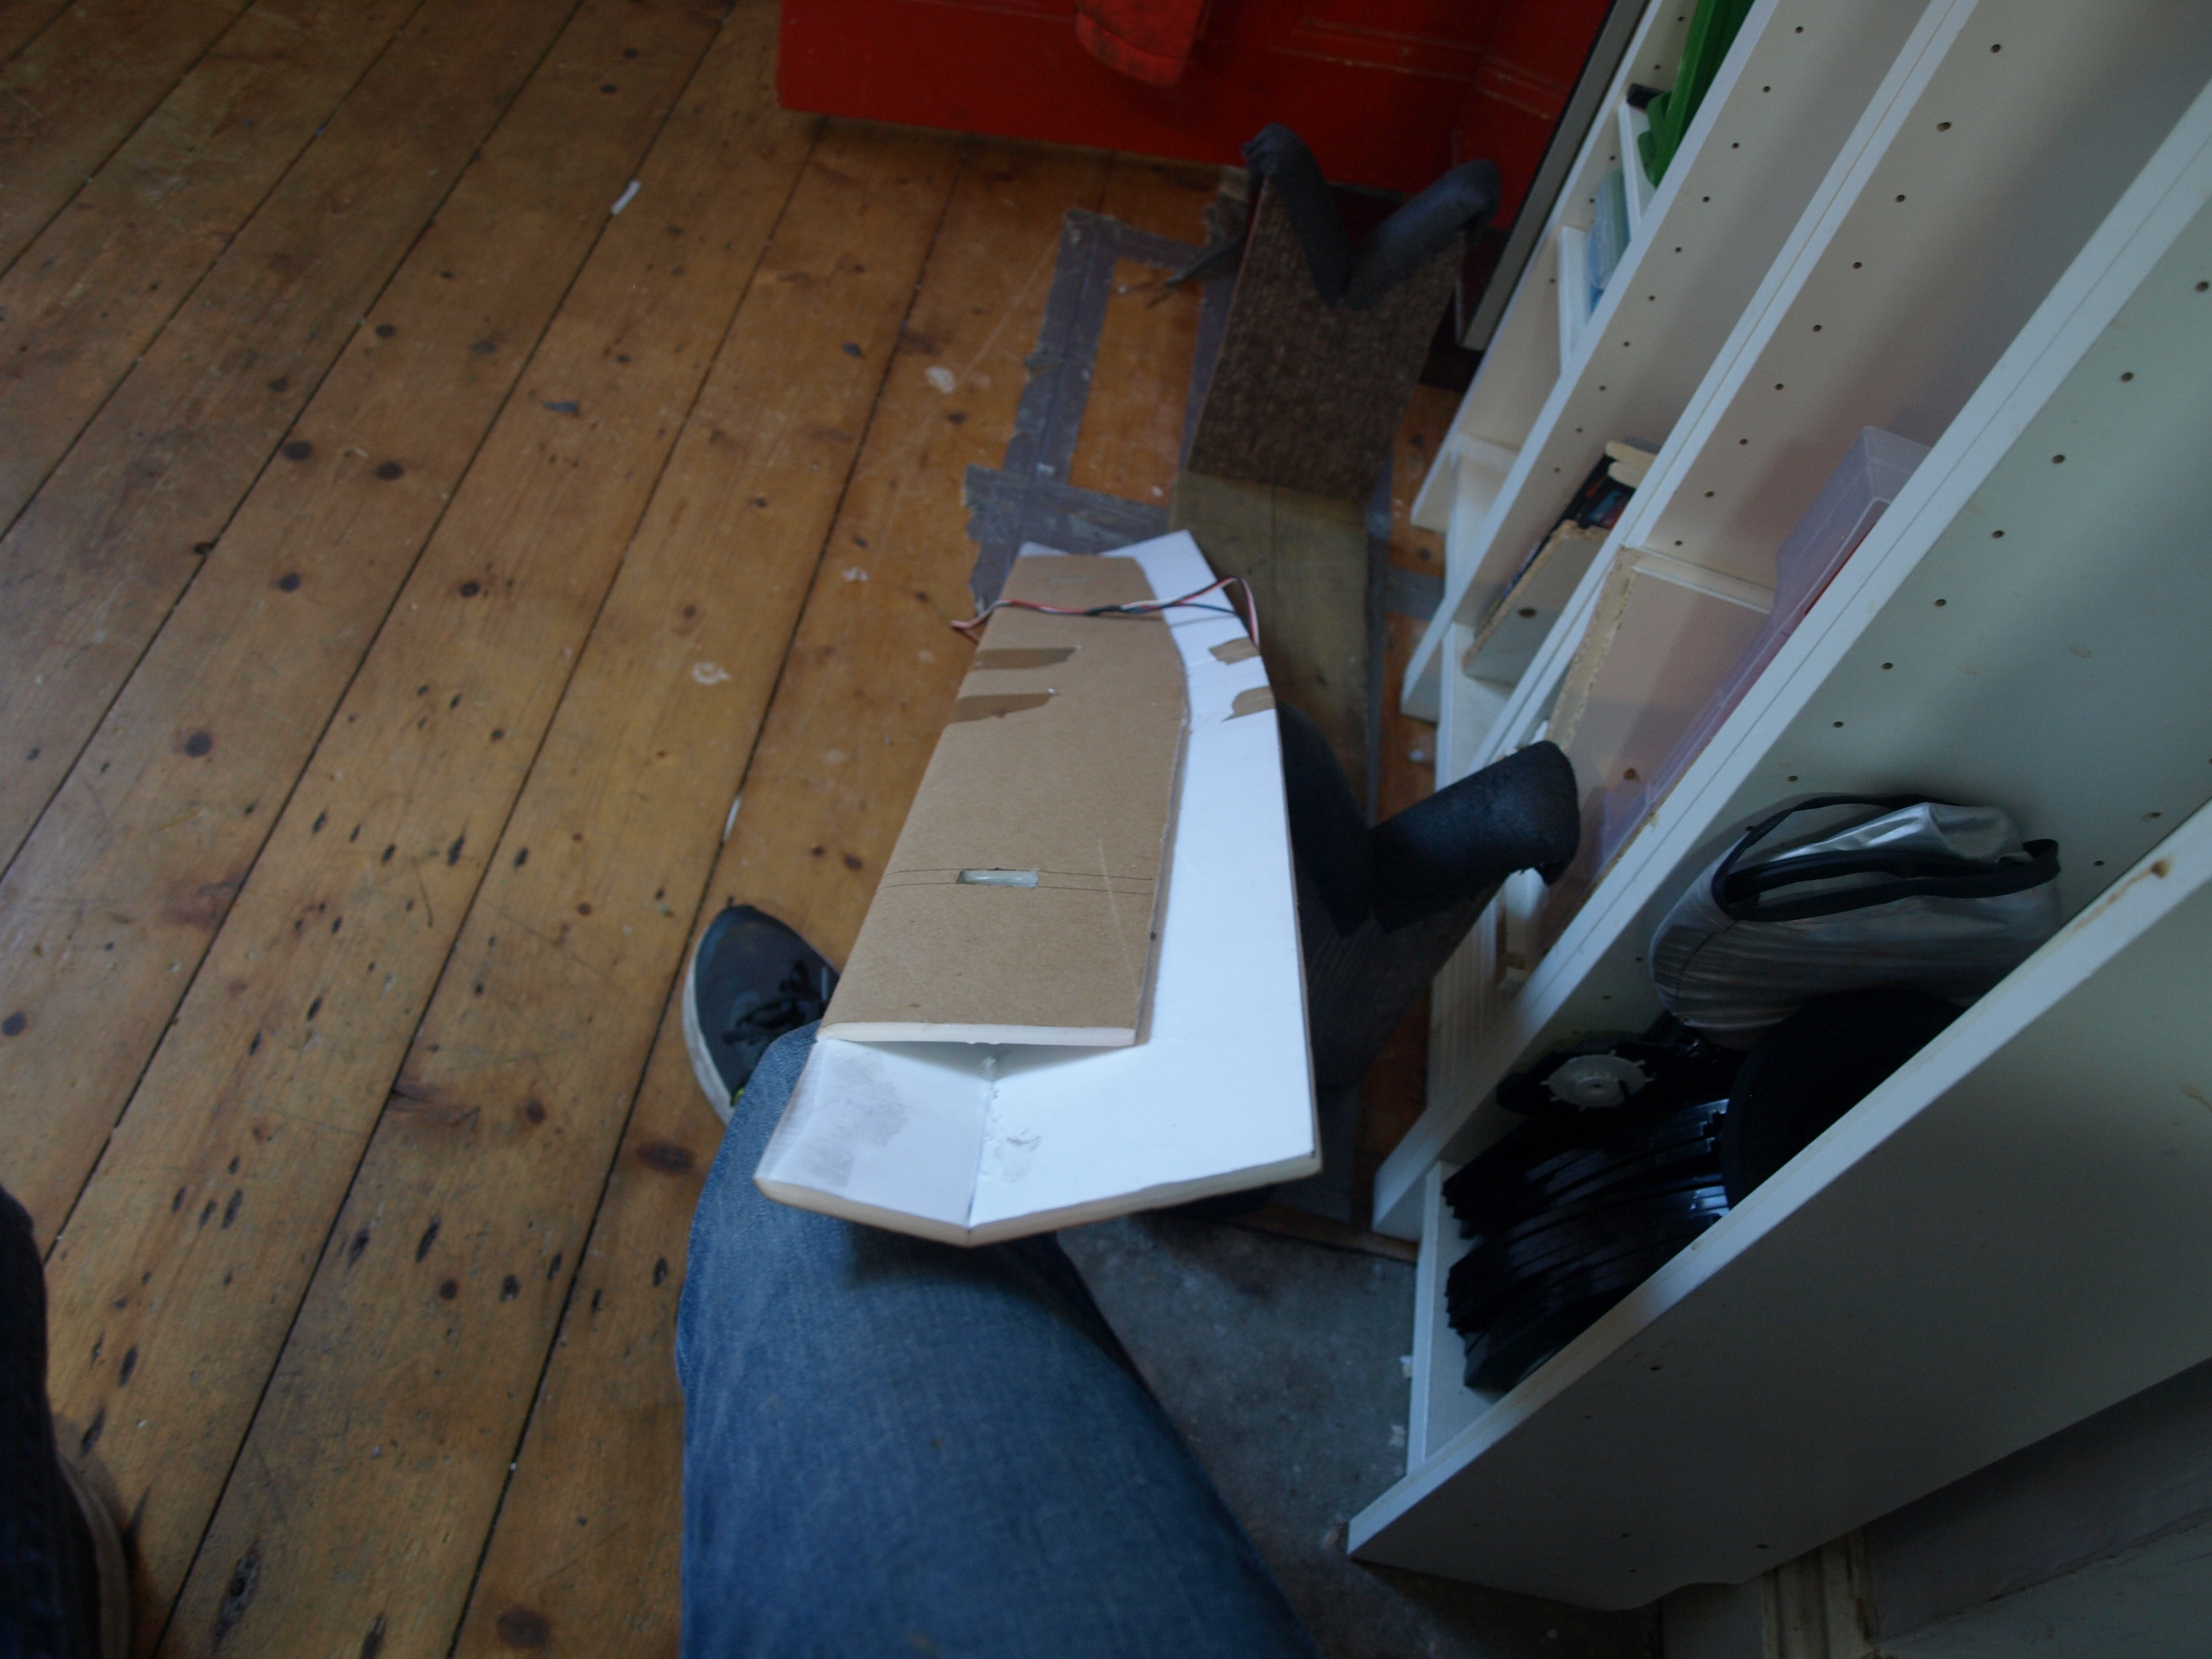
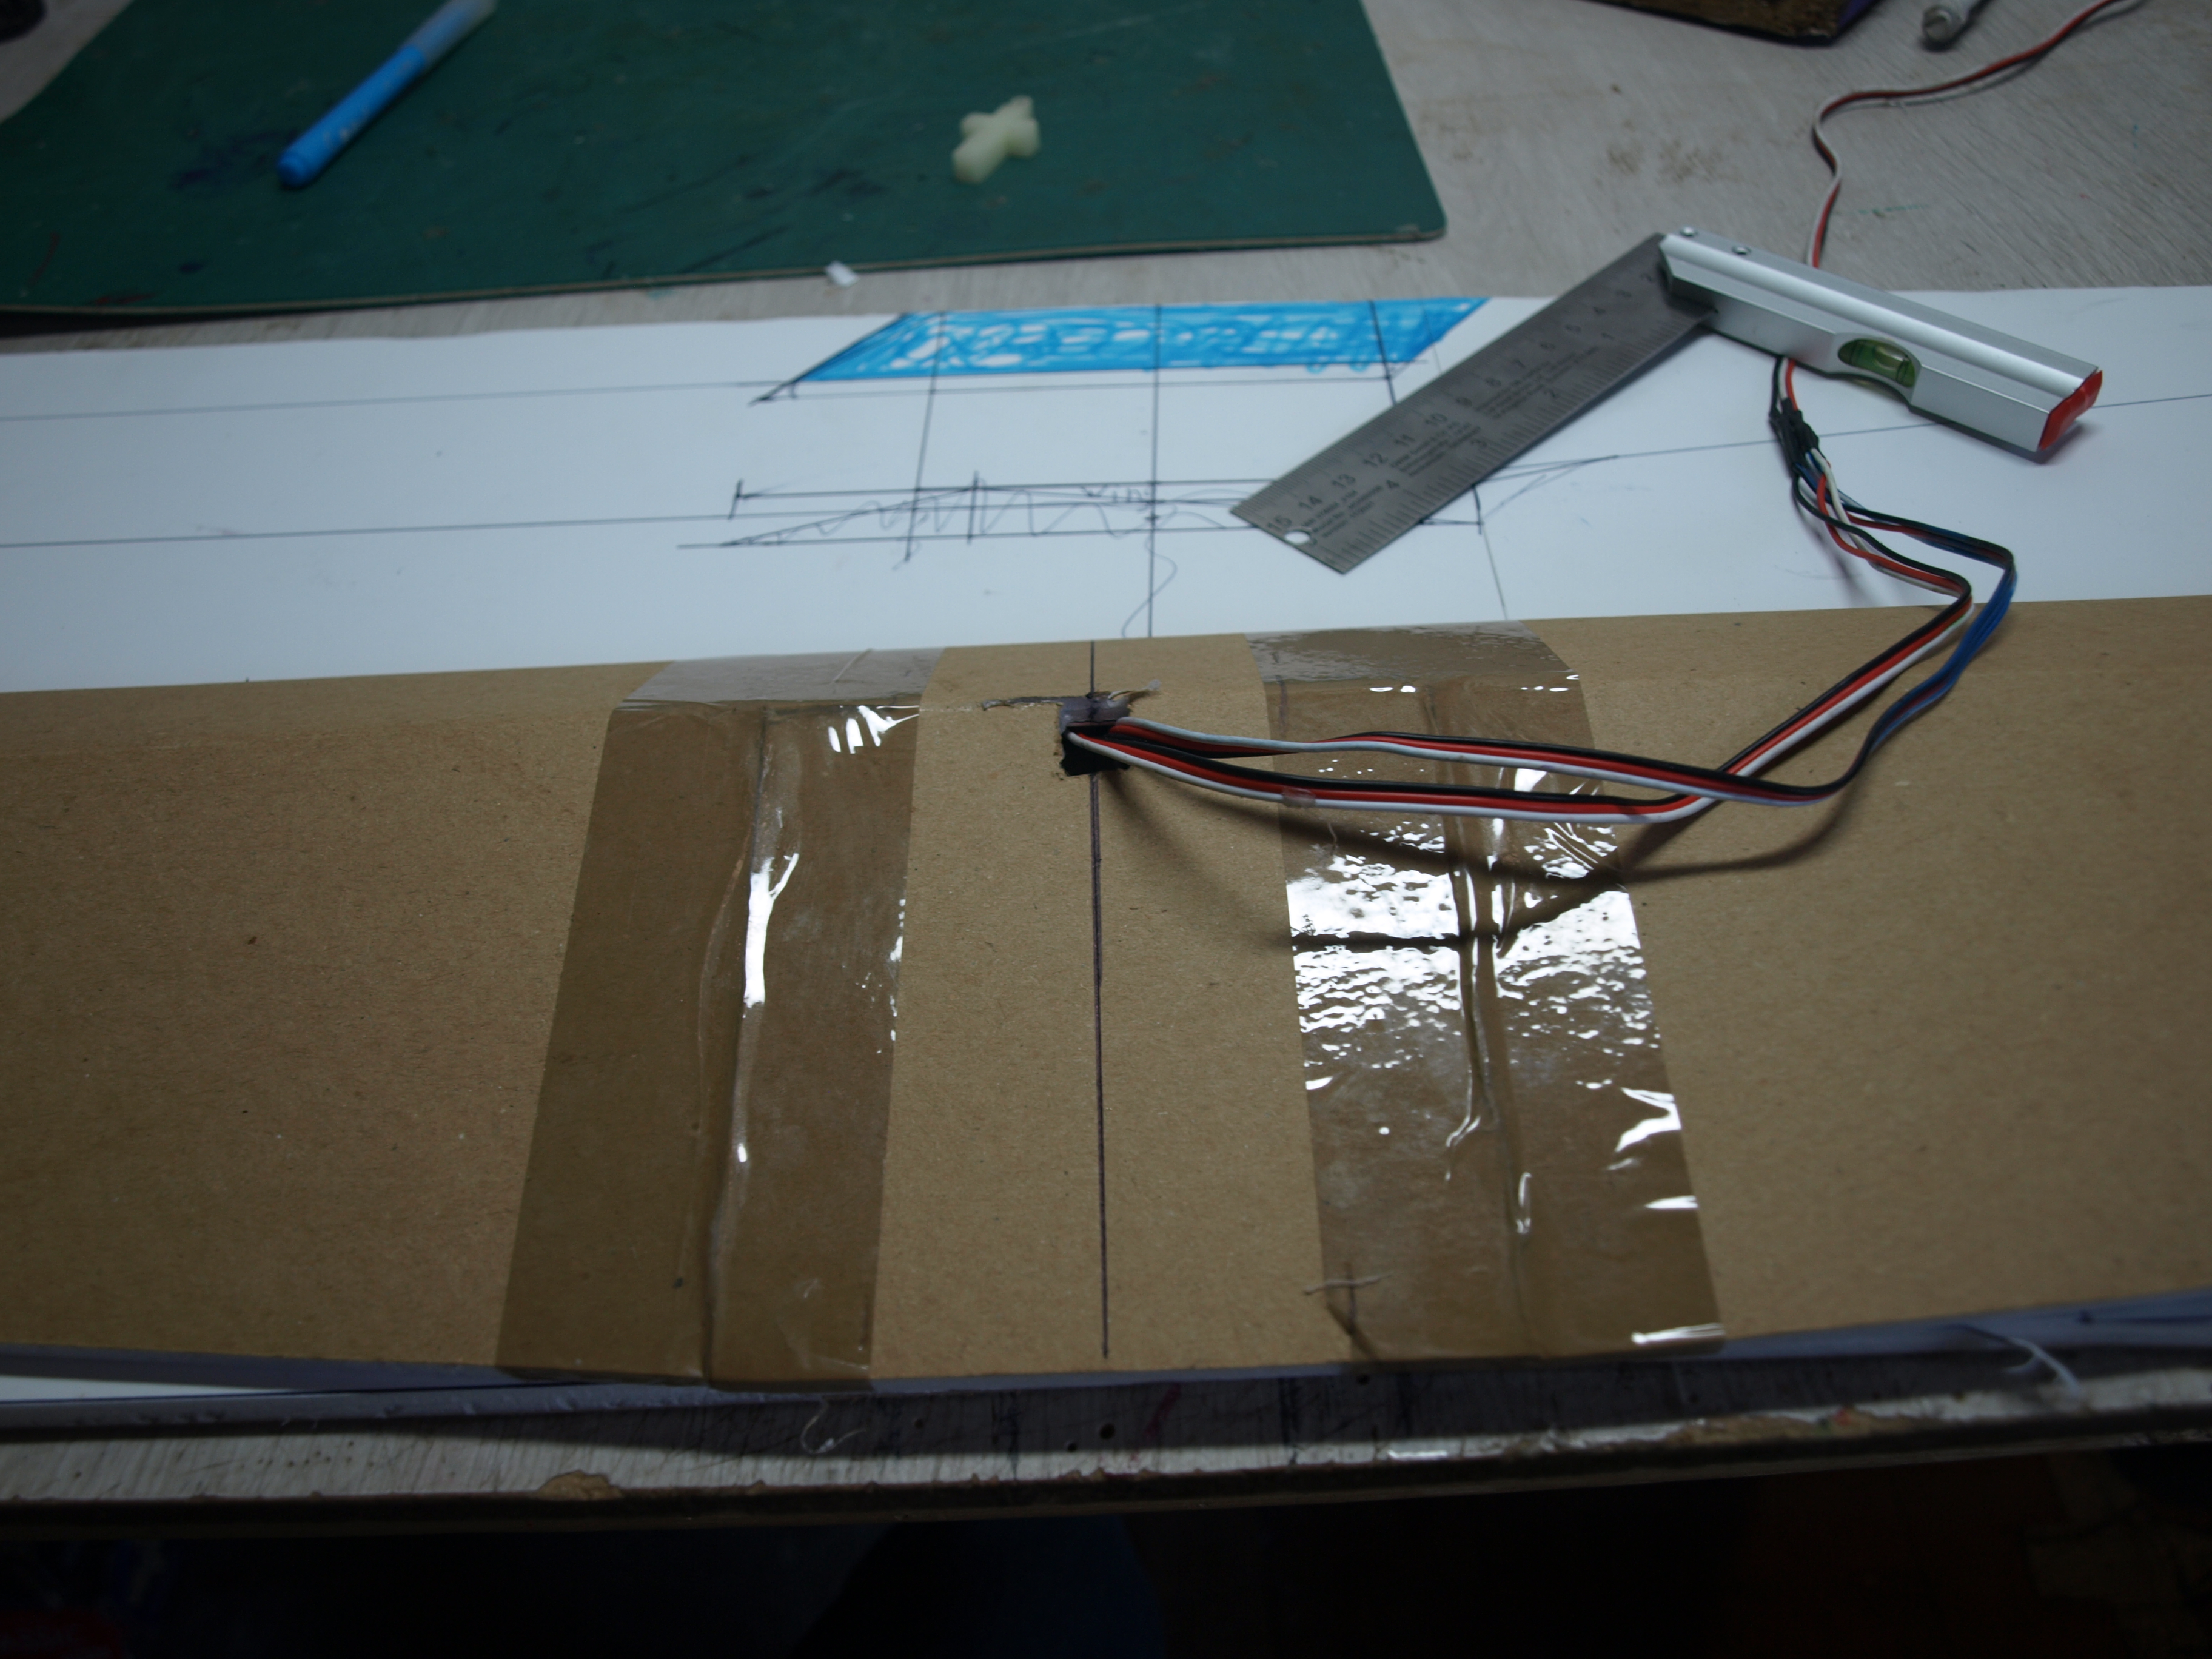
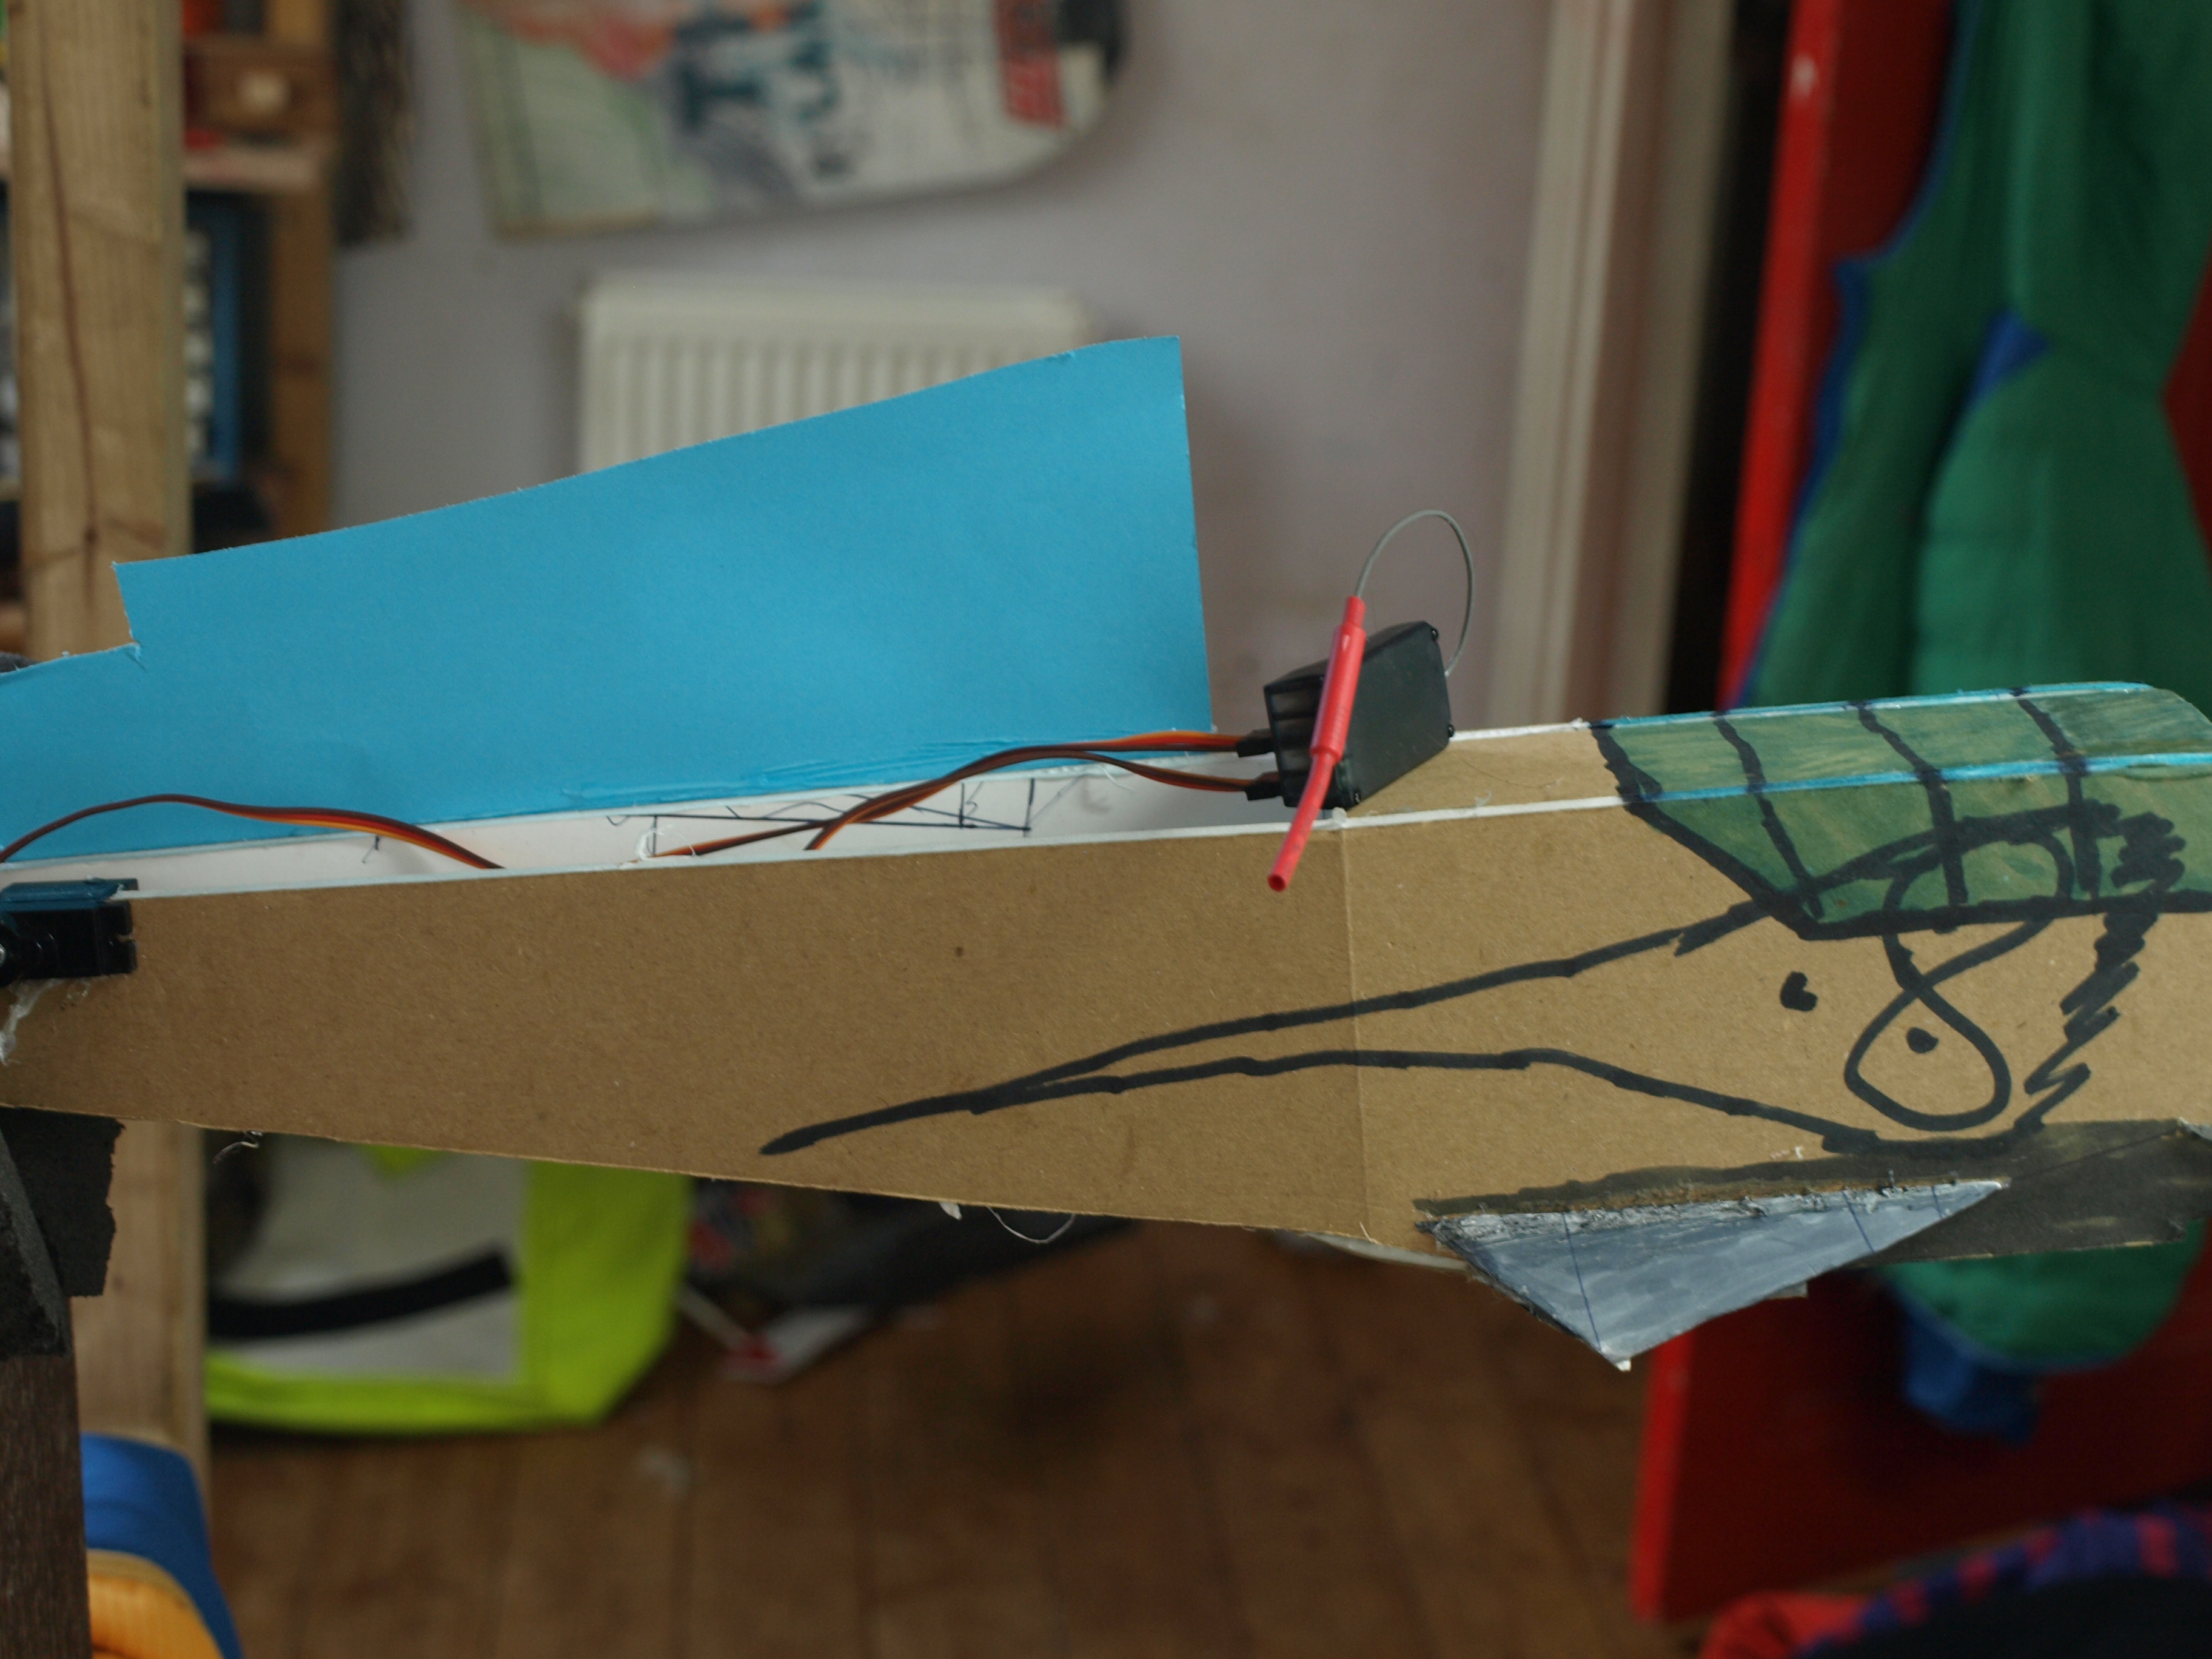
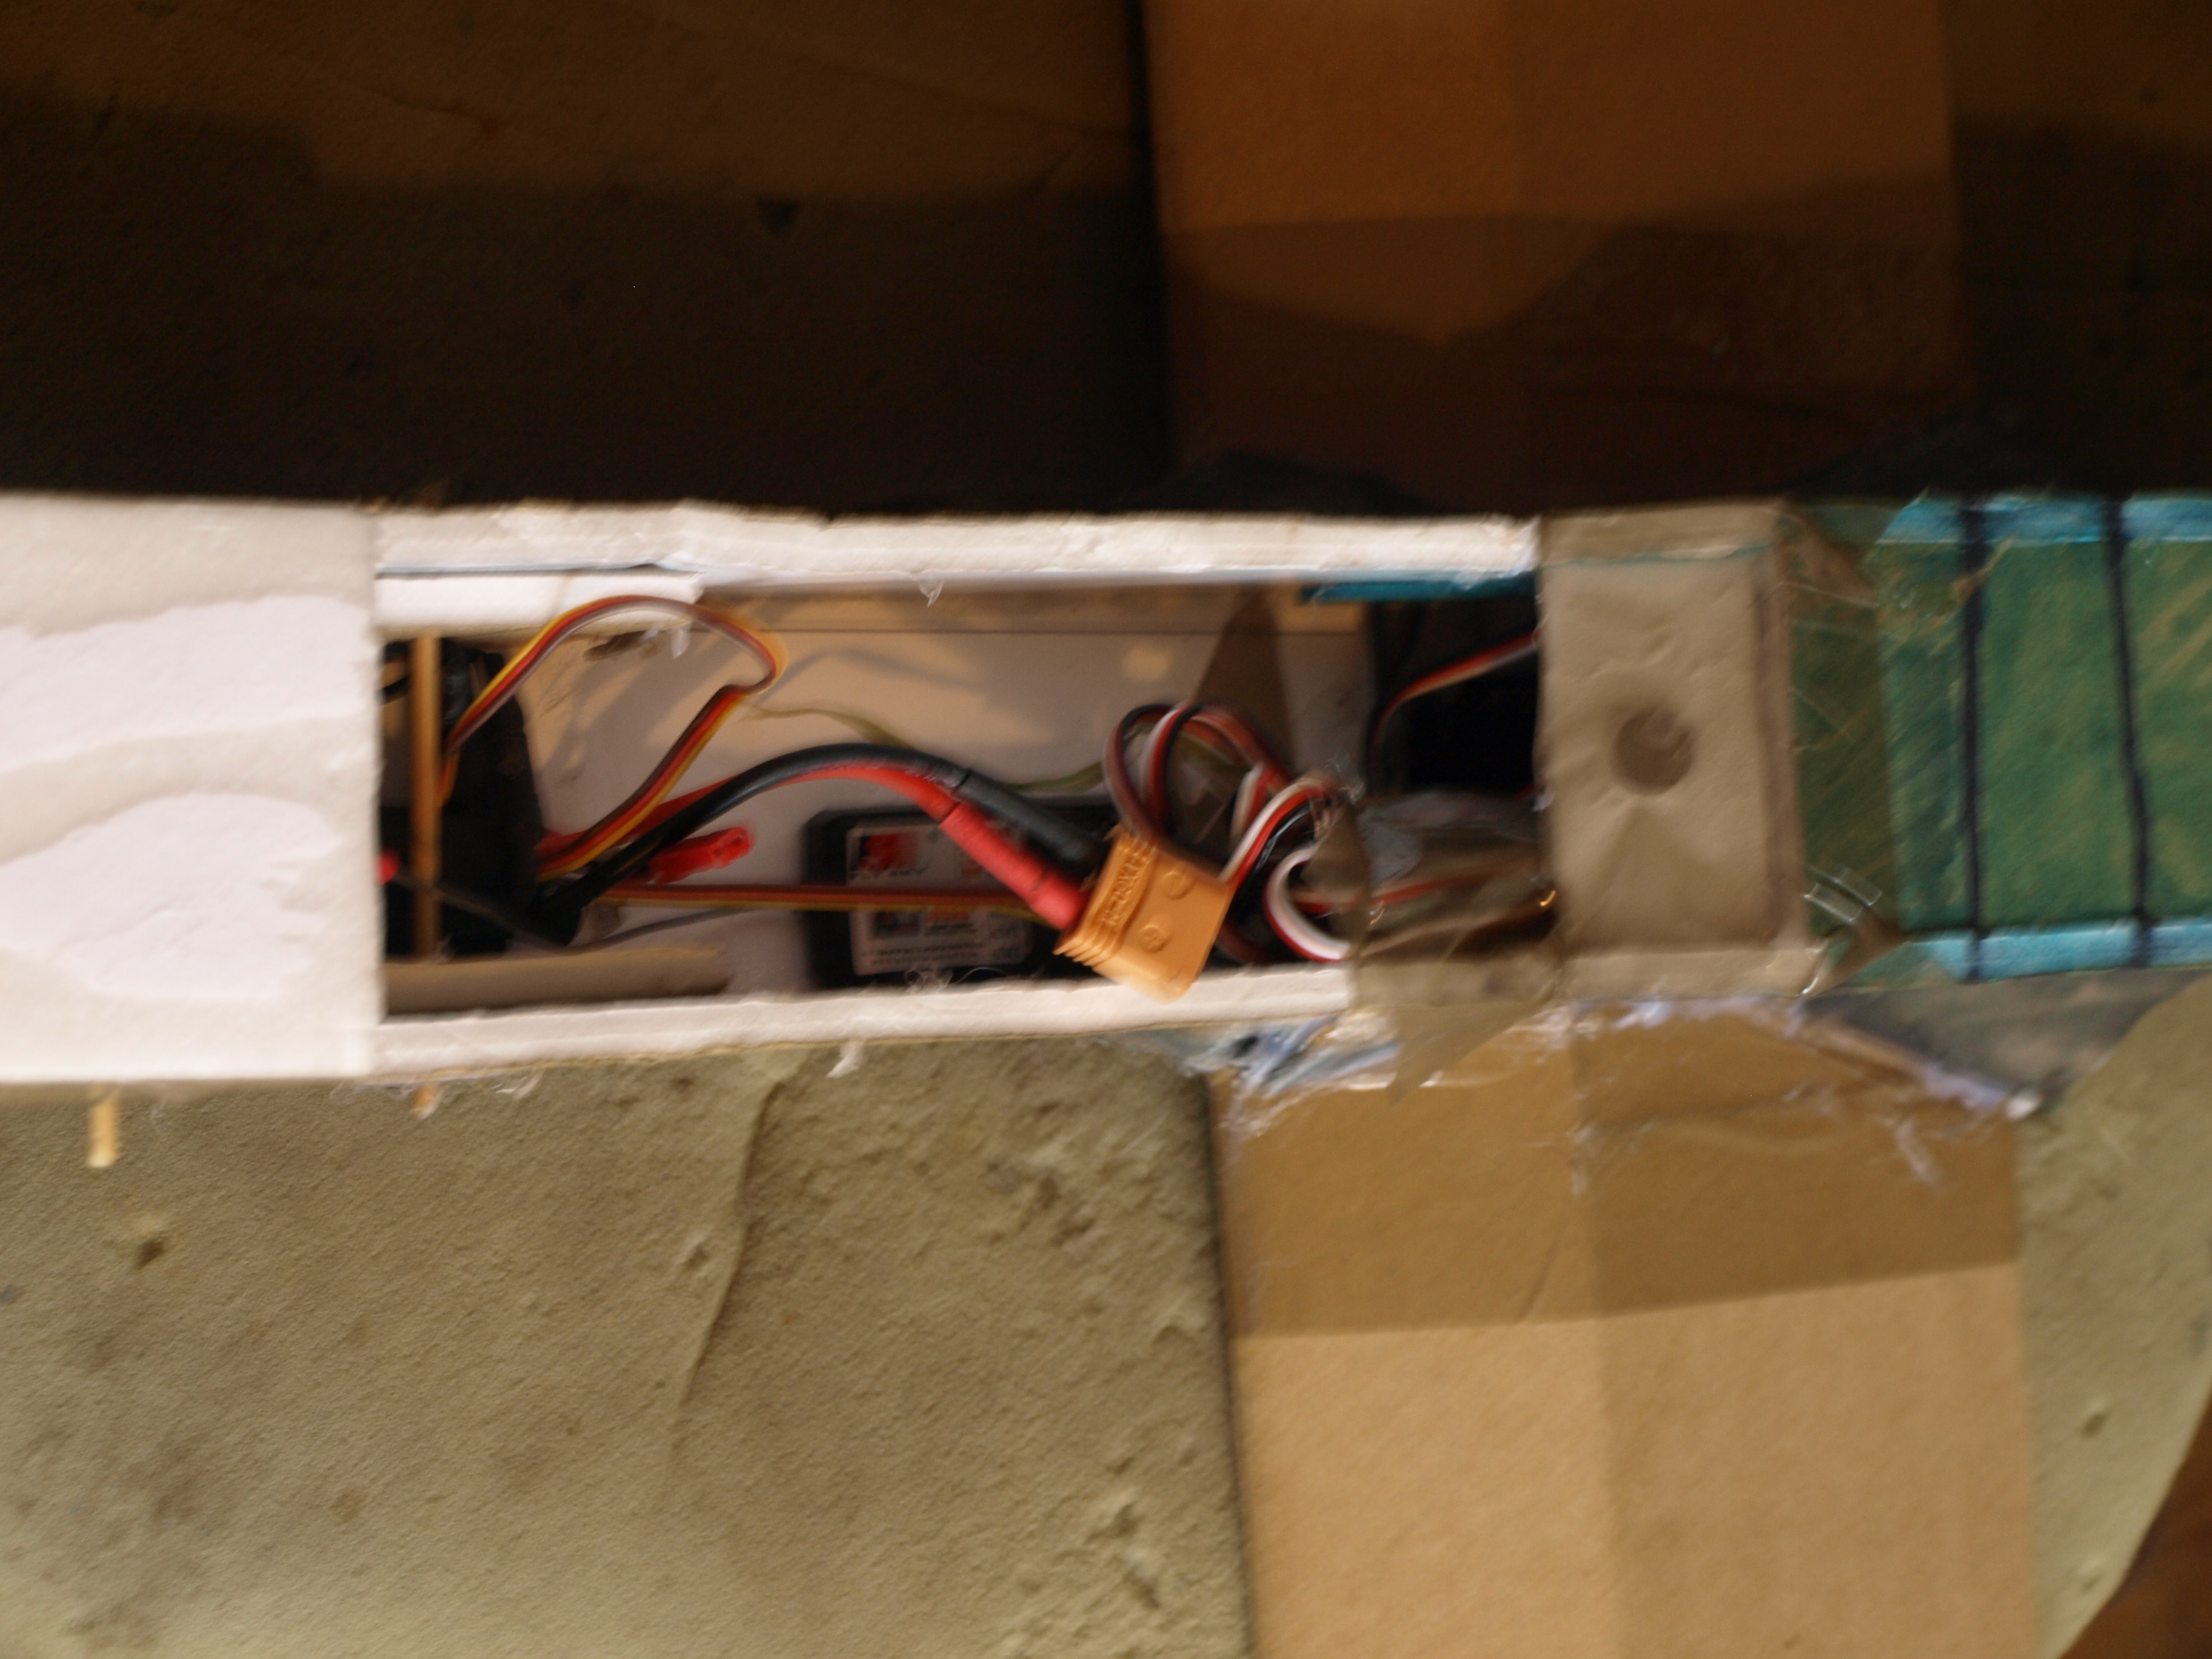
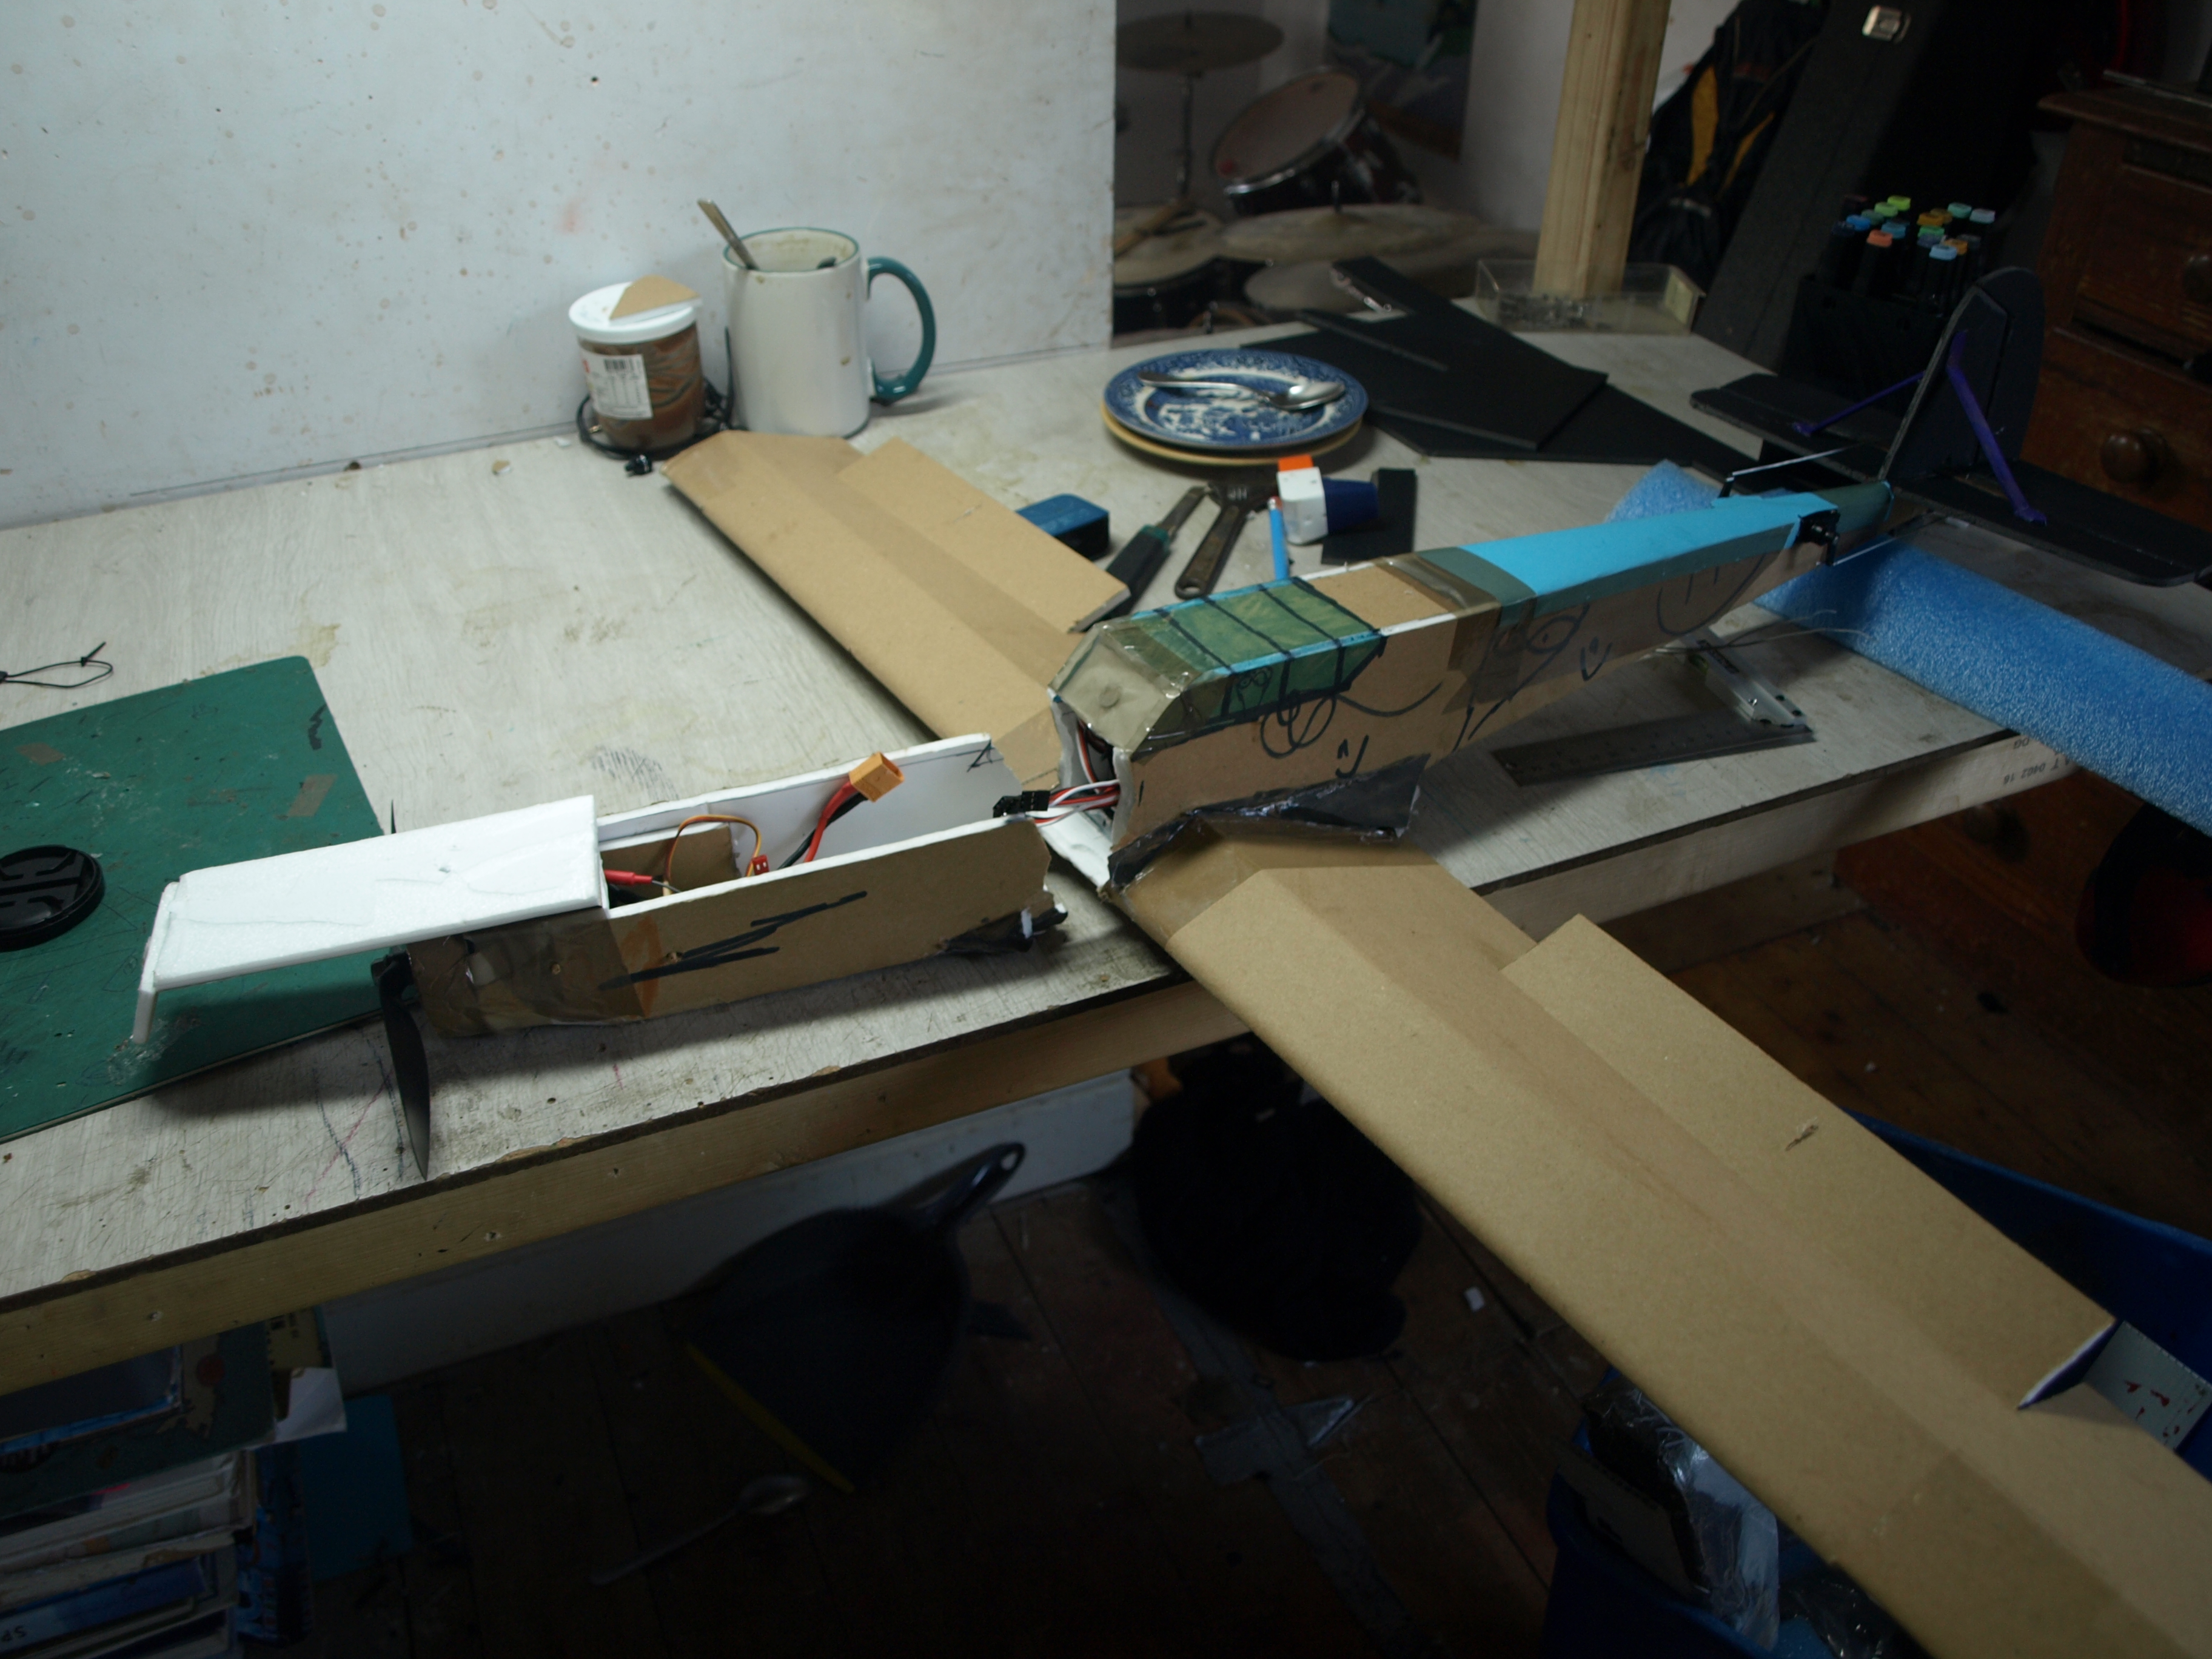
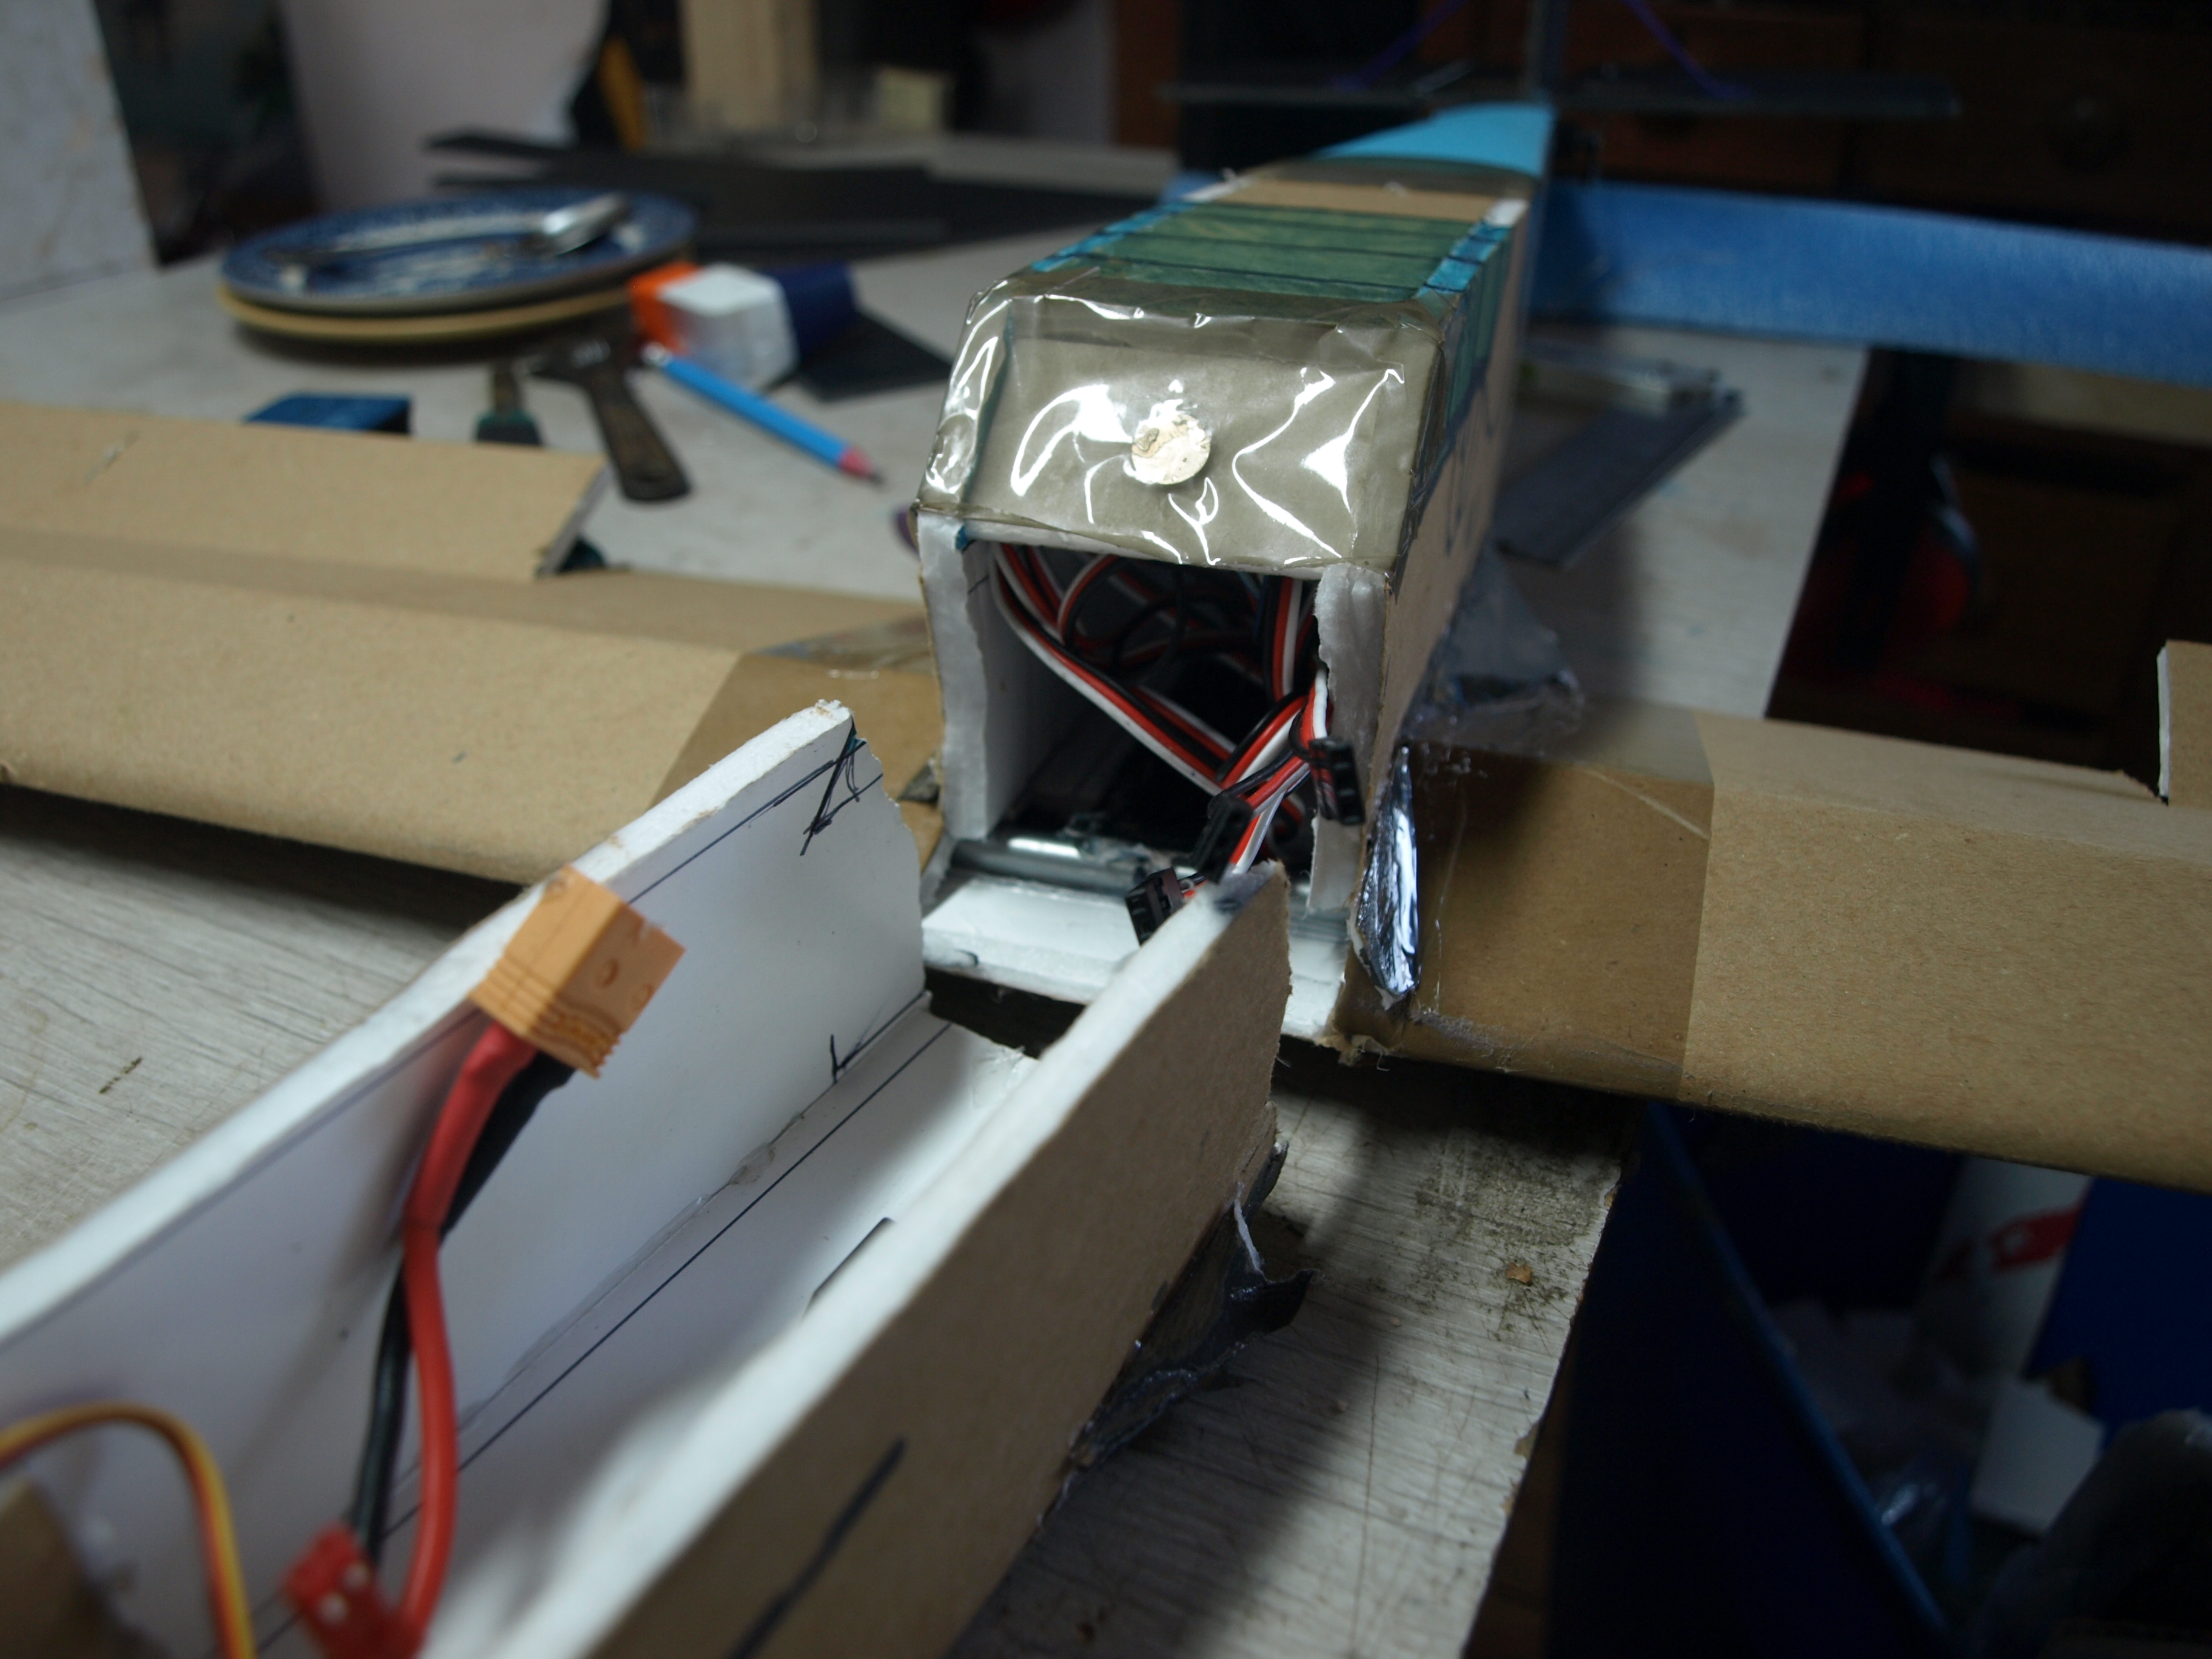
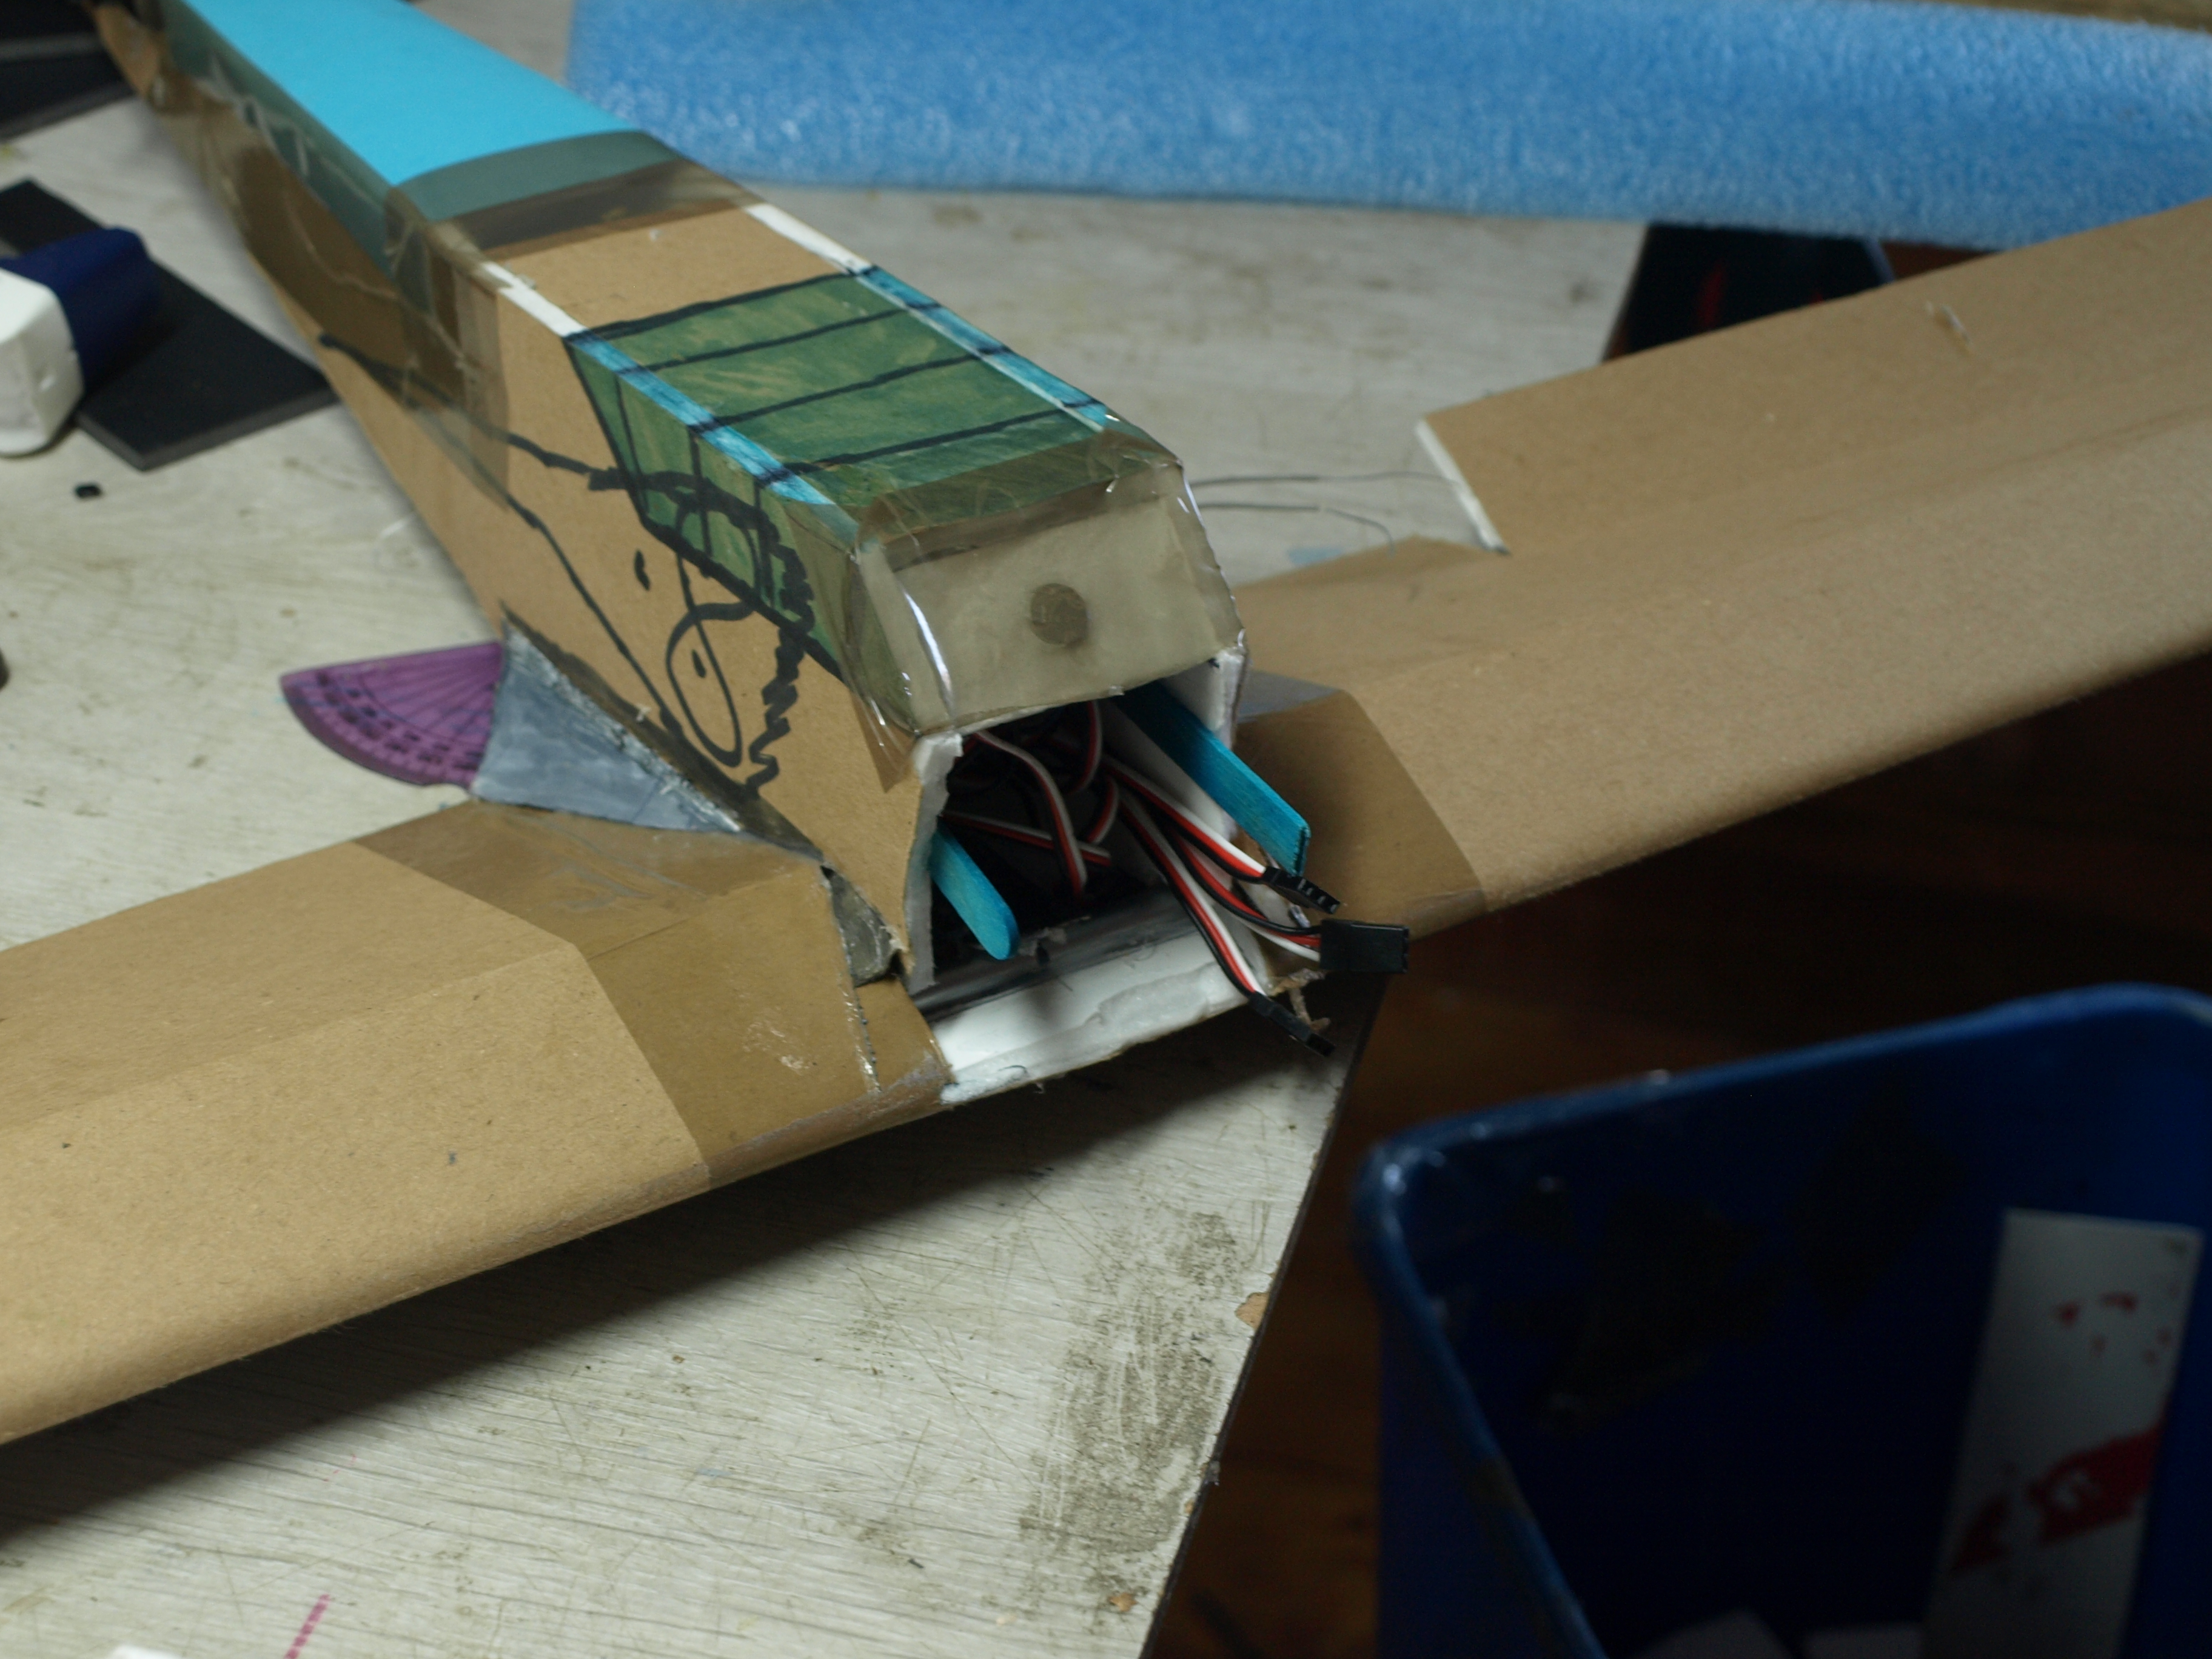
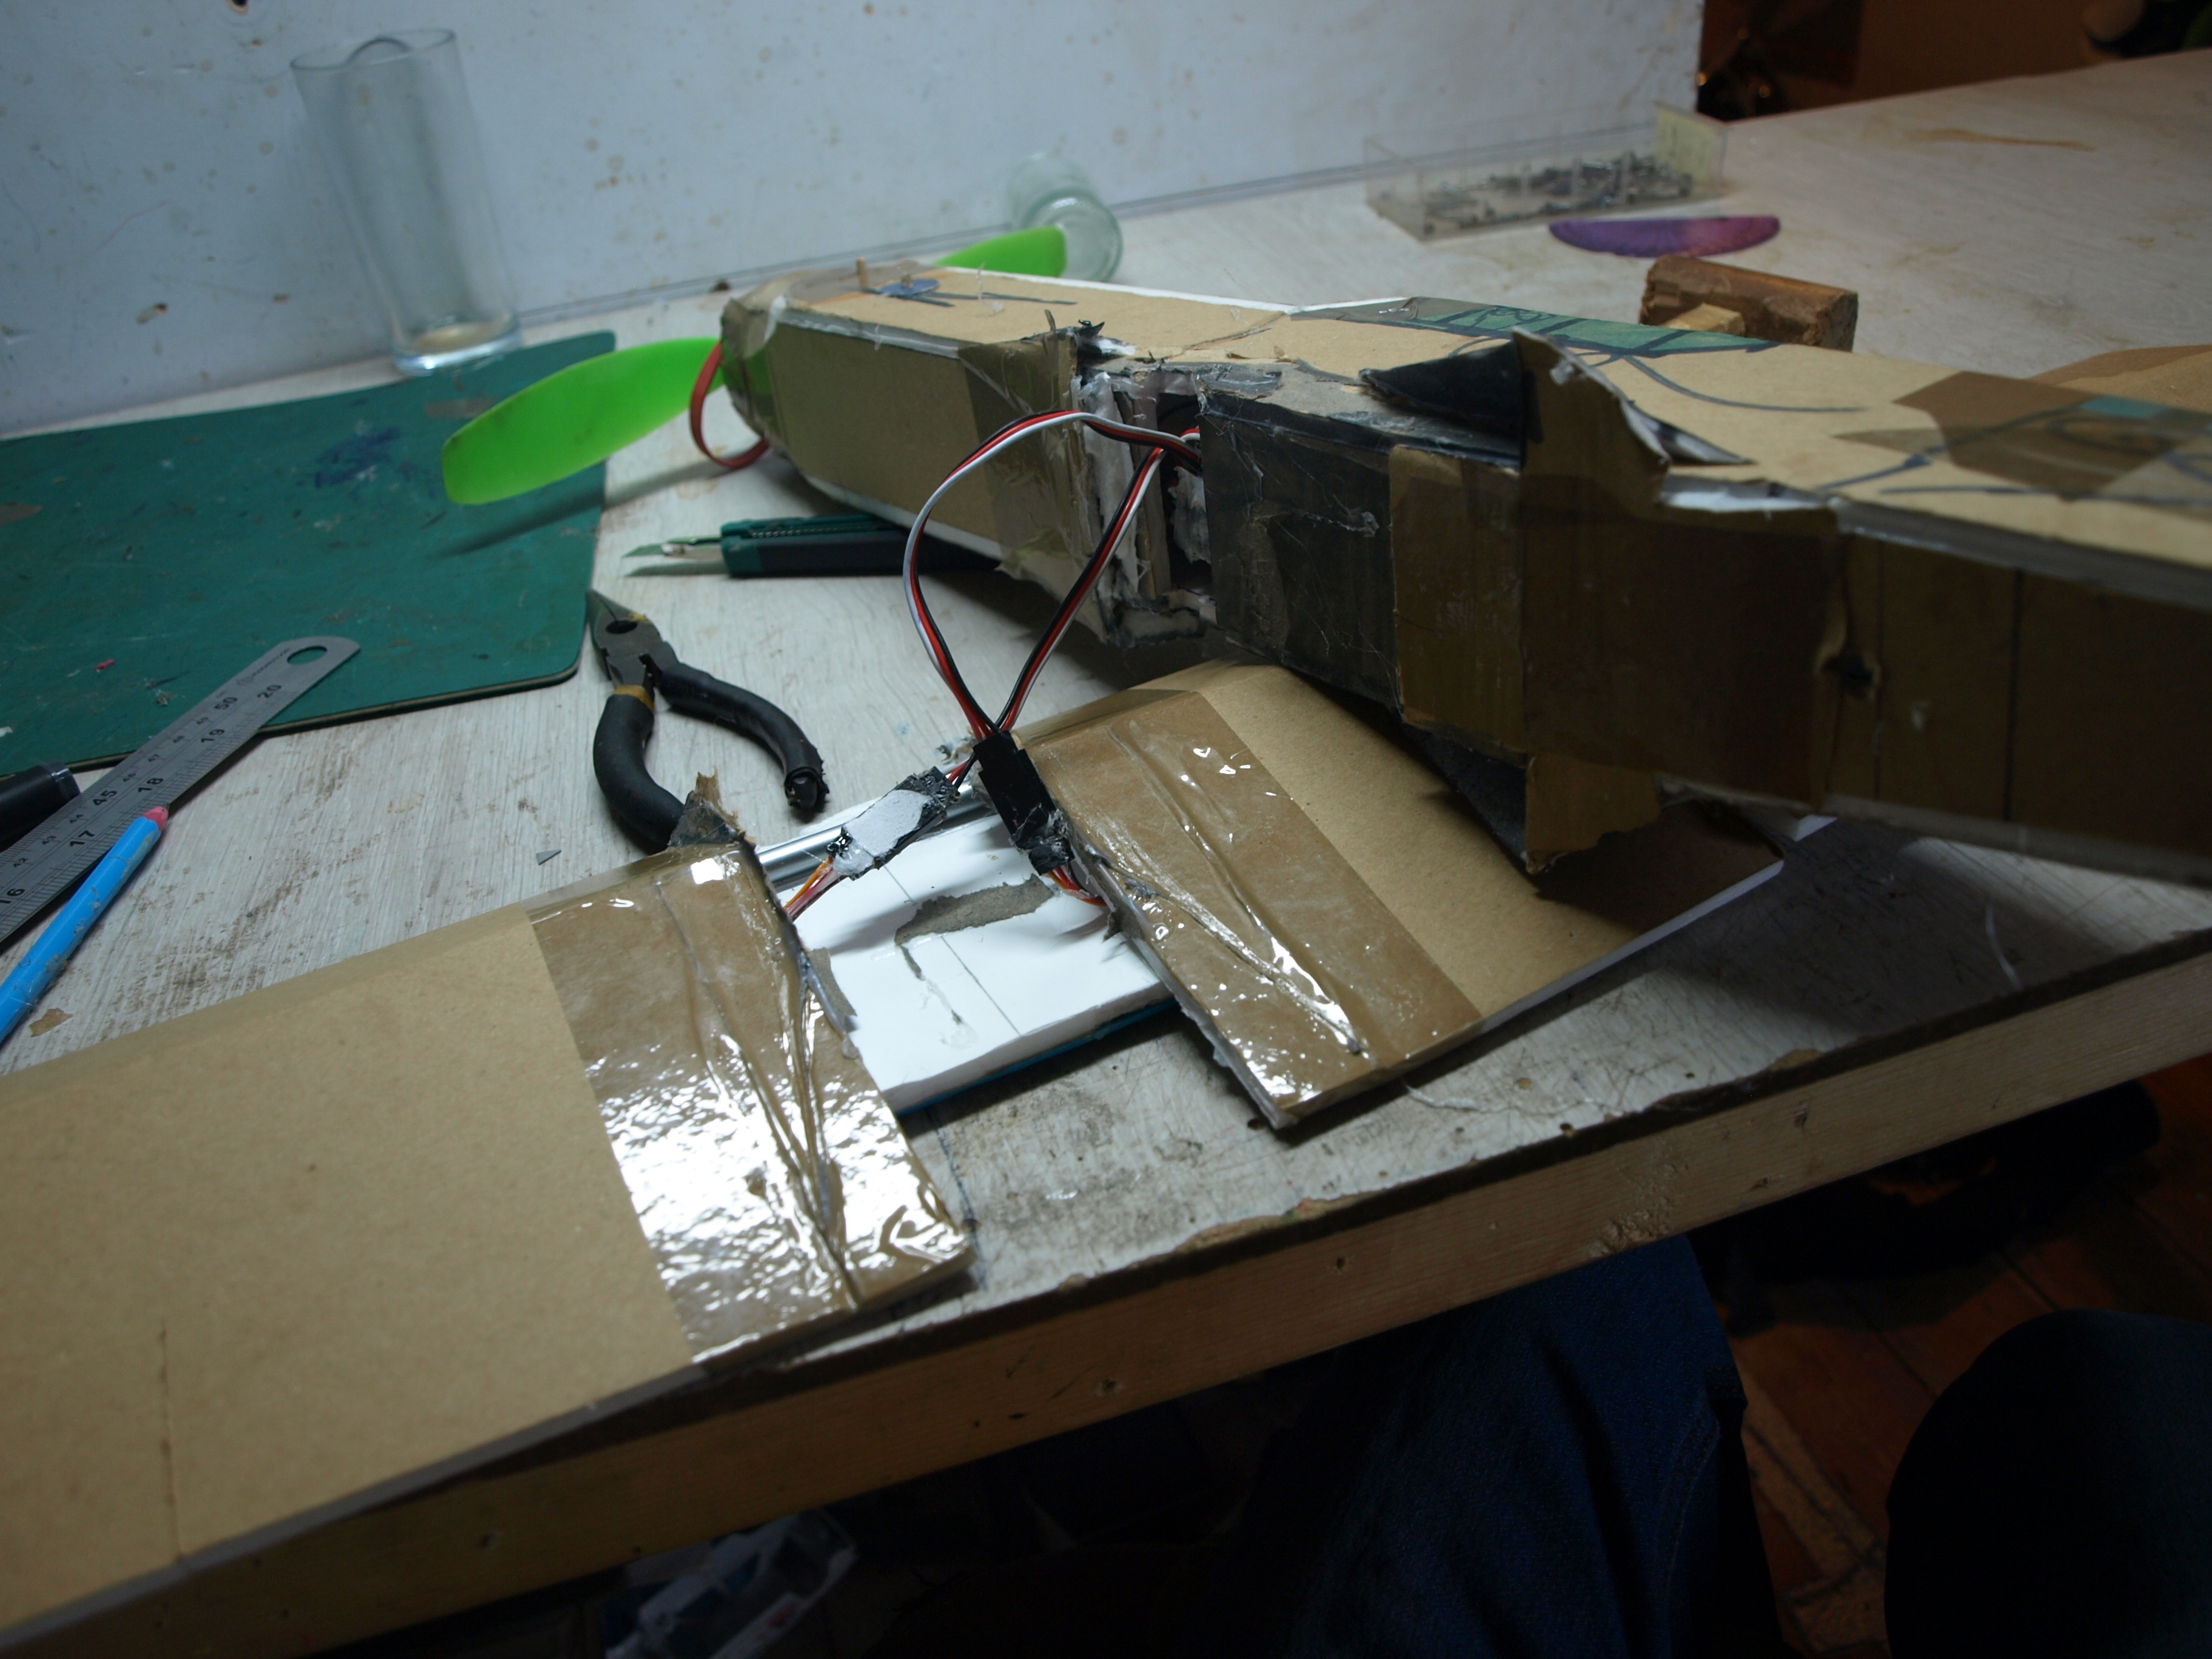
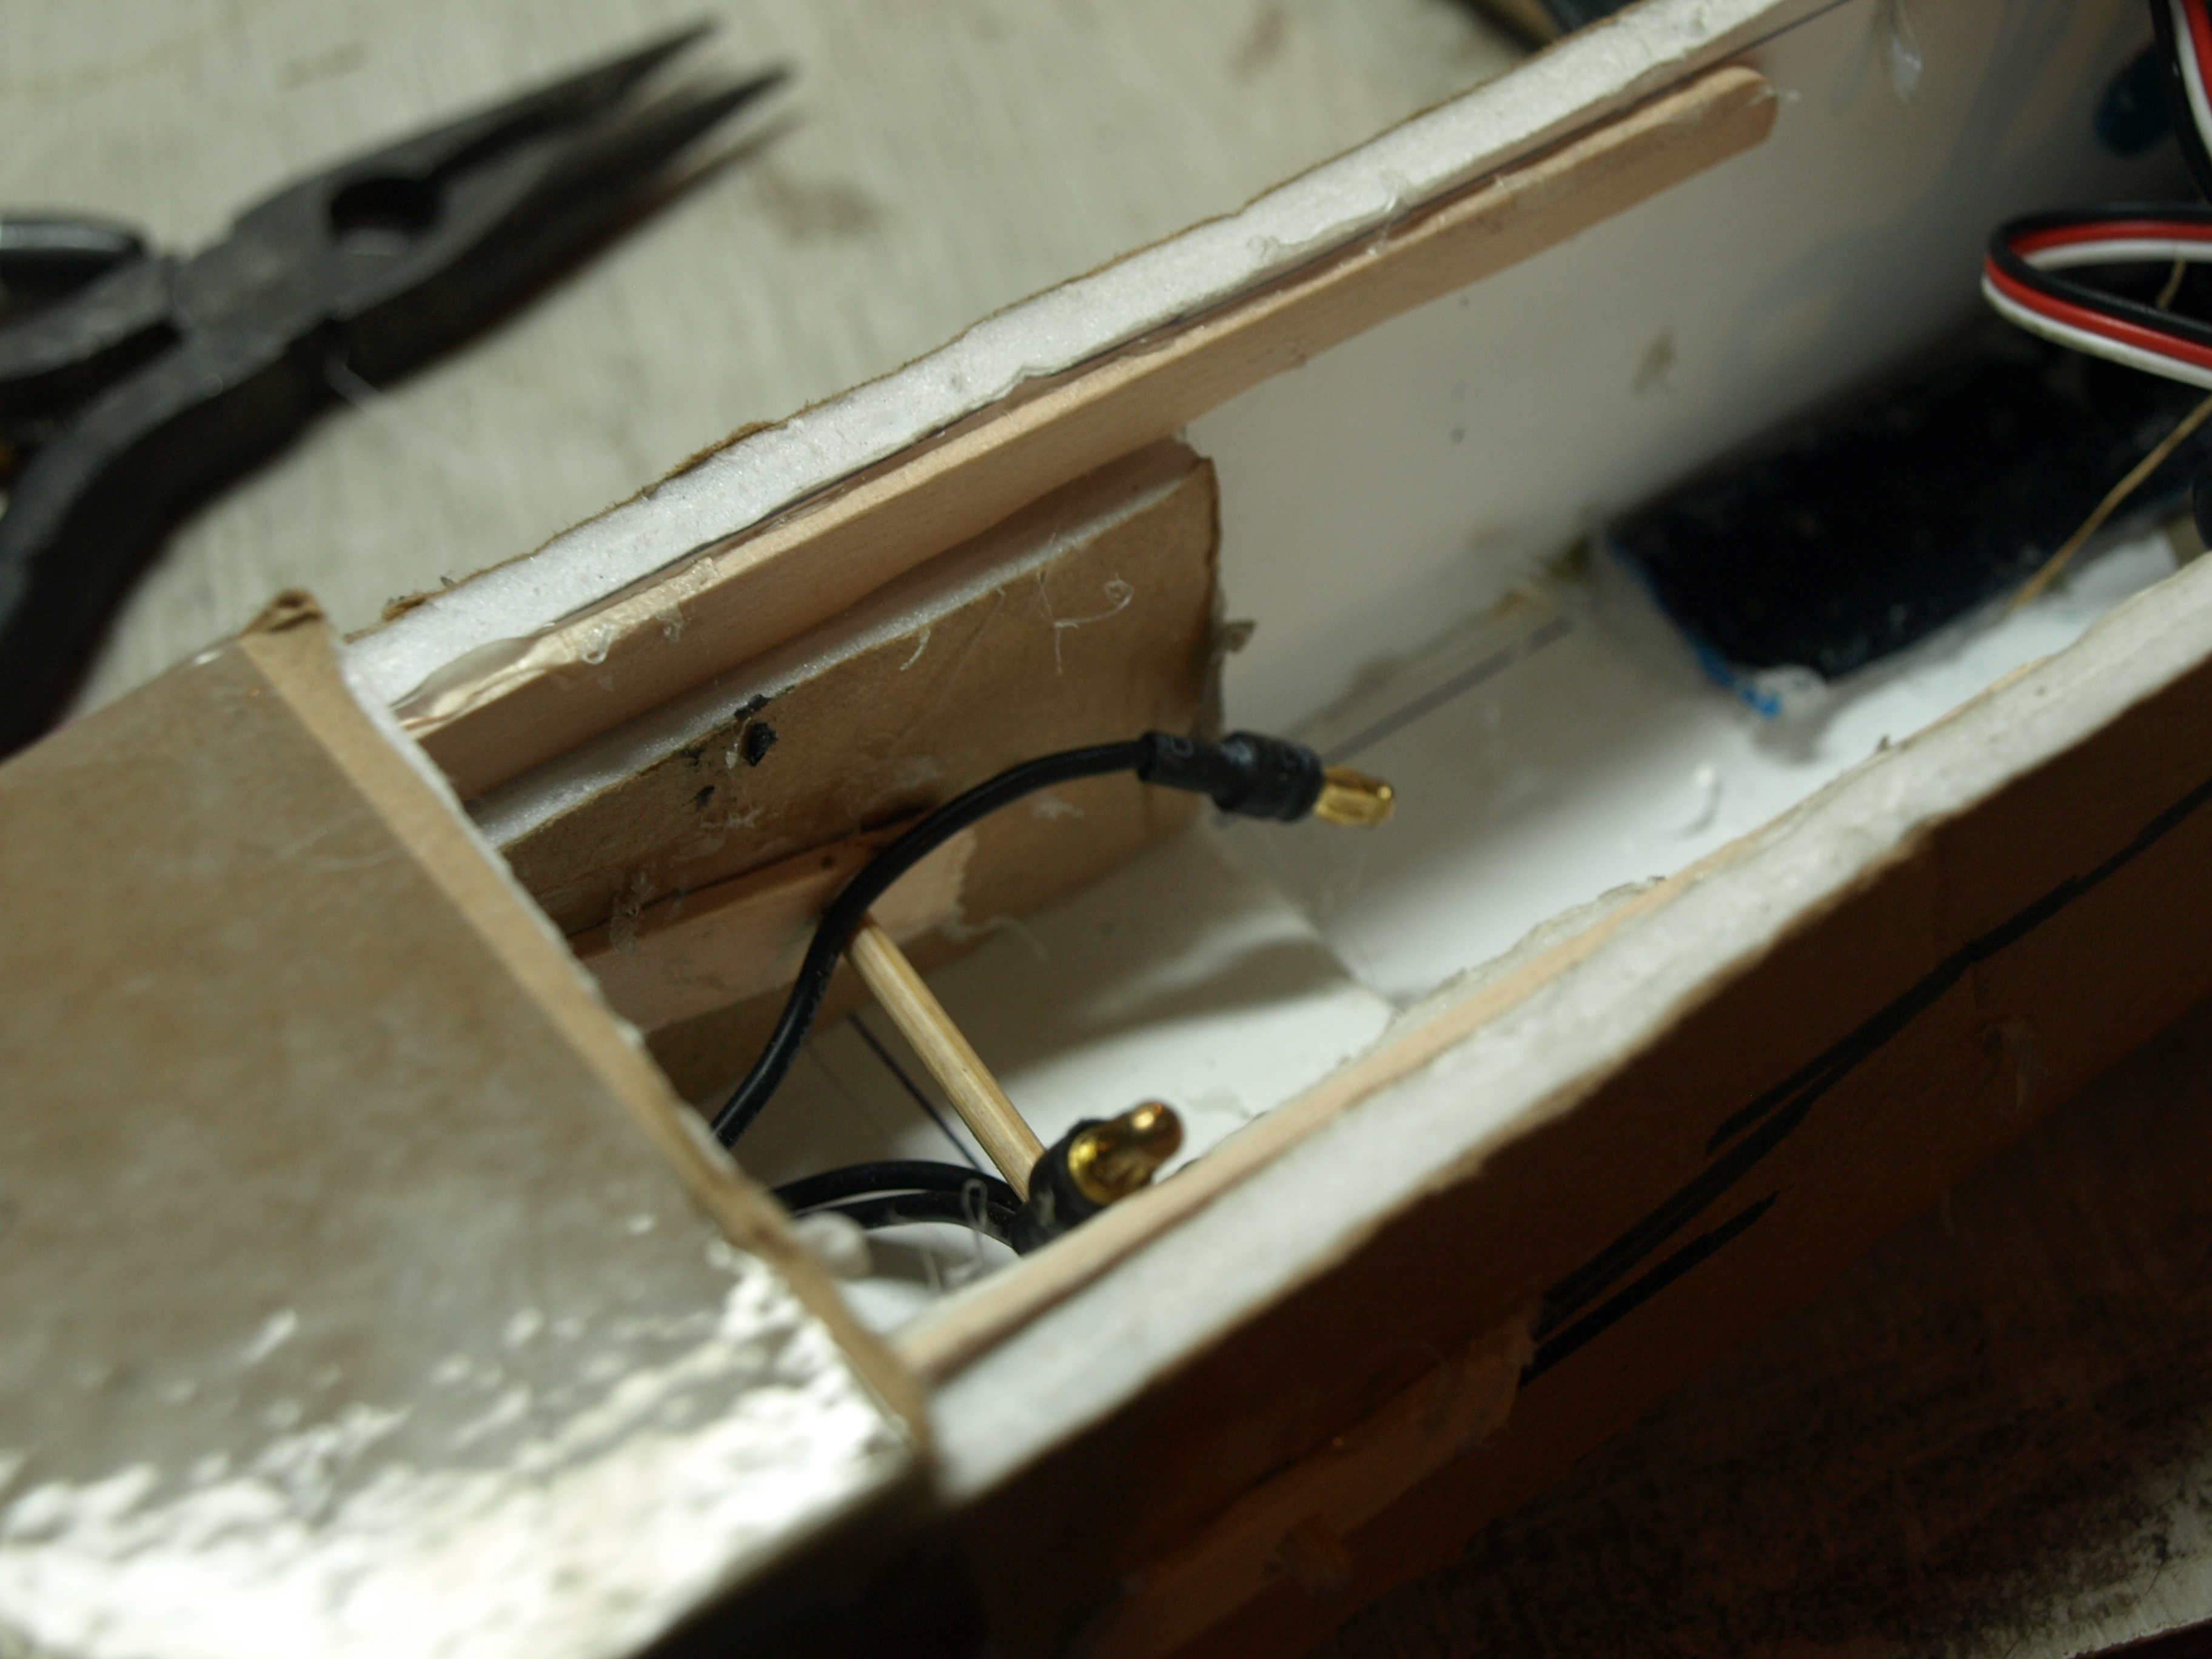
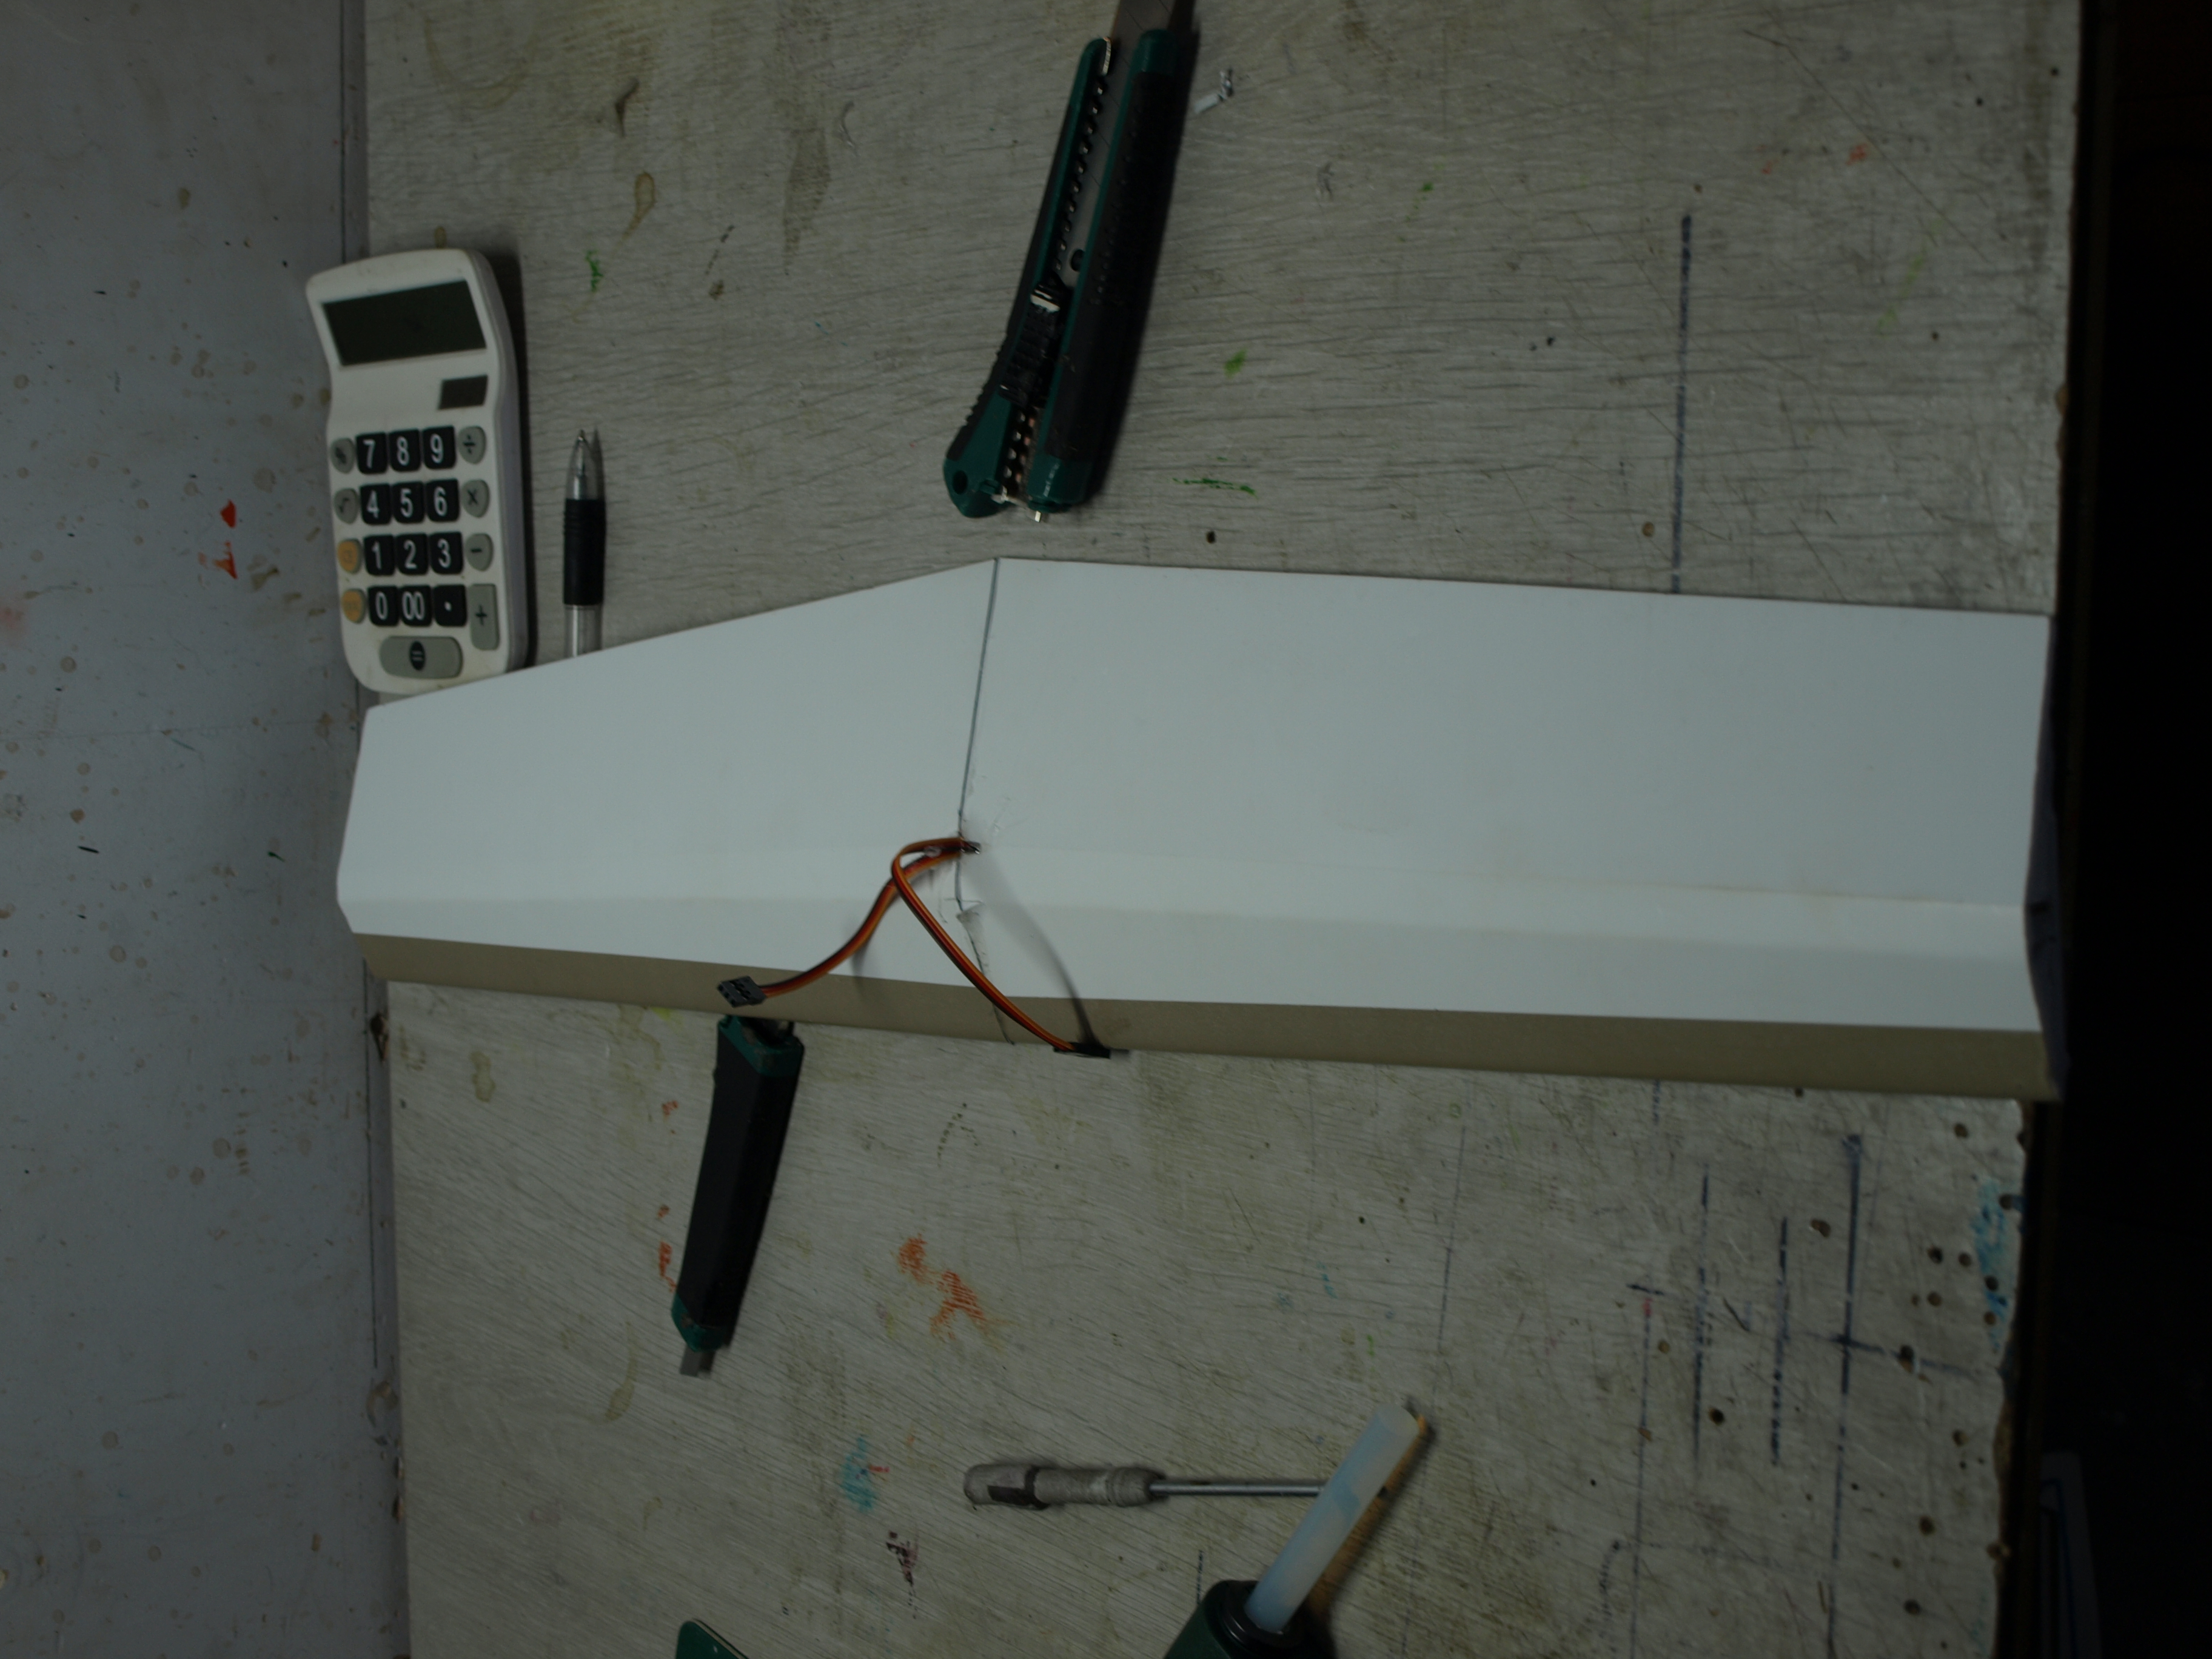
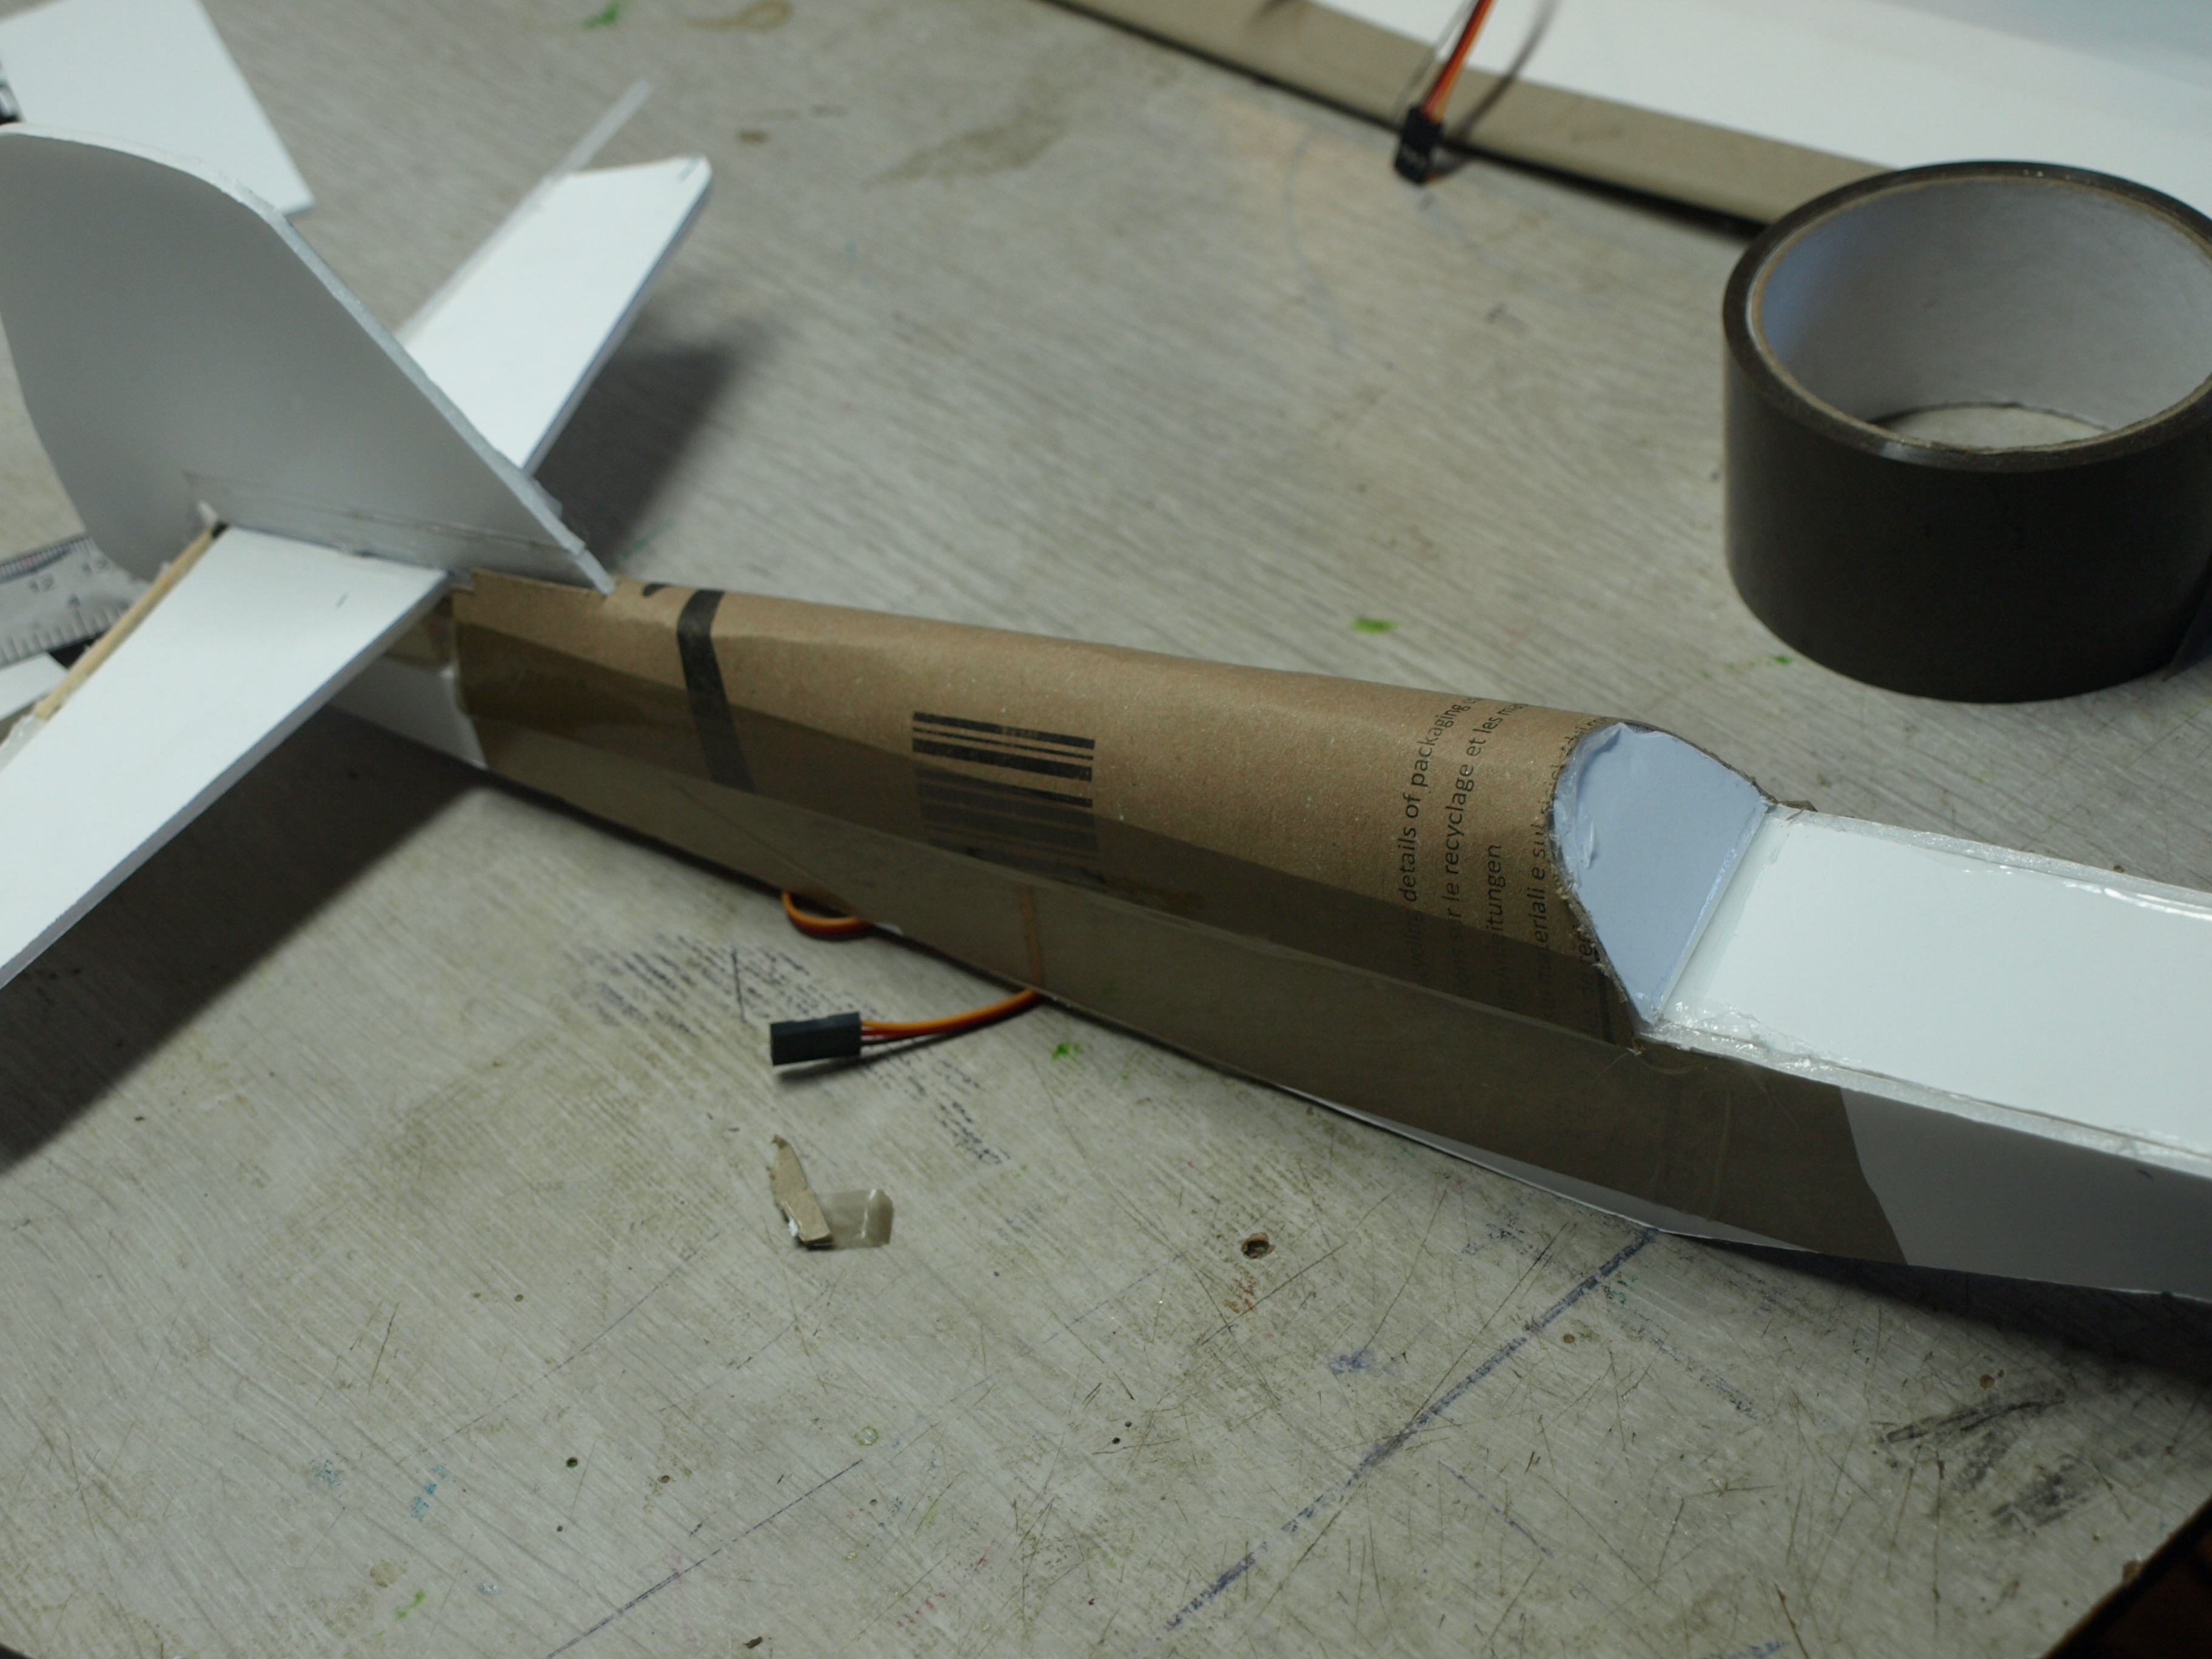
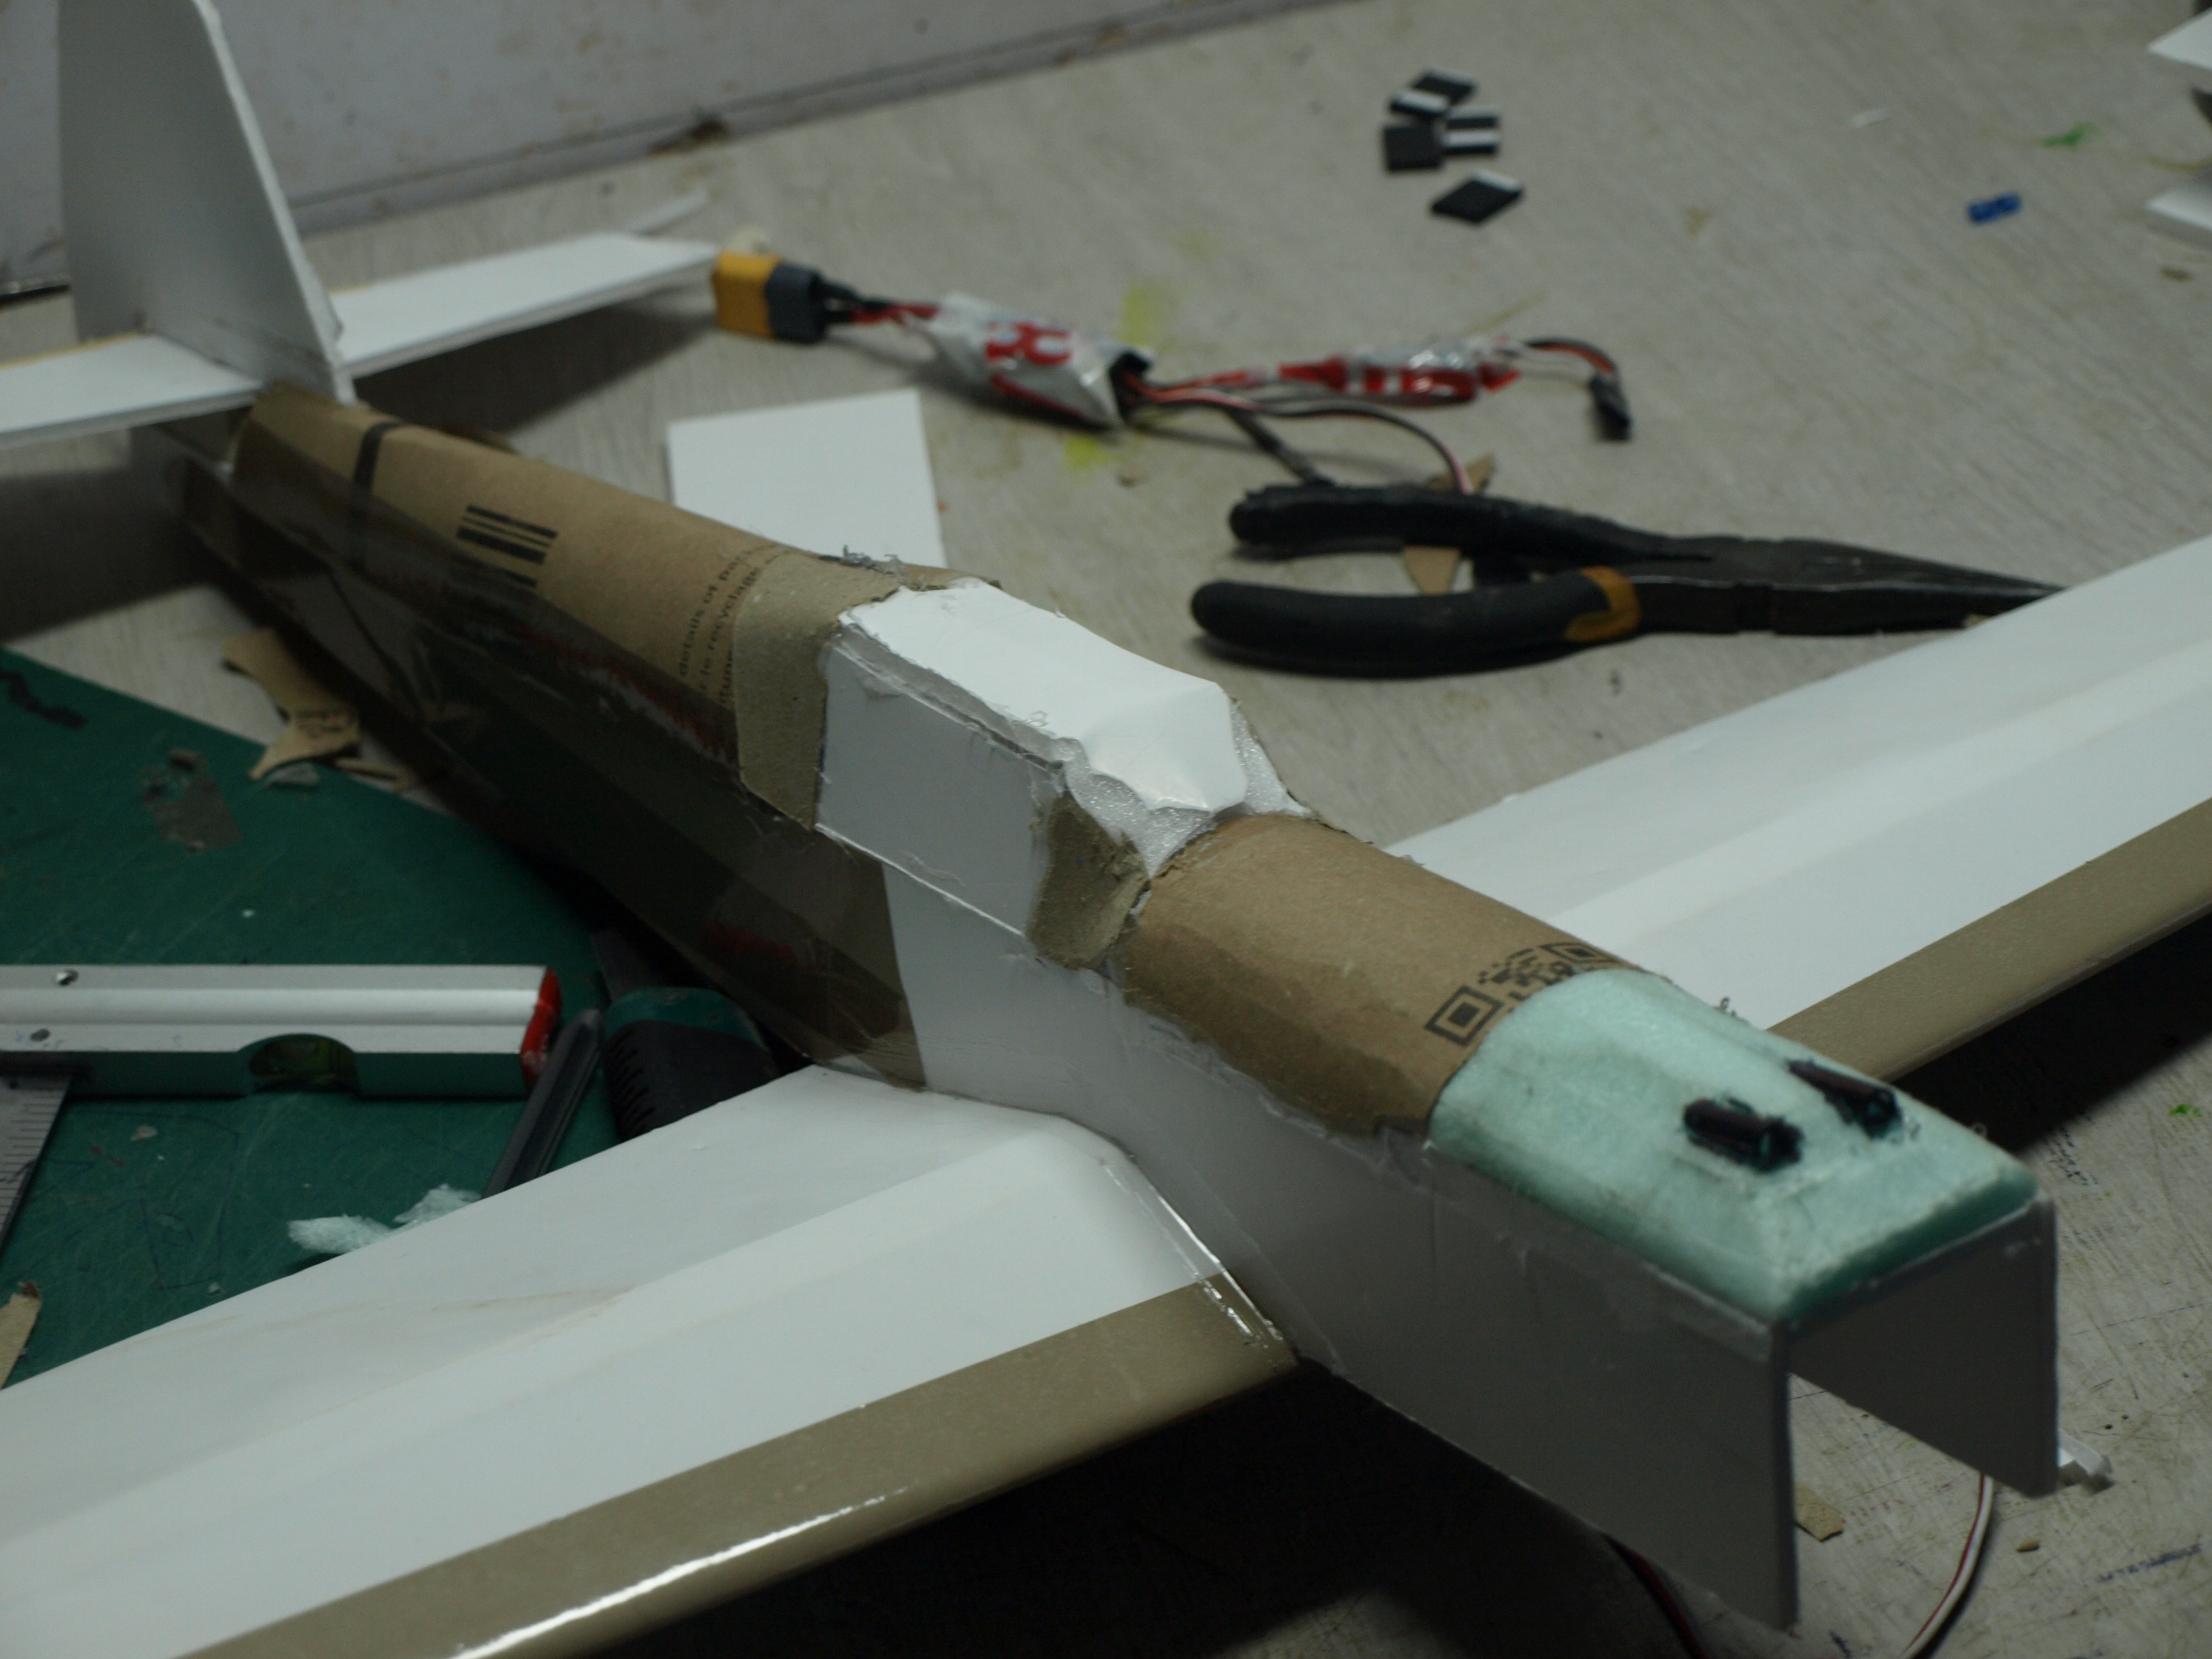
I thought that I should start adding the electronics,, cs so I made a power pod.
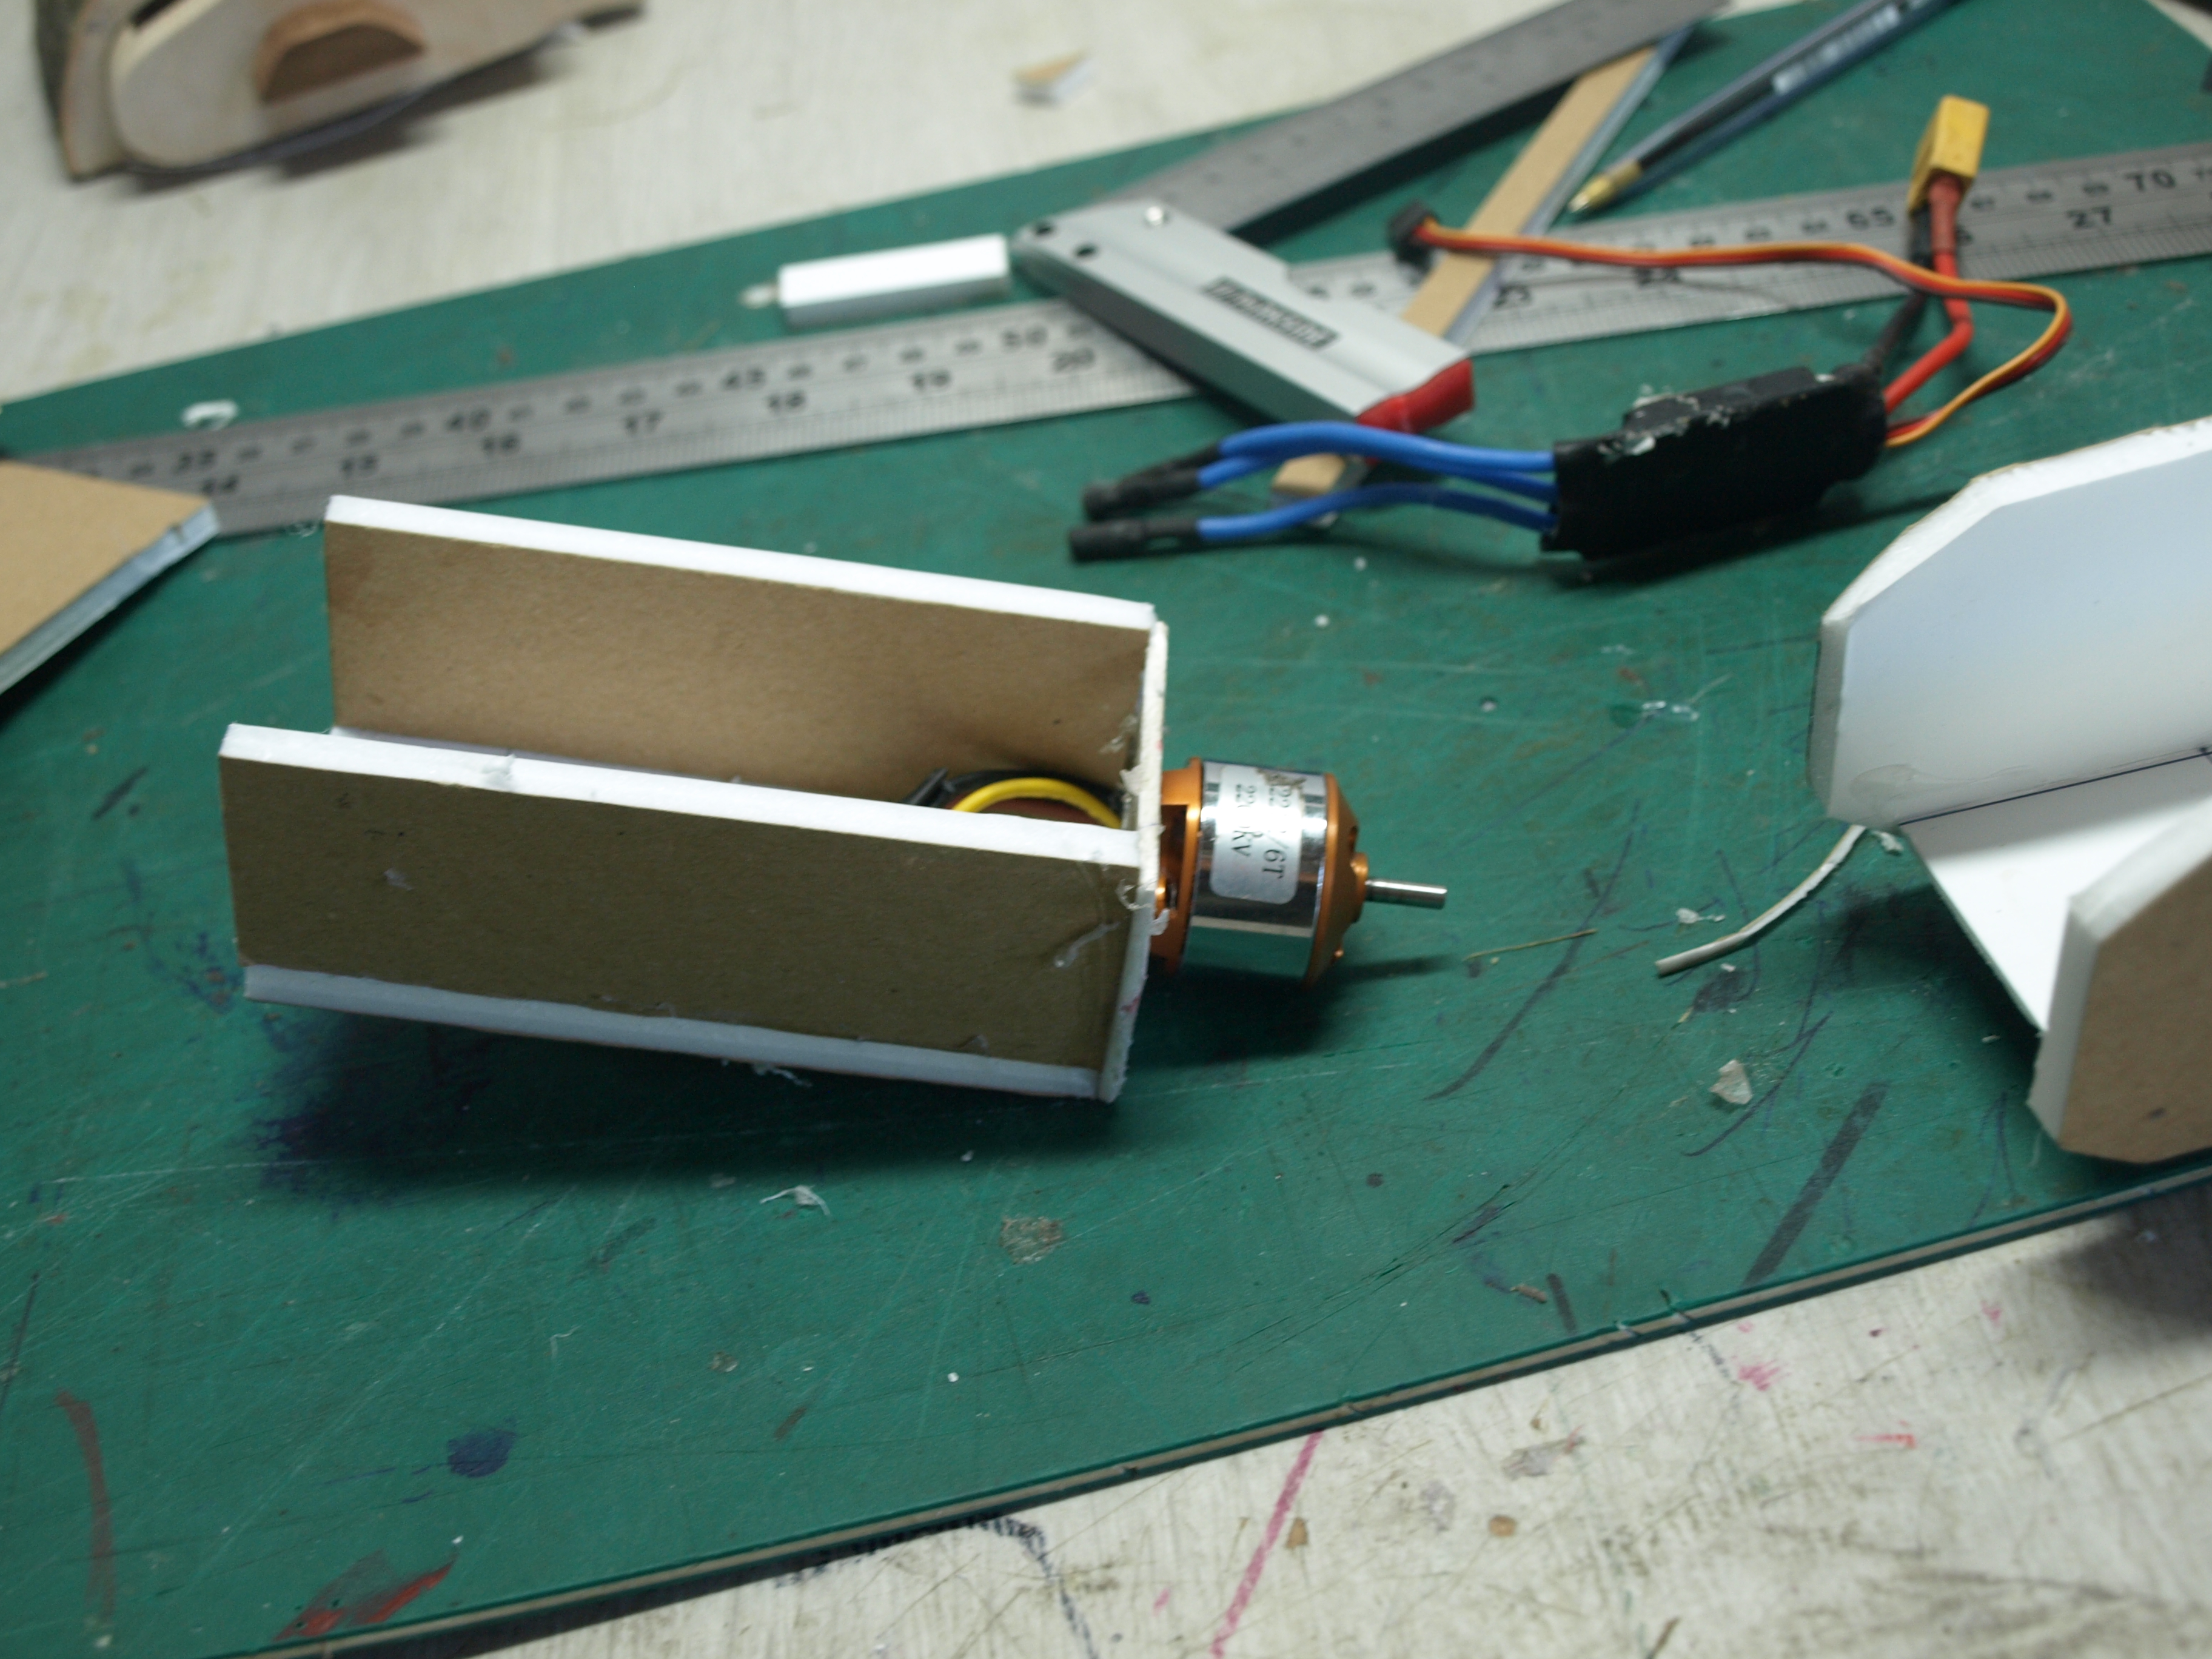
And test-fitted it in the fuselage.

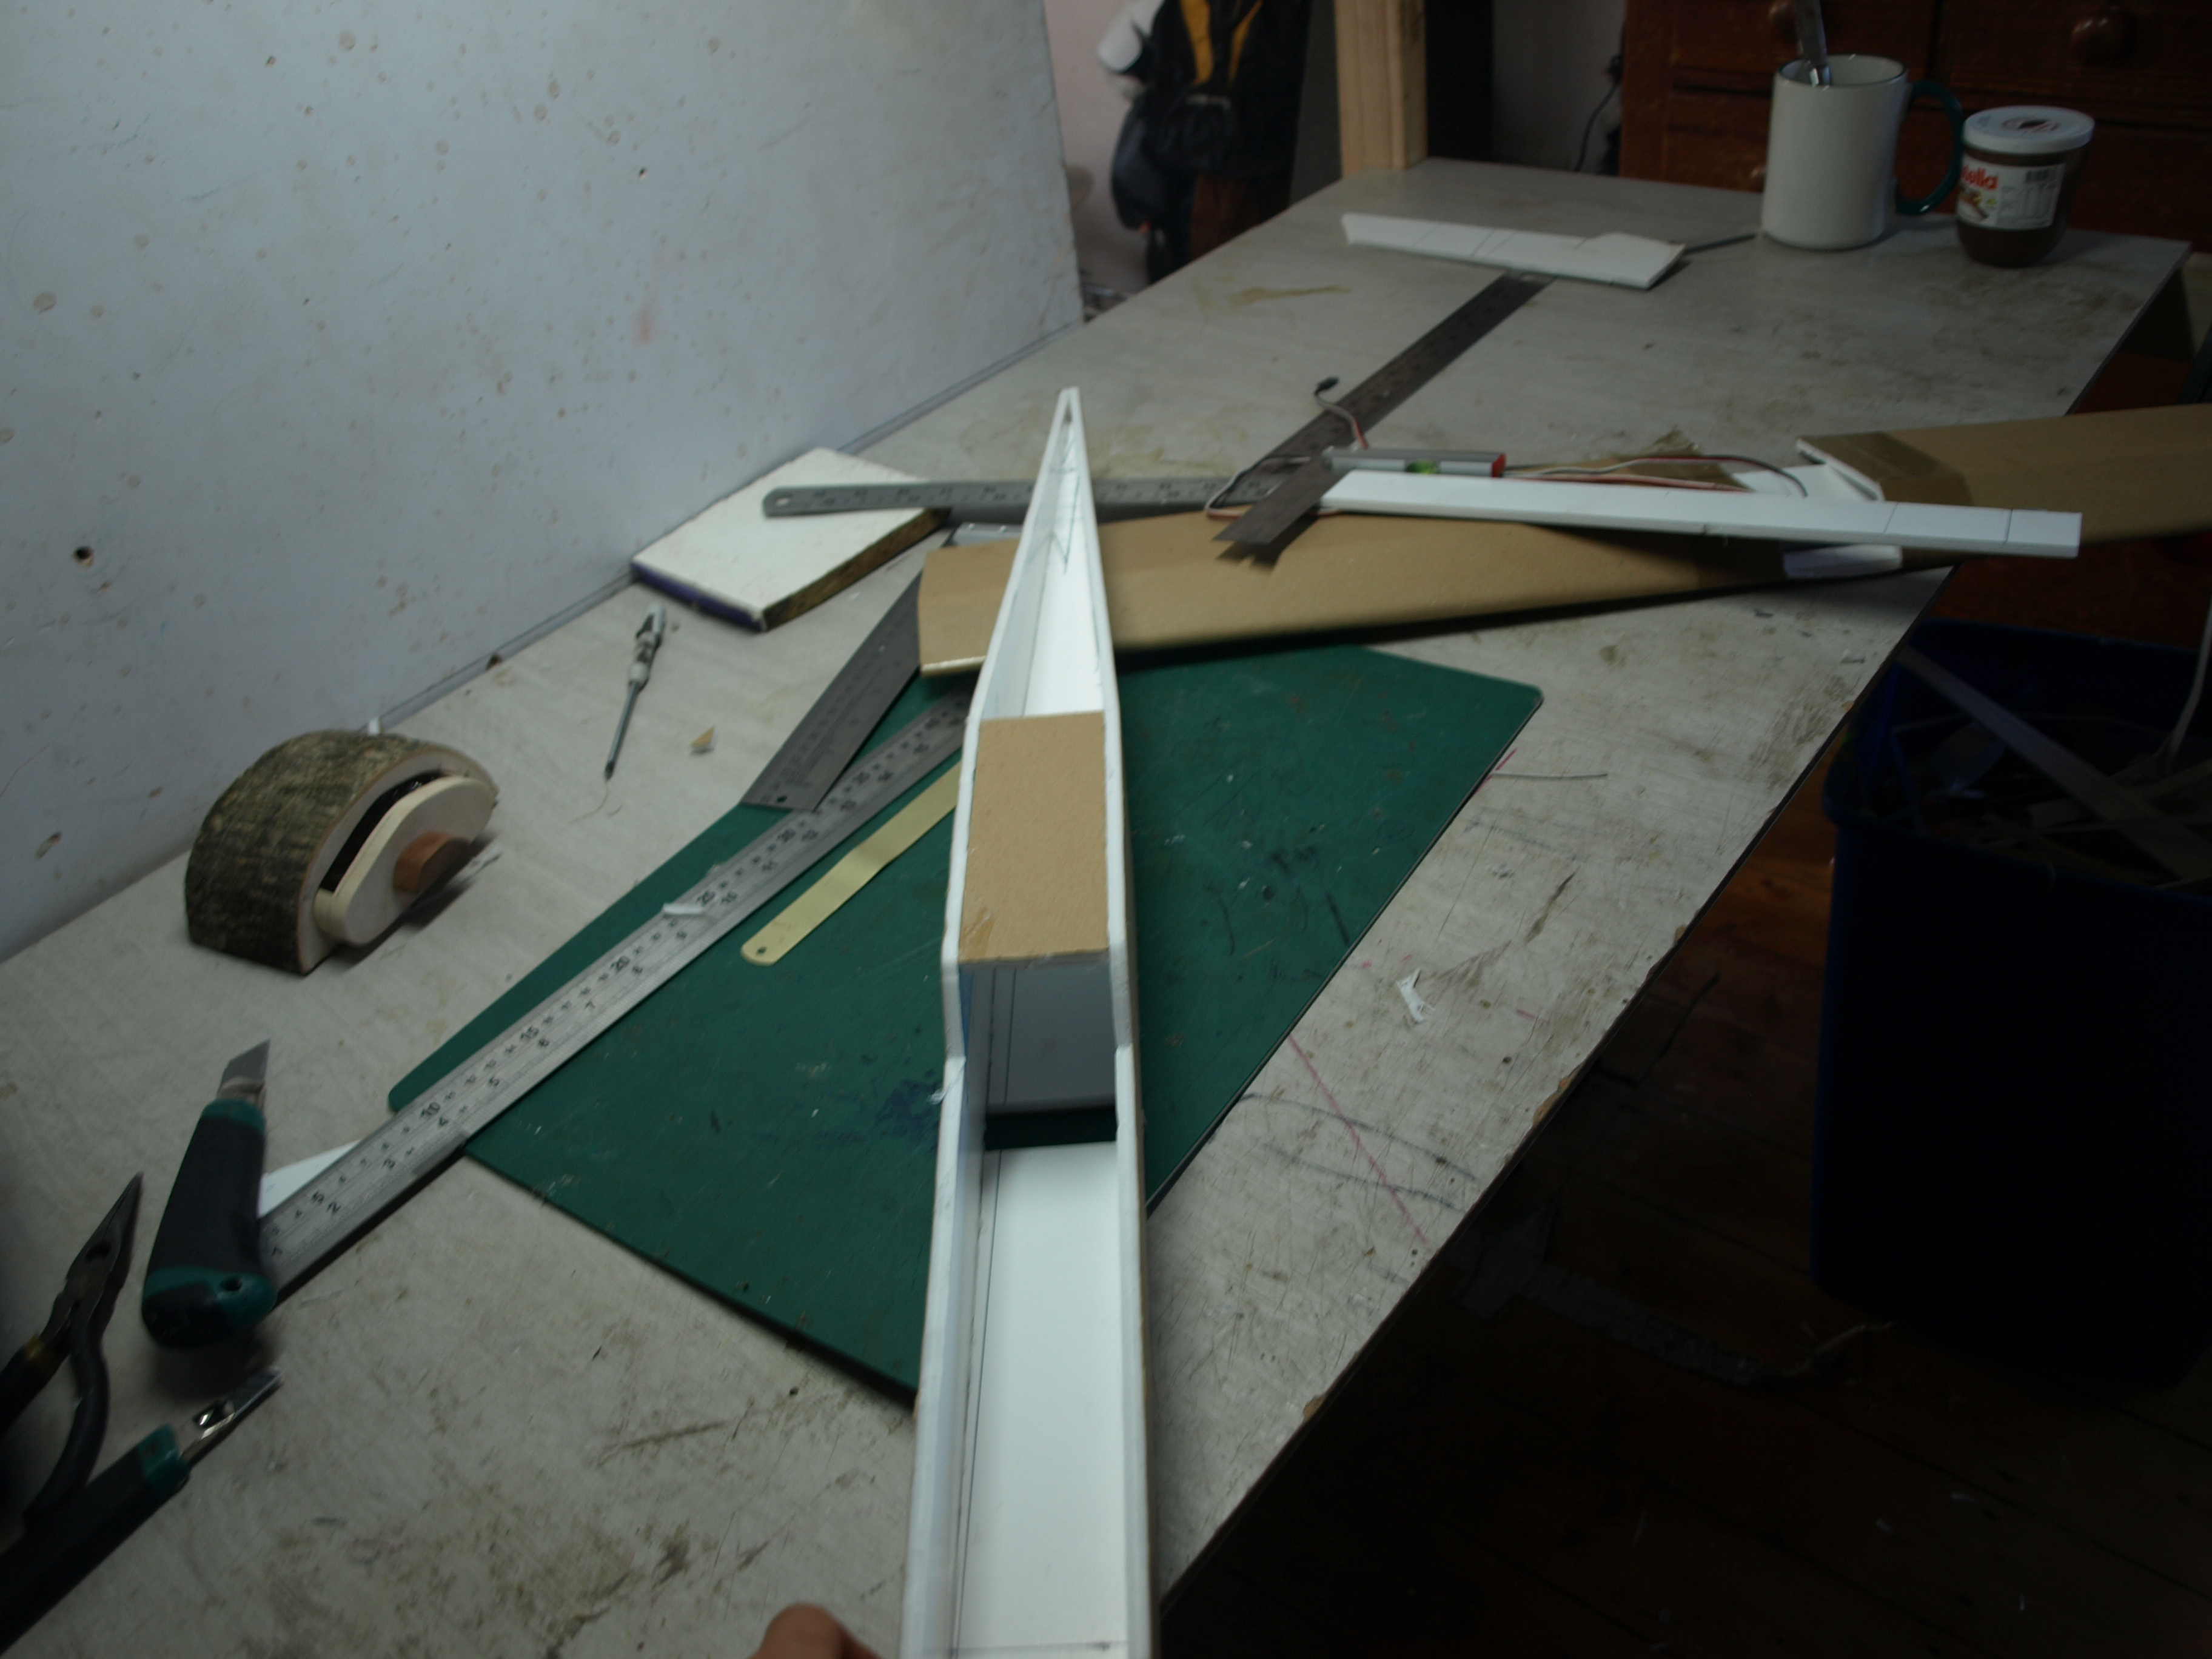
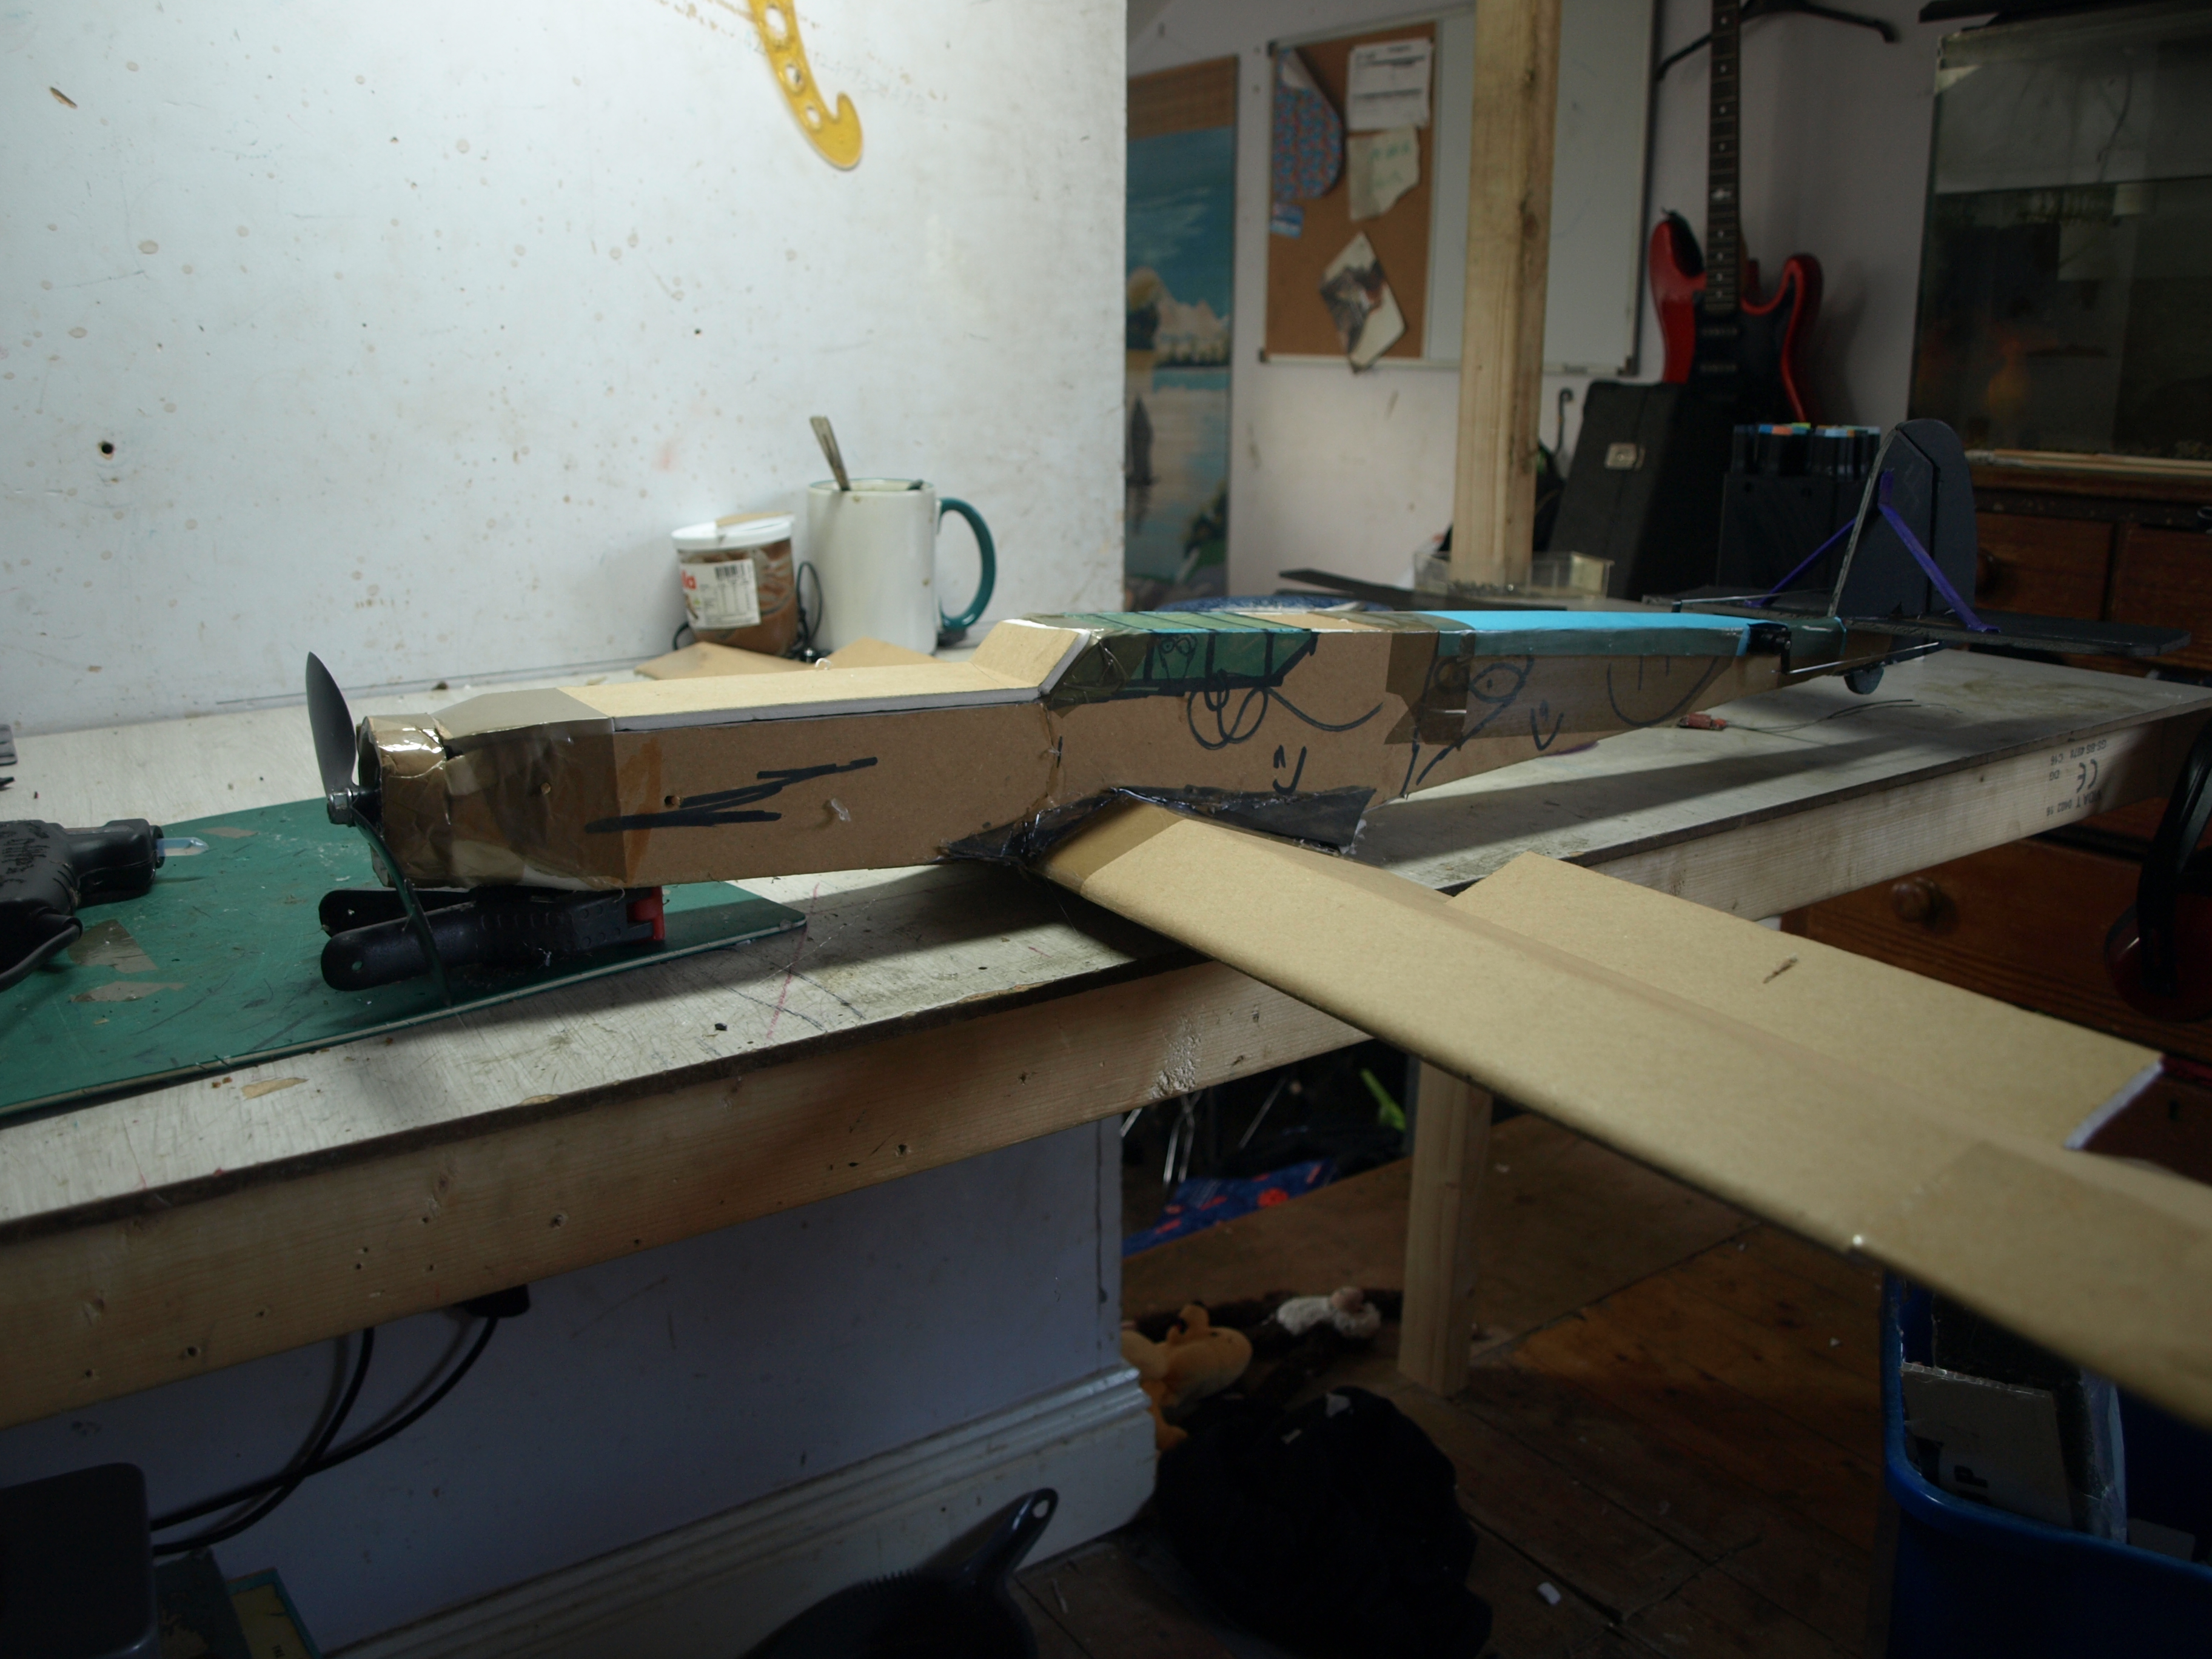
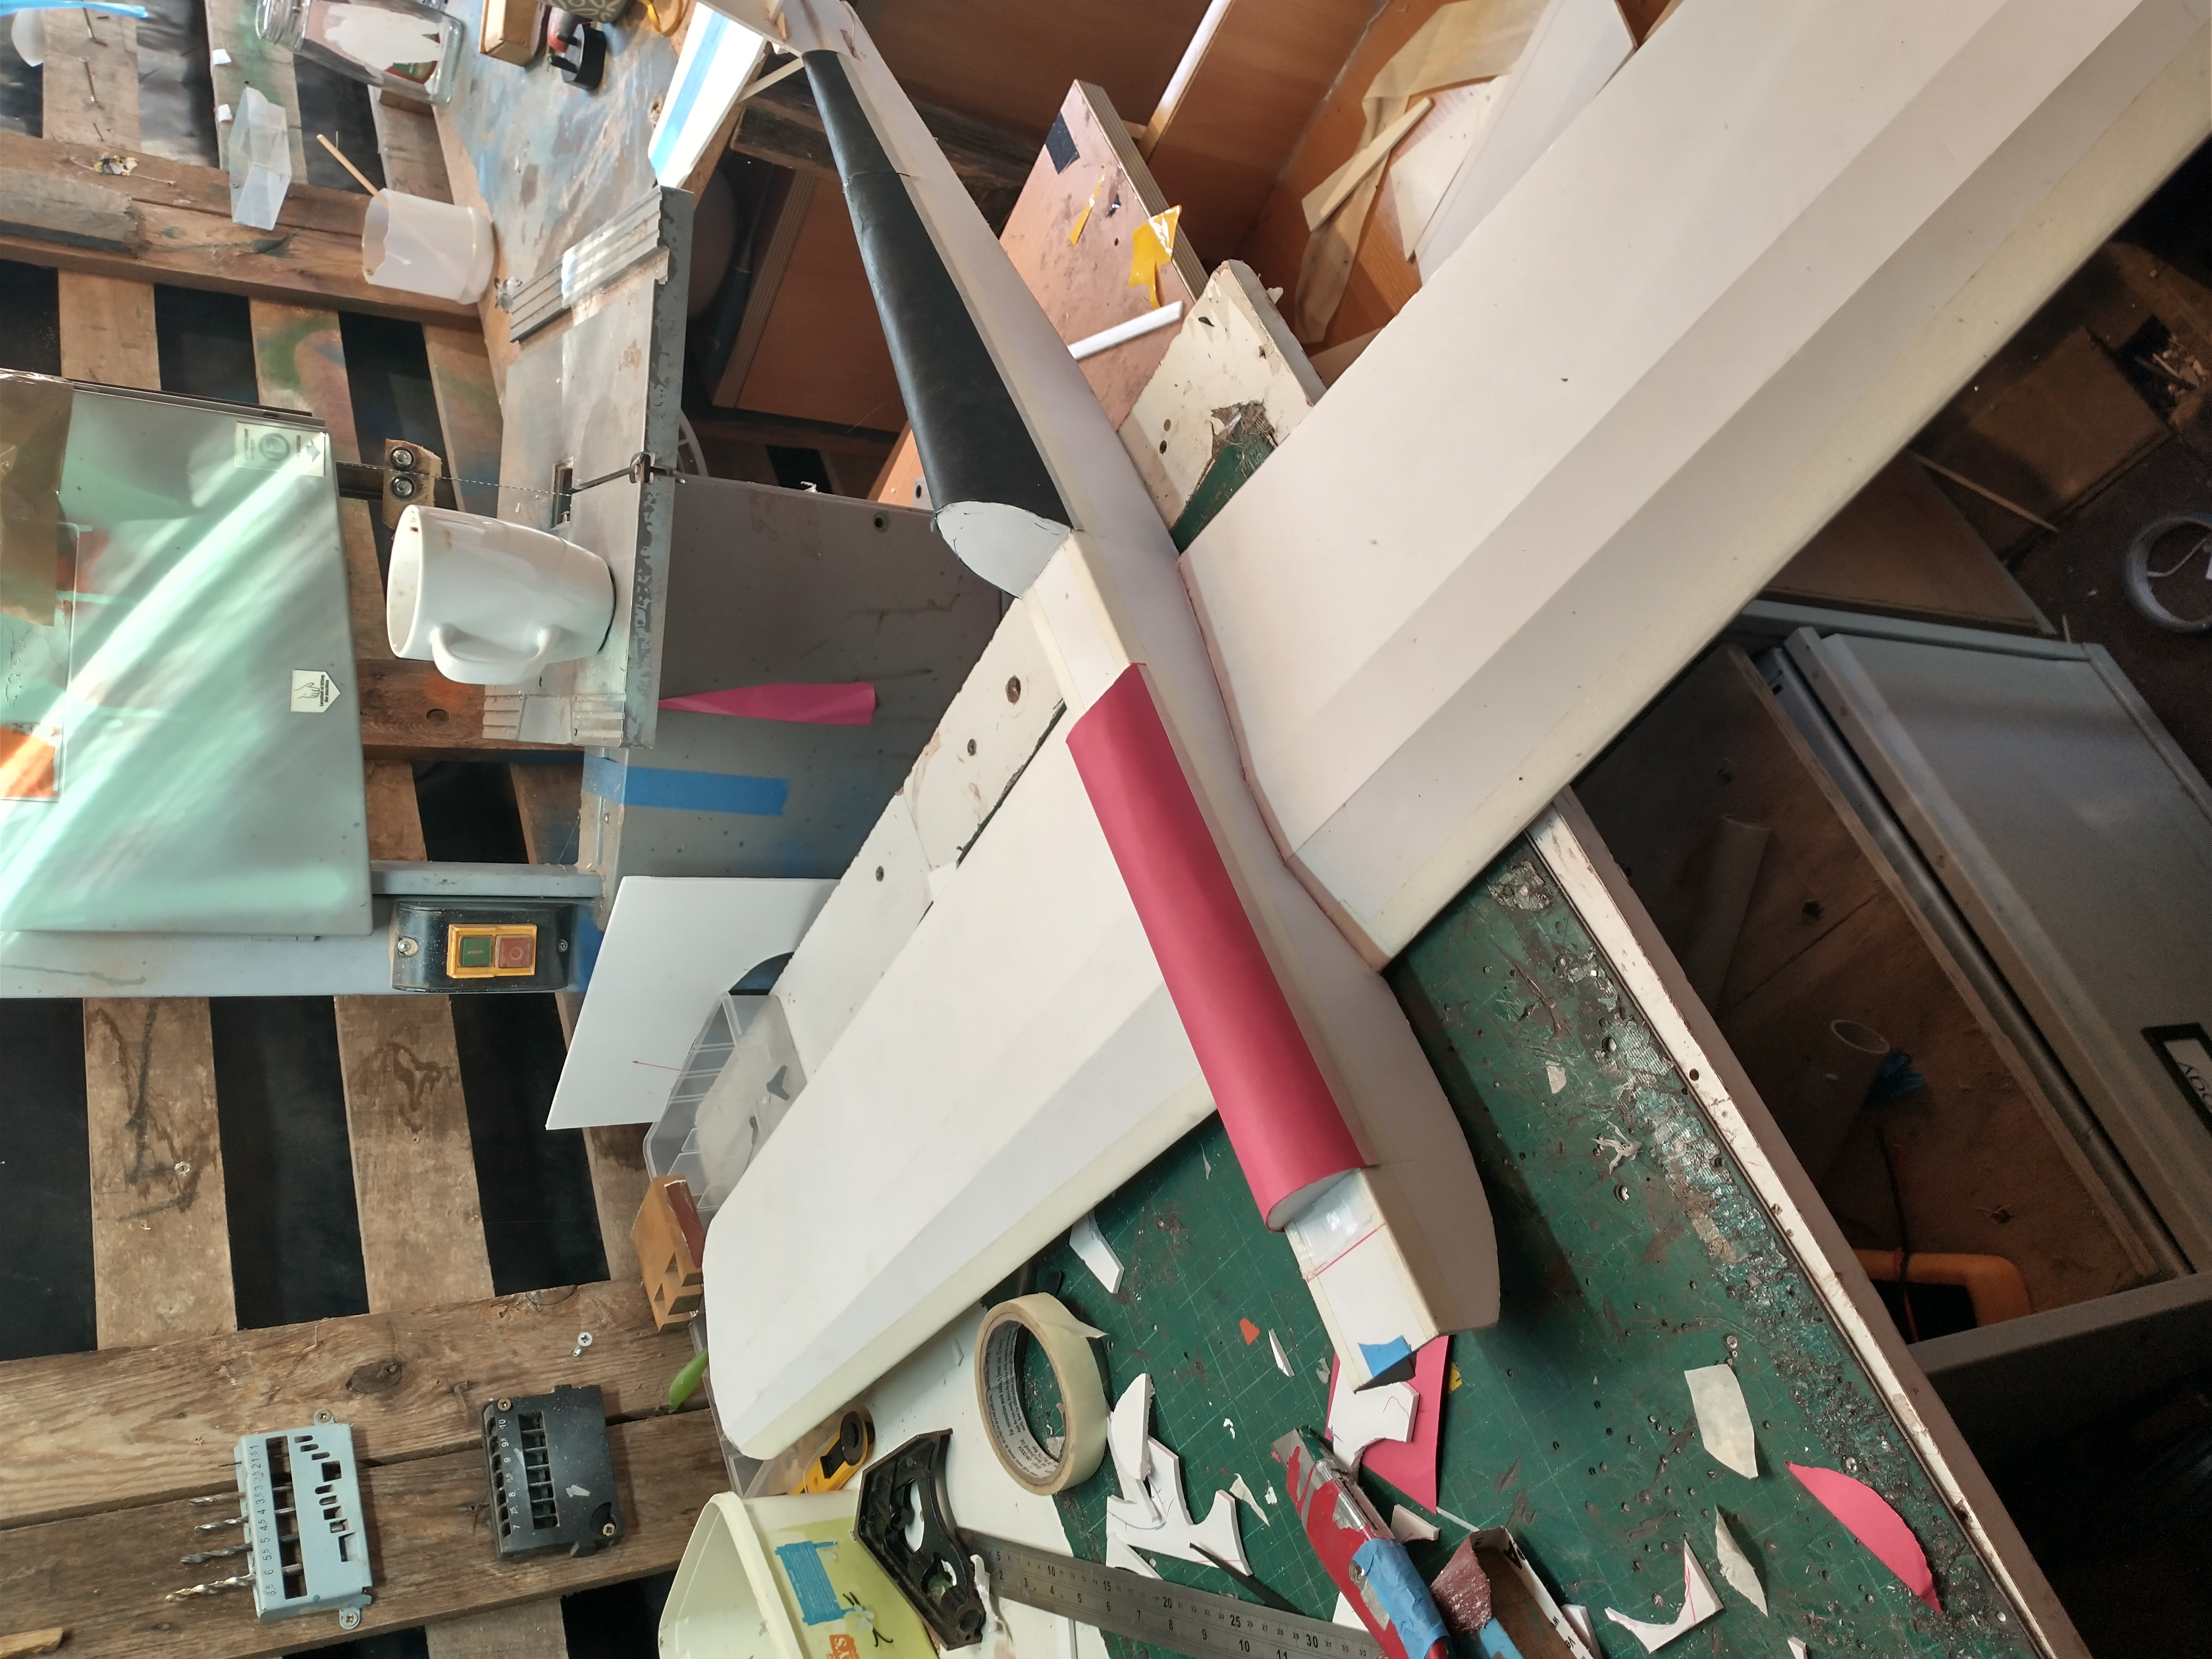
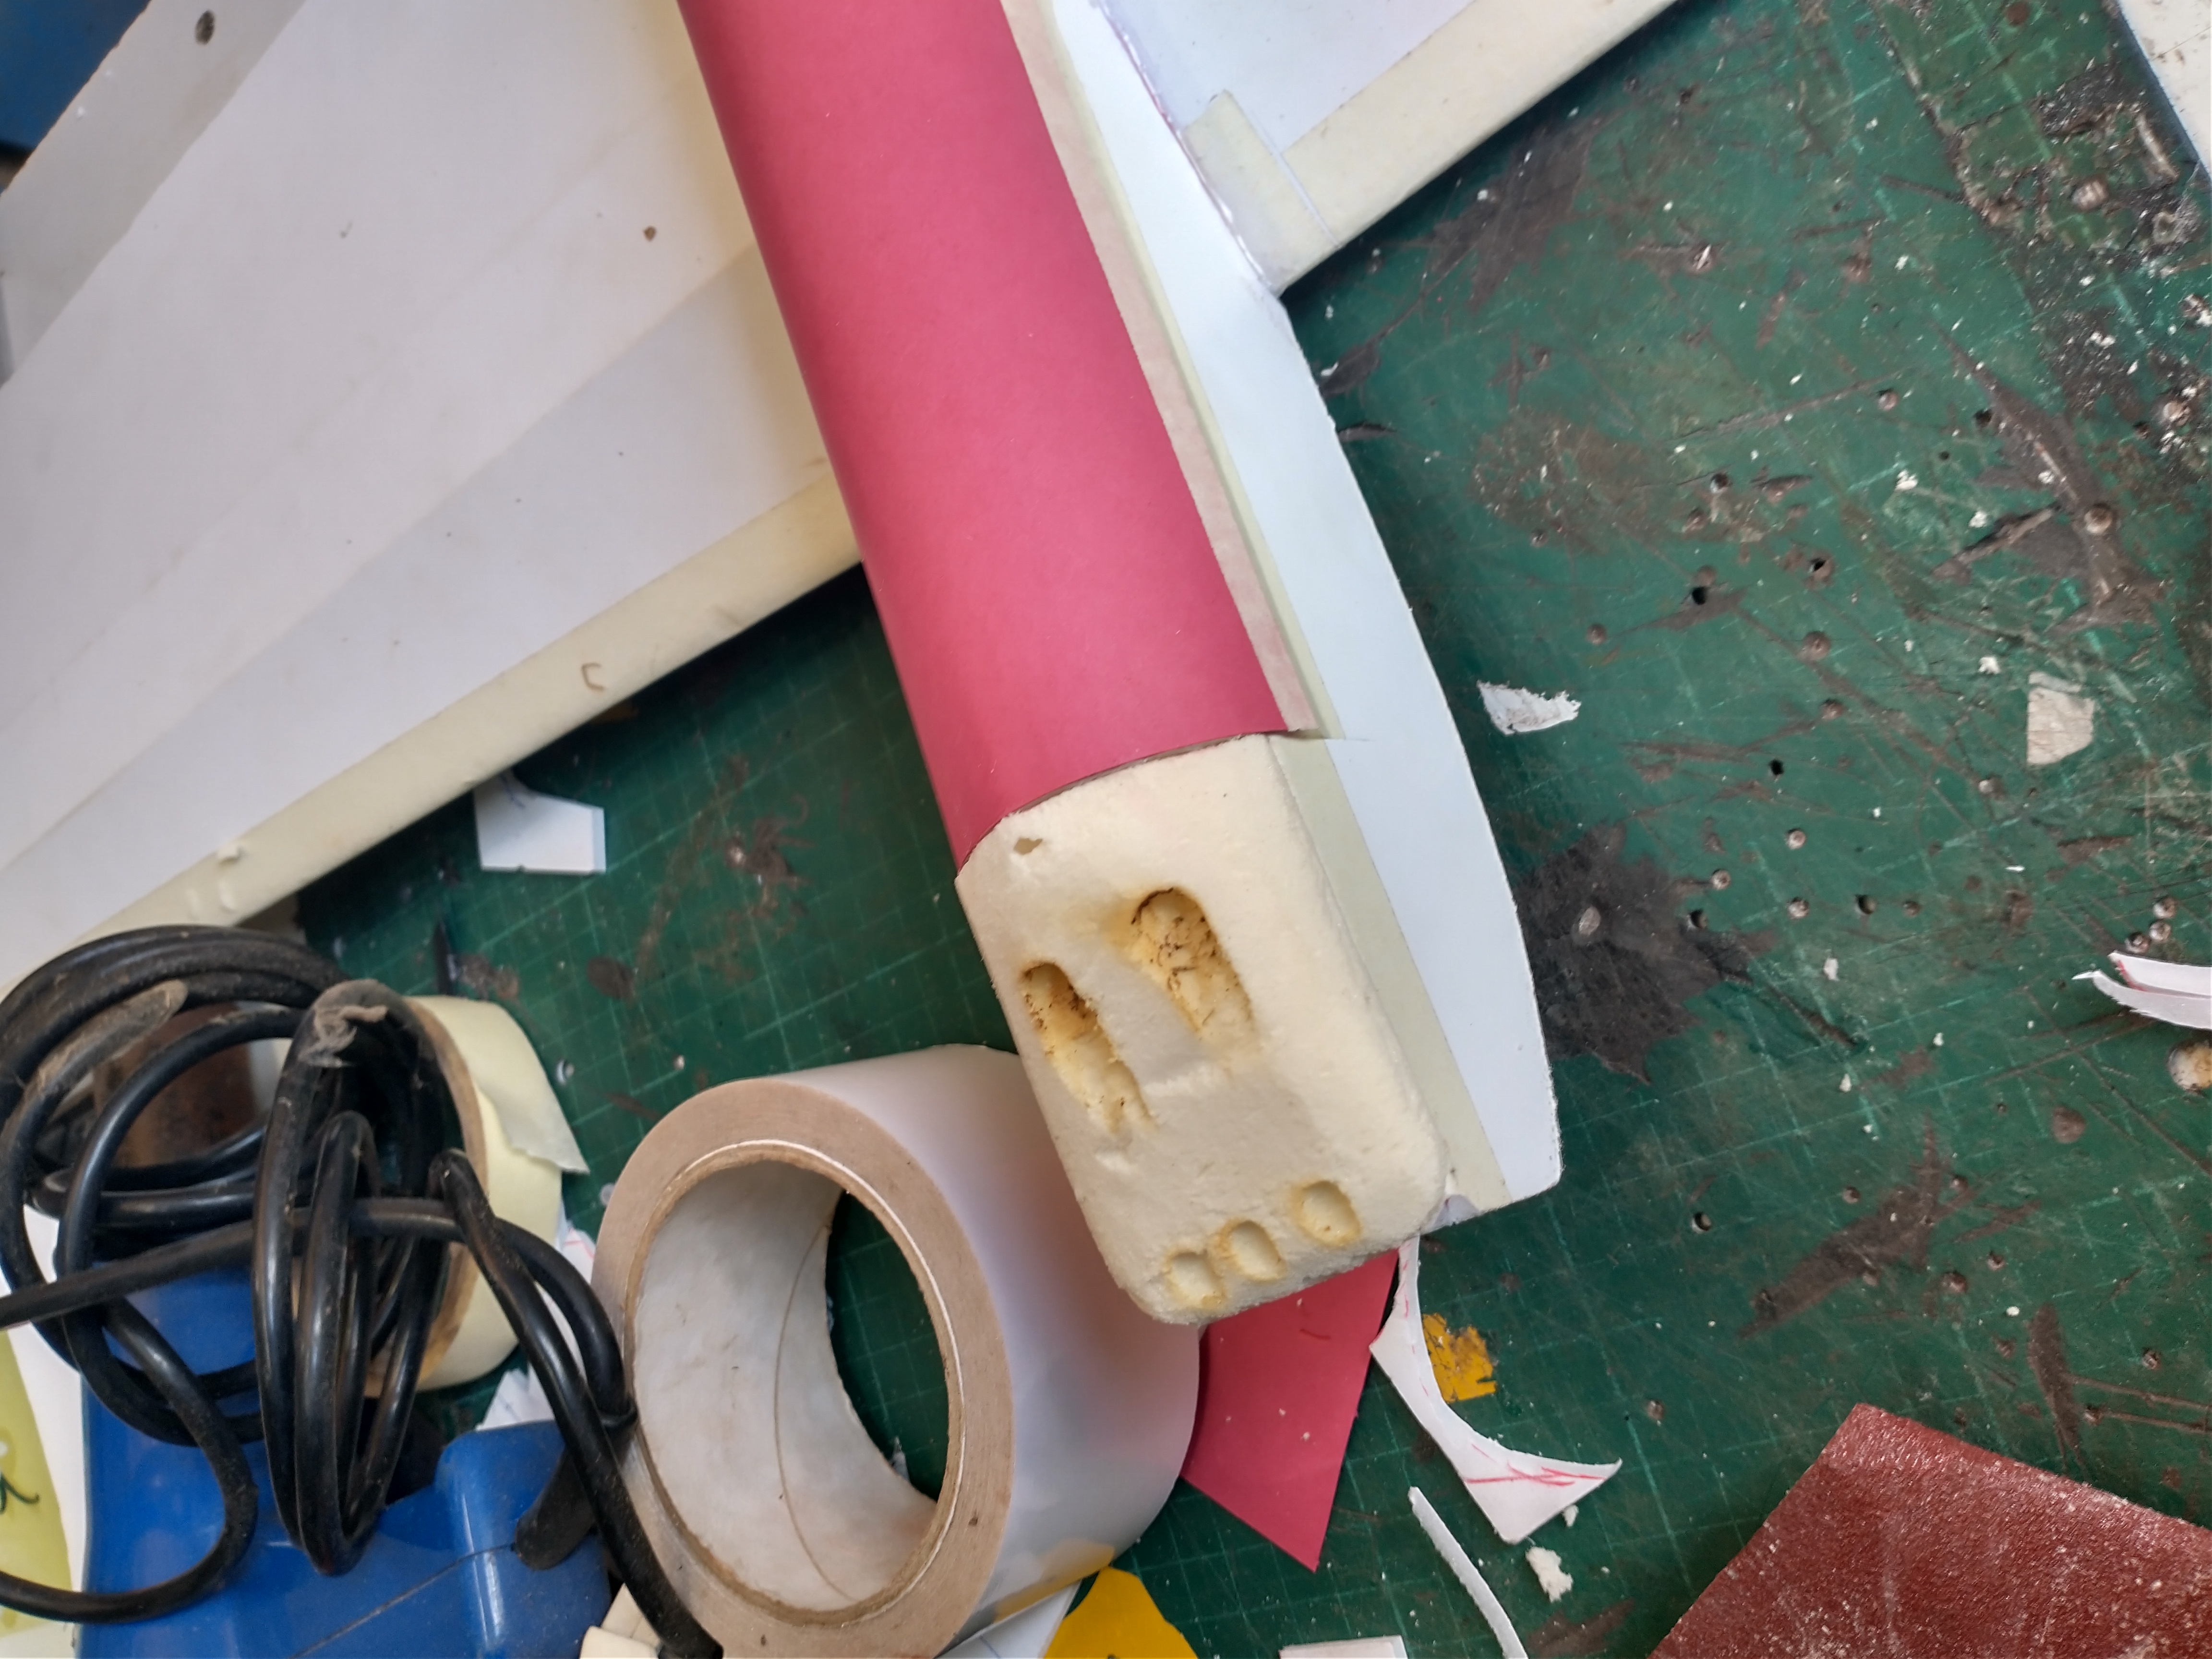
Then, to round the nose, I made a sort of cowl and fitted it to the front.
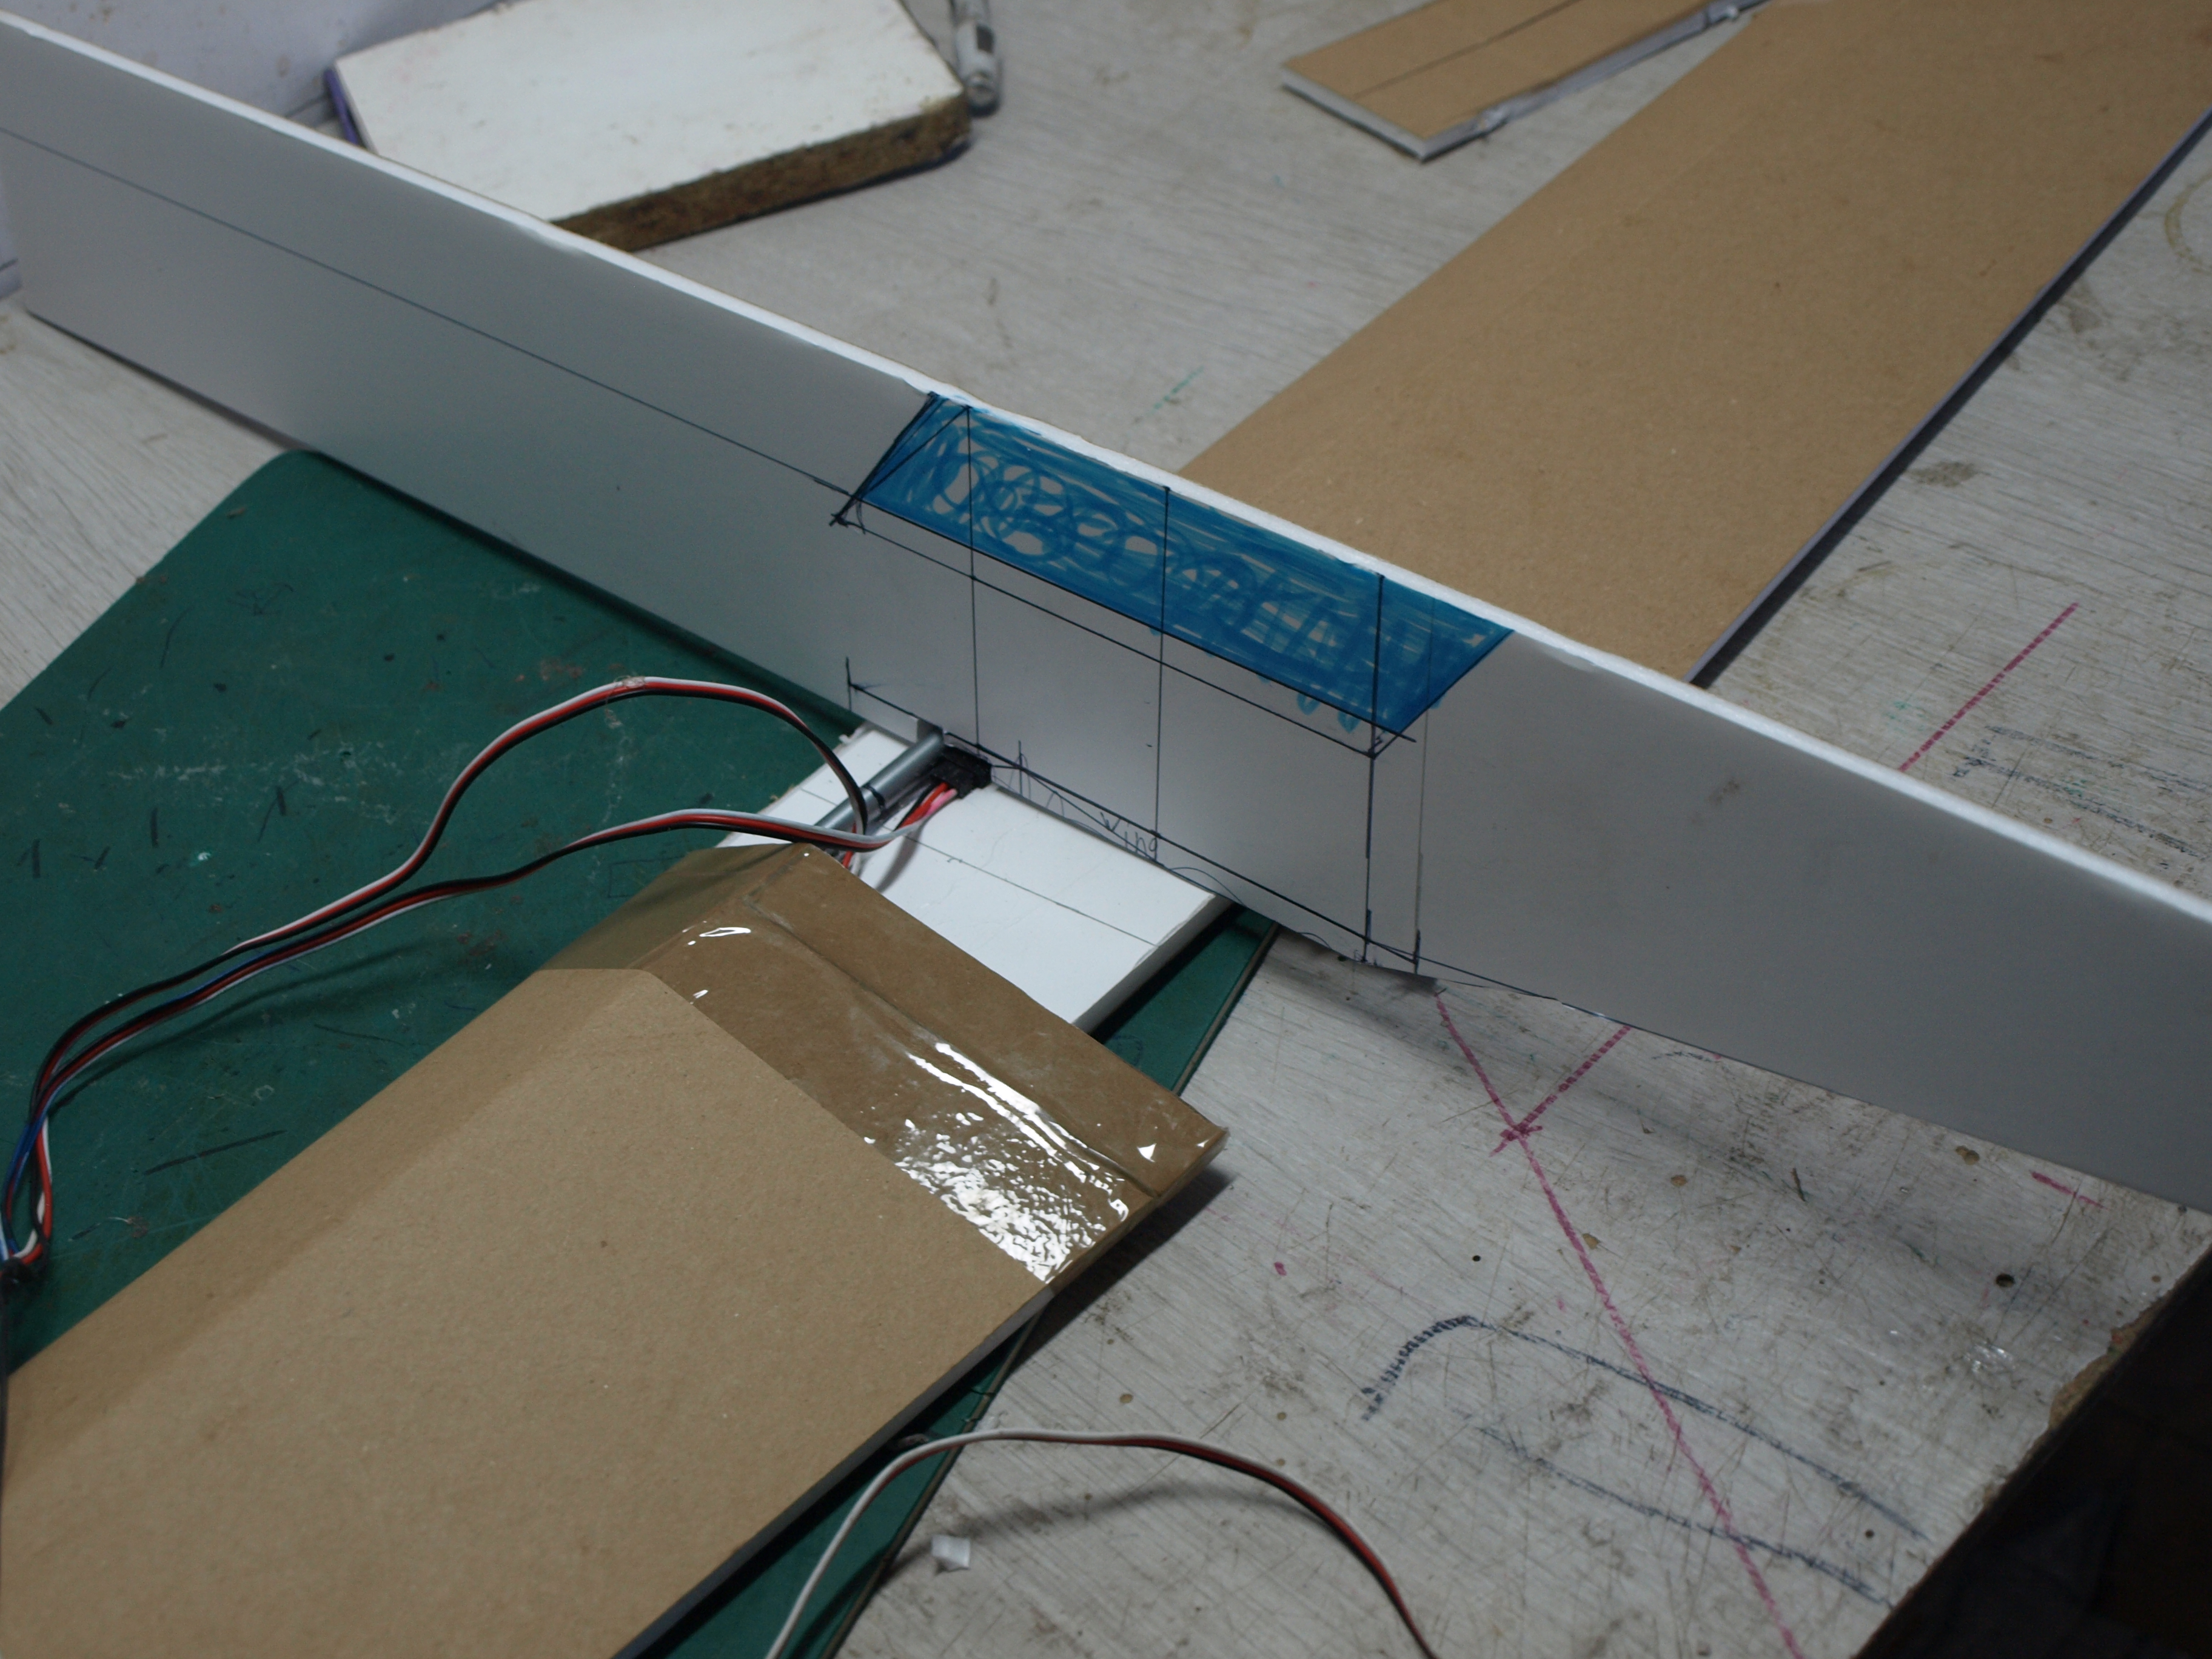
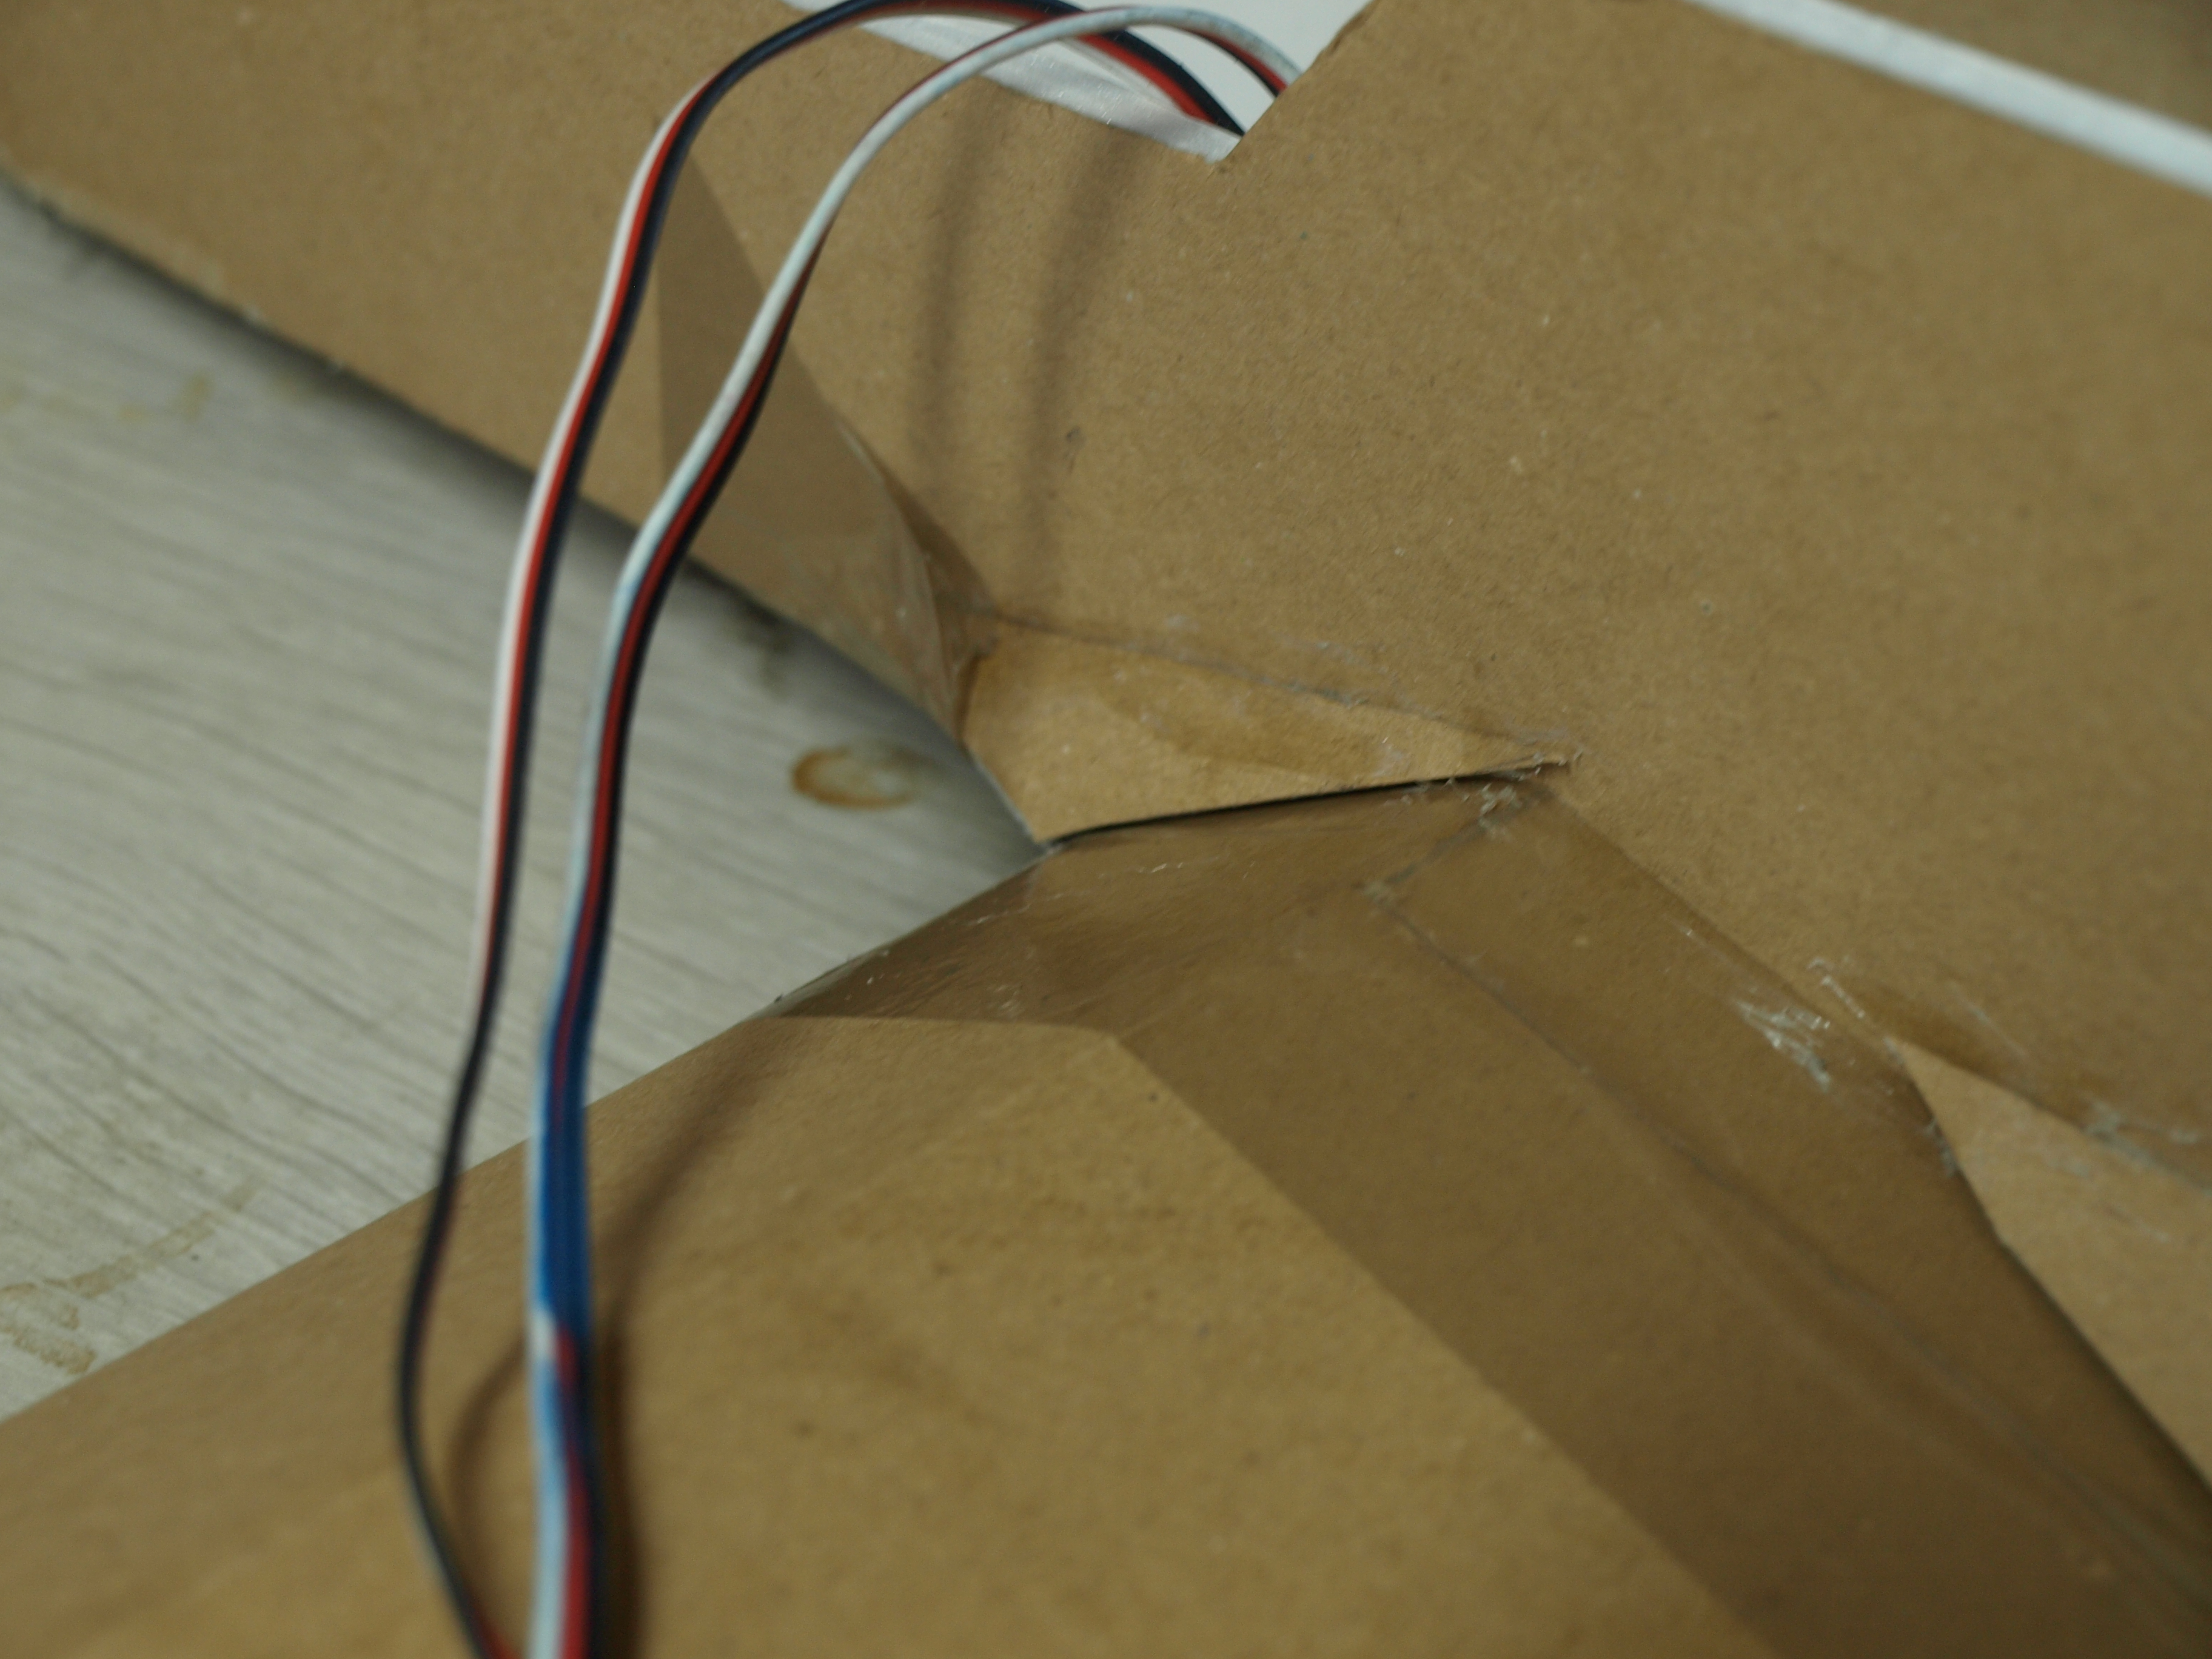
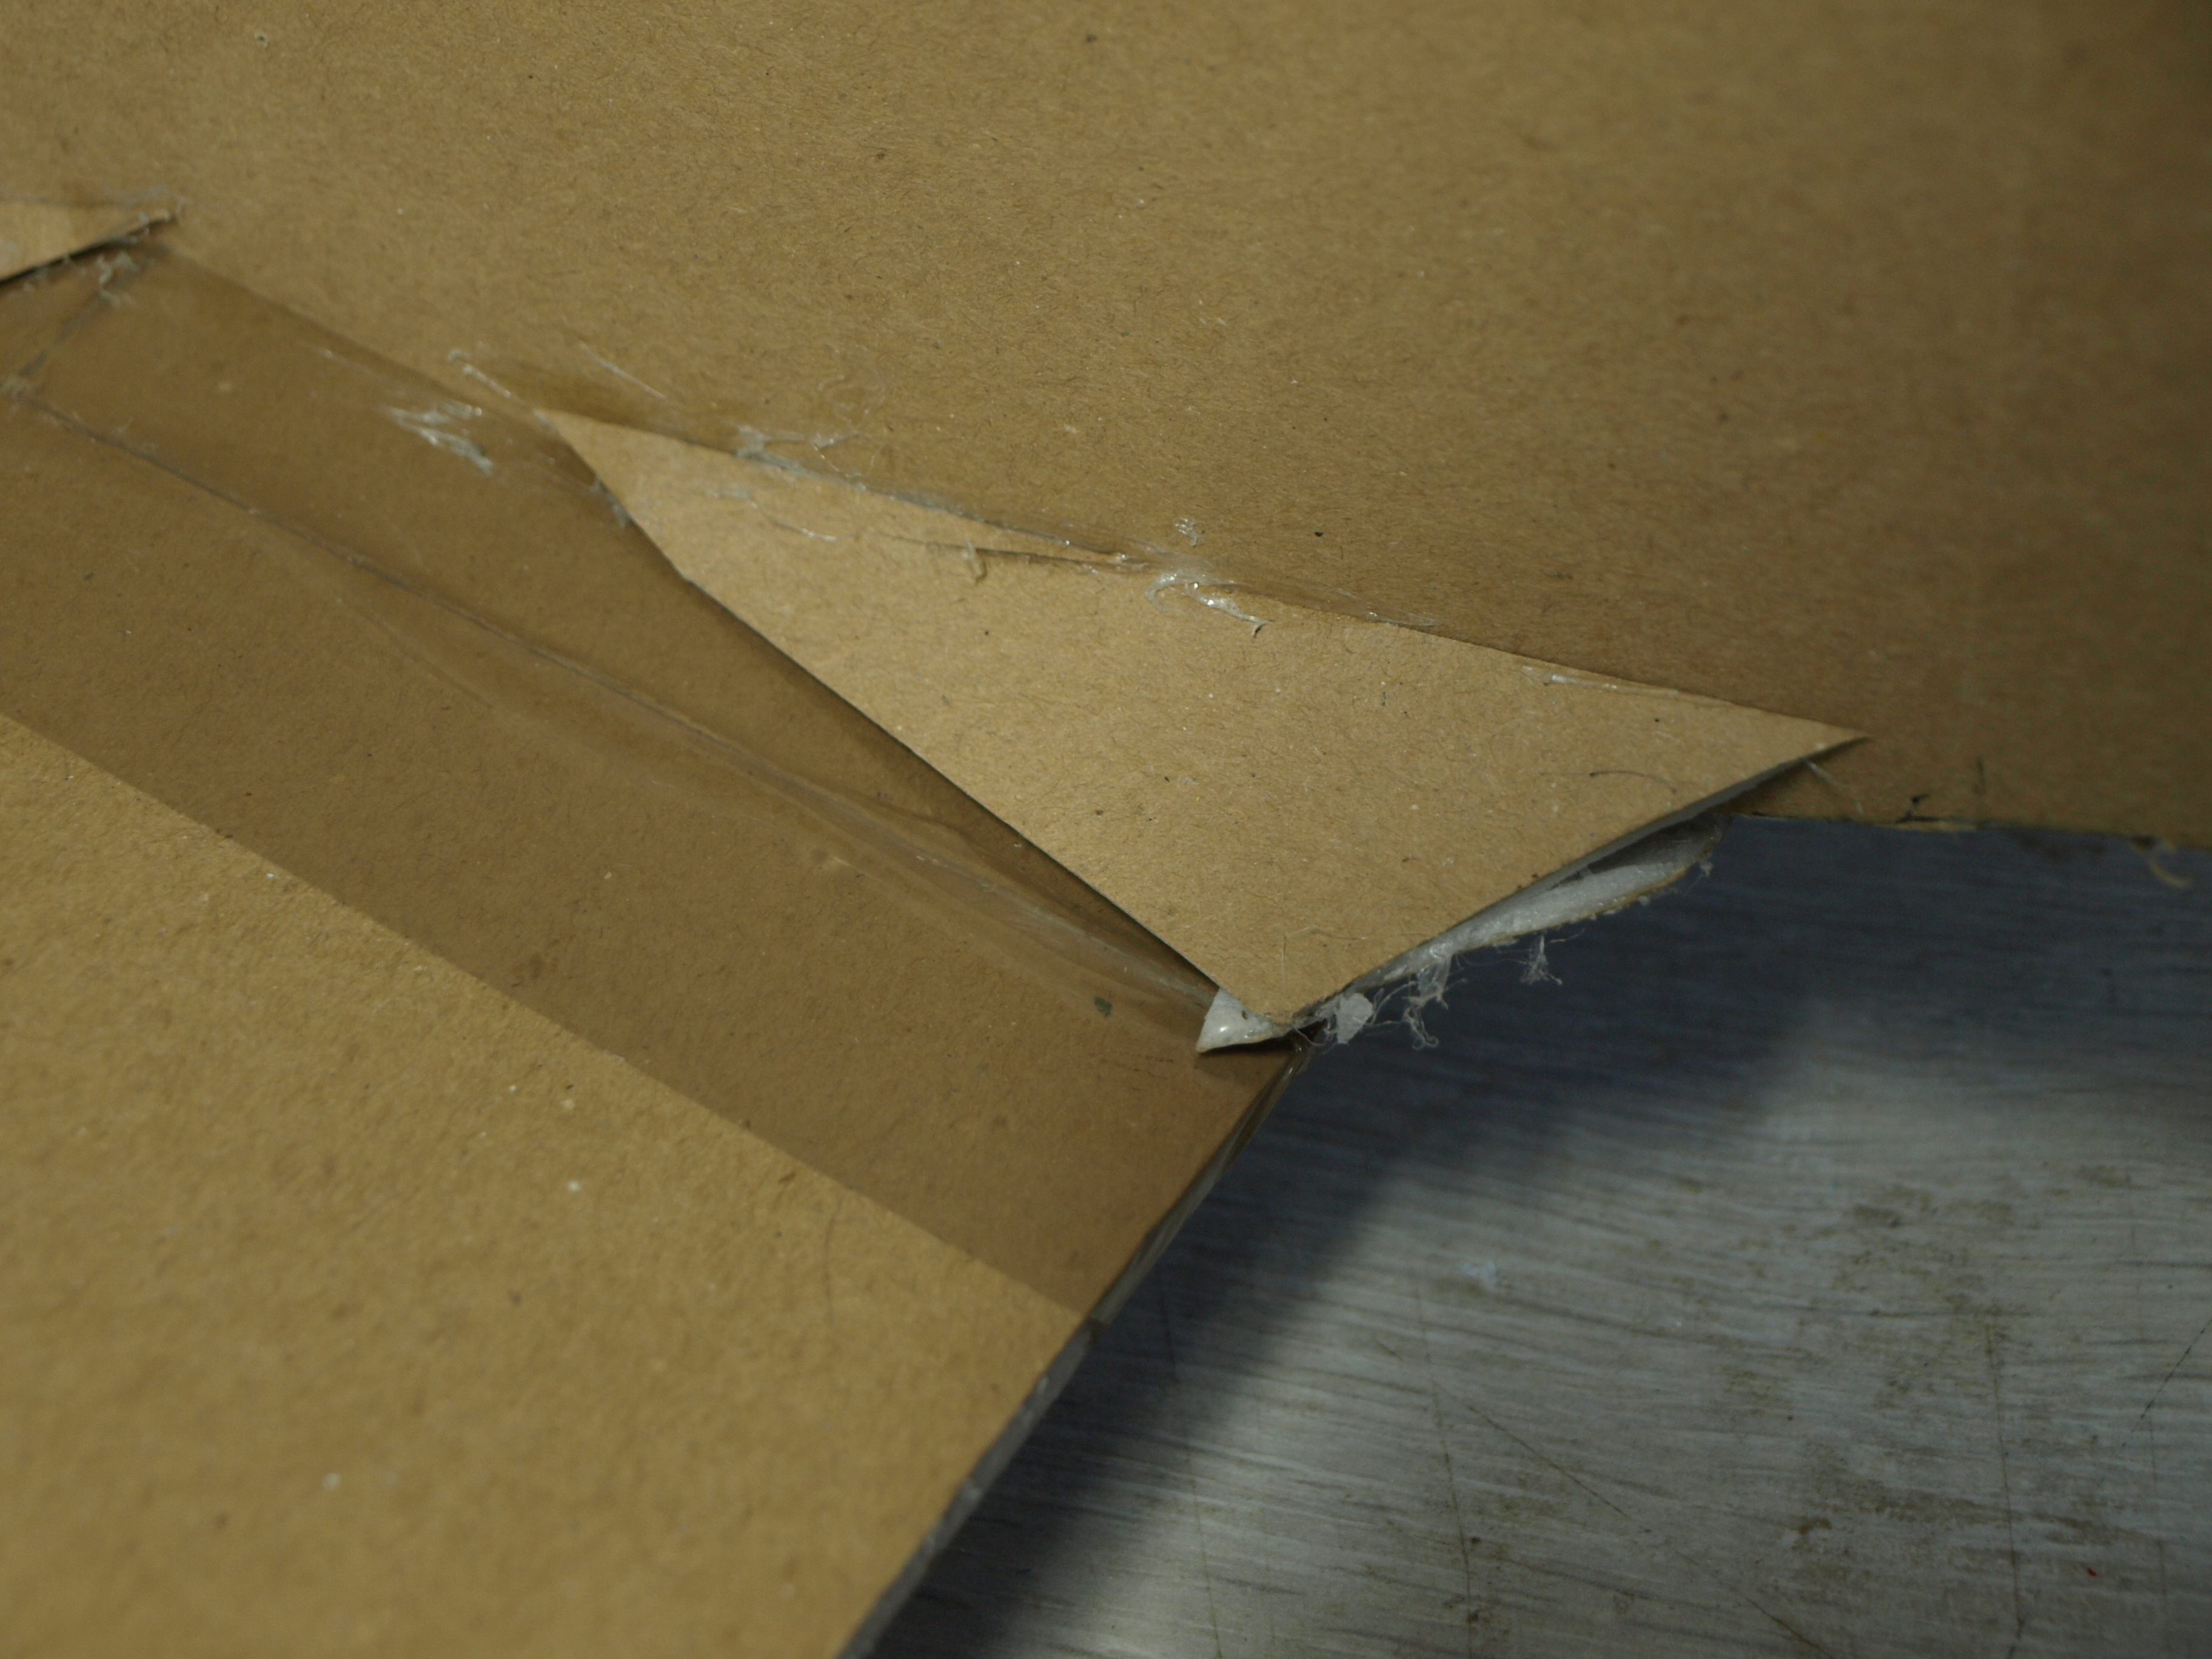
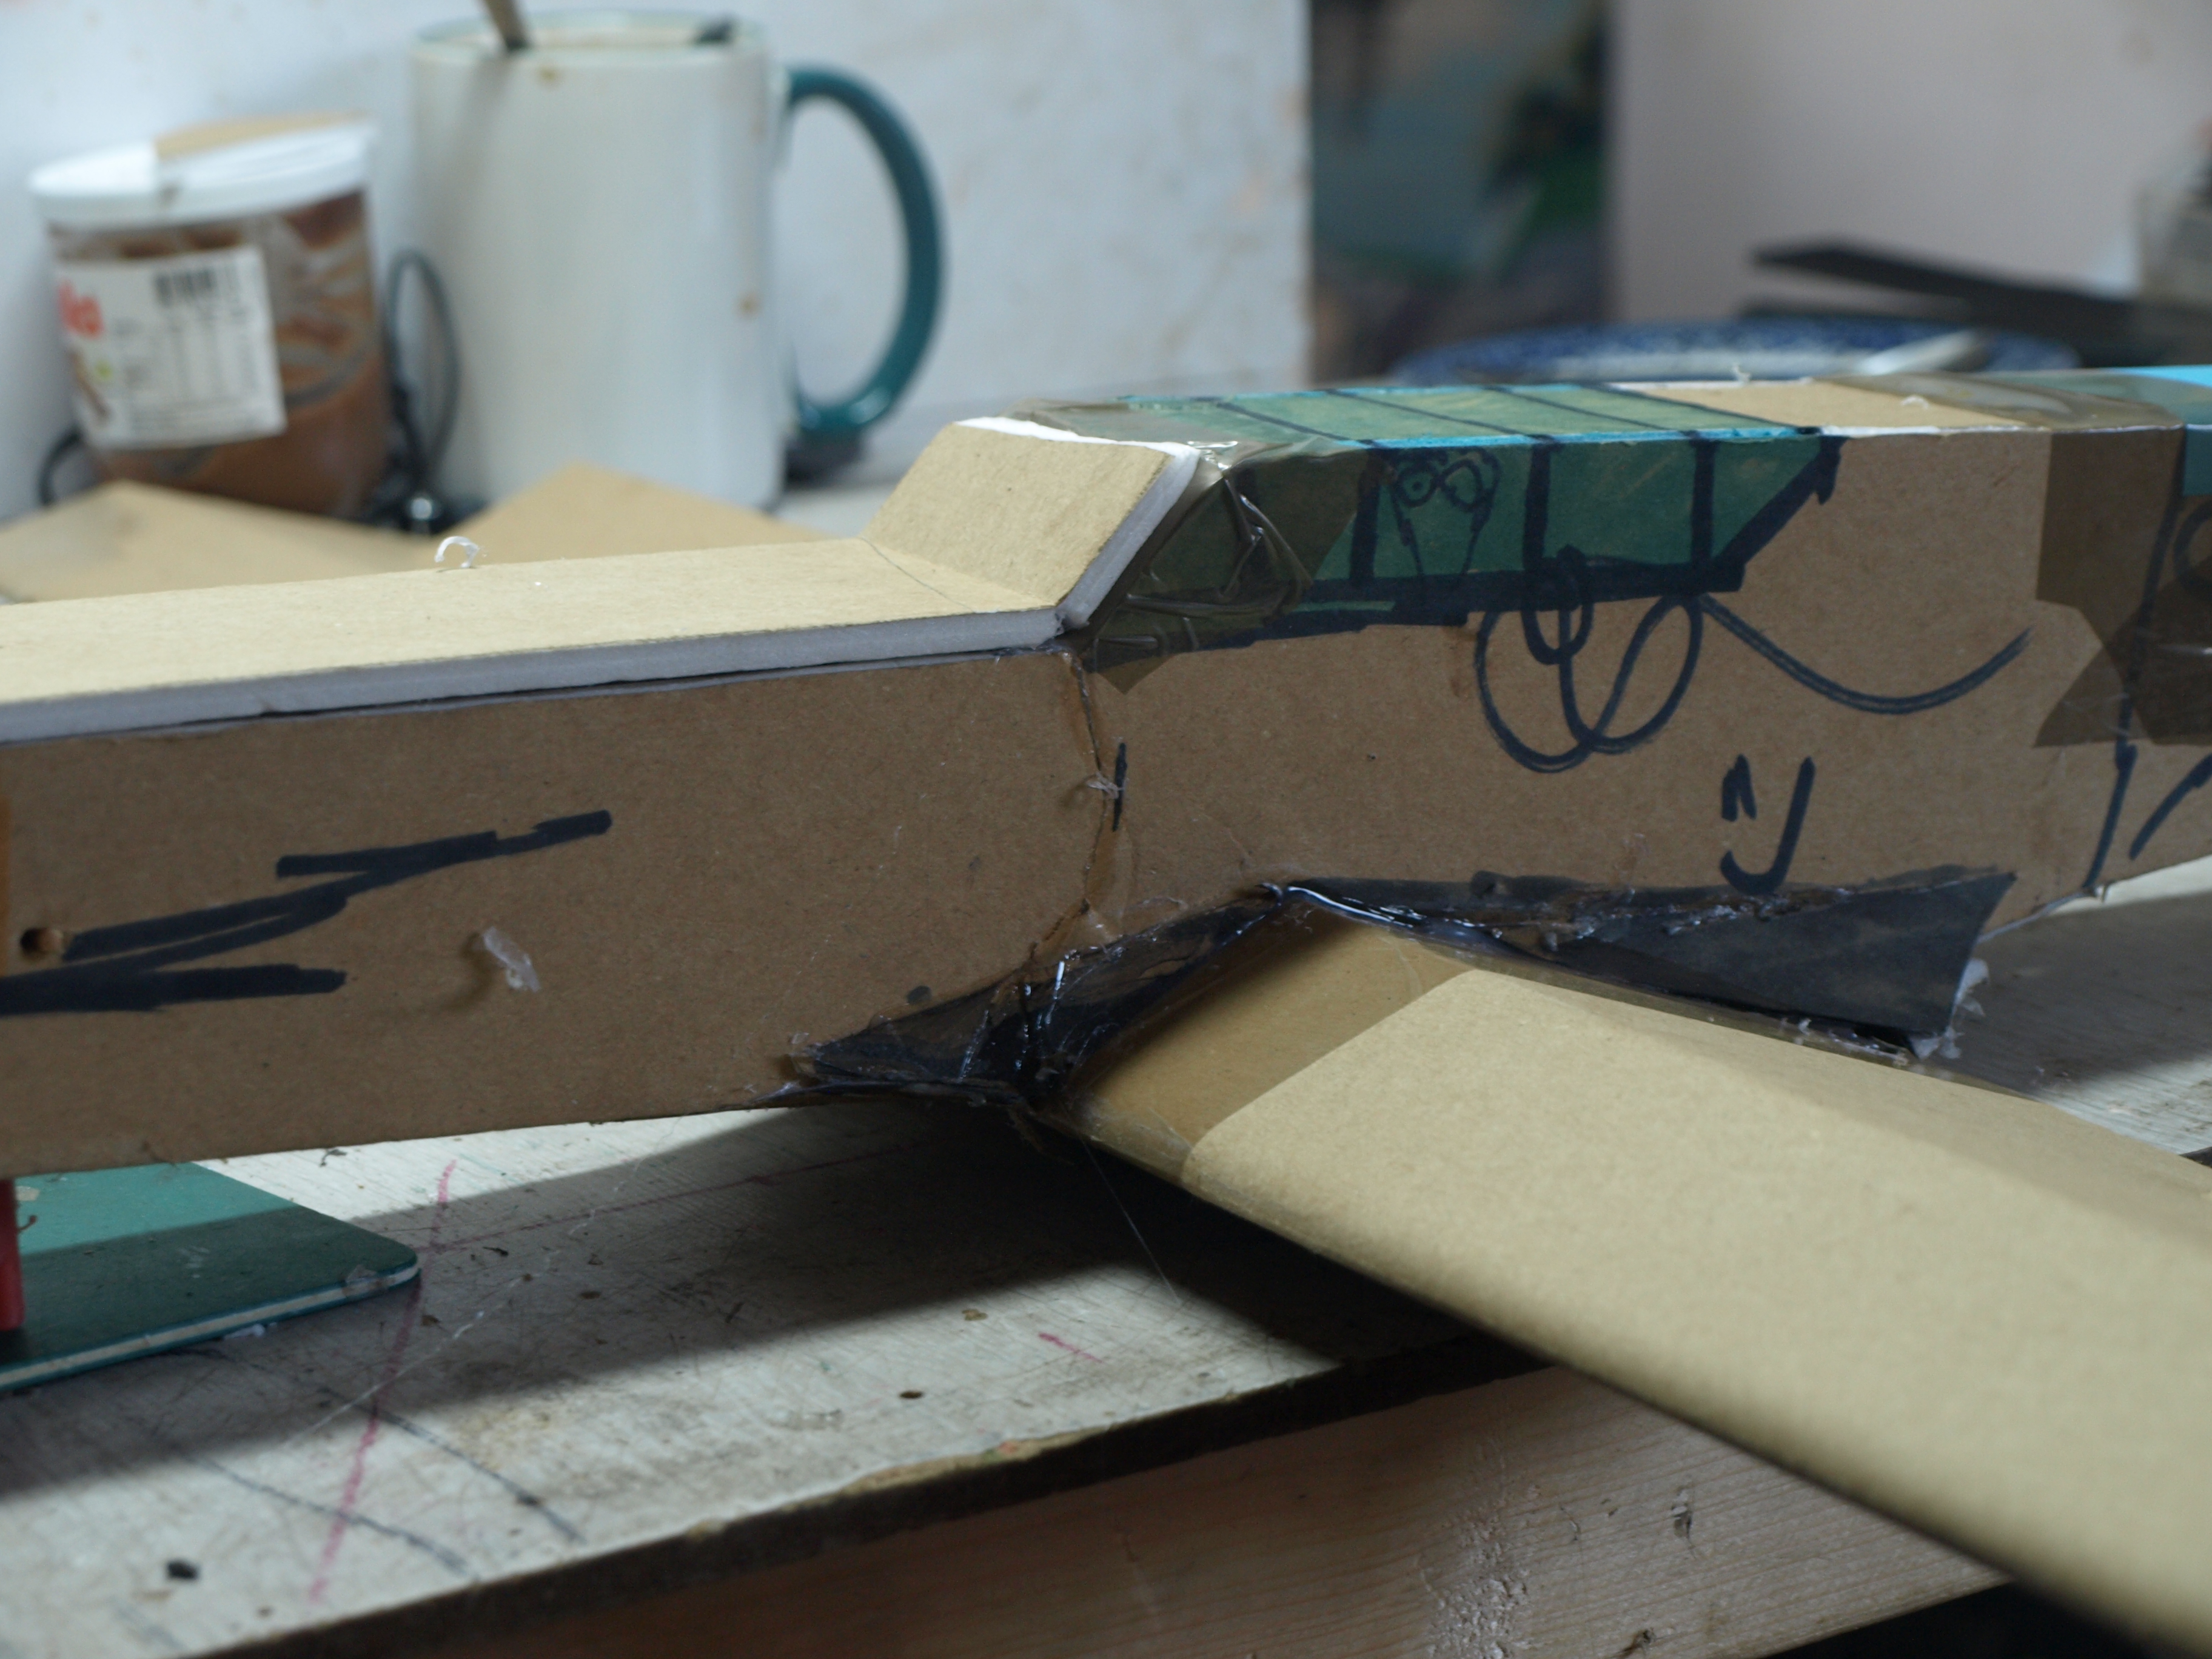
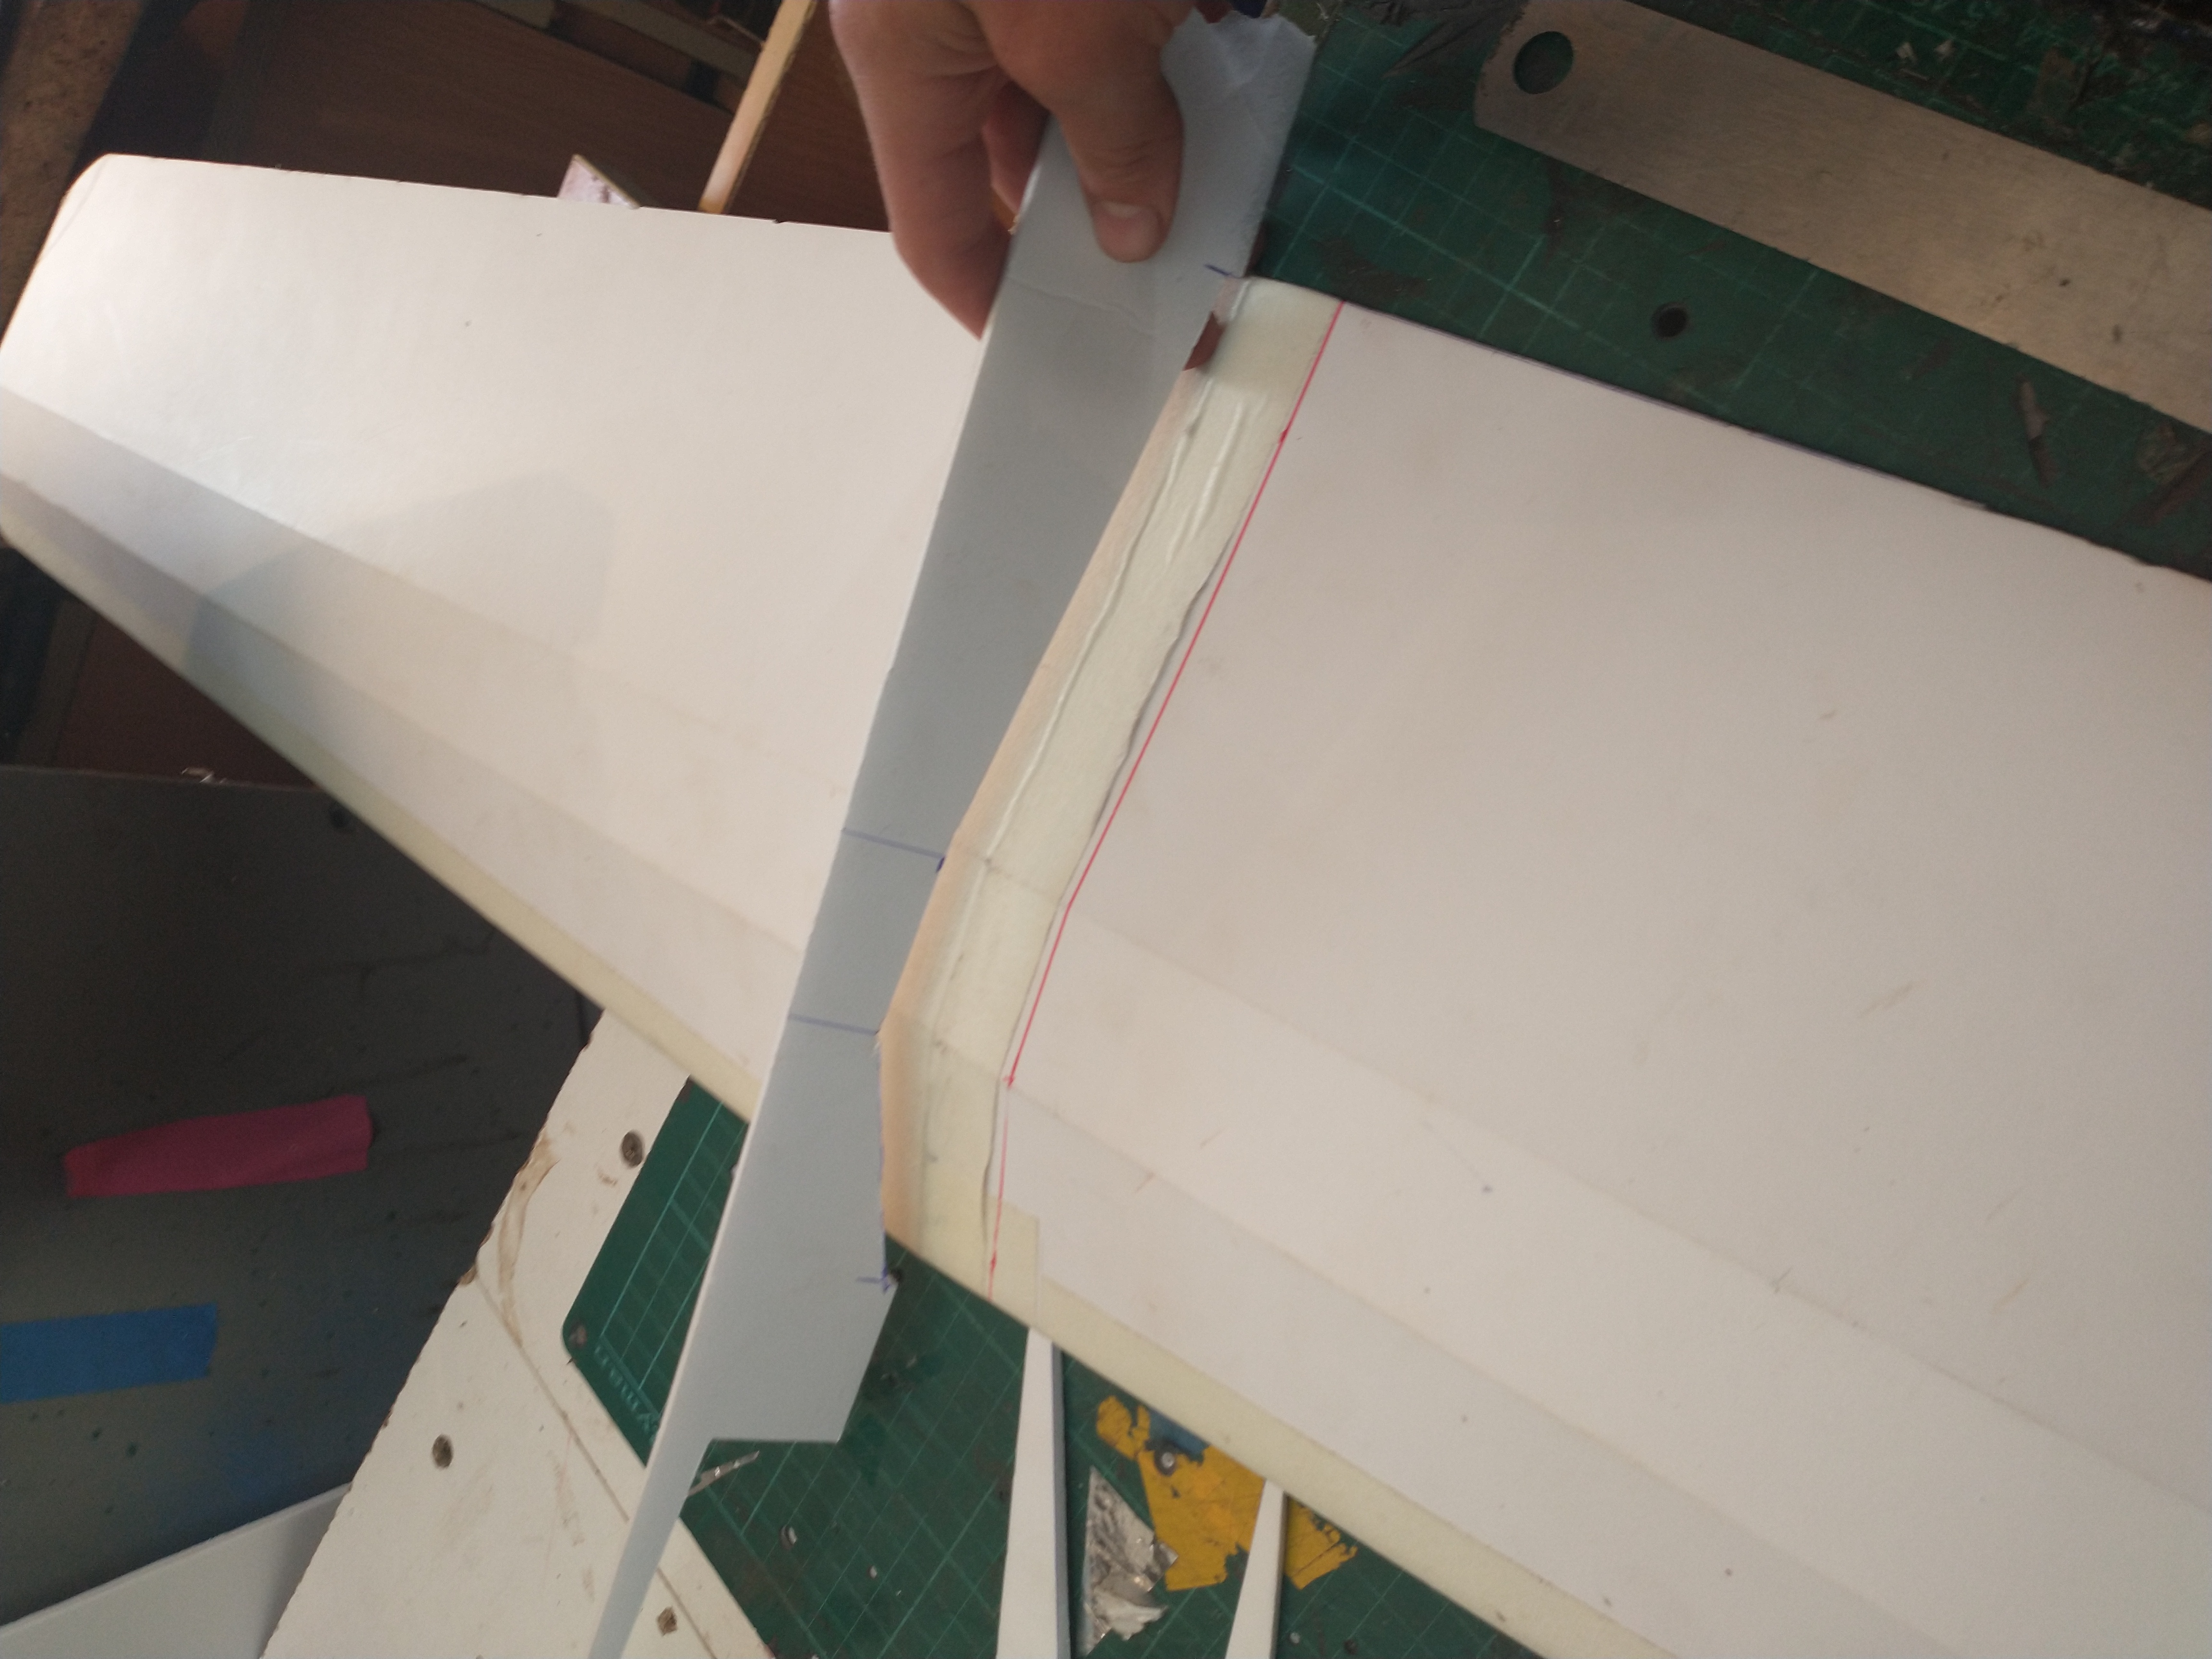
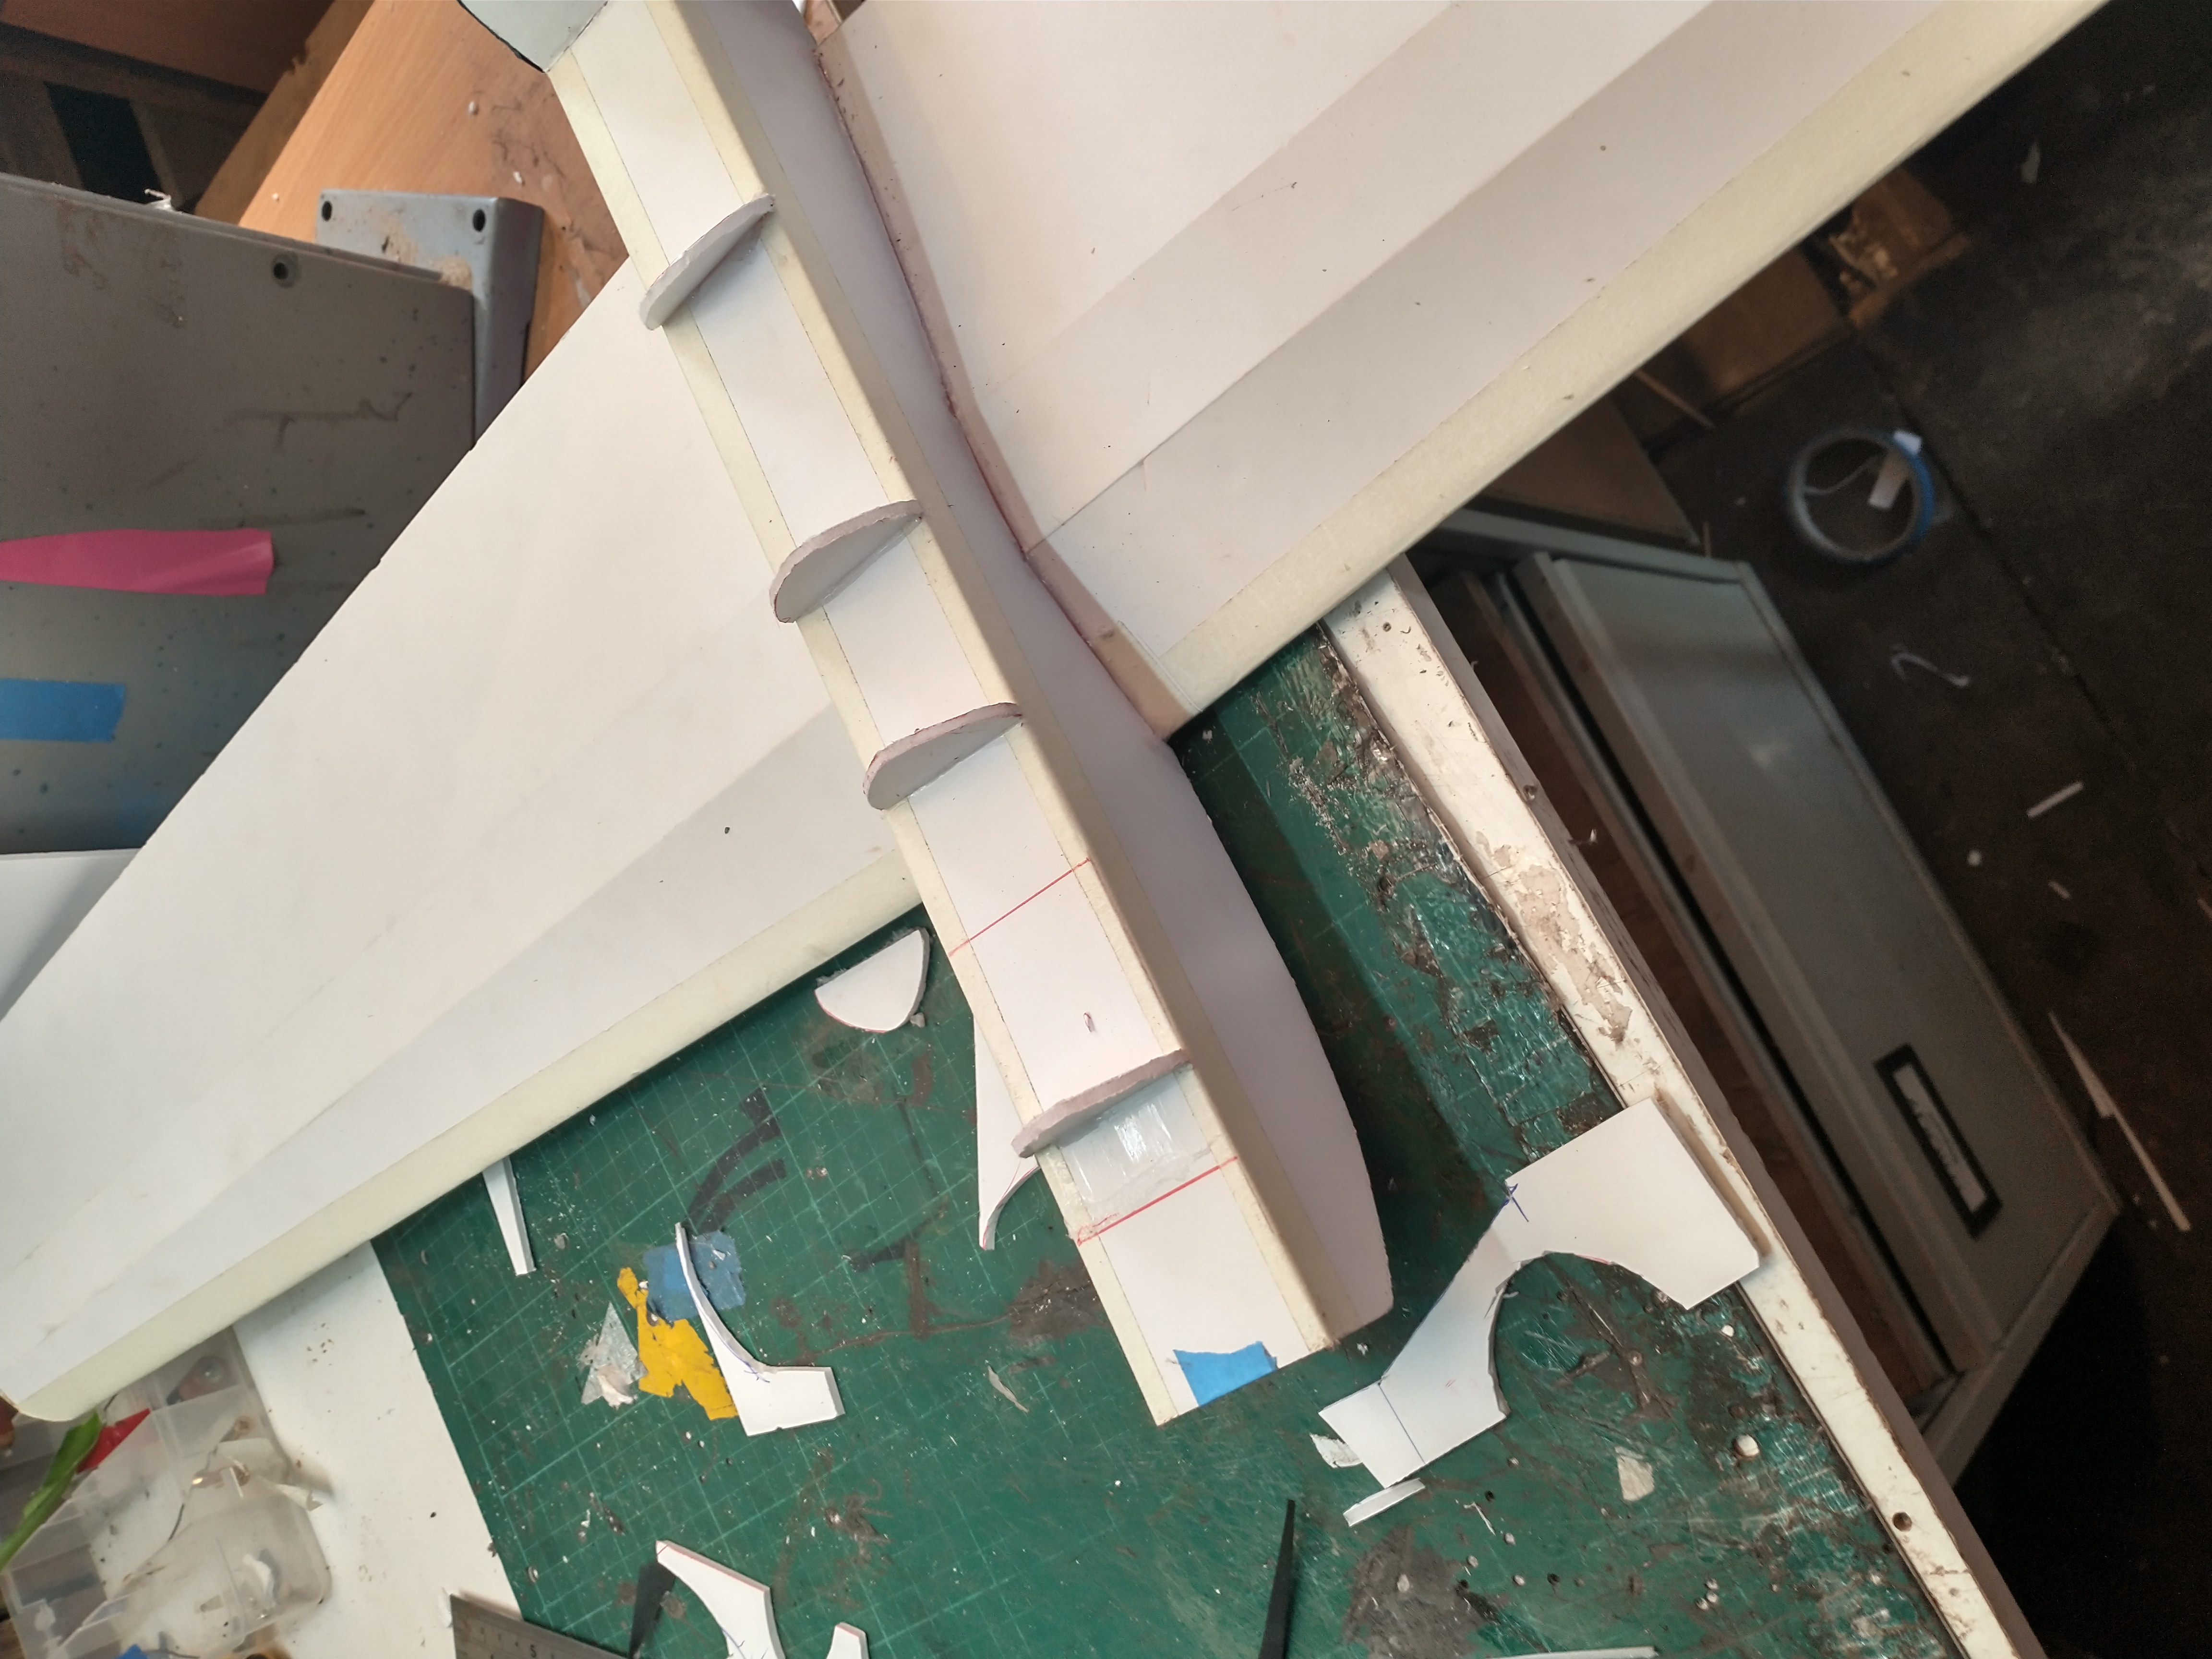
To make the wing-to-fuselage joint smoother, I made some fairings, kind of like the Spitfire very scale.
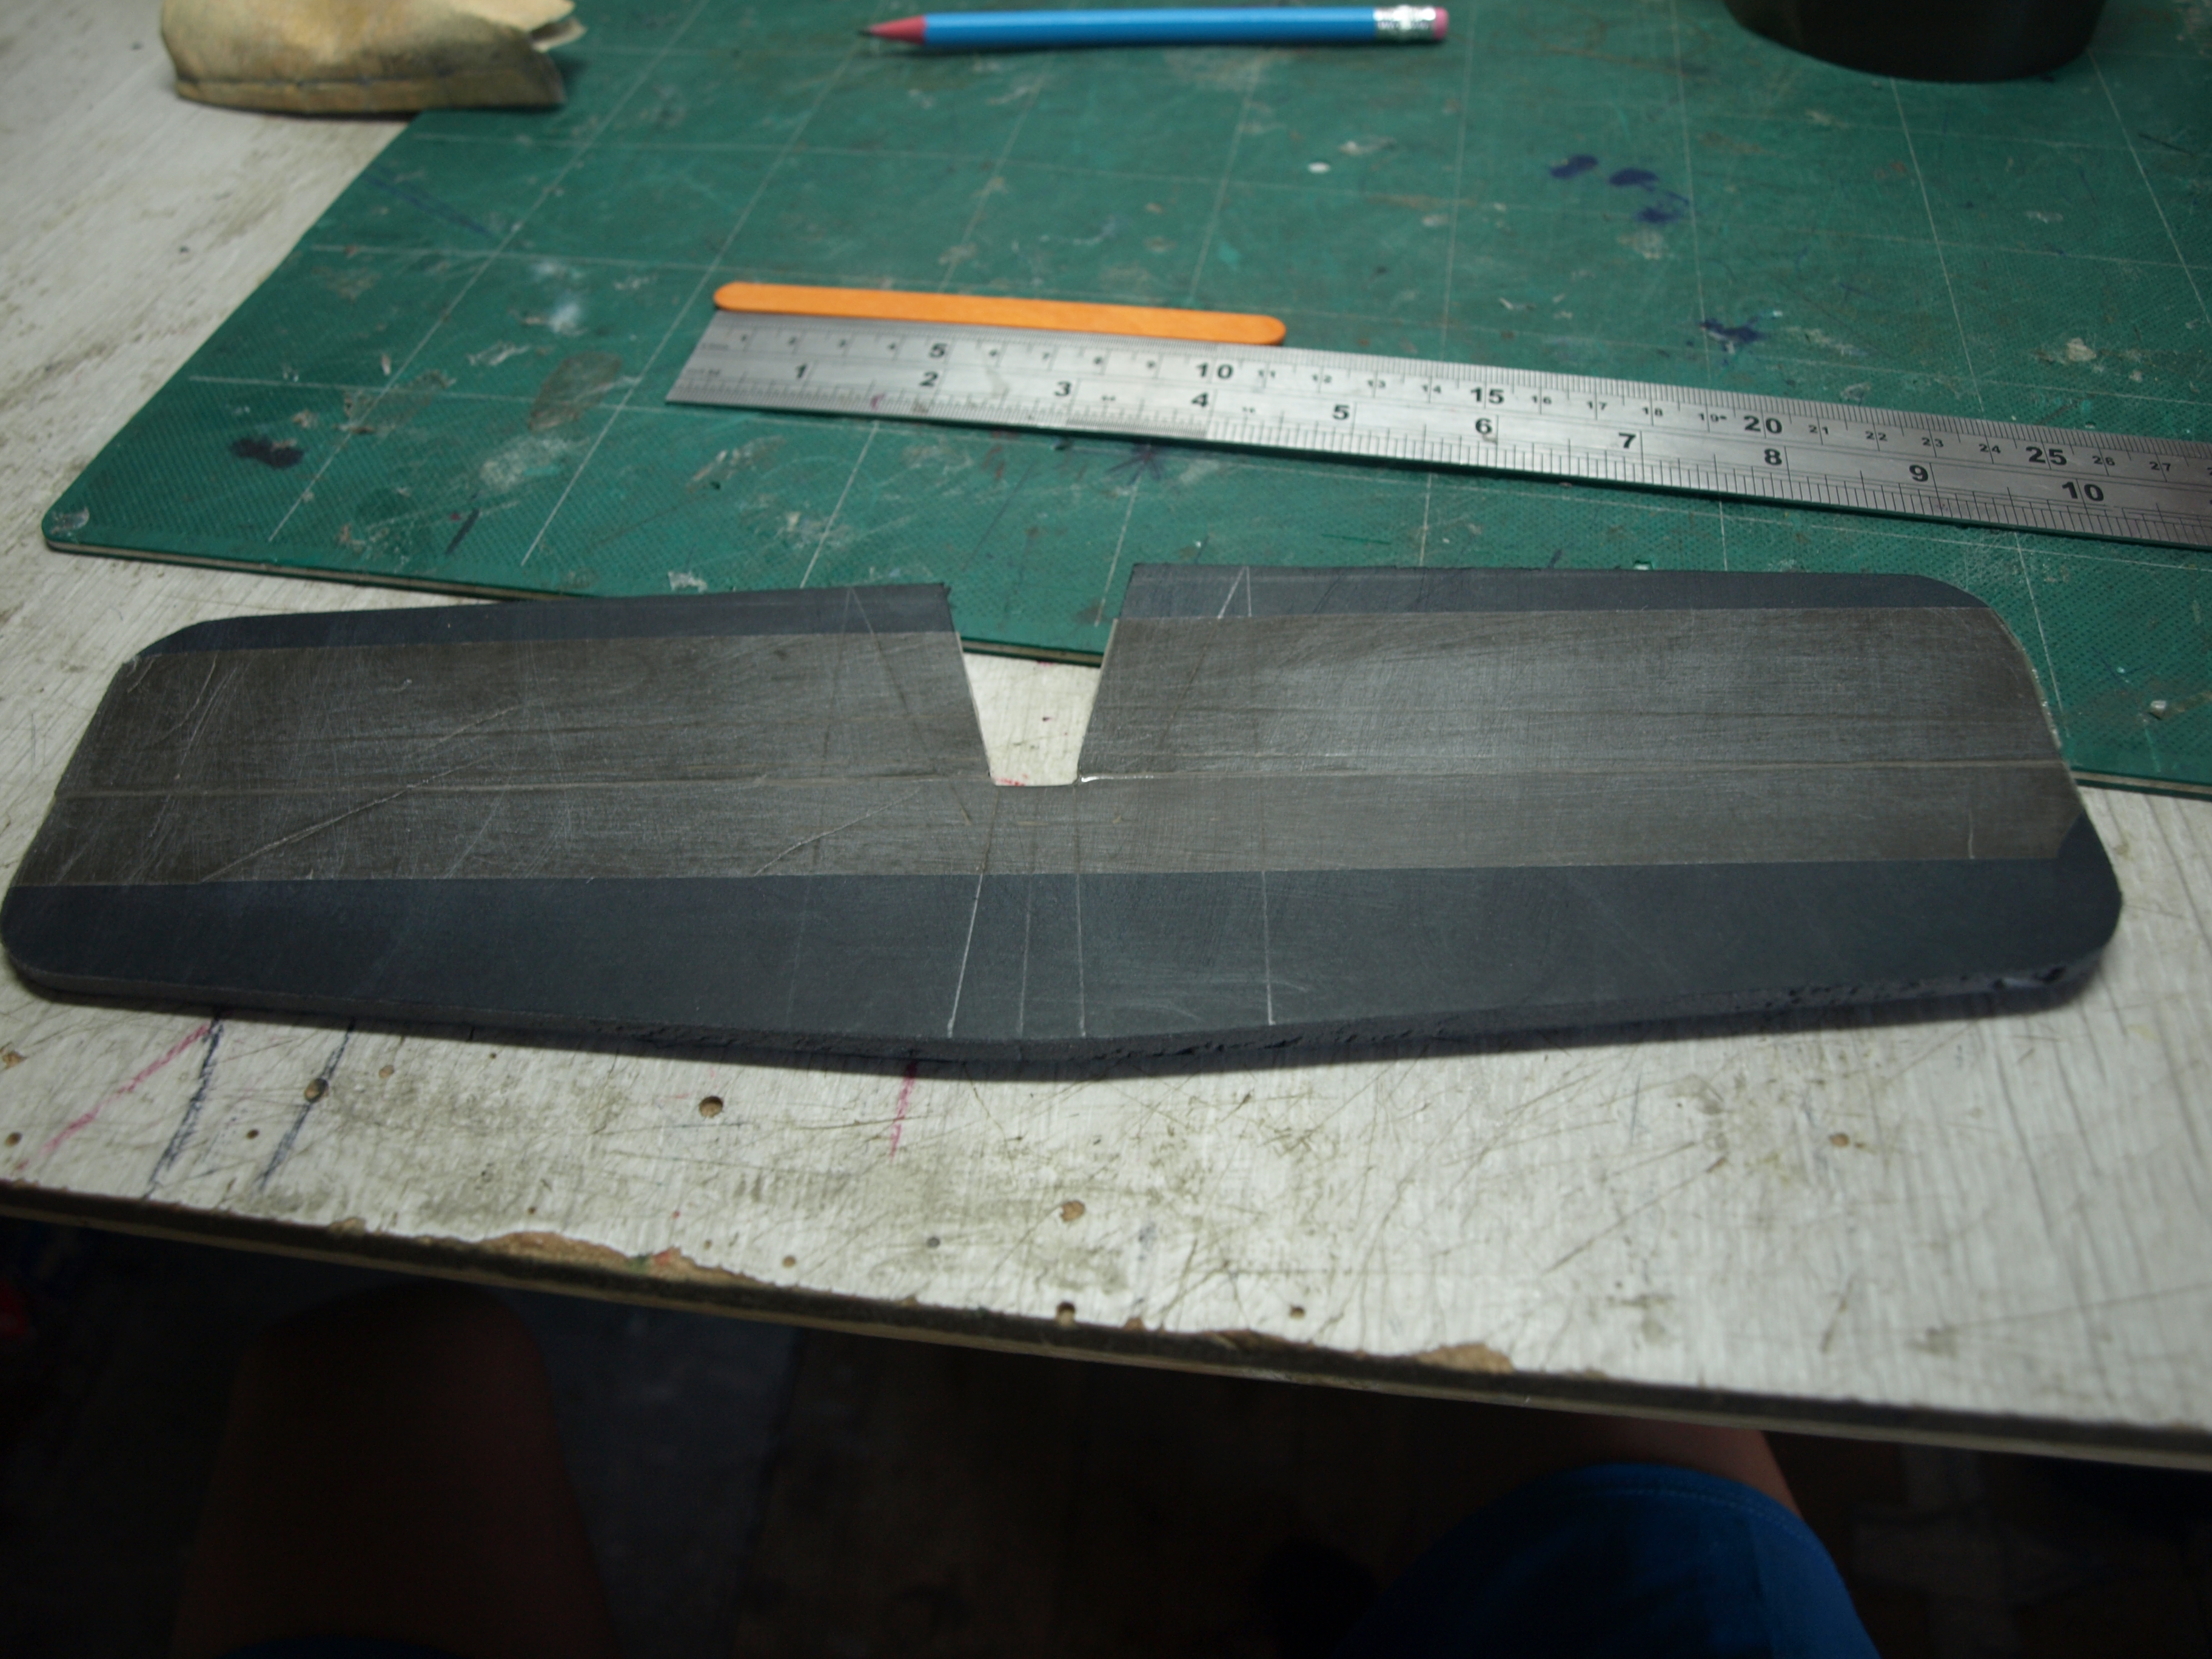
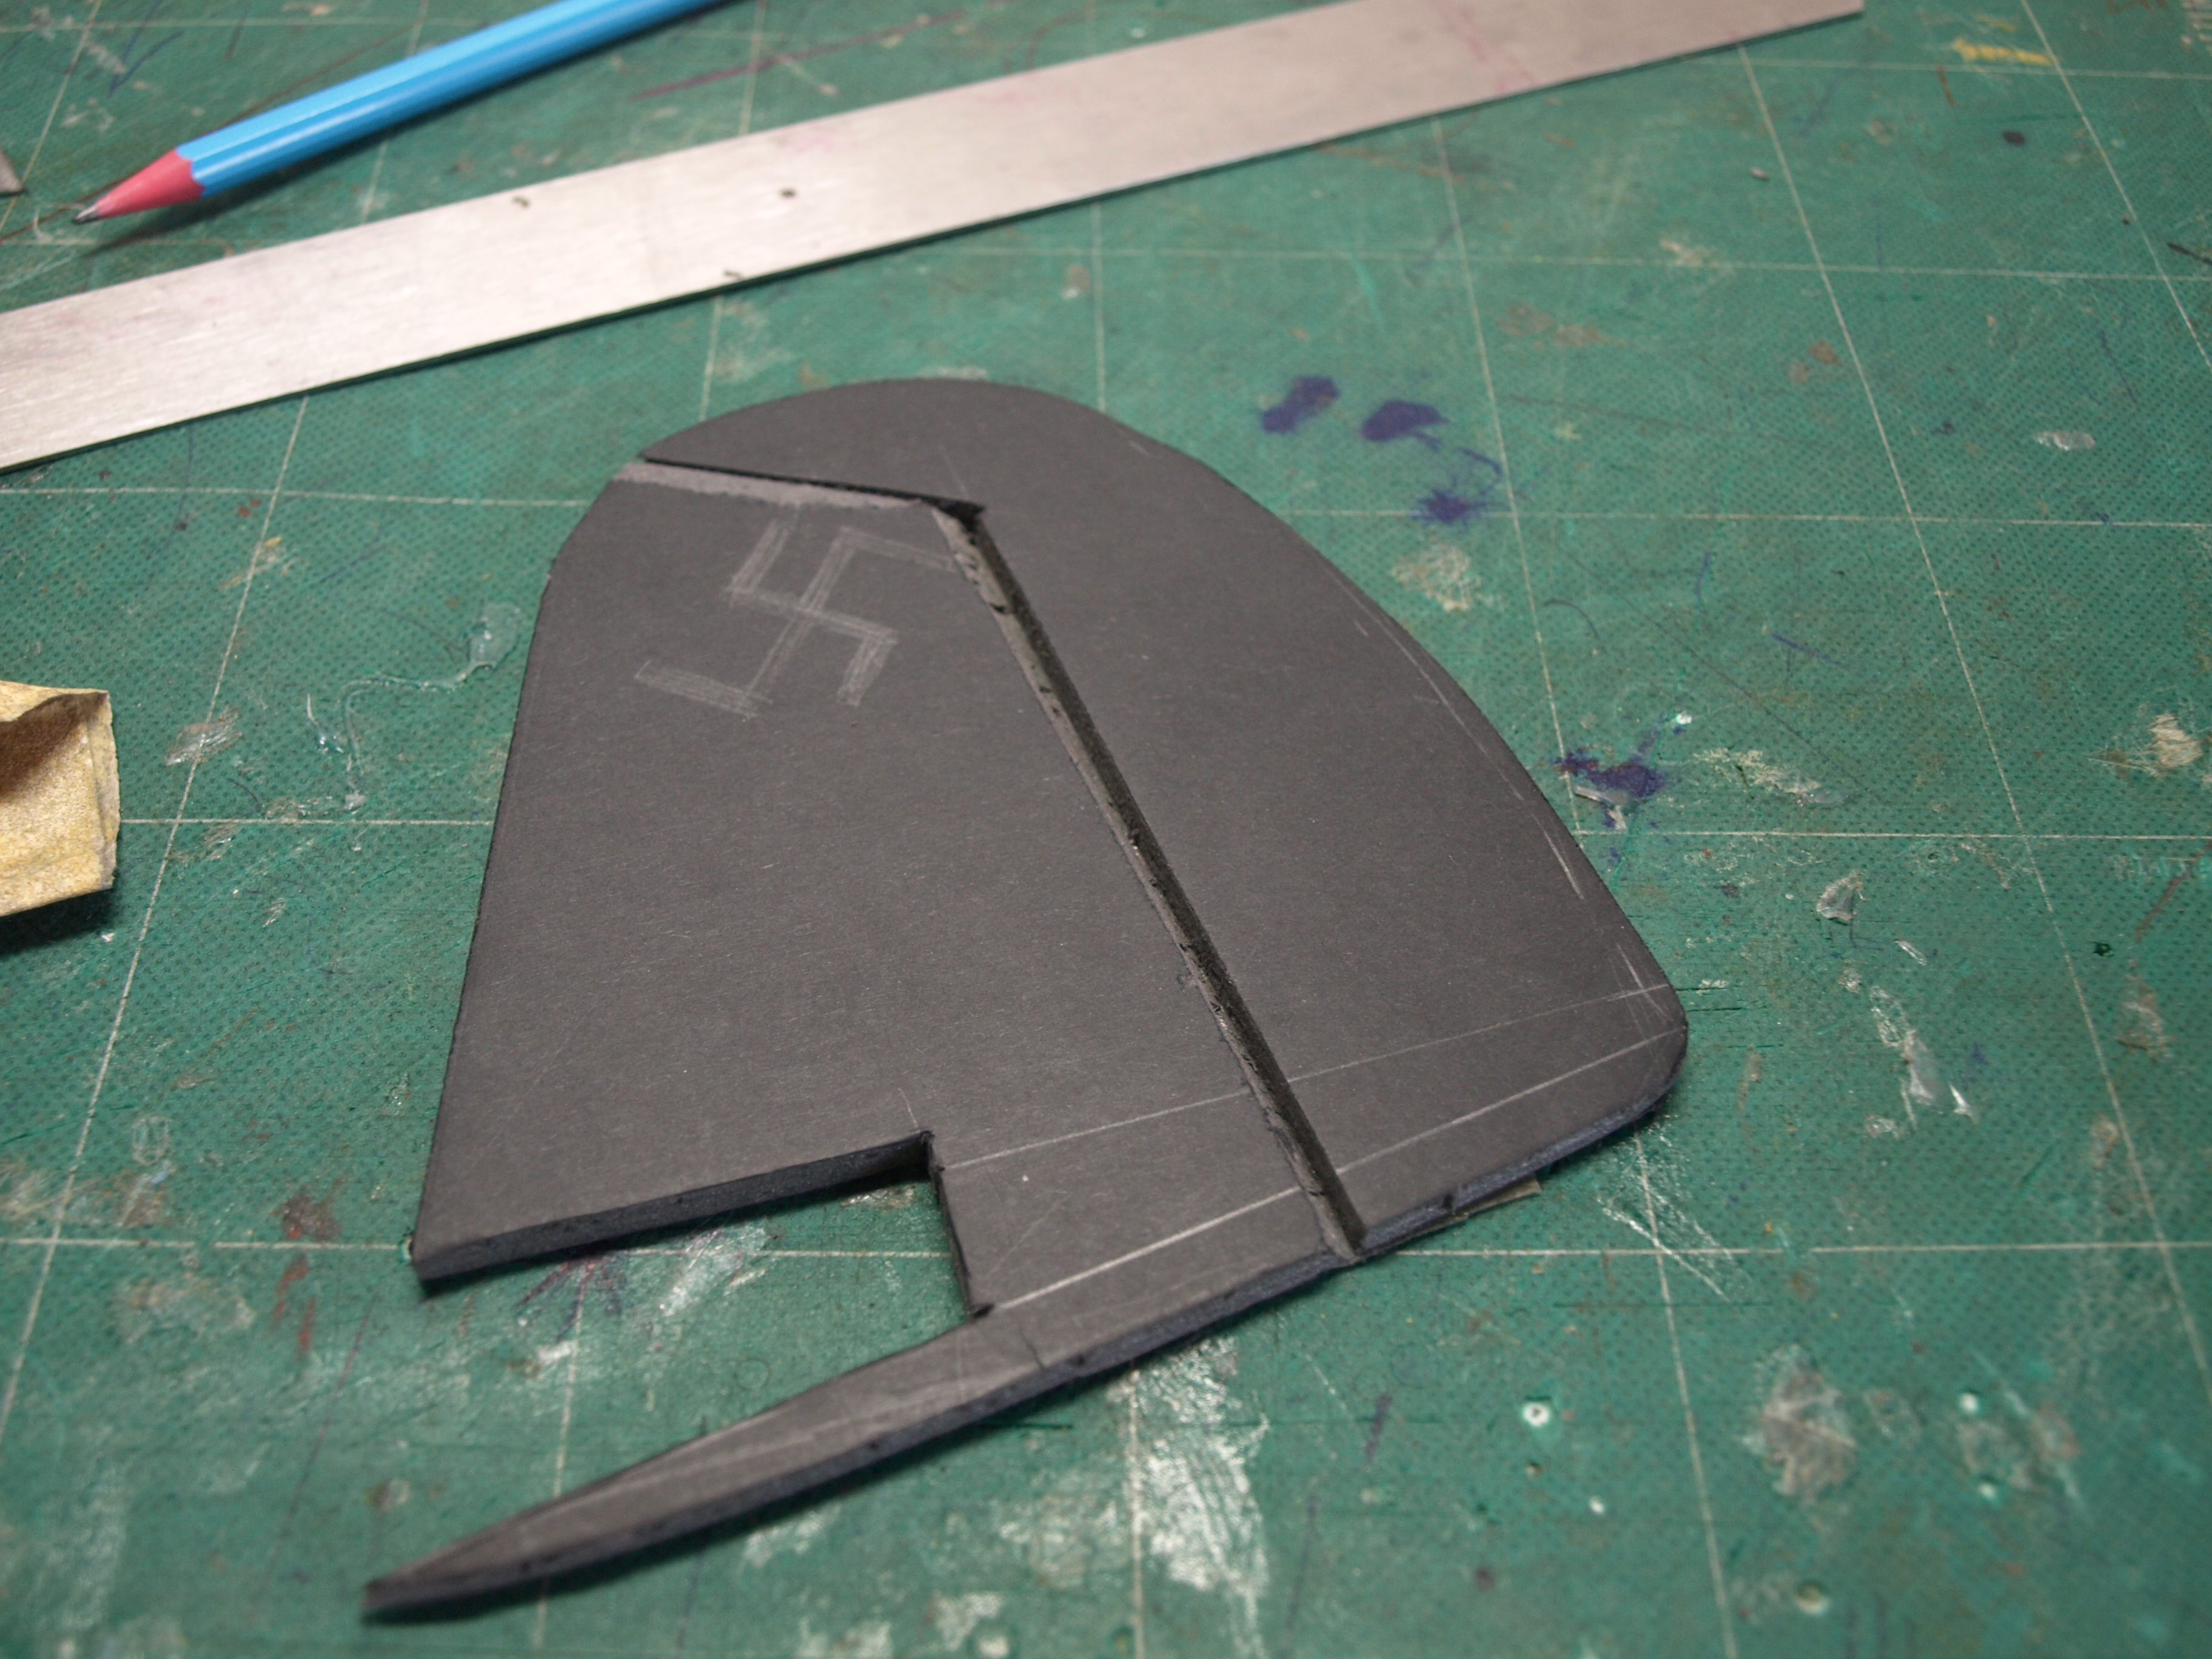
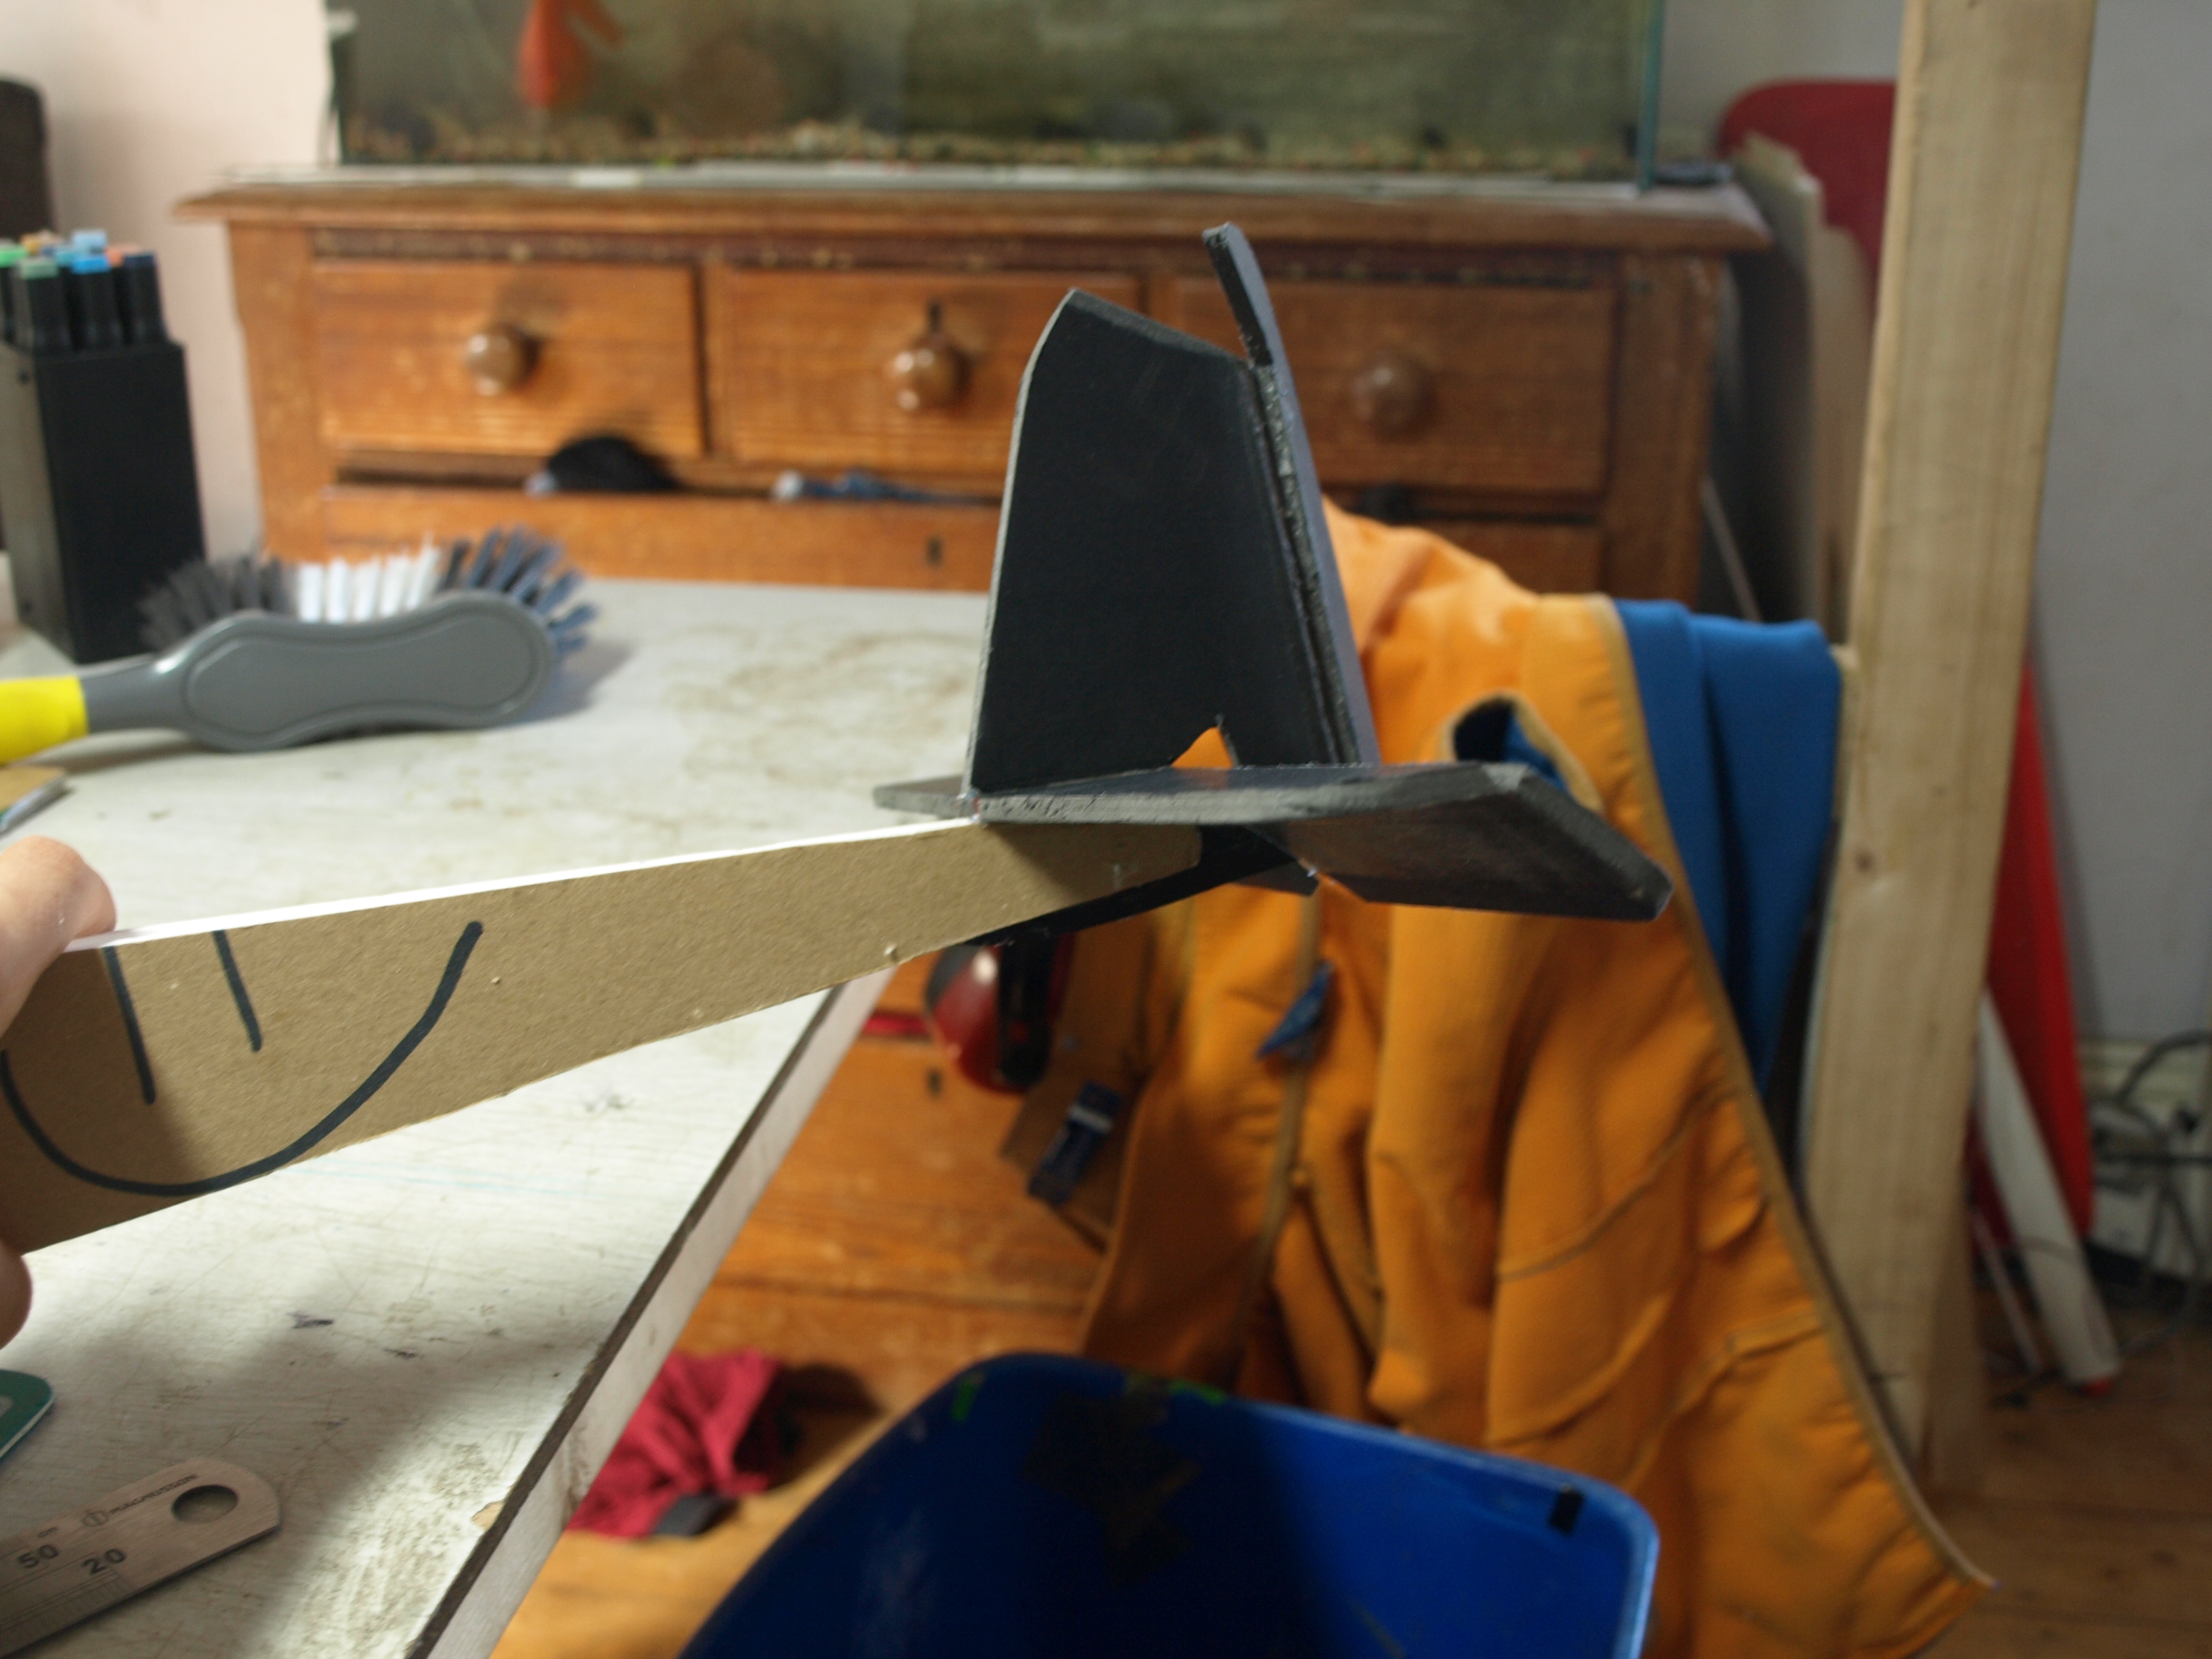
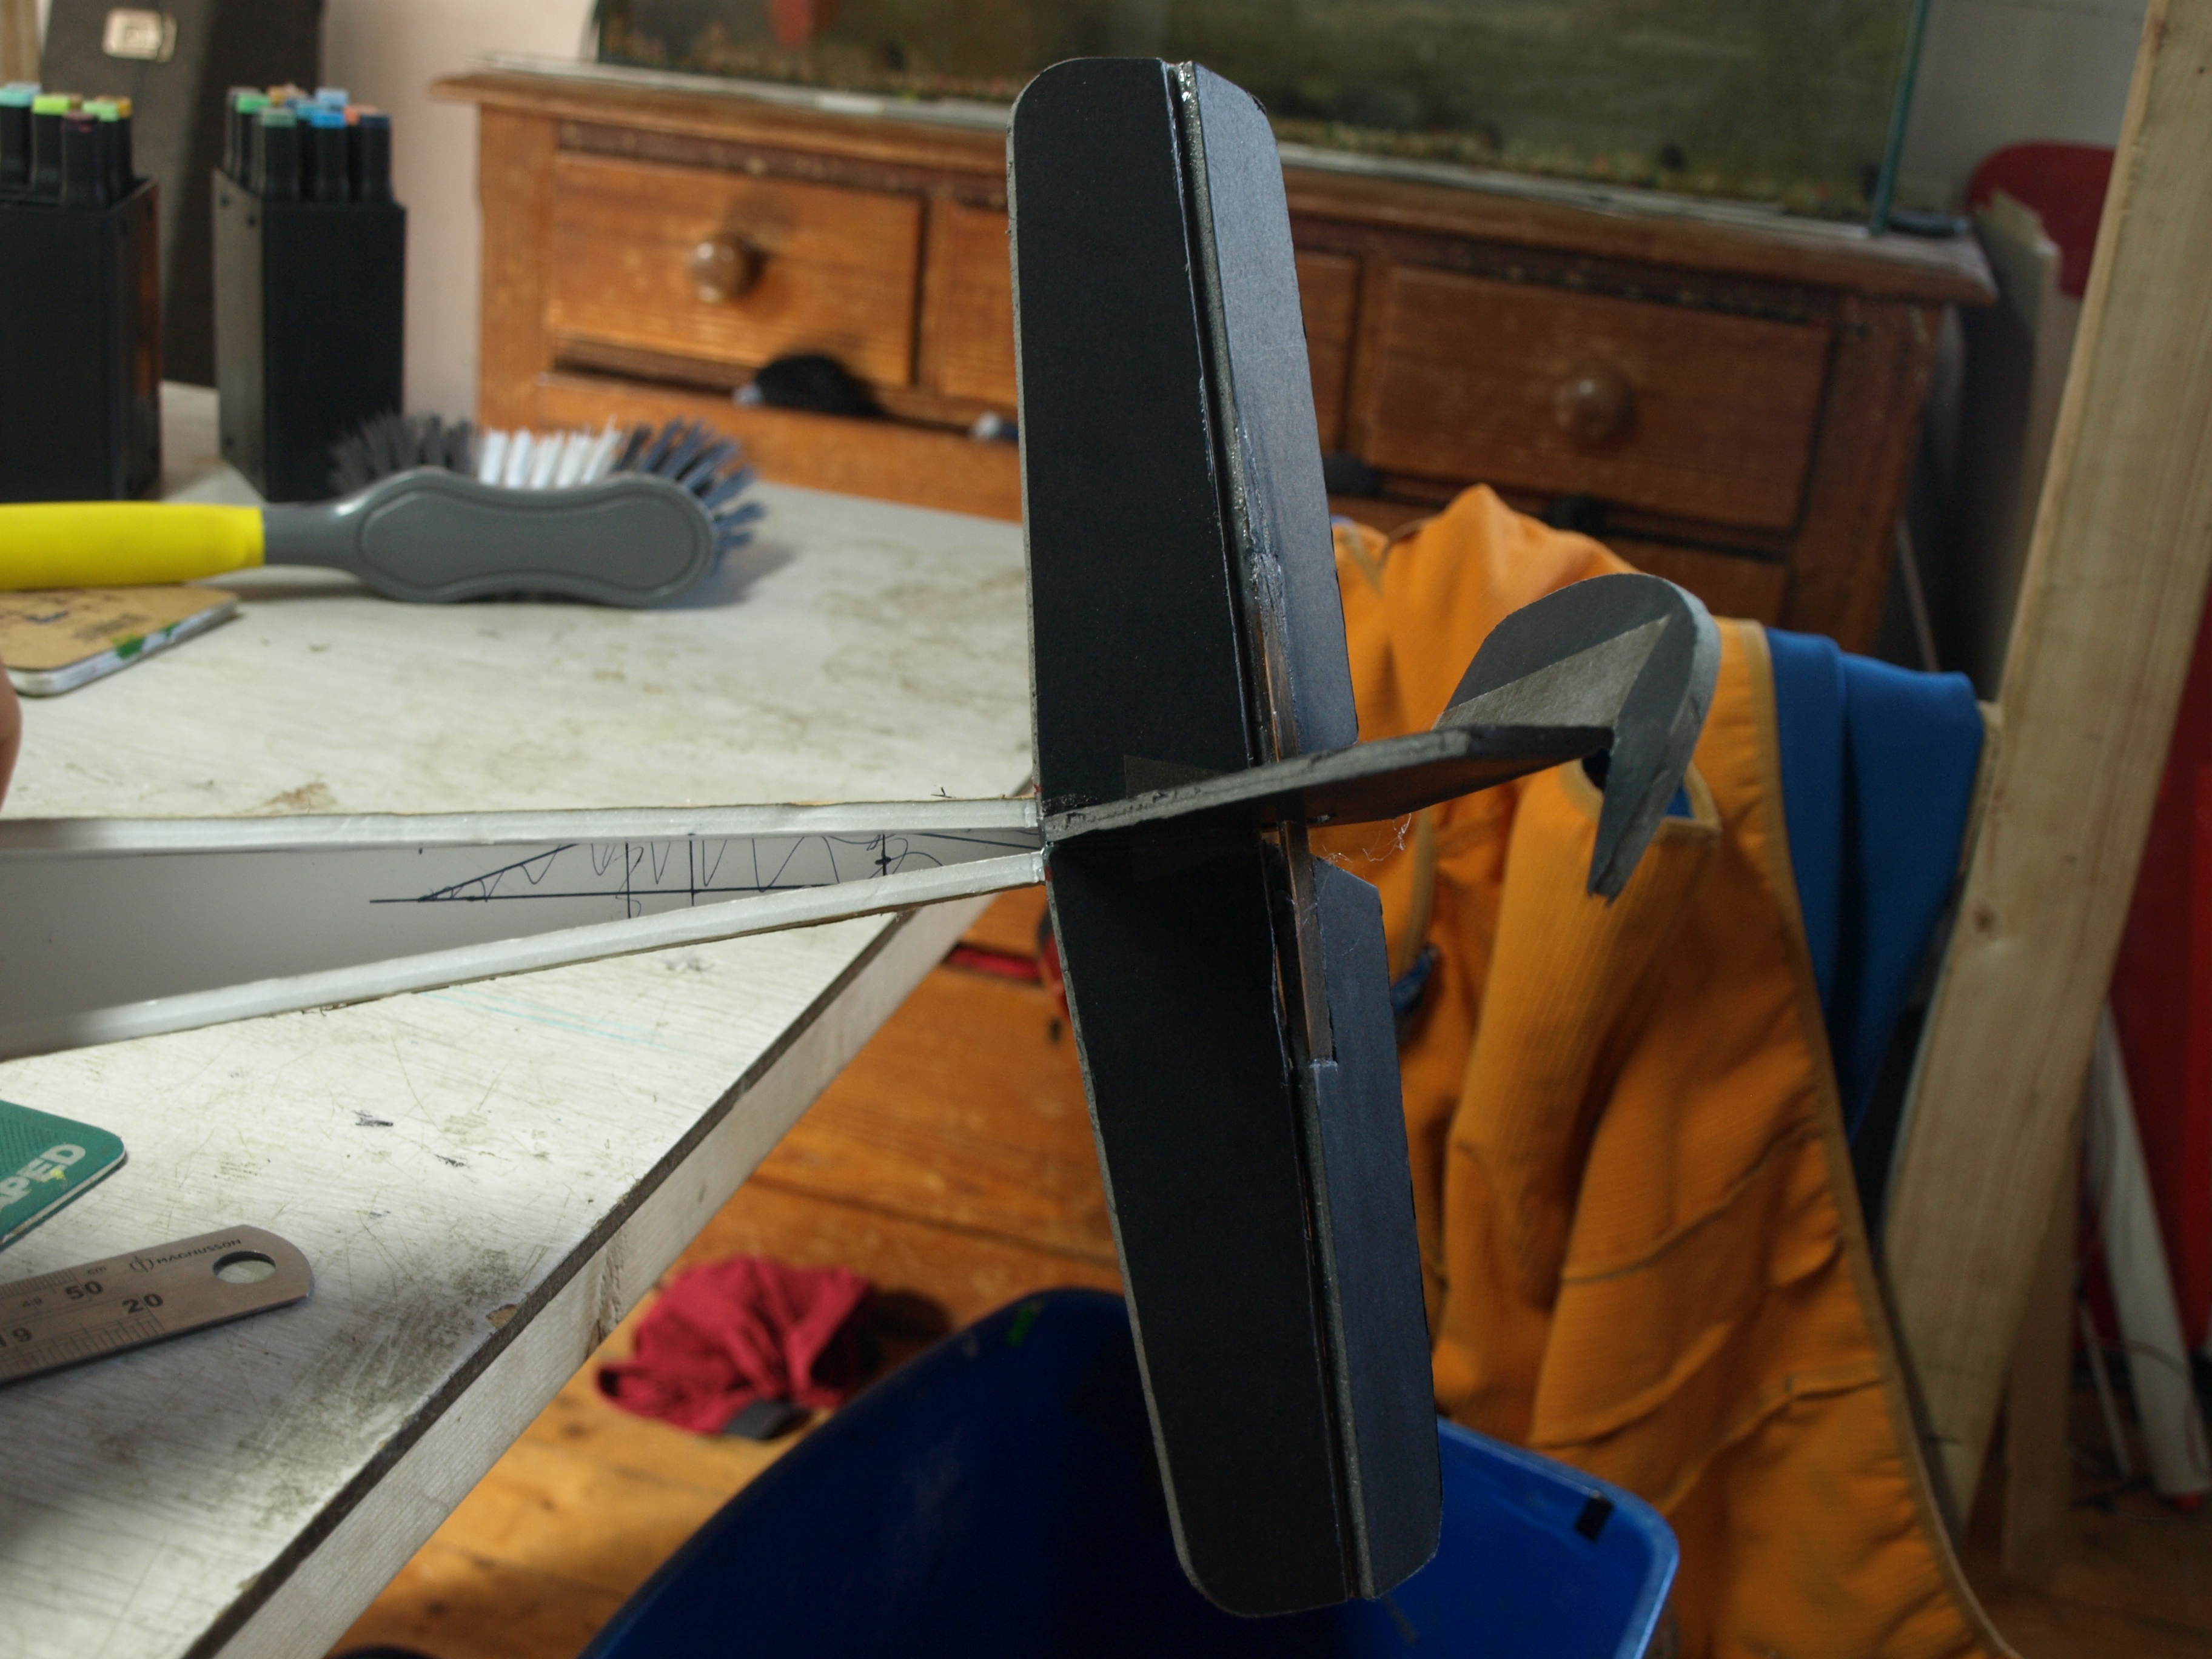
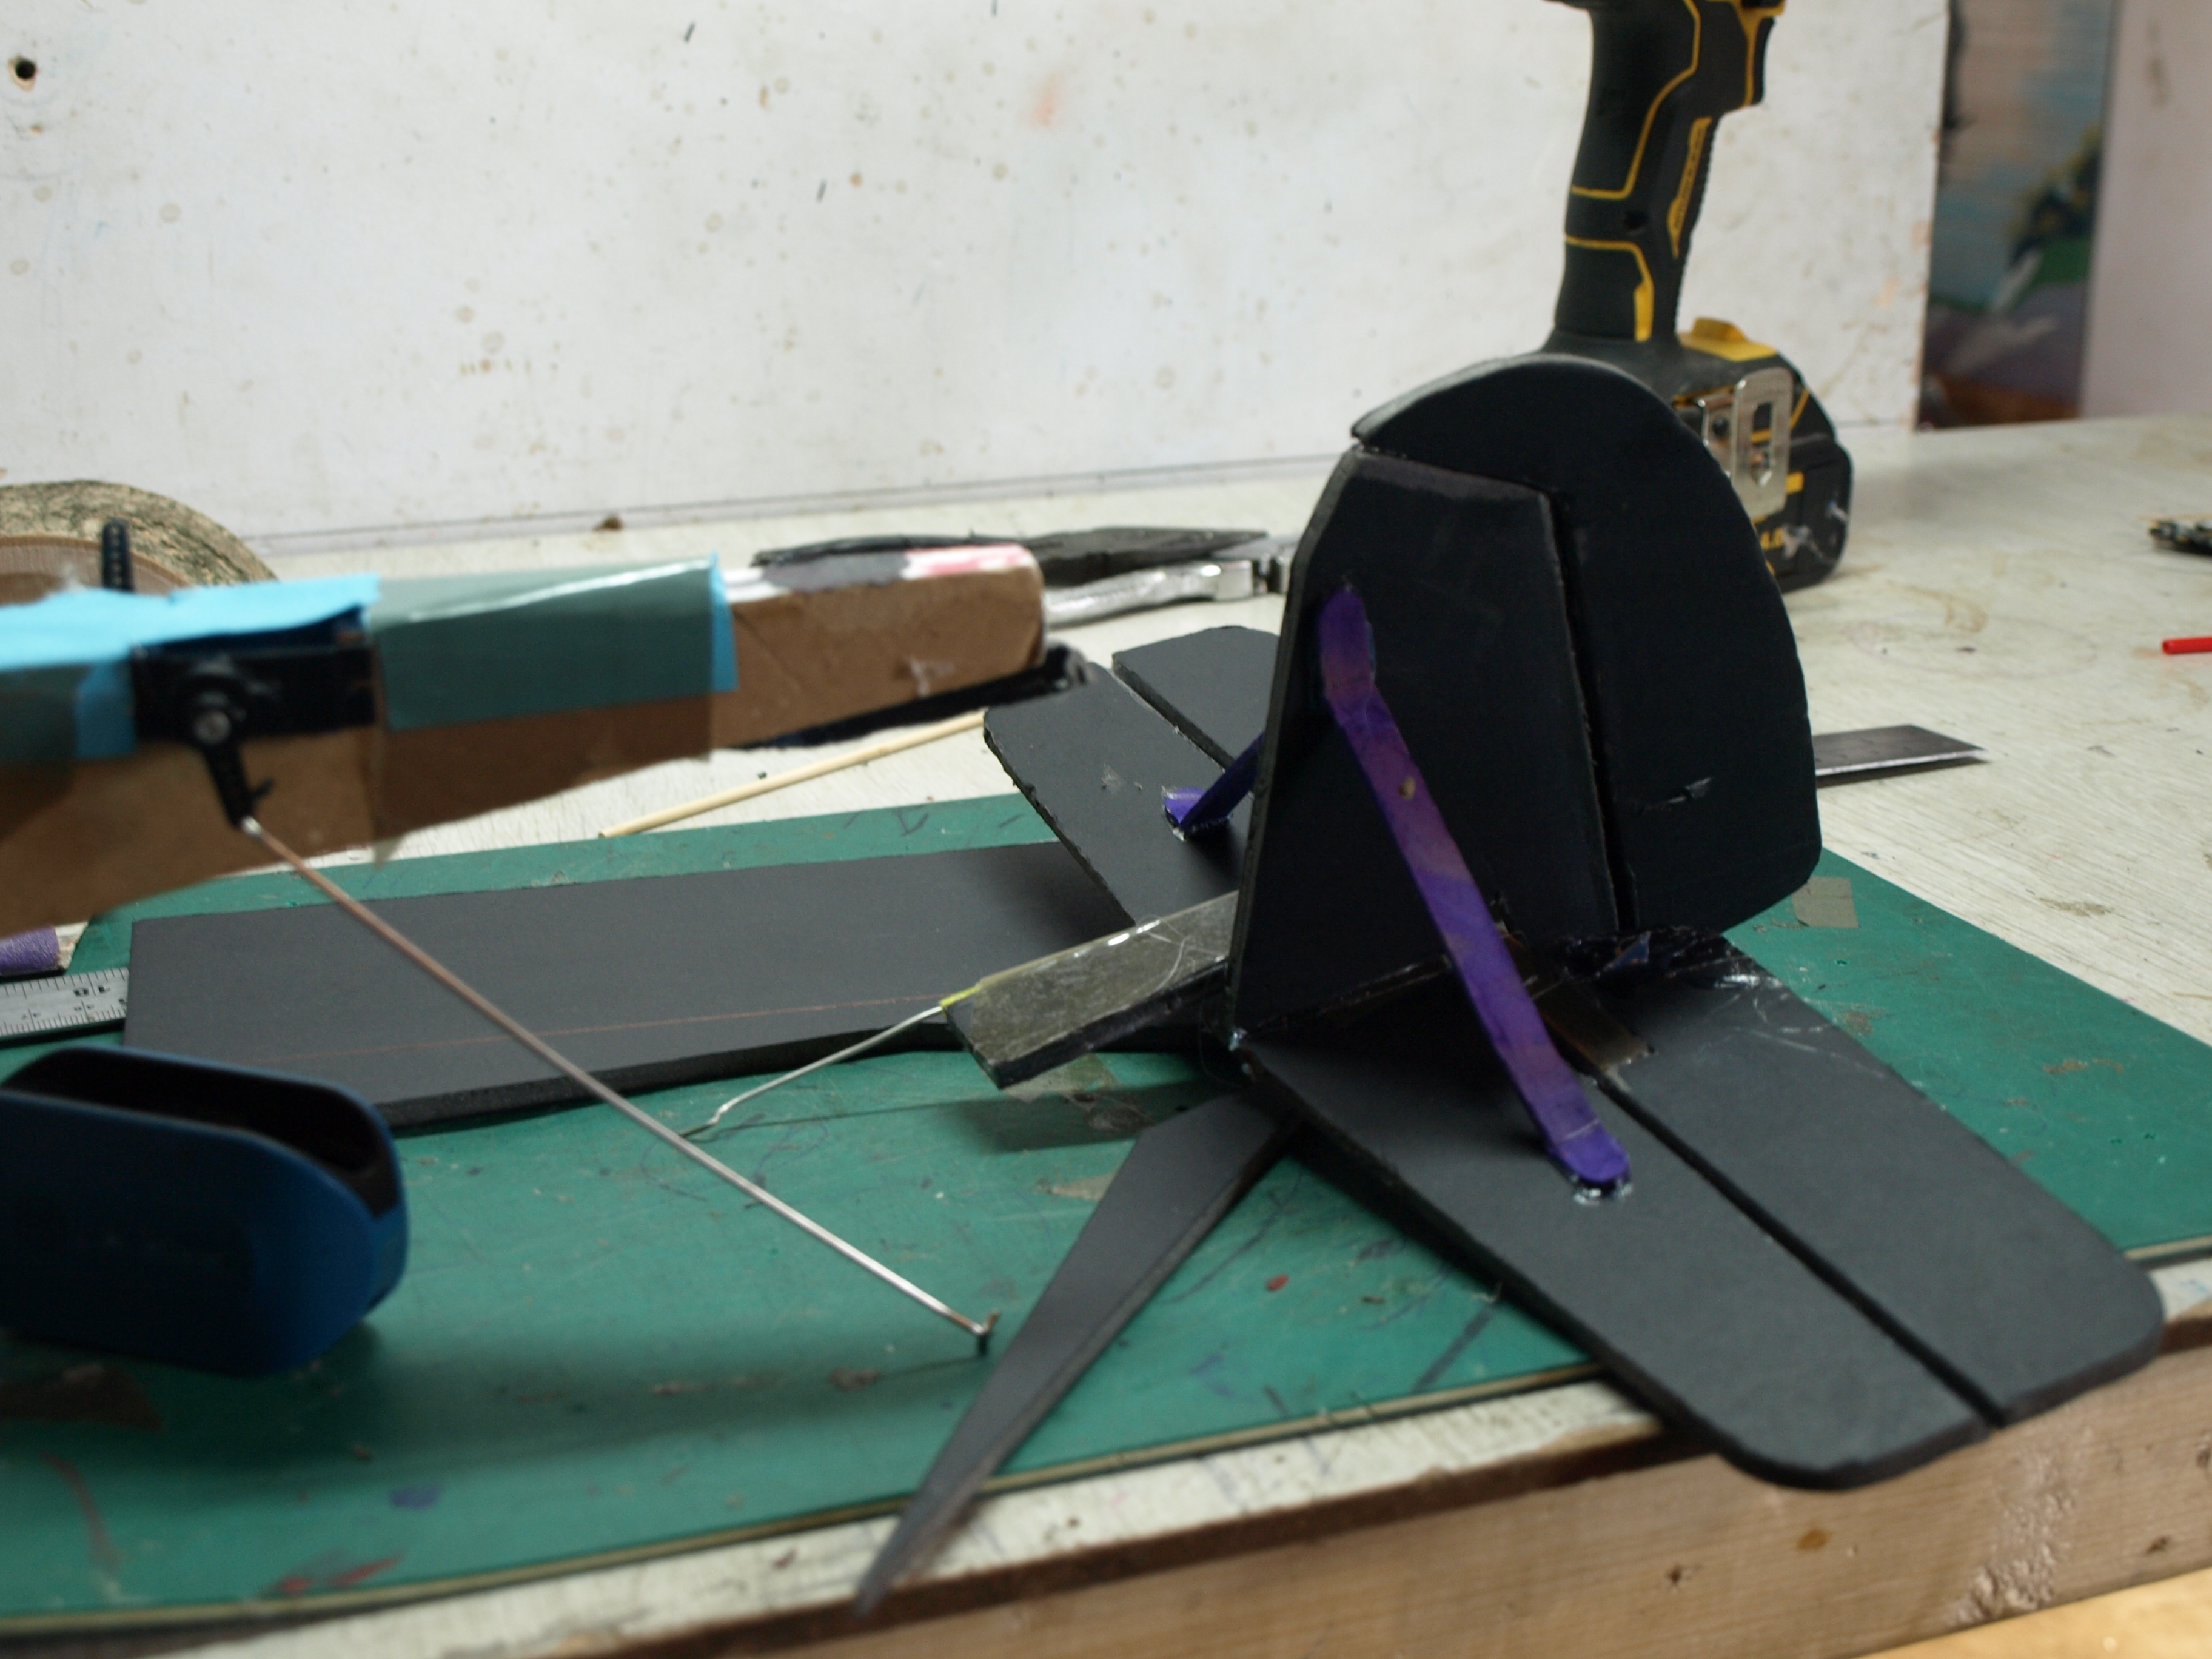
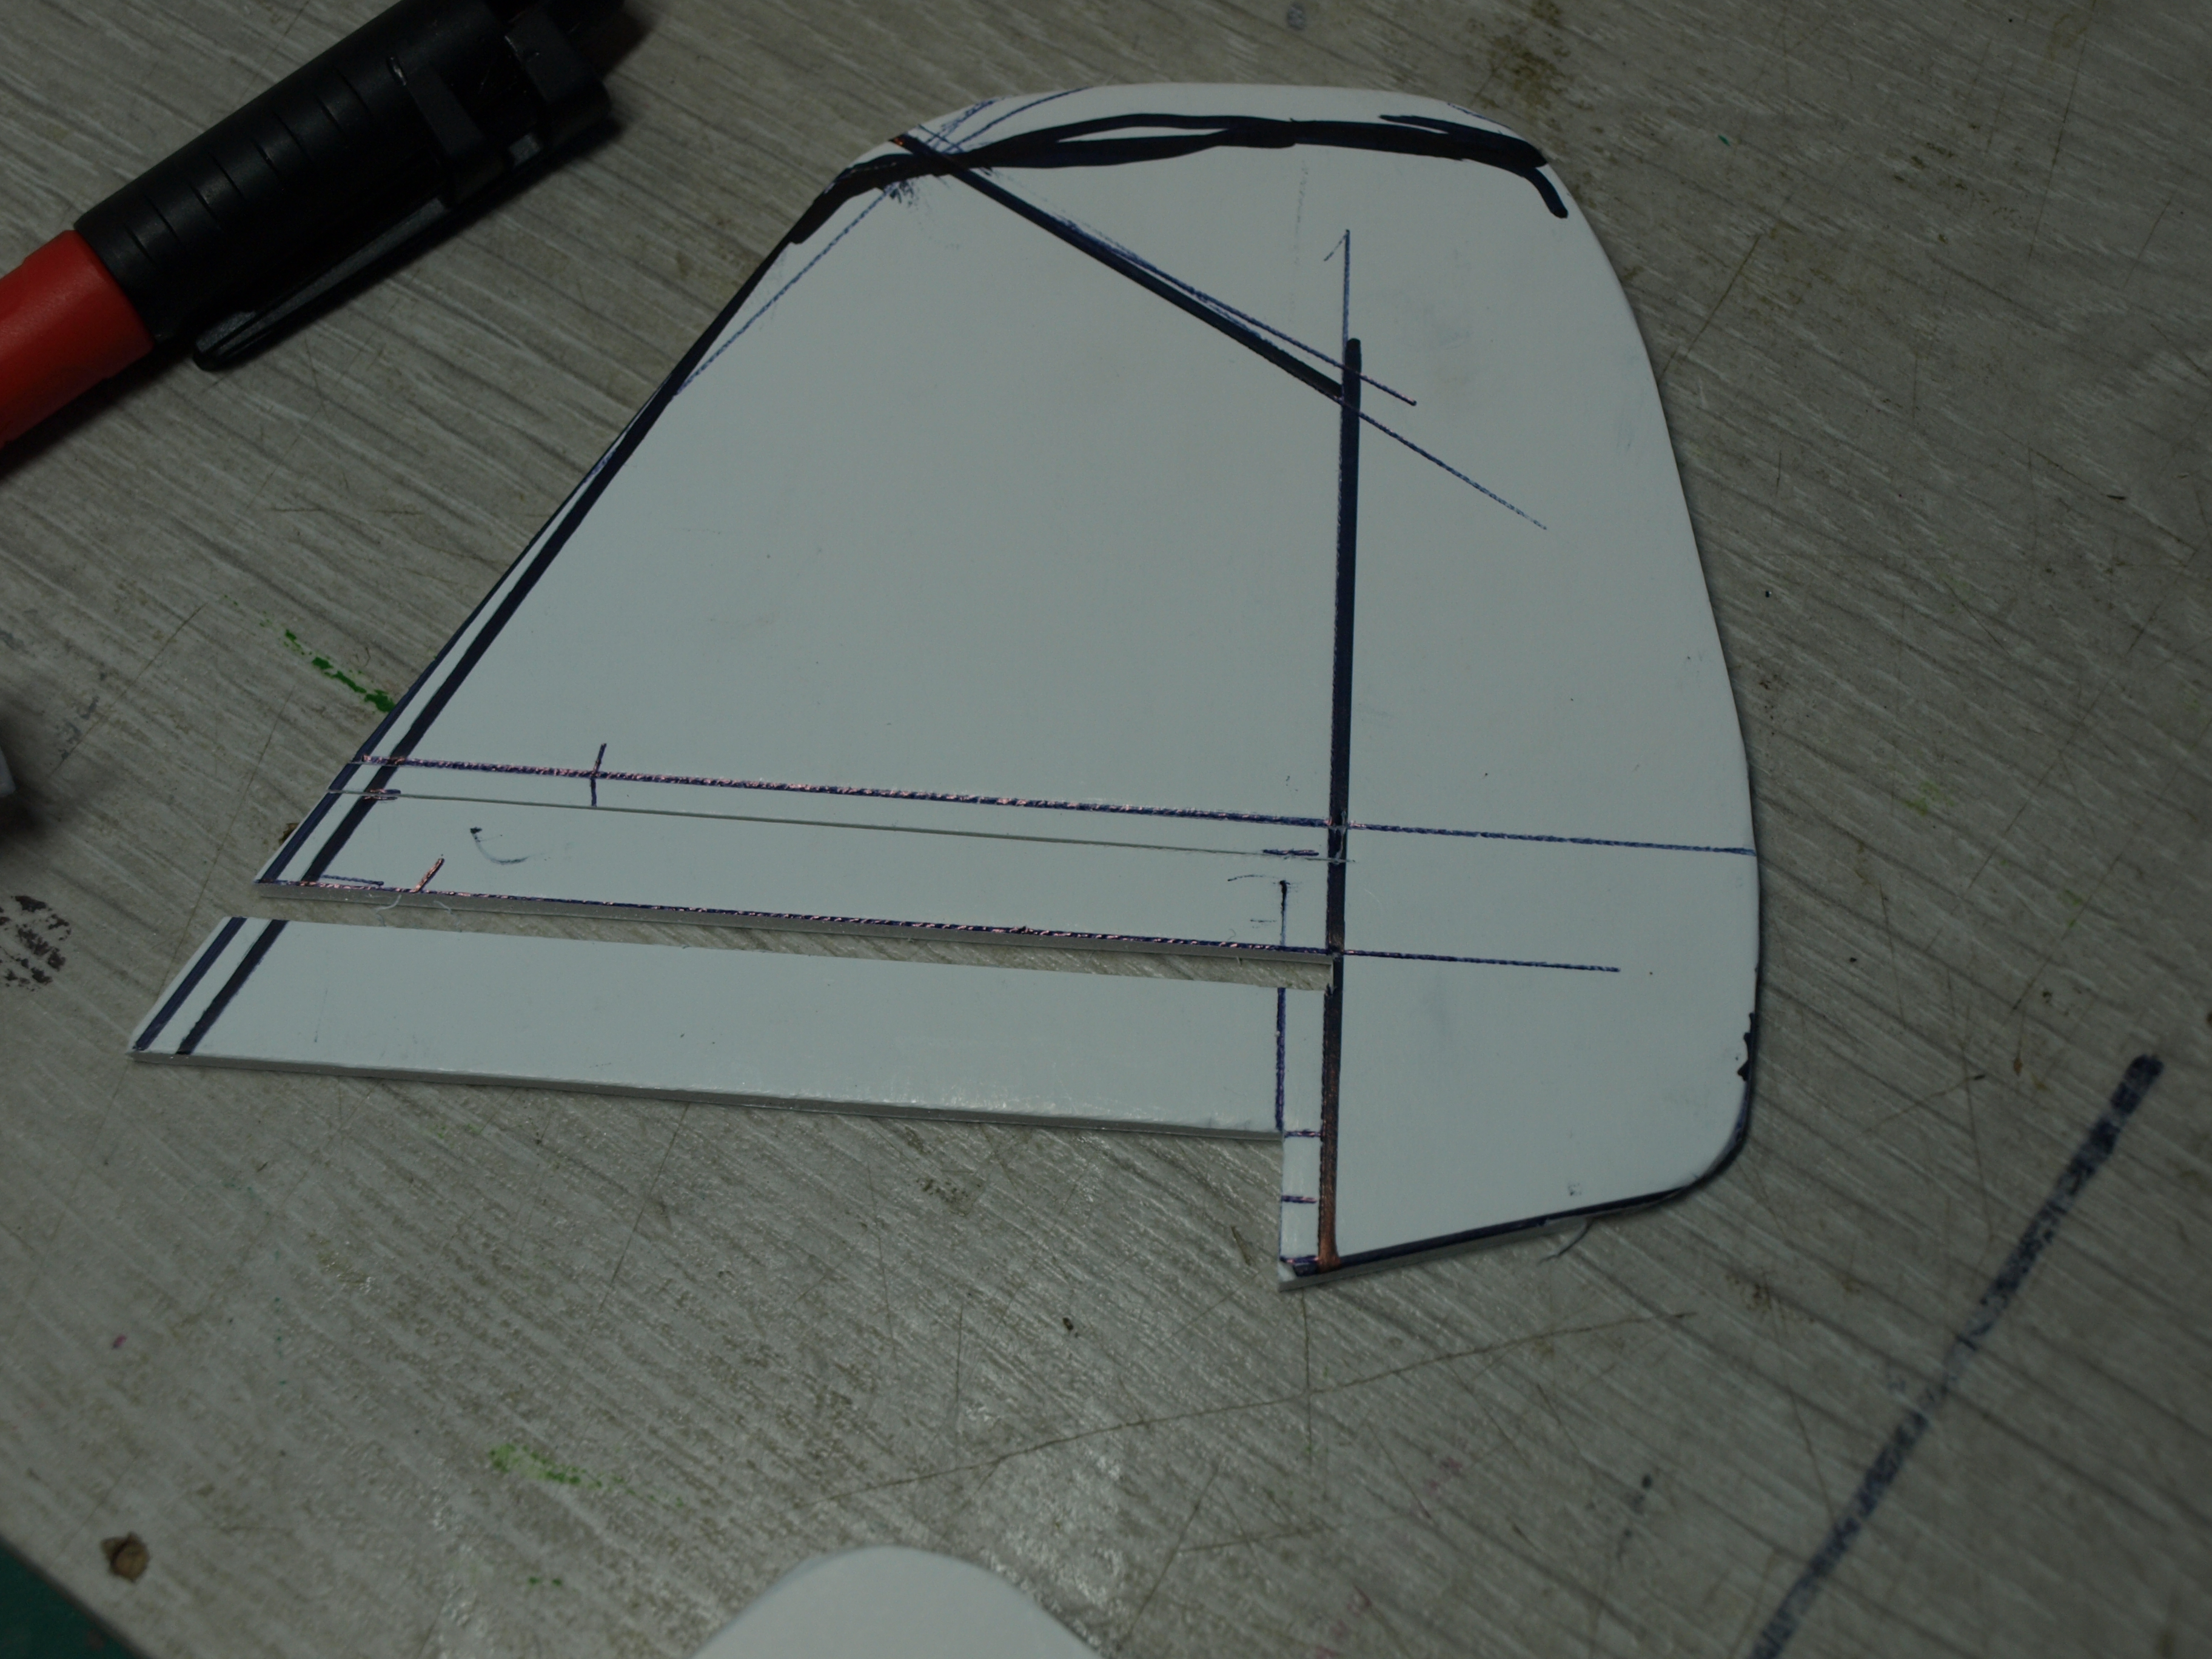
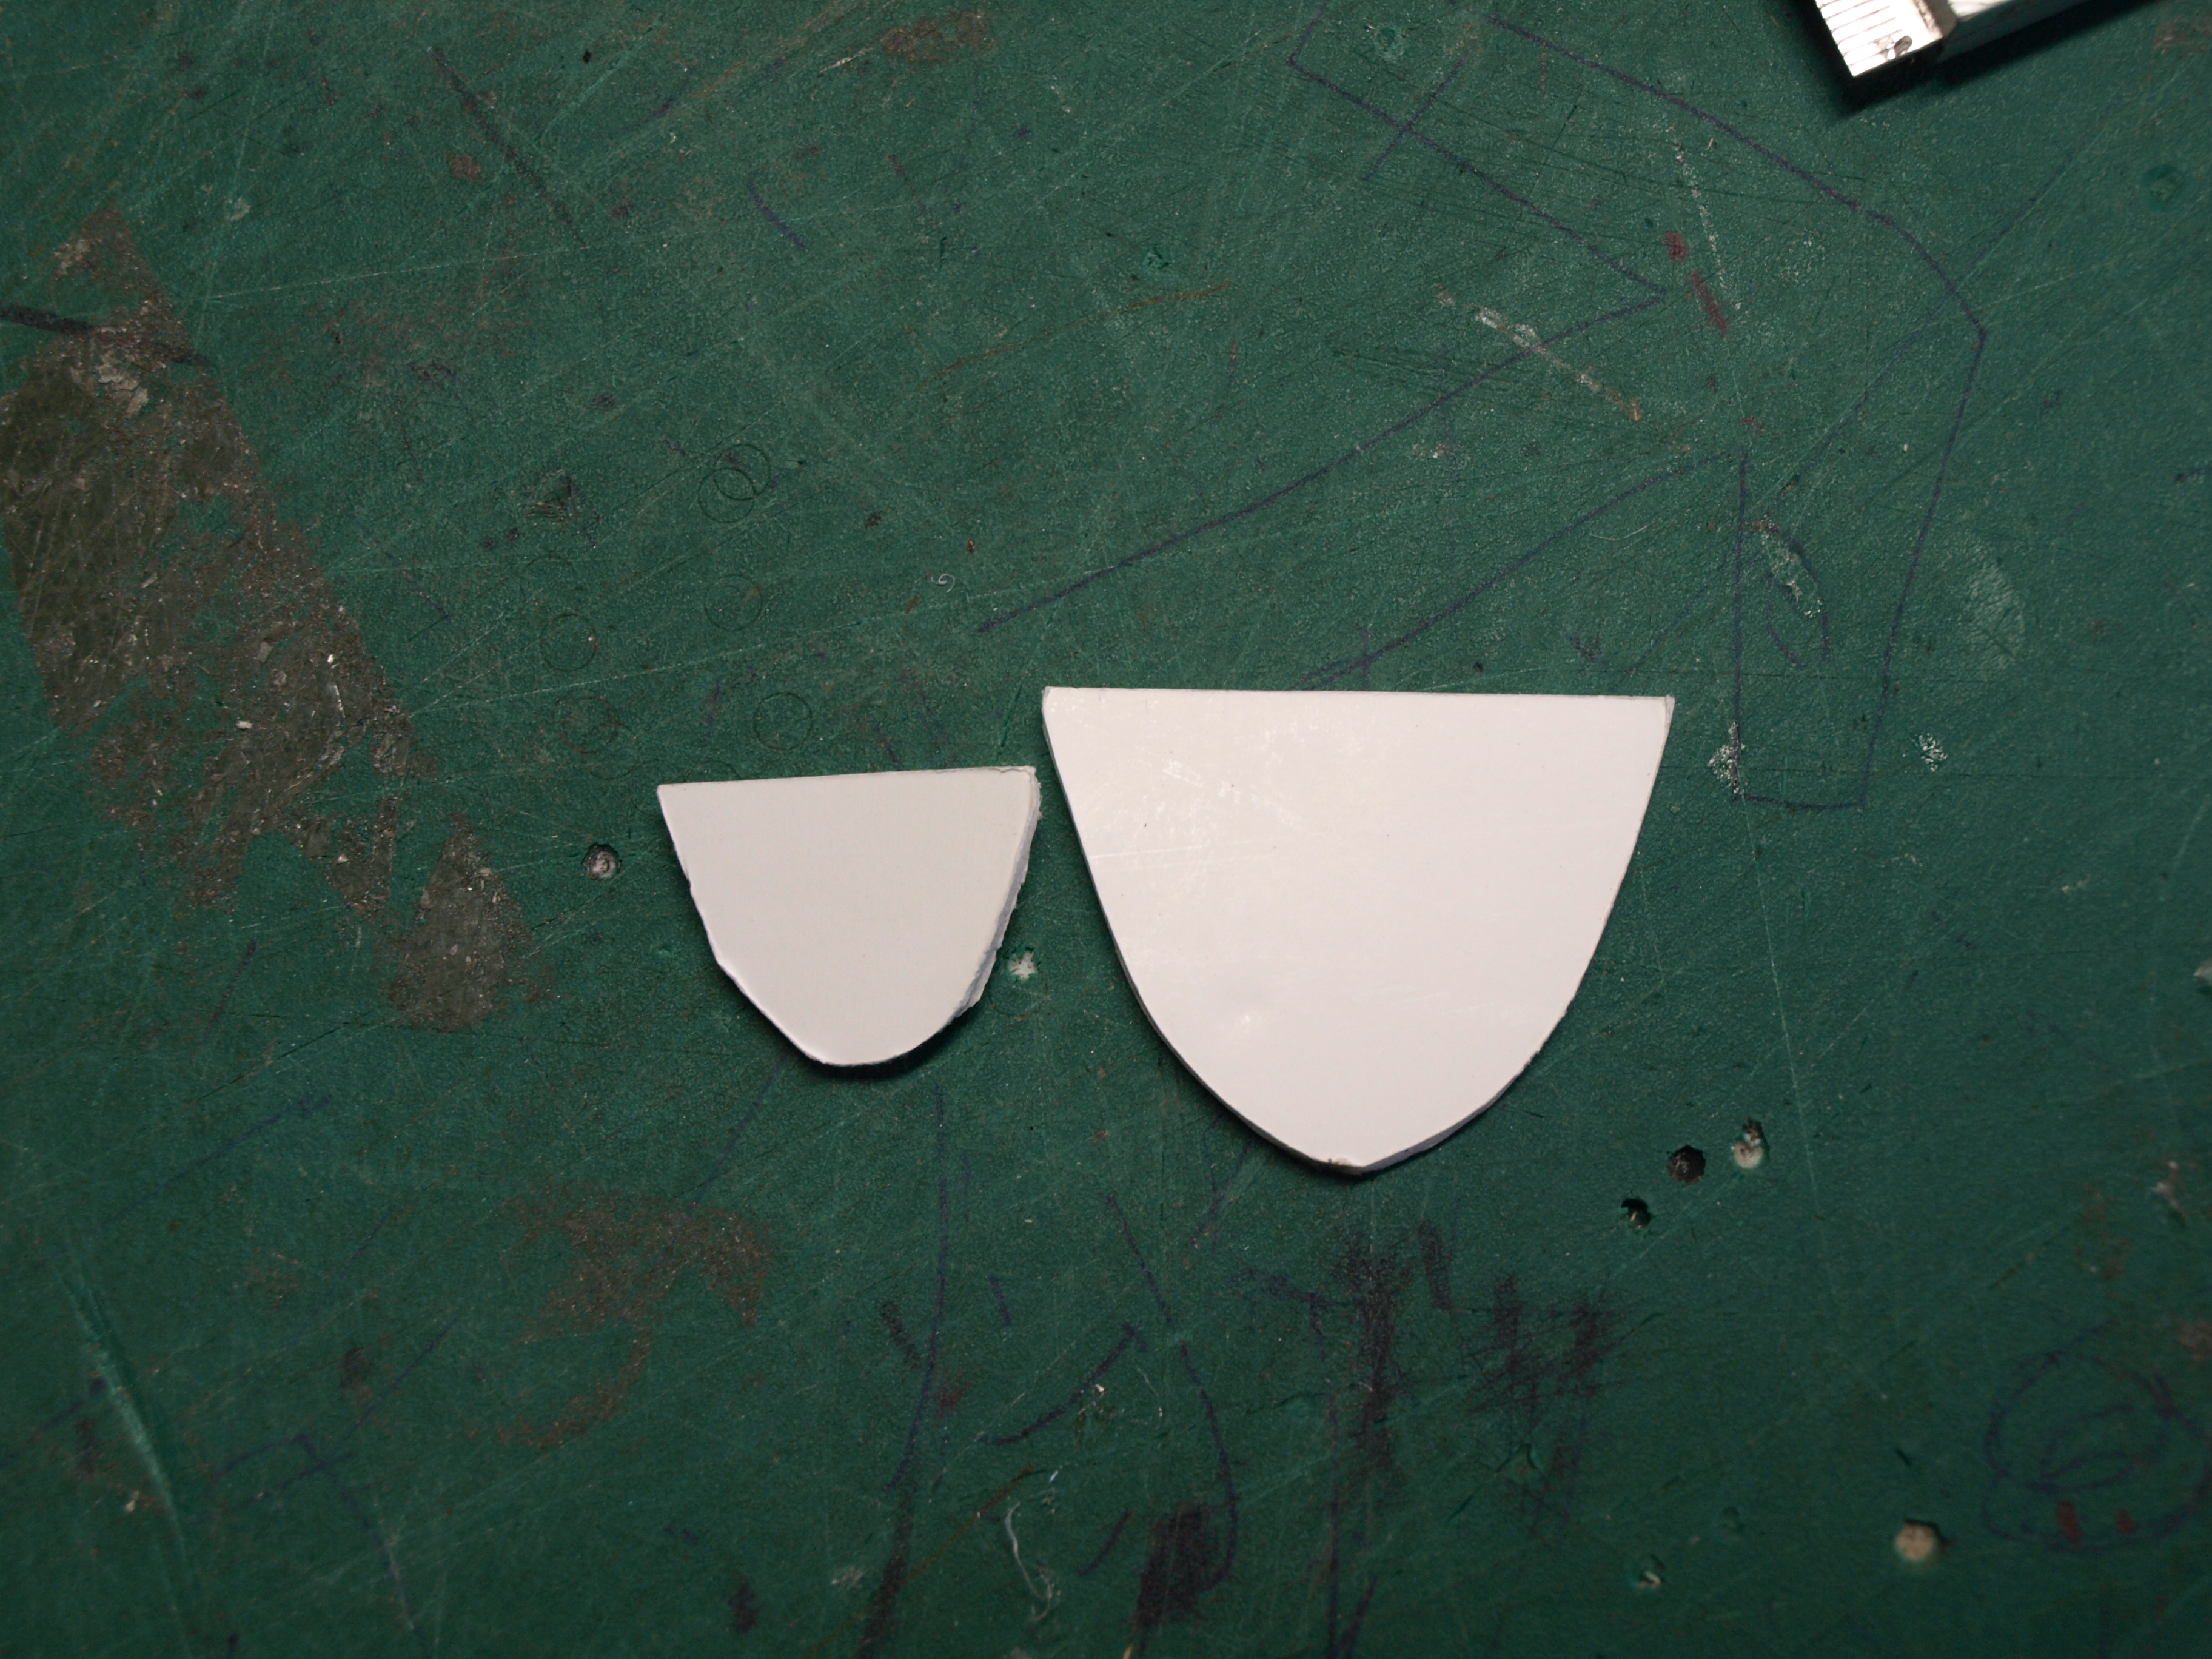
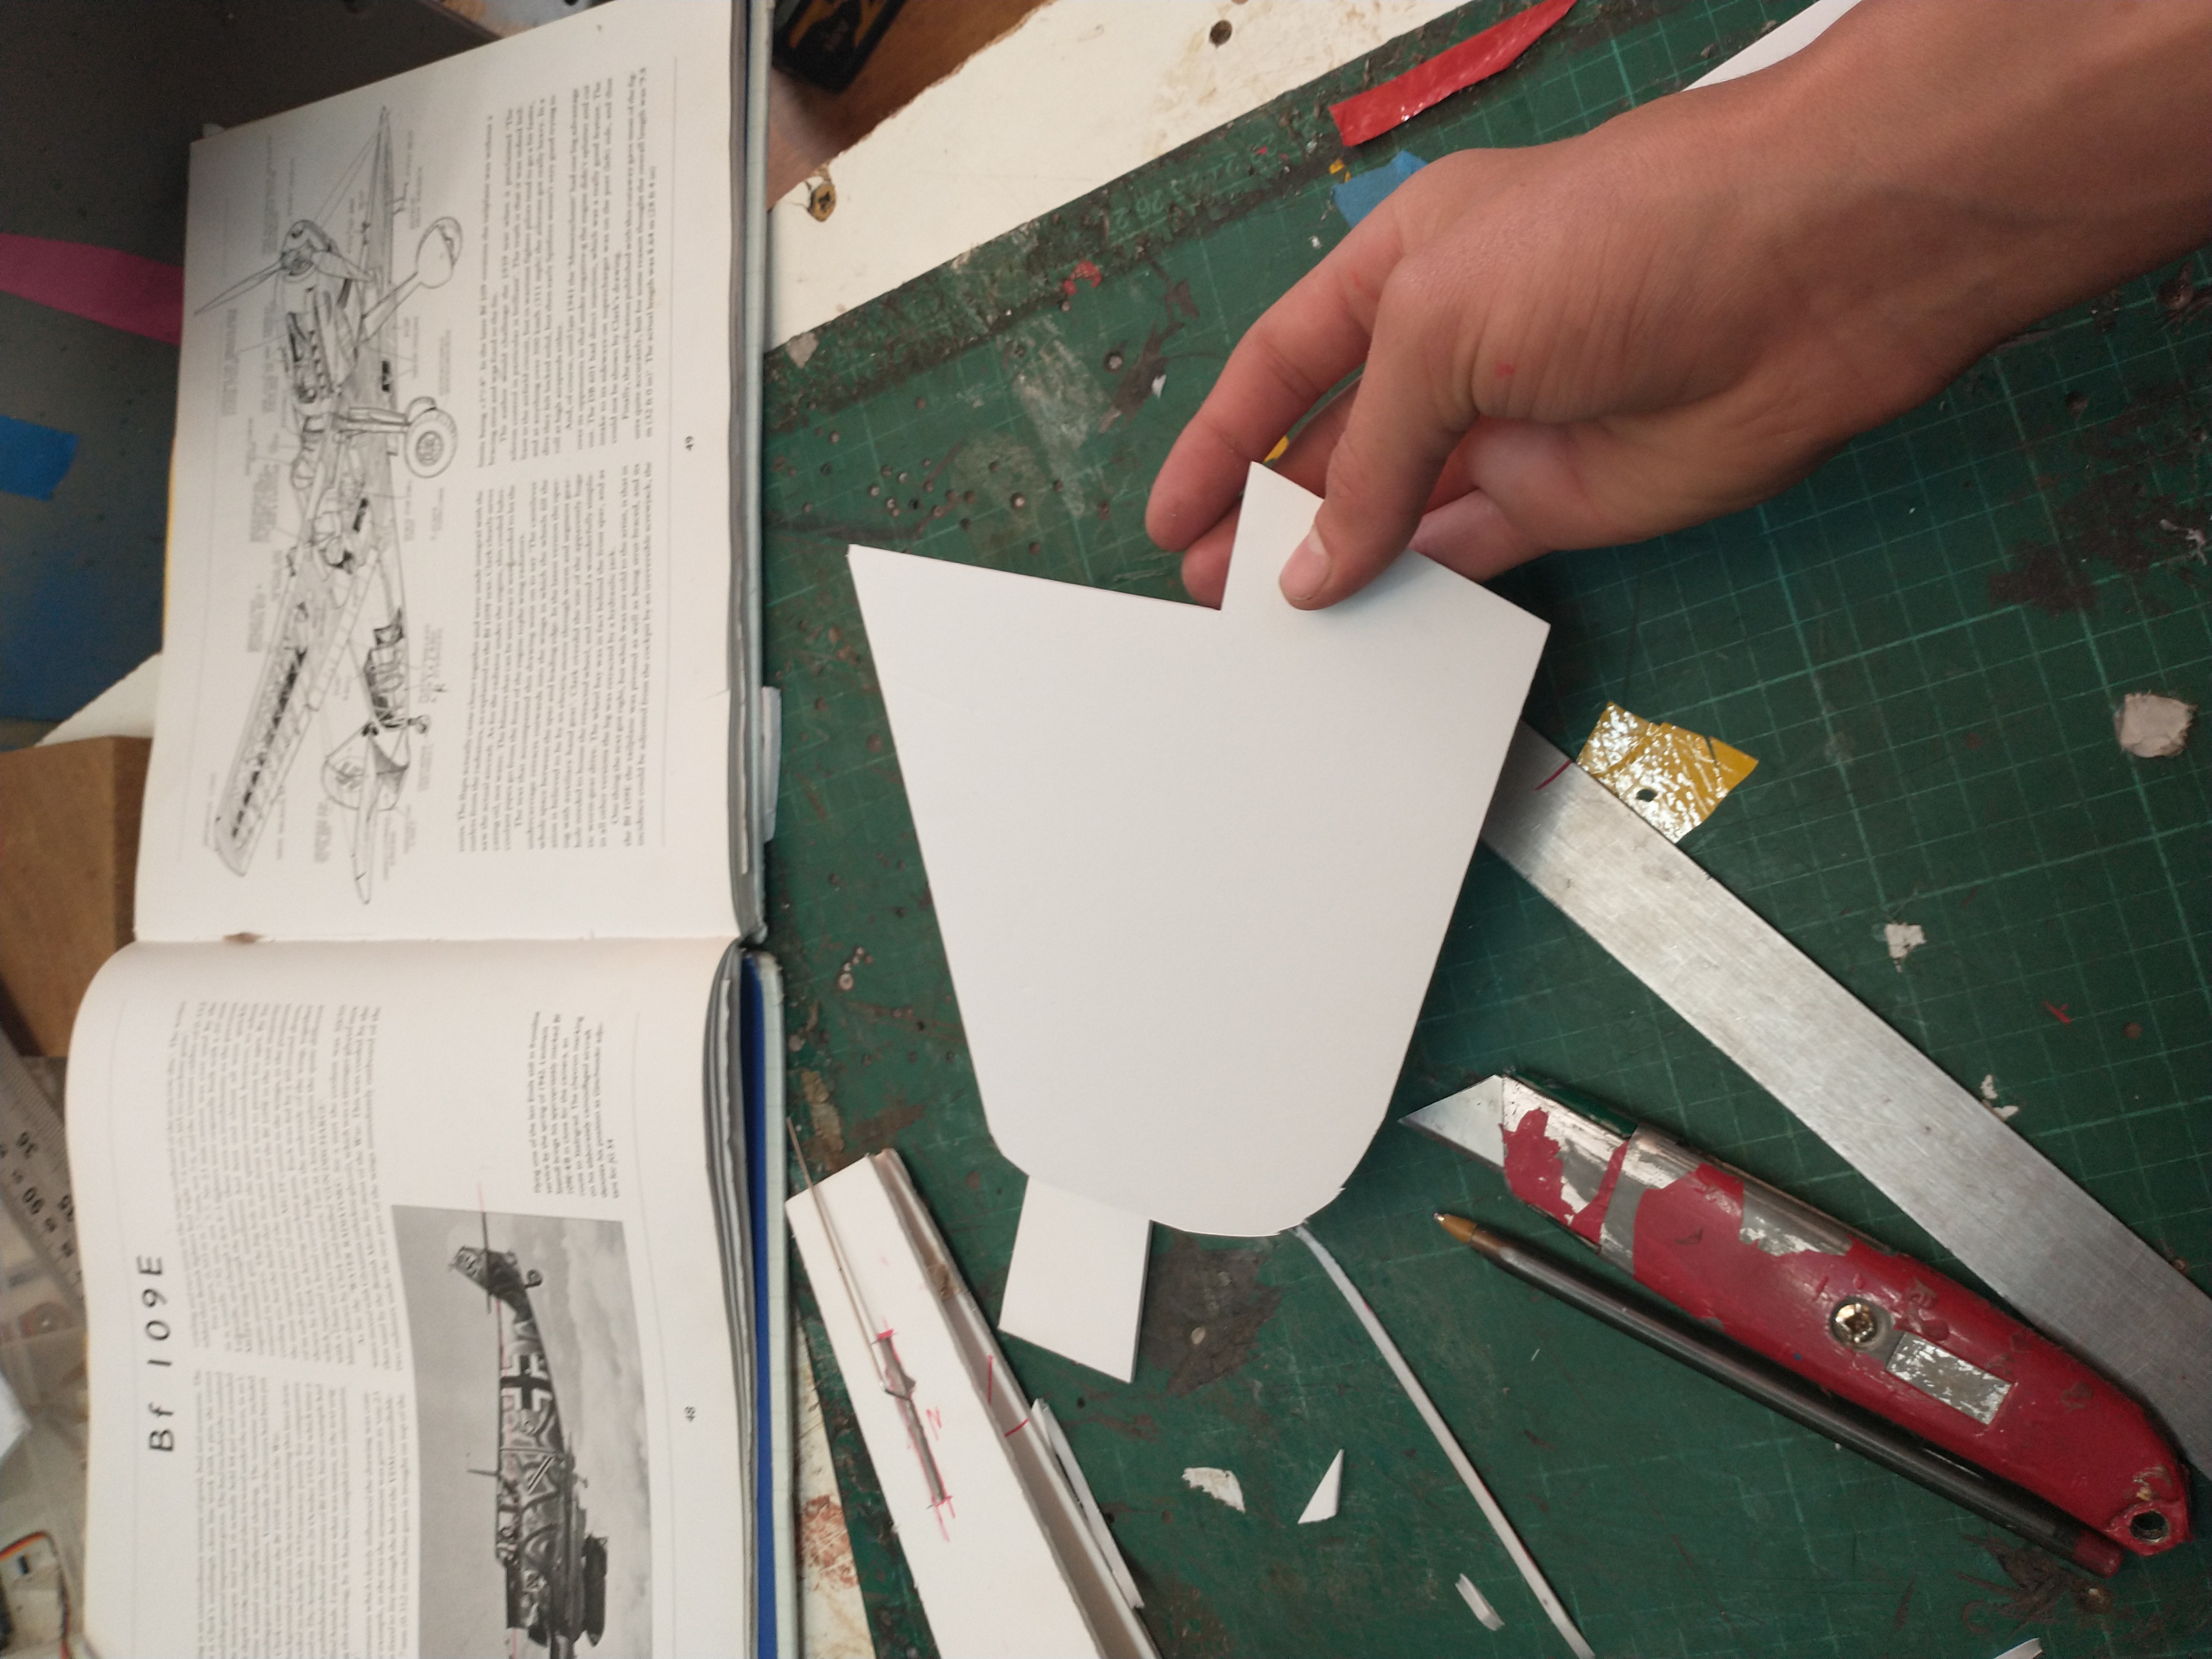
So now I can move on to the tail feathers by cutting out the elevator and splitting the two sides.
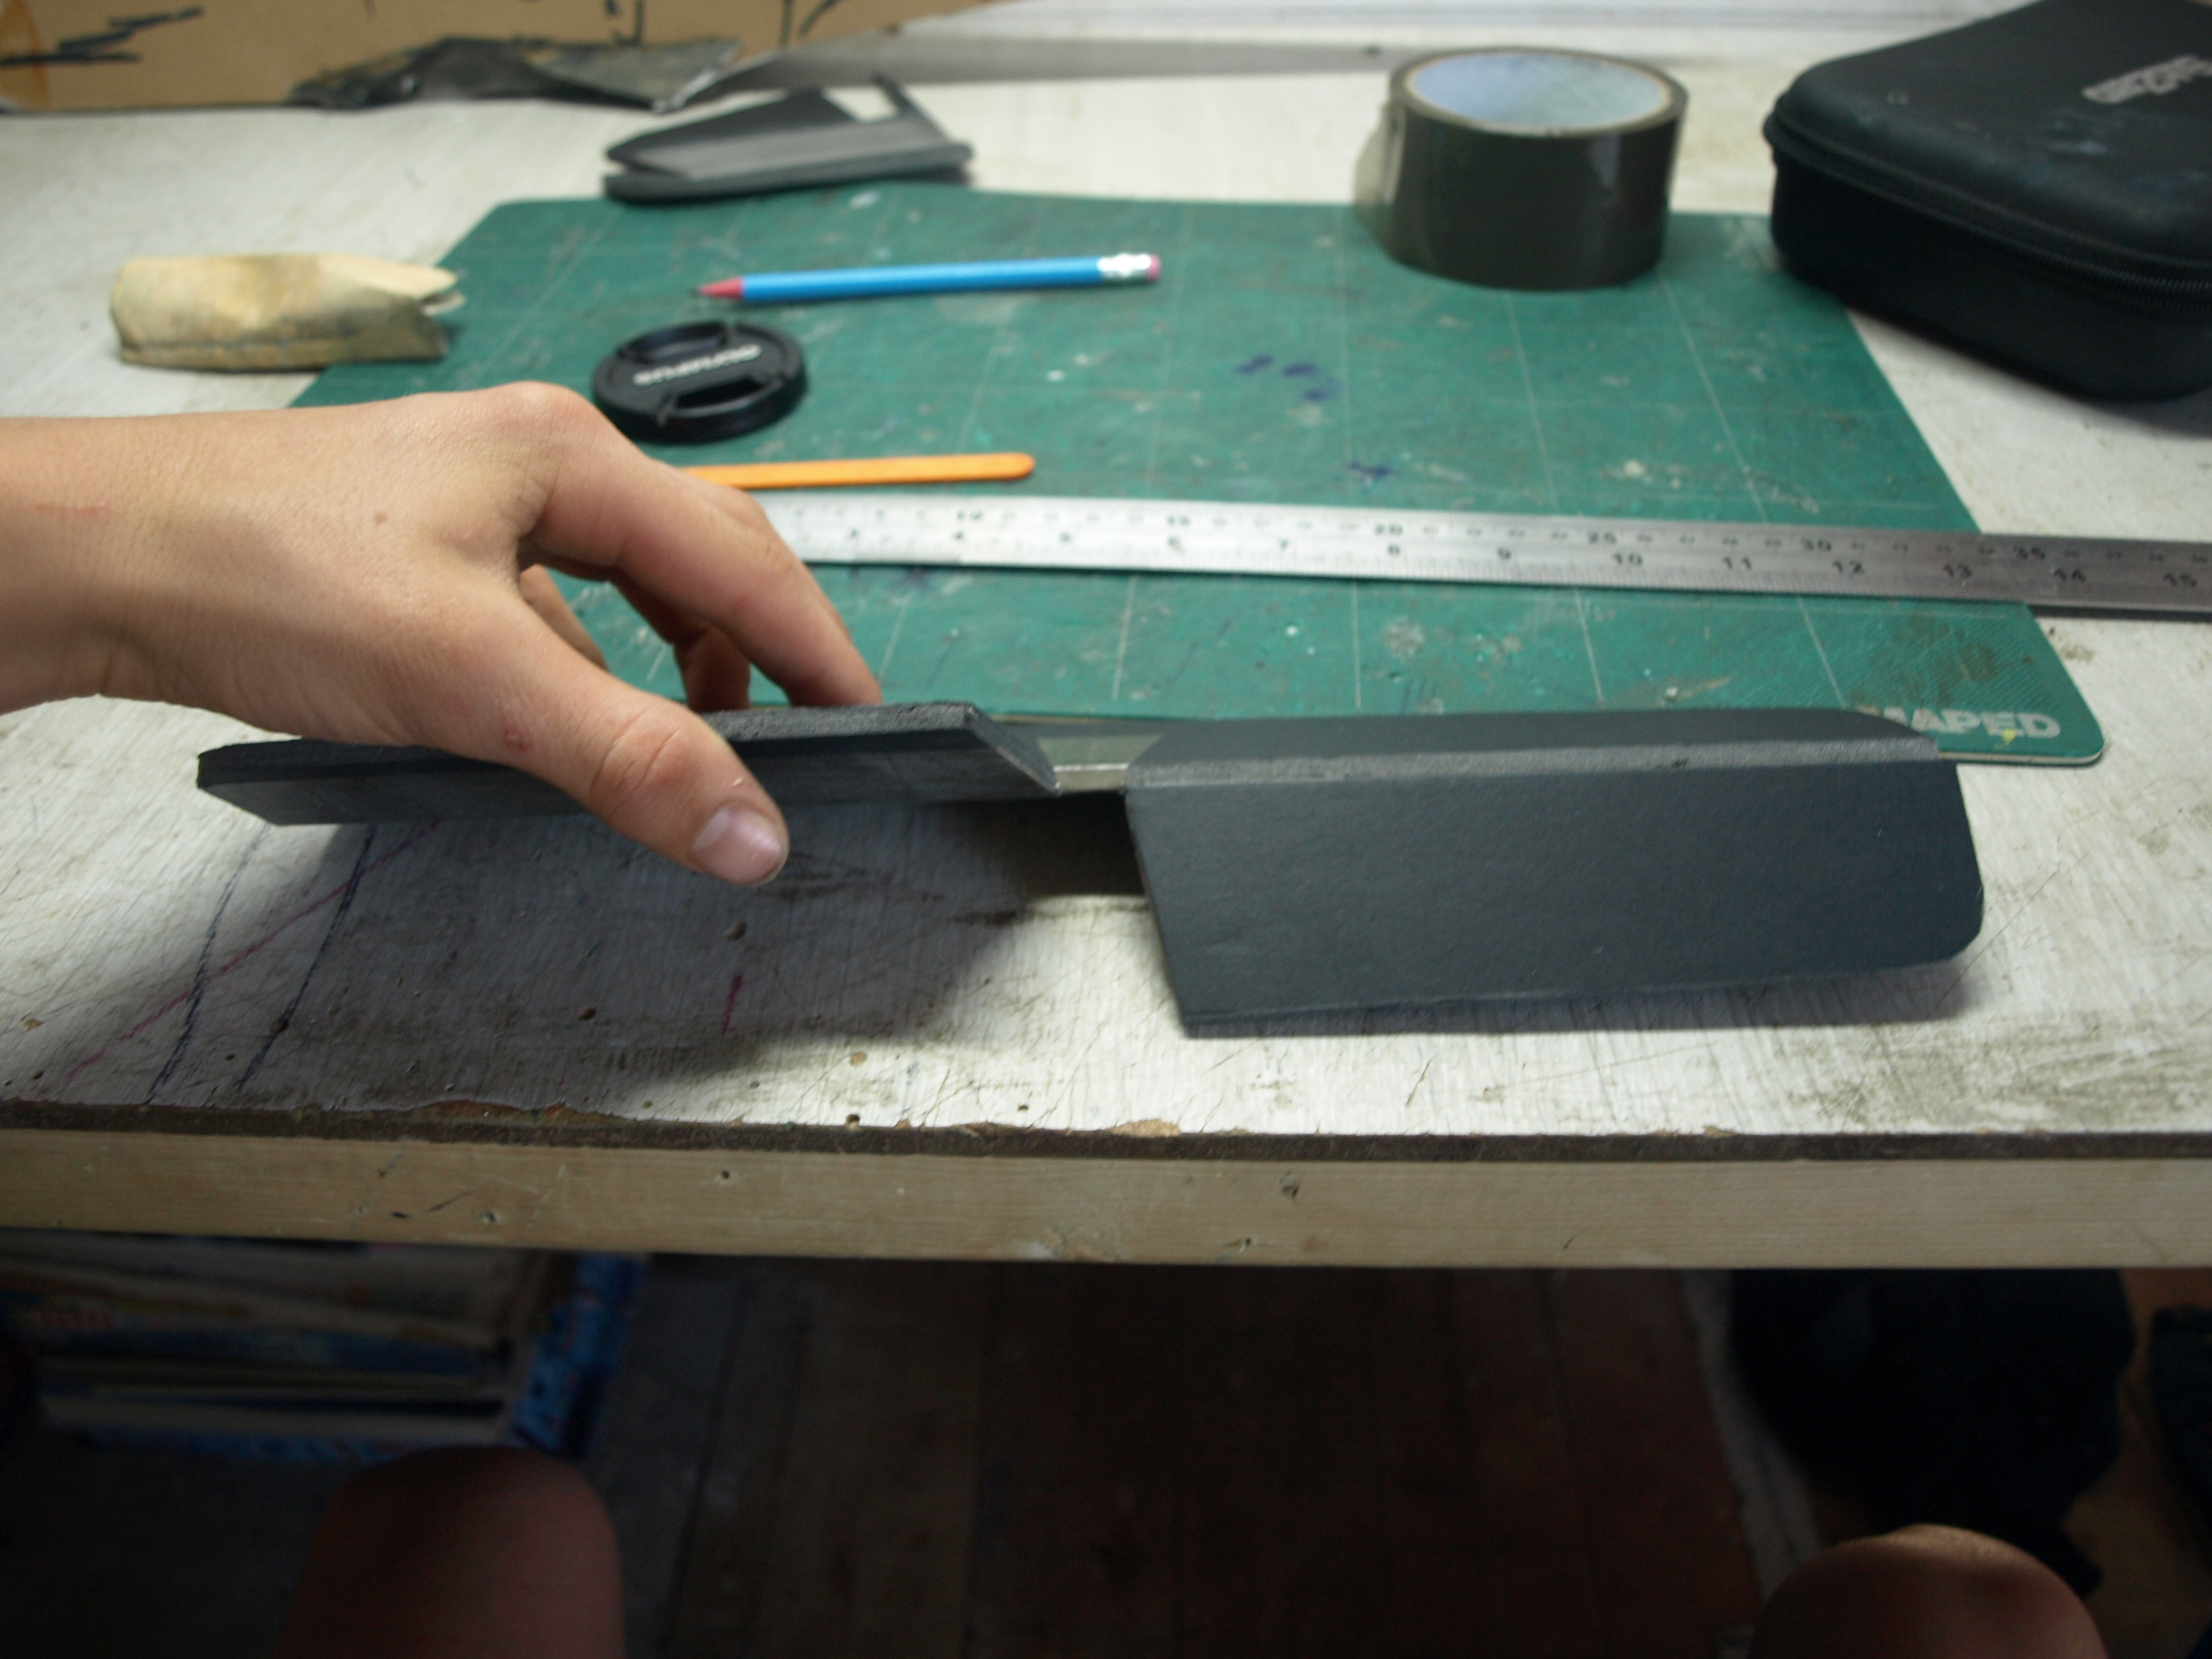
Then I needed to join them together, so I cut a groove out for a lollypop stick. I also colored in the stick so it was not orange anymore.

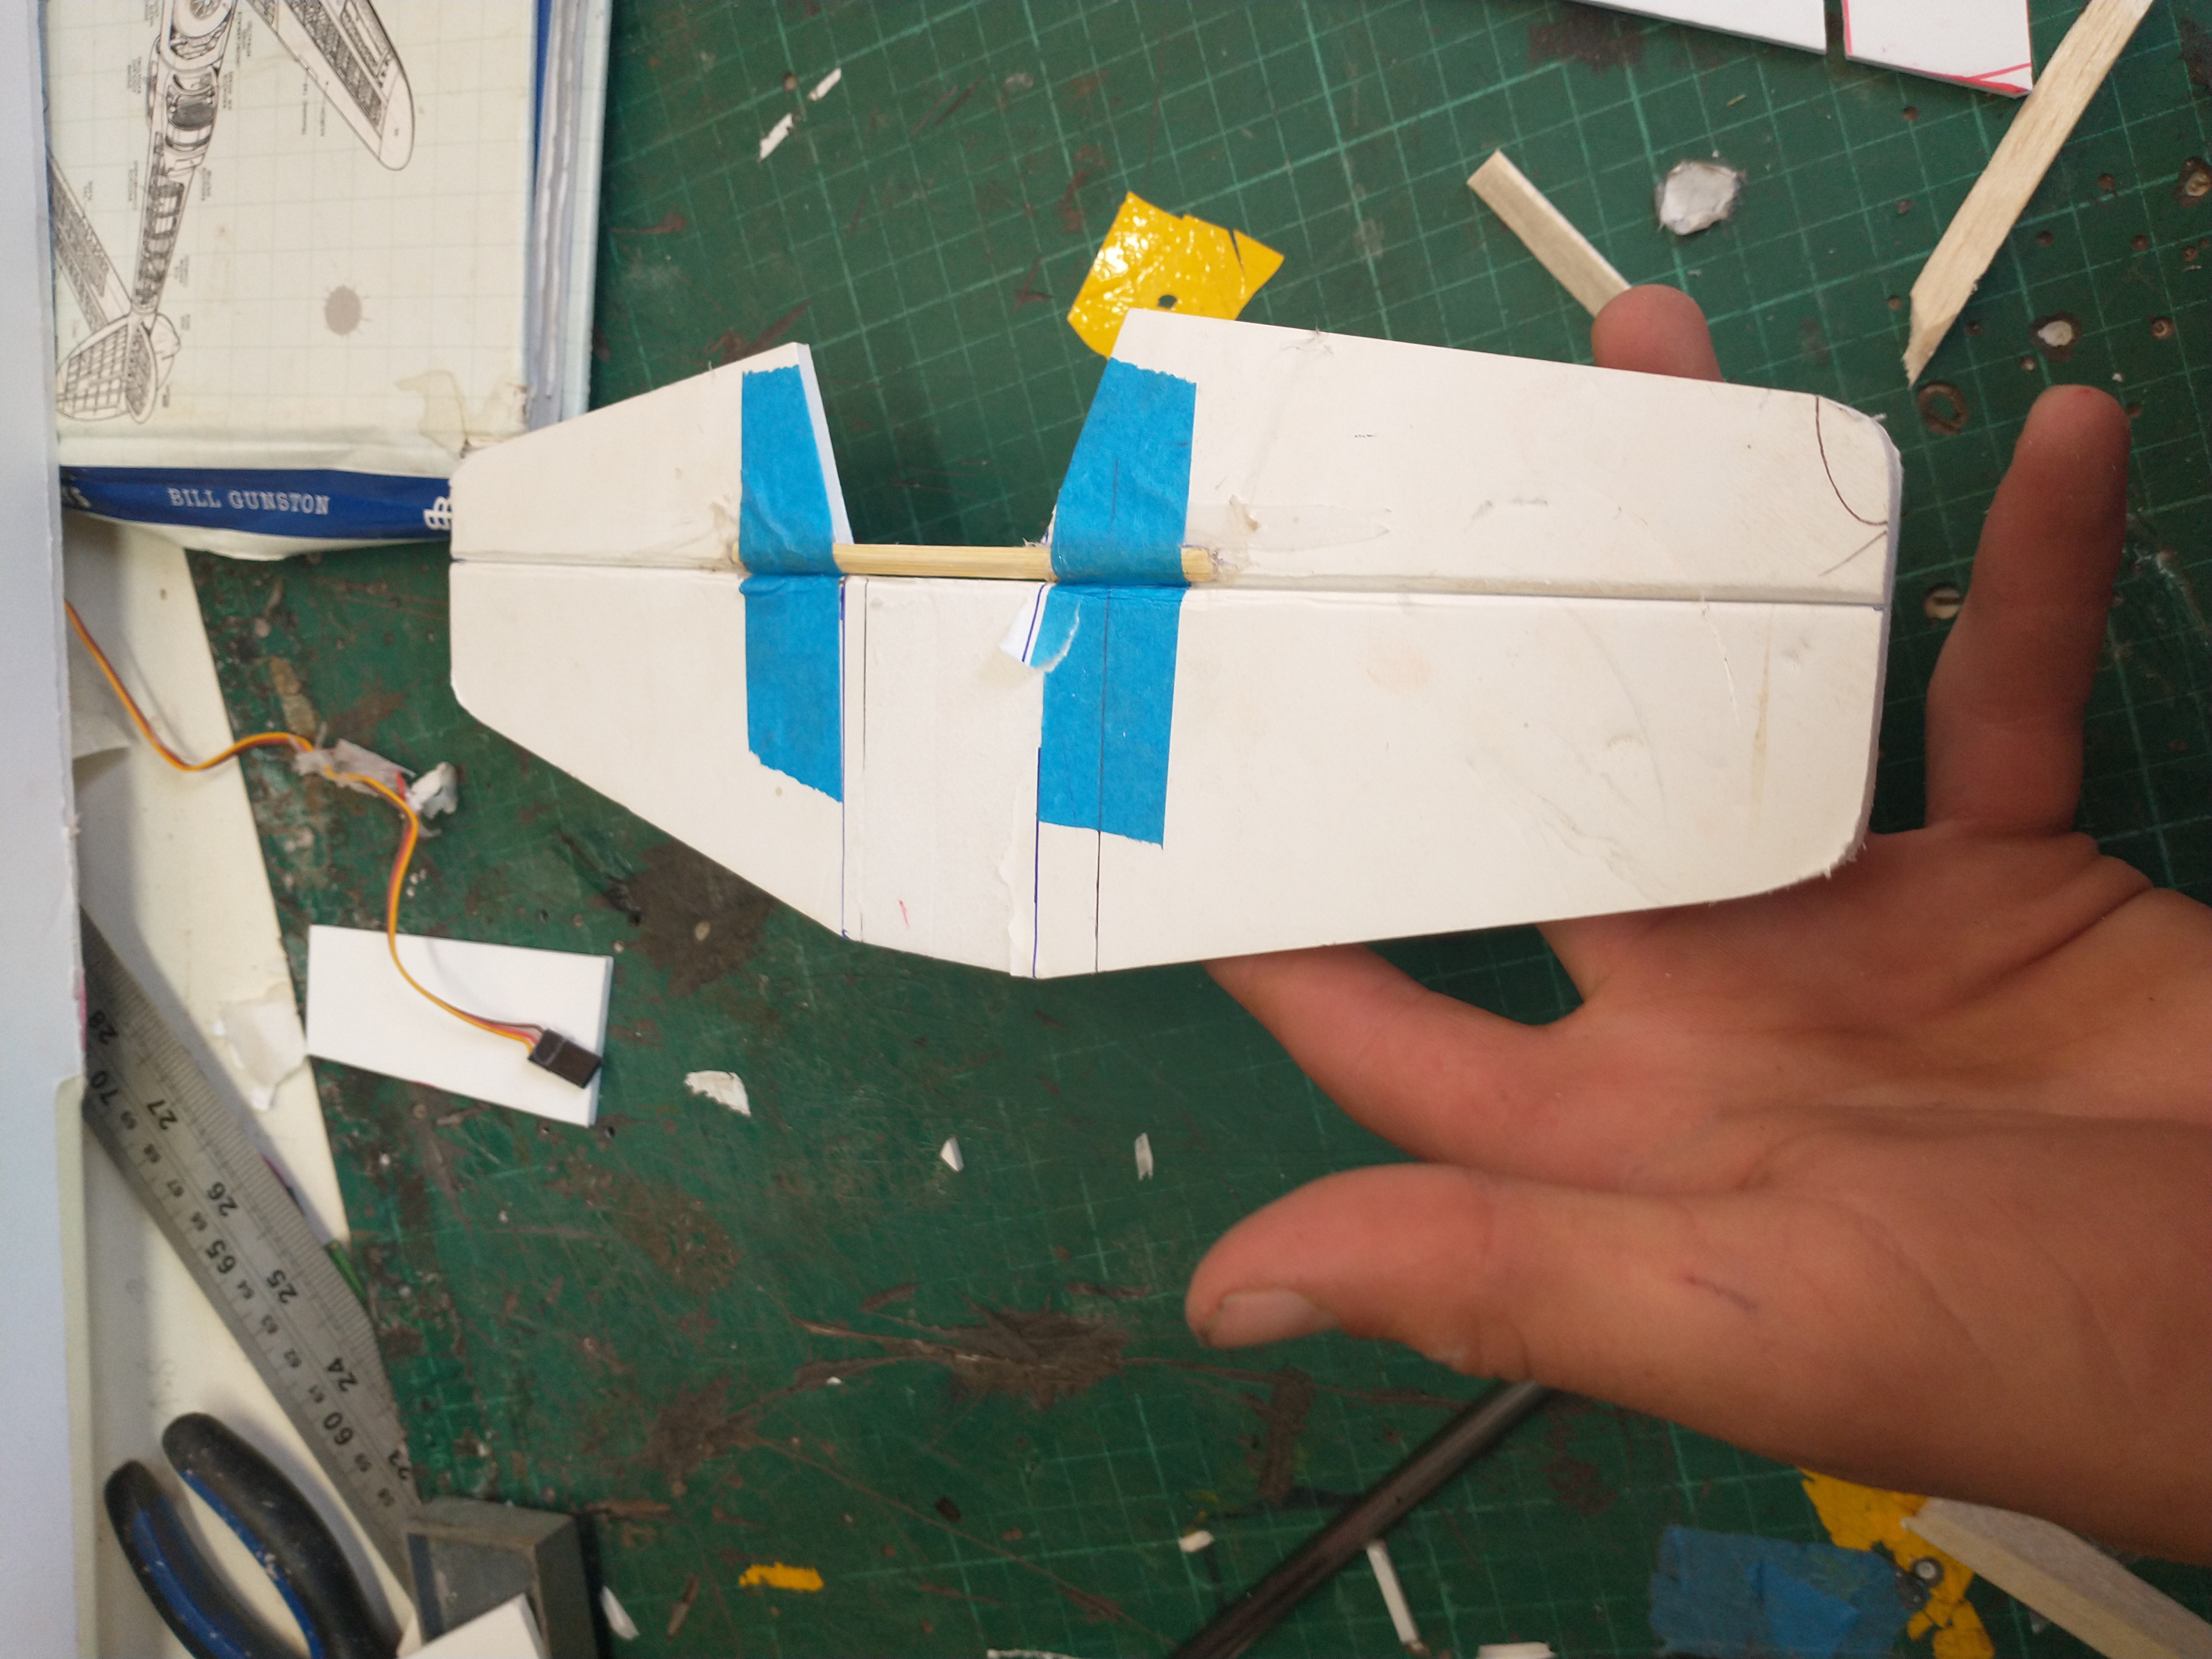
After the elevator was finished, I copied the technique on the rudder.
On both the elevator and the rudder, I taped the hinge; I also sanded the tape so I could paint it later.
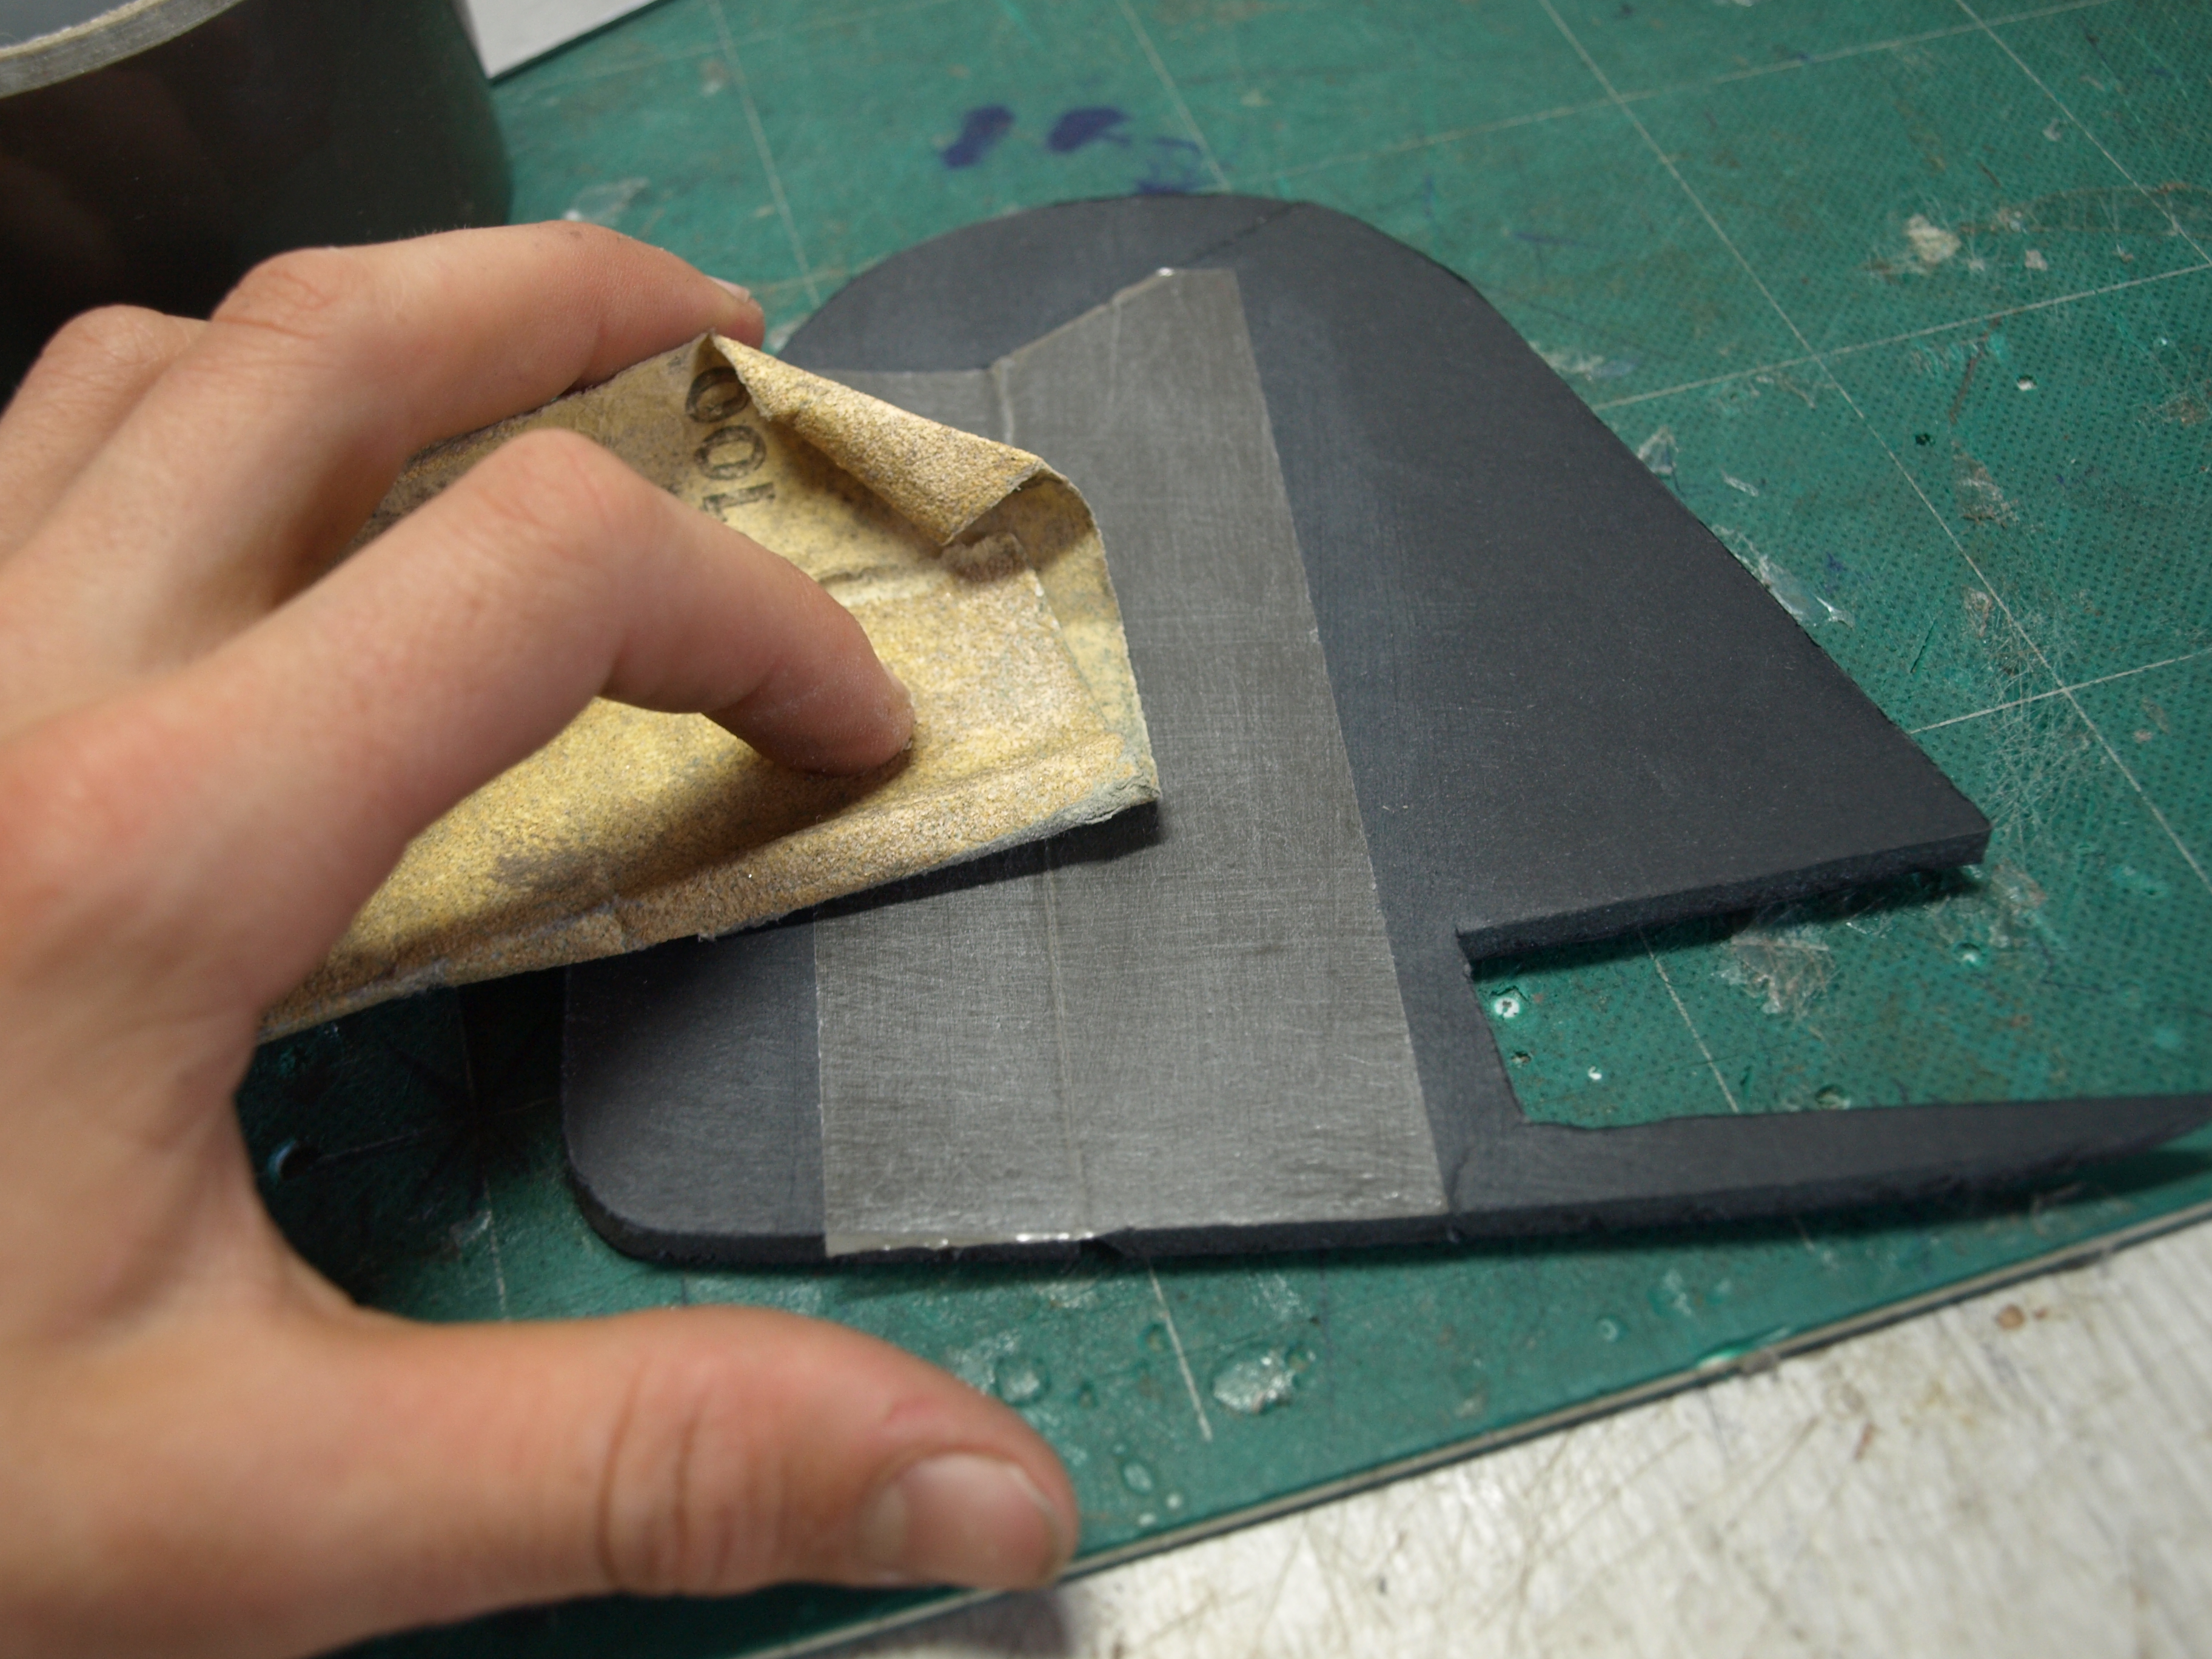
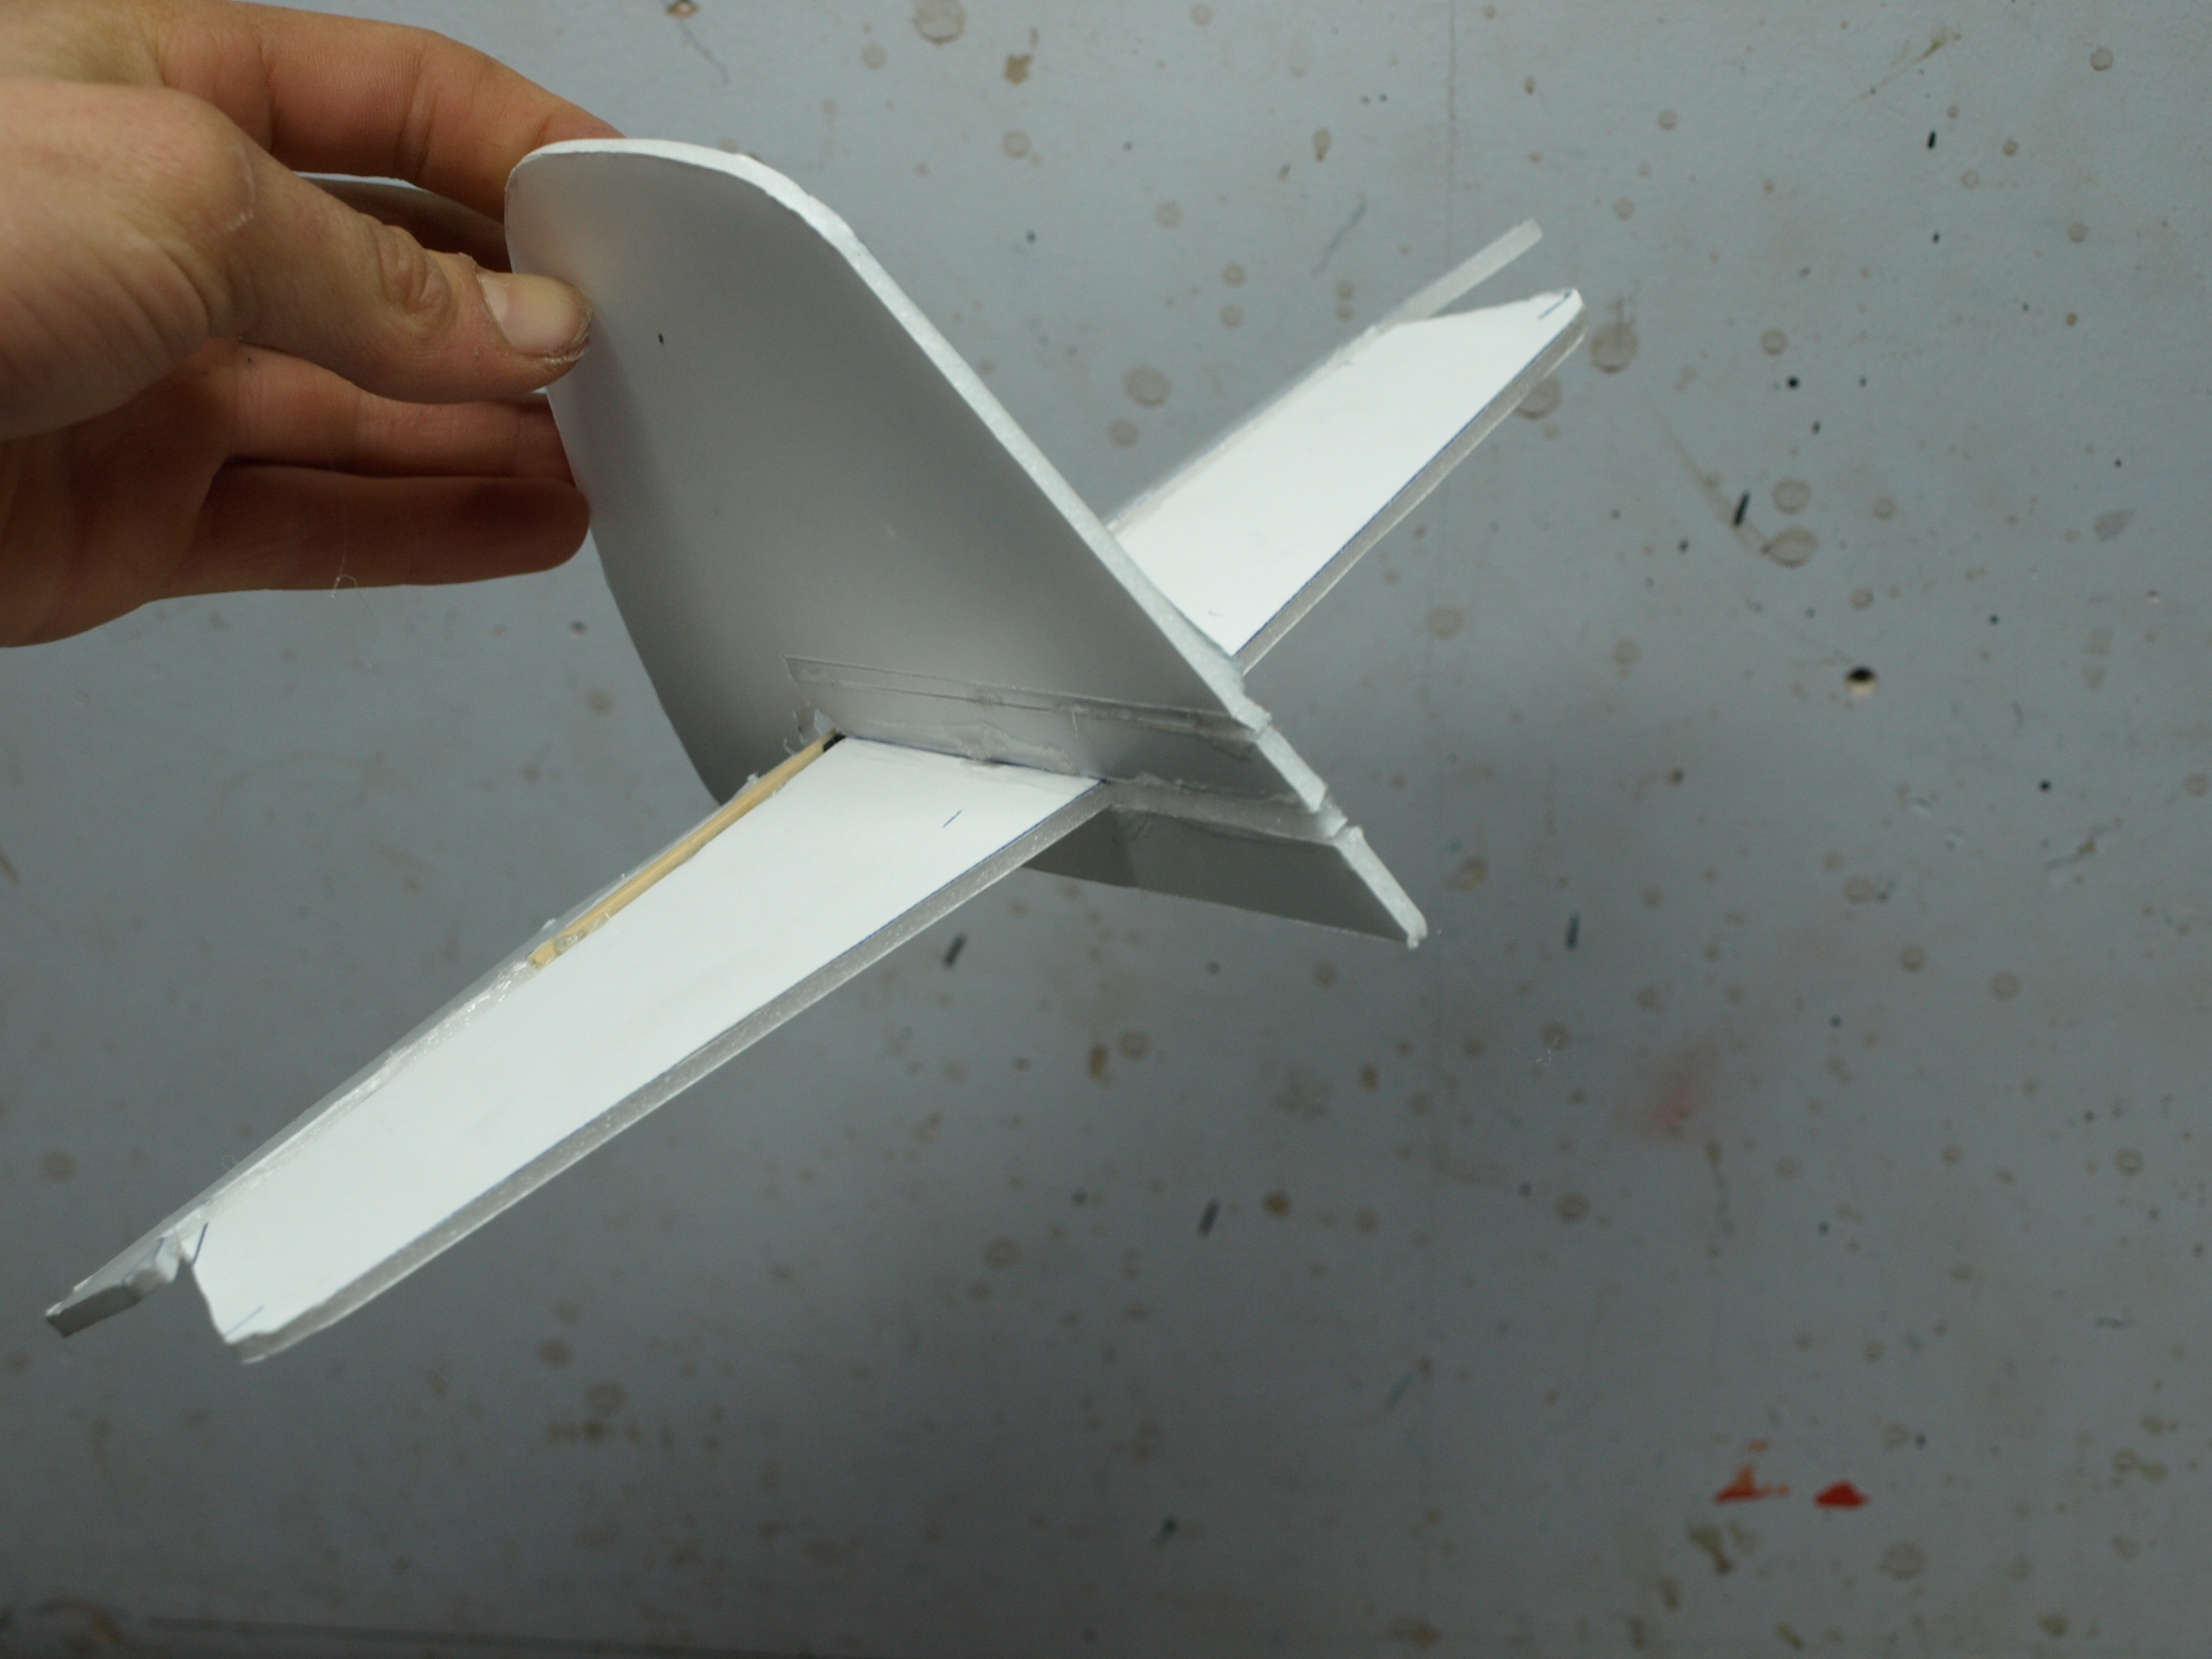
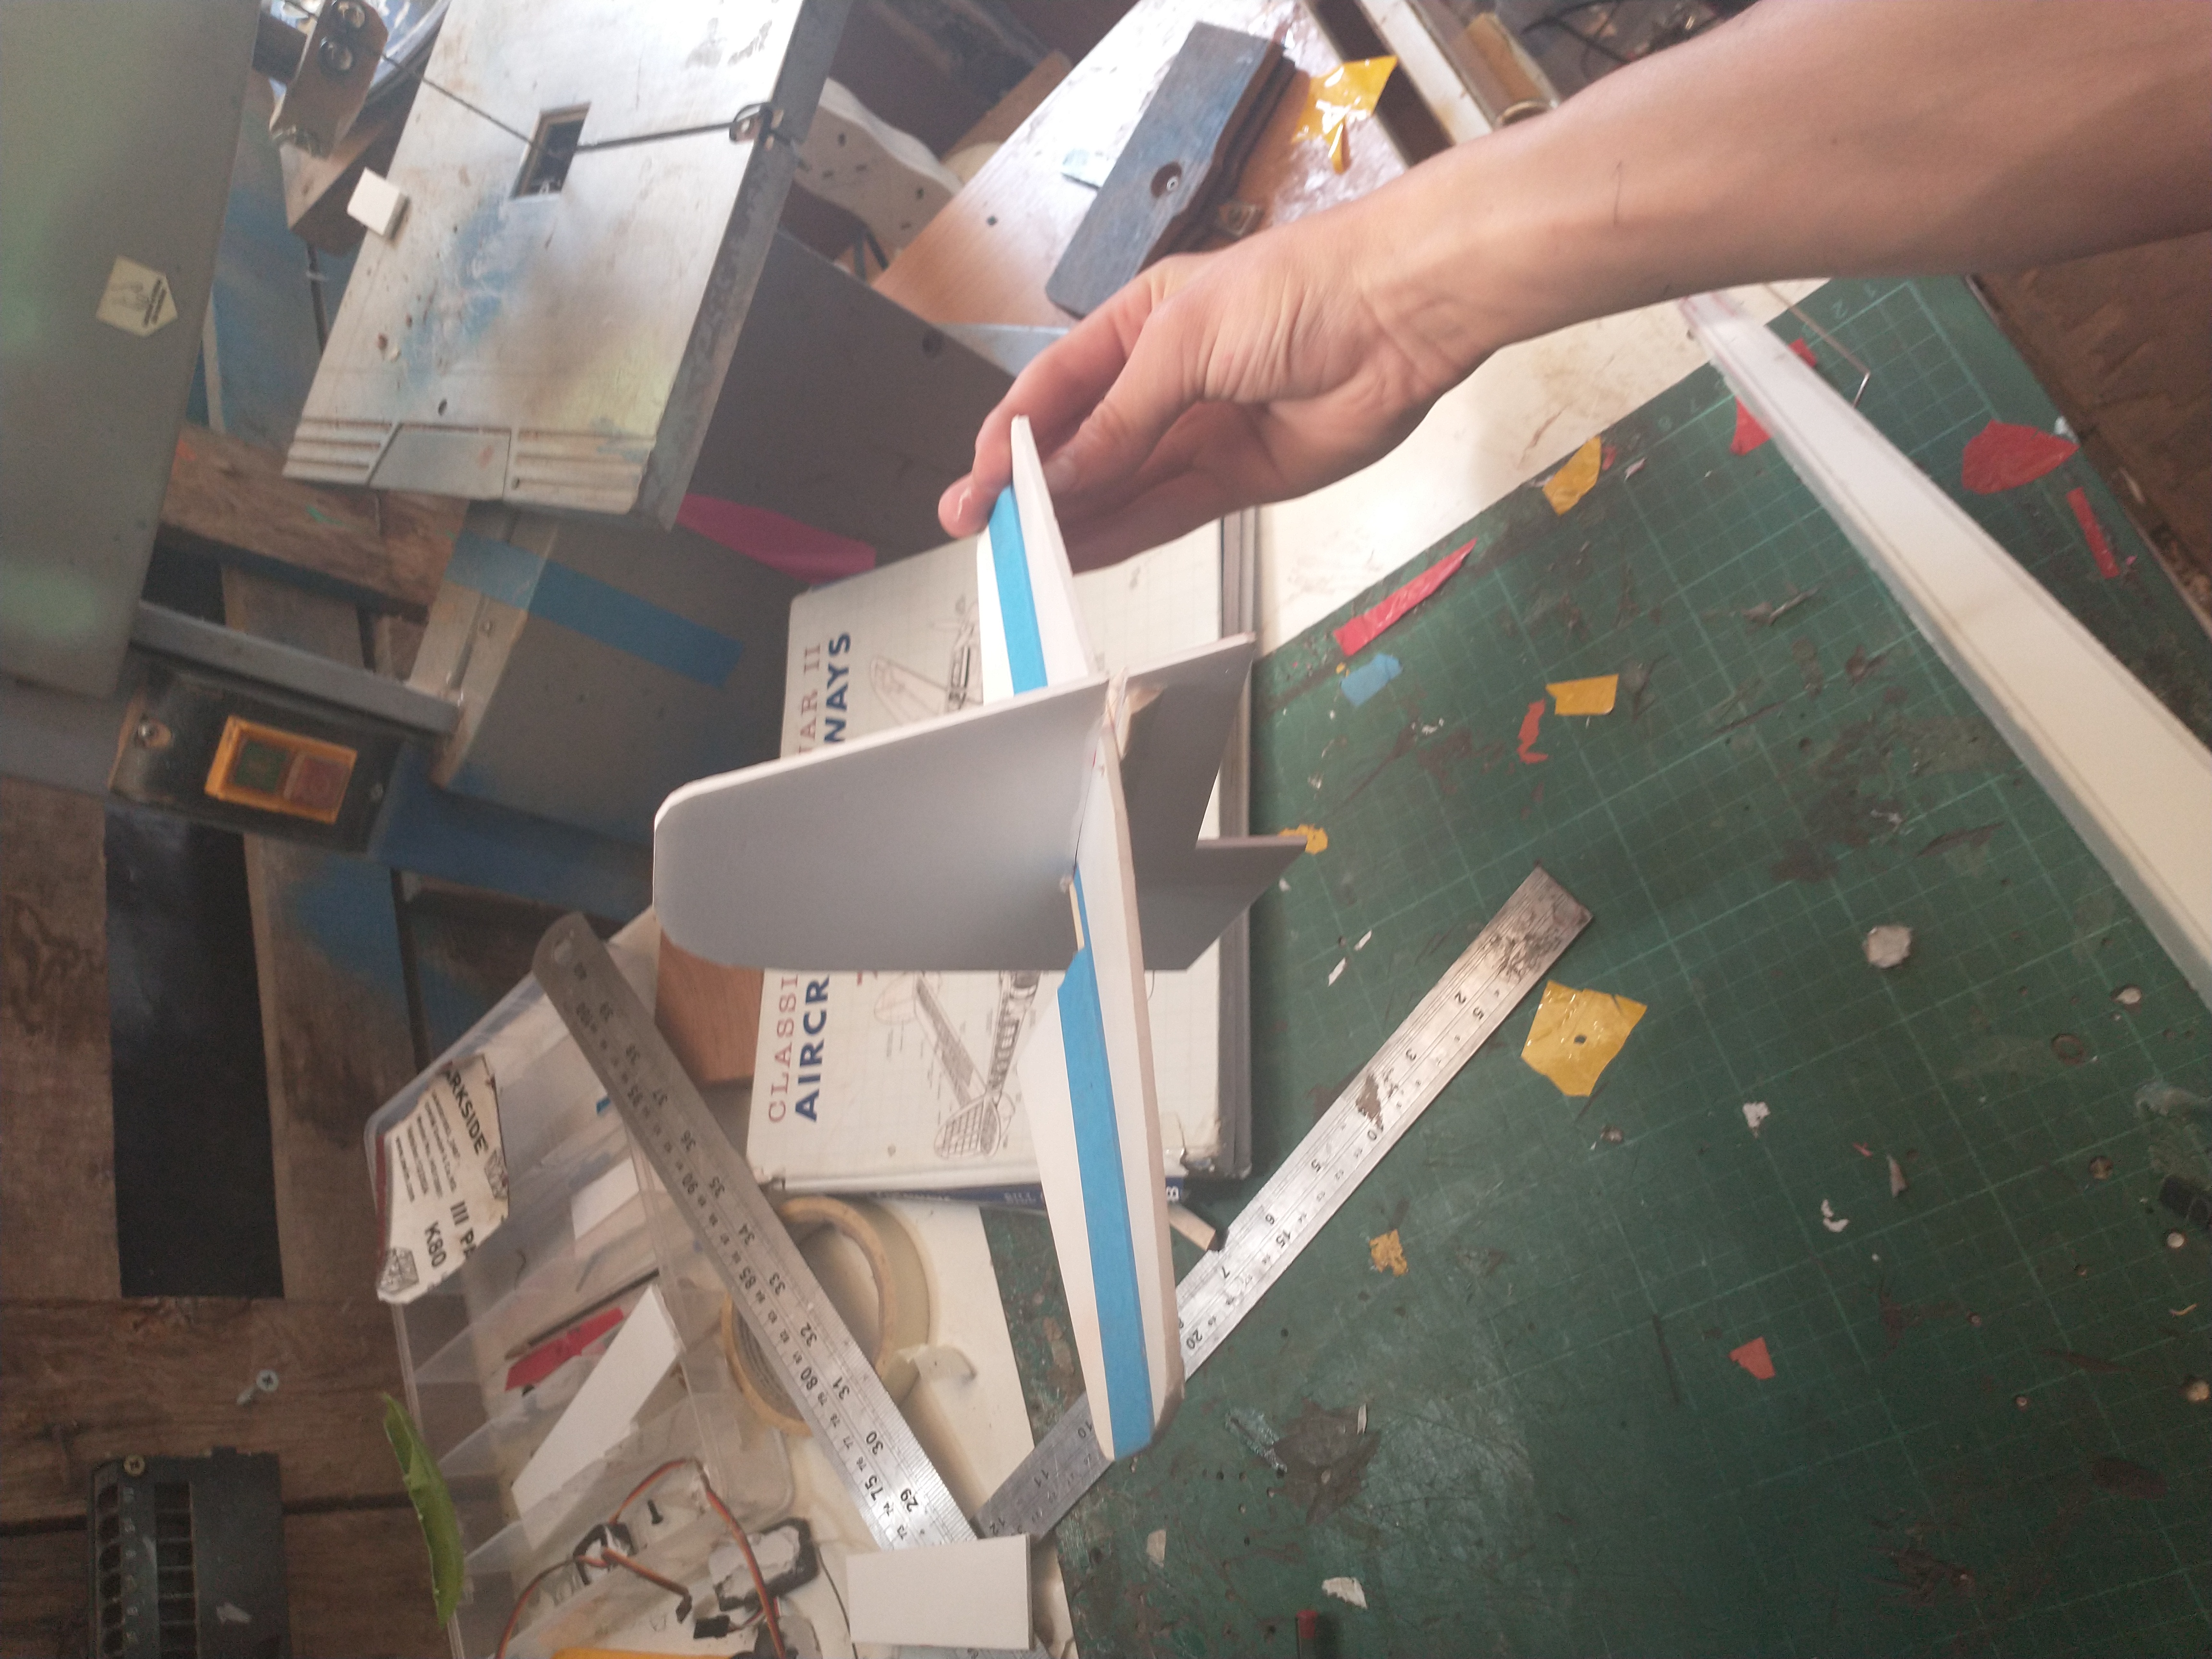
Finished tail feathers.
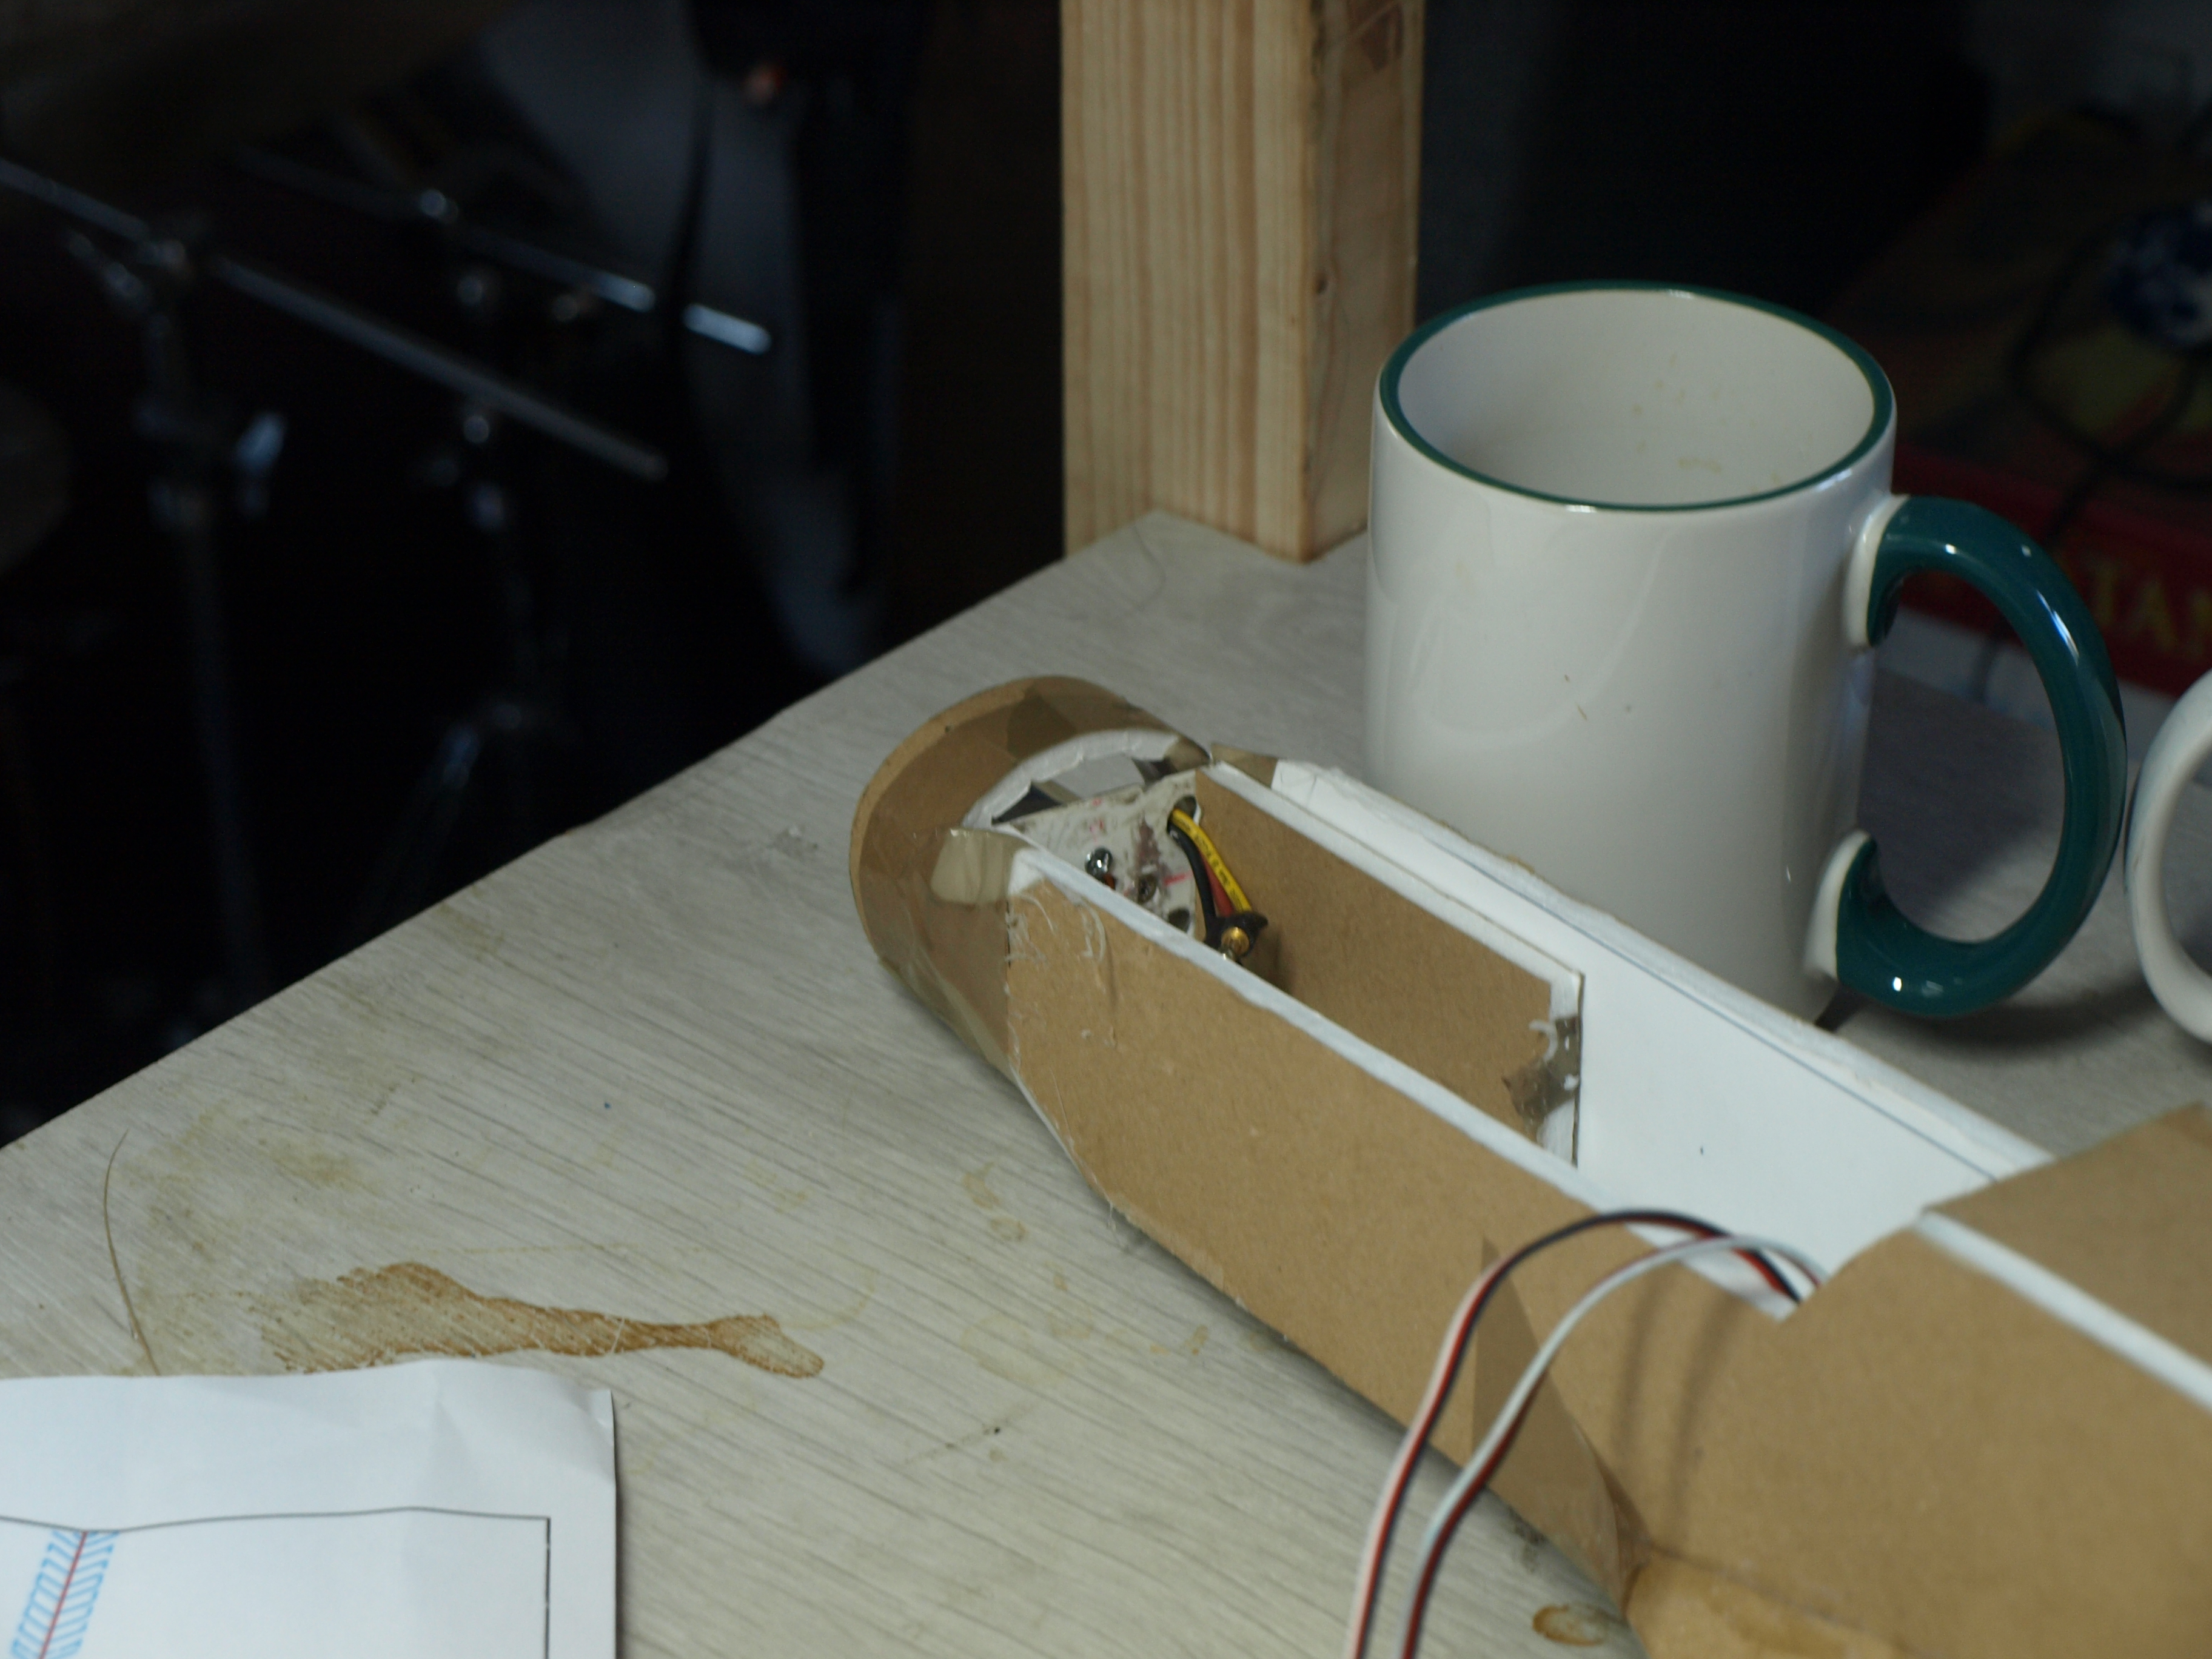
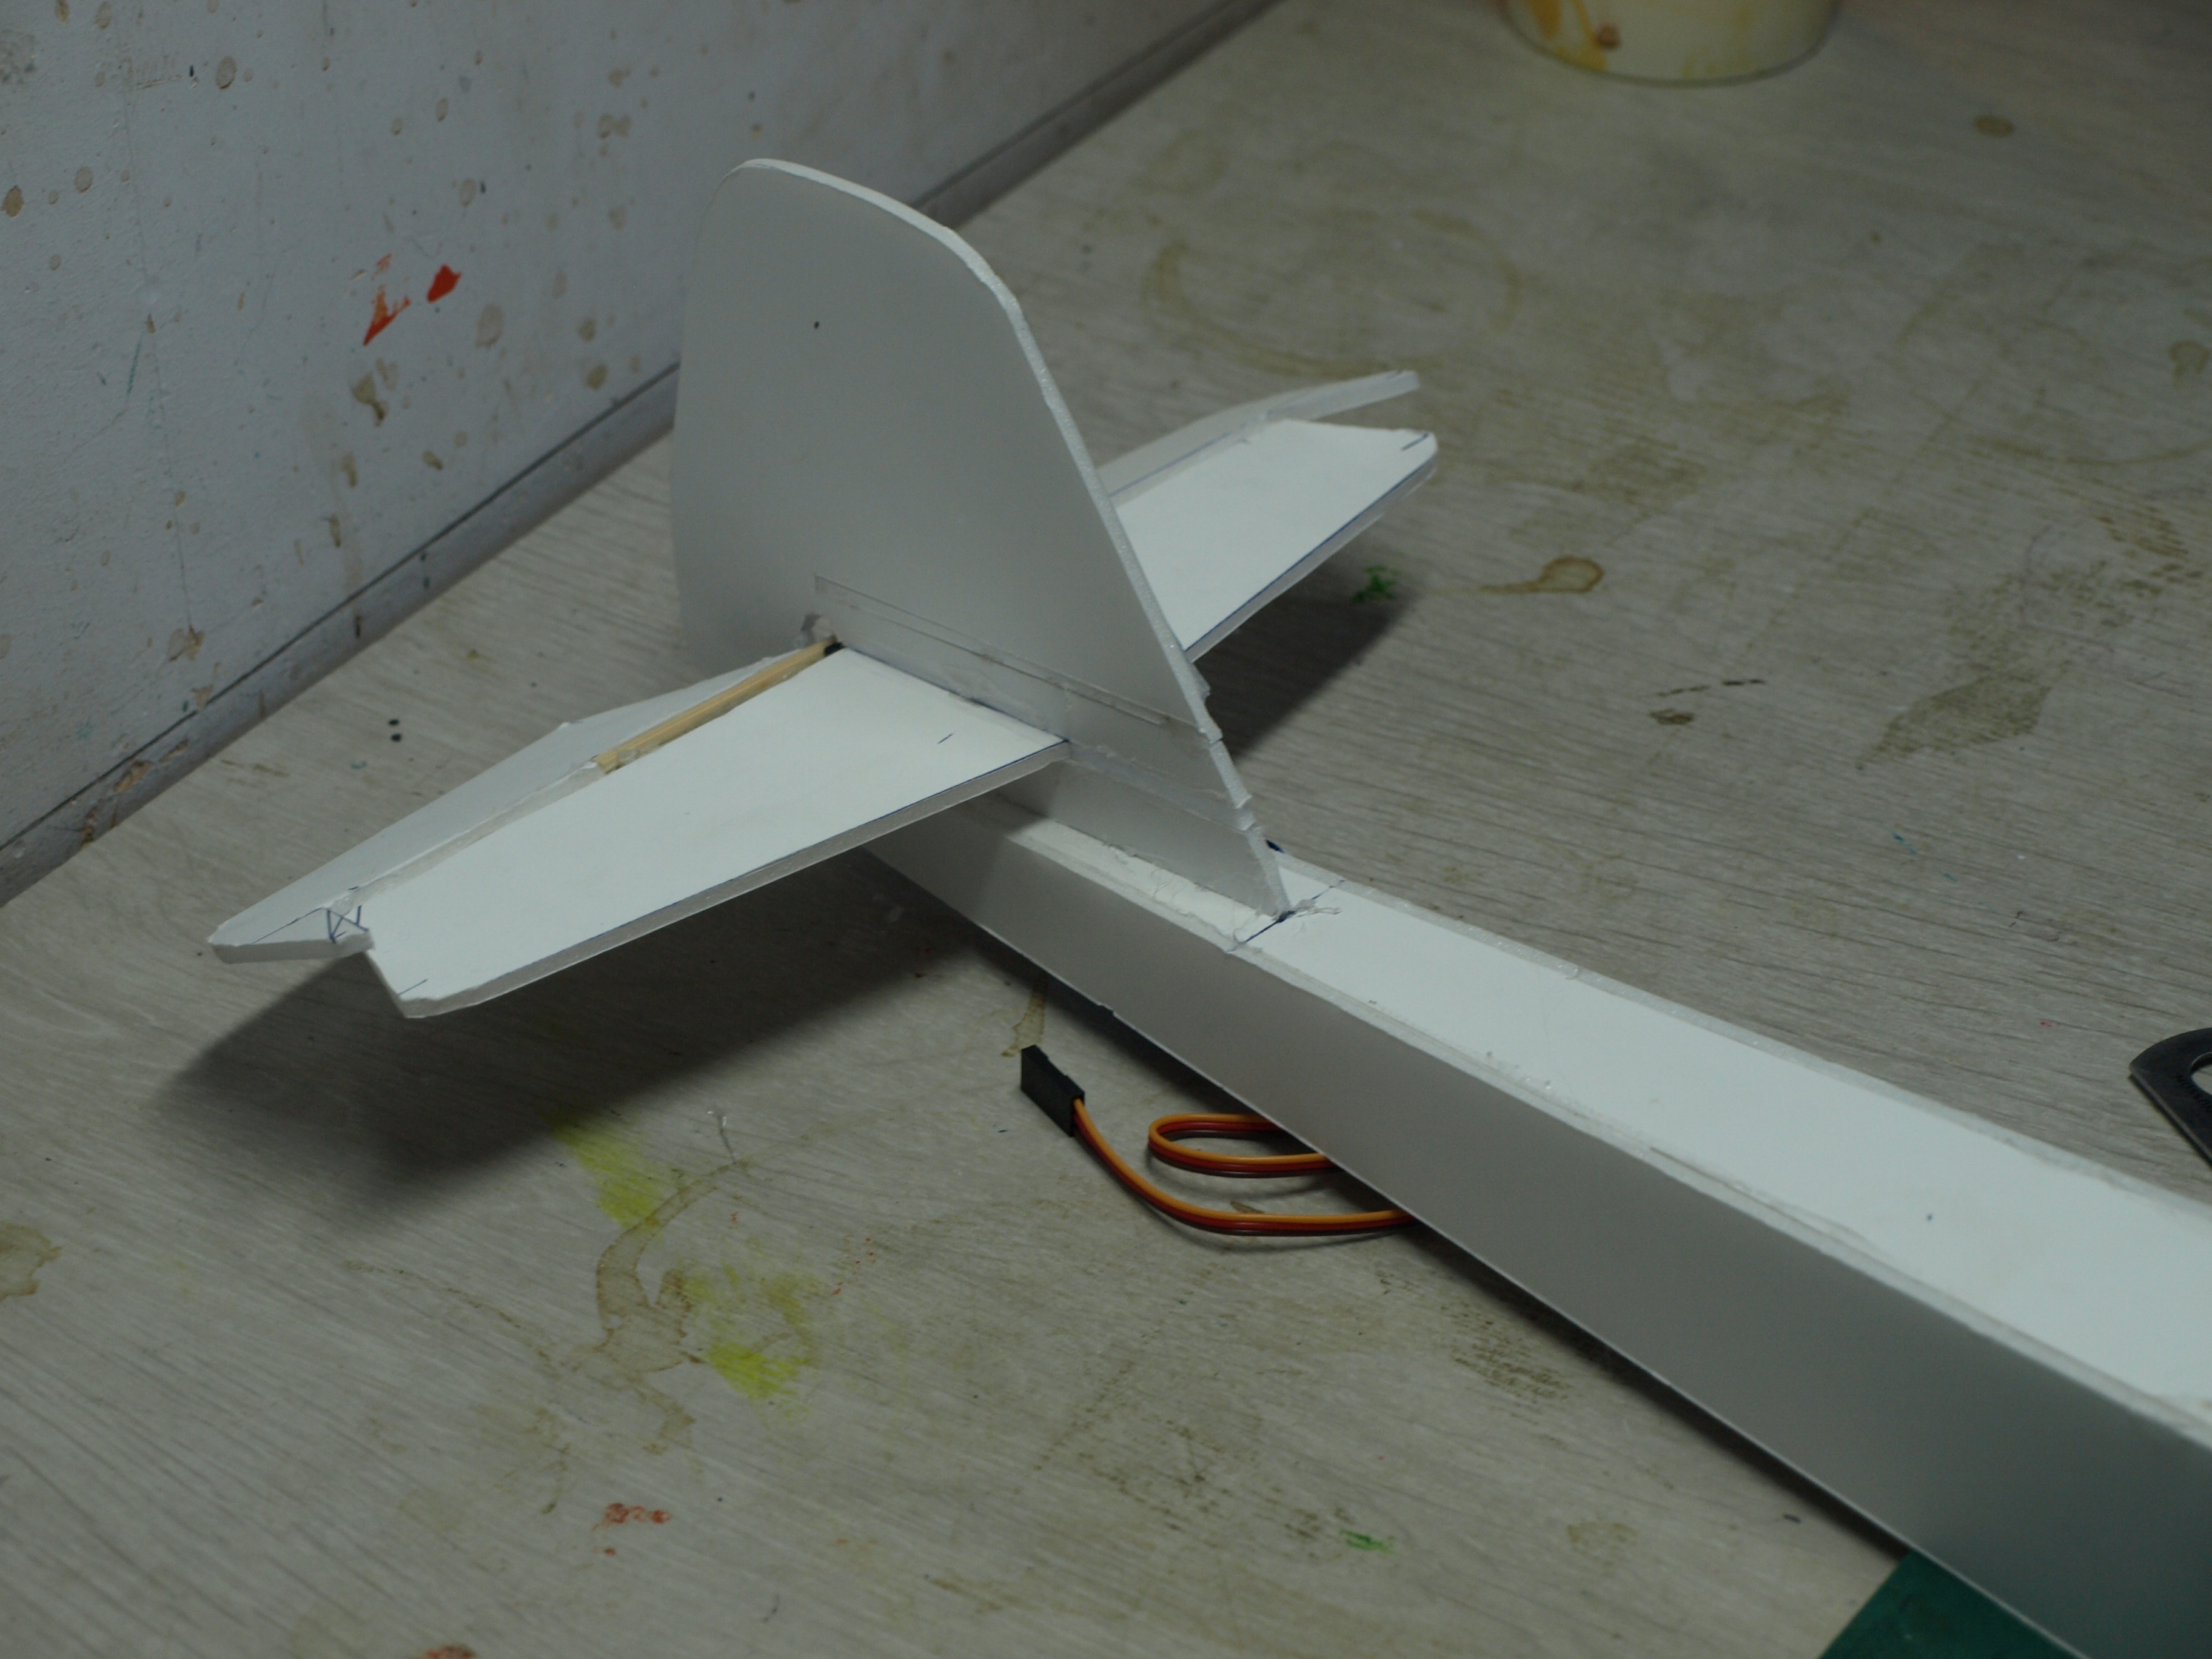
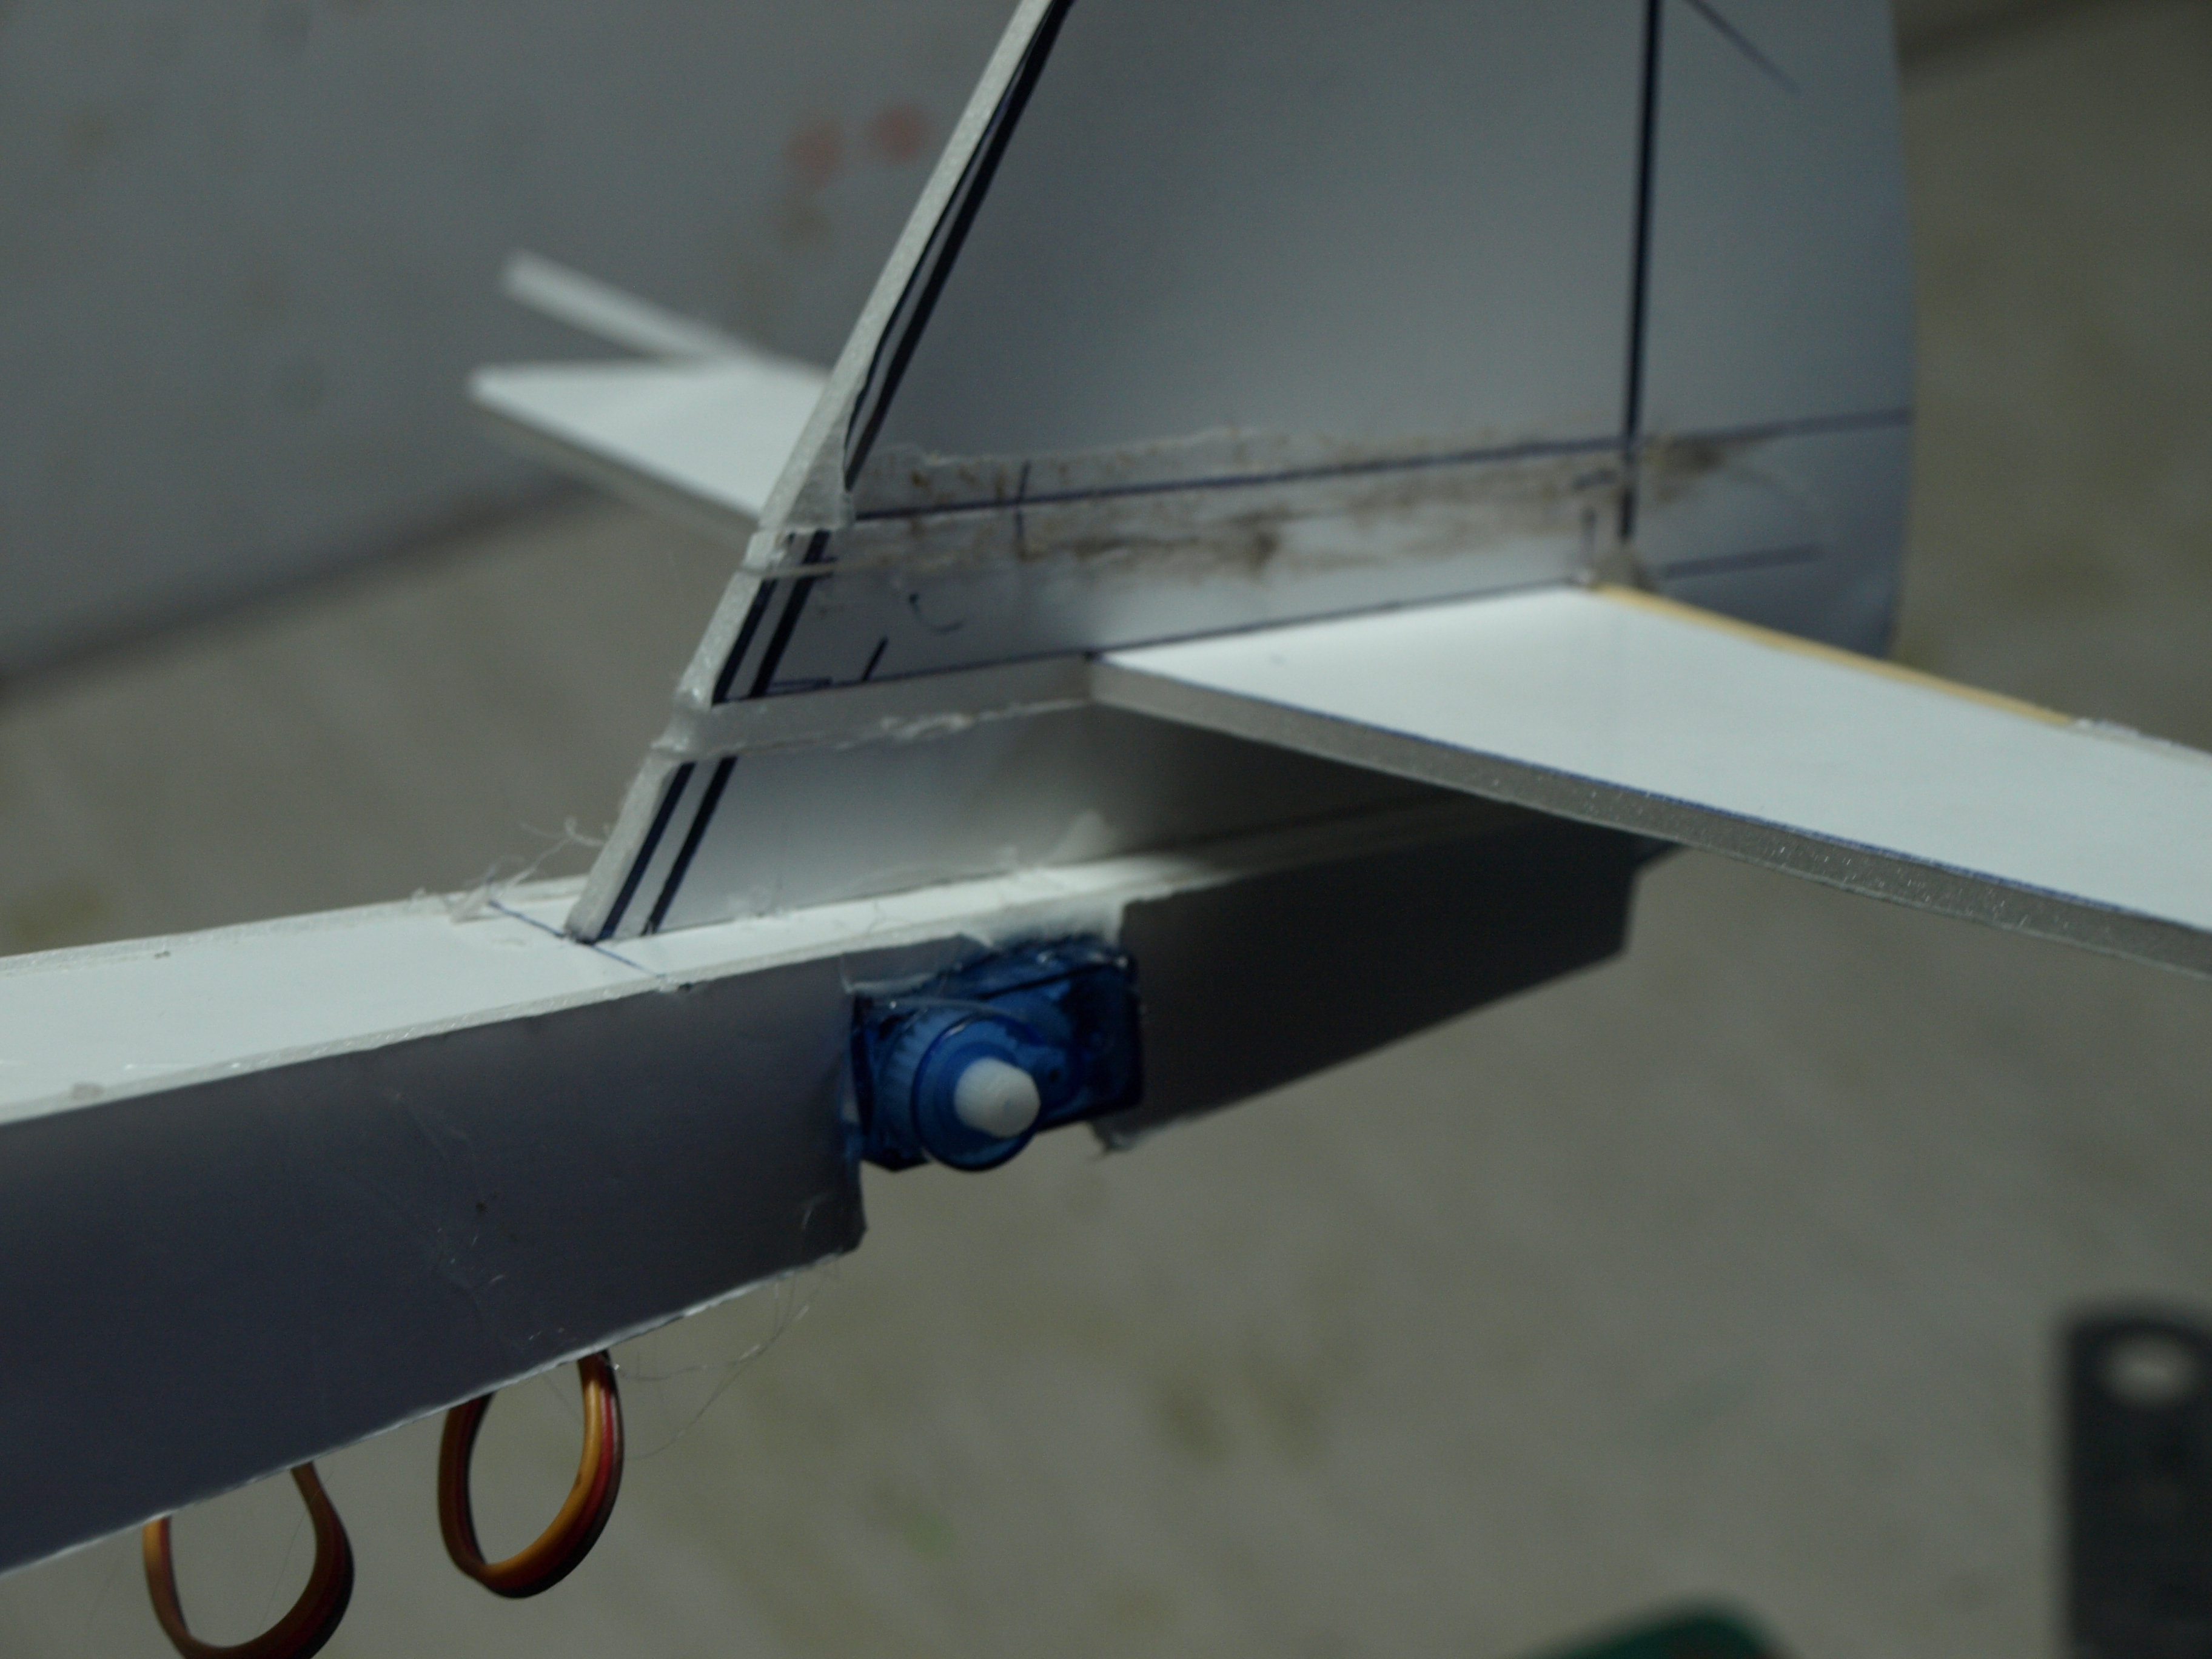
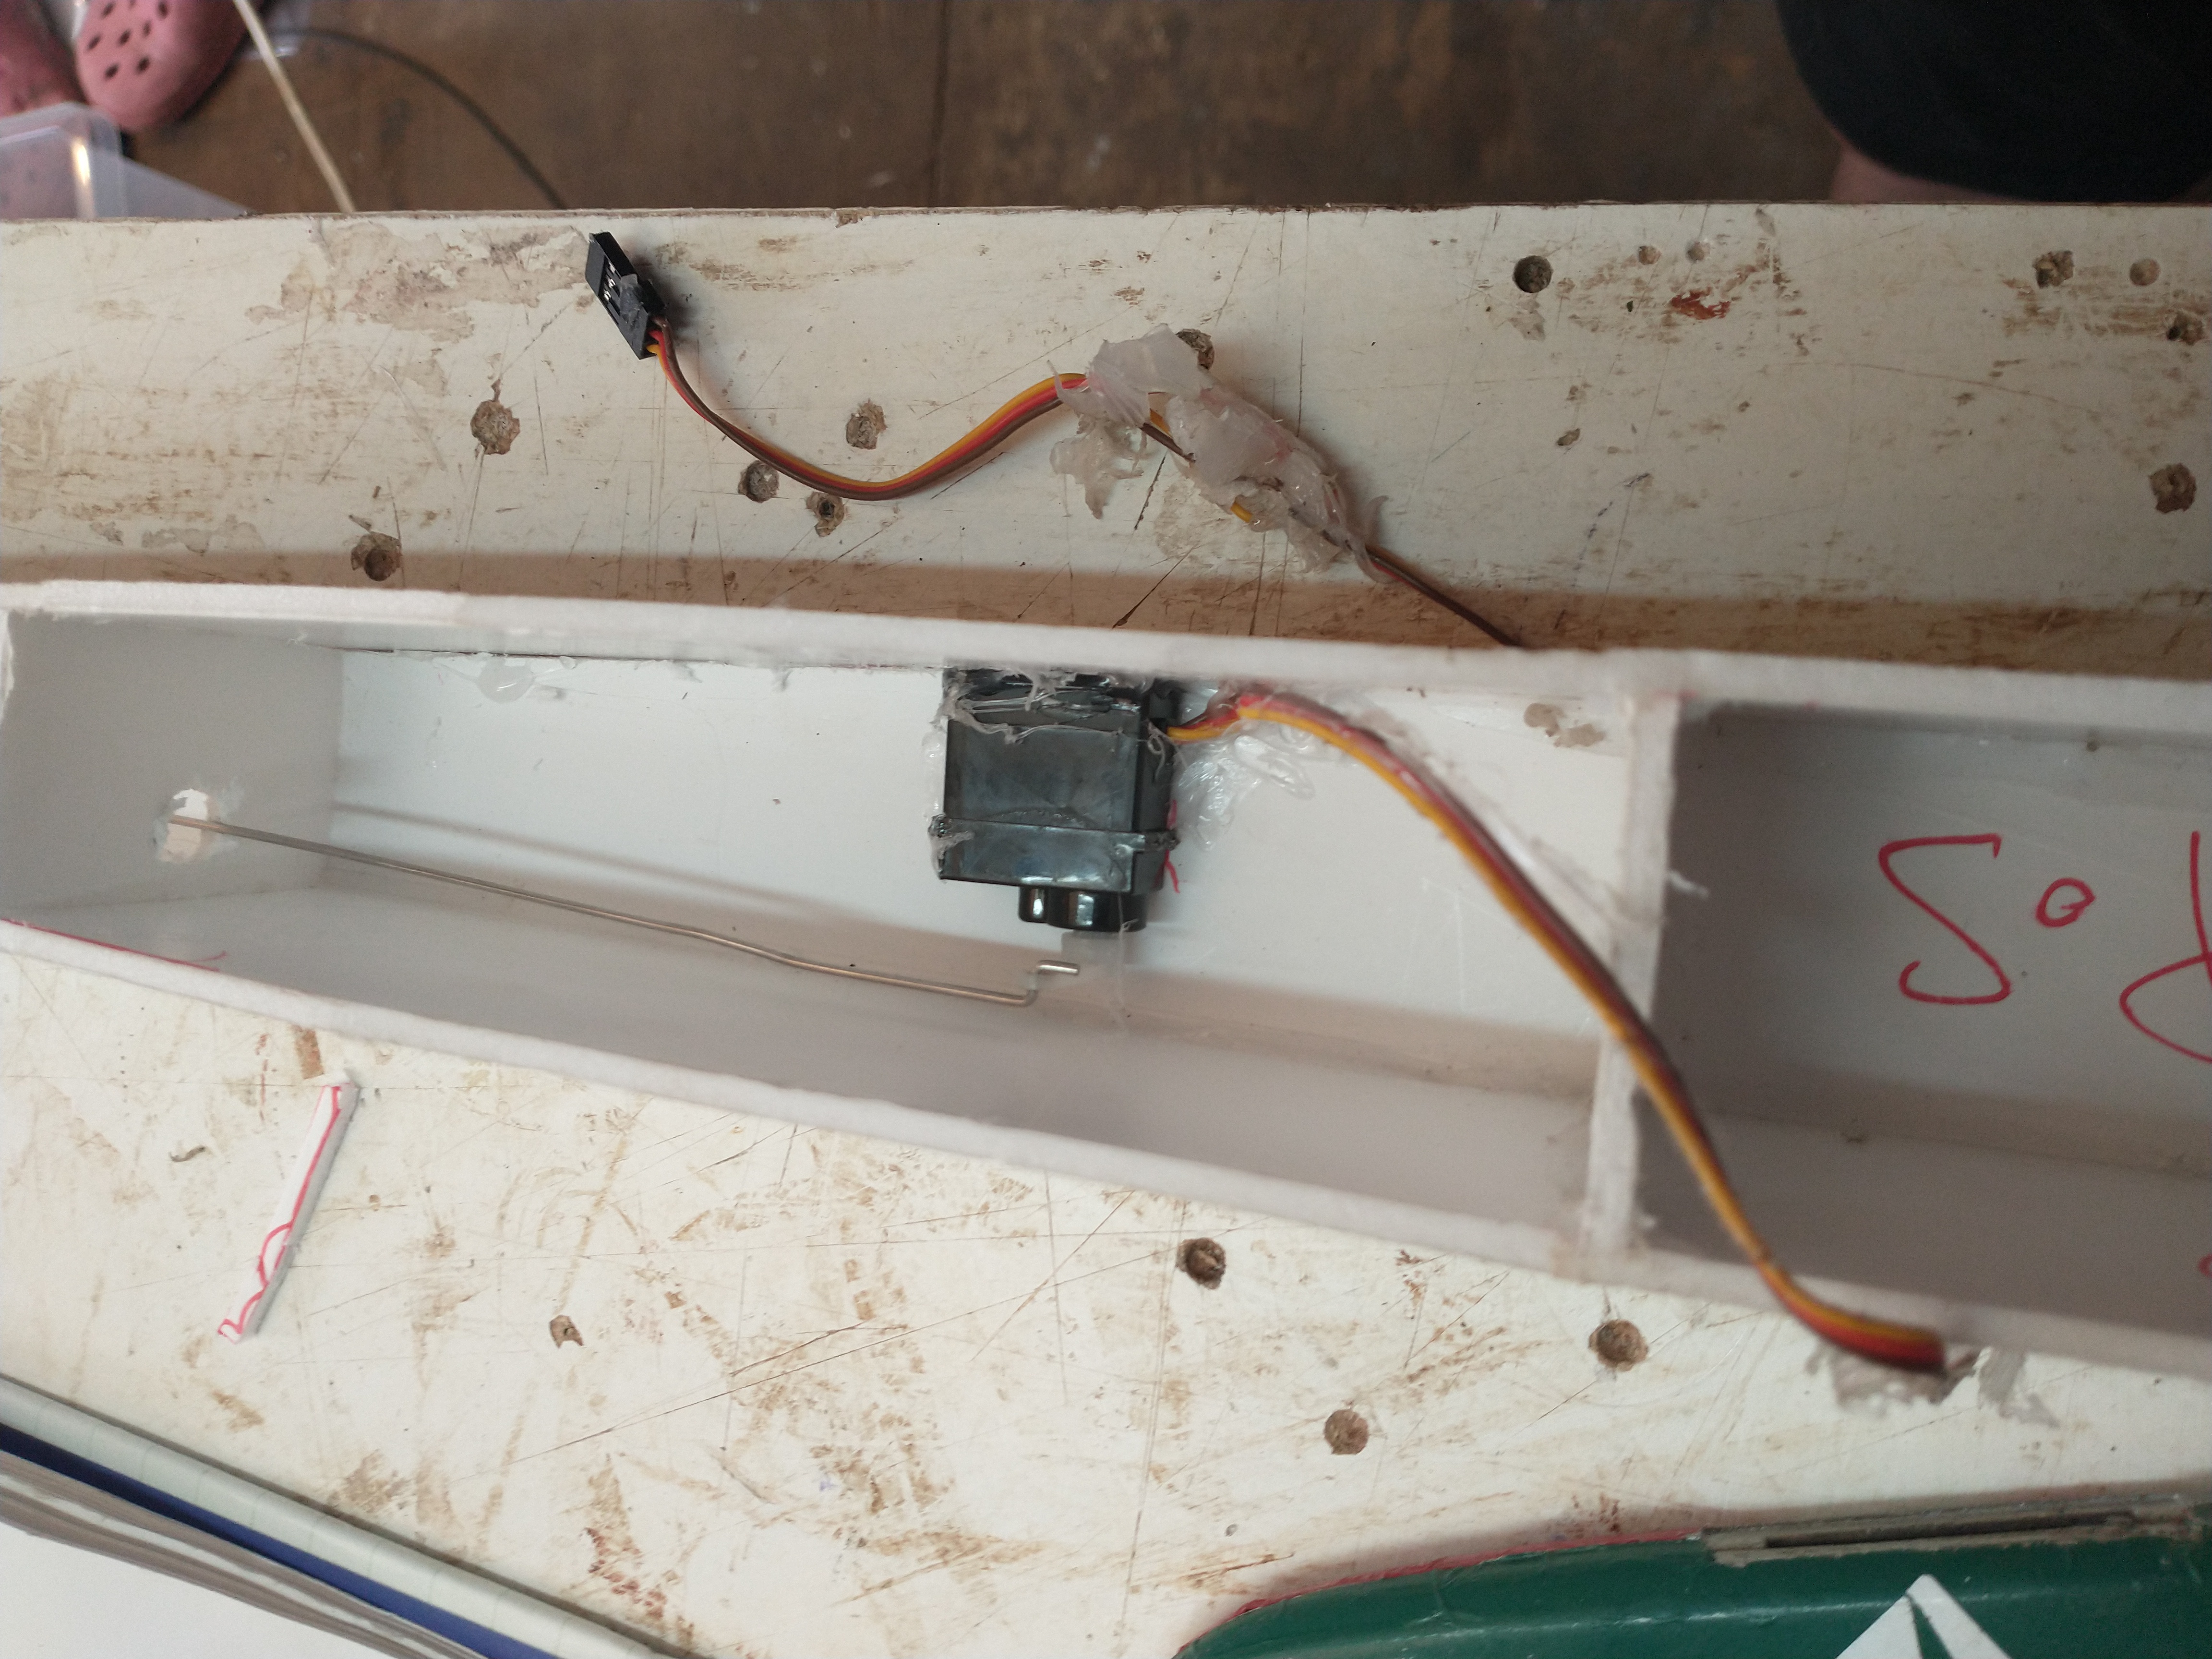
I then installed the servos. I made sure that my servos were centered before I installed them and plugged them into the receiver; later, I had to add some cable extensions to access the receiver.
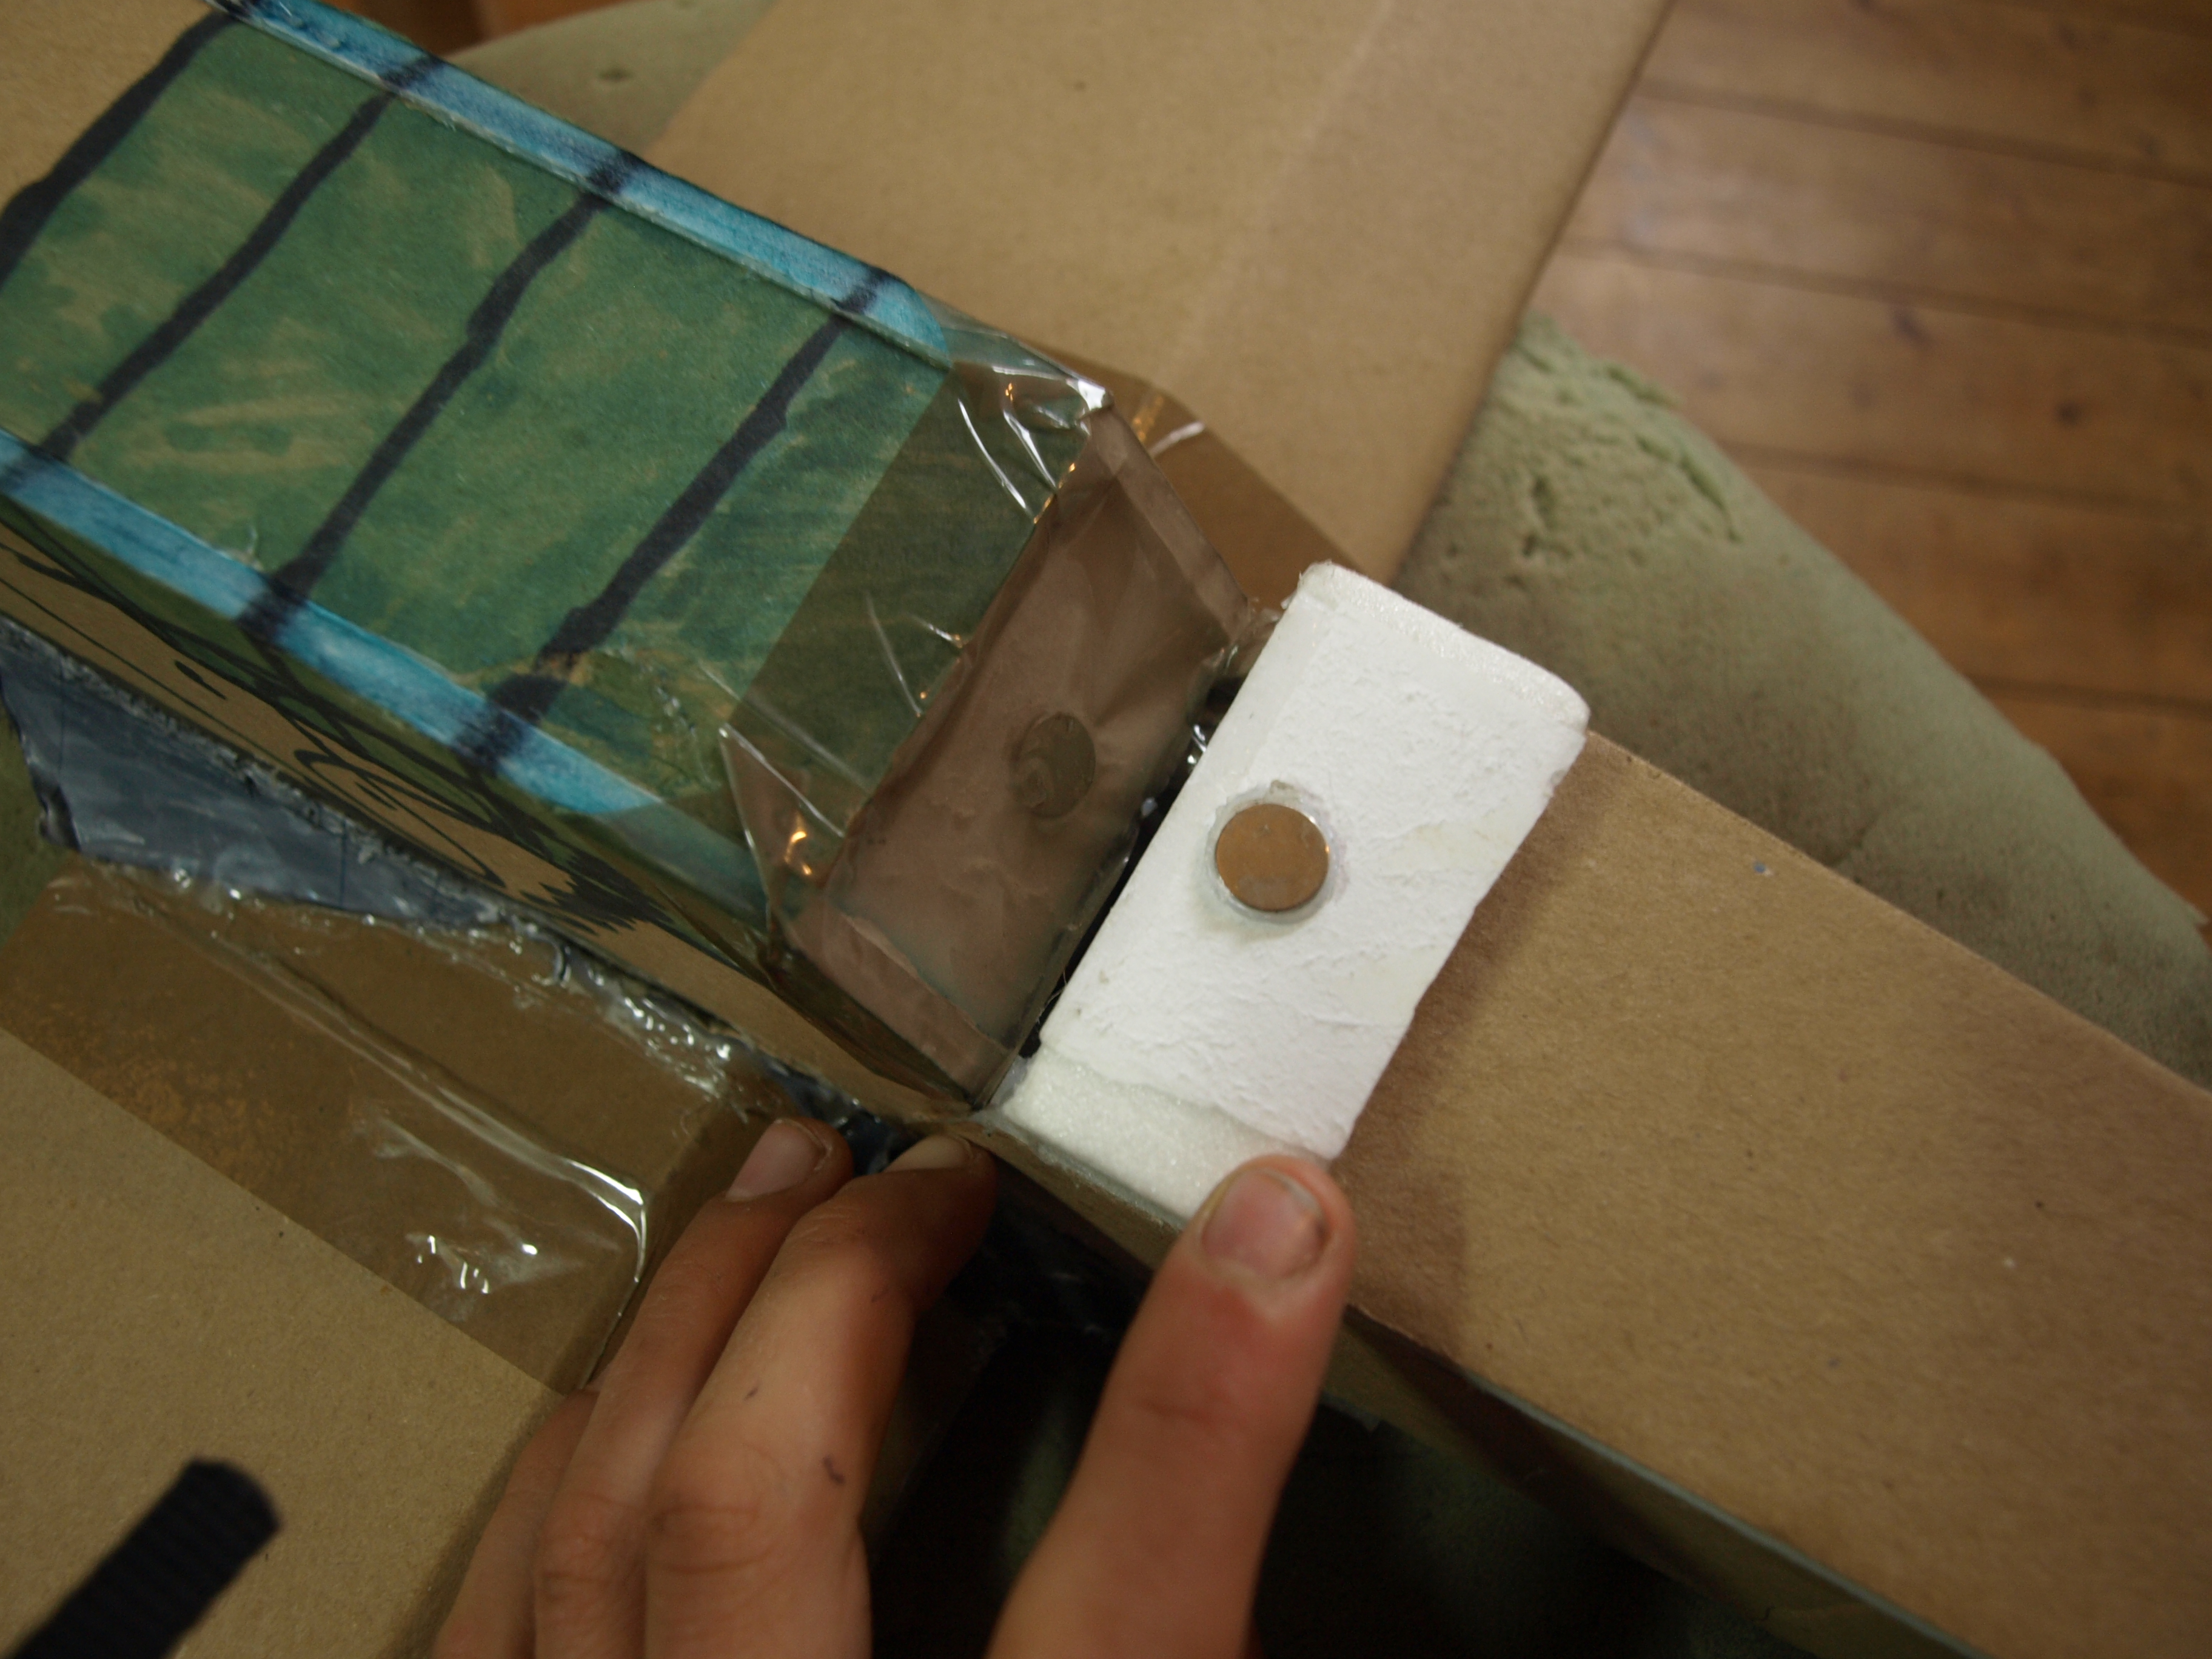
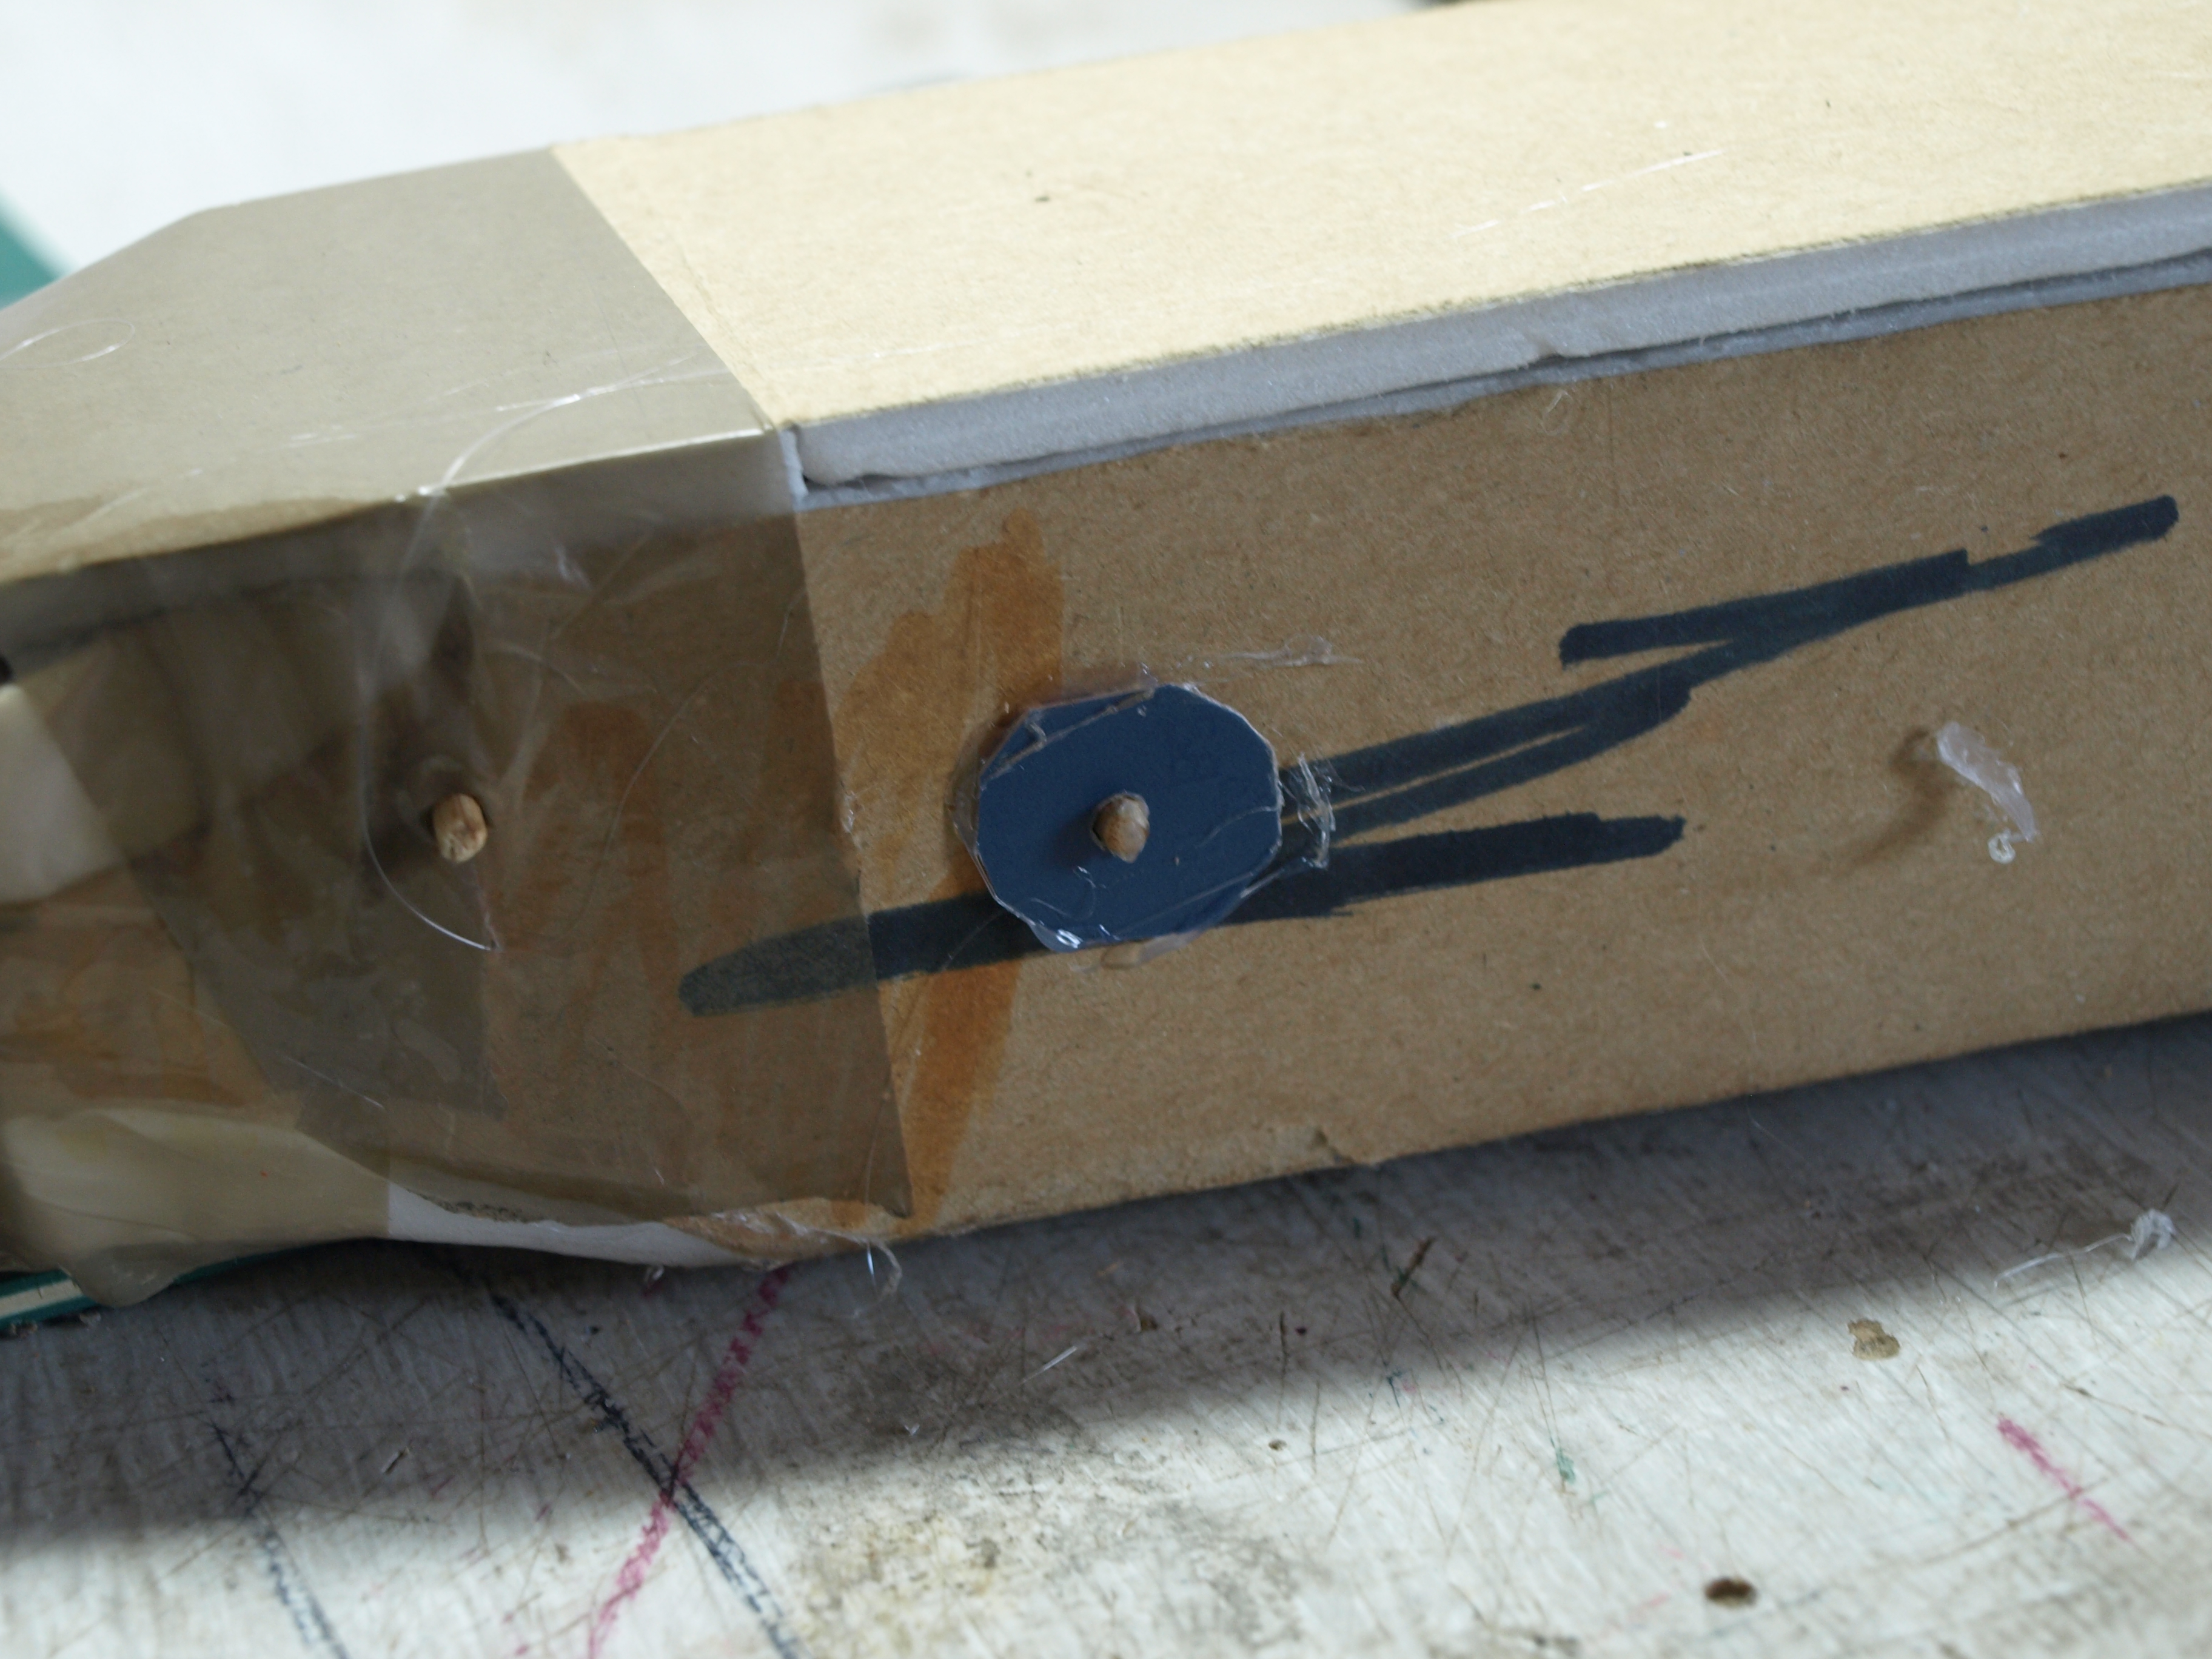
Now I can make a hatch with two neodymium magnets to keep it tightly closed.
I'm on the home stretch now with making push rods and setting expo; I went with 45 on pitch and roll and 55 on rudde, r and set the CG (center of gravity) at 25 to 35 % from the leading edge.

TIME FOR A TEST FLIGHT!!!!!!!!
Unfortunately, there's no video, but on the maiden flight i,, it flew amazingly.
But, on the second flight, in a hard right bank, it unexpectedly slammed into the ground, leaving my plane and my hope of a good-looking warbird dashed.
But, everything is repairable, so...time to fix it. Upon further inspection, the brake was very clean, so this was going to be an easy repair.
To keep the exterior looking normal, I glued some lollypop sticks on the interior to hold the joint.
So I glued it back together, and the plane was as good as new.
Okay, not quite as simple as that! The power pod was only mounted with barbecue skewers, which had ripped through the foam after impacting the ground.
 A little bit of an old credit card with the right hole drilled in it fixed that problem,m, and we were ready for another test flight!!!!
Well, on the second flight, it flew amazingly (again!), but guess what happened in a hard right-hand bank?
You guessed it! The plane unexpectedly slammed into the ground, hard enough to rip off the wing and crack the wings' bottom sheet of foam.
So, time to fix it again. I started the repair by gluing the wings' bottom panel, which had cracked in many places.

Then I glued the wing back on the plane.

And now I turned my attention to why the plane was going into kamikaze pilot mode on me.
After looking over the plane thoroughly, I found the problem.
In the rudders' control line, there was too much slop, and in a right-hand turn, the air would push the rudder over to full deflection, and that was the end of that.
So, a quick fix by gluing a little bit of tube to some foam, and then gluing that to the rudder.
It looks ugly, but an ugly plane is better than a dead one.
Then we were ready for another test flight!!!!!!!!!!!!!!
Well, on the 4th flight, it flew as well as before (without the sudden death spiral), but, in a hammerhead maneuver (also known as a stall turn), the plane did some very weird thing; it went completely out of control and started a sort of inverted flat spin. How odd!
Nothing a little opposite rudder can't fix. We were flying straight as an arrow, but I thought it would be a
Good idea to land, so I brought it in and made a lovely landing.
After a bit of investigation, I found the problem.
As mentioned earlier, the power pod was mounted with barbecue skewers, and in the crashes, they ripped through the foam, but they had done that inside the plane, and I did not notice.
To fix that, I drilled holes in some lollypop sticks and glued them inside the plane.

Then we were ready for a test!!!!!
Well, that was interesting; after just a few seconds, I lost all elevator control.
When I got home, the entire tail section, after a bit of investigation, fell off in my hand, and that probably did not help the flight plan!
So, I glued it back on and installed a bigger motor.
But, no matter how much I tried, this plane was not going to fly again.
Finally, after a couple of weeks of trying to make the plane work, it had one too many crashes and was now beyond repair.r,
Now, I was going to finish the article there, but that is very boring, so I decided to make another bf 109, but simpler and smaller.
So let's get started.
The build is identical to the other plane, so I will just put pictures and captions..
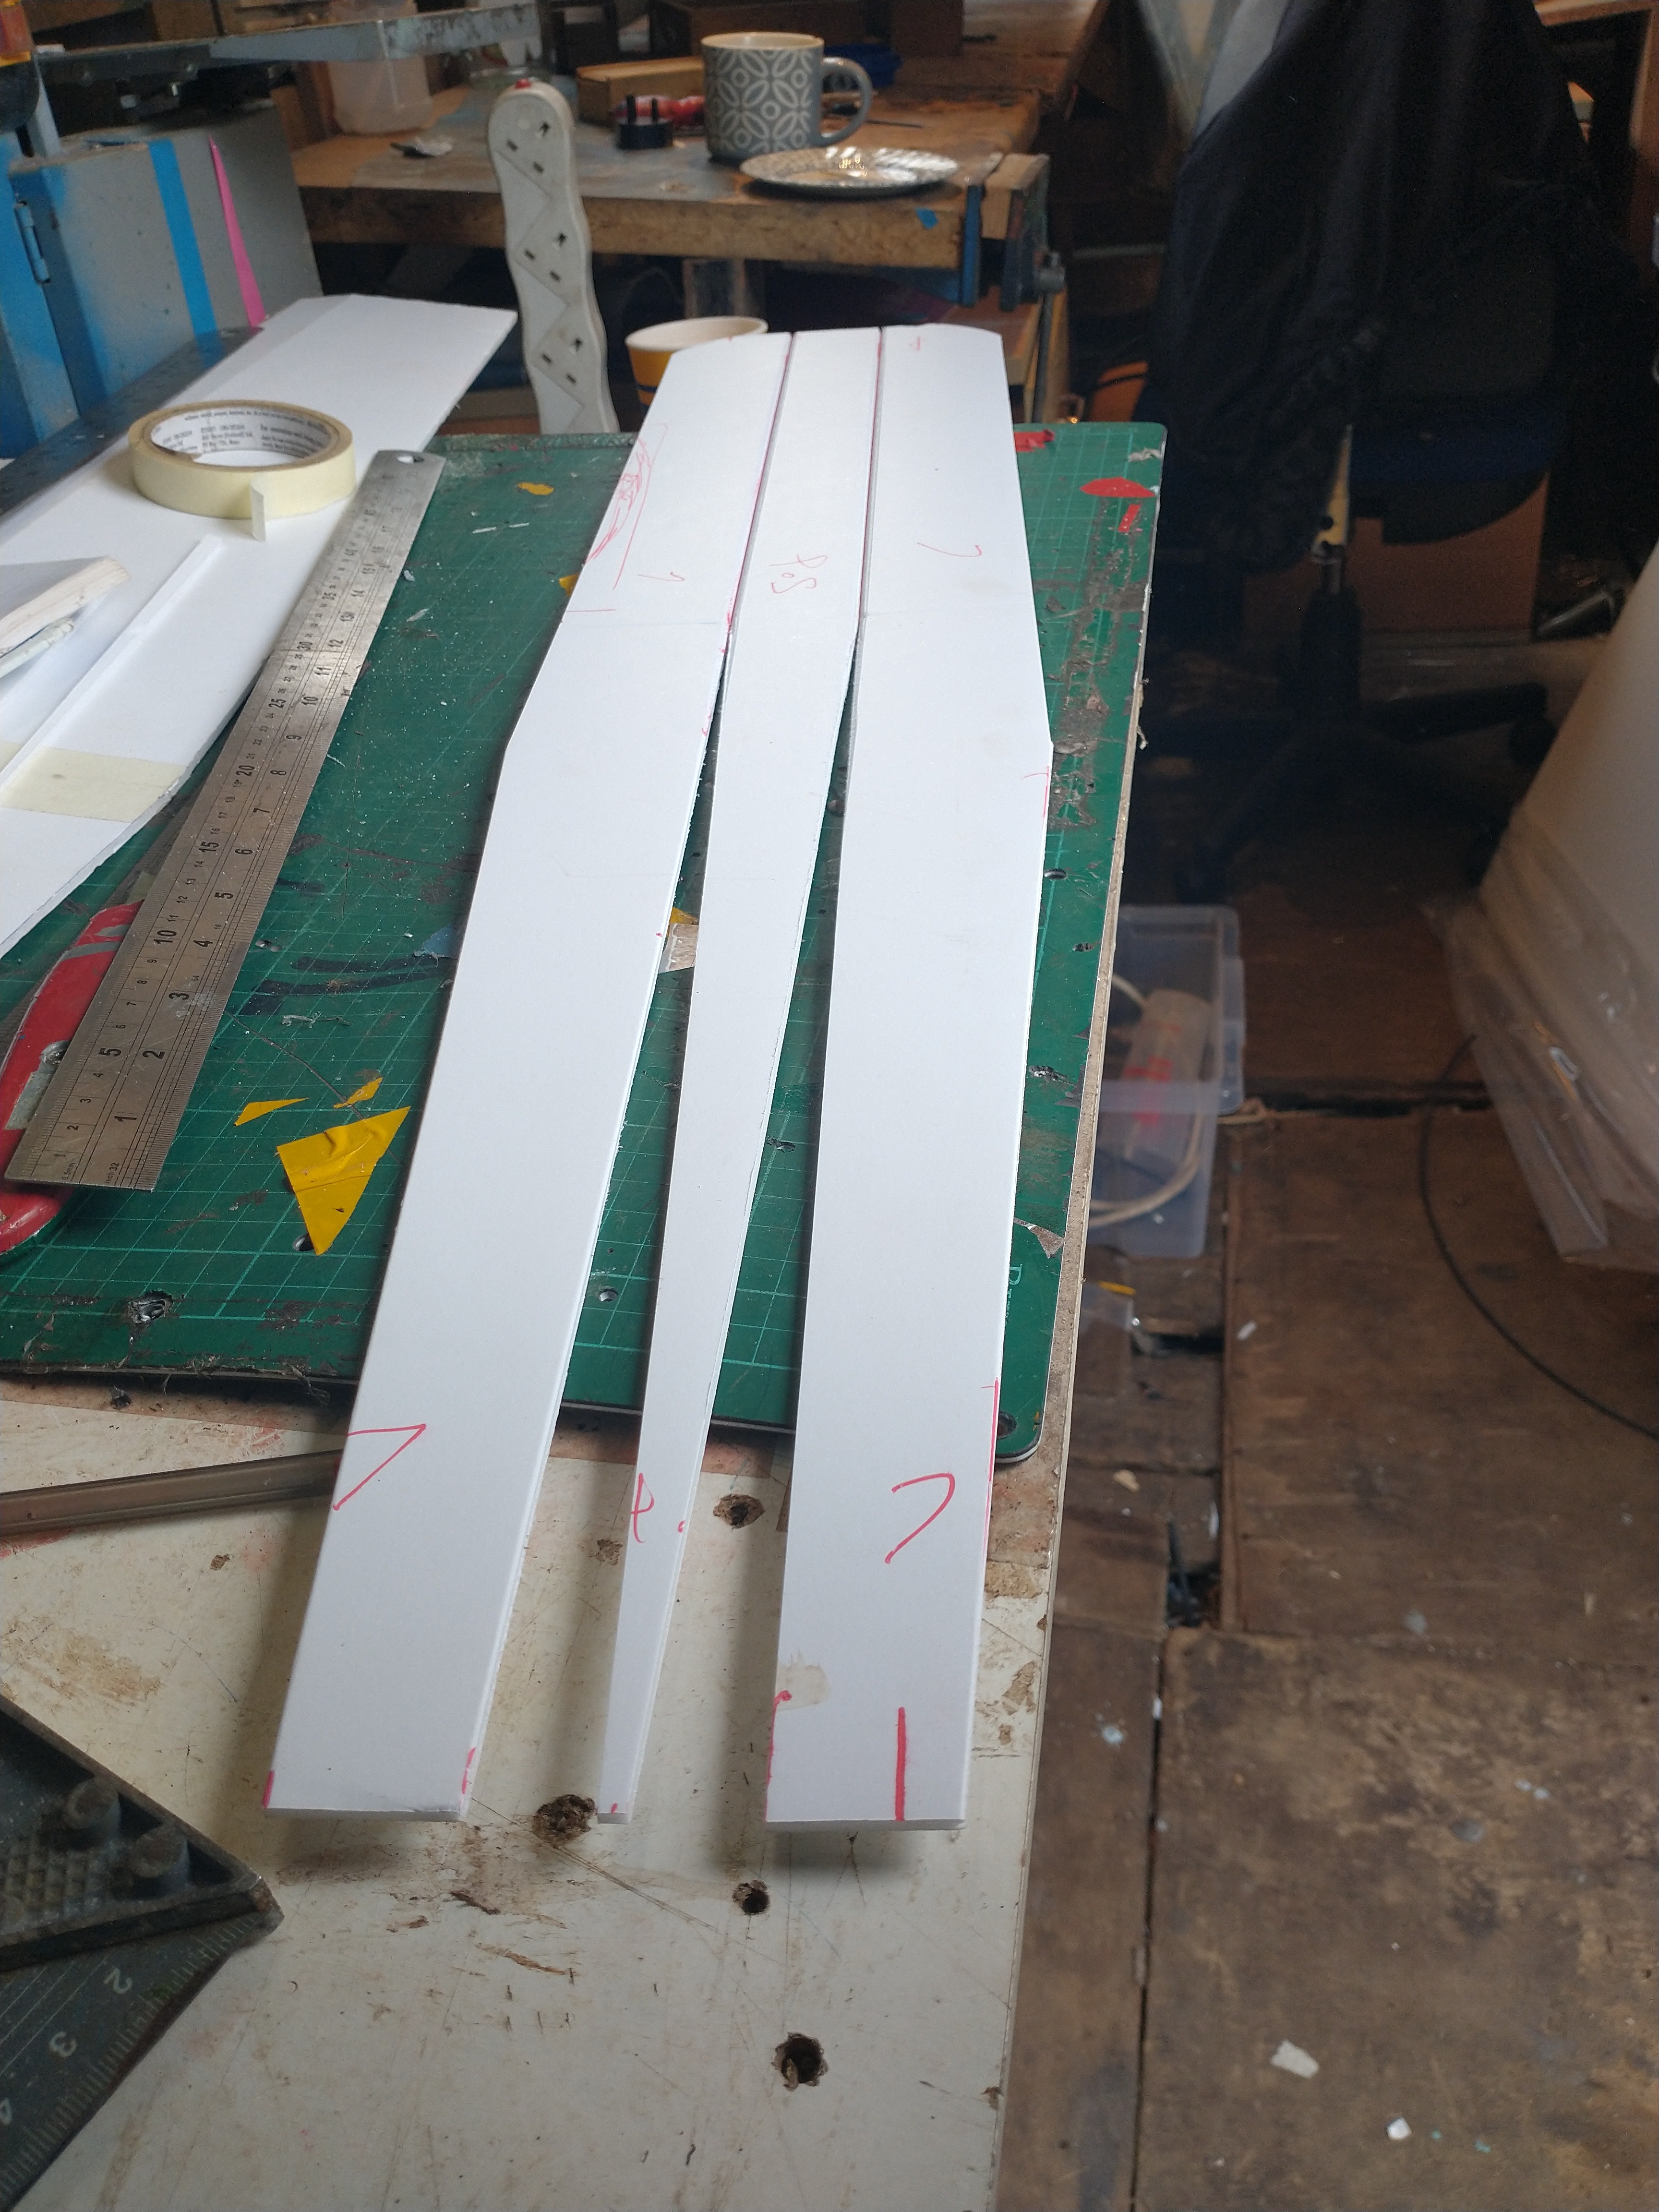
 marking wing panels.
 separating the top and bottom wing panels, the bottom is smaller so I have overlap for ailerons.
 creasing top one there back for a good airfoil.
 making wing spars with 5mm foam and strong cardboard.
 cutting noch in spar for aileron servo.
 installed servo.
 reinforcing spar.
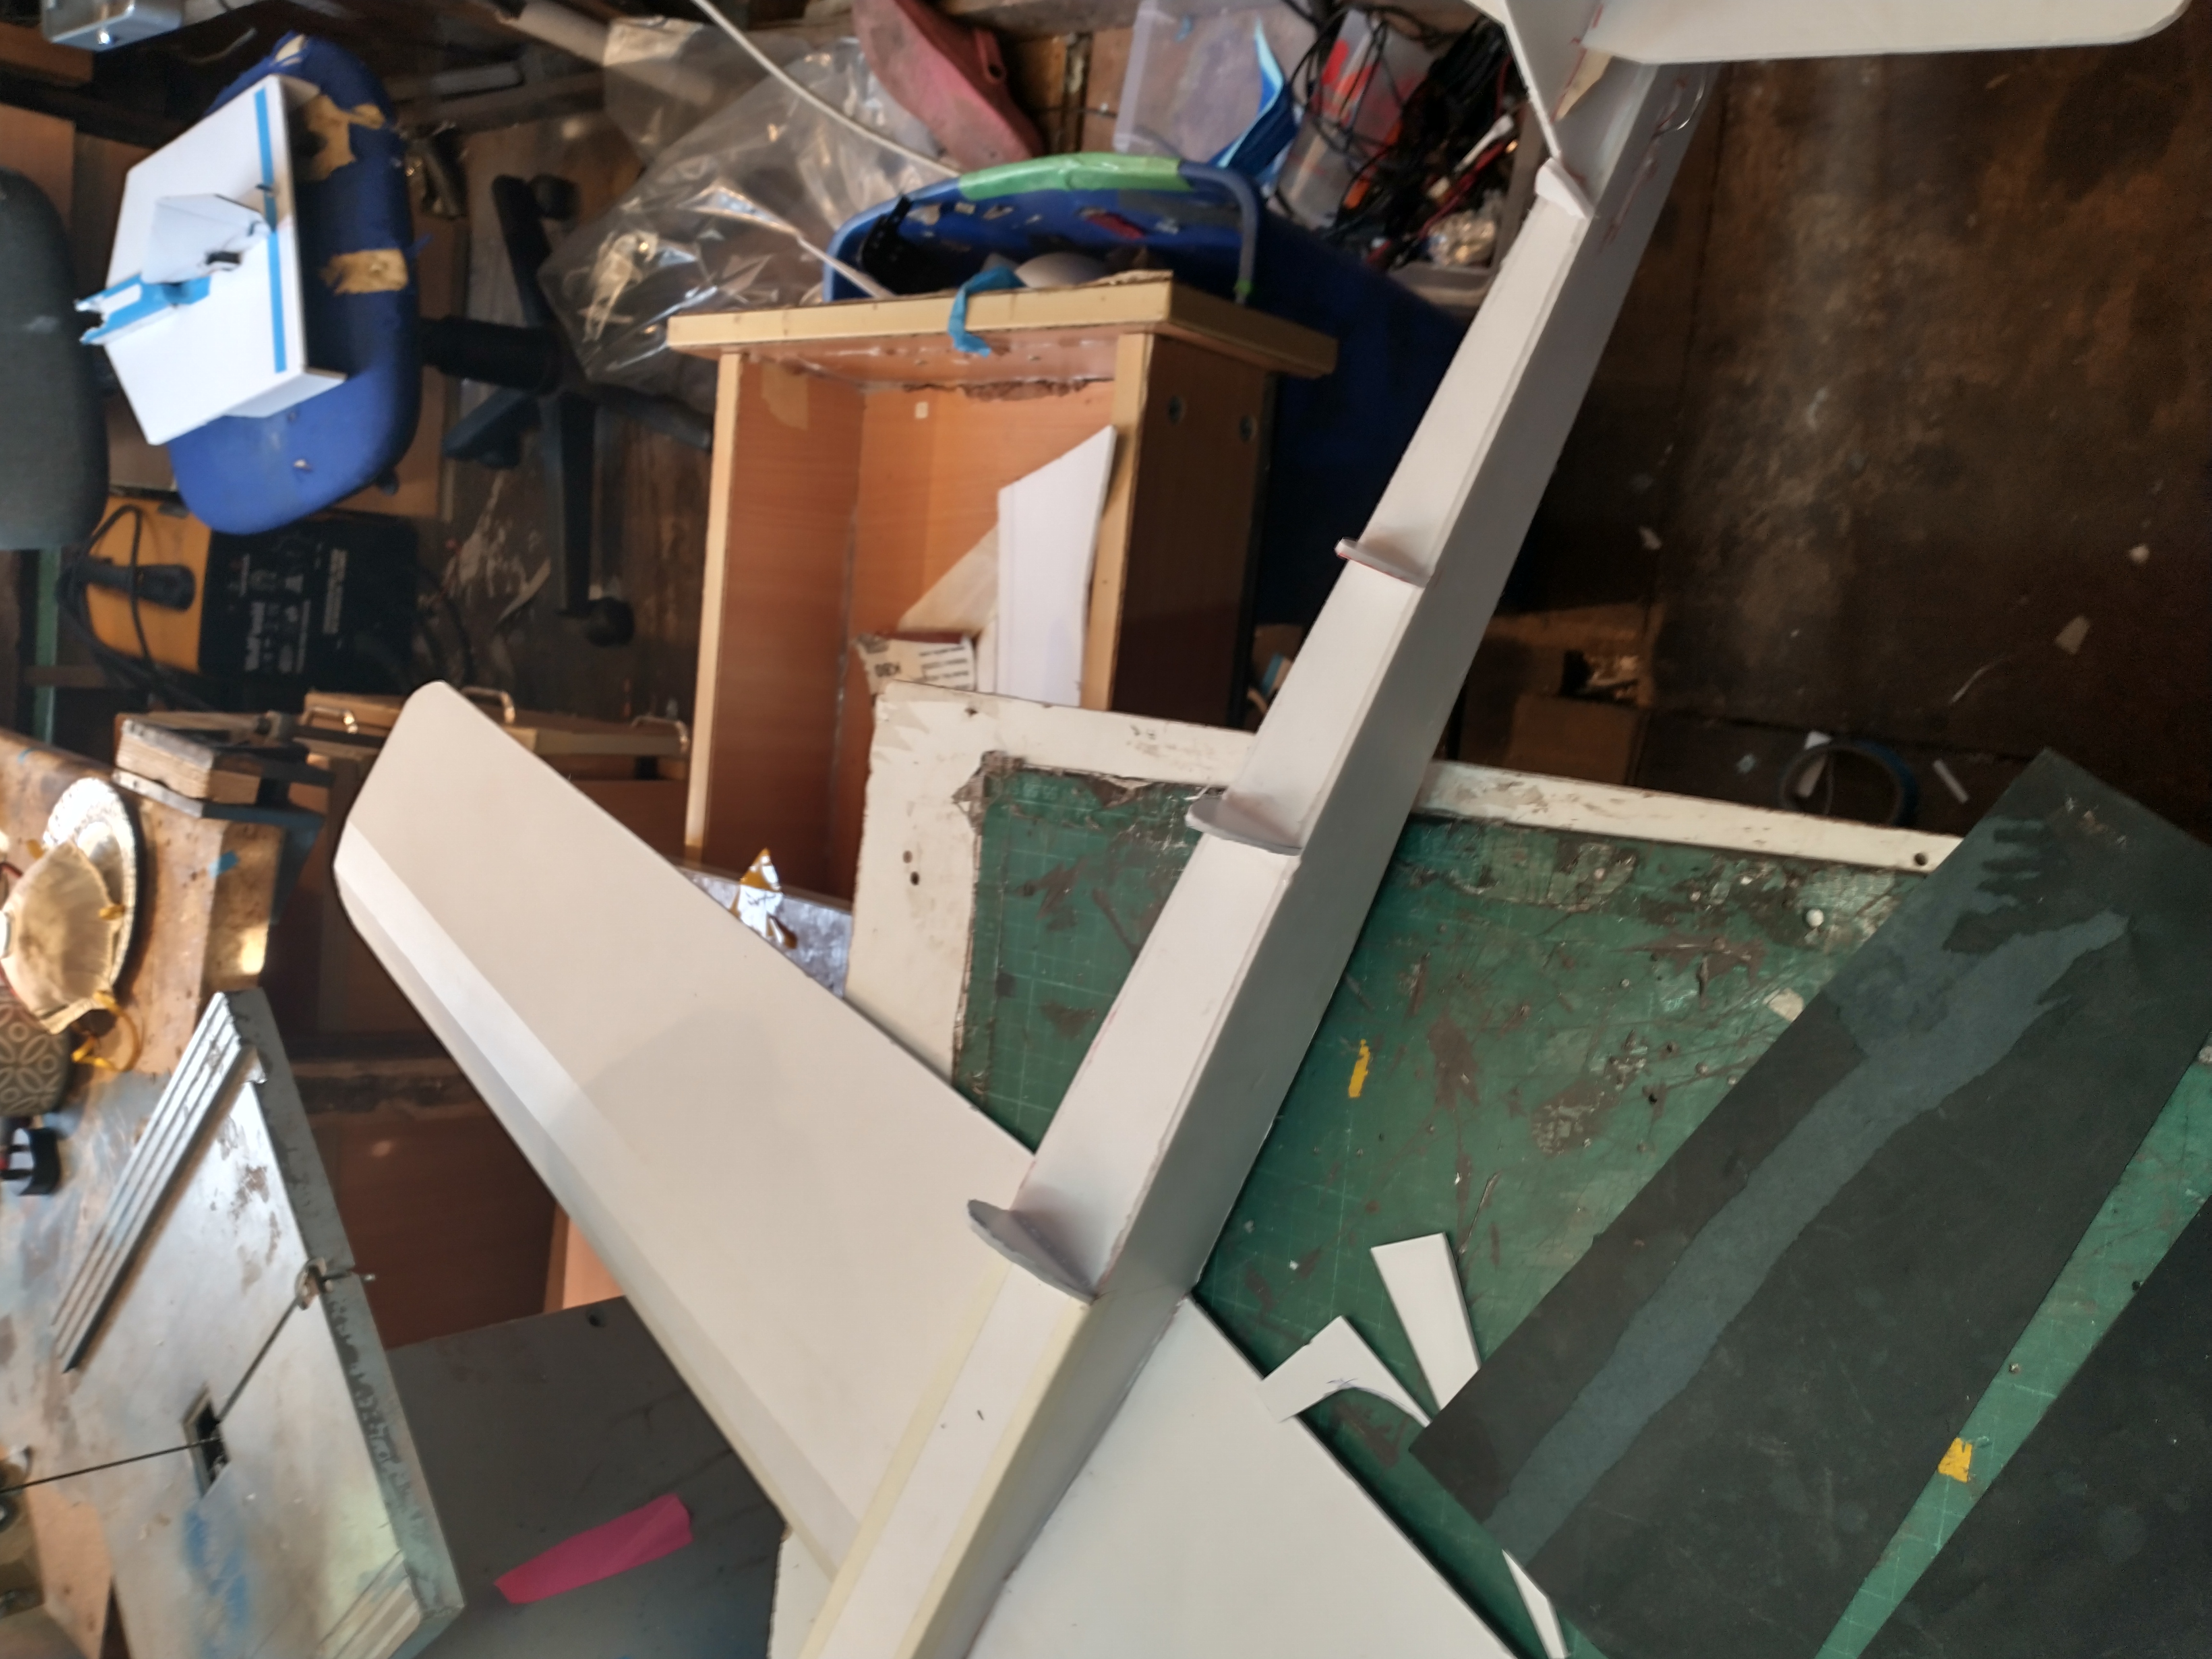
 folding wing.
 cut out fuselage sides.
 elevator.
 rudder.
 ruder and elevator glued on.
 elevator servo.
 rear deck former.
 rear deck installed.
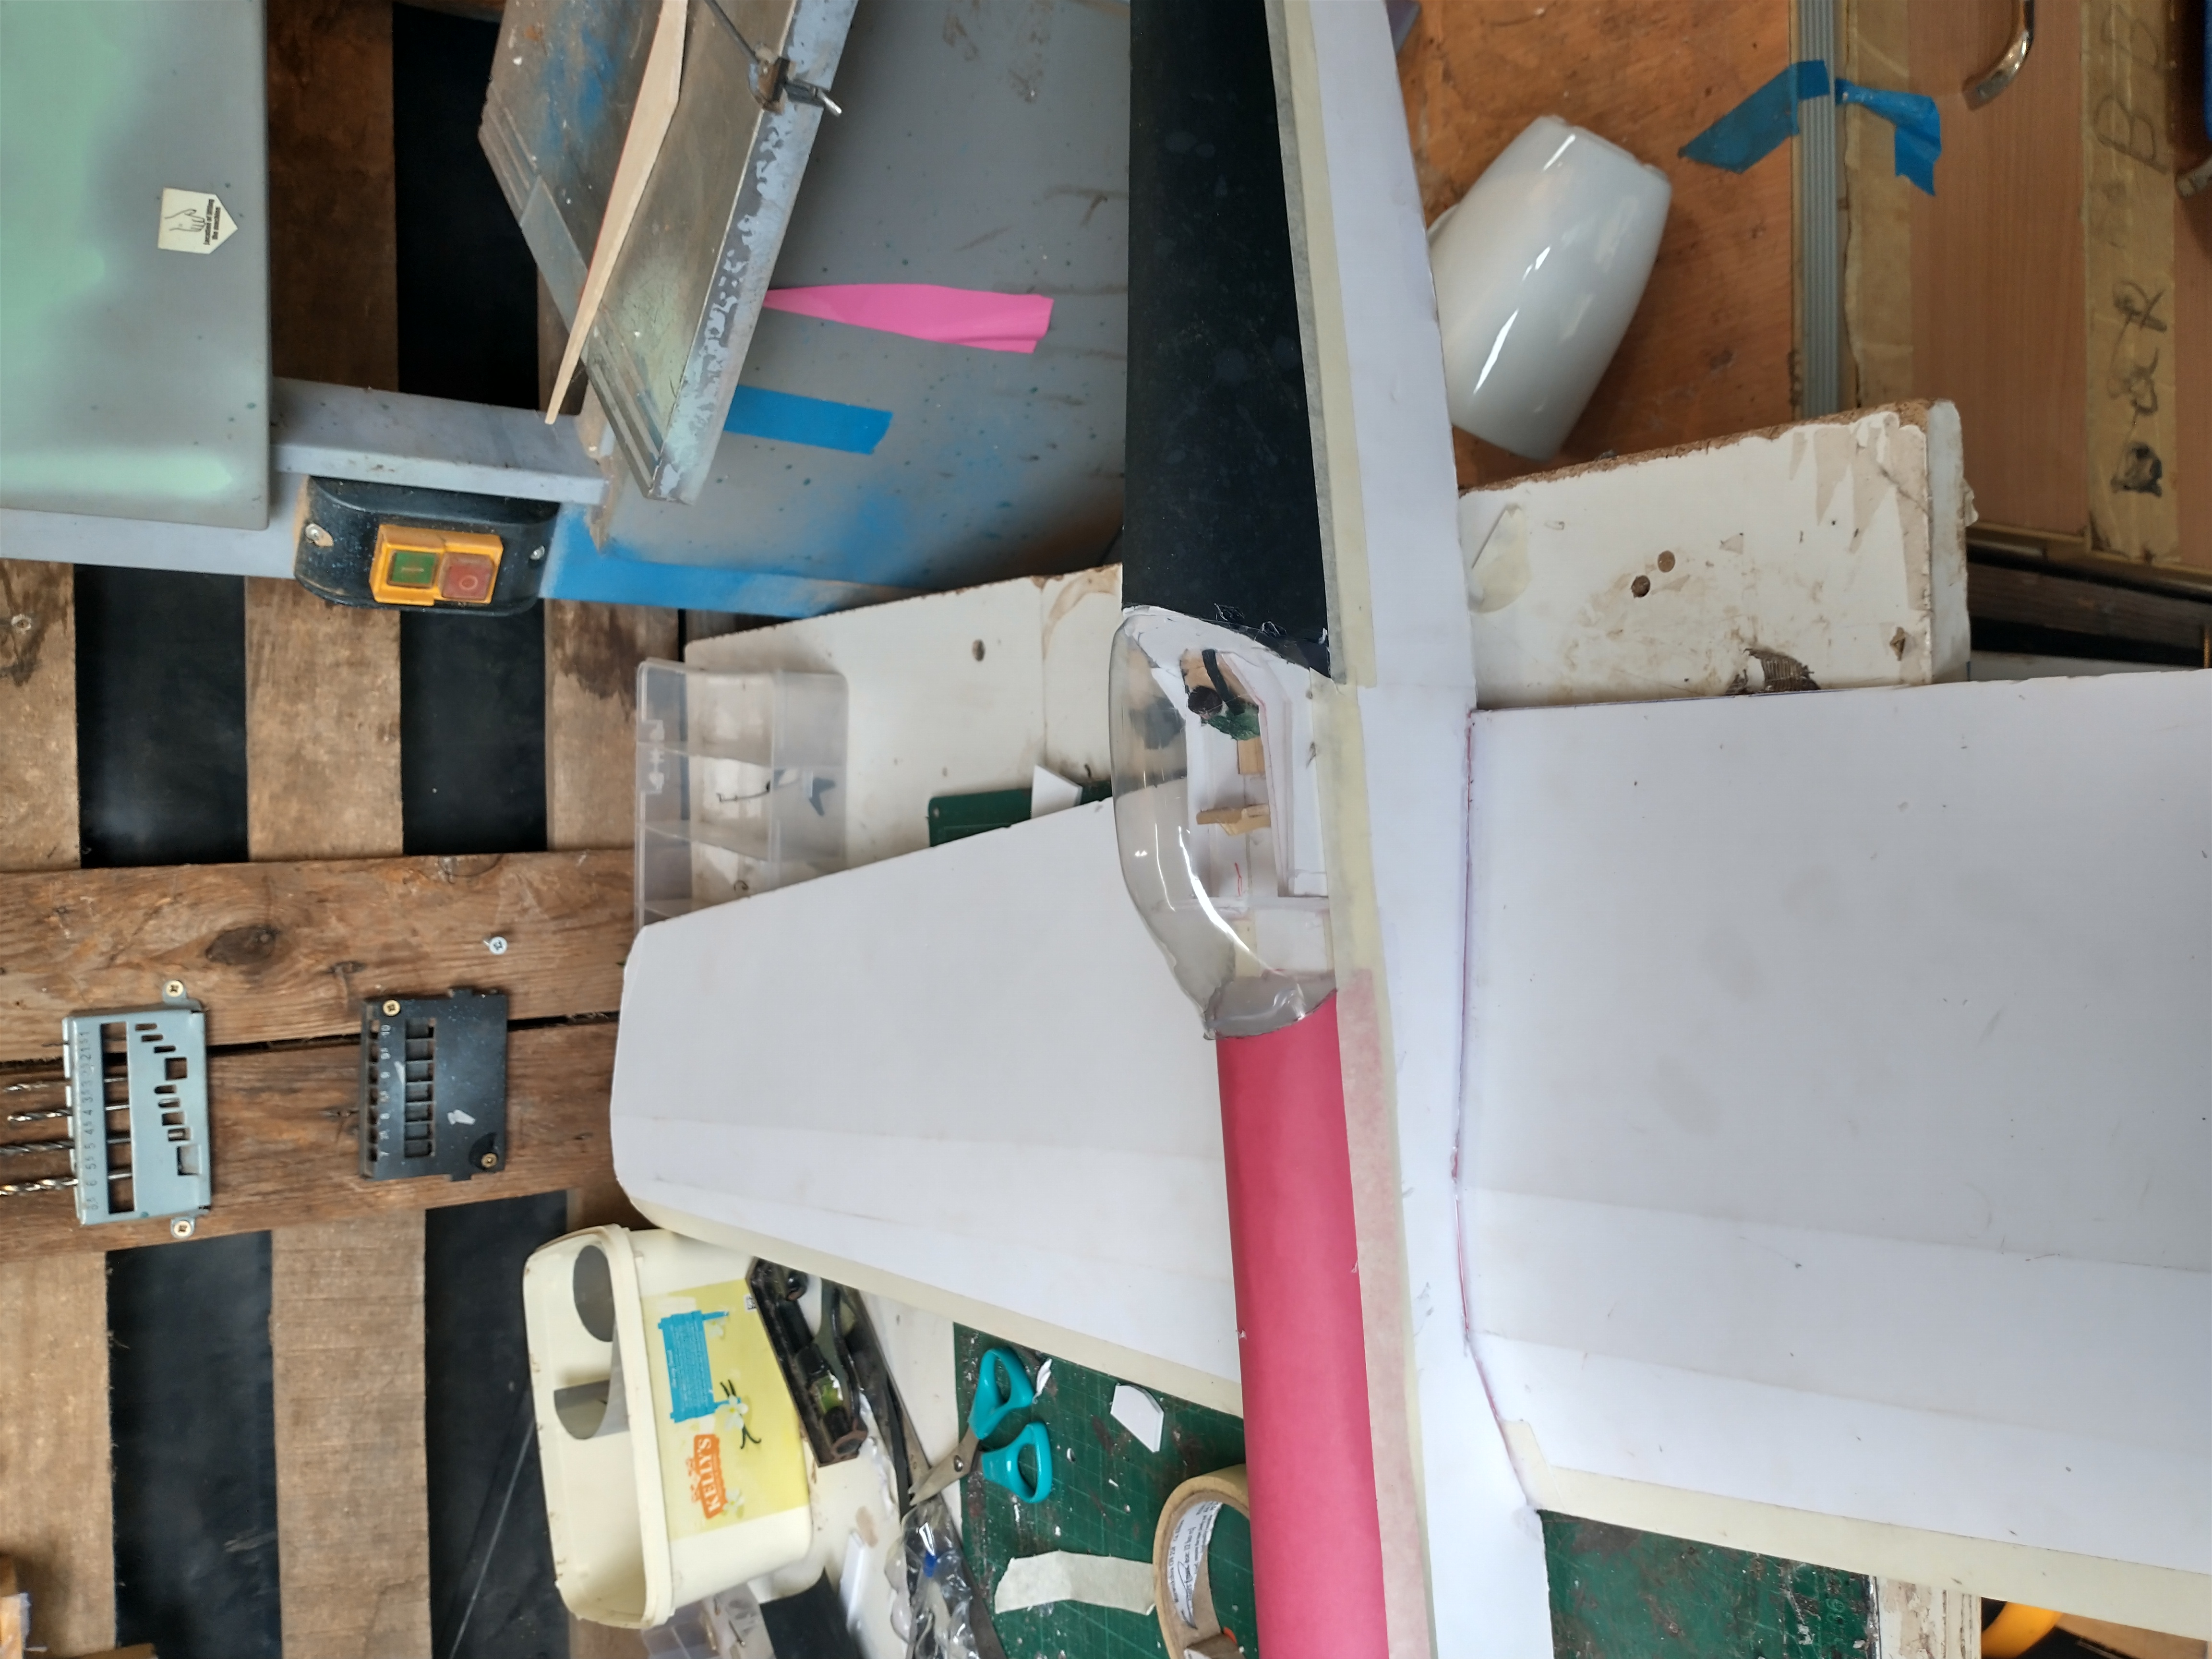
 I formed a tertal deck and canopy.
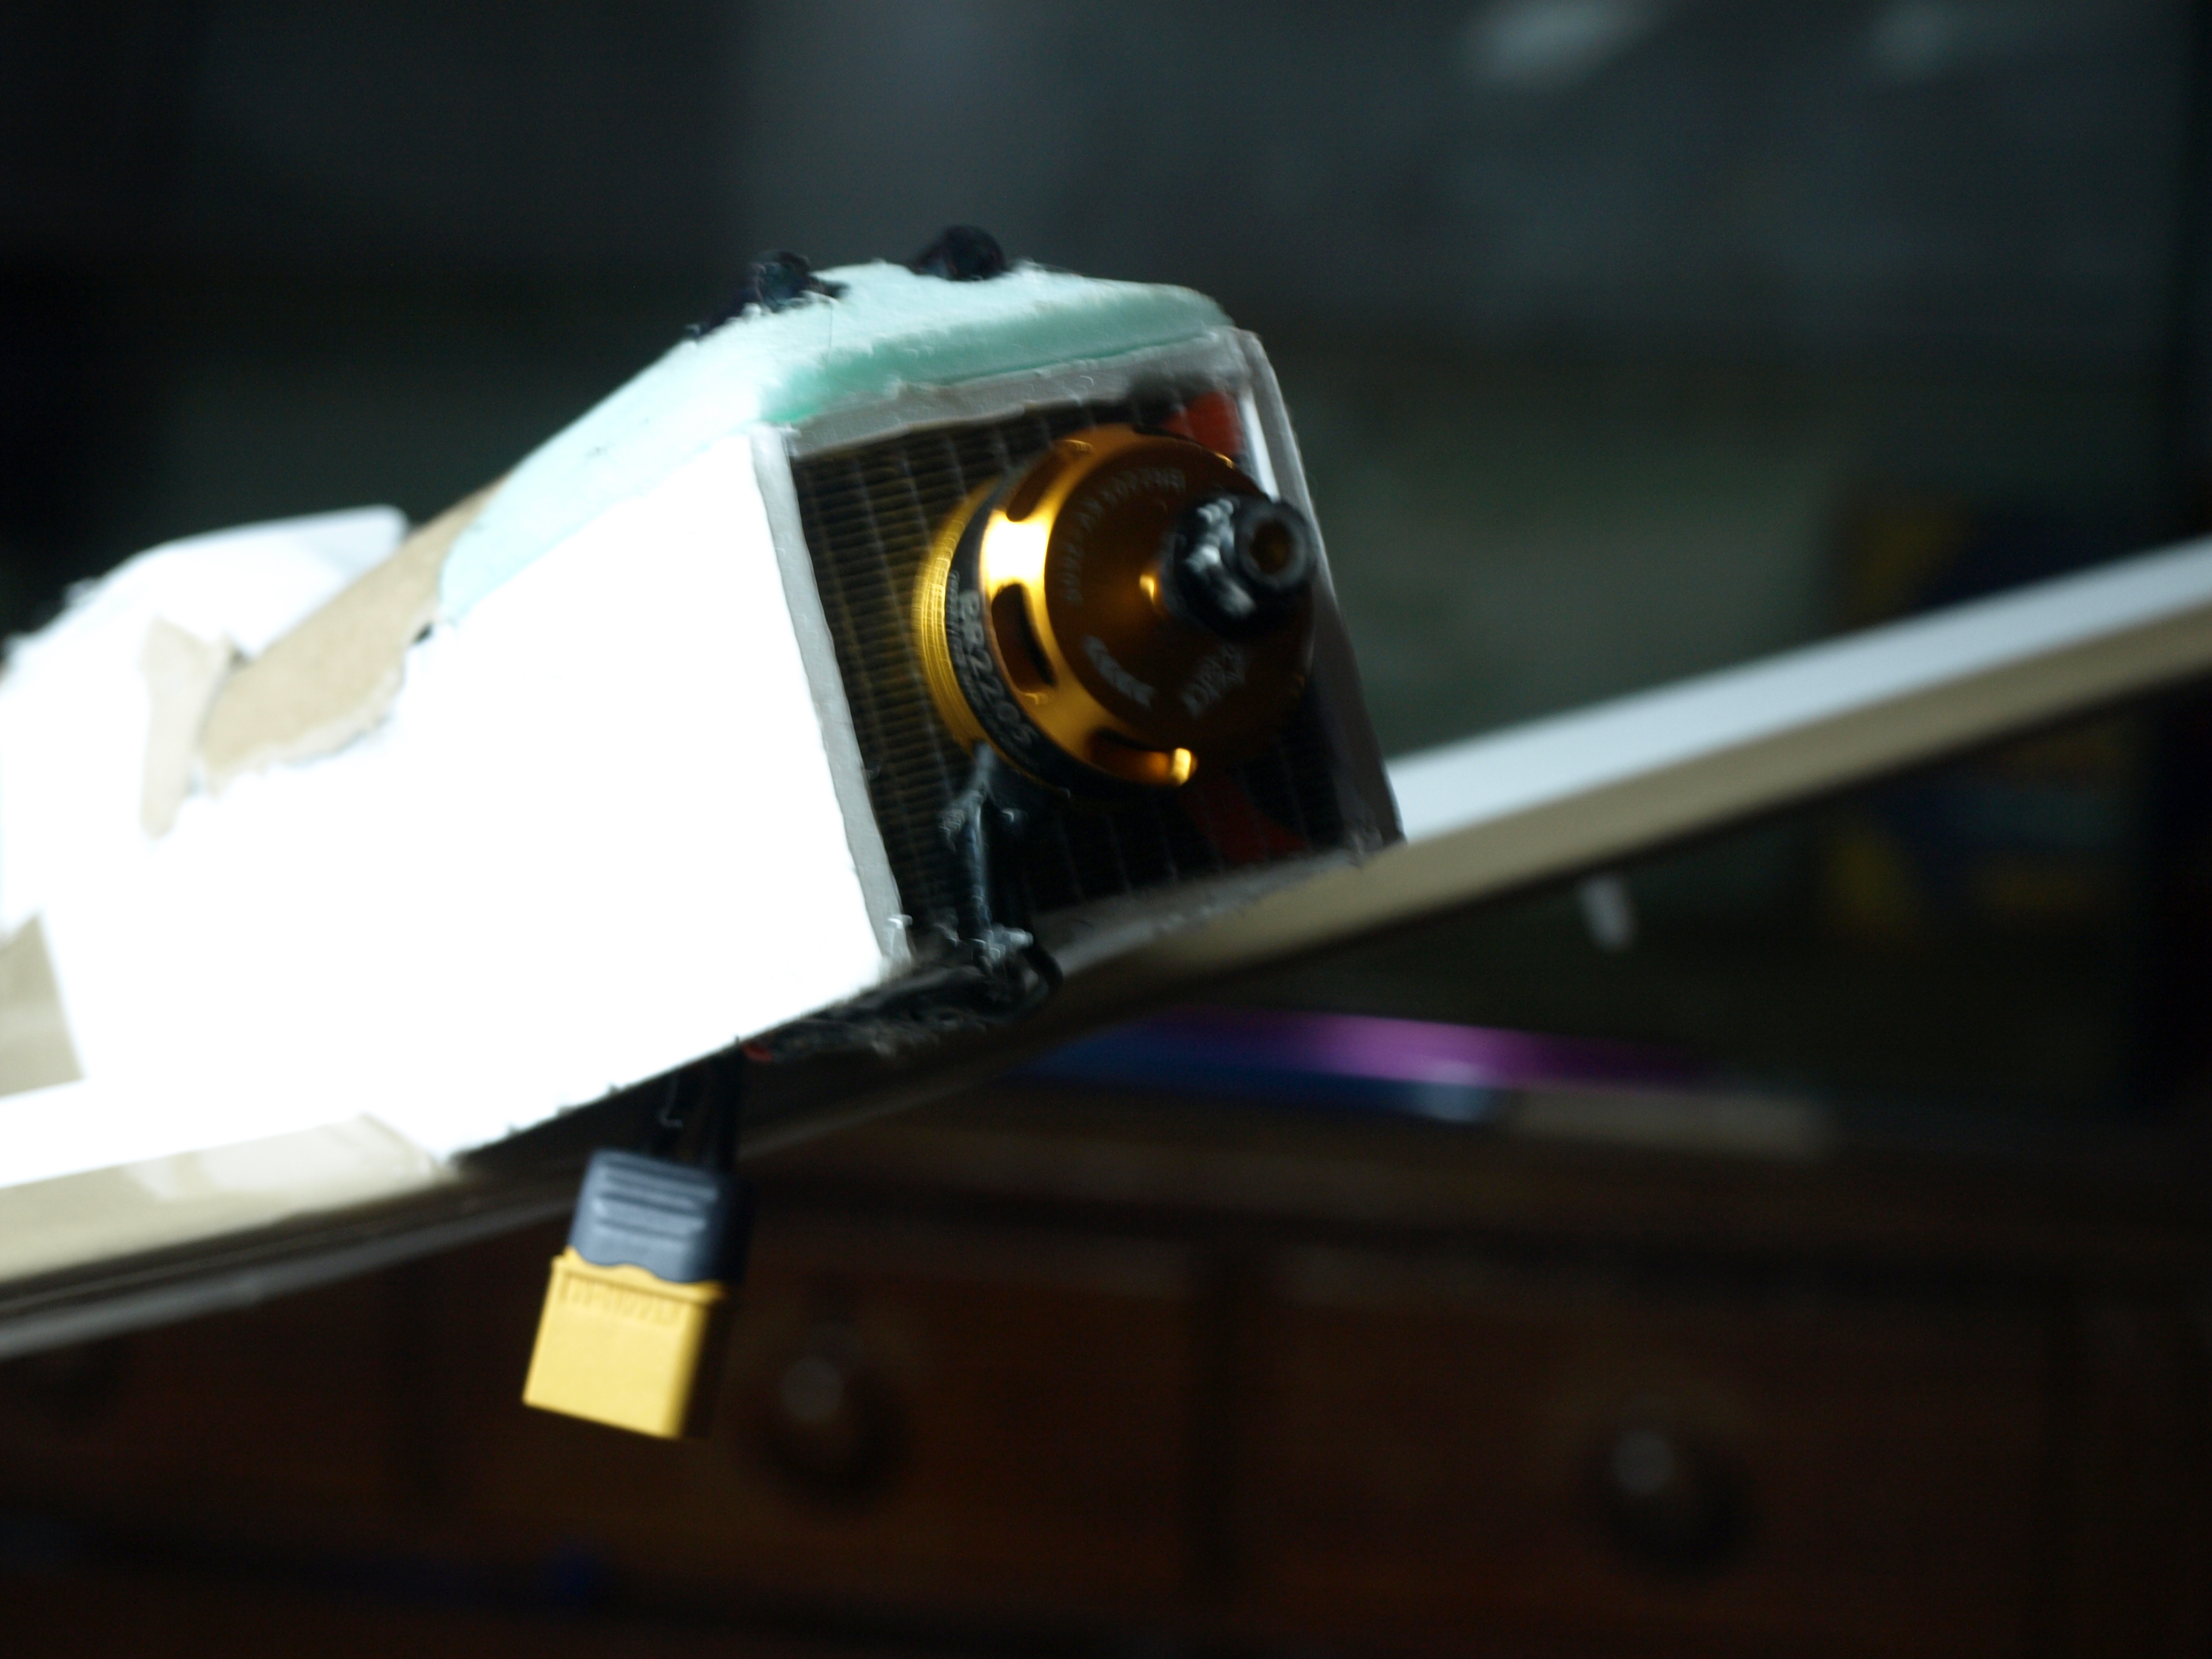 then I made a power pod and installed a motor.
Then we were ready for a test flight...
So, this is hard to say, but it was too heavy and just nosed in, and it was over before it had even begun :(
ok, no joke, it has been like two and a half years, i am now 15 and I gave up on this article, but.......
I have a failed warbird plane wing lying around, so I will give it one more try
I start by making a fuselage like normal, cut out the tail, and glue up the sides
making the fuselarge
ading the formers to help the strength
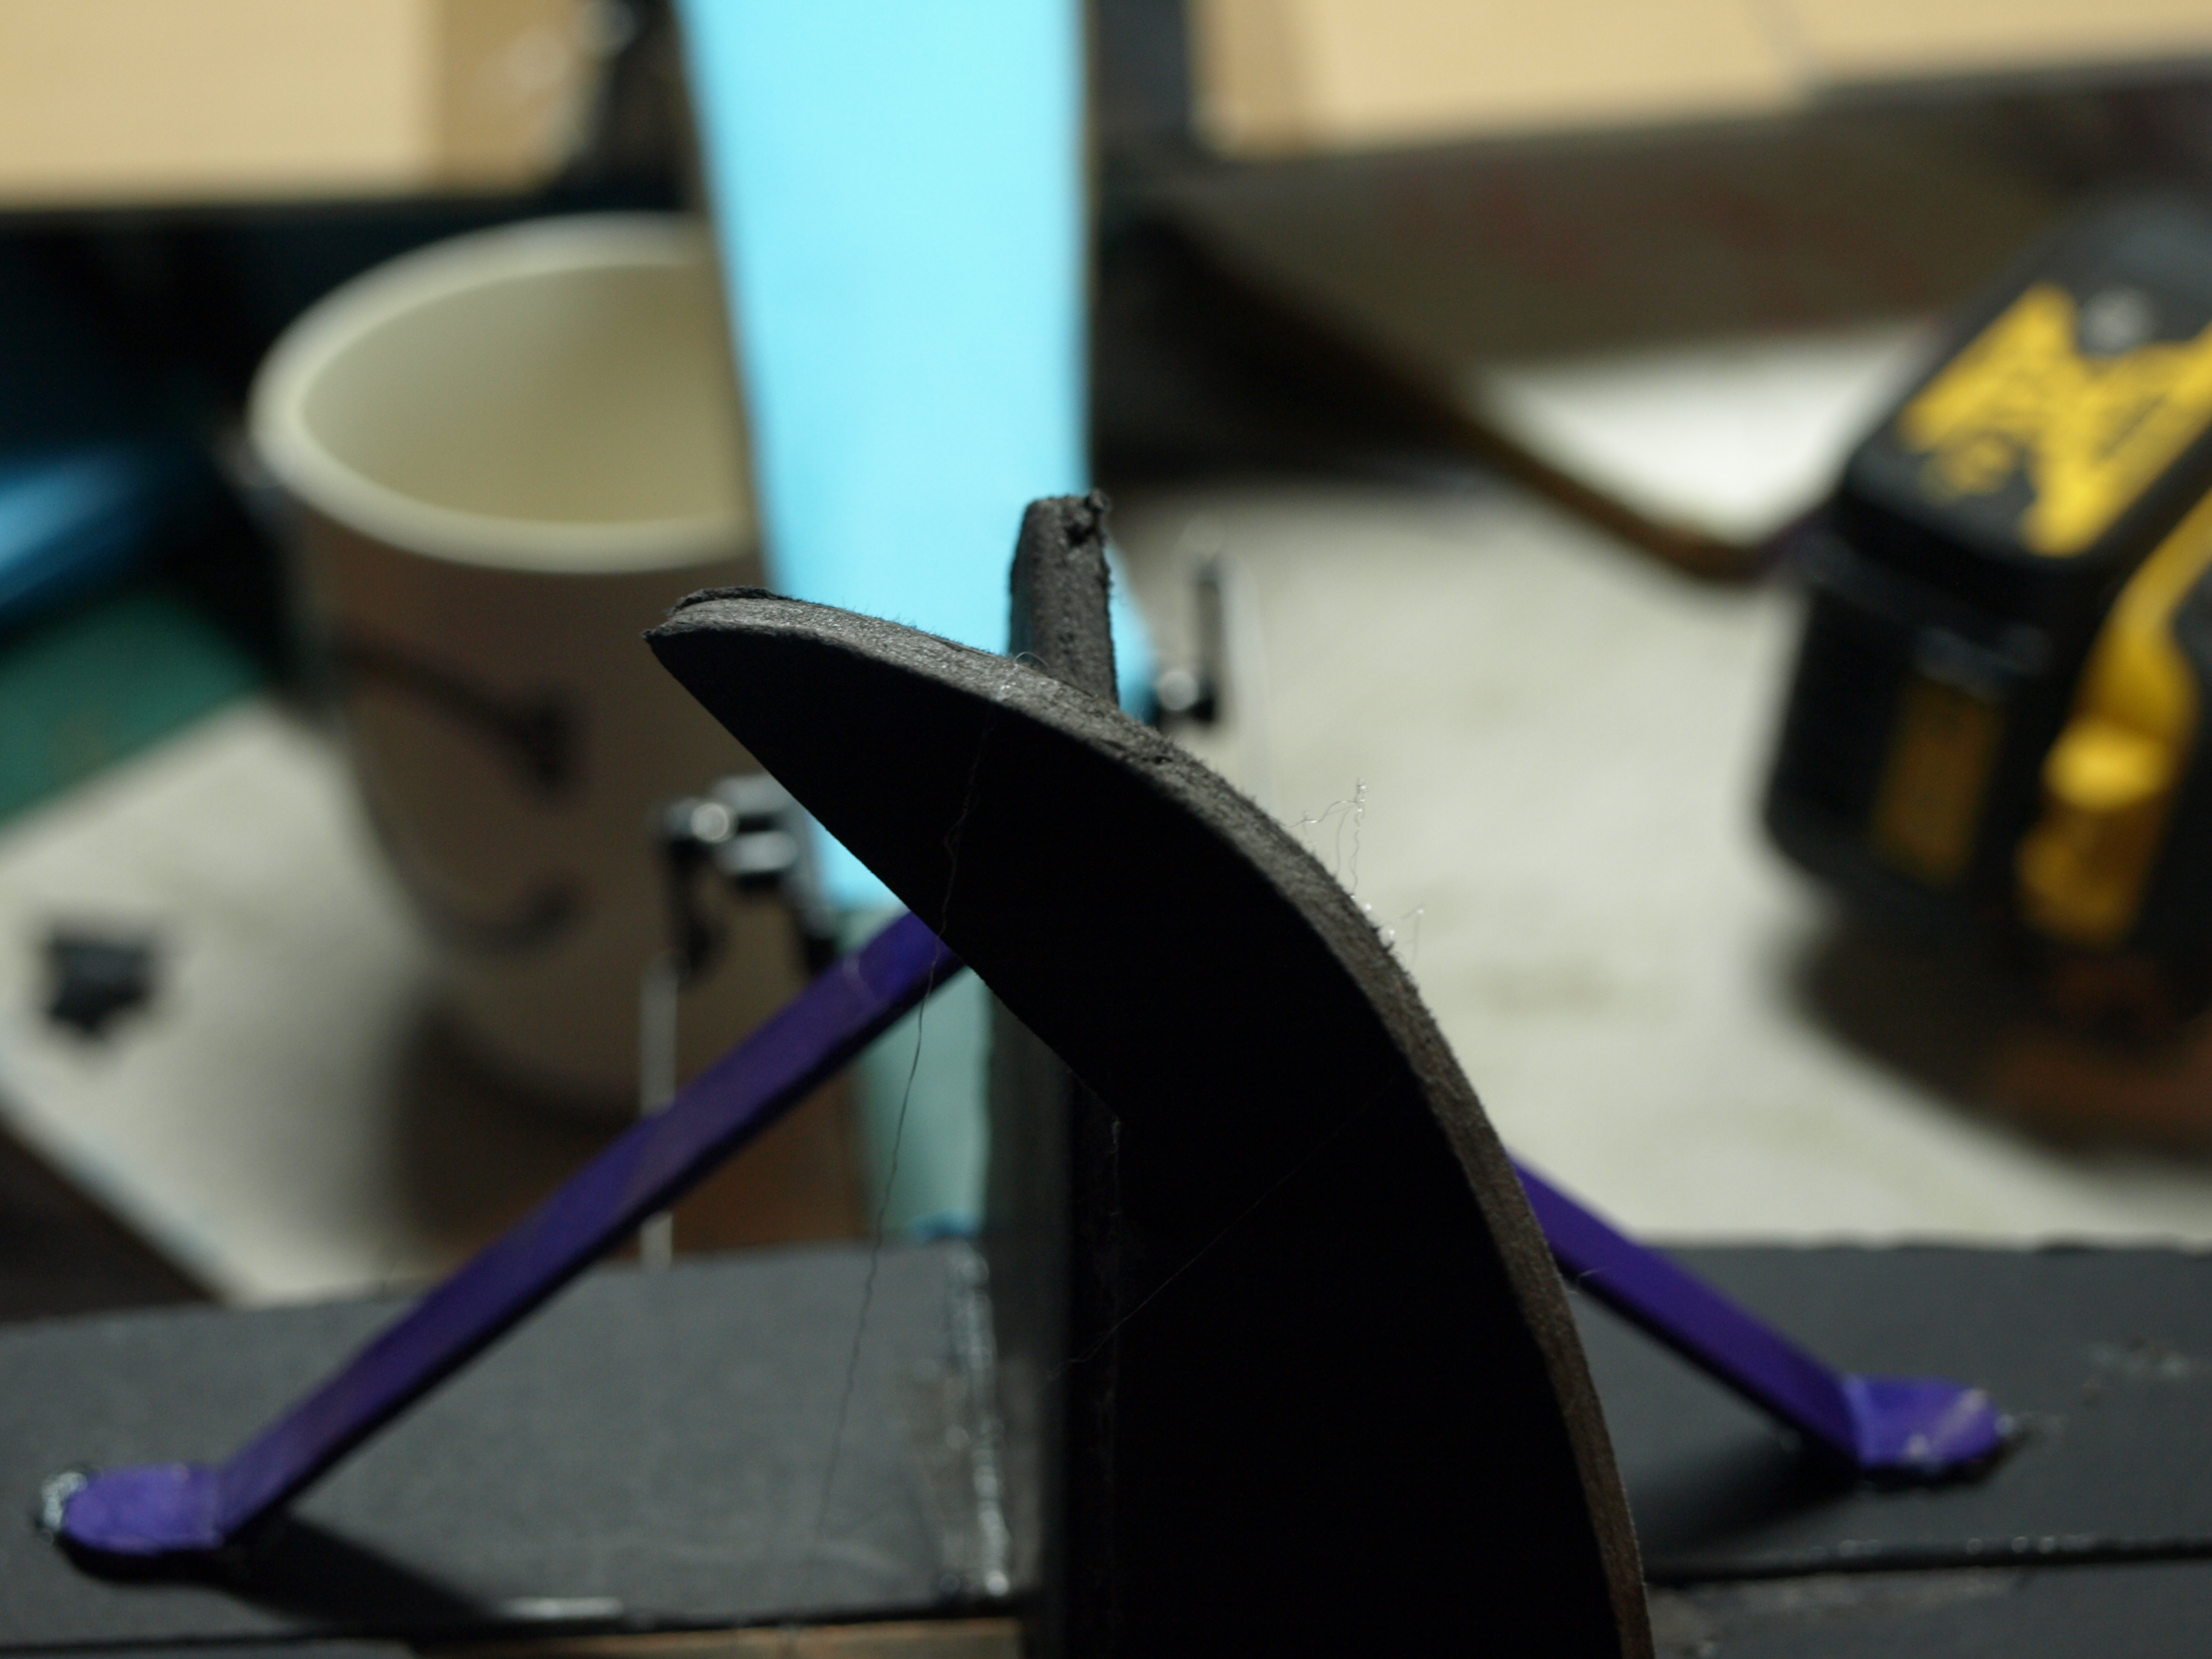
rudder
elevator
gluing the tail together
Now you can see the idea
adding the formers
then card
Now the same for the front deck
foam nose pece
made a former out of foam
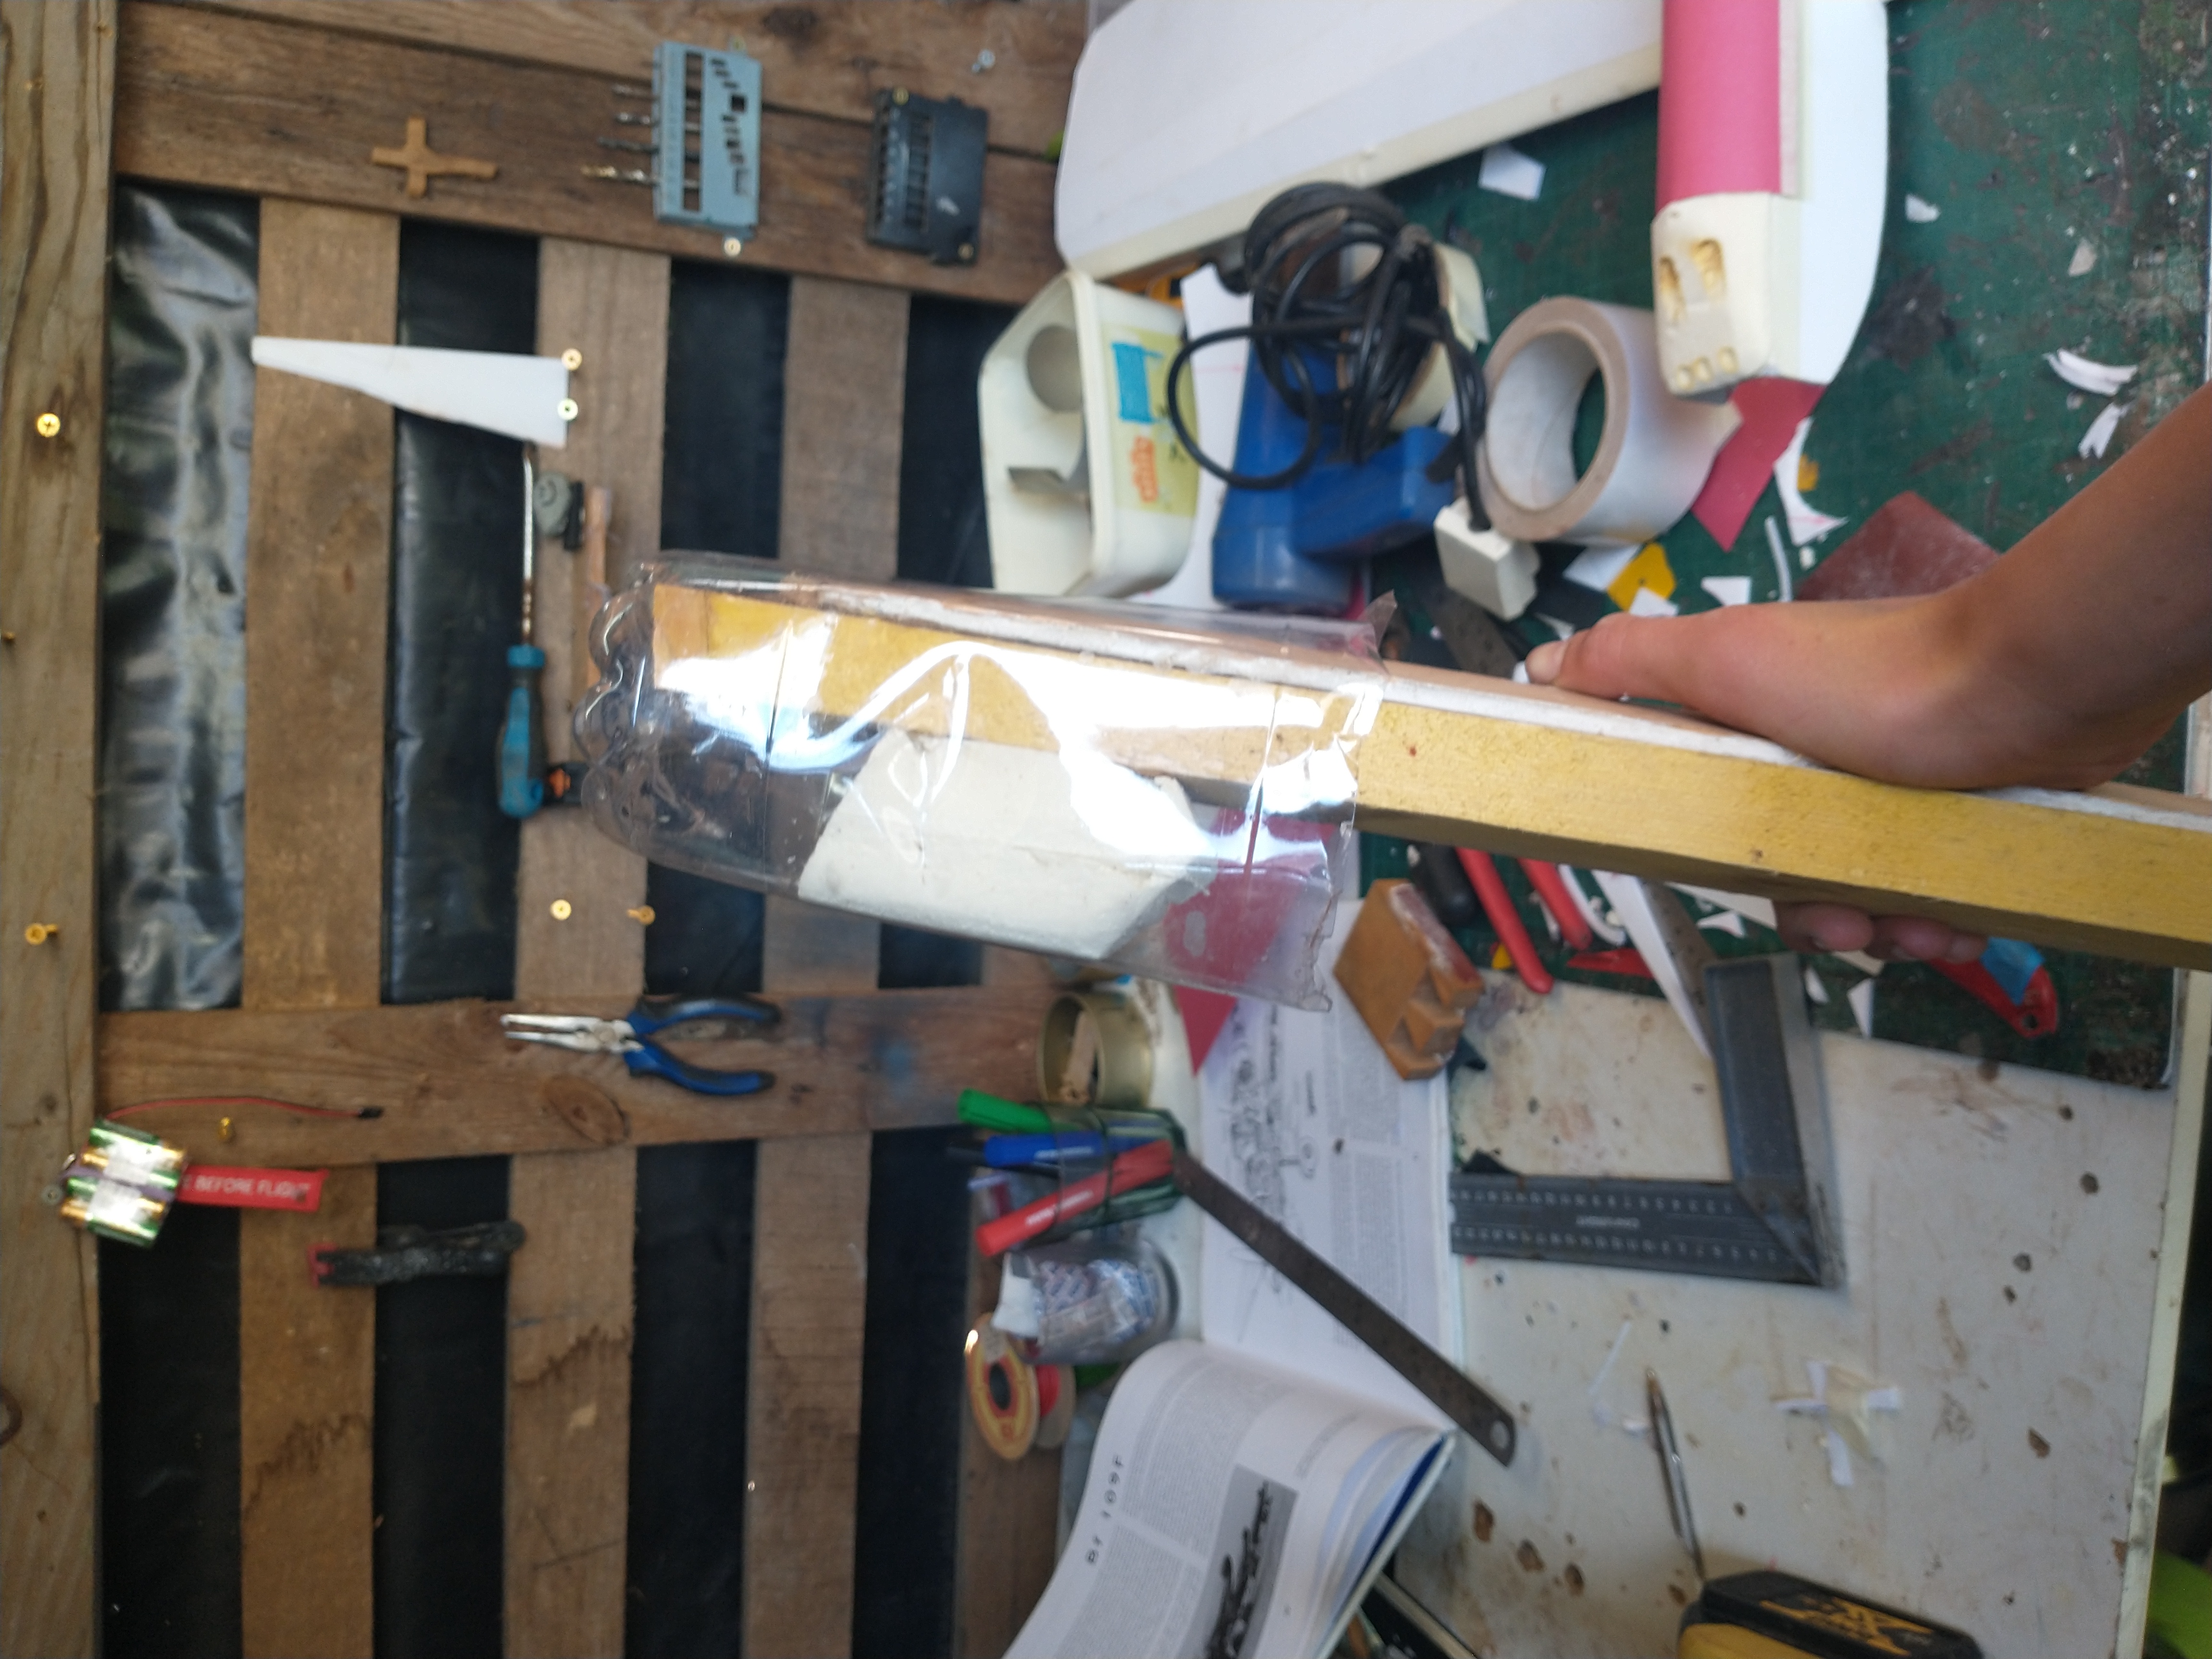
If you put a former clear bottle and then hit it with a heat gun, you get a cool canopy.
all finished. So So that is, has been a in totaof l 3 years of RC progression. This has been really hard/ fun, and challenging to finish.
But if you have read all of this, THANKS.
And the thing you've all been waiting for is some flight video.
Bye for now :)
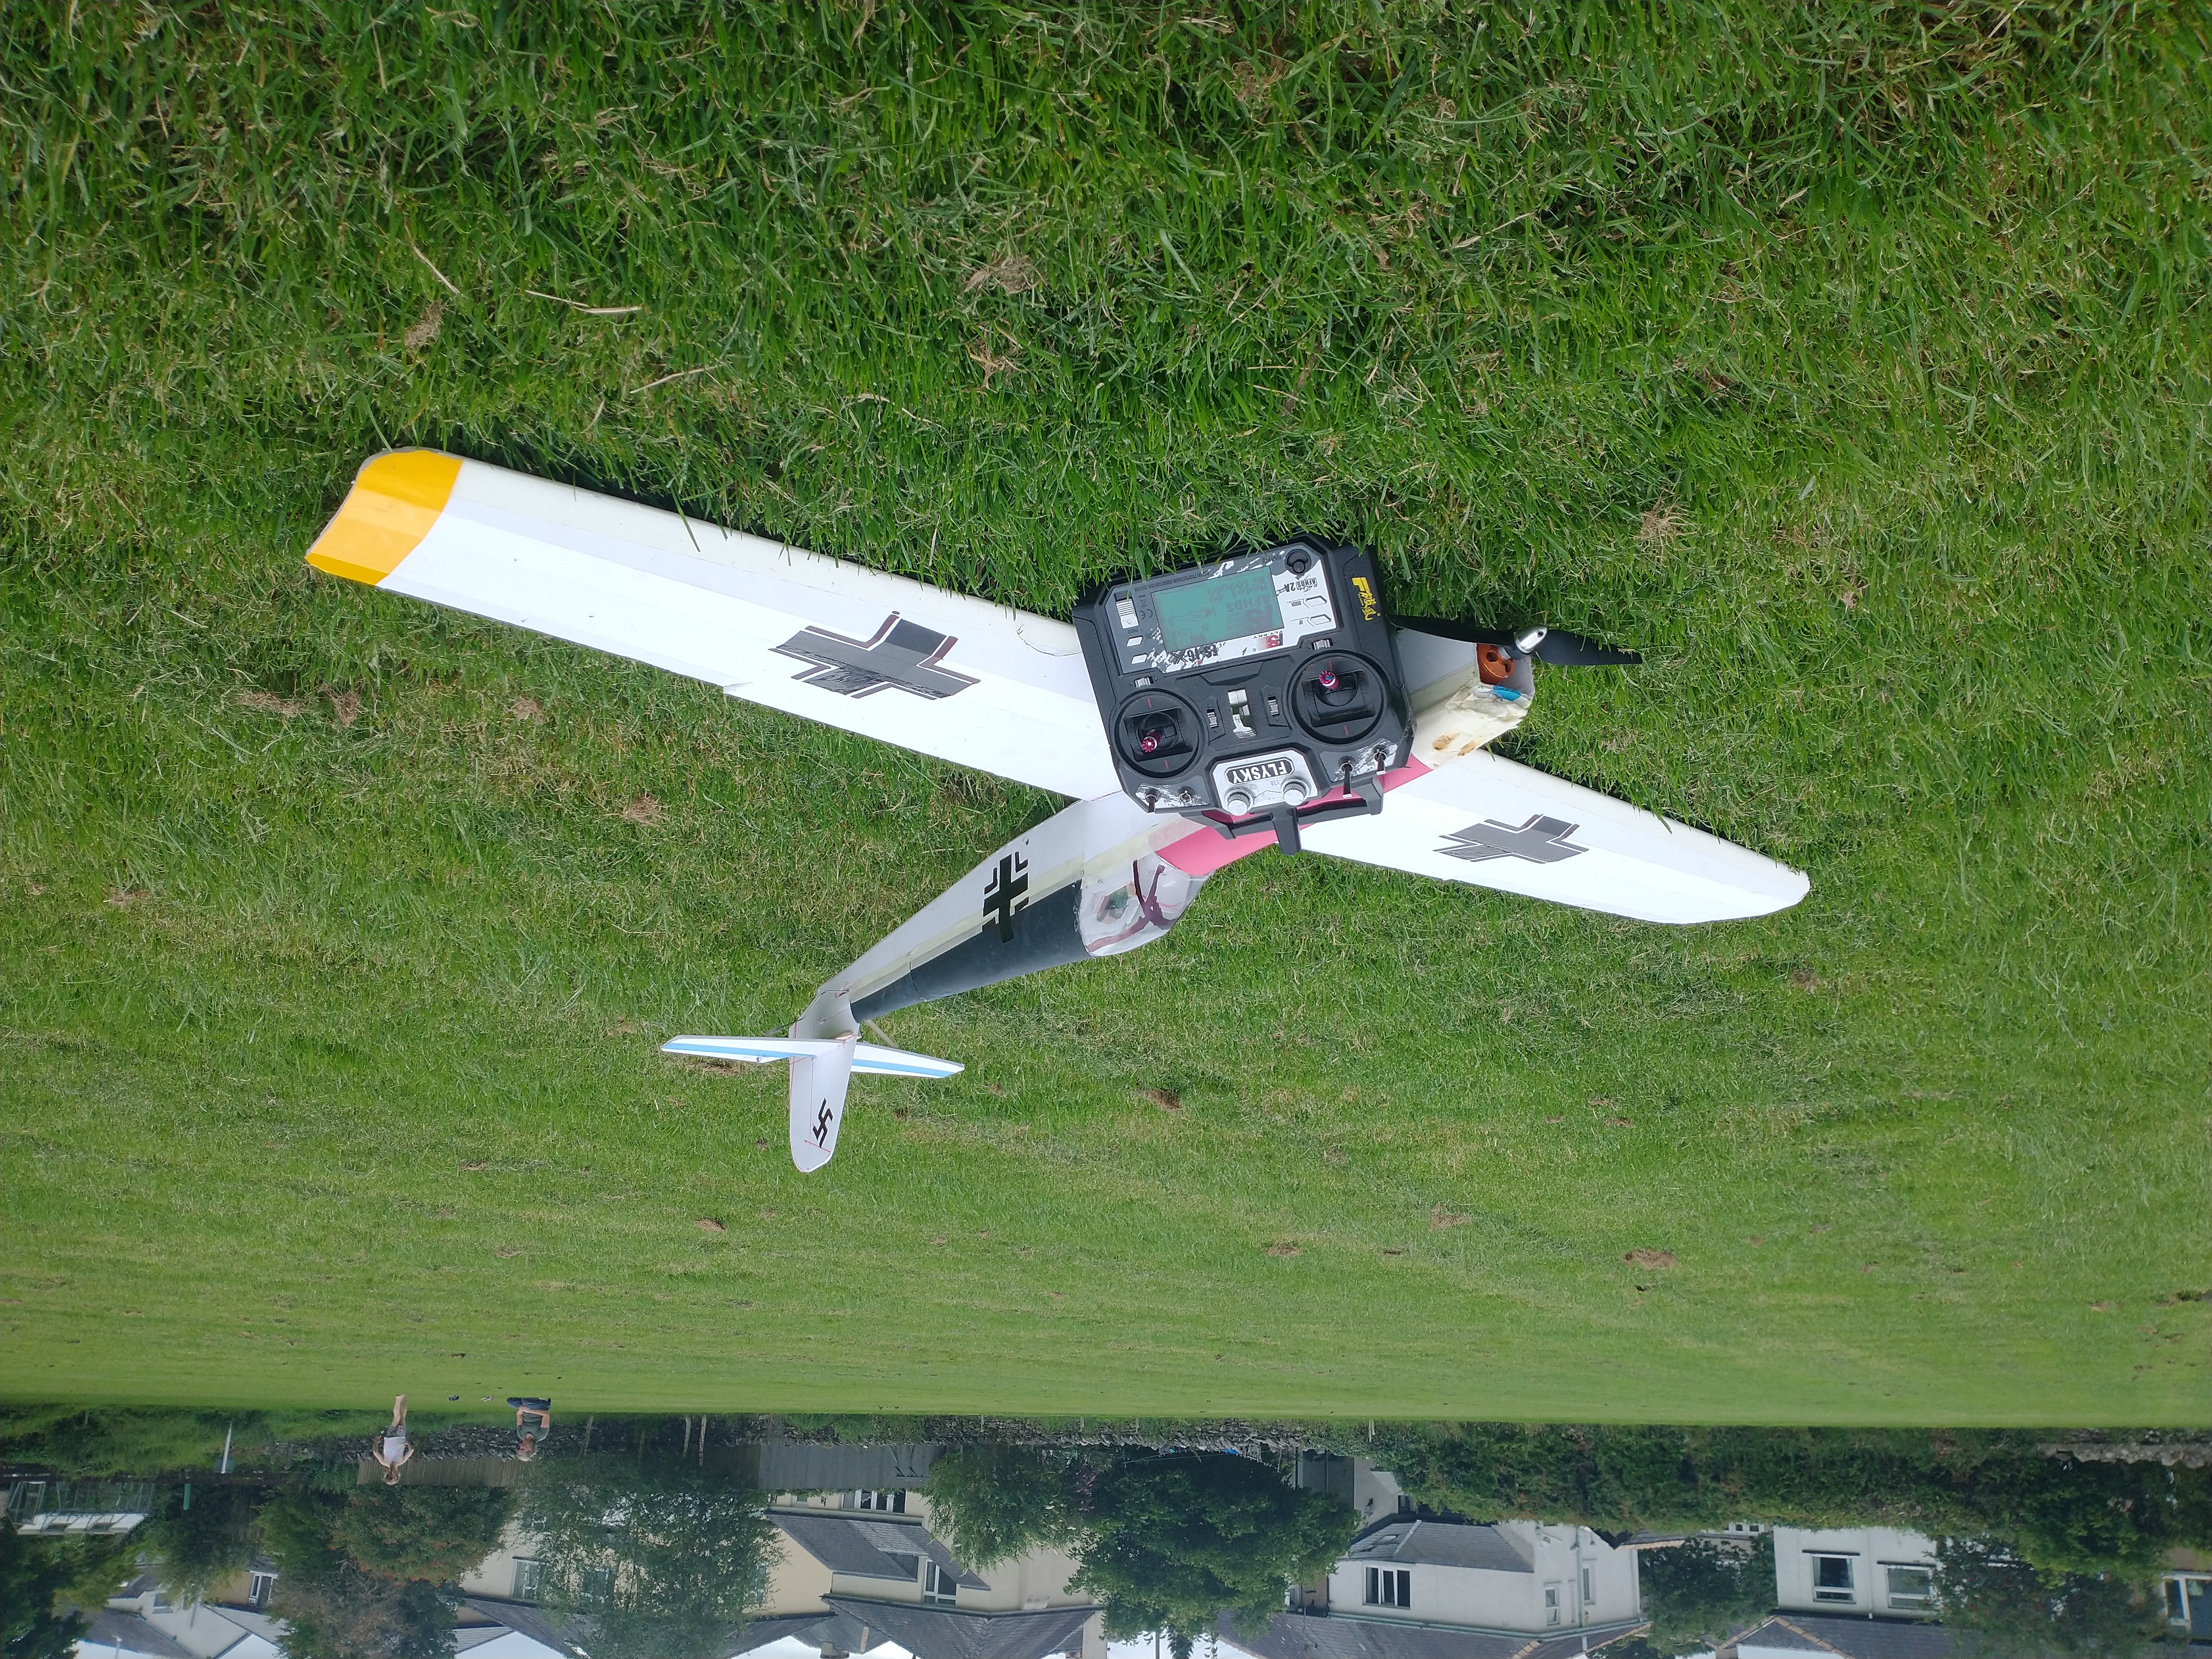
FLIGHT VID >>>>>>>>>>flight vid<<<<<<<<<<
bye:)


No Comments Yet
Be the first to leave one!