The Spitfire,one of the most iconic and beautiful of WW2 fighter's
FT's tribute to this plane is an excellent base to start modifying from........flaps,retracts,canopies,exhaust stacks,etc.etc. You name it,we've all tried it.
Truth be told the Spitfire for me was an inherited love,my Dad used too tell me he watched them flying overhead when he was a child,the Spitfire was his love which became mine.I think this is where my obsession comes from for this plane and what drives me too make one that I think he would have approved of.
This one actually has his initials 'ACJ' as the identification ,my little tribute to him :-)
http://www.flitetest.com/articles/ft-spitfire-modified
History lesson aside,I actually came across these photo's a while back and had always intended publishing them but just never got round too it....till now.
This project starrted 3 years ago,never let it be said I don't finish things !
This was the fuselage to go with this....
http://www.flitetest.com/articles/spitfire-wing-with-flaps-and-retracts
Lets jump right in and start with the tail....
This was when I came up with the double skinned tail surfaces idea.....
https://www.flitetest.com/articles/reinforced-control-surface-hinges

I did try and make a more realistic airfoil by compressing the trailing edge but in the end decided it really wasn't worth the extra effort/


Looks really good but adds a huge amount of weight.


For the sake of continuity,the wing.


And finally the fuselage.
A serious wing mod is going too need a serious wing seat......right ?


Complete overkill I know but that wing was very heavy !!
Rear formers.


Tail wheel.


Control snakes.
I use this techinque in all of my builds now,it works quite well and gives a good clean finish.

Scrap of foam/
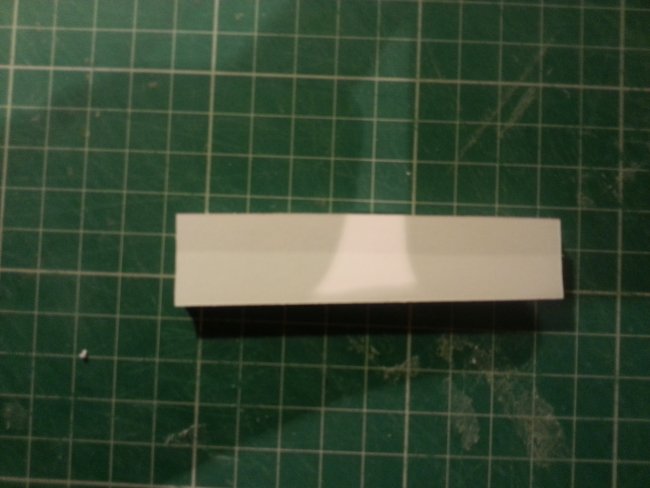
Remove halfthe foam and make a grove down the length of it,the control snake will sit in here,remember and leave the paper on.

The idea is,run a small amountof glue,add snake then roll the foam around itself while pushing down on the table.


Should look like this.

Fix into model.

A nice clean finish...kinda :-)


Skin and nose .


Pink Insulation foam.


Final assembly.


The finished model,I think looks great.I was prety happy with the overall appearance and the techniques I had tried.
It's a shame it didn't fly as well as it looked ! I have a short video of a taxi test which I tried to film by myself so it really is a short clip but it shows the model finished and partially painted.
Summary and conclusions.
The retracts mod I tried was poorly thought out,I spent far too much time concerning myself with how it would look rather than the mechanical and practicle aspect and as a result after having to bodge a fix last minute,the servo burnt out so the retracts were jammed down.


The balance during taxiing was terrible,she wanted to nose over at the slightest bump which also made rudder control for steering practically useless,ironically this was going to be her undoing!
The double skin tail surfaces were a success as is the control snakes method of install,that and the lessons I learned in construction methods of working with foamboard made this project an overall success in my opinion due to the fact it helped advance my build methods.
Plus I enjoyed doing it immensely :-)
So the outcome was this,after I had finished filming the short clip above,taking into account the poor ground handling,I decided to try a high speed run !! silly eh ?
I positioned for the best run I thought I would get and went for it.... didn;t end well...
Now I did mention the poor handling and this was the result,the high speed run obviously lifted the tail wheel and in doing so I lost steering..... and as we all know foamboard and a hard ground based stationary object do not play well together !


Not to be put off tho,because we never are,a quick repair and I was ready to try again.


I think we can all guess where this is going......
The landing gear was jammed down,the leading edge of the wing was mashed in and the CoG was undetermined....
Promising outlook I hear you all cry.....go for it !!
You sure ?
Whats the worst that can happen ?
And that folks was how the conversation went right before I threw all reason straight out the window and promptly destroyed my Spitfire !!!
I think a maiden is about 4 seconds of sweaty hands and trepidation because if you're still flying after that youre in with a chance....
I wasn't :(
That folks I'm afraid is where I stepped away from the Spitfire for a while and concentrated on other projects and developed my techniques which one day I hope will let me build that one 'special' Spifire.
Cheers.


Log In to reply
Still as with every build I do,I learn and take ideas from it and try again.
cheers.
Log In to reply