
The Birth of the MiniWing
HilldaFlyer March 2017
What to do with leftover parts after a crash… Build another plane, of course!
A few years ago when I was first learning to fly RC models, I was having a love/hate relationship. Everything seemed to die shortly after launch. Then, in one day it all seemed to change, I was able to get my Balanced Pusher Wing to stay up. Not only did it fly, it stayed up long enough for me to trim the flight control surfaces. This was the aircraft that built my confidence and ability. I still remember the giggling to myself as I was able to perform some rudimentary aerobatics. but the wing didn’t last forever. I have now built around 6 wings… here is what happened to #4.
A few years ago when I was visiting my stomping grounds in Missoula MT, I noticed a couple of RC planes in the basement. Turns out they were my younger brother Bryce’s planes. In July of 2016 my he attended a conference in Boston, so I kidnapped him to go flying. This is serious business.. I thought I’d see if he still had what it takes to fly.

Well, the crash totalled the wing. Or did it?

But the wing tips still looked like they were in great shape. Hmmm. Time to get creative.

The carbon fiber spar was removed, which wasn’t hard to do since the impact pretty much ripped it out. Electronic parts were undamaged and removed and inventory indicated that I had enough stuff to build another wing.

The wing tips were cut off at the location where the vertical stabilizers were attached.

The root was sanded flat.

The two pieces were joined with Gorilla Glue with a slight dihedral.
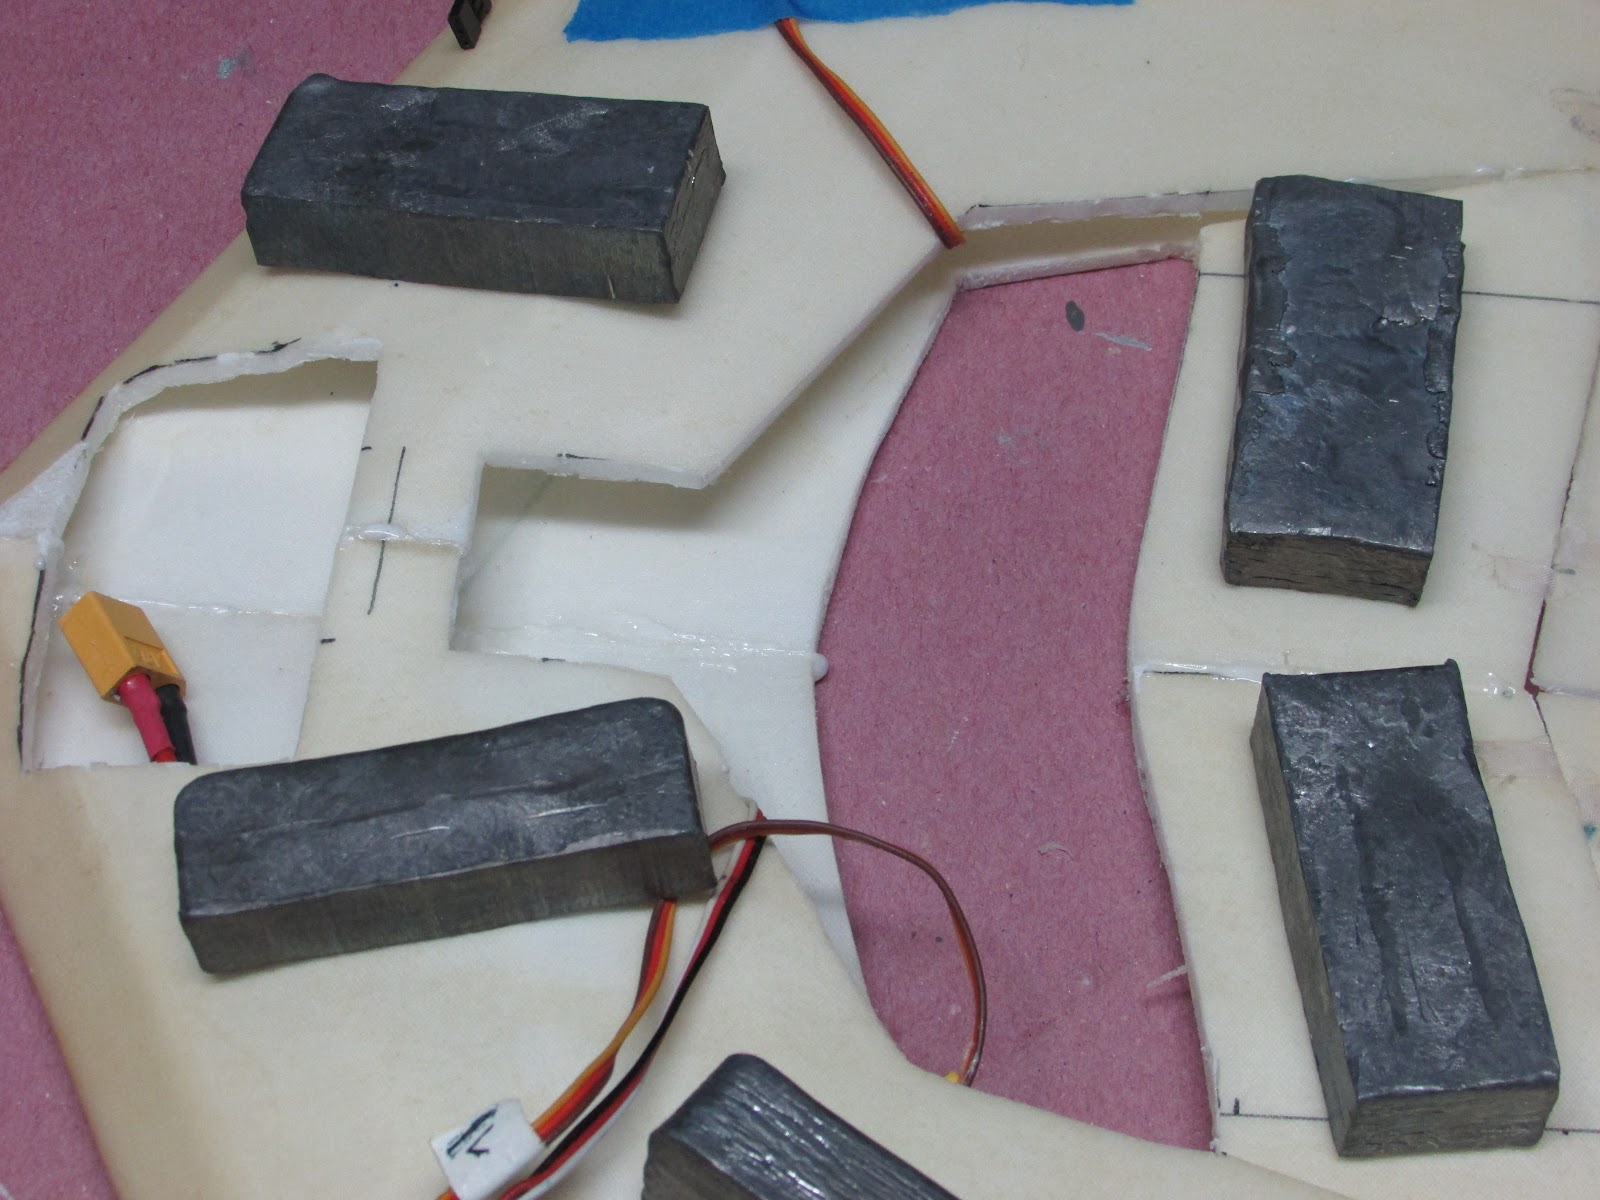

The battery was mounted as far forward as possible and the other components were taped into place in order to determine motor placement to get the balance on the center of gravity. Because the spar was removed, there is no placement limitation for the motor mount. Holes were cut through the top wing panel for the servos, propeller, motor mount and battery.The servos leads were snaked to the propeller slot, hooked into the receiver and stashed inside the wing.

The ESC was mounted to the bottom wing panel and I cut a hole for cooling.
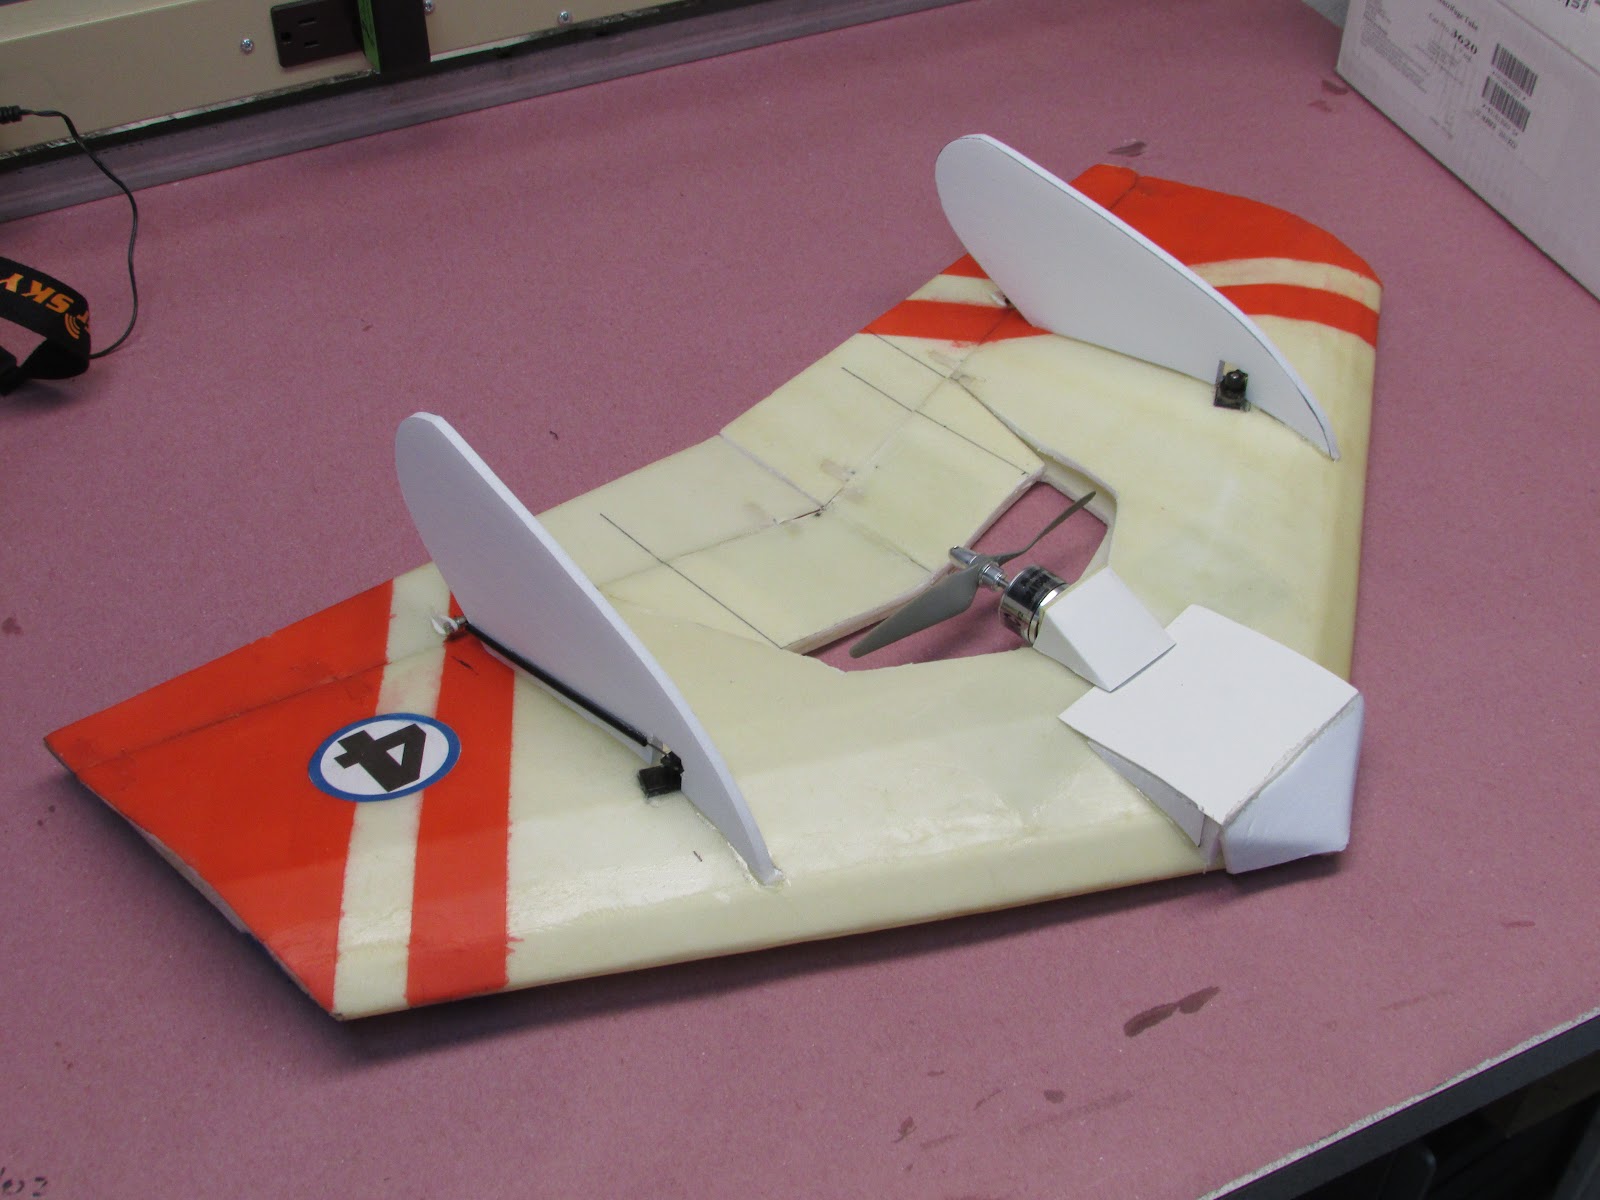
I added a little battery cover and motor mount cowling to increase aerodynamics, but it isn’t required.
Turns out that during the maiden, the Grayson Hobby 30A ESC burned up. It was replaced with Turnigy Plush 40A because I didn’t have a 30A available at that time.
Flights of the MiniWing
This is a terrific wing. The foam piece behind the propeller add a lot of strength, so this baby can take a lick really well. So well that I have made another one.
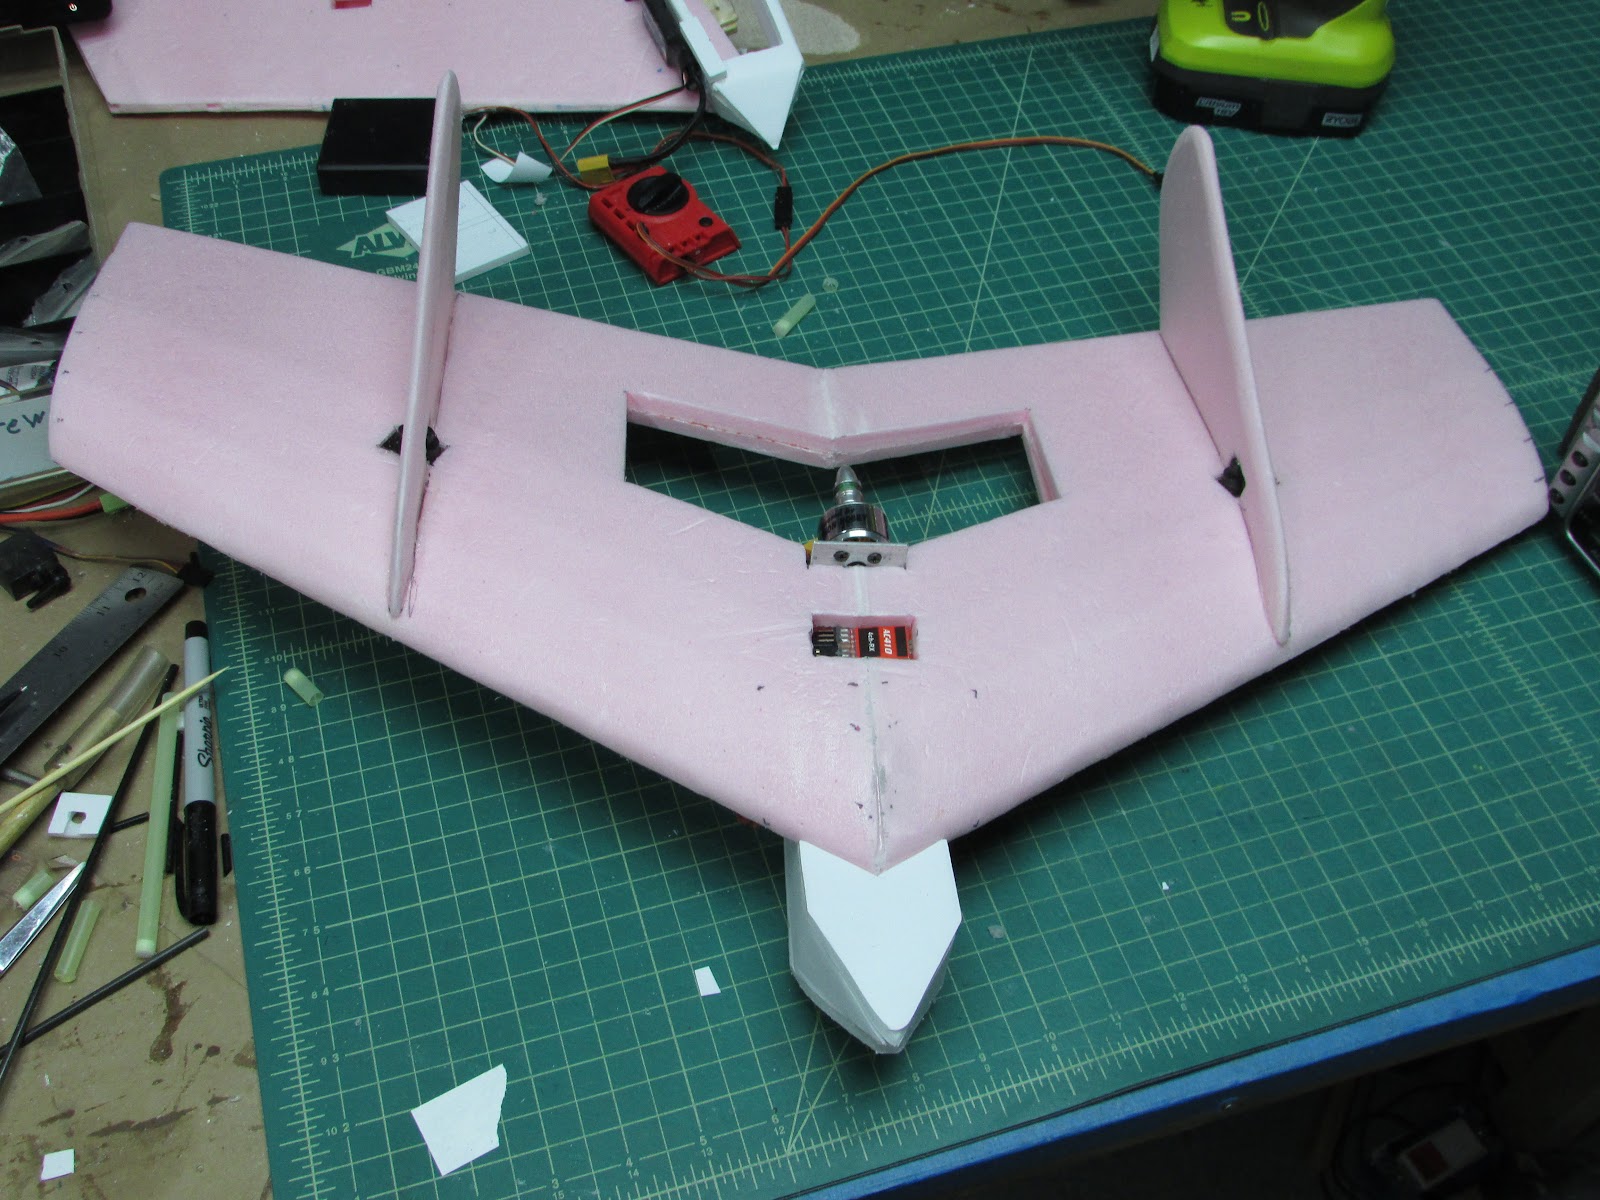
This time using Fan Fold Foam. I have had such great results with FanFold foam holding up in harsh flying environments that I thought this would be a good combination. I mounted a battery pod below the wing so I could mount an FPV camera on the top. This is going to be my gate shooter. Wish me luck.
PDF plans are available if you want to build one from scratch.
Parts List:
Motor: Grayson Hobby GH2212-06 V2 2200kv or Turnigy D2826-6 2200kv
ESC: Turnigy Plush 40 A
Prop: APC 6x4 (Radical RC)
Servos: Turnigy 9g digital
Battery: 1300mAh 3S


Log In to reply
Log In to reply