The Gremi on a Hemi Series is a mix of a blast from the past and a touch of the new. We have taken some of our iconic Gremlin frames and beefed them up with new flight controllers and motors, and modified a few other pieces. The combination has proven to be a little fun mixed with a little nostalgia. The Gremi on a Hemi Series will only be a limited run of frames, so when each frame is out they’re out.
What Bixler says about it all: “It’s about as much power you can pack into a small frame.”
The first frame that we wanted to dabble with is the famous Flying Squirrel frame, better known as the Bixler frame. This frame has a unique look that places the aft motors above the forward motors to give it a stepped look. The performance of the updated Gremi is great for indoors on a 2-cell, or great 5” quad feel on a 3-cell. And as you can see in the video here, “it’s faster than lighting!”
As cute as they are, they are definitely not a beginner quads. Not only is the power insane, but there are also some builder modifications that will have to be implemented in the construction process. Following are the essential steps needed, along with builder experience, to build your Gremi on a Hemi: Bixler Frame.
 Solder the main battery lead to the appropriate power pads on the JHEMCU GHF411AIO-BMI All-In-One board.

Remove the white plugs that are used for the FT Gremlin 1104 5400kv Motors to make room for the edge solder motor pads, in order to solder the Flite Test Gremlin 1106 6000kV Brushless Motor.

Solder each one of the motor leads to its own edge solder pad. It is easiest to pre-solder both the pads and the leads and then flow the joint together. Repeat this for all four motors.

Solder on your RadioMaster R81 Satellite Receiver and Caddx Ant AIO FPV Camera, in accordance with the wiring schematic.

Solder on the beeper. You'll want this if you crash it in the field next to the airpark, I mean flying site. With all soldering complete, check for shorts and continuity through a voltmeter. After that is complete, do your binding and firmware update. Configure file dump and motor directions before moving on. Use the same Guardian Gremlin v.2 BetaFlight Configuration article and Video, and then use the appropriate dump file for your transmitter. We have two dump files, one for the Zorro and one for the TX16S.

The switch assignment for each dump is different. Zorro: Arm - F, Modes - E, Beeper - C TX16: Arm - SF, Modes - SE, Beeper - SD

Locate four flight control board mounting screws and cut to 10mm with a pair of pliers.

Install rubber grommets for control board and mount board as seen here. Place already bound receiver under control board and beeper as seen above, and tuck all wires neatly underneath the board.

Mount camera to 3D printed camera plate, and fasten with O-ring and screws. Trim 3d printed mount as needed to fit

Mount 3D printed plate using 3mm screws and 15mm standoffs.
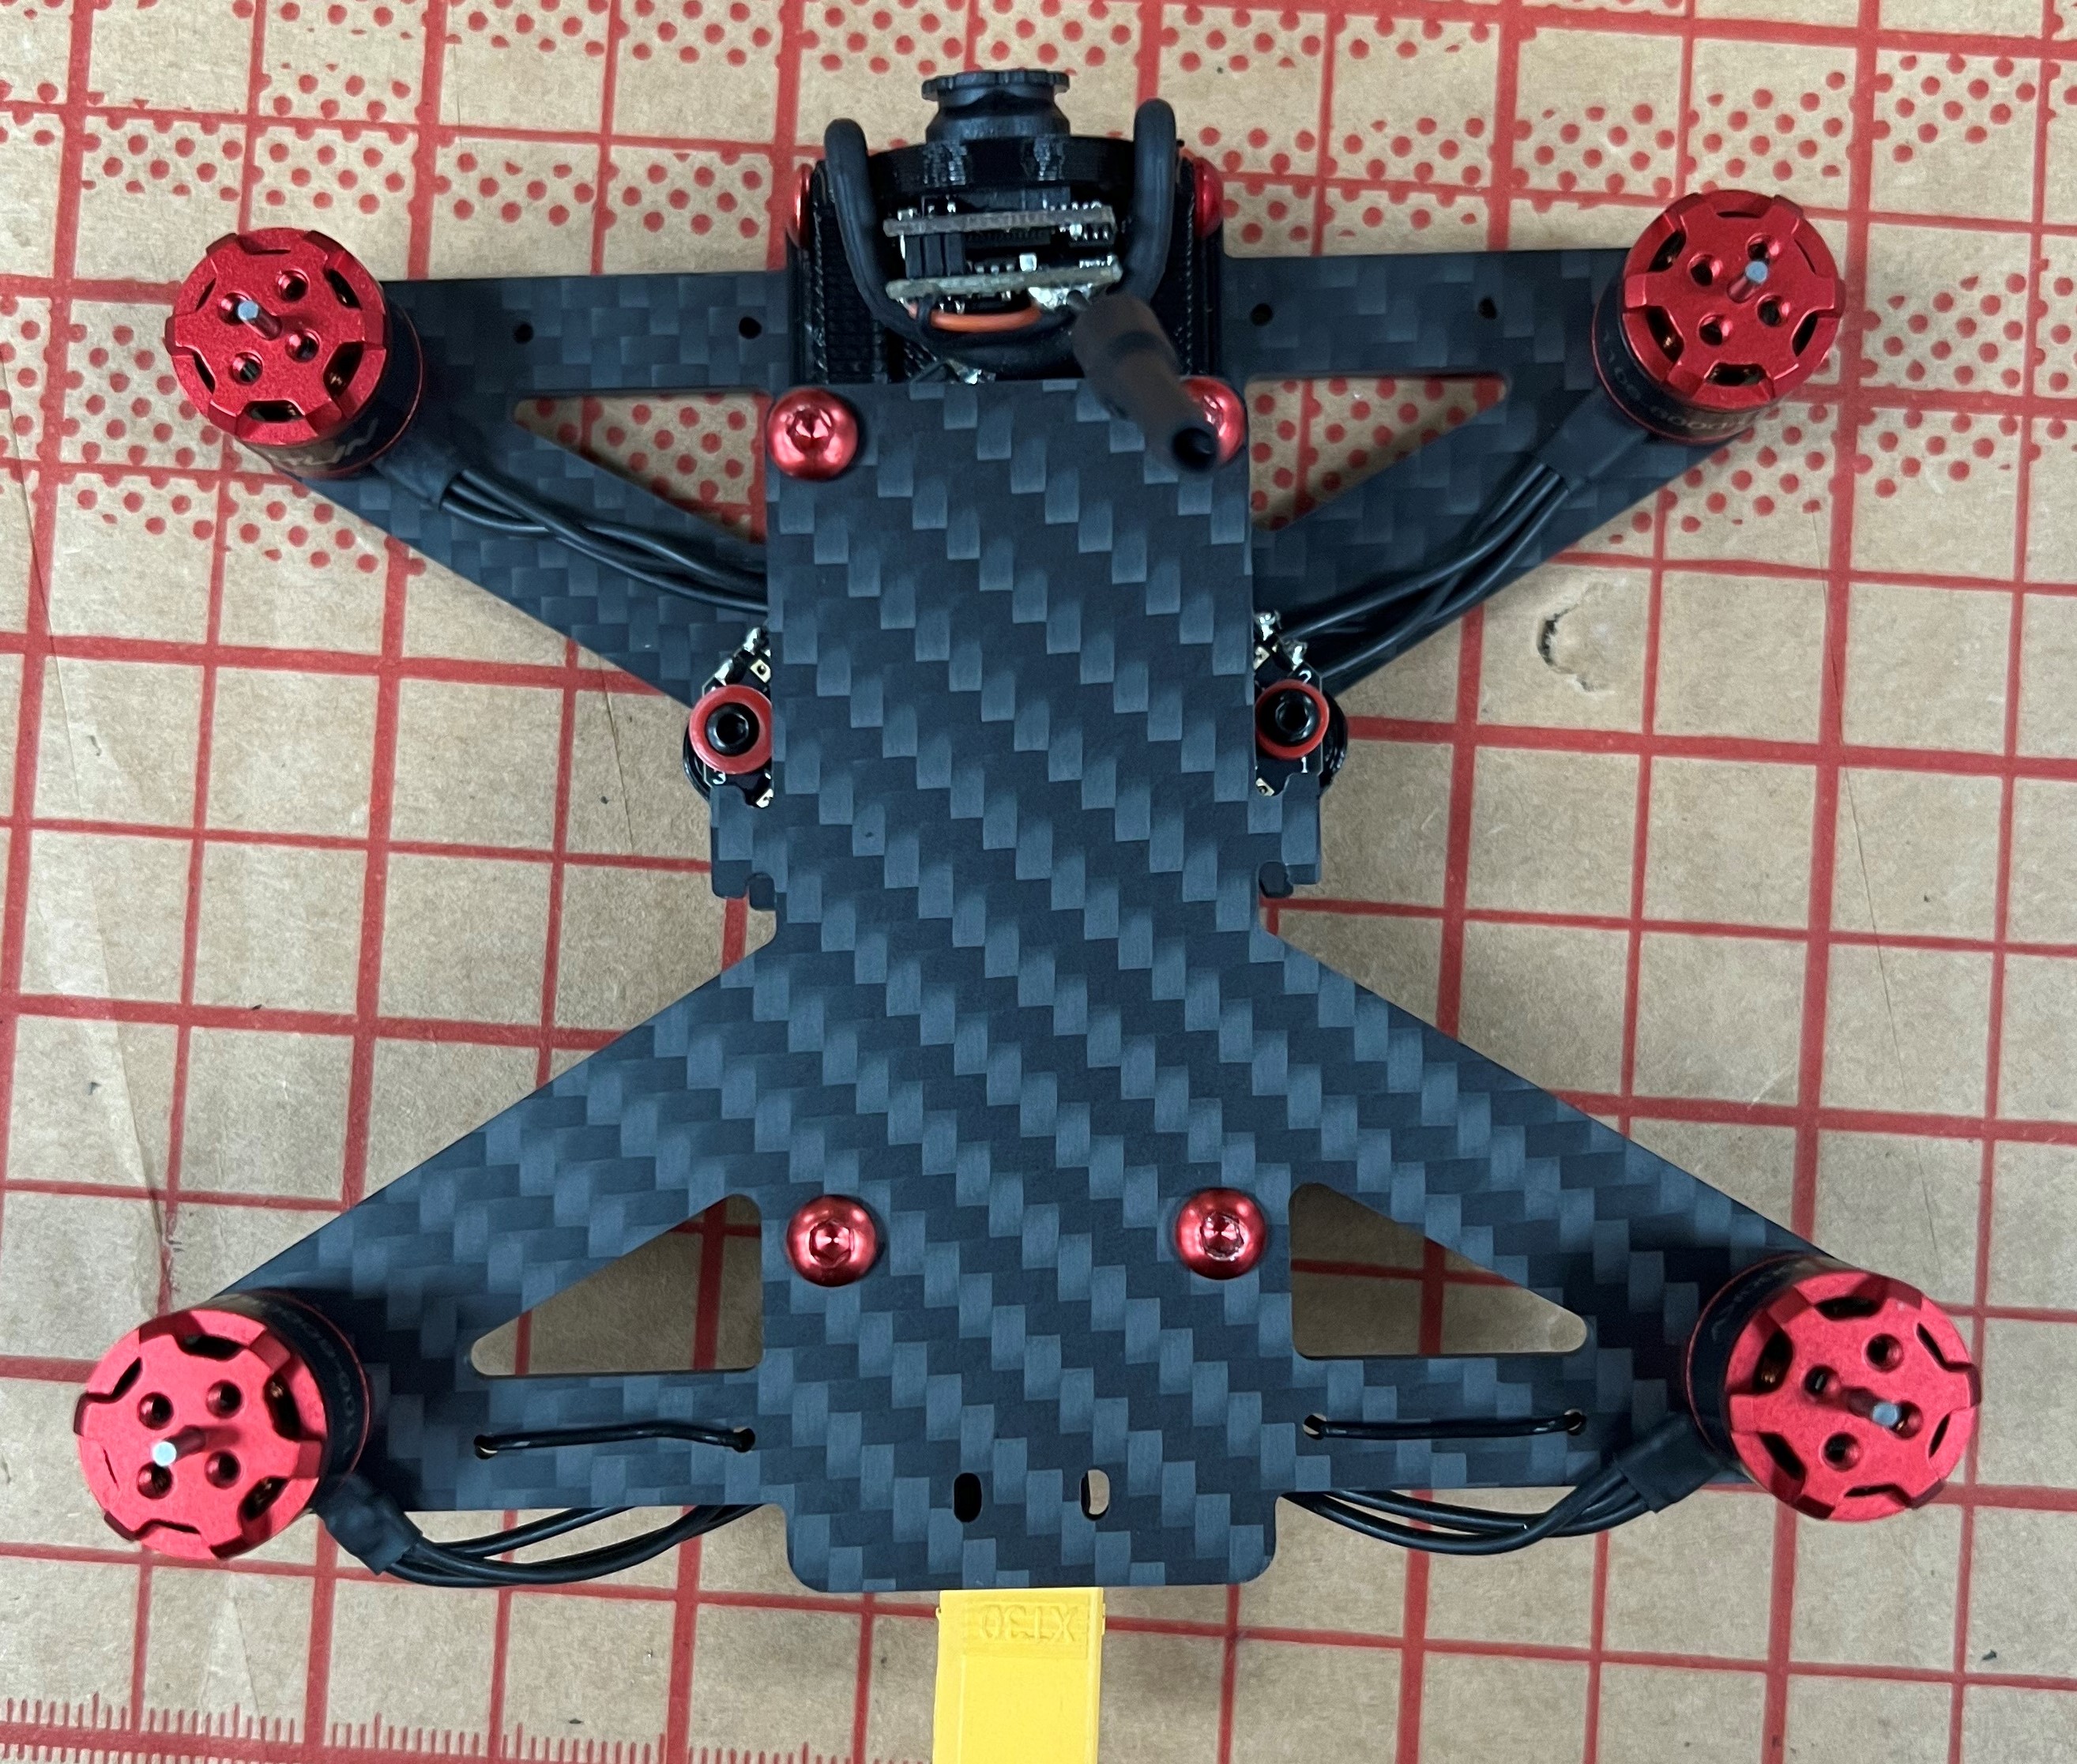
Mount motors and wires as seen and tuck remaining wires under control board. Be sure to use the shortest screws to avoid damage to the motor windings.

Install props in proper direction with screws. Install Battery o-ring to bottom of frame. GO FLY!!!!


Log In to reply
https://teatv.ltd/
https://hellodear.in
Log In to reply
Log In to reply
Log In to reply