Glassed FT-22
Replacing Readi-Board paper with fiberglass makes the FT-22 strong, waterproof and warp-free. Correcting the CG by moving battery to behind the cockpit.

The glassed FT-22 - snow, sleet, rain or shine won’t stop it. This article is a follow up to a previous article where I demonstrated that Ready-Board can be made super strong and waterproof by removing the paper and overlaying the foam with fiberglass.
My first FT-22 flew terrible. I couldn’t get the nose up no matter how much elevator I gave it. It only flew at full speed with almost all up elevator so whenever I slowed down a little, it would nose straight into the ground.

I thought it may be a bit nose-heavy, so on the next build, I decided to move the battery backward, from the cockpit to behind the cockpit. Presto- that was the trick. It flew great! Time to make it withstand the rigors of time and moisture.
The benefits for removing the paper and replacing with fiberglass are that the airframe is much stronger than the original and it won’t warp, droop if it gets wet.The downside is that it adds a bit of weight and the techniques for building have to change because glassed foam doesn’t have the connective paper like the Readi-Board. The new techniques are really pretty simple, but they do add a significant amount of time to the process. People building with Depron already have a toolbelt loaded with techniques to join foam that is not already connected. In this article, I build a FT-22 with fiberglassed pieces to show you how.
Working with Fiberglass
First, a little note about working with fiberglass. The weight of fiberglass cloth that I use is very light (0.73 oz/yd and 1.43 oz/yd, Thayercraft.com) and needs to be handled carefully. Cutting the FG cloth can be done with a sharp pair of scissors, hobby knife or my favorite, the rotary cutter on a self-healing mat or paper. When working with epoxy resin, always use protective gloves to reduce exposure. After curing, the FG splinters are small, clear and are almost impossible to see. To prevent slivers, sand all edges and additionally, you may opt to wear gloves. While working with fiberglass resins, work in a well ventilated area. Although fiberglass is flexible, it is not as flexible as paper. When making joints (you know, the A or B folds), on occasion you may be able to get away with using the fiberglass as the joint, but I have found that the FG typically breaks or cracks when bending it into a corner. Put some masking tape over the joint before you make it to increase the strength and to hold the parts together in the case the fiberglass breaks.

This article is written from the perspective that you are starting with the F22 (or your favorite FliteTest) speed build kit.
Before you peel the paper off of the foam, transfer any marks that you will need later by poking a hole through the paper and marking the hole with a marker (which should mark the foam) or by marking the edge of the foam with a marker. Peeling the paper will disconnect all the pieces. I have found it easiest to fiberglass the separate pieces and join them later rather than fiberglass them while joined and then trying to make the folds. After they have been surfaced, use tape to make the “paper joint” like leaving the one side paper from the Readi-Board. This will be demonstrated below.
For any piece that requires a bevel, like the control surface hinge, make the bevel cut into the foam before fiberglassing. Trust me, beveling foam with a fiberglass surface is really difficult.

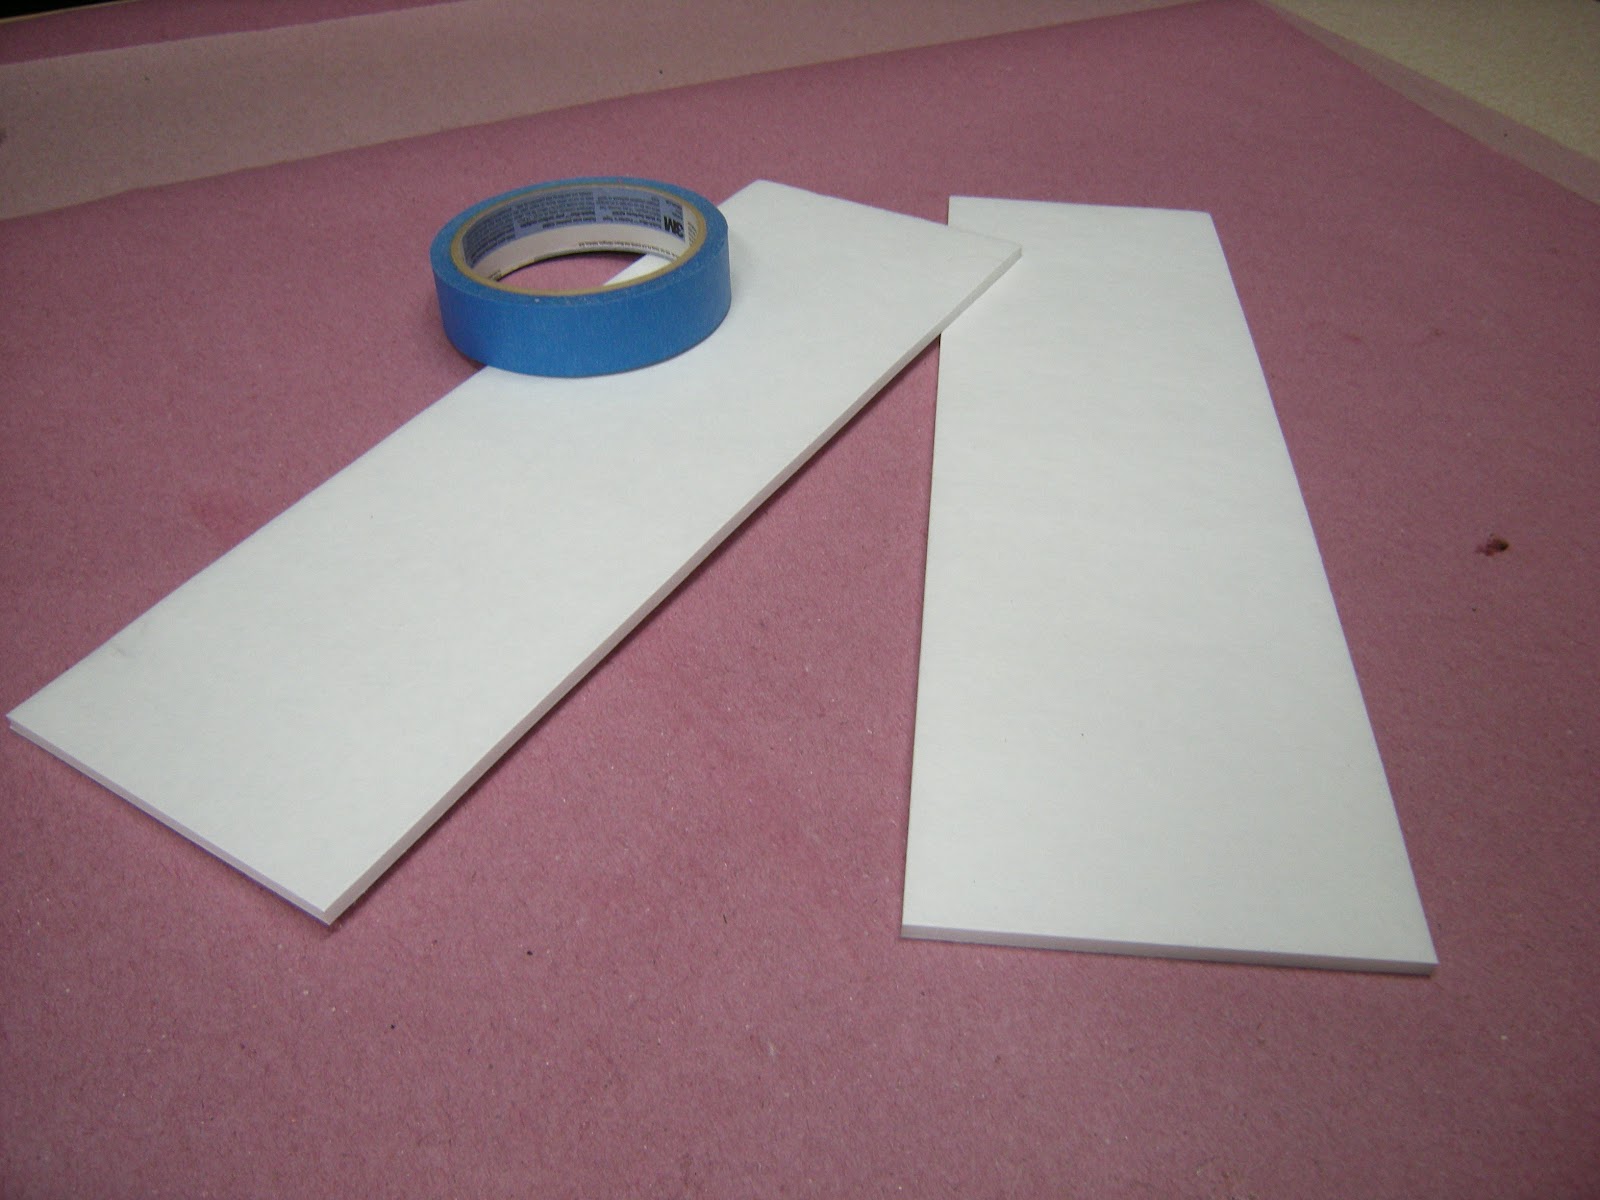
Lay the foam pieces on a flat surface that is protected from drips and globs. Leave a little more space between them than shown here (about 1 cm) to prevent them from “gluing together”. Overlay them with the fiberglass cloth (shown here in this build 1.43 oz/yd), mix the epoxy resin and

spread the resin evenly over the foam pieces.
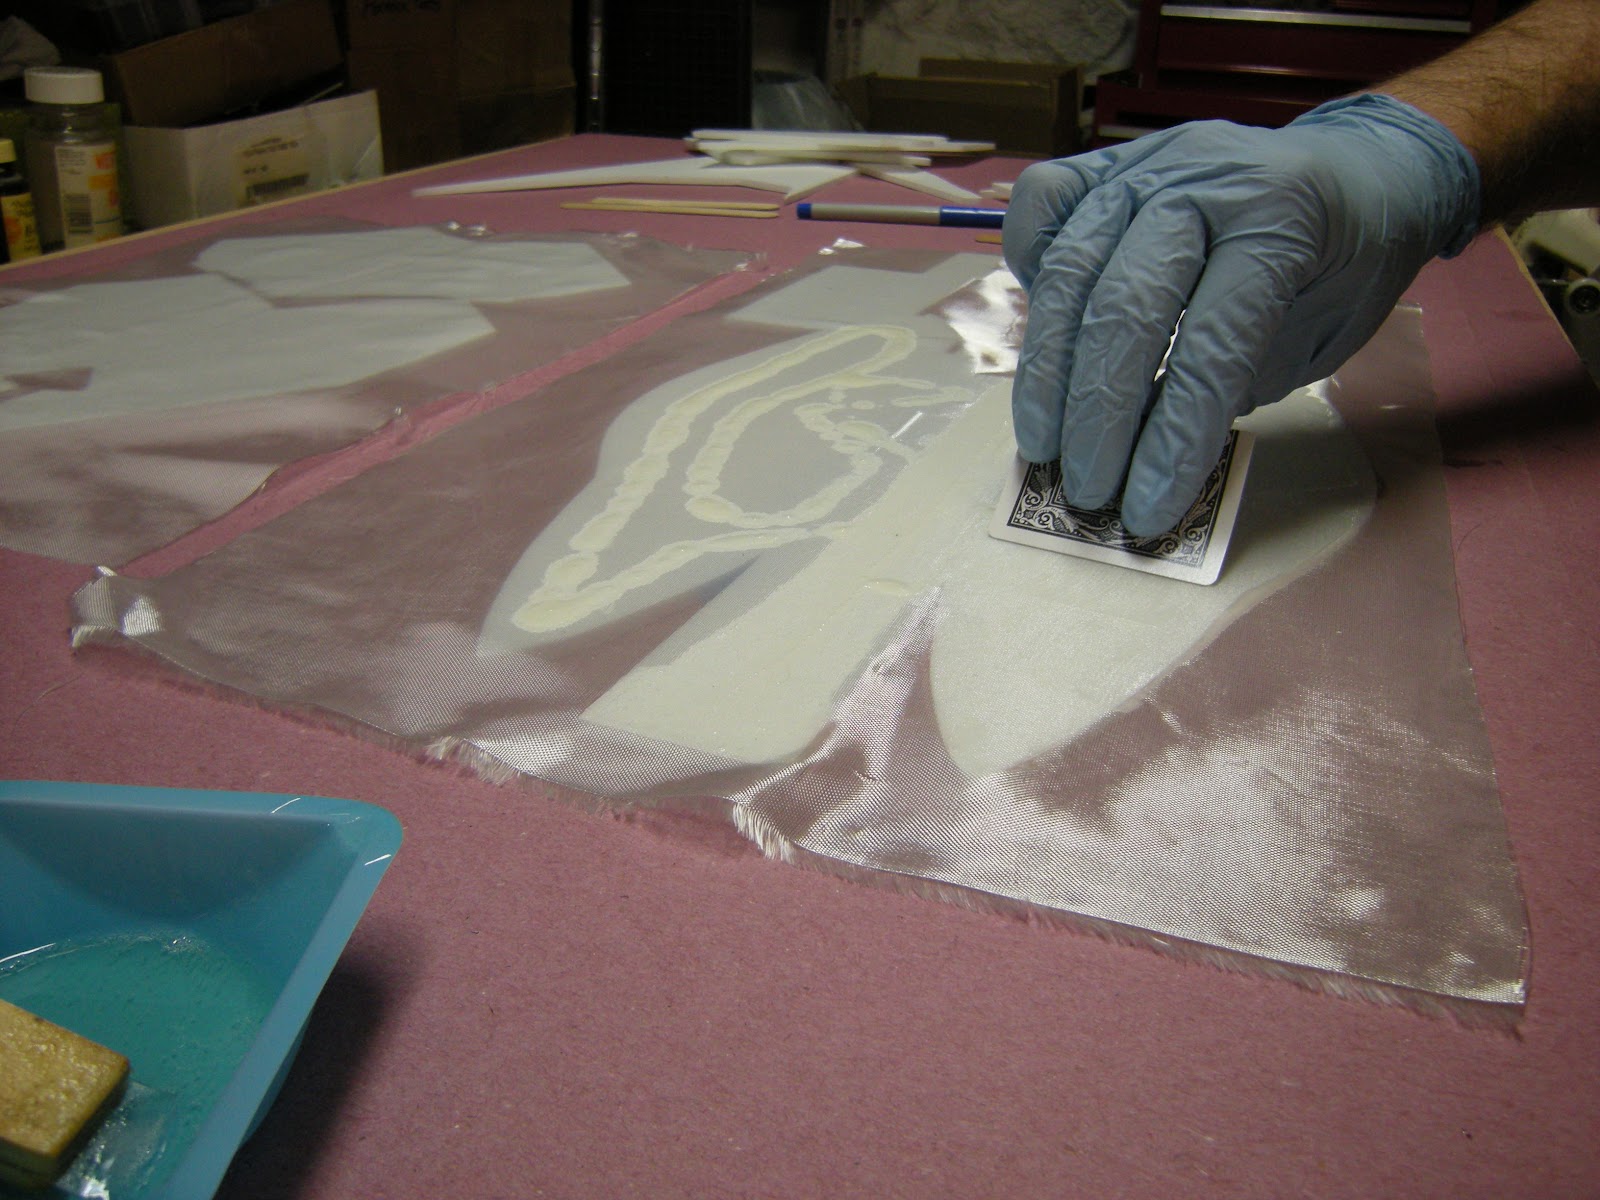
The best inexpensive tool I’ve used to spread the resin is a playing card. They are stiff enough to squeegee the resin but soft enough not to damage the FG cloth.
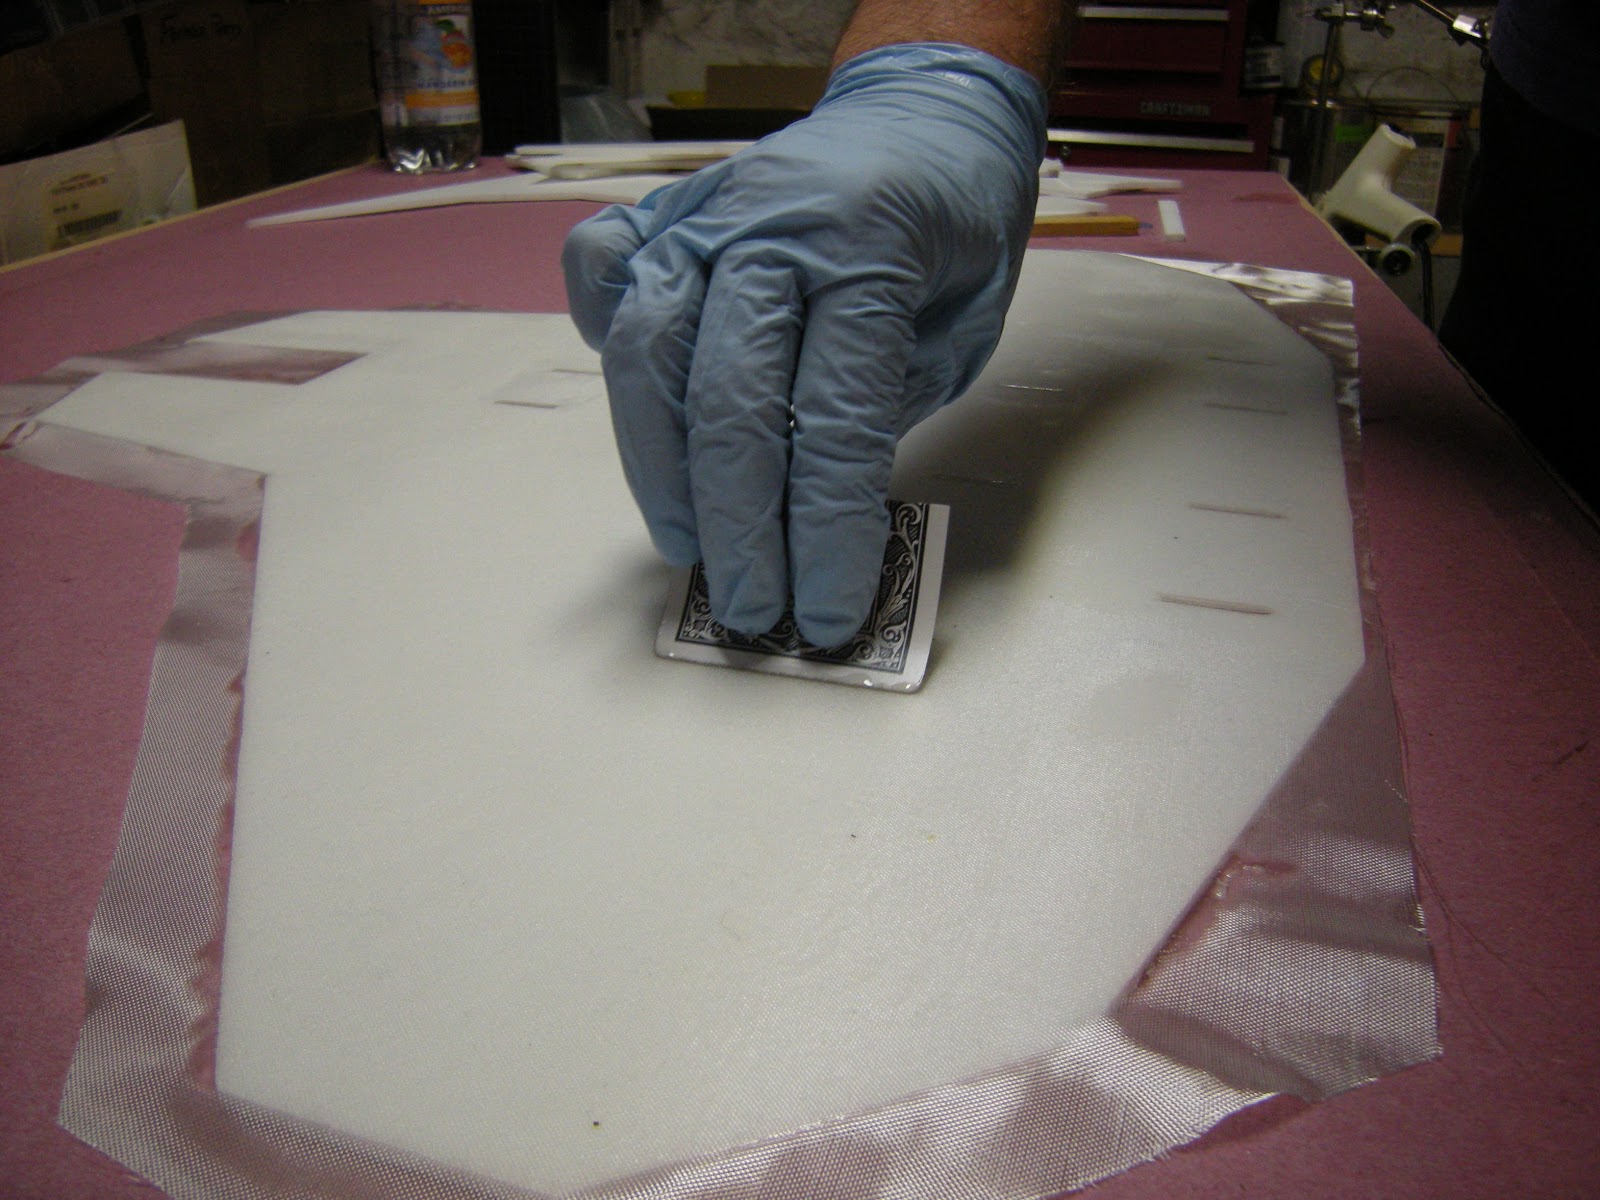
Use the playing card to remove as much epoxy as you can with gentle strokes.

The next day, after the fiberglass has cured, cut the excess cloth from the foam with your hobby knife and gently sand the edge.

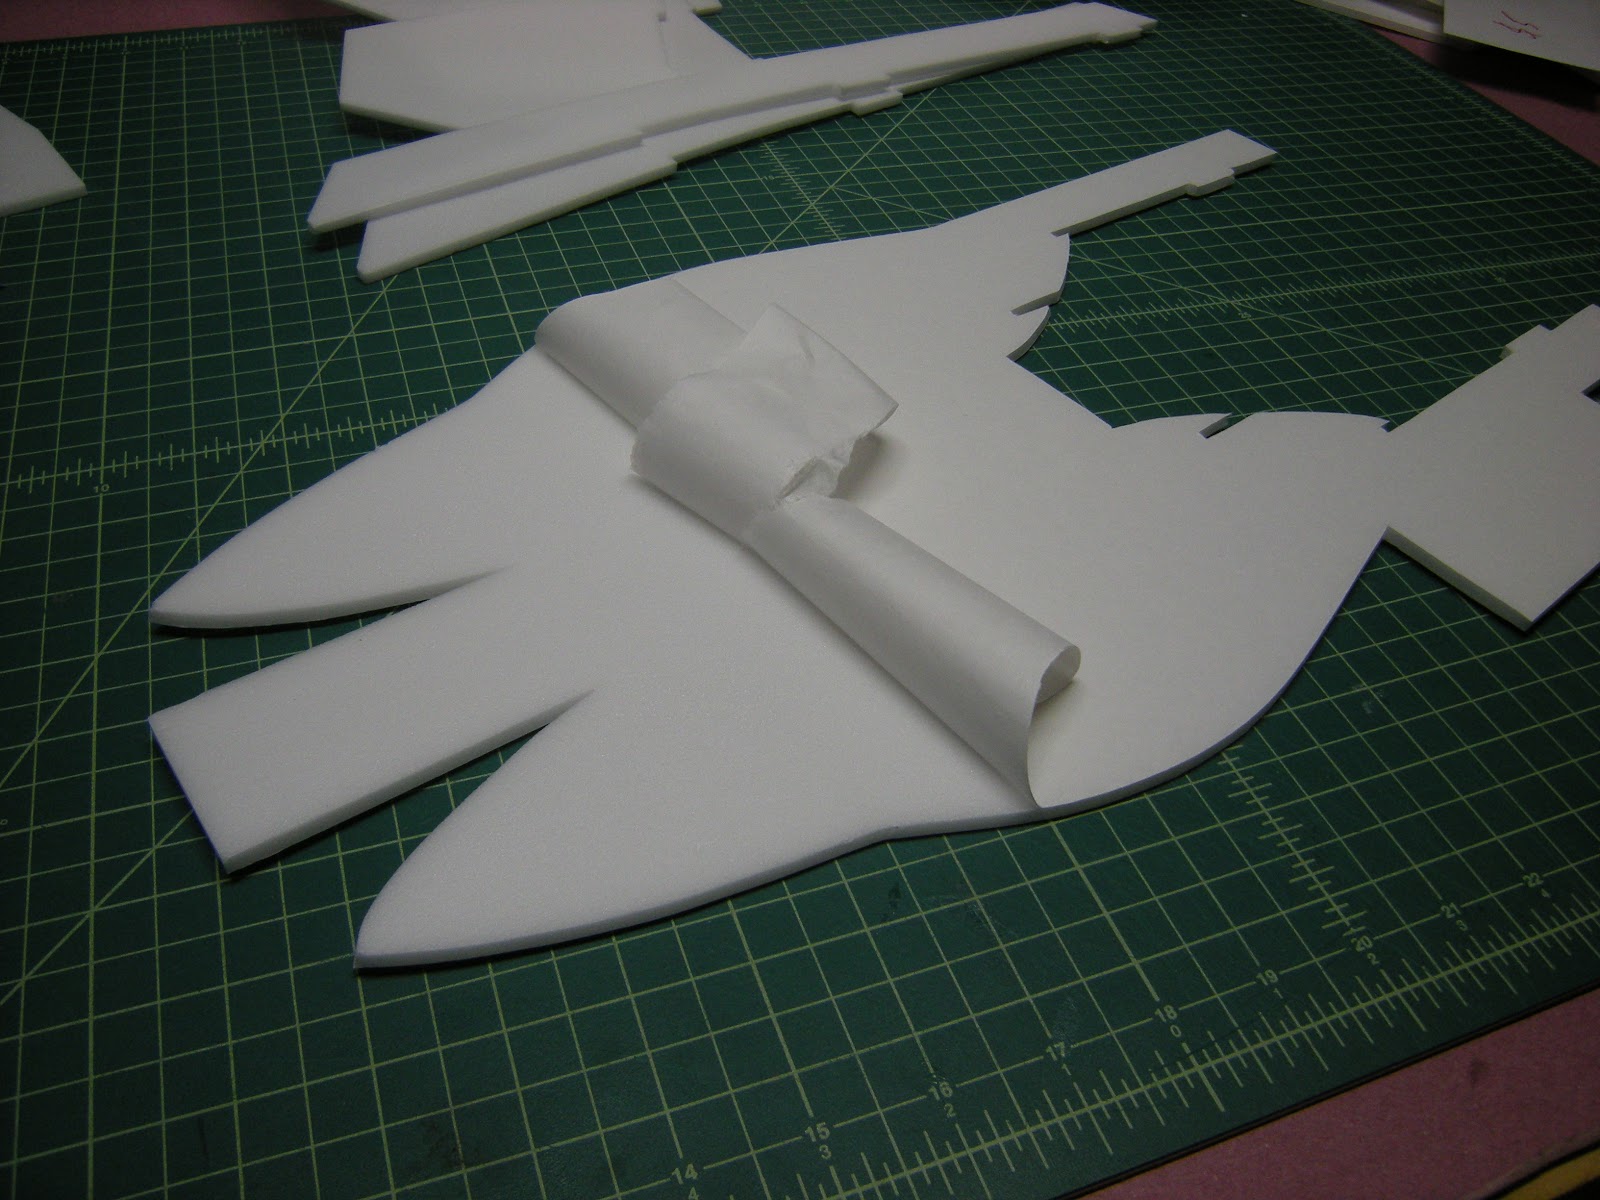
Some of the pieces of the model will require an overhang in order to place it correctly on the model, for example, the strip that wraps around the nose of the FT-22. Shown above, masking tape is used to hold the “score cut” foam edges to the rest of the piece while fiberglassing the opposite side. If you are working from your own plans, I recommend adding the score cut after the fiberglass is overlayed.

After the fiberglass cures, remove the tape and then remove the strip of foam to create the overhang.

I found that fiberglassing the pieces together and removing the score cut (above) was more difficult than joining two separate pieces. The epoxy resin seeps into the score cut and “glues” the pieces together. I recommend separating all the pieces, overlay with fiberglass and then using tape to make a new joint.
If you bend the fiberglass backward to remove the foam slot from a score cut, like you would with Readi-Board, the fiberglass will likely break (unless you are really careful) when you try fold the 90 degree corner.
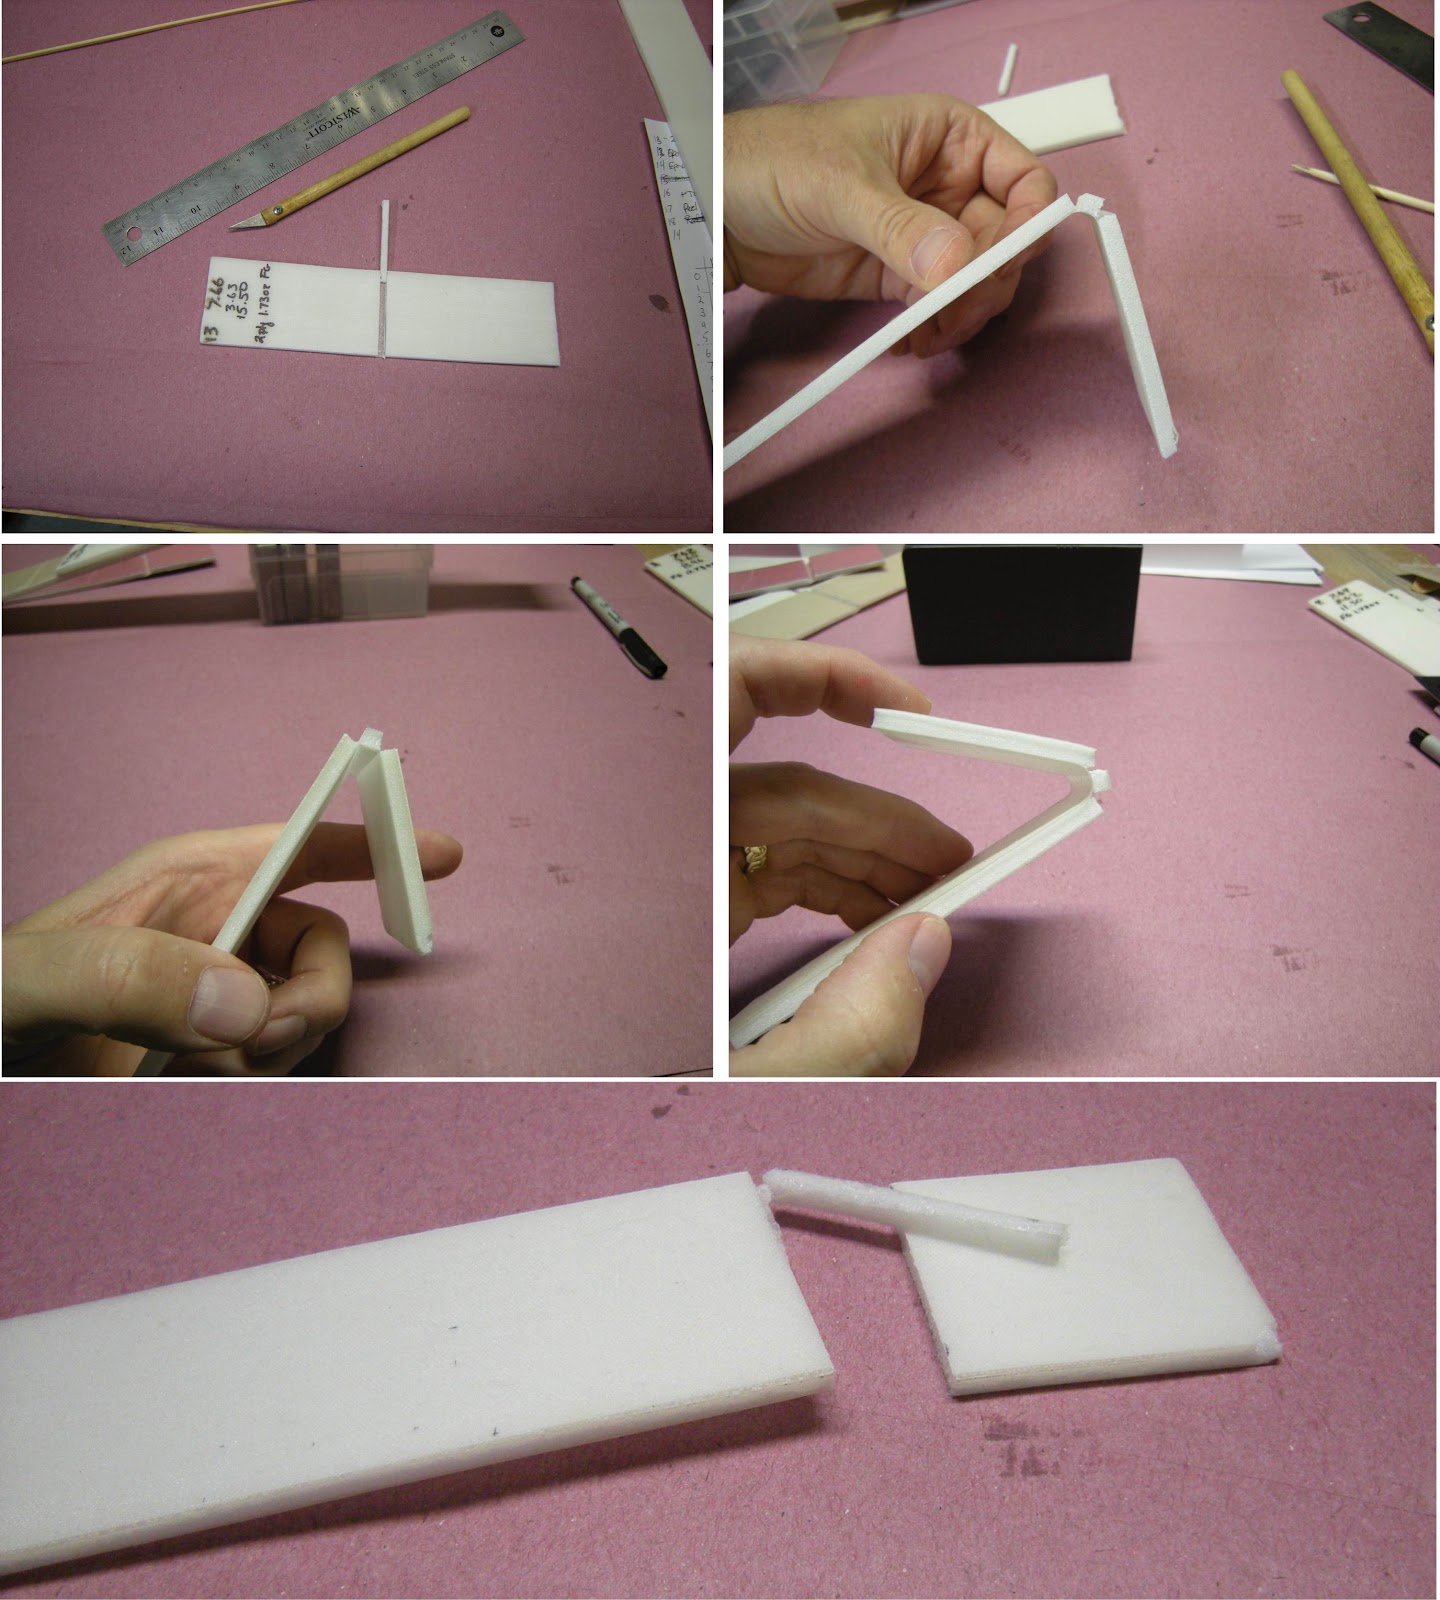
Here are some photos demonstrating forming a 90 degree bend from a score cut strip of fiberglassed foam . If you bend it back too far, it breaks.Starting at top left, sometimes the score cut foam comes out nicely, but if you bend it backwards to remove. Fiberglass is pretty flexible, but not flexible enough to make a 90 degree corner - it usually breaks and then your right back to making the joint with tape. Here is how to make a tape joint
To join two pieces in an A or B fold, you will need masking tape and the pieces of foam to be joined.

Apply masking tape along one of the pieces to be joined. Note that this is demonstrated with just two pieces of foam. I did have pictures of the FT-22 joining process, but my computer was good enough to crash and I lost a couple of months of photos I was going to use for articles.

Lay the foam with tape on the workbench with sticky side up.
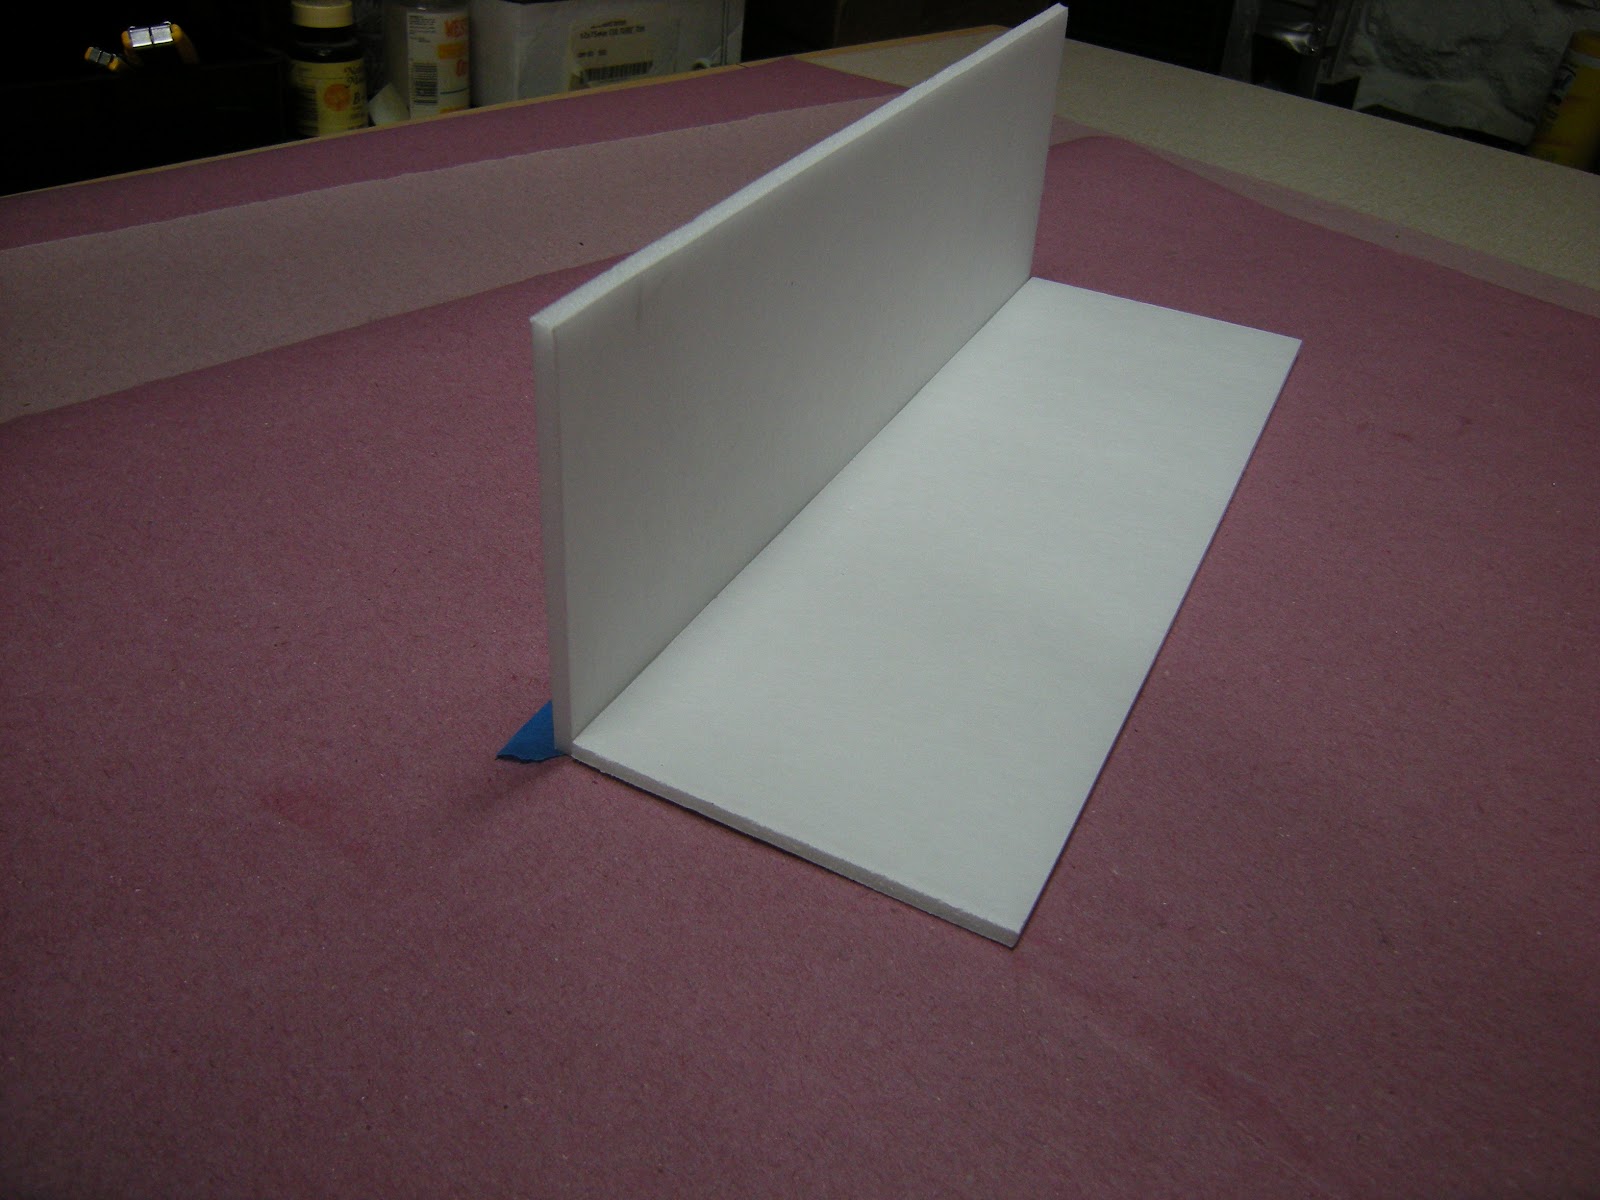
Lay the piece to be joined next to the other piece of foam (touching) and press the edge into the tape keeping it as close to the other piece of foam as possible. The edge of the foam will stick to the tape and should be able to stand.

Roll the tape over the corner to make a secure joint.
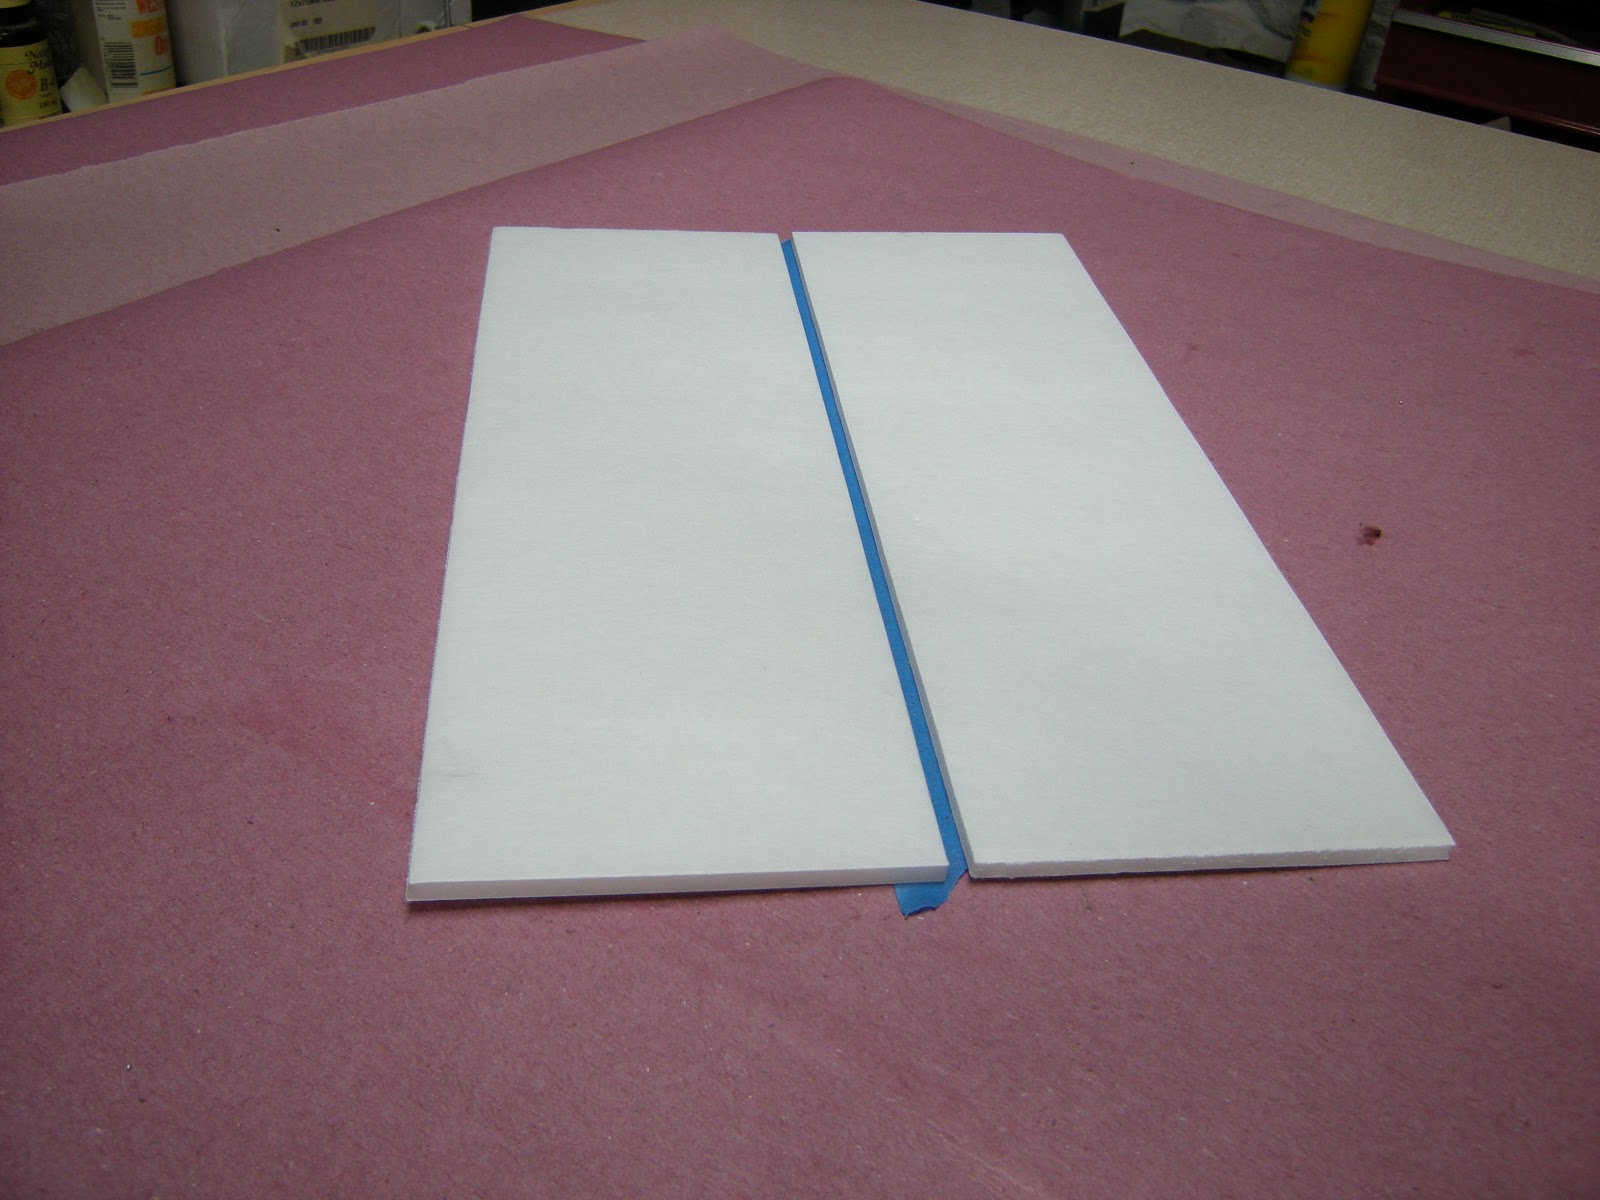
Both pieces of foam can be laid flat and what you have is a gap the thickness of the foam board, just like the paper that used to be left behind from a score cut. If you get good at judging 4 mm distance, you can just lay the pieces like this onto the tape.

Add hot glue, create the joint using a square,

remove the tape and presto, you’re done.

Use a tool to ensure a 90 degree angle - like a corner of a styrofoam box.

Slide the pieces together. Most of the slot and tab joints work just like with foam board.

Add servos and cut out the prop hole. The elevons were attached to the tail using polyester cloth cut into strips and attaching them to the plane to make an “X” hinge. One “X” every 5 cm or so is fine.

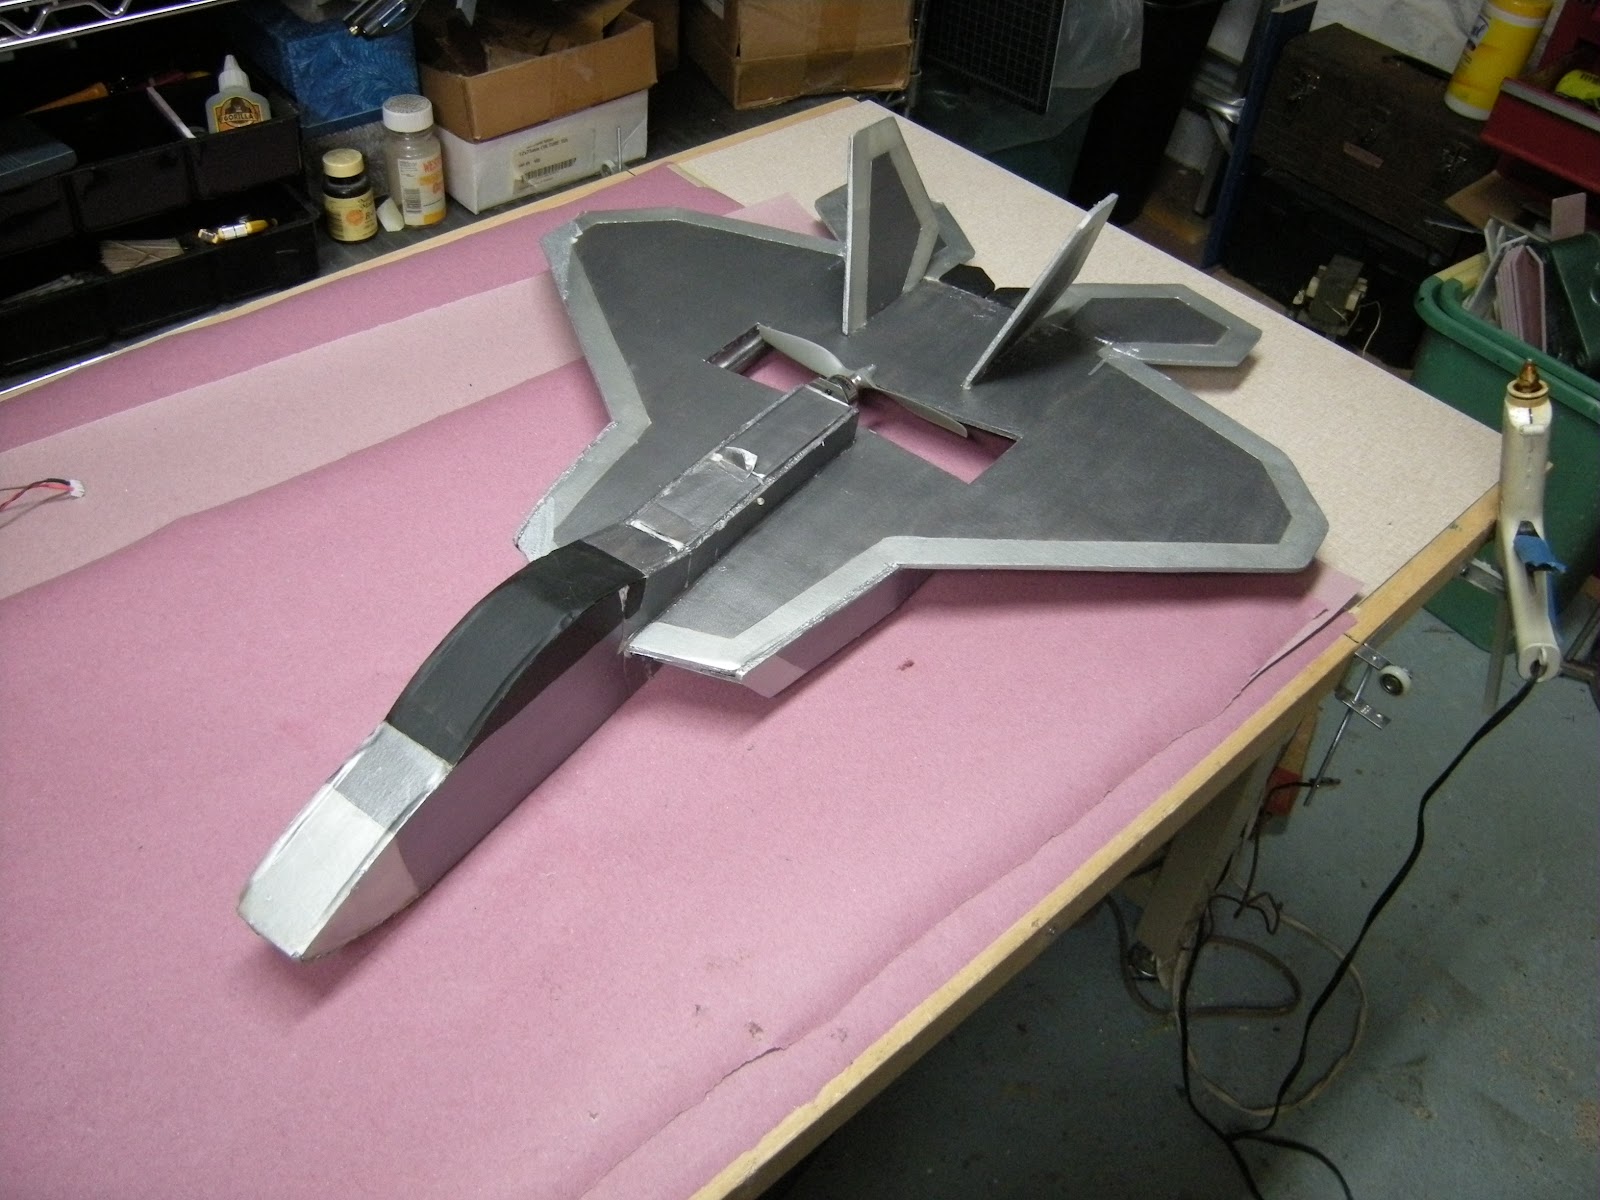
Add the motor mount, motor and don’t forget the paint. Because the foam doesn’t have paper, you can use any type of paint you want… 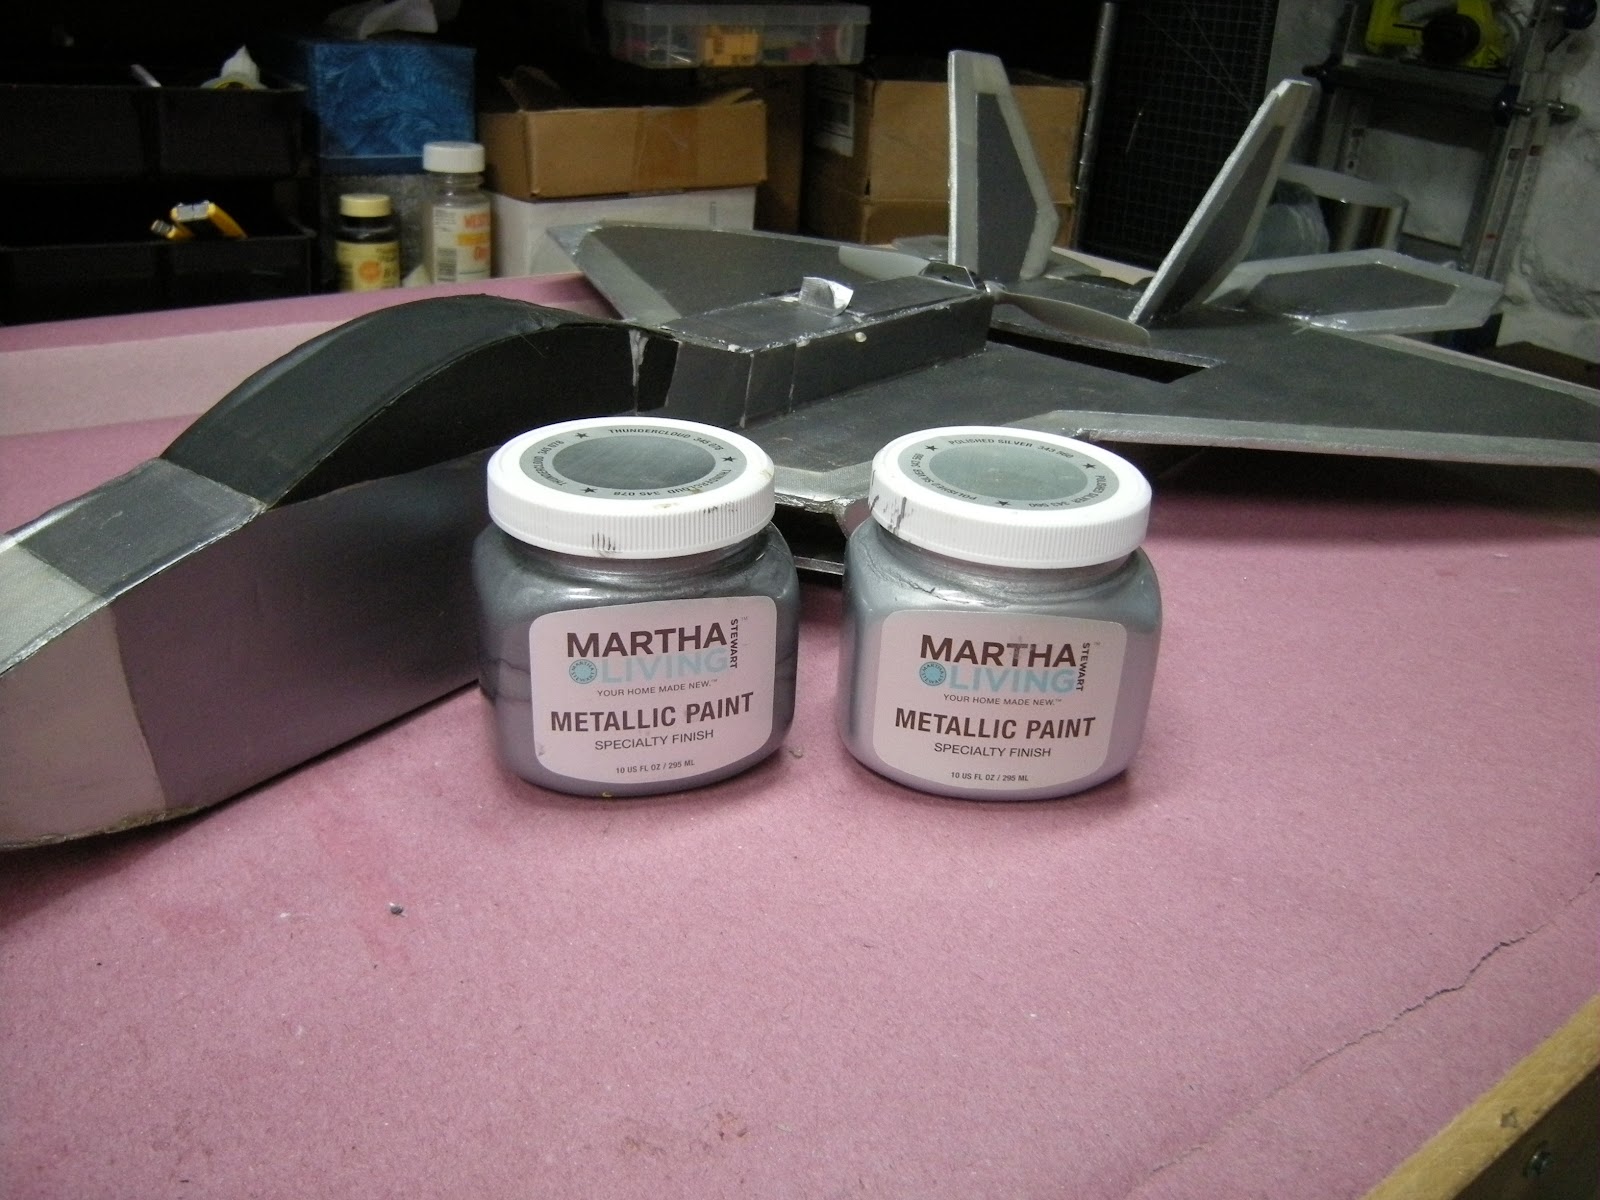
Looks pretty cool doesn’t it.
One thing about CG on the FT-22. With the battery placed in the cockpit, I found the plane was way too nose heavy and I end up flying around with full up elevator. To correct the CG, I mounted the battery right behind the cockpit like this:

The trap door is held on with some duct tape and held shut with a toothpick laying on the wing.

To secure the battery hatch, close the door and push the toothpick through the foam.

Now go and fly it.
Materials and Parts
- Fiberglass for this article, all parts were surfaced with 1.43 oz/sq yd (Thayercraft.com). But, for a lighter less durable surface (and about double the cost) a lighter cloth can be used like 0.73 oz/sq yd. The lighter cloth is used when there is little or no structural significance to the part. The heavier cloth should be used when structural support is needed, like for flat wing surfaces.
- Epoxy Resin 635 Thin Medium (US Composites)
- Battery: Turnigy 1000 mAh 3S LiPo 25C - Hobby King
- Motor: D2822/14 1450 Kv - Hobby King
- Prop: APC 7x6 - Radical RC
- ESC: Turnigy Plush 18A - Hobby King.
- Receiver: OrangeRx DSMX - Hobby King
Information
This setup produces 440g static thrust at full throttle 10,660 RPM and pulling 14.8 Amp. The glassed FT-22 weighed 350 g (after paint and all electronics) + battery 77 g = 430 g flight weight.
The above electronics is my recommendation for a well-flying FT-22. I have also flown this with a Turnigy SK3 2822-1090kv with SF 8x4.5 prop. However, it is feels a bit sluggish with 414 g static thrust pulling 7 amps at 7000 RPM full throttle. This alternative setup is pretty good for beginners, but you will soon graduate to the faster one.
HilldaFlyer - July 2015


Log In to reply
Log In to reply
Log In to reply
http://flitetest.com/articles/super-strong-waterproof-foam-core
Log In to reply
Thank you again
Log In to reply
I didn't keep track of exactly how much I used but I mix between 5 and 10 grams at a time. One side of the wing section takes about 5 grams (probably a tablespoon). I would guess that I used 30 g resin in all for the FT-22.
I used my original stock for two years and it worked fine until it was gone, stored in the original plastic bottles in a cool basement (70 degree summer 45 degree winter). When I purchased there was a UPS ground shipping option that was less expensive than air. I was going to call US Composites and ask them what's up. The 635 resin I used in this article turned a light yellow amber color over time, but still set up well. Both components need mixing after setting for a long period of time - like months - before use because components seem to settle out. I've used this at 45 - 50 degrees during the winter and it sets overnight. In the summer tends to set faster.
Log In to reply
Log In to reply
Log In to reply
Log In to reply
Log In to reply