I recently watched again the Flite Test episode with the monster scale 200% airplanes, and decided to build a larger scale FT design. One of my all time favorite being the FT Simple Storch, I decided to build a larger version of the famous German scout plane. For practical reasons and for transportation purposes, I decided to do only a 130% larger version of it.
Not a "monster" size, but it's starting to get big enough to be pretty cool looking in the air.

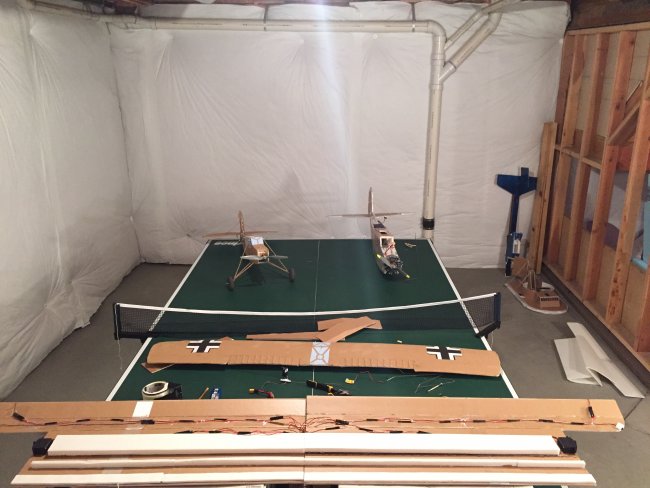
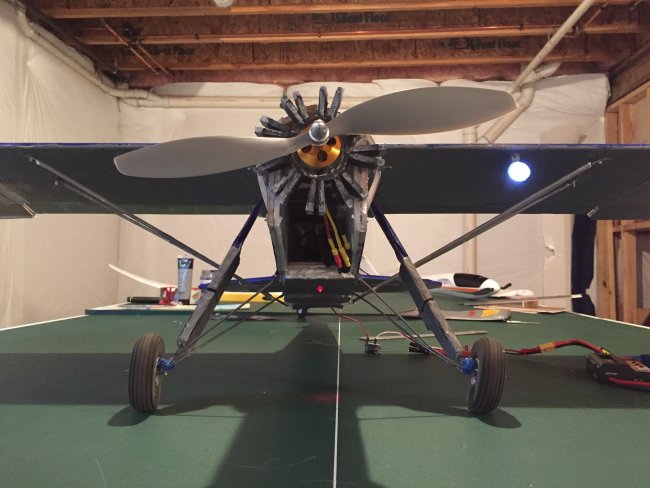
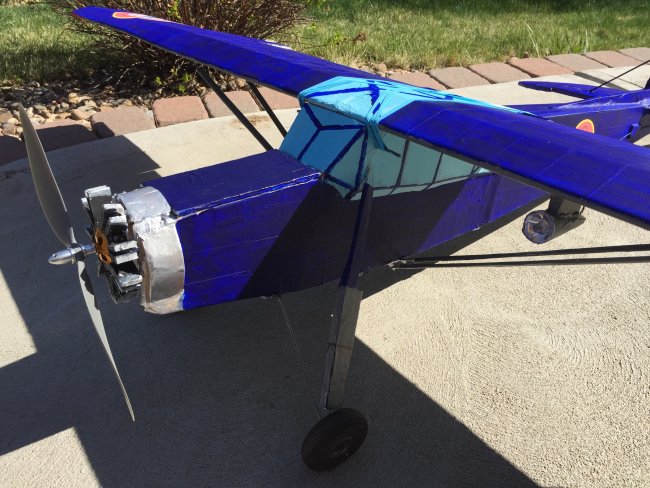
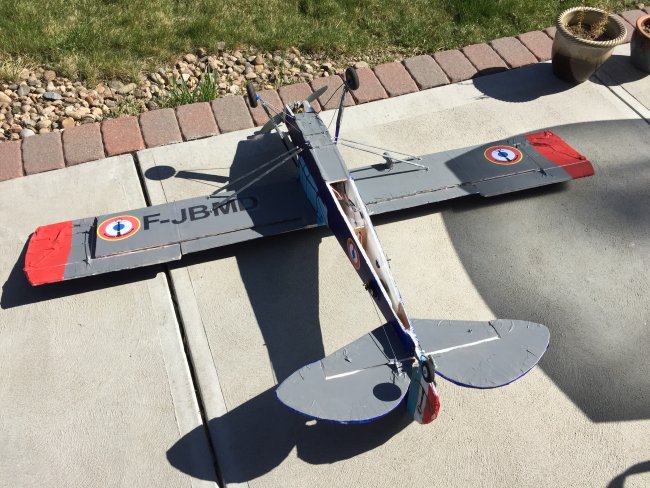
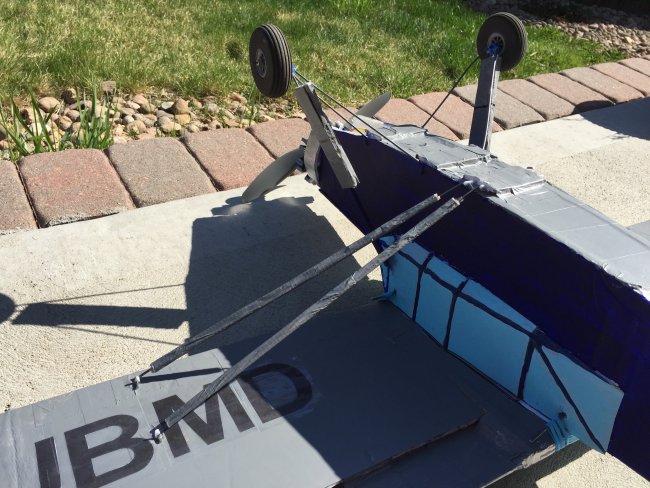
Ready for flight!
First of all, I printed out the plans and enlarge them from a standard letter size paper 8.5" x 11" to a 11" x 17", which doesn't actually double the size of the plans but enlarge it by about 30%. This doesn't seem a really large increase of the size of the plane, but considering the original 5 feet wingspan of the Storch, this brings the new design to just about 6.5 feet wingspan.
After printing all the plans and compiling / taping it all into a master blueprint, I started cutting all the parts. I cut two identical pieces of foam for each section of the plane to double the thickness of the main fuselage area, as well as the vertical and horizontal stabilizers. I decided to do so mostly to increase the rigidity and strength of the plane. It also increases dramatically the weight of the plane, which is a good thing in this situation. Often with larger foam airplanes, I've experienced issues with wind penetration due to their light weight compared to their size, so I hope to solve that issue going that route.
The original FT Simple Storch wing is divided into two sections. For practical reasons I had to divide this wing of the large version in four different sections. I also added an 1" x 1/2" x 40" wood spar inside the foam box spar, because I thought that the foam only would not be strong enough for the weight of this new design.
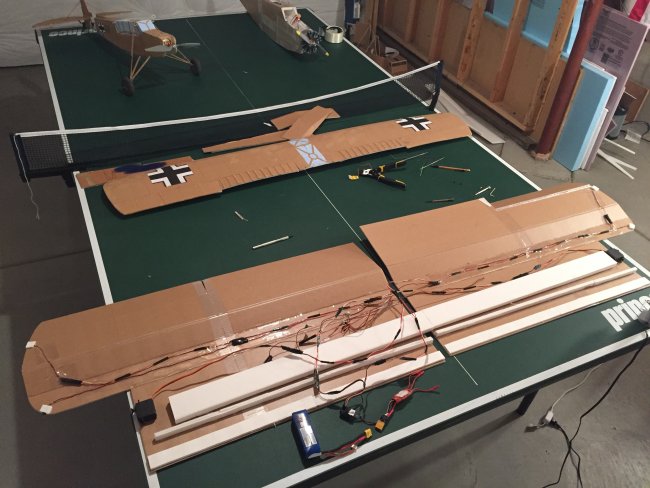
Getting the wing ready for final gluing. That was definitely the most challenging part of the build process. I guess I have long arms but apparently not long enough to hold the whole wing in place at one time.
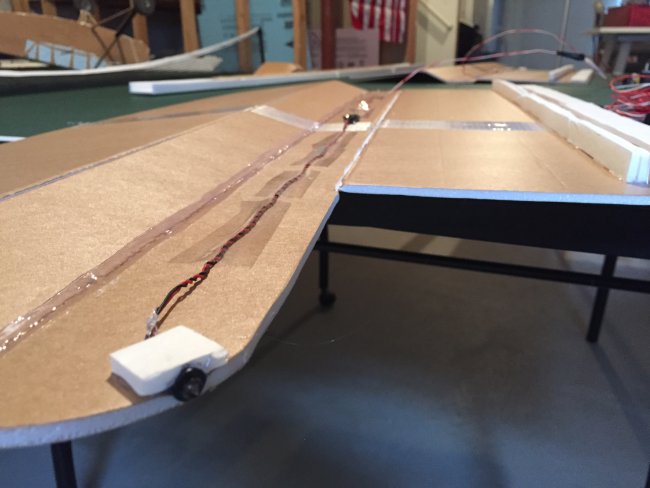
Navigation lights setup and test before finishing the wing assembly.
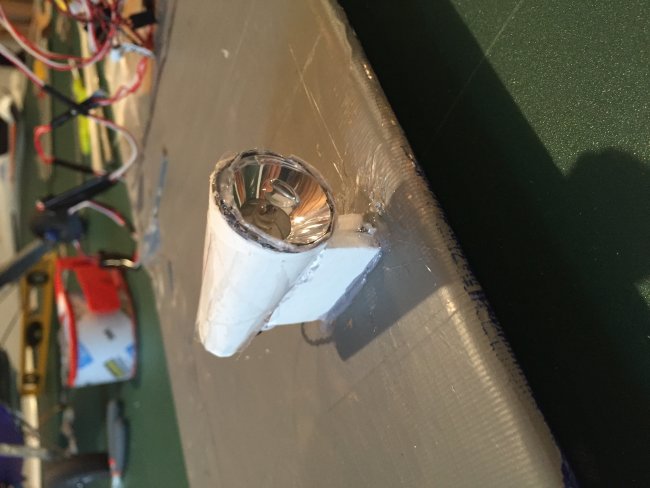
For the single landing light, I bought a very cheap and most basic flashlight from Walmart ($3.00) and used the plastic reflector part. The cone shape was done with simple poster board paper.
To add to the realism of the airplane I decided to order some navigation lights including a single landing light, navigation red and green lights on the wing leading edge tips, two red beacons (rudder and belly) and two flashing white strobe beacons on the wing trailing edge tips.
For the rudder red beacon, I simply fed the wire in between the two sheets of foam before gluying them together. The navigation light system I bought in Amazon is great but I had to build several feet of cable extensions to be able to use in the wing. This lead to a lot of wires into the main wing as you can see in the picture.This will make dusk flying very much enjoyable.
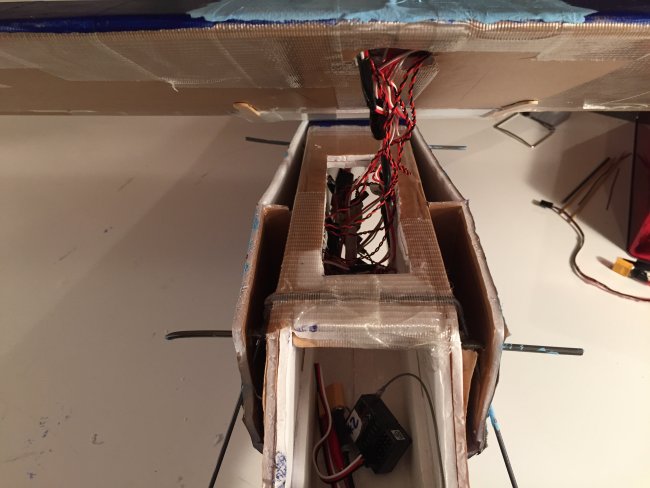
Got wires?
As far as the motor goes I set up an Eflite Power 32equivalent 770KV motor, with a 60 amp ESC, turning a 13x9 prop. The Suppo Power 15 you see on the pictures ended up not being powerful enough for the weight of the plane.
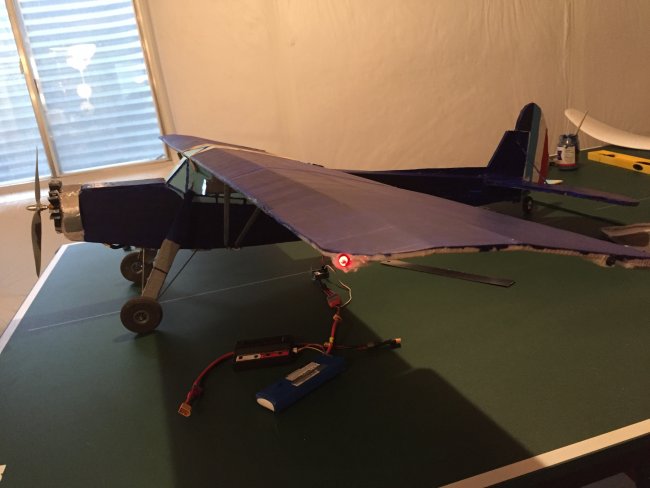
I put some heavier duty servos in the tail section for the elevator and rudder, so I actually needed quite a bit of extra weight upfront in the nose, so I had to put one 4s 5000Mah LiPo to have enough weight forward and balance the plane, which gives me about 7-8 minutes of flight time.
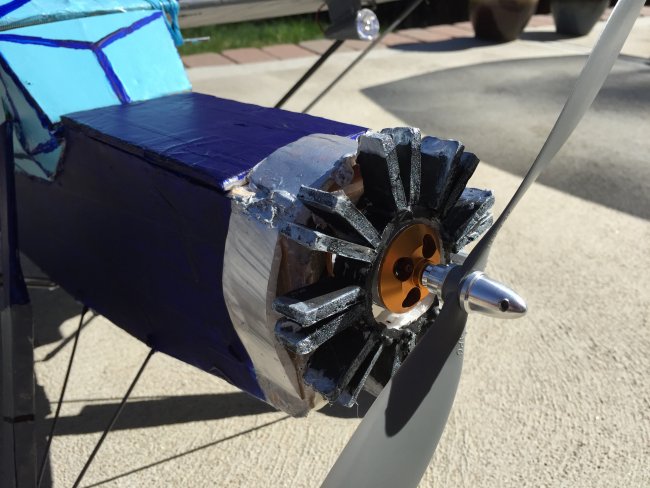
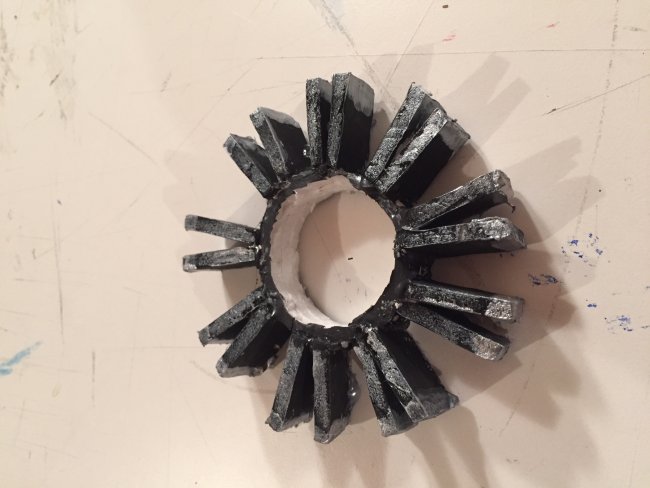
I also added a fake 9 cylinders radial engine made of dollar tree foam, painted in black and silver, which increases the realism of the plane, and set up wider windshield and side windows on the fuselage.
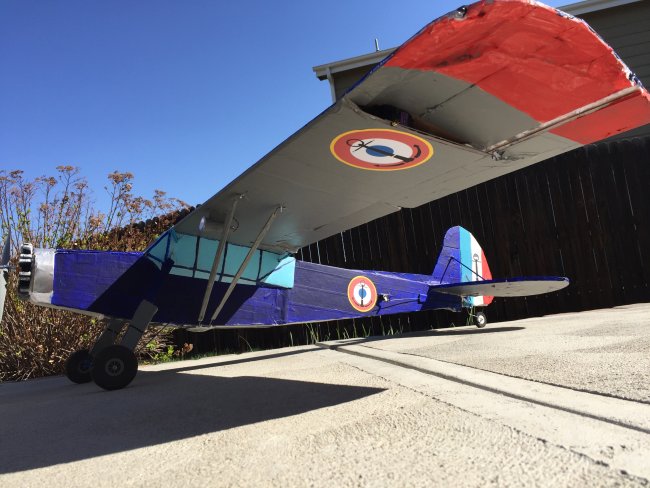
I selected the French Navy version of the original Fieseler Storch, which was built by Morane Saulnier after WW2 and was called the Criquet. Notice the naval emblem with the anchor on the rudder and the specific nose engine cowling.
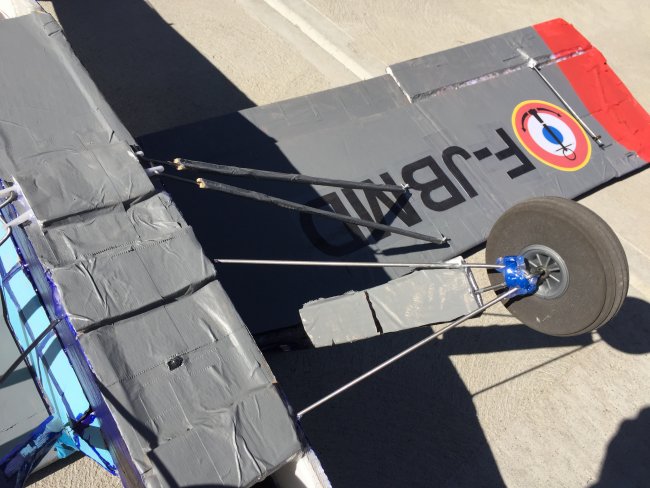
I also added some wings struts to add to the realism of the plane, the struts do not have any actual function and are just for aesthetics and I thought were a big missing part of the original design.
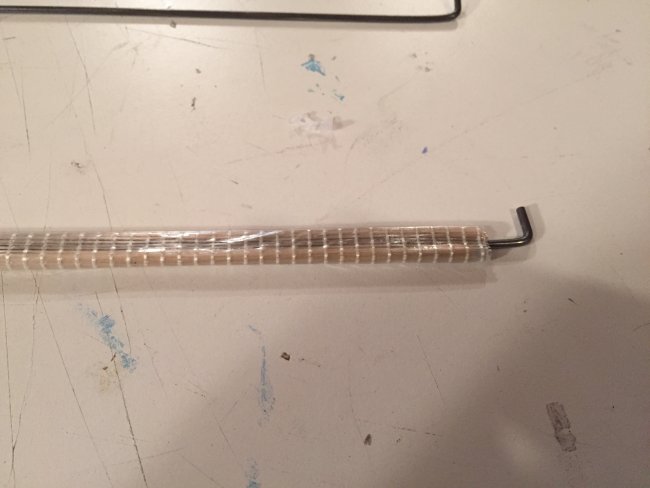
They are made of standard landing gear piano wire, to which I glued barbeque skewers, tapes and painted.
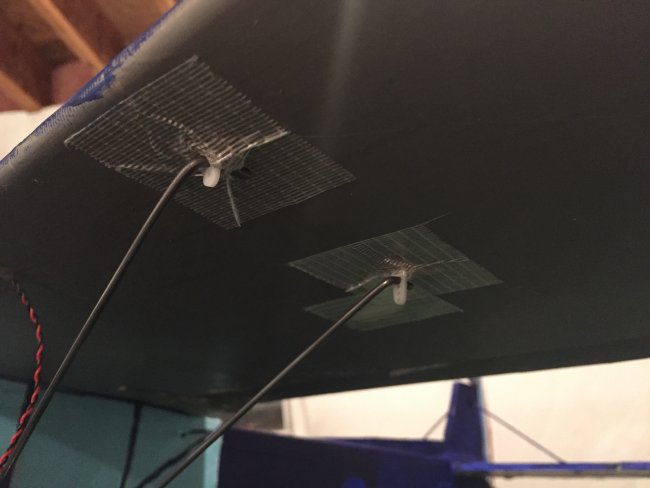
The struts are just connected before each flight using servo horms glued in the wing and the fuselage.
The wing is attached by eight blue #64 rubber bands and also with some strong rare earth magnets under the wing and on the fuselage section where the wing meets, to add extra security and prevents the wing from moving and staying well aligned.
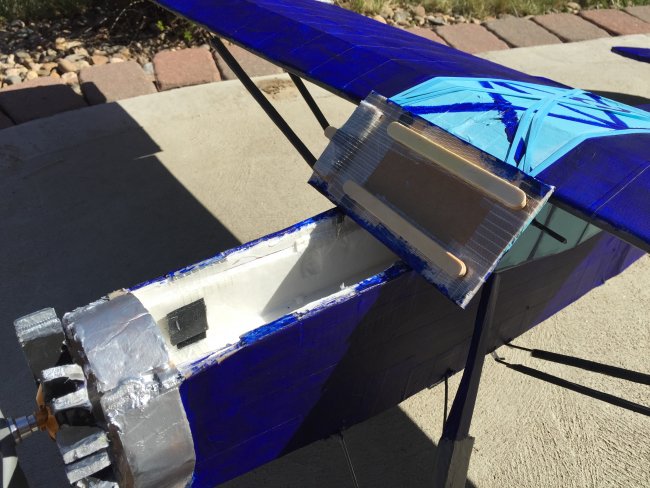
I think the power pod solution is very clever but unfortunately it has some limitations when it comes to durability, just due to the wear and tear on this foam material. This is the reason why I went with an open nose section from the top, which is secured with a latch and magnets. I permanently glued in the power pod and secured it with a horizontal metal rod through the fuselage which leave me plenty of space in the nose for the batteries and the ESC.
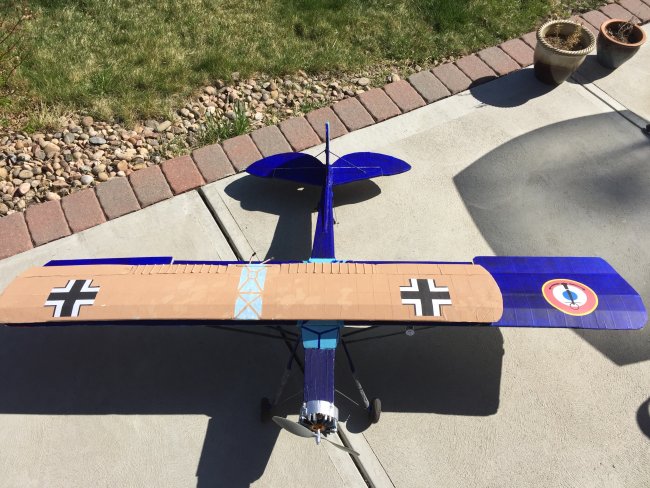
I painted the wings and fuselage in blue, after covering the foam with extreme packing tape for reinforcement, and I also like the texture / looks of the painted extreme tape. The bottom of the wing is in light gray, with red wing tips for visibility.
Bottom beacon light on the fuselage belly and wing struts anchors.
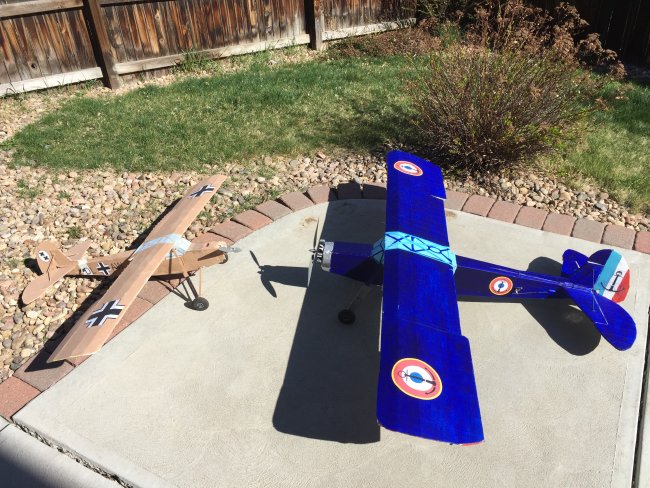
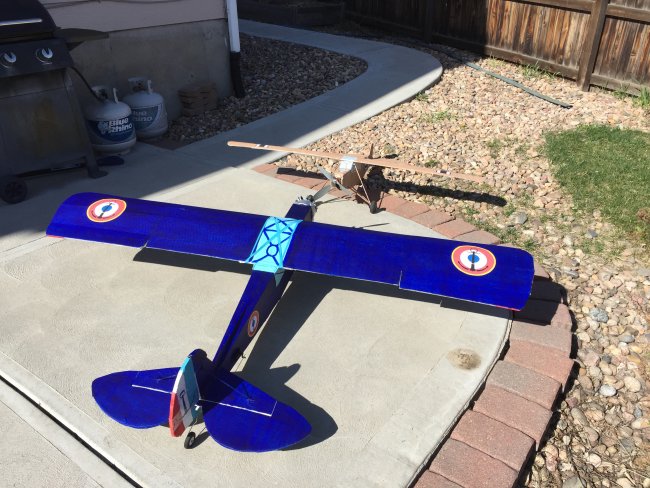
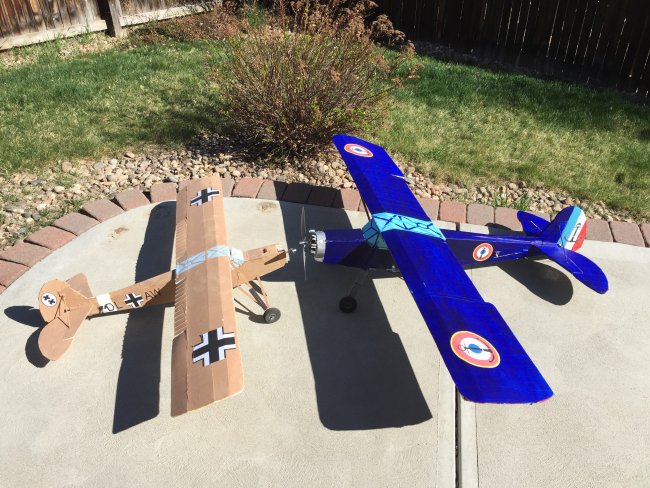
Comparison FT Simple storch original versus 130% version.

Close up of the landing light pod.
Here is a video of my second flight with it. It flies like a breeze and is not as floaty in the air as the original Storch. The all inclusive weight on his flight with the 4S 5000mah battery was just about 8.0 lbs, and I was pulling 50 amps or so on test bench.
All in all, what a wonderful plane! I can't wait to fly it at dusk with the navigation lights on.That is clearly heaviest scratch build plane I have built so far, and it does request a bit more attention in the air than the original model, as it's clearly less forgiving. It made me realize how much I actually have to fly the wing versus flying just on the power.
Thanks Flite Test for the free plans and for inspiring all of us.


Log In to reply
Log In to reply
Log In to reply
Log In to reply
Log In to reply
Log In to reply
Log In to reply
Log In to reply