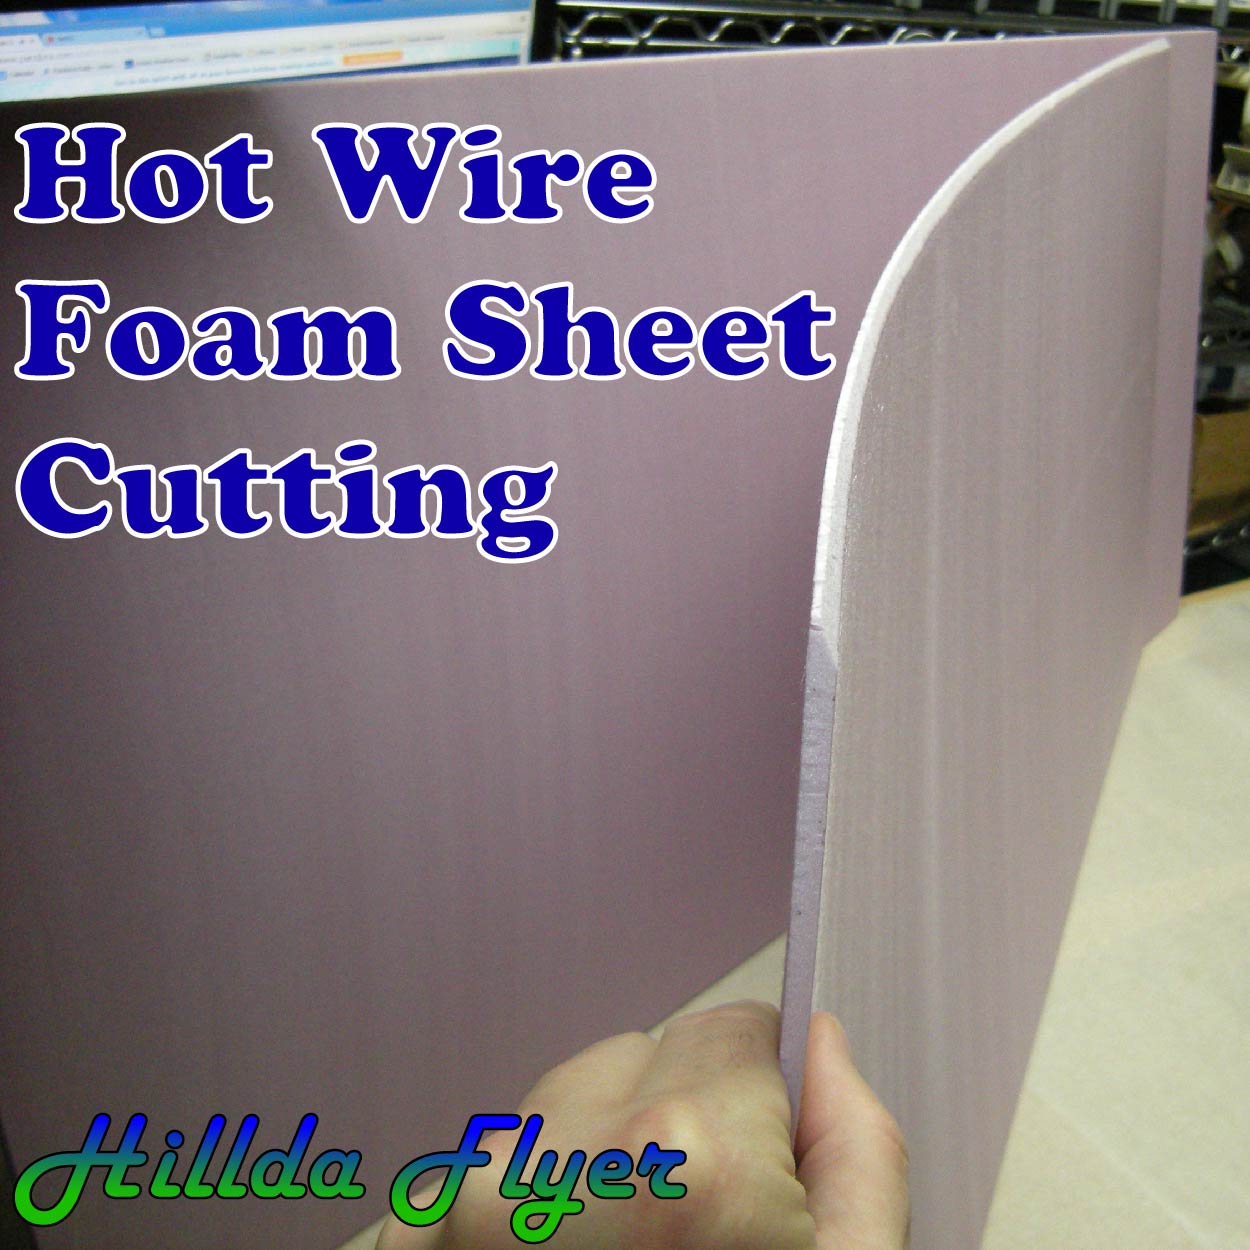
Hot Wire Foam Sheet Cutting
When I started getting interested in building RC aircraft a few years ago, I followed Dave Powers on the internet. I really wanted to build some of his models, but I was shocked at the price of Depron. I tried using fanfold insulating foam but it turned out to be too thick (but for some construction it works great). I thought I could skirt the cost of Depron by producing my own foam sheets out of EPS insulation.
To get foam sheets I decided to make my own hot wire foam cutter. After several attempts, I succeeded in making my own power supply and modifying my building table with brackets to hold the hot wire cutter and produced some sheets of EPS at every thickness imaginable. This article describes two aspects of hot wire foam cutting; building your own power supply and making a single jig that allows you to cut thin sheets of foam.
A note about Safety, Safety and Safety
In a couple of my previous articles, I have received a few comments about my lack of safety warnings that I possibly should have mentioned. So here is my disclaimer for this article.
********** Caution **********
Be safe - efas eB (forwards and backwards)
Know what you are doing before you do it.
Electricity can kill you if improperly used - at least shocking.
This DIY project is for educational purposes only and should not be attempted, unless you are certified.
Hot wire foam cutters should be used in well-ventilated area with exhaust fans.
Hot wires can burn you.
**********************************
With the warning out of the way, let’s talk about how to cut foam with a hot wire. You will need two things, 1) a way to produce a controlled current of electricity and a way to hold a resistive wire at a constant distance from the table. Before you forge ahead and build your own power supply, like I did, you should know that most mid- to high-end LiPo battery chargers have a “hot wire” mode. . It may be in your best interest to purchase a premade one. If you are in this hobby, you will need a good LiPo battery charger anyway, so just get one that has enough juice to make a hot wire foam cutter. Check out the iChargers (like the 206b and up) or Turnigy Reaktor
I elected to build a variable voltage power unit, but this was before I learned that most mid- to high-end LiPo battery chargers come with a “foam cutting” feature. If you still want to make your own foam cutter - this article may help.
All wire will heat up when you pass electricity through it due to internal resistance. Copper, however, makes a very poor hot wire cutter since its resistance is low. On the other hand, nichrome wire makes a very nice hot wire cutter because of its elevated resistance. I have used steel wire, guitar strings, stainless steel braided jewelry cable and they all work, but so far Nichrome has worked most consistently and is the best choice. The choice of wire is the easy part and nichrome is pretty inexpensive.
DIY Hot wire foam cutter - Version 1.
My first hot wire cutter I made was with a transformer I purchased from Radio Shack. It was pretty whimpy, a light dimmer switch to control the voltage, a transformer to reduce the voltage and some banana plugs. This setup was pretty short lived because I tried to make a long hot wire cutter and ended up melting the insulation on the transformer’s windings. When you first don’t succeed, try, try again...
Hot wire foam cutter - Version 2.
I was, however, undeterred by this misfortune and proceeded to built another one… this time with a fuse to protect from overdriving the transformer and a cooling fan to help the transformer dissipate heat. Instead of having parts laying all over the workbench, I decided to wrap it neatly into a box.
Hot wire foam cutter Version 2
Parts:
- Transformer - Radio Shack 25.2V CT 2.0A HEAVY-DUTY CHASSIS-MOUNT TRANSFORMER WITH LEAD.
- Dimmer switch, receptacle, receptacle box and cover (local hardware).
- Fused switch, power indicator light, fan and AC/DC converter (harvested from electronic devices).
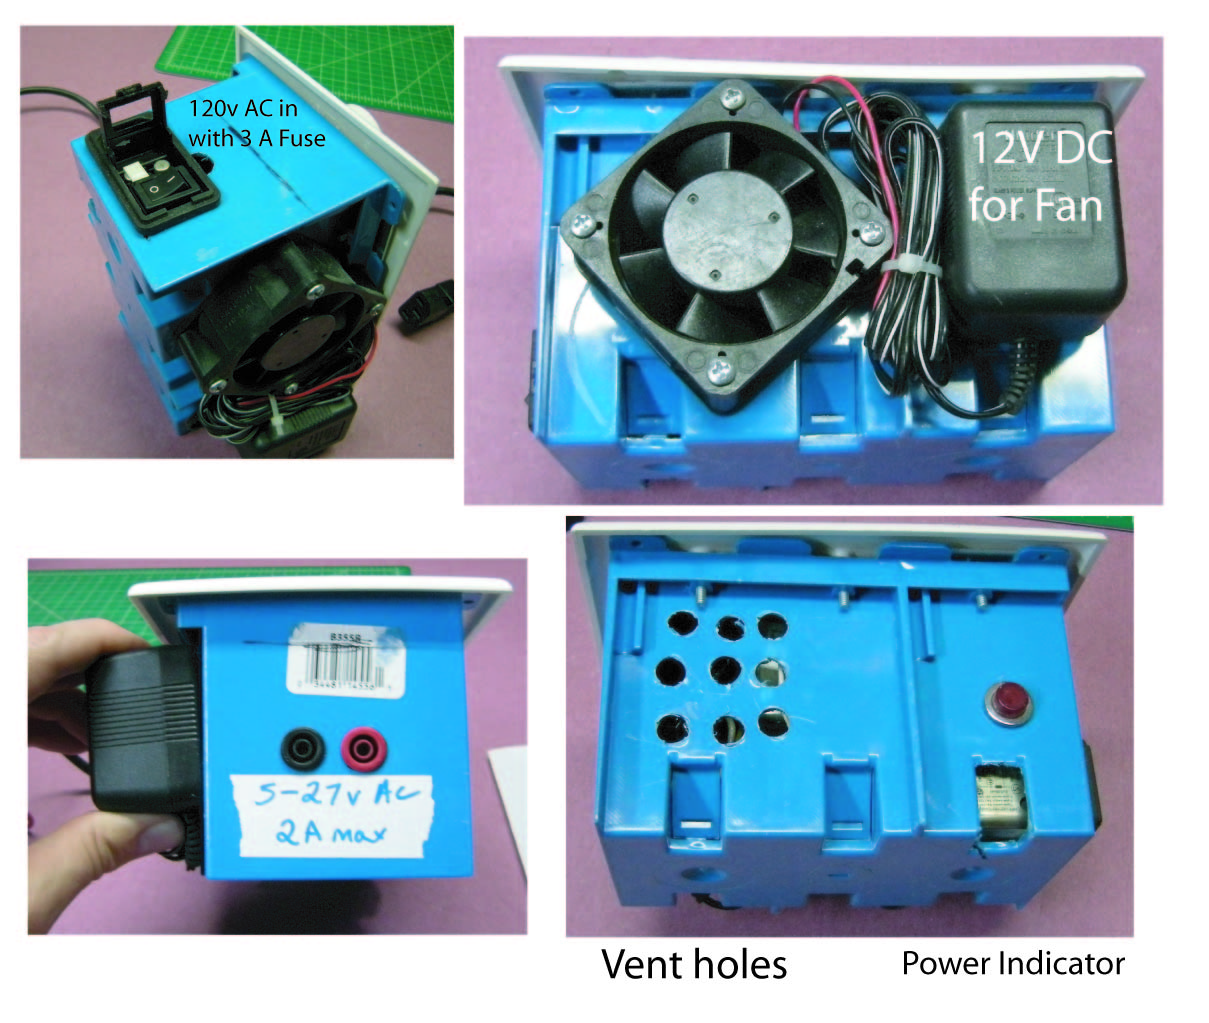
The V2 has 120v AC in with a 3 A fuse. I used a plastic receptacle box as a housing and installed a AC/DC converter to drive a 12V DC fan. In the other side I drilled vent holes and installed a red power light indicator. In the end I installed banana plugs for the 5 to 27 V AC stepped down output.
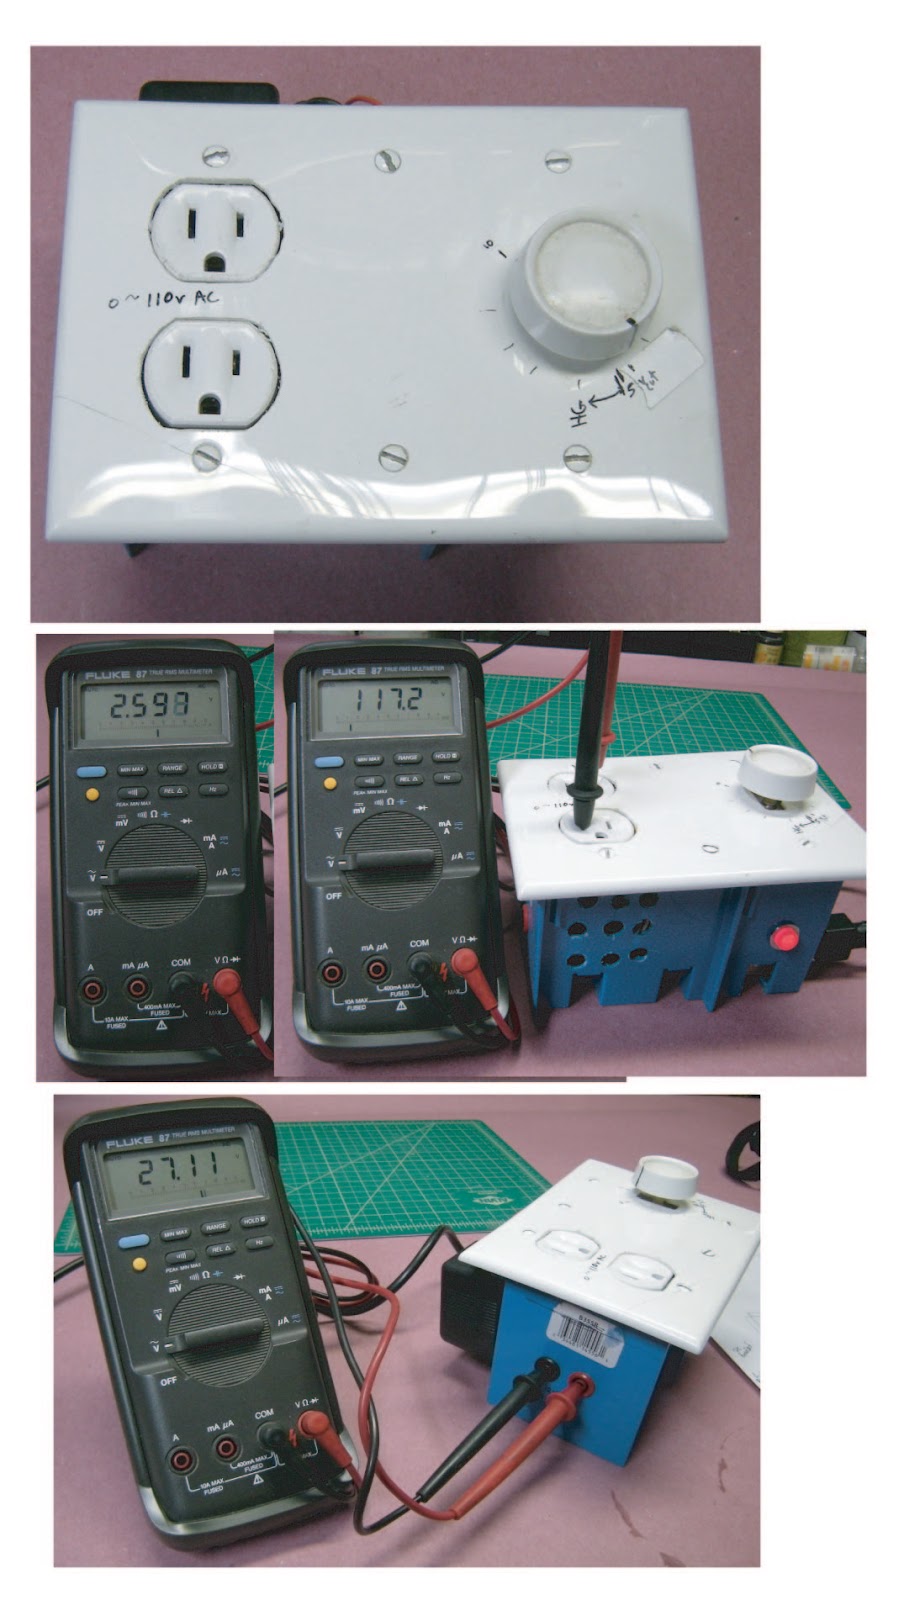
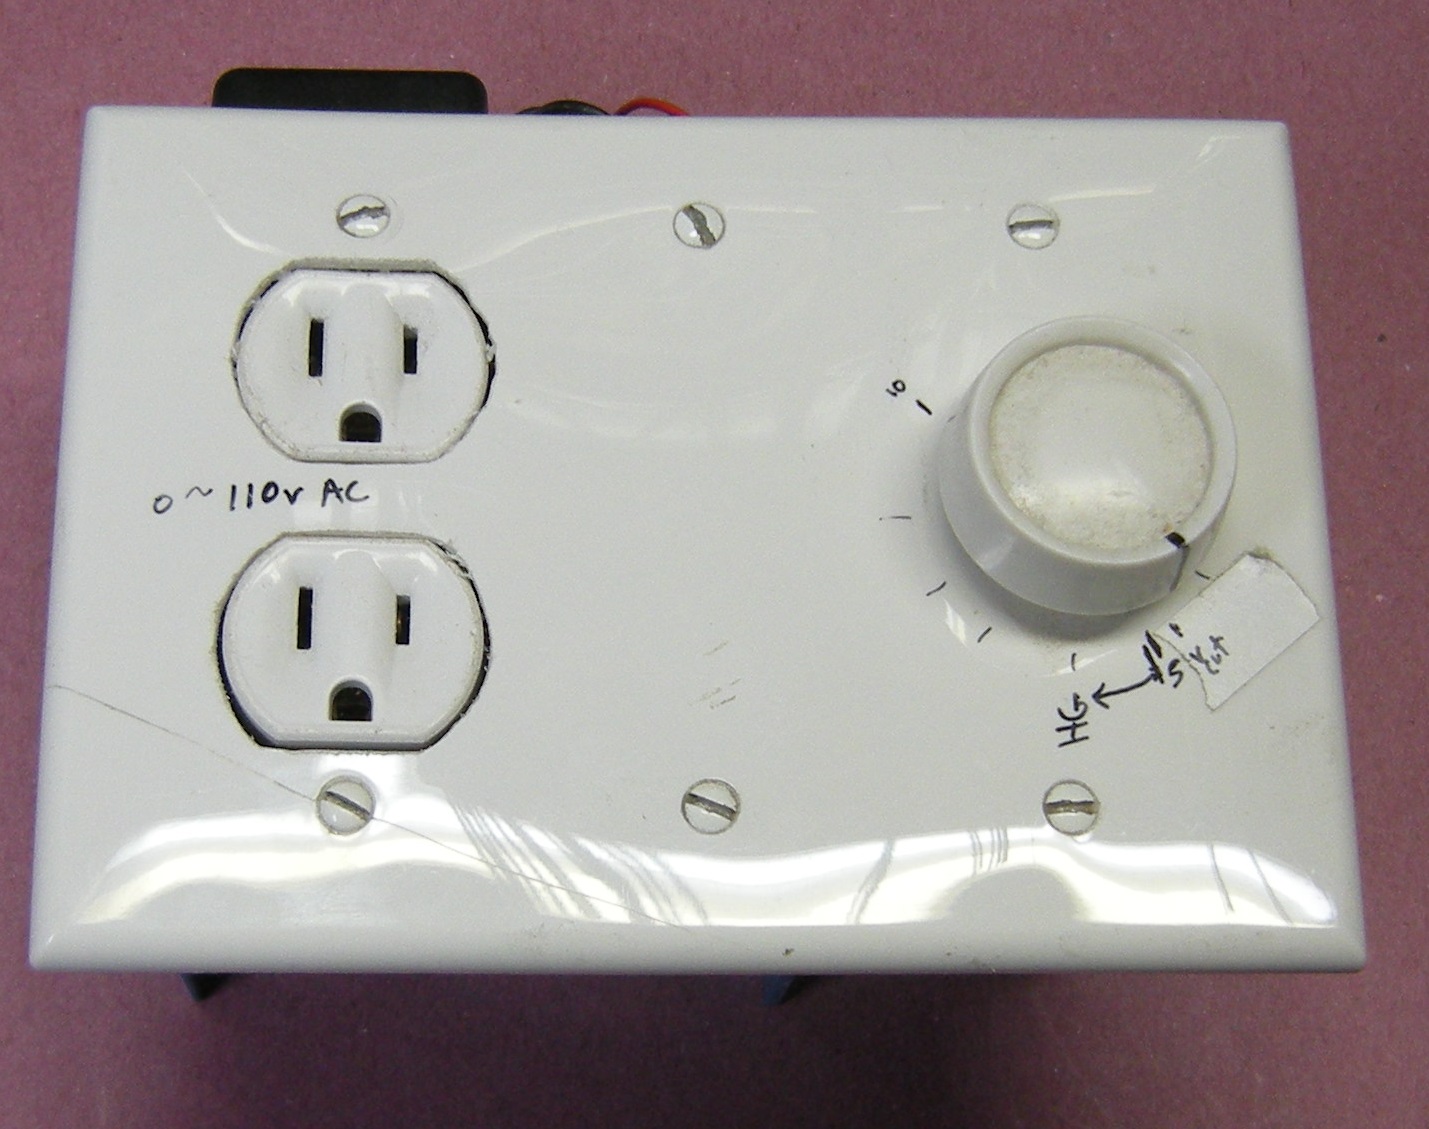
The face of the unit had the dimmer control and a receptacle that also operated off the dimmer but was not stepped down. The outlet would give 0 to 120 V AC and the banana plugs on the side supplied the stepped down voltage from 0 to 27 V AC.
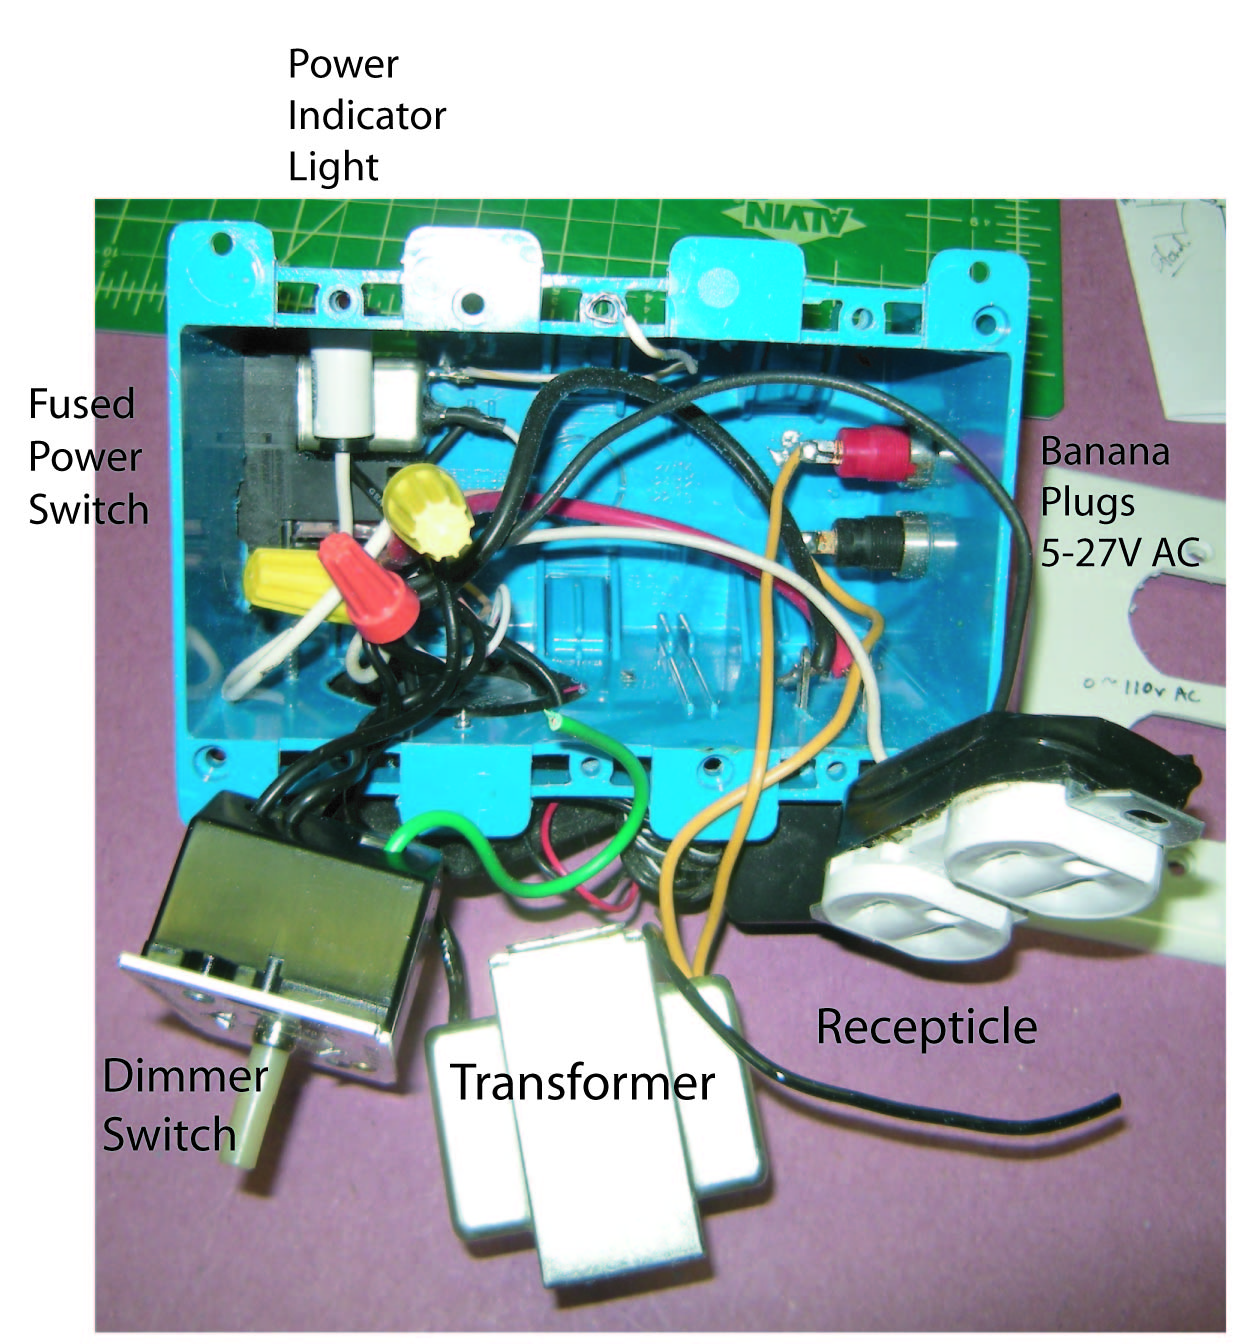
Here is the unit with the guts pulled out. Not much to see, so here is the wiring diagram.
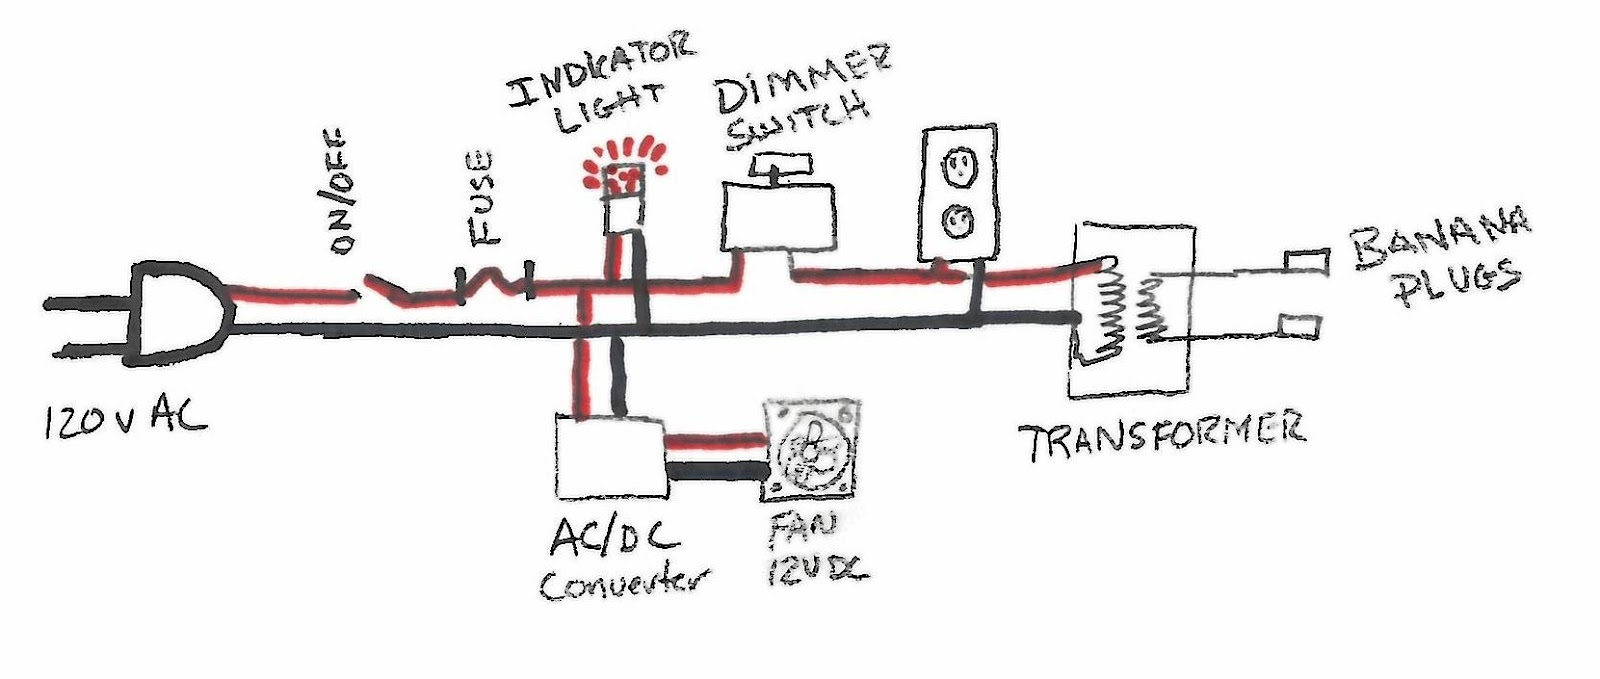
When I showed my younger brother (who is an electronic engineer) what I was doing, he explained to me that this type of dimmer switch works by switching the power off and on. The apparent voltage is regulated down depending on the duration the switching is off. For lights, this switching is great because the filament in the light is heating up and cooling down rapidly, but for motors, light dimming switches are not a great idea. But, the hot wire is working like a light, pumping electrons through a wire it until it gets hot… so switching dimmers should work fine for regulating hot wire foam cutters. This unit will run a pretty modest hot wire, but I still wanted more… I wanted to make a 3’ to 4’ hot wire foam cutter.
MegaPower! (Version 3)
My ultimate goal was to designed a system to have more capacity than the hot wire. I would rather burn out an inexpensive nichrome wire rather than any of the components supplying the power. I can definitely say that the following system is totally overkill, but so are the crude ones that I’ve seen on the internet that use unregulated welders and 12V car battery chargers as the power source. According to the nichrome wire calculator, to get my 30 inches of 28 gauge wire hot enough to melt foam, I would need to supply it with at least 9 volts with a target of 10 V to 12 V for a nice cutting wire (260 F to 360 F). So the goal is to get the 115 to 120 volts down about a factor of 10.
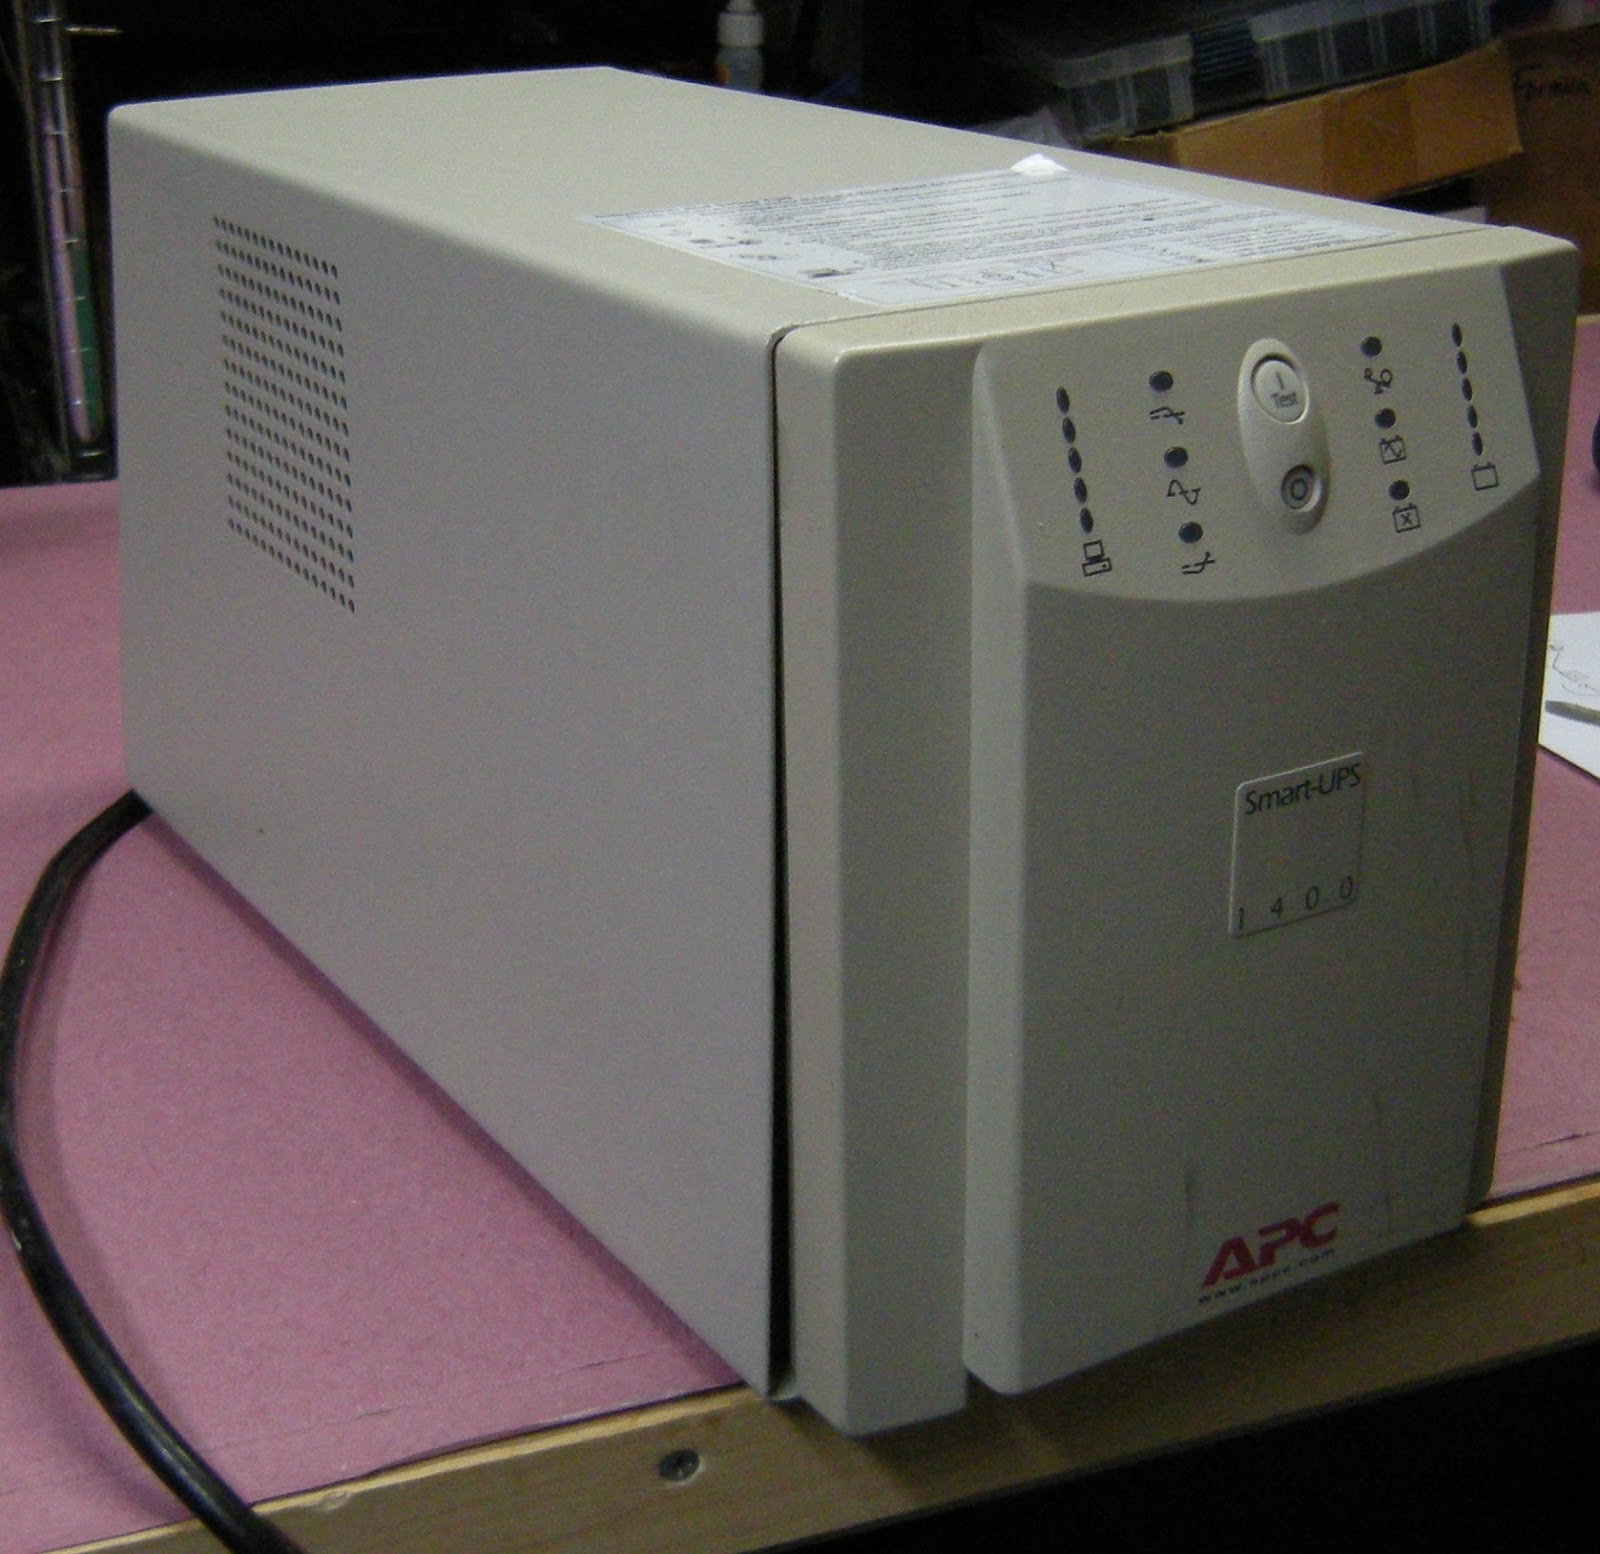
Introducing the harvest of a lifetime. I was able to get ahold of some older defunct APC UPS units. People are giving them away on Craig’s List. Older backup power supplies have a huge, and I mean monster, transformer. Here is another caution… if you work with electronic systems that have capacitors, before doing anything, discharge them by shorting their leads so you don’t get a shocking surprise later on.
Capacitors retain electricity long after the unit has been unplugged. So, before performing any work inside the box, short the capacitor leads. I’ve pointed to the capacitor leads in this unit.
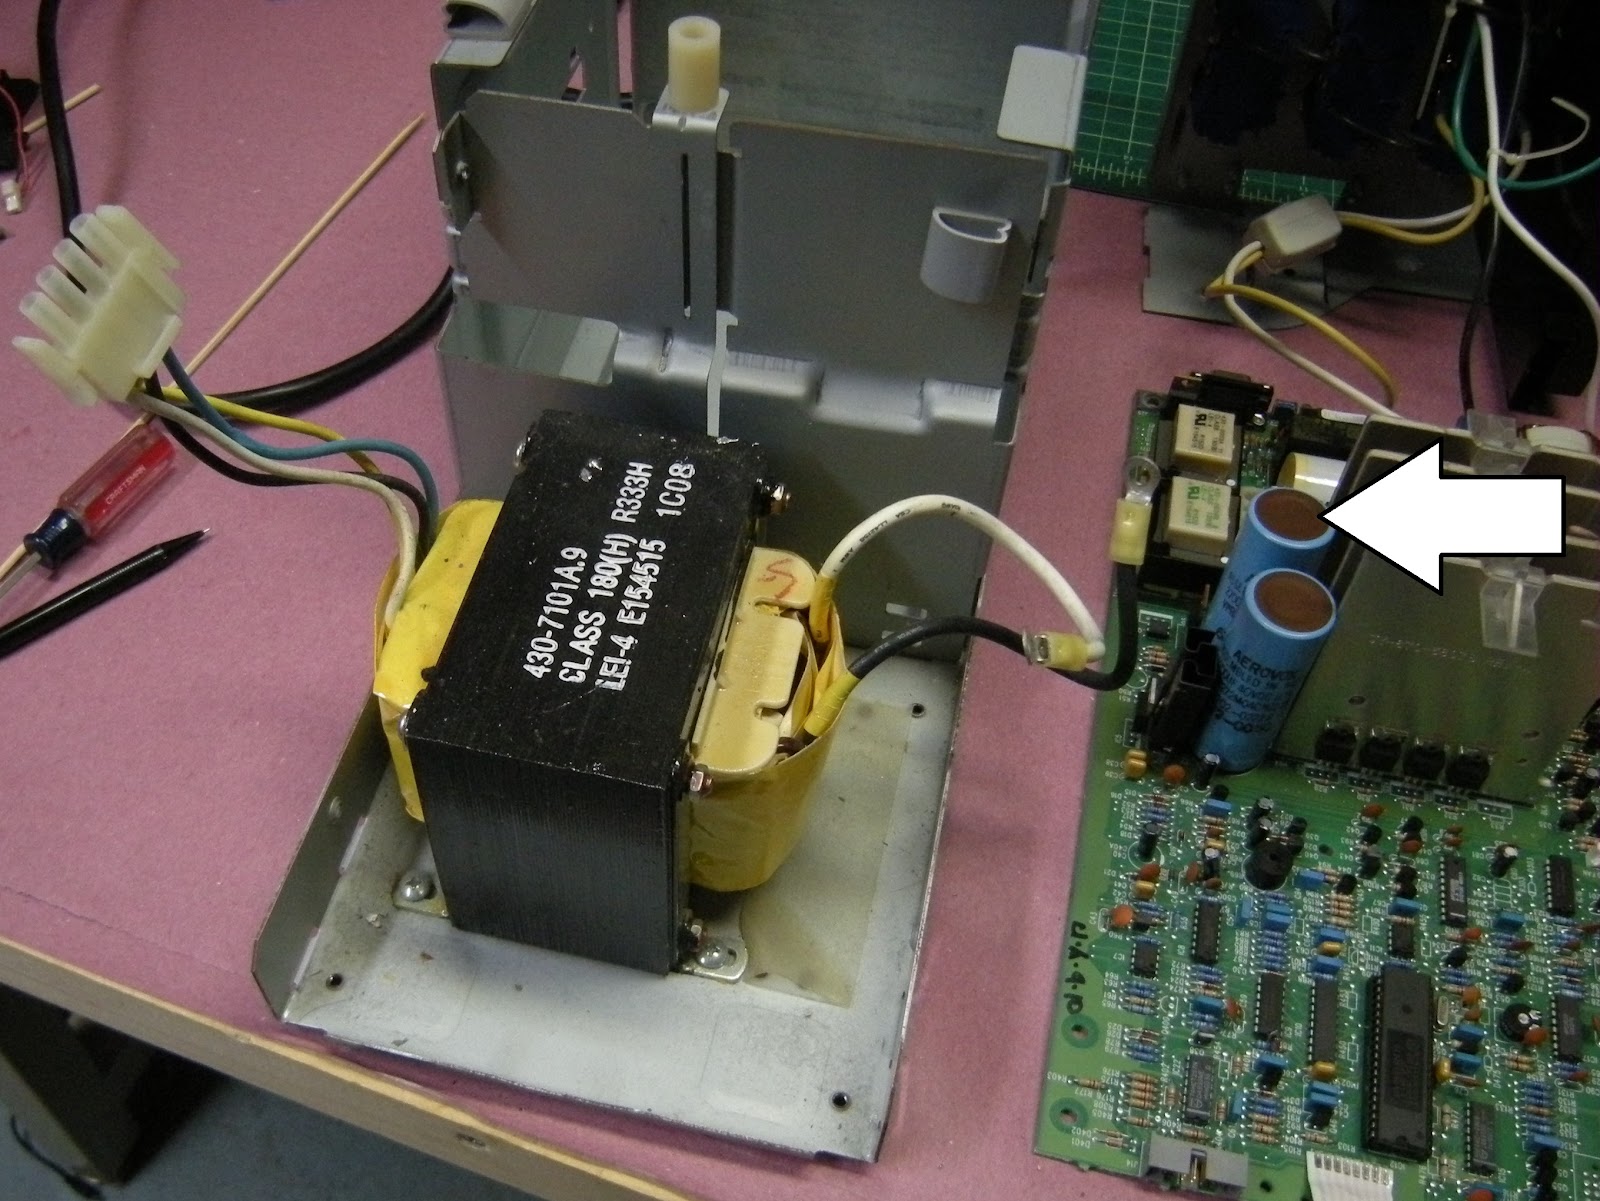
The black and yellow monster on the left is the transformer. If it doesn’t work out, I can always use it as dead weight for a FliteTest challenge - it has got to weigh 15 lbs! Again, I’ve pointed to the large capacitors on the right. The transformers that I harvested have an in-line 5 amp fuse that will keep the windings from melting. These transformers step down voltage at a ratio of 1:12 so a 120 volt input comes out at 10 volts. Darn, I wish it were a 1:10 step transformer, but no worries, I think 10 volts will work.
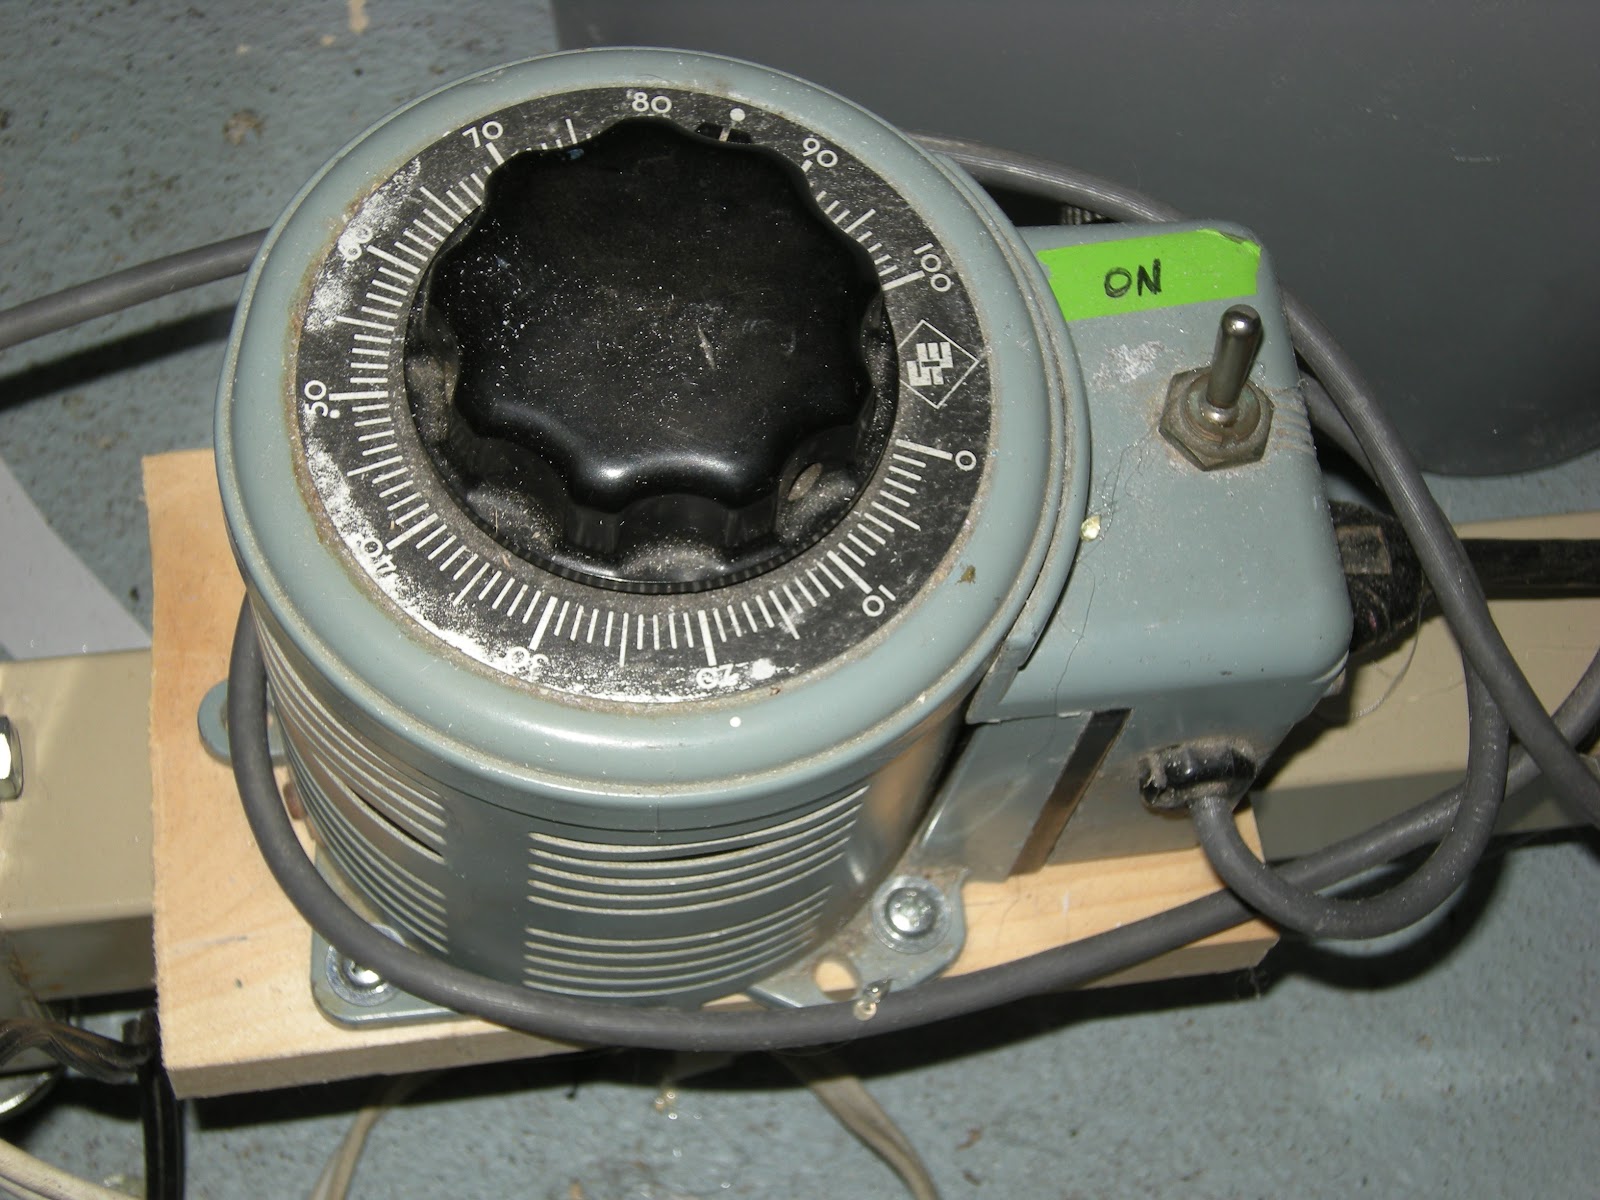
To control the input voltage, a light dimmer wasn’t going to cut it. So I grabbed a variac that I had sitting around. This baby is totally electrifying! This alone could regulate the hot wire temperature all by itself, but I wouldn’t get the knob much above the 10 mark before the nichrome wires started melting, so I used it to drive 2 transformers in parallel.

Here is how to connect in series.
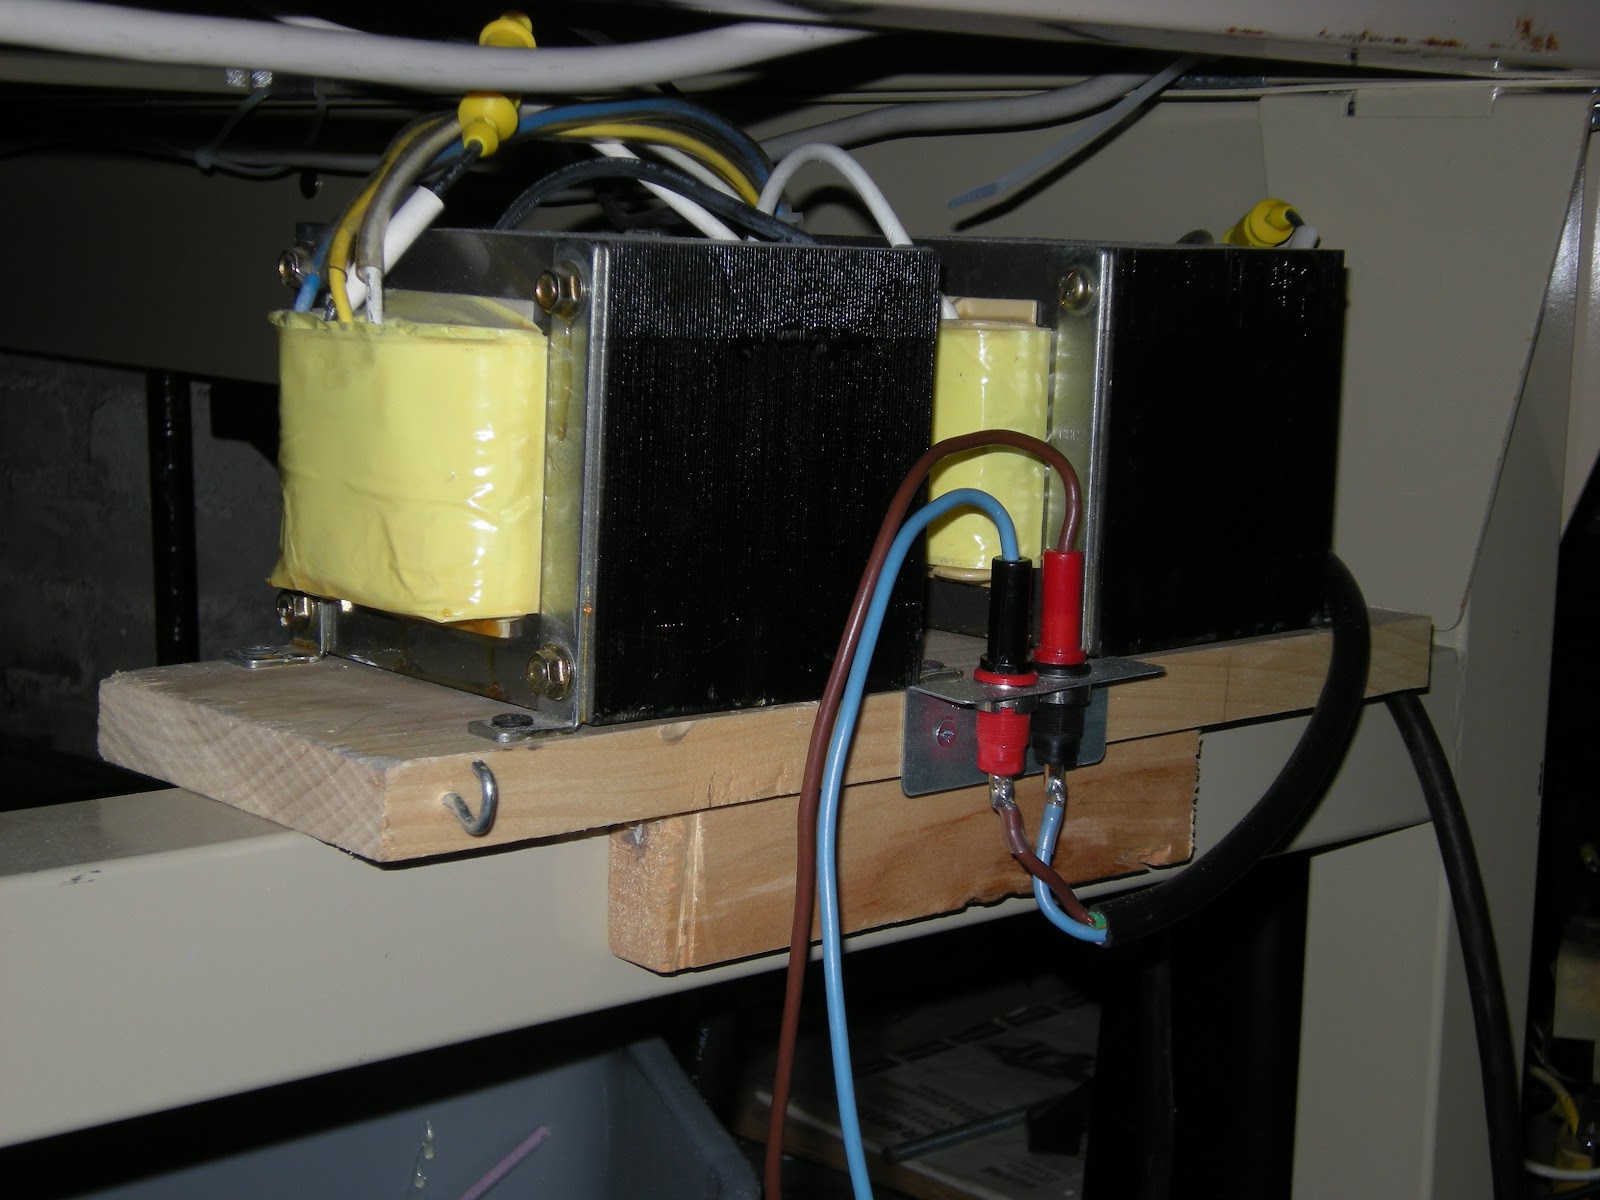
Here are the two transformers mounted to a shelf under the workbench with the banana plugs to connect the nichrome wire.
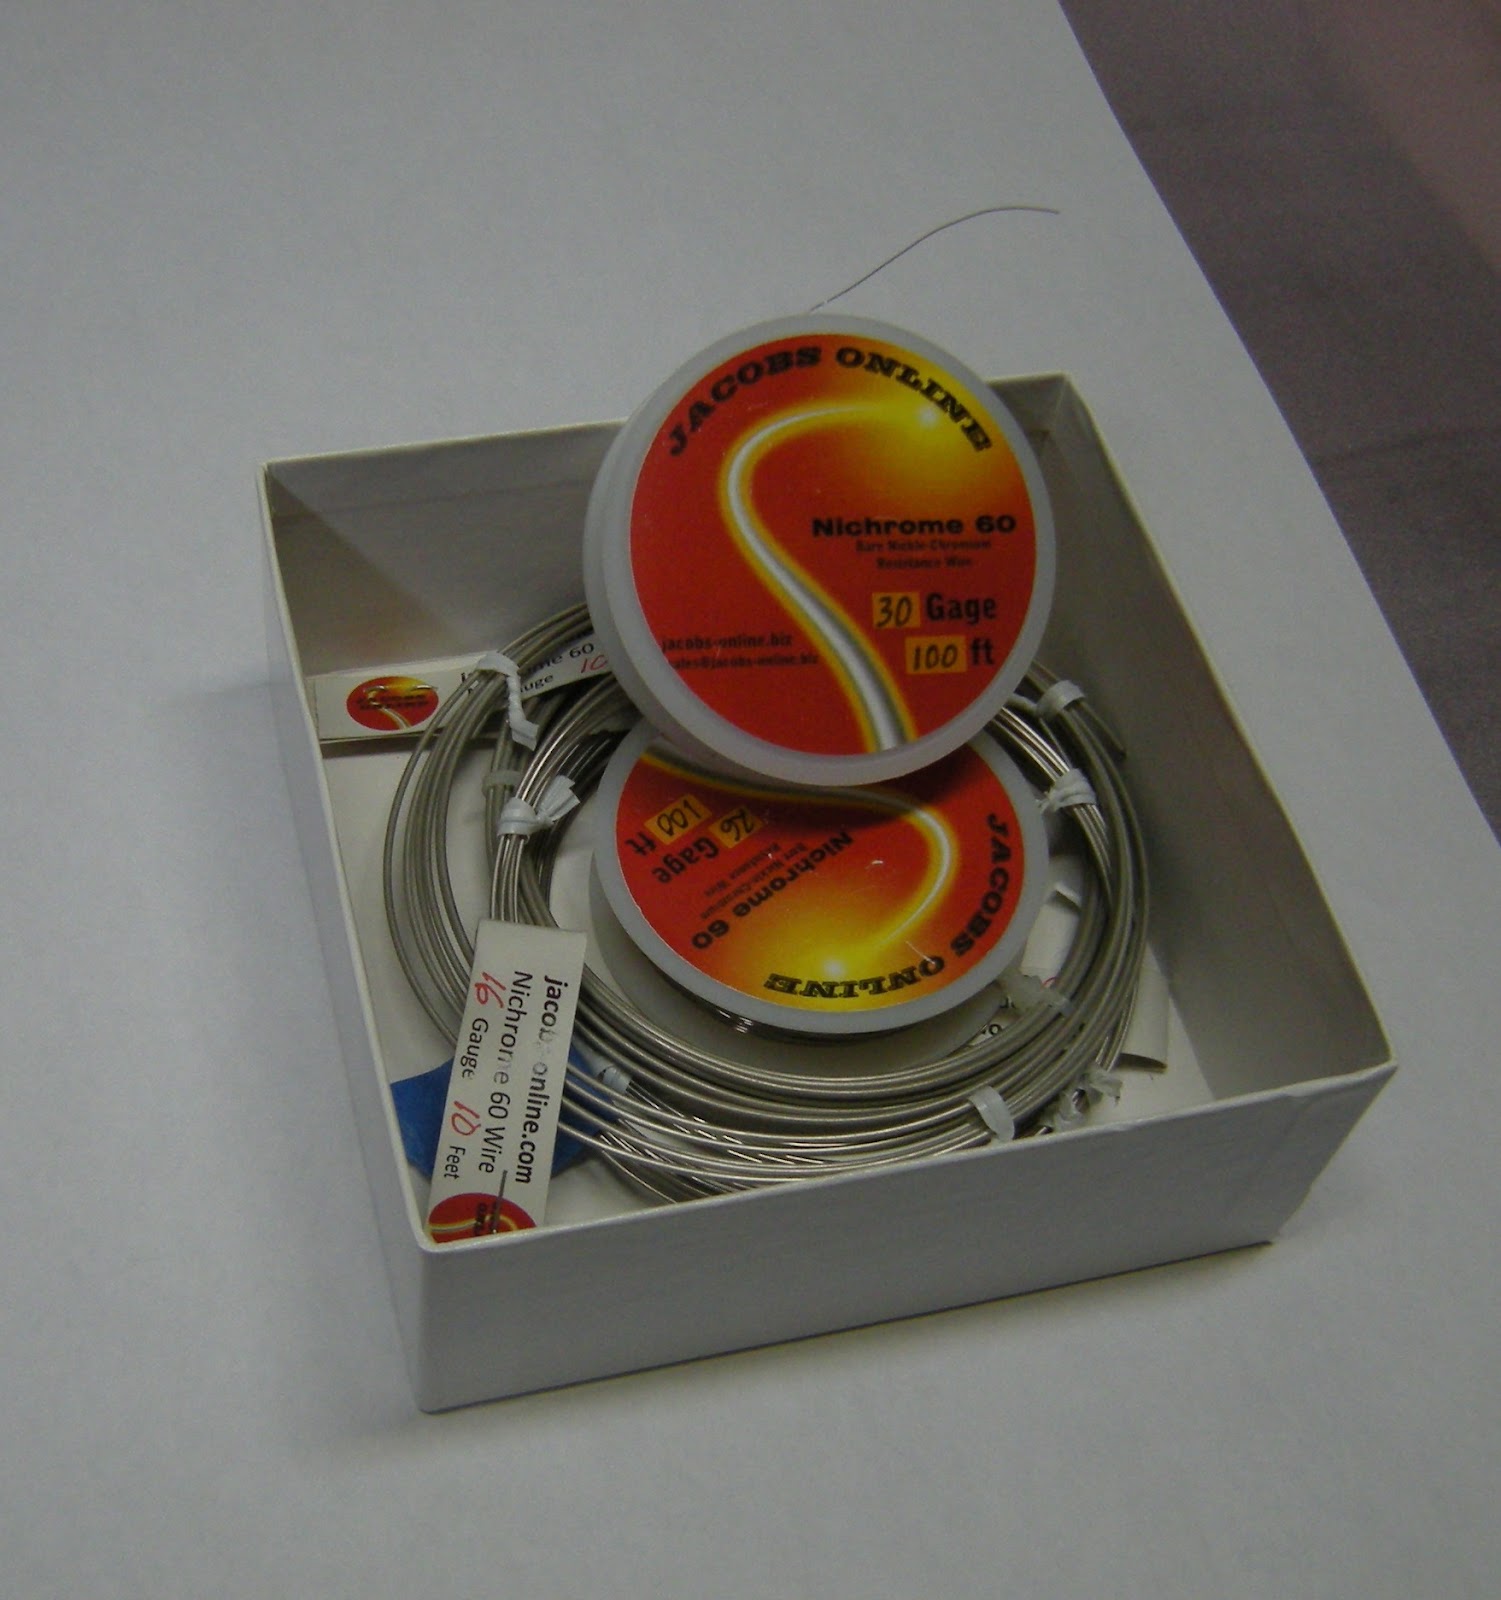
Nichrome Wire was purchased from Jacob’s online. This is a great place to get information on foam cutting, transformers and Nichrome Wire. Also, this site provides all the stuff you need to build a hot wire foam cutter (dimmer switches, transformers, etc.). The best part of this site is it provides a really hot wire handy calculator that determines the wire size you will need given variables like length, thickness voltage etc. If you are setting out to build your own hot wire foam cutter, I highly recommend you read through the information at Jacob’s Online.
Foam Cutting Jig
This is my second iteration of the foam cutting jig. The first was so complicated that I wouldn’t expect anyone in their right mind to attempt building it, so I won’t discuss it.

Here is a photo of my current (pun intended) hot wire foam cutting table, actually it is mounted on the edge of my build table. Build table tip: I edged my build table with a 1x2 fir strip so that I can screw on devices without messing up the edge of the table, like my hot gun holster (on the right) made from a 2 inch plastic pipe hanger.
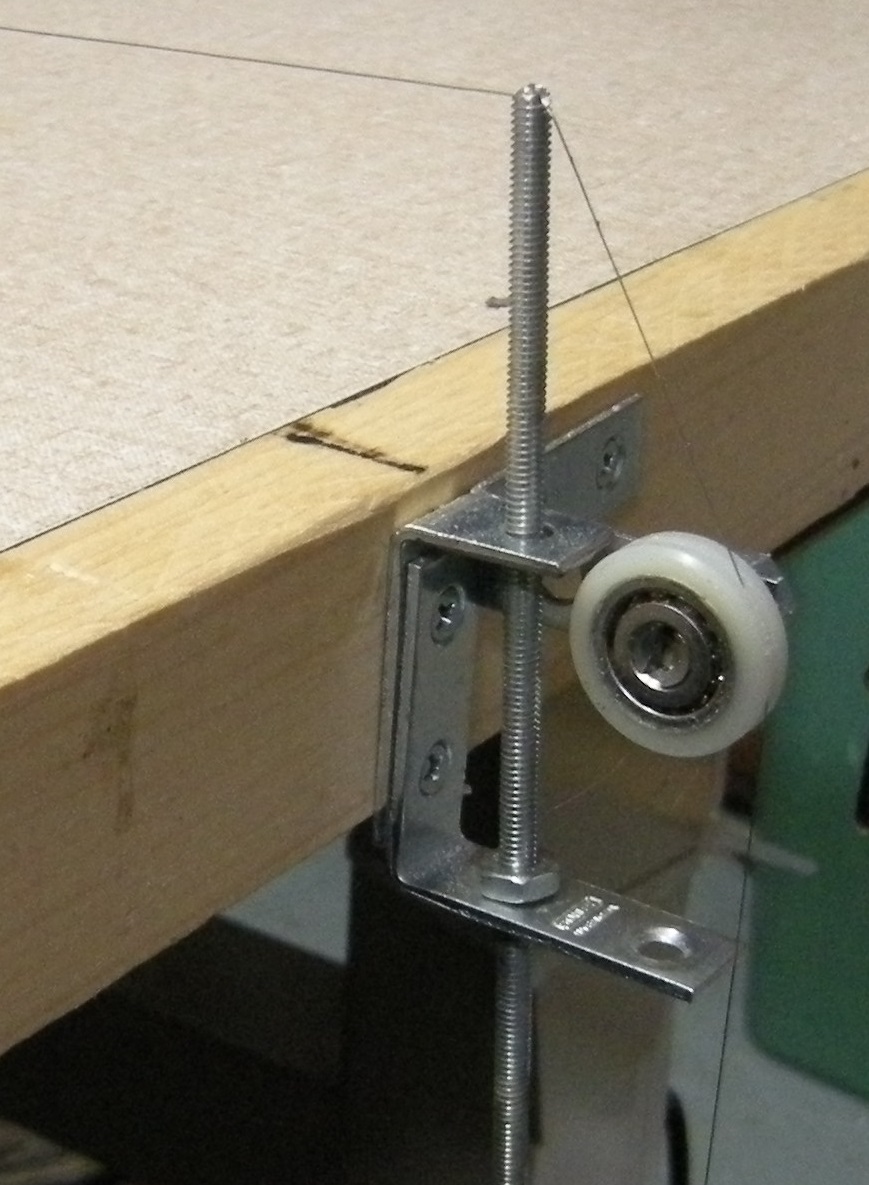
The thickness of the foam is determined by the distance between the wire and the table. To precisely control the thickness of the foam, I designed a really simple bracket made with ⅛” threaded rod, a nut and three “L” hangers, one leg of the top one is cut off so the roller (screen door replacement roller) would fit.
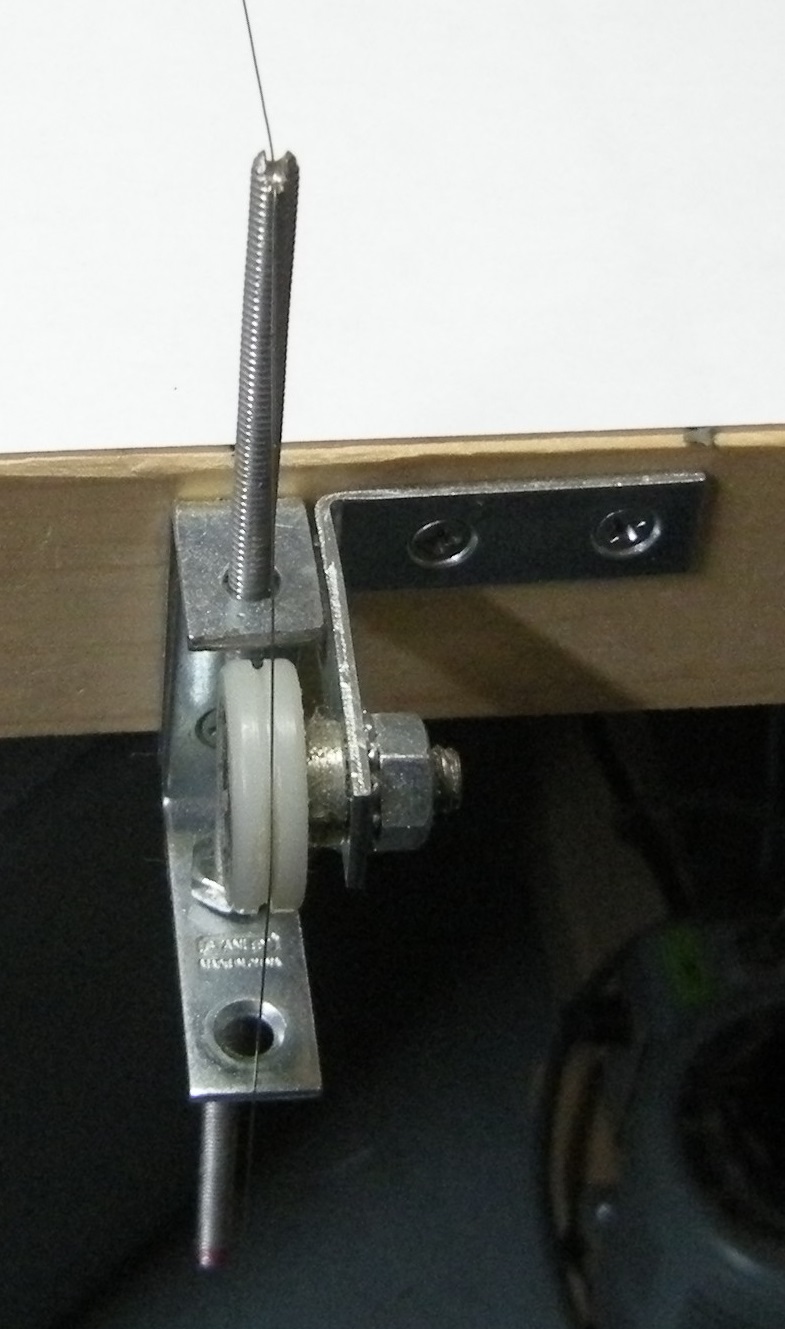
The third “L” bracket is used to mount a screen door wheel that holds the nichrome wire away from the height mechanism and table. The wire is held in a groove in the threaded rod and screen door wheel I made with a rotary cutting tool.
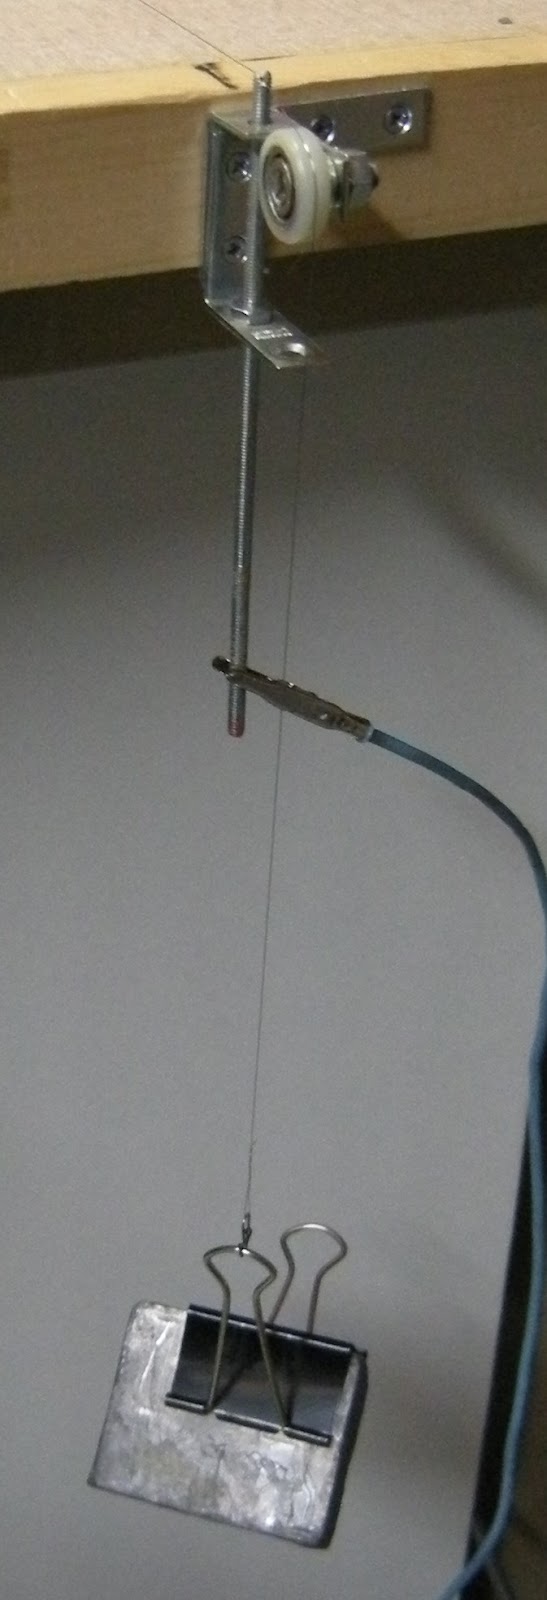
The nichrome wire is held tight across the table with a weight, the one shown is about 1.5 lbs. The electrical power is fed to the threaded rod that makes contact with the nichrome wire. I have to mention that you must have a non-conducting table for this to work, another good reason to edge your build table with wood. If it bugs you to run electricity through the adjustment mechanism, you can also clip the alligator clip to the nichrome wire, but I found that the clips pull on the nichrome wire and affects the height.
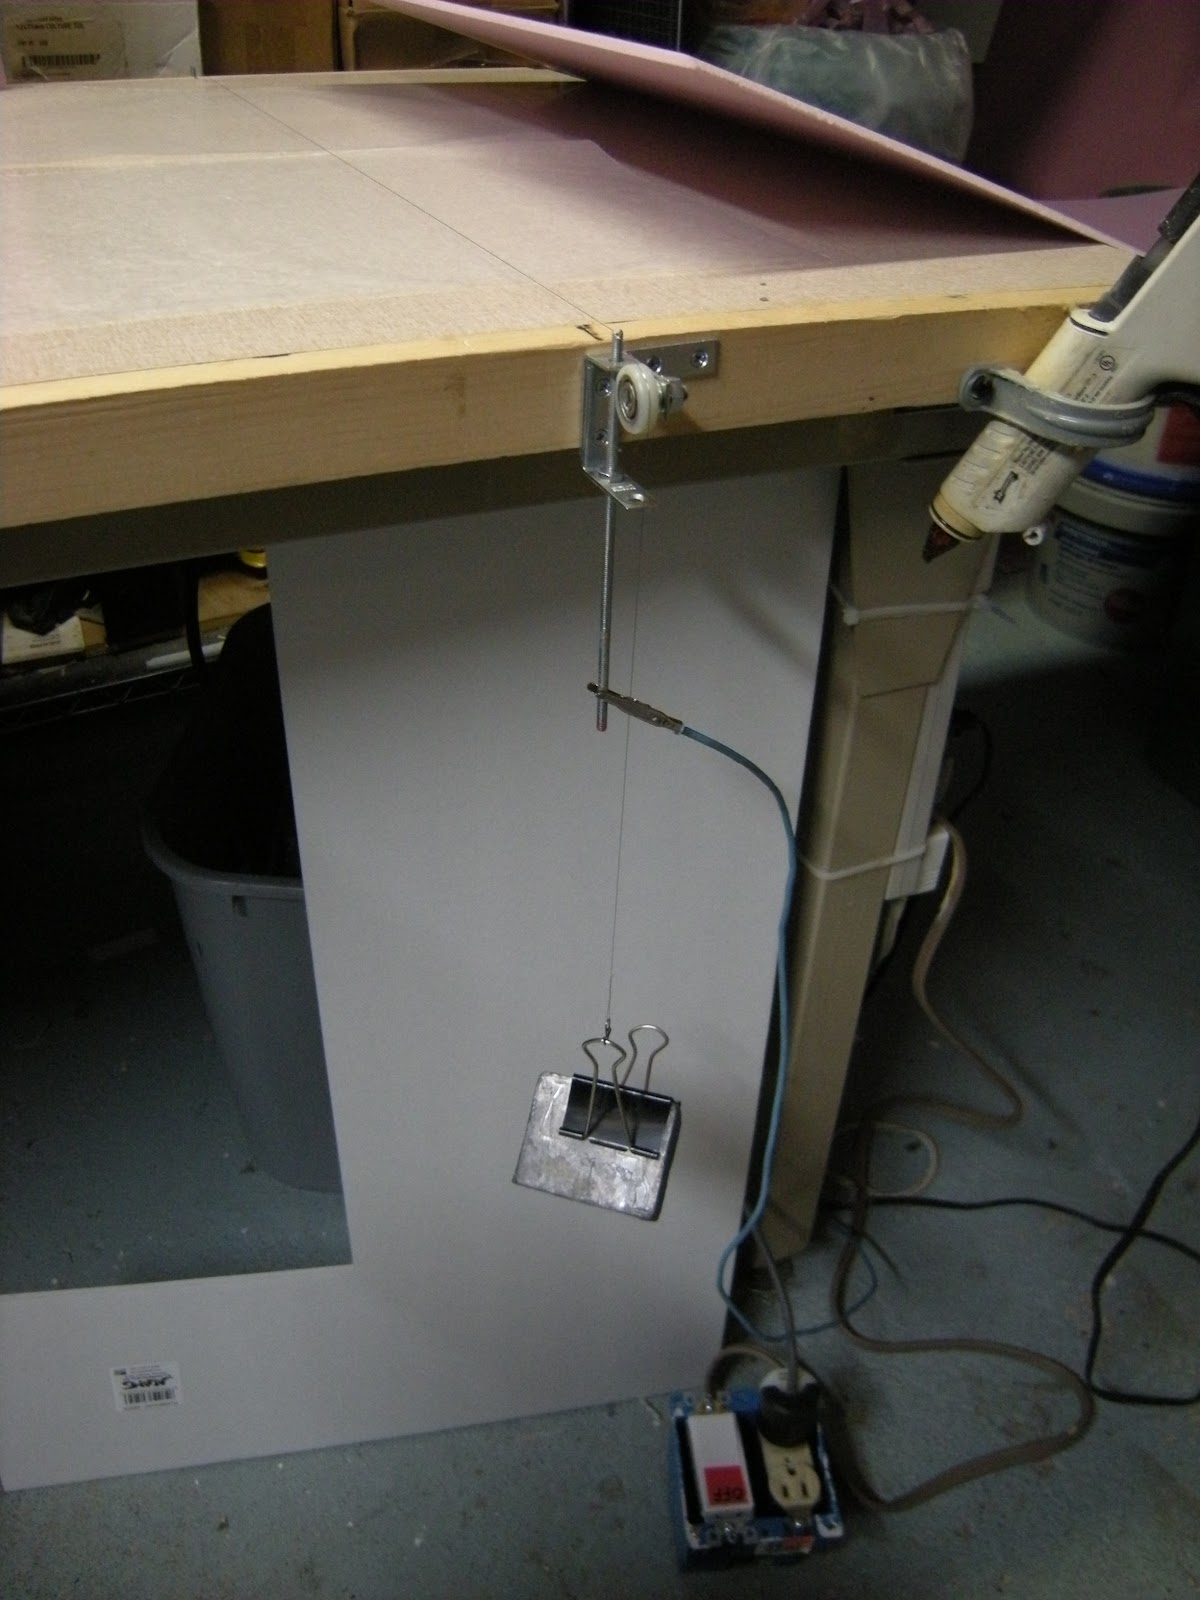
I built a switched outlet to sit on the floor so I can activate and deactivate the hot wire cutter with my foot while holding the foam with my hands.
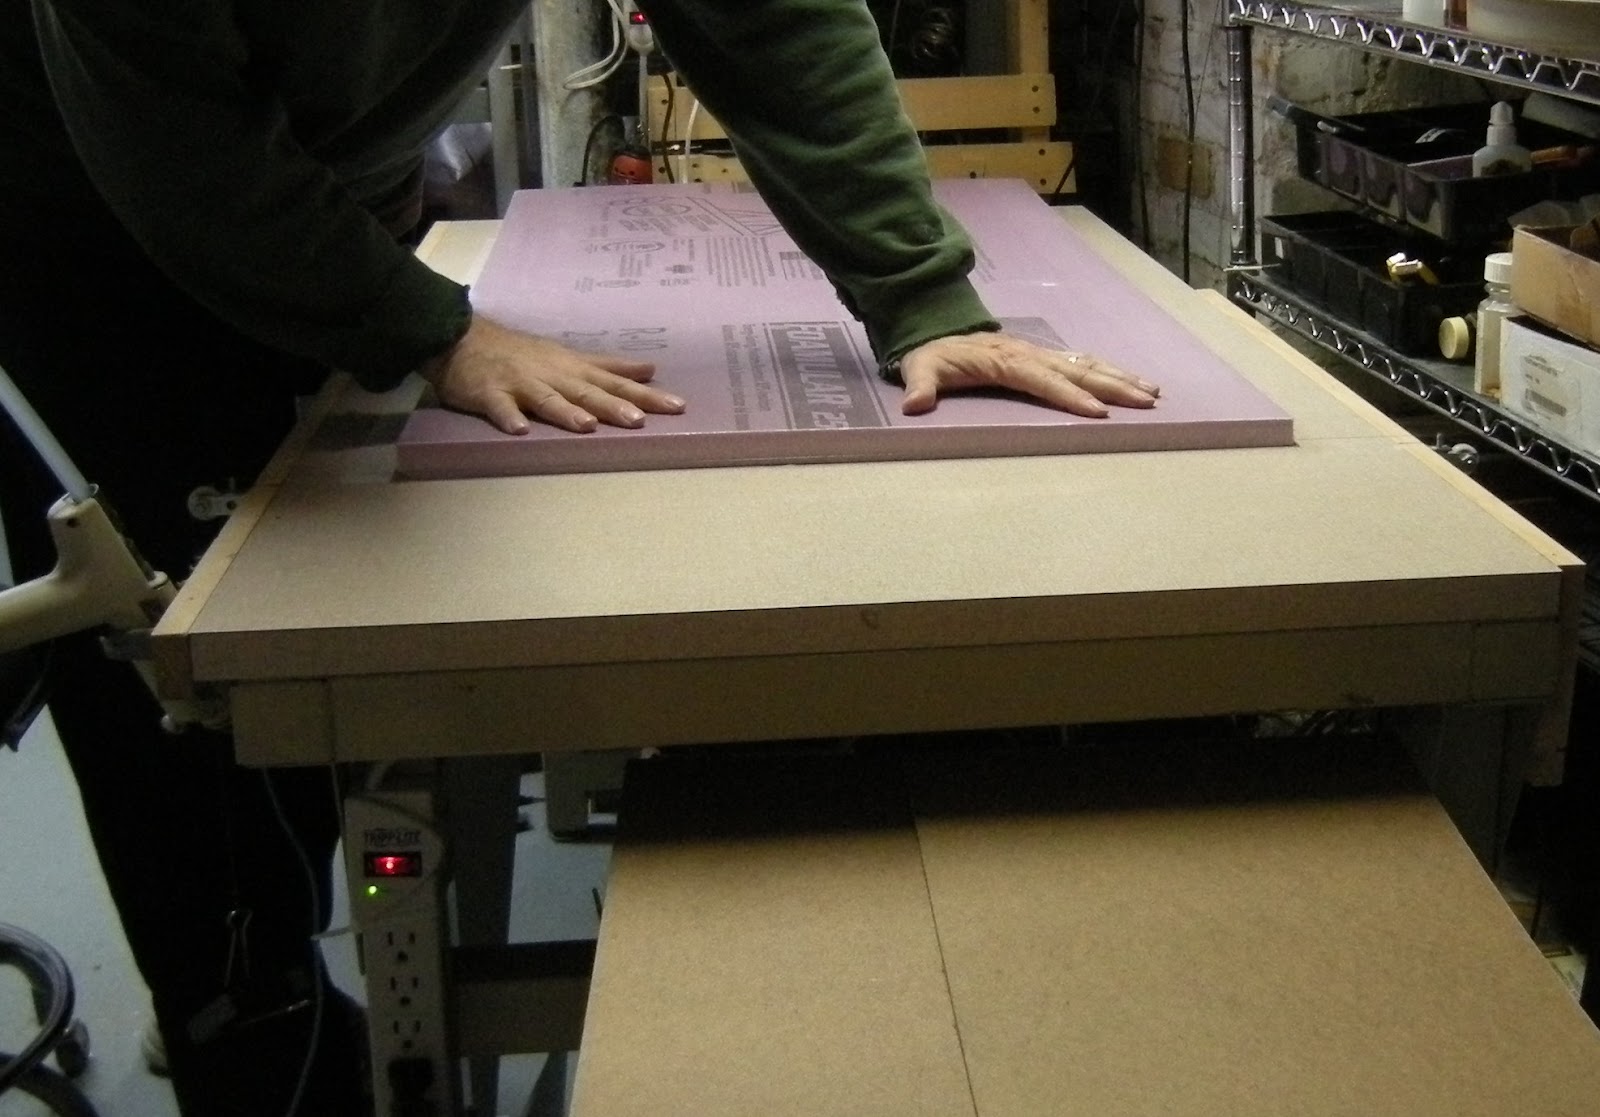
Cutting the foam is a mix of art and science. Science to get the right amount of heat in the wire, and the art of “feeling” how fast to push the foam against the wire. Typically the when running foam through the cutter, the wire is displaced horizontally about ½ to 1 inch. Above I’m starting to cut a sheet 2 feet x 4 feet
I lay it on a couple of sheets of wax paper on the table to help the foam glide across the surface. This works great! You can see the wax paper sliders to the right on the table.
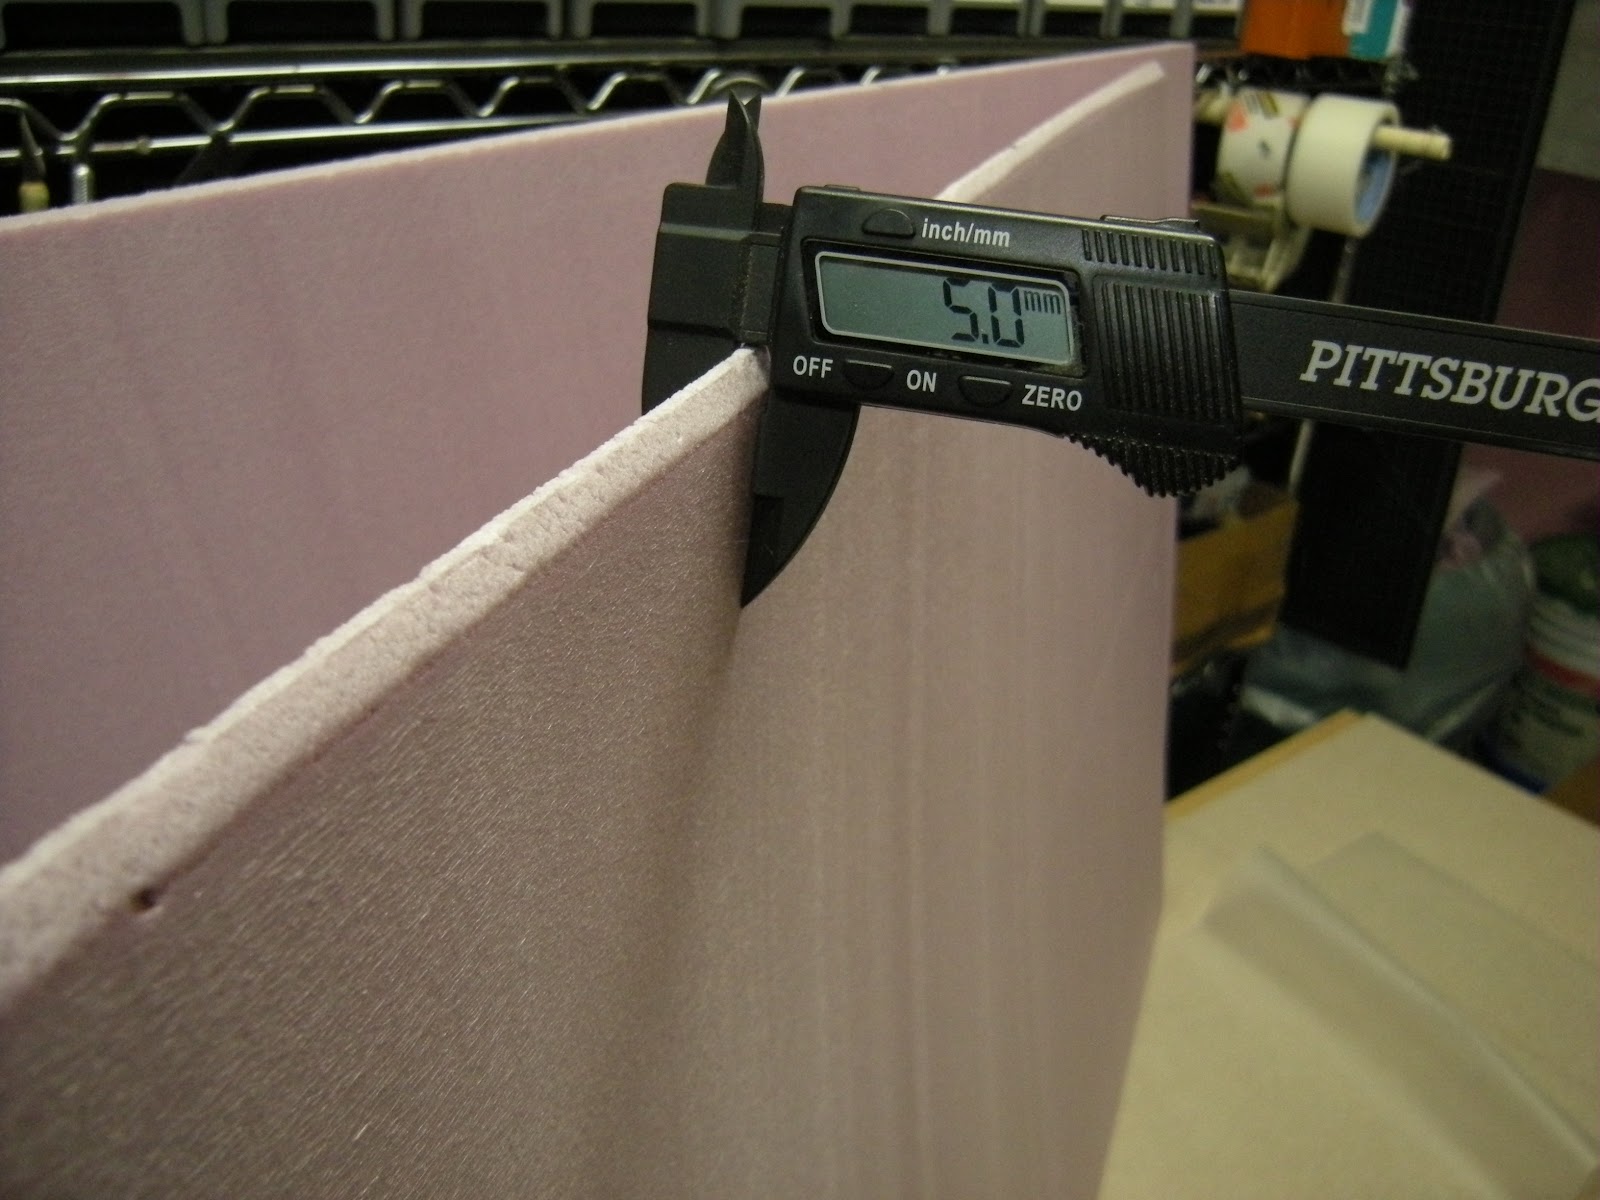
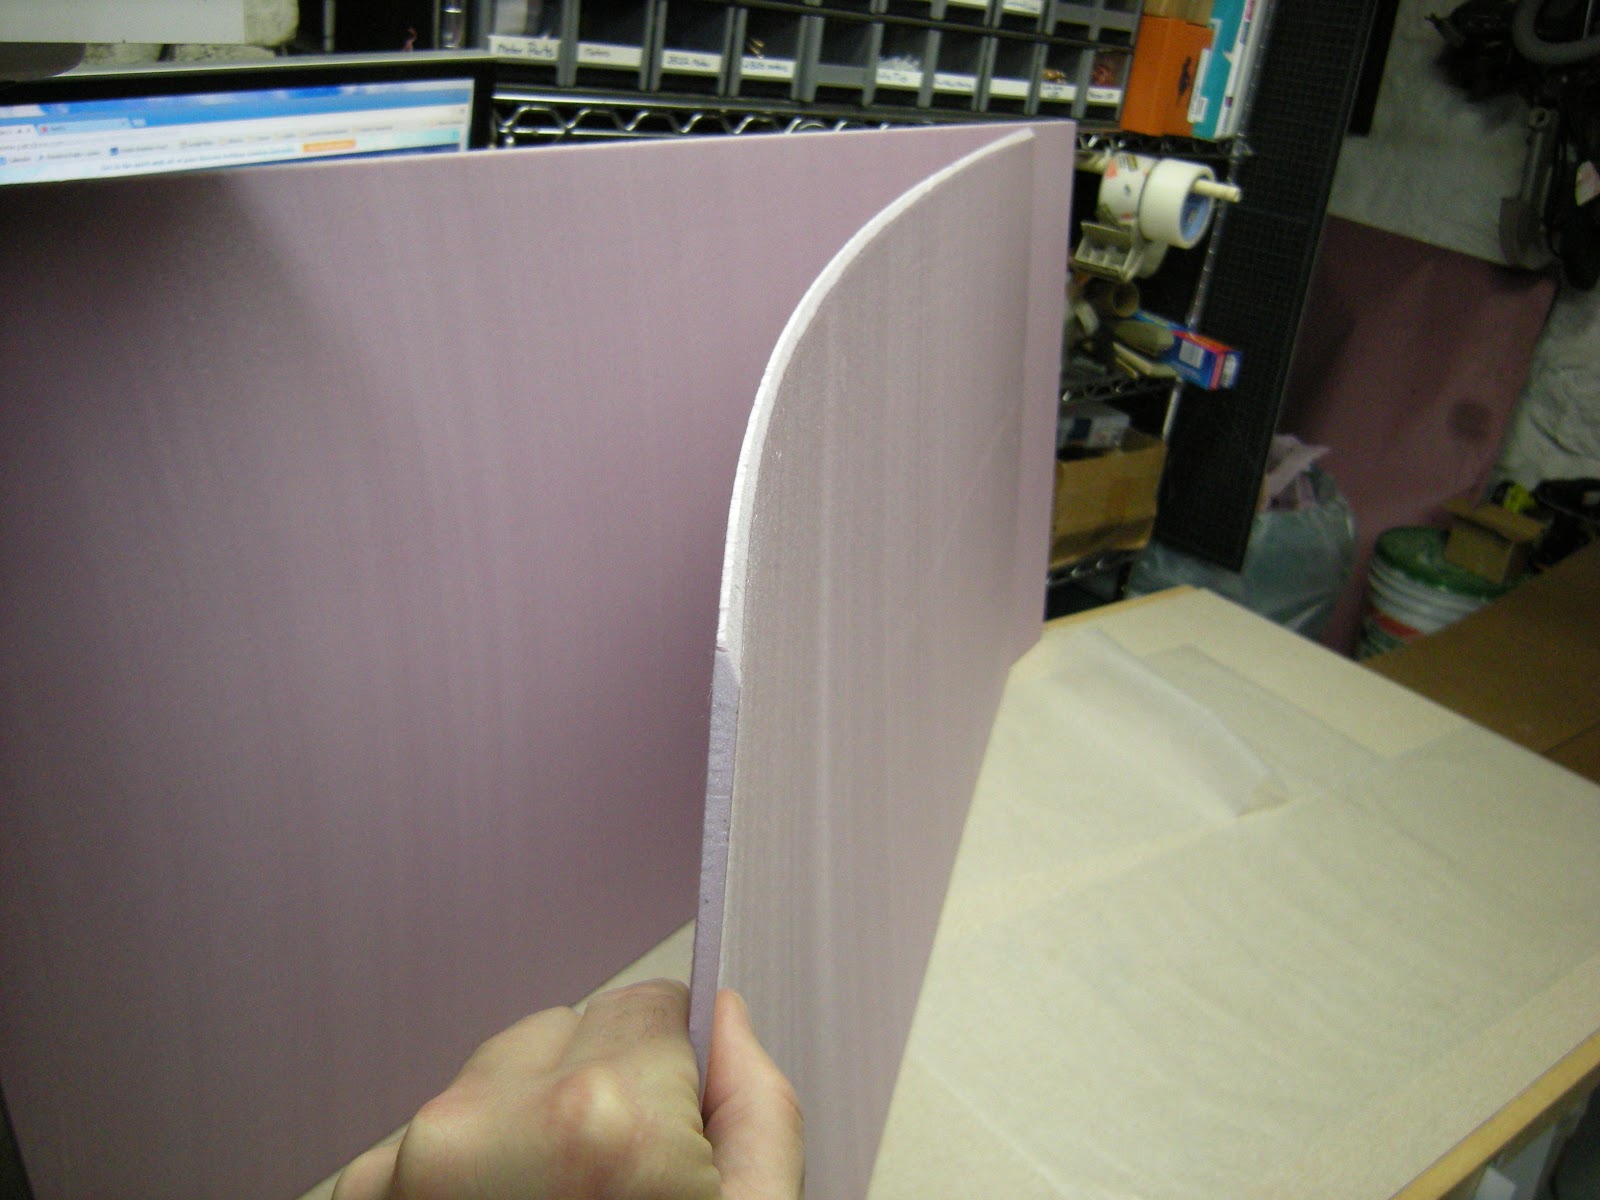
Uniform foam sheets 5 mm thick.
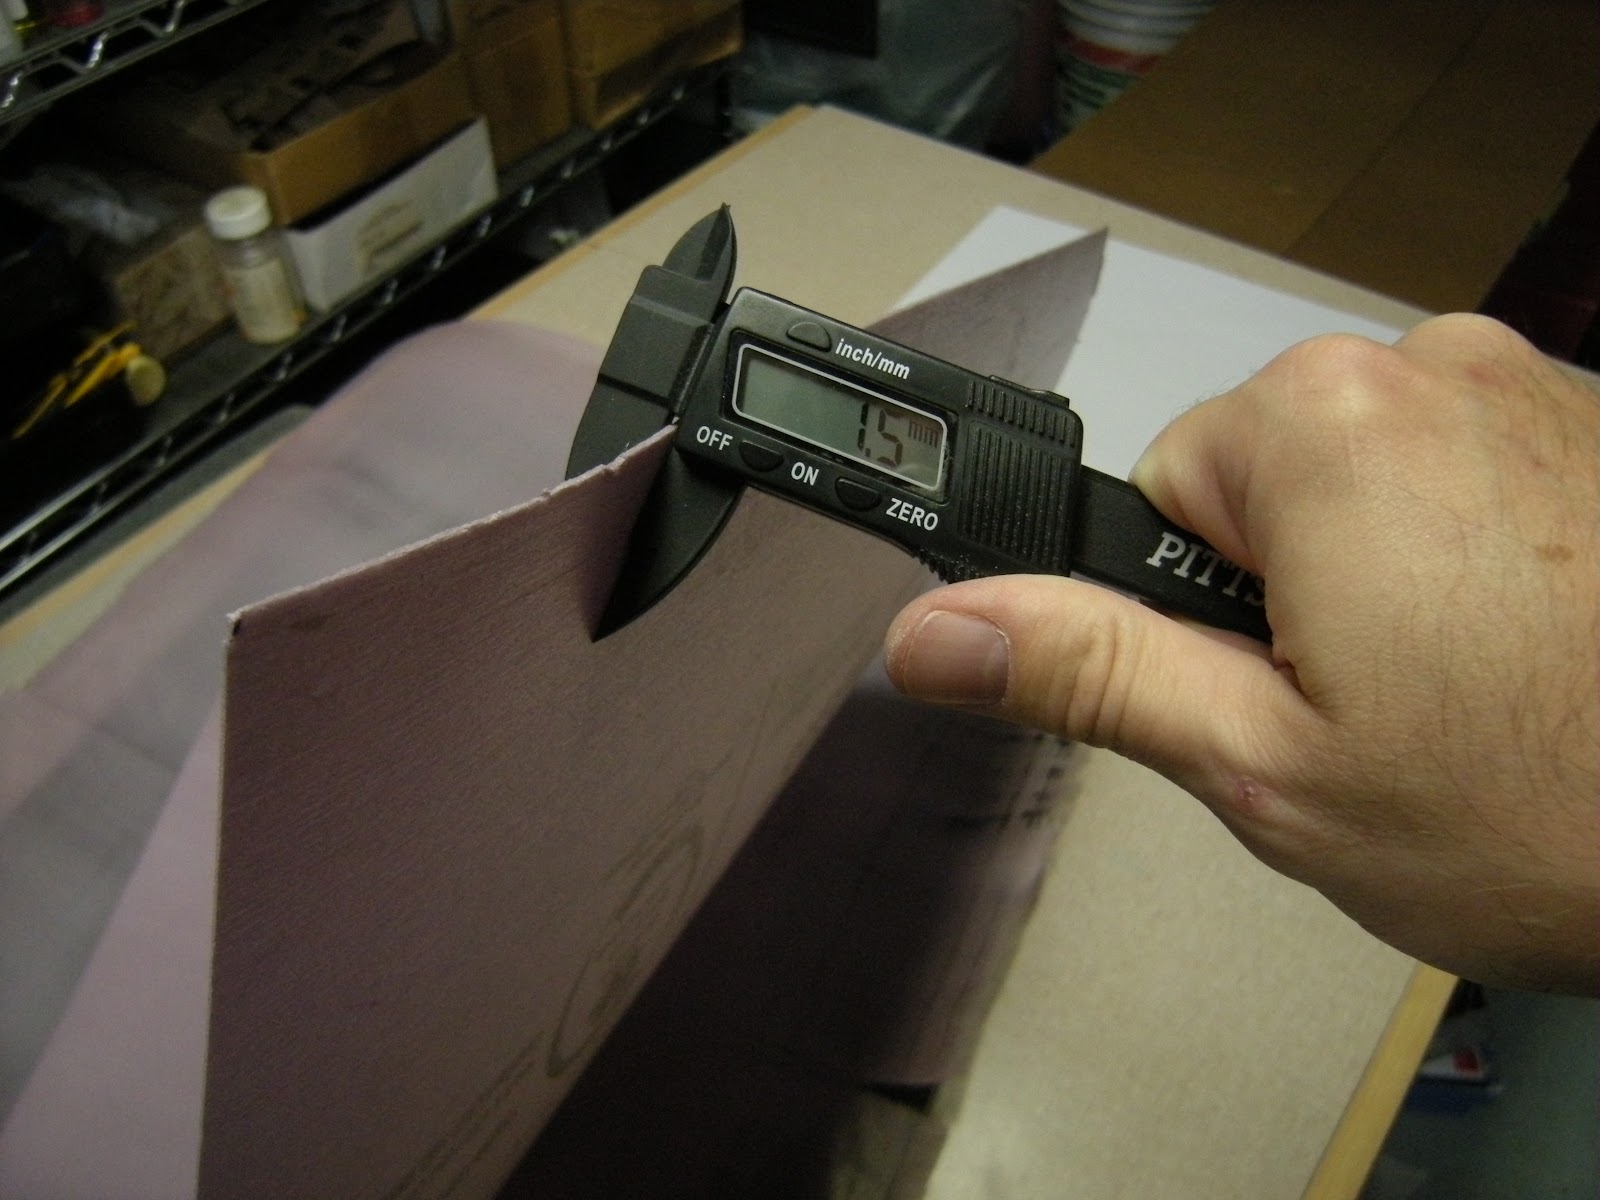
Foam sheets 1.5 mm thick.
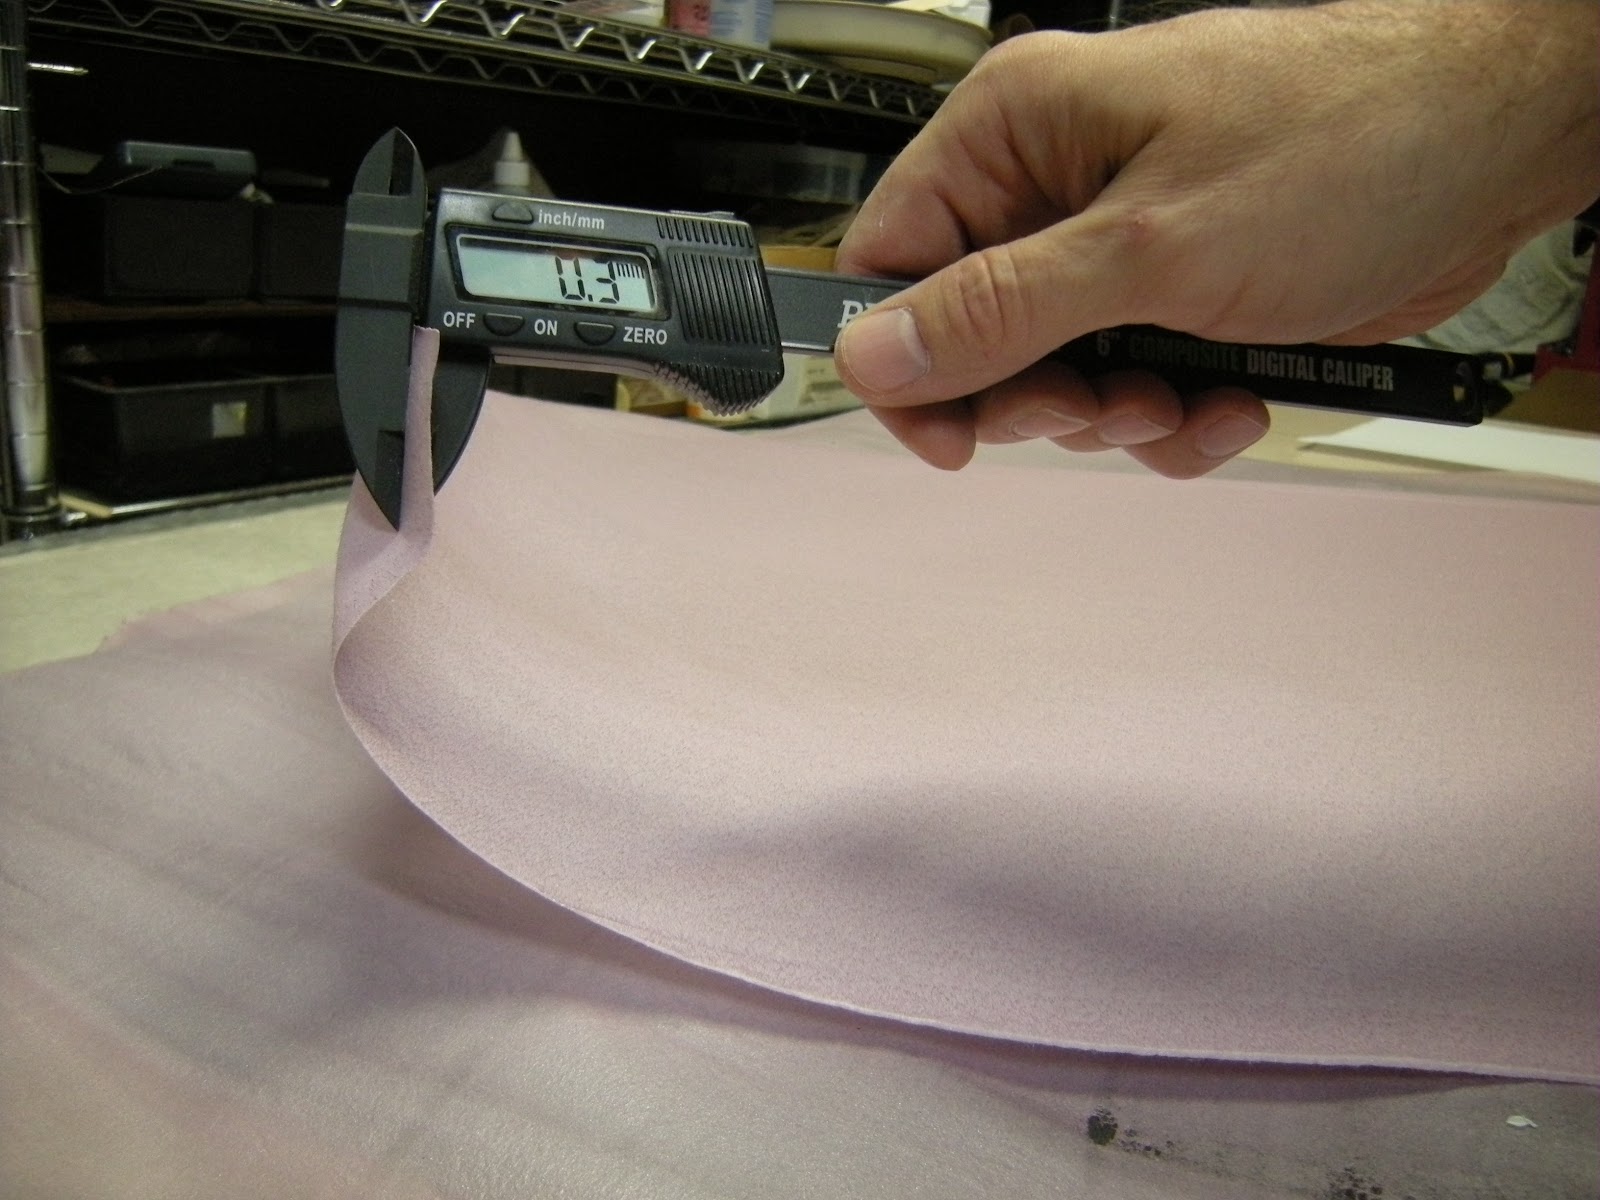
Foam sheets 0.3 mm thick. Not very useful for model building, but fun… and… thinner yet.
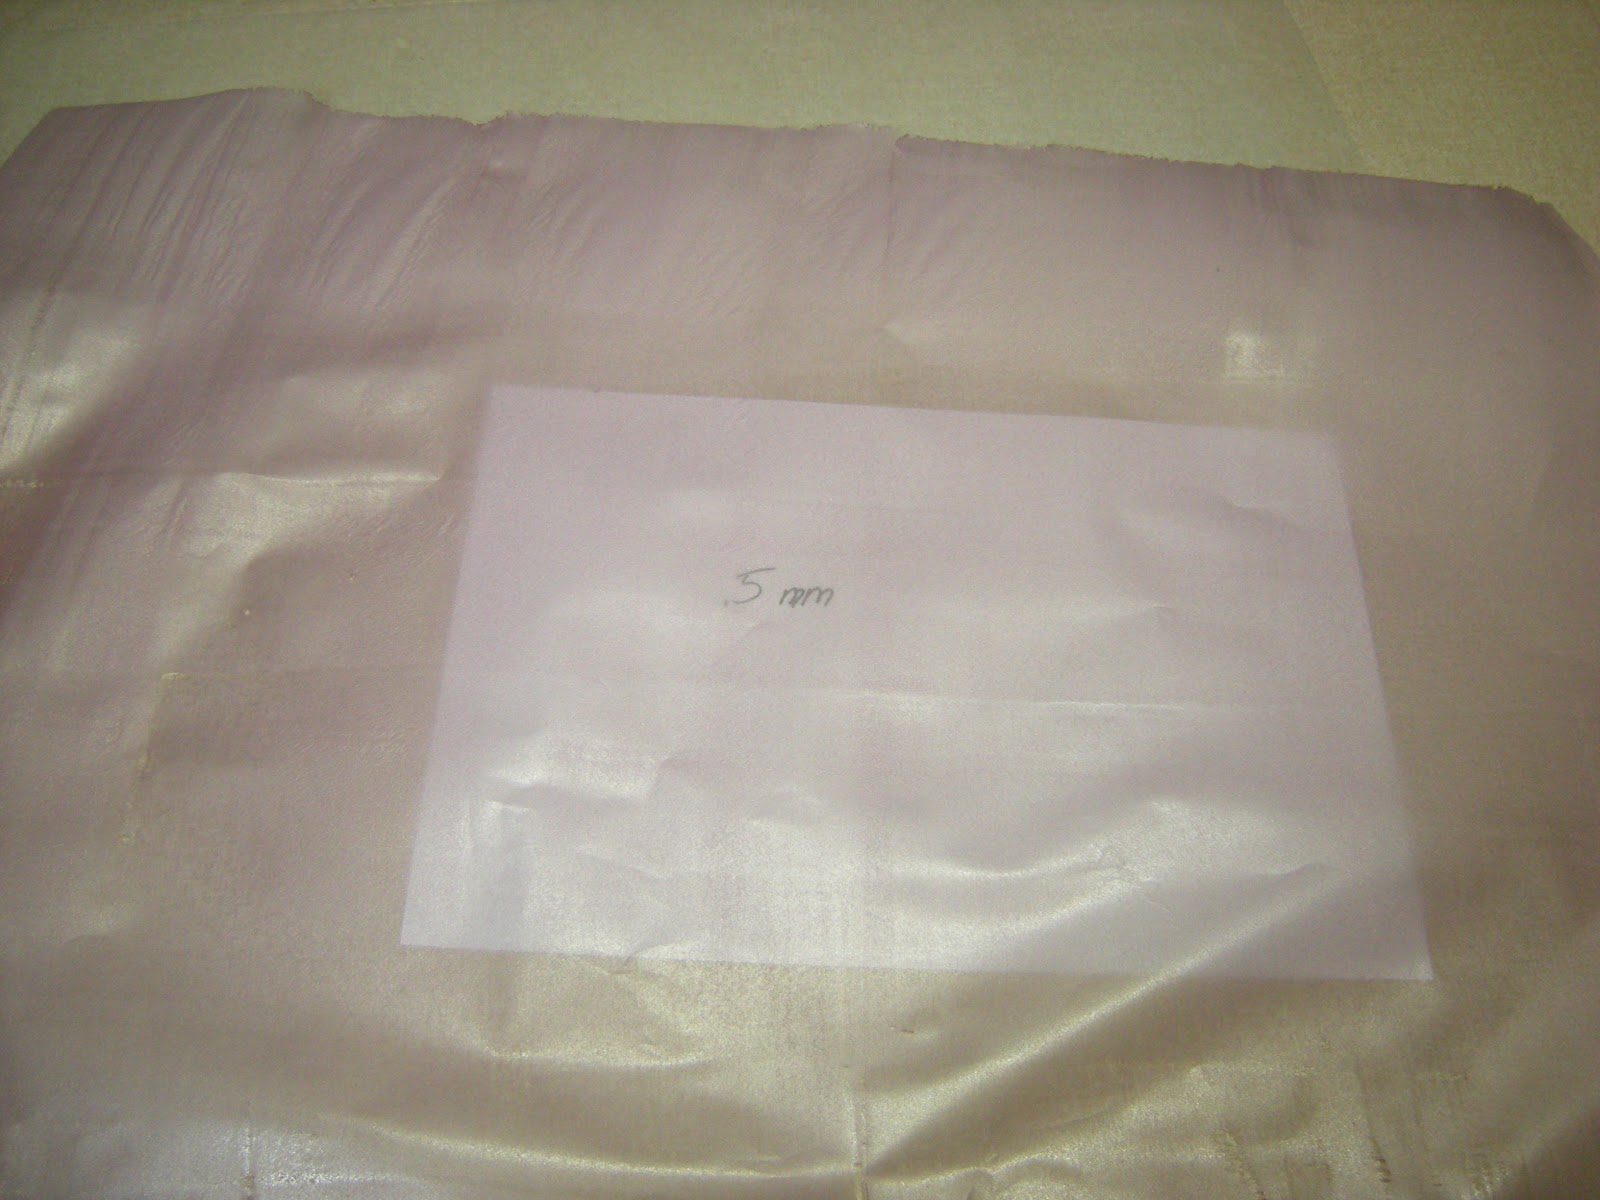
so thin you can see through it. This was about 0.05 mm thick. Again, not useful but fun.
My brother didn’t believe I could make foam sheets this thin, so I made a video to tease him.
[video='https://youtu.be/3p51K0VPExc']
The following are some projects that I have used EIY foam sheets. I have used fanfold foam and EPS insulation foam to build my first planes. Back then I didn’t take any pictures of the plane building process, so I don’t have any beginning photos, but I have an ending one.

As I discovered, It’s not very strong.
I made some airfoil wings out of fanfold foam cut to 1 mm thick. This was not that successful of a plane, but it taught me a few skills in foam and airfoils.

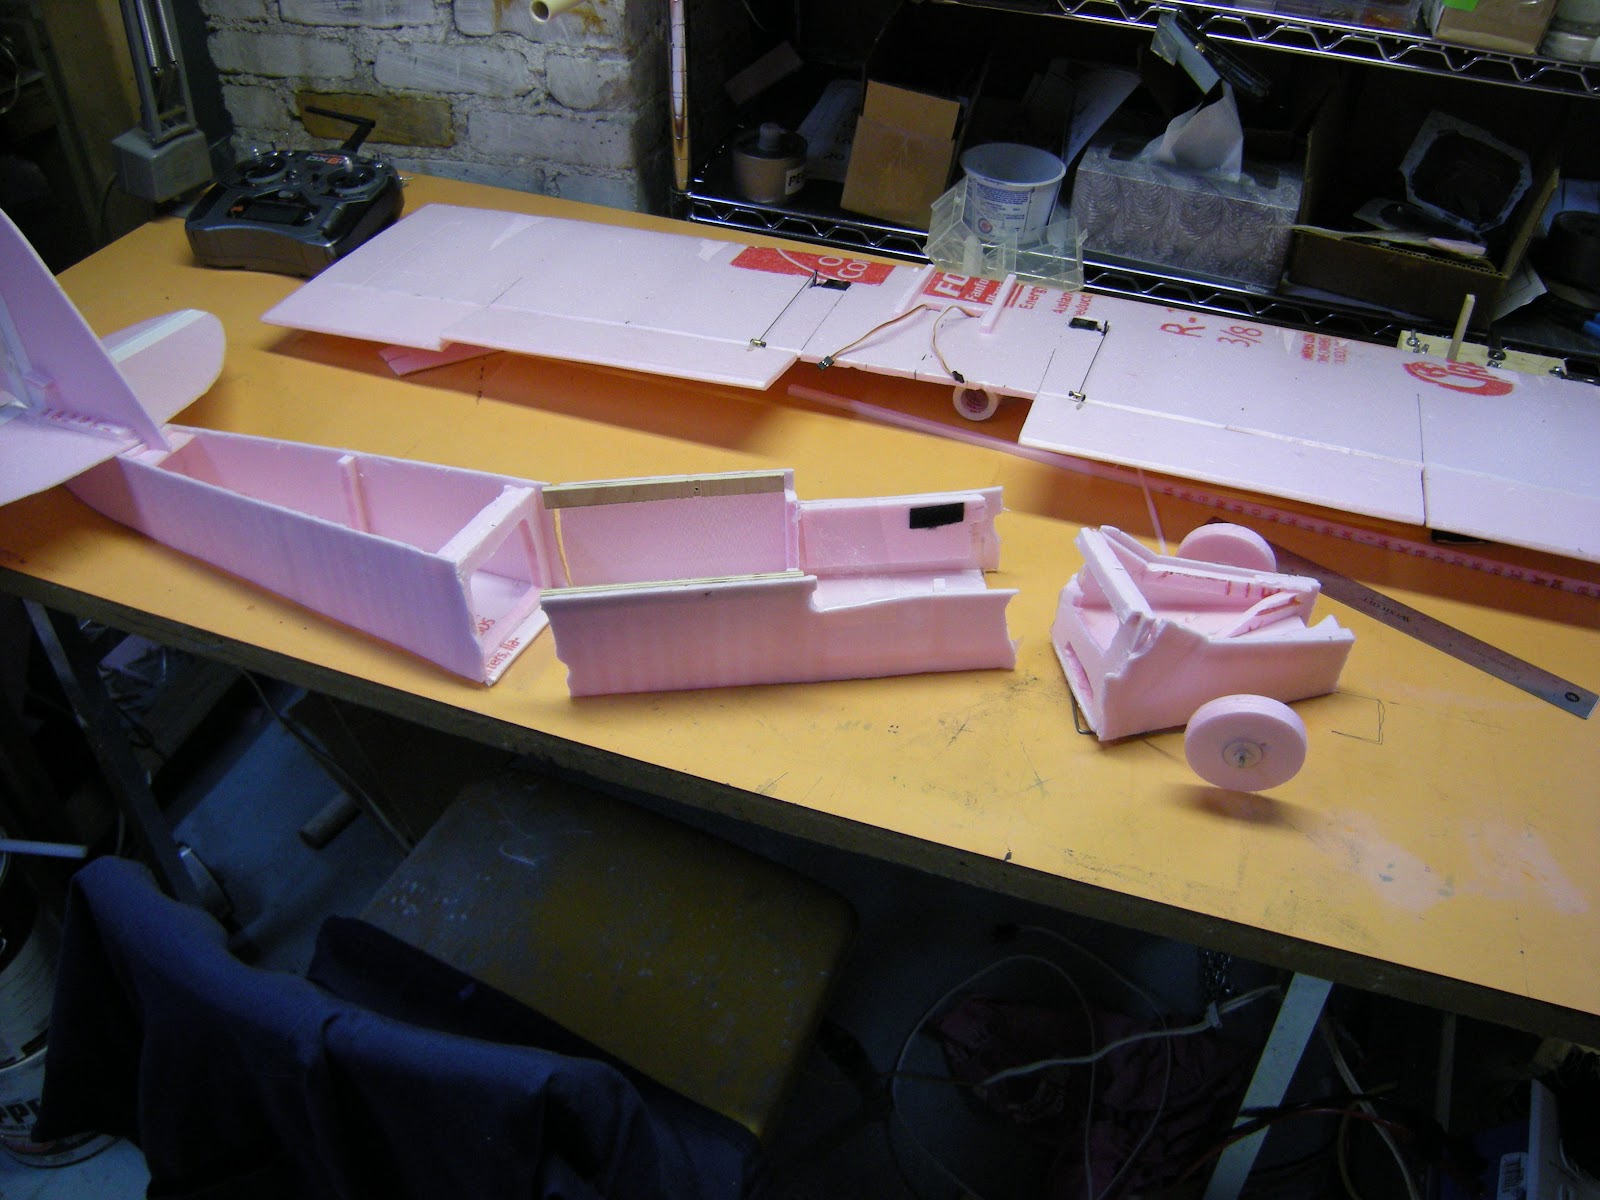
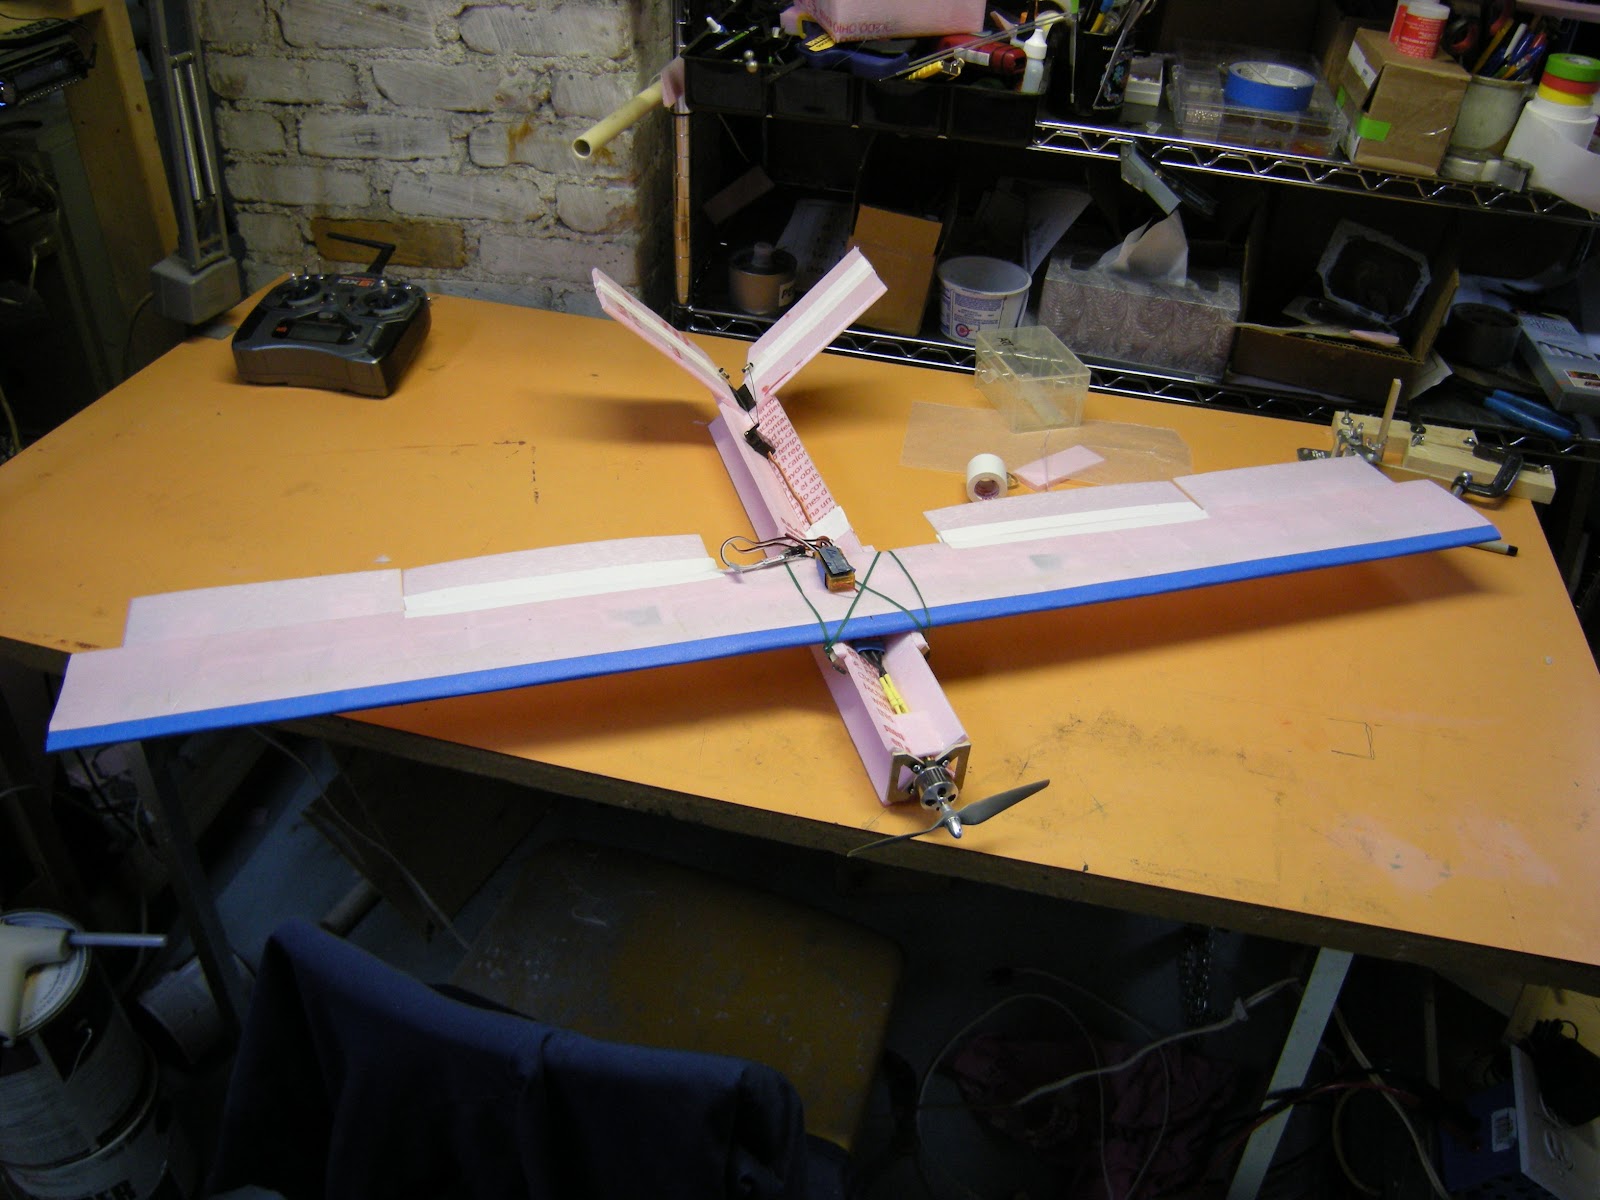
Here is another plane I built setting on the frozen lake just after a couple of flights. The body is a triangle structure of 5 mm fanfold EPP with a carbon fiber tube for support. The wings were constructed of 2 mm foam ribs and carbon fiber tube spars and a 1 mm EPP foam skin. The tail was 1 mm EPP foam reinforced with carbon fiber tubes. All I can say is that it flew. It wasn’t great, but it taught me a lot.
After having all that fun, I was introduced to Readi-Board. Why do it yourself when foam sheets only costs a buck? That is a good question. The answer is options. I can still cut foam for only pennies a sheet and it comes without paper backing that I peel off anyway.
Notes and references
Using the icharger to cut foam
HilldaFlyer - October 2015


Log In to reply
Log In to reply
Log In to reply
Log In to reply
Log In to reply
Log In to reply
Log In to reply