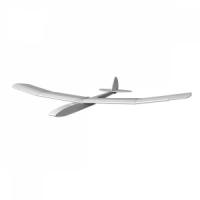
There's something almost magical about taking a few ordinary objects and turning them into a glider. Here's a guide.
It's surprisingly simple to build a basic chuck glider. All you need to know are a few aerodynamic principals, such as balance, and you'll have the power to turn a bunch of spare materials lying around into a flying machine. How cool is that? Even if you know hardly anything about aerodynamics, you can learn by following a simple build guide to make your own glider. Luckily for you, this is one! Let's get started.

Some inspiration
If you need another reason to get started on this 1-2 hour build project, check out how Alex and Stefan made an arrow plane that shoots from a bow.
What you'll need:
All you'll need for this project can probably be found somewhere in your workshop.

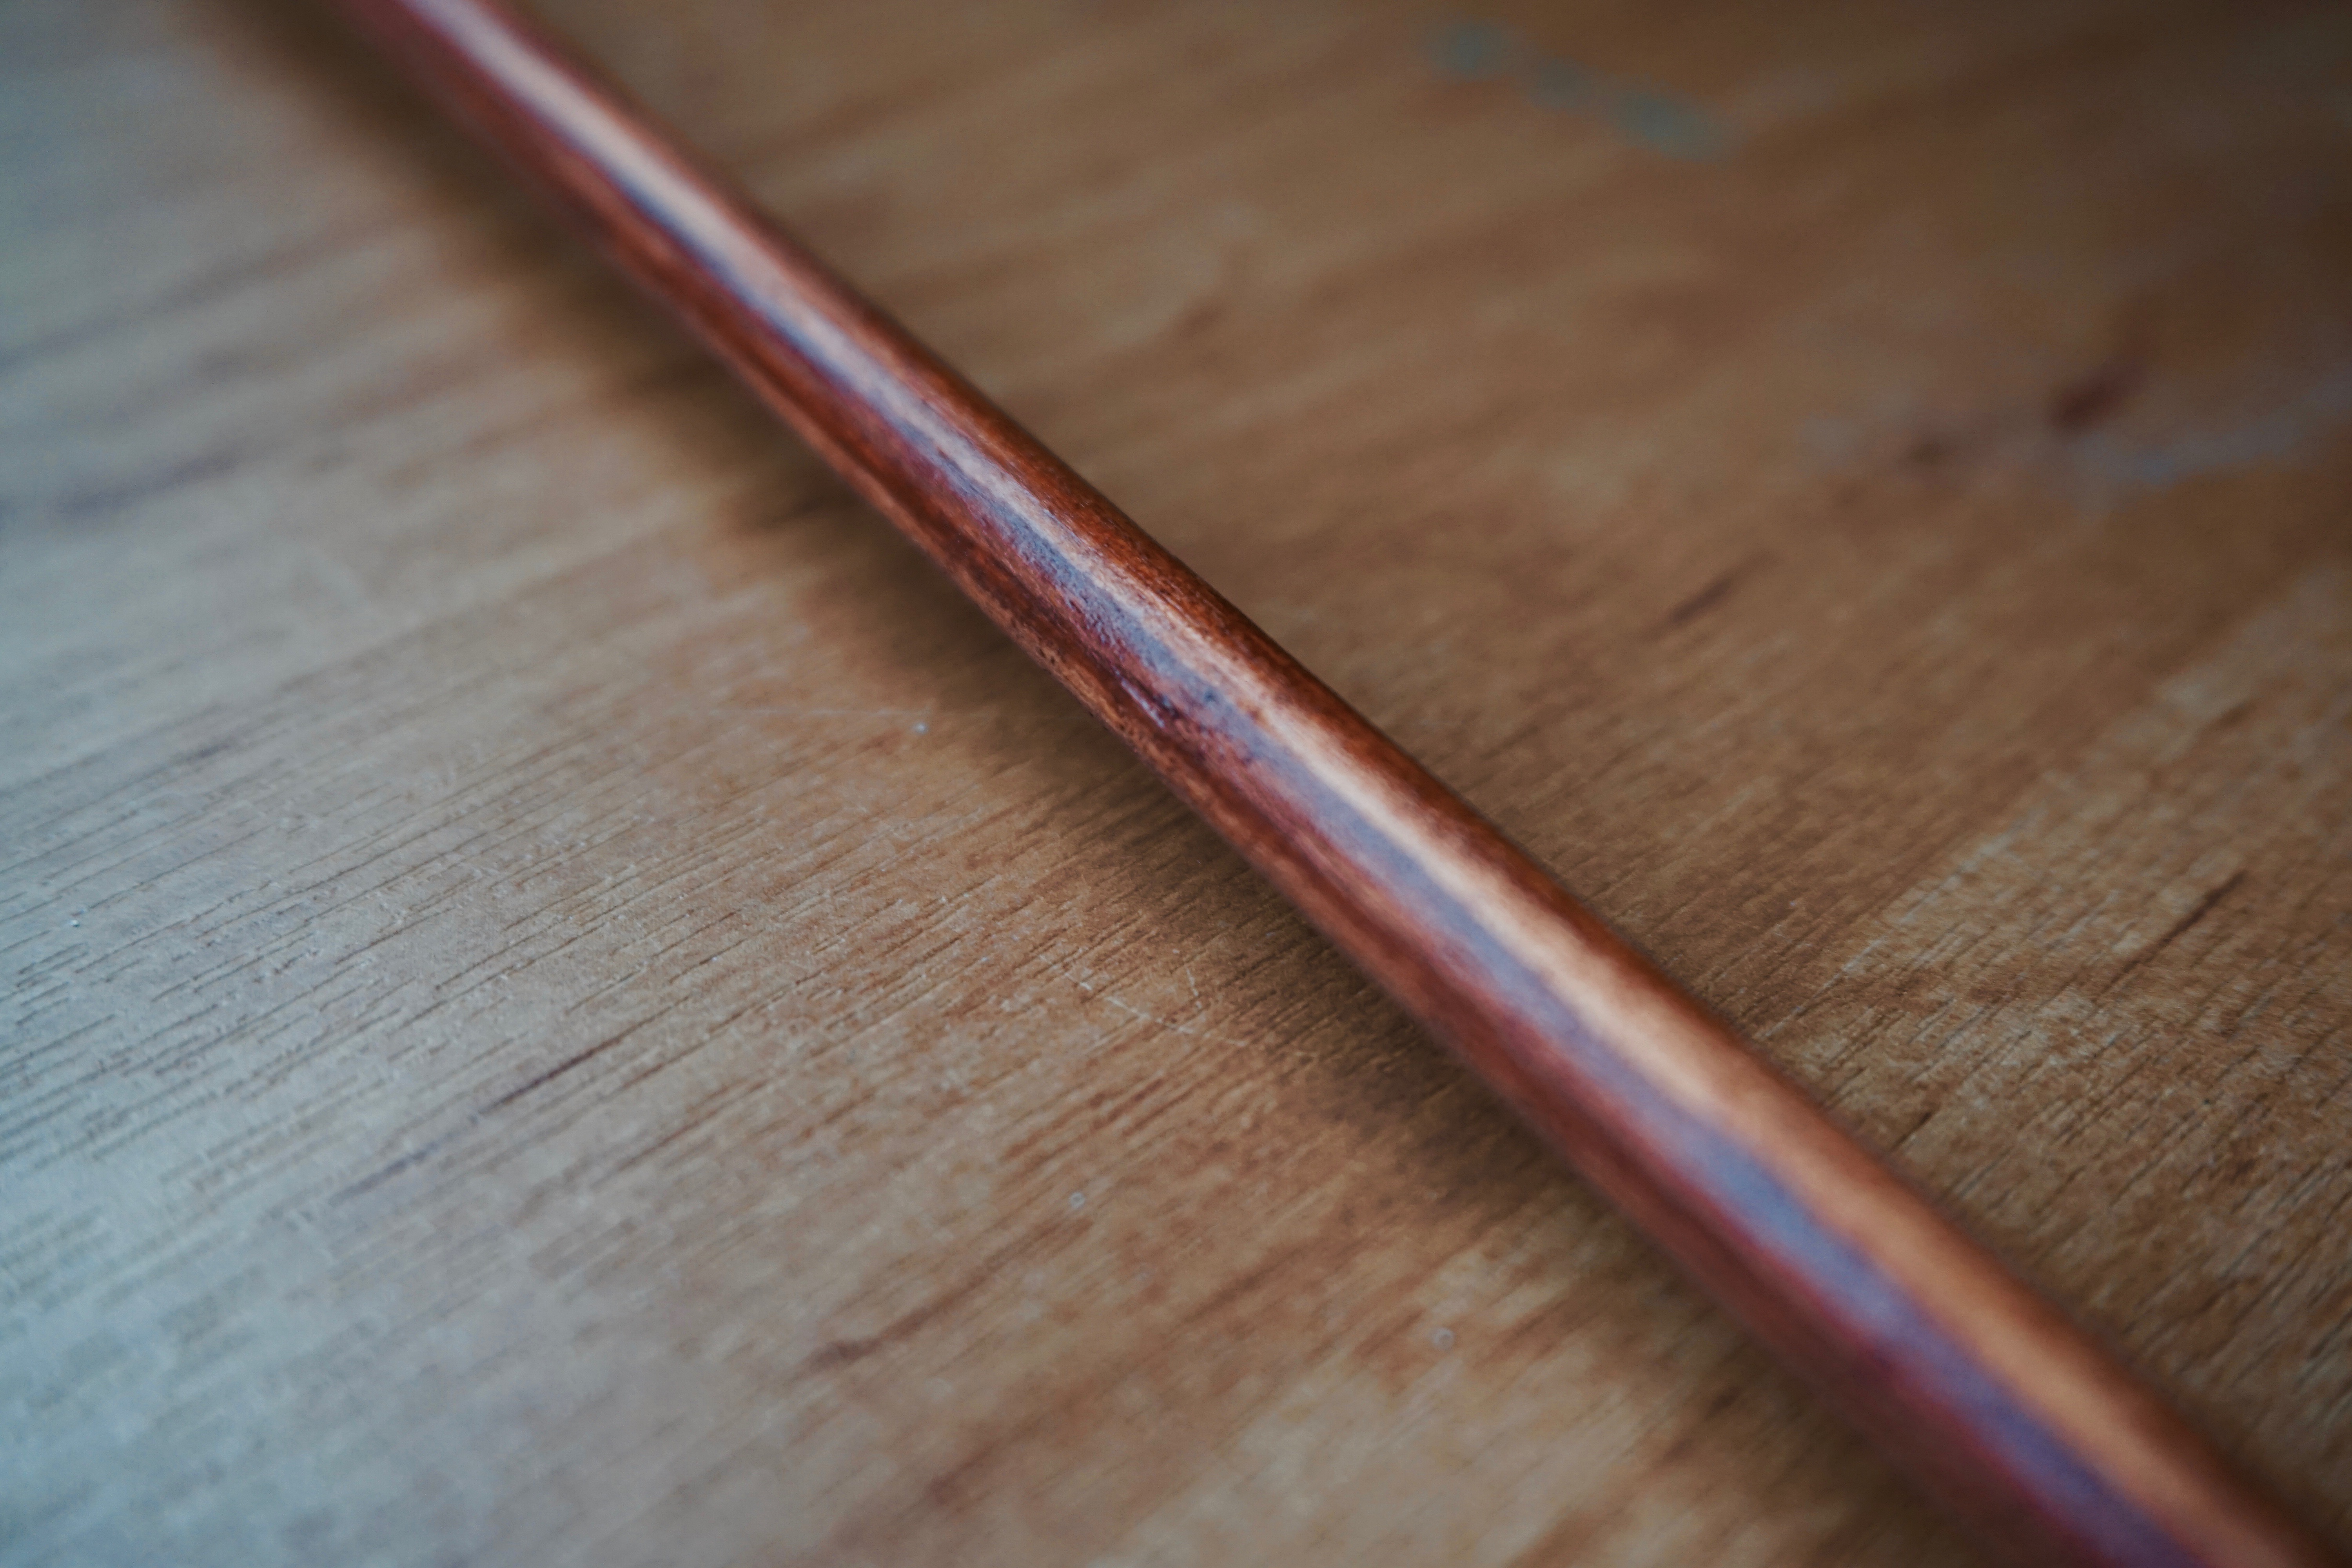
You're going to need an arrow shaft of course, but an ordinary wooden dowl will suffice. Make sure it's completely straight. You can do this by placing it on a flat table and rolling it along its axis.
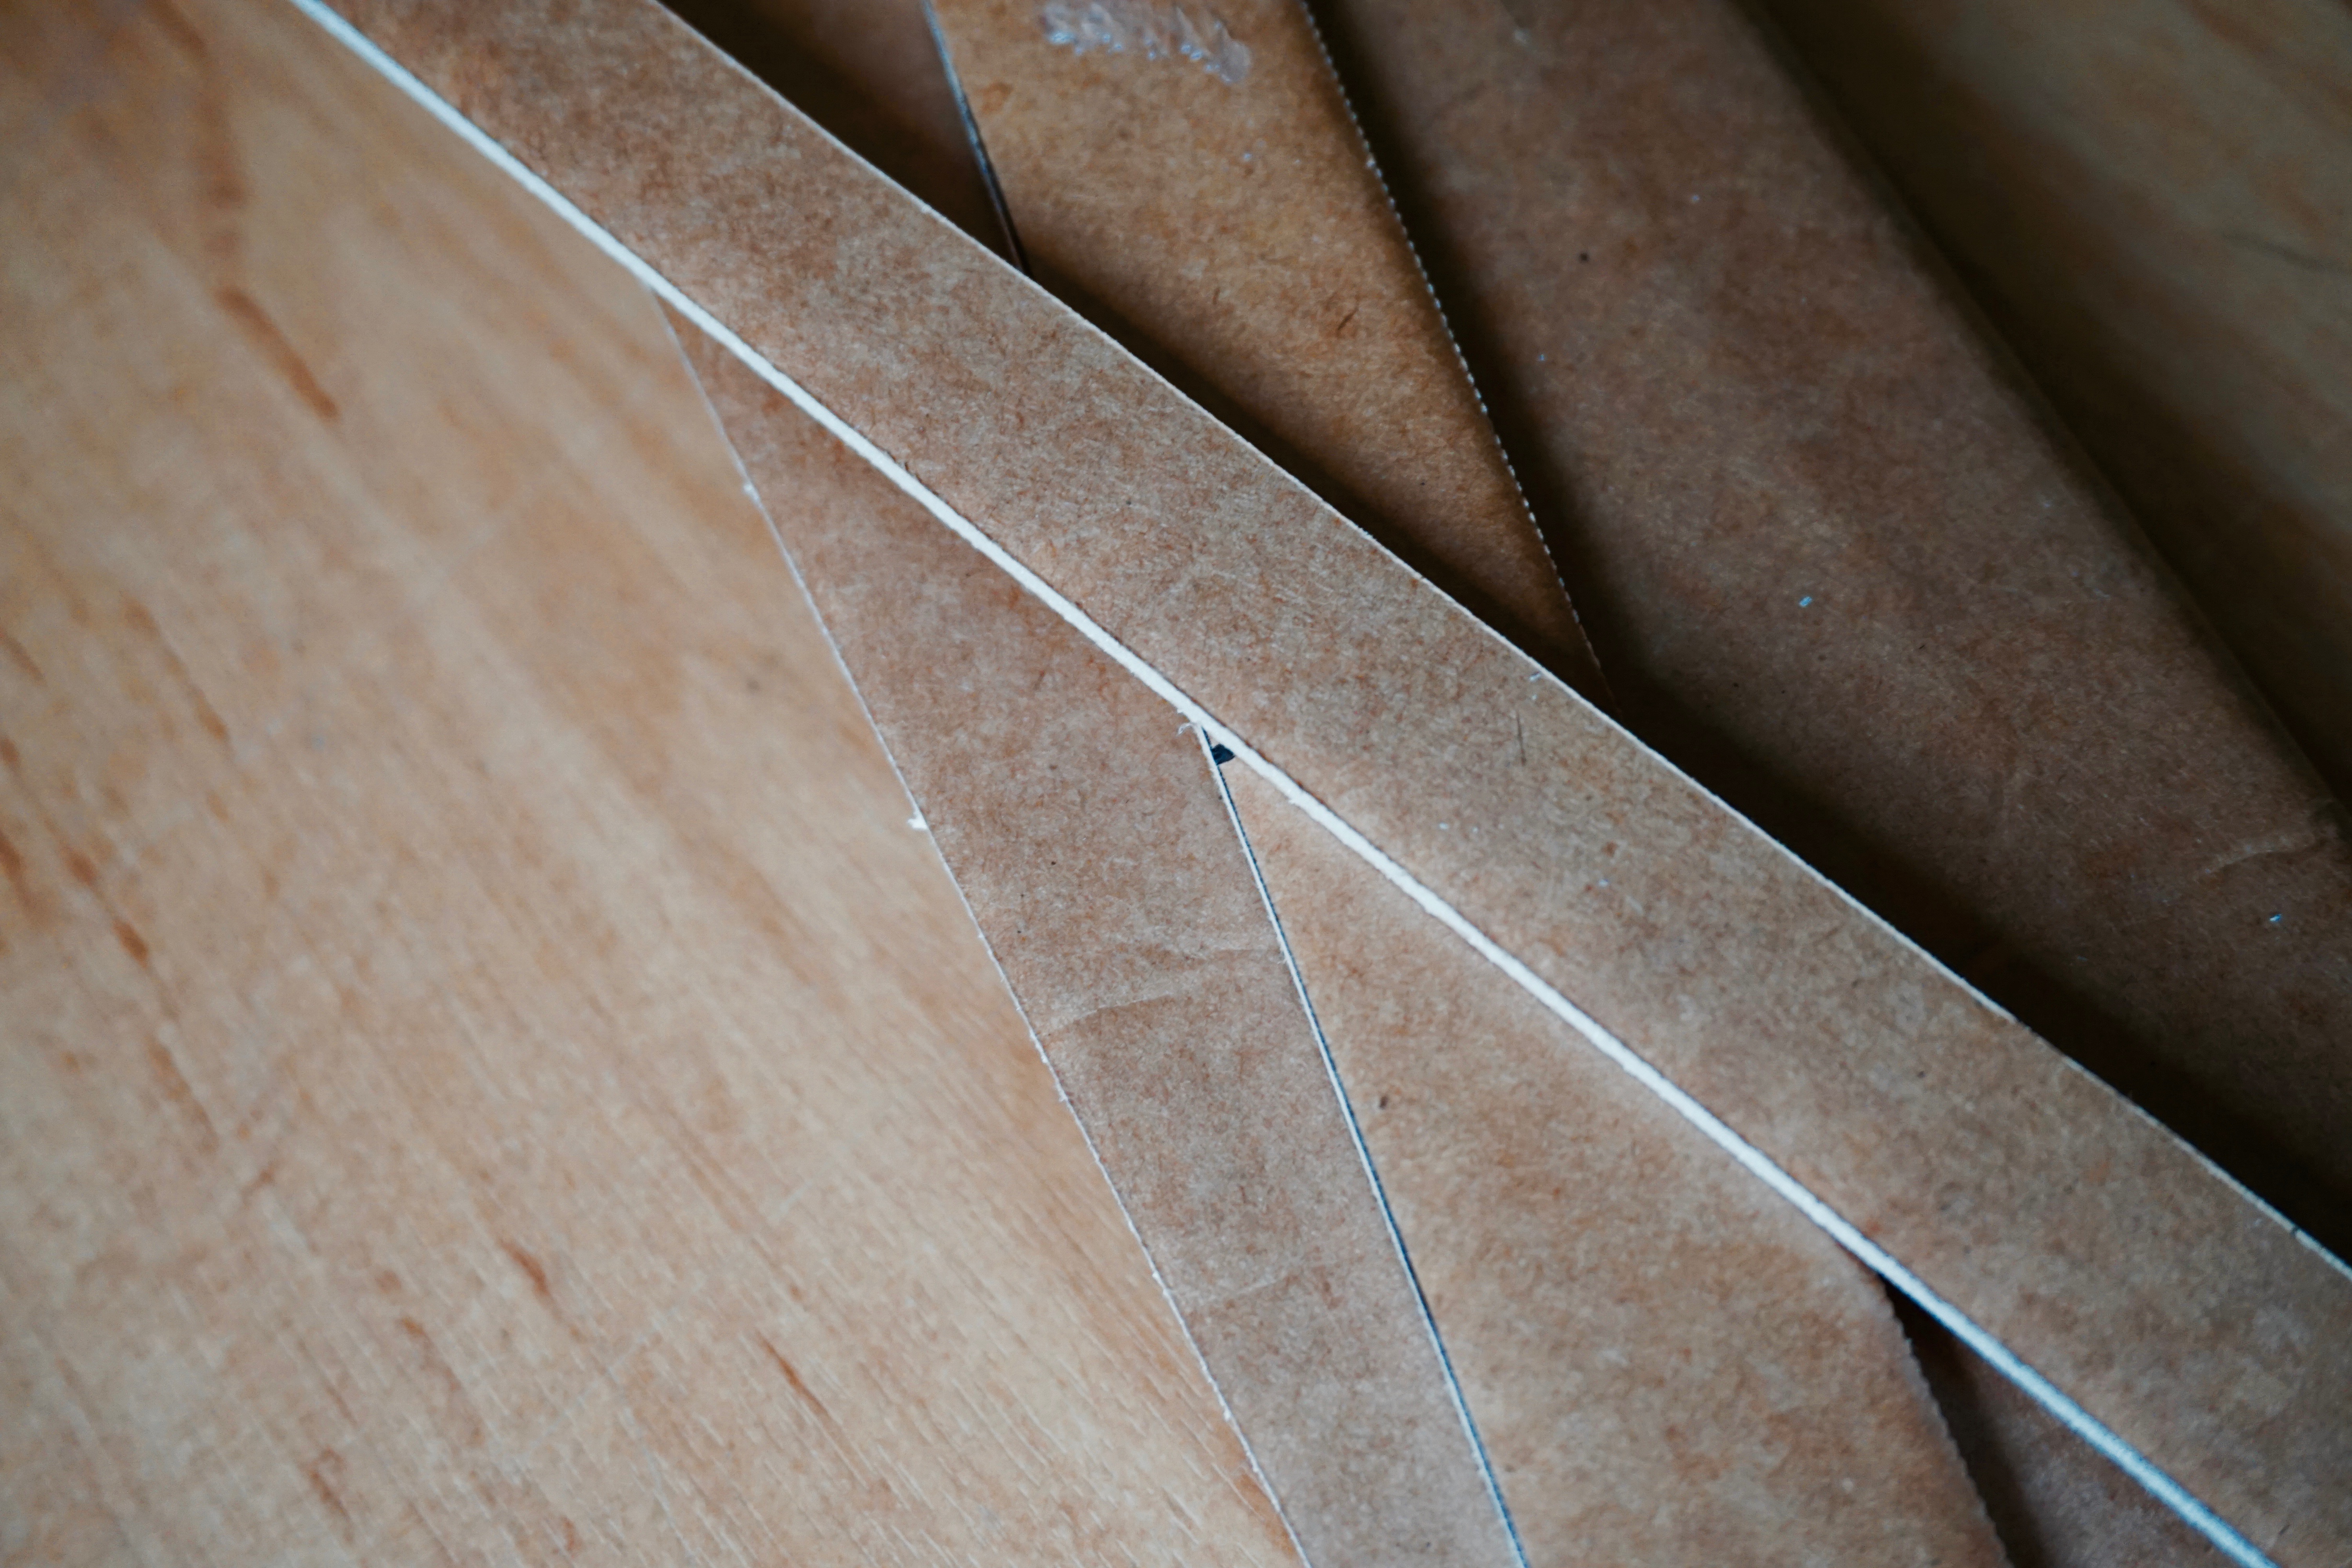
You'll also need some foam board. If you haven't already, you can pick some up from our store.
Something that might help make the build a little easier is some PVC shaped like this (below). This can be used to attach the wings and stabilisers to the fuselage.

It's also a good idea to have some weight to balance the glider. I used some coins, but you can use something a little more purpose made if you have them.

Testing the concept:
Sometimes, it's best if you just slap some chunks of foam together and see if it flies. Before building an RC version of the glider, I decided to see if I could build one that flew well without any electronics. For this, the glider had to rely on careful balancing and trimming to cut through the air on a pre-determined flight path. To keep the aircraft stable, the glider was fitted with a polyhedral wing. This is where the wingtips slope upwards to create a 'pendulum' effect that keeps the airplane upright whilst in flight. If you want to learn more about aerodynamics, check out the Aerodynamics Simplified series of articles here on flitetest.com.
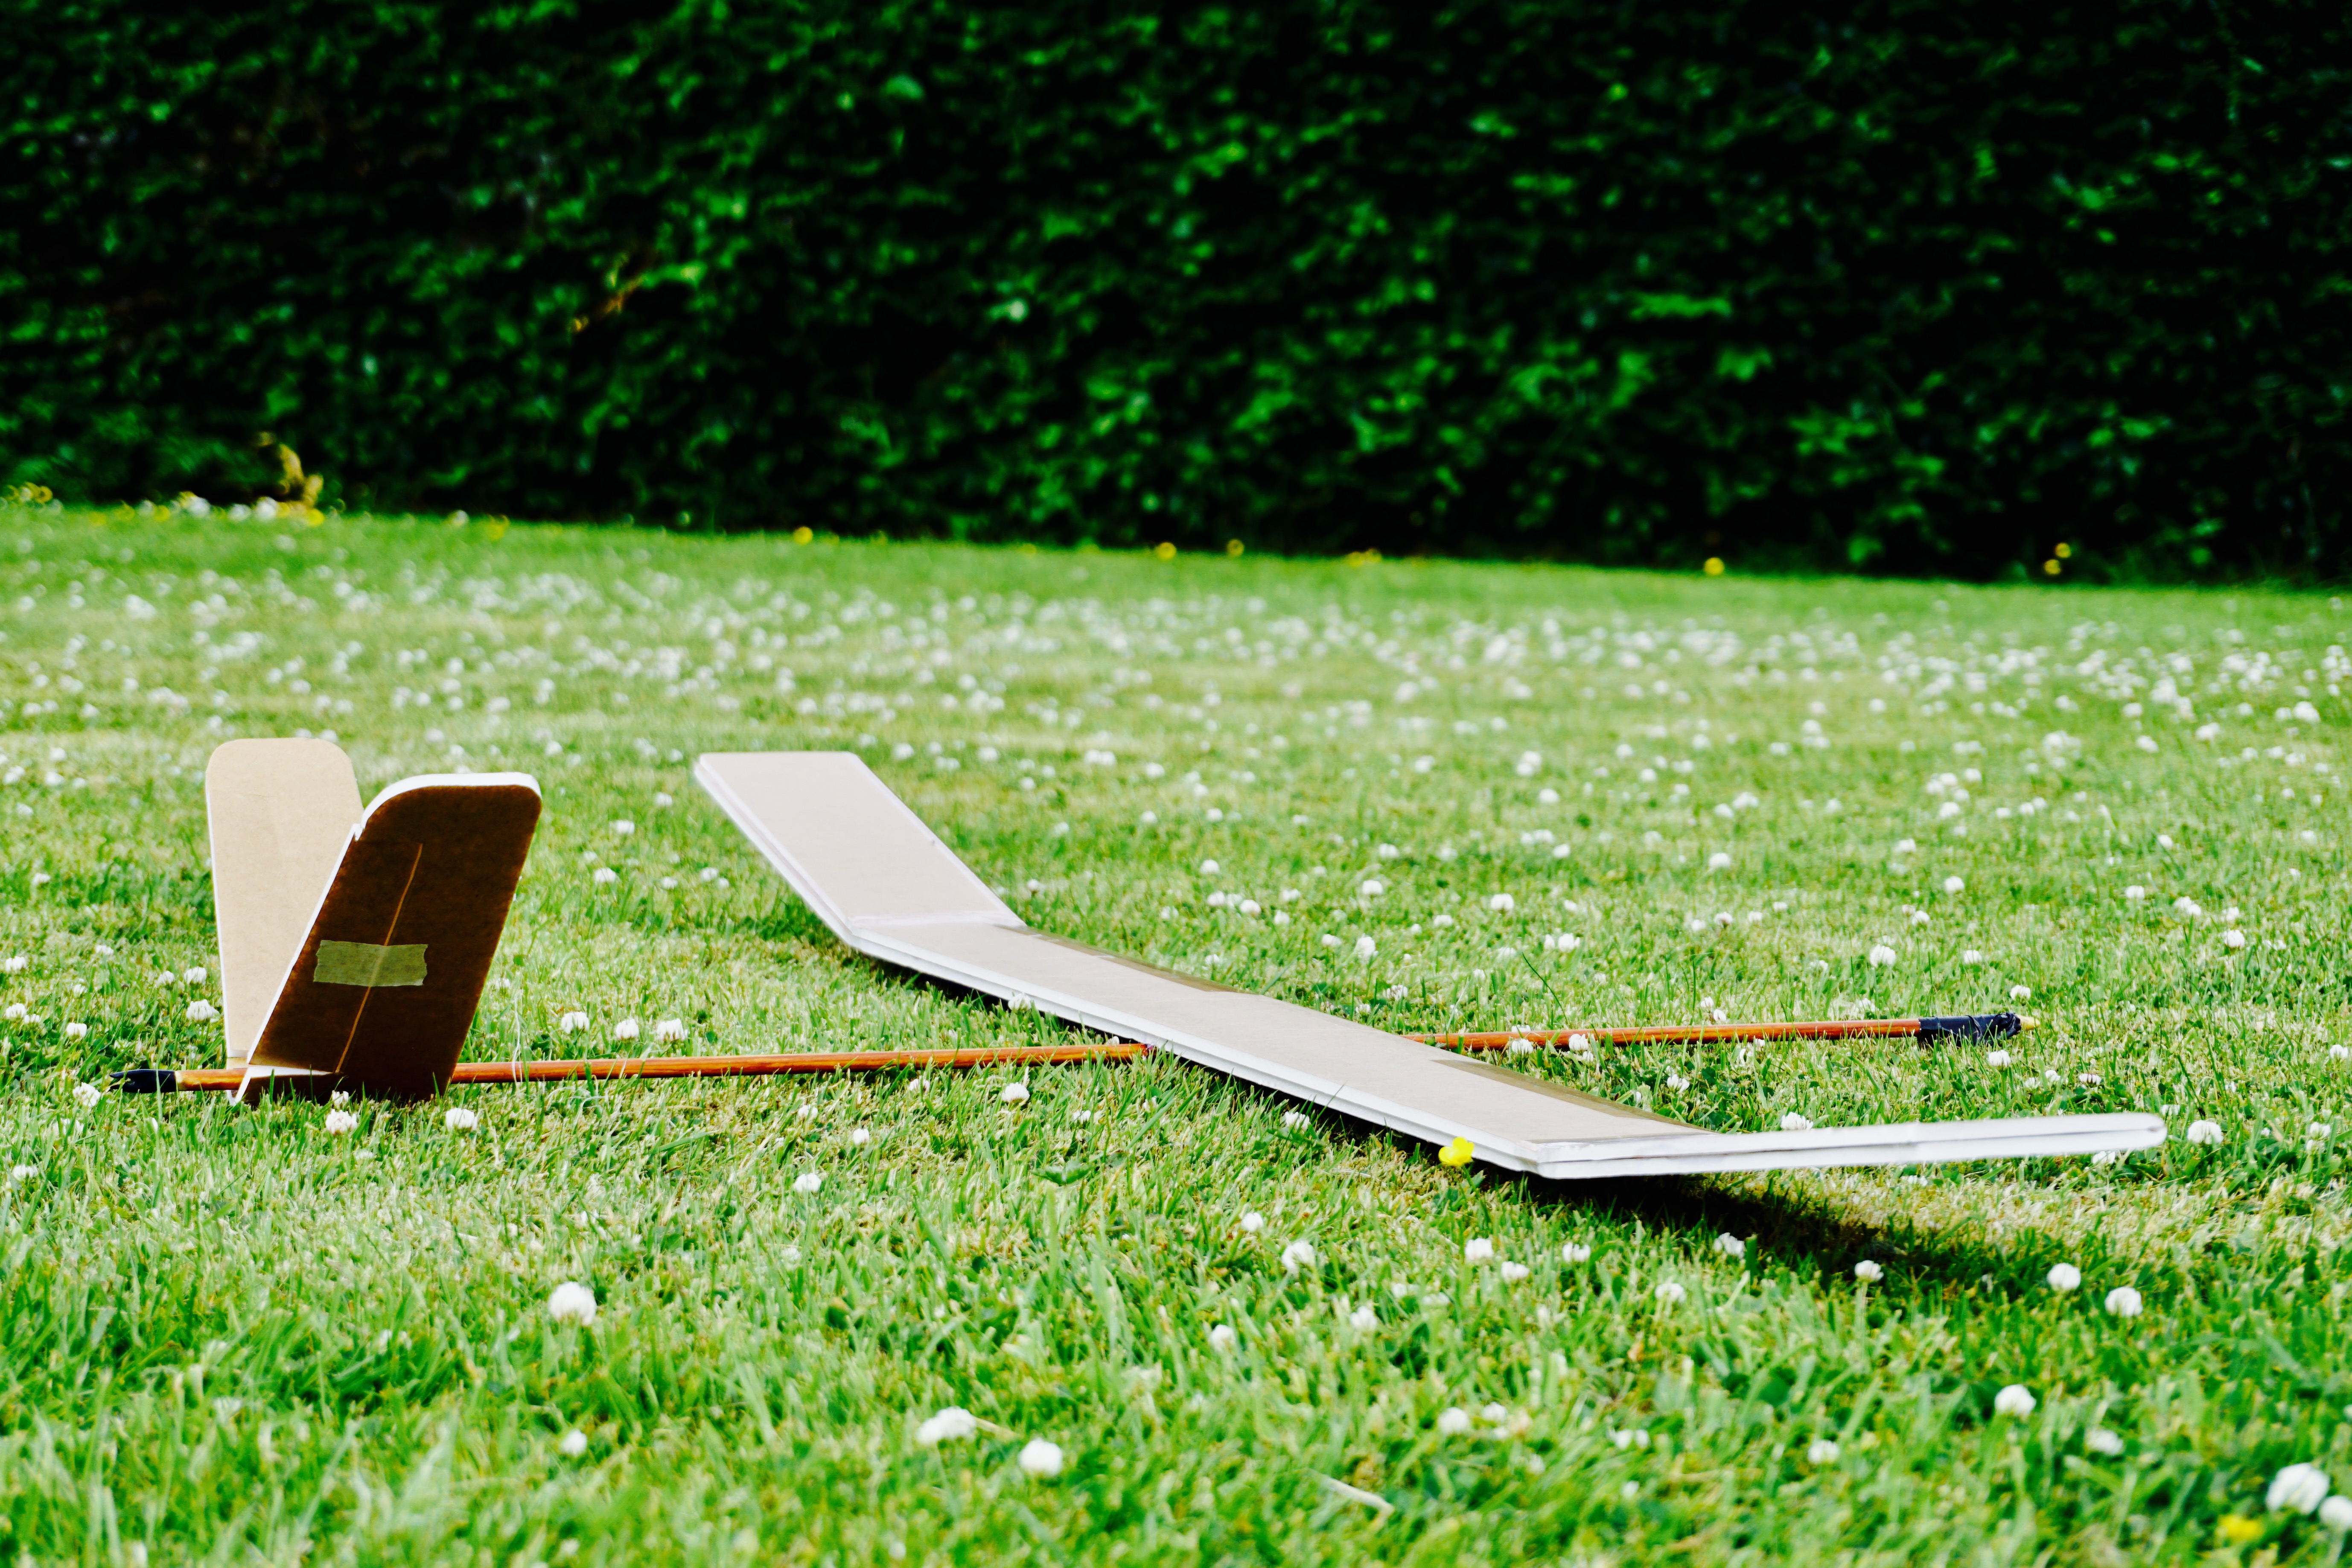
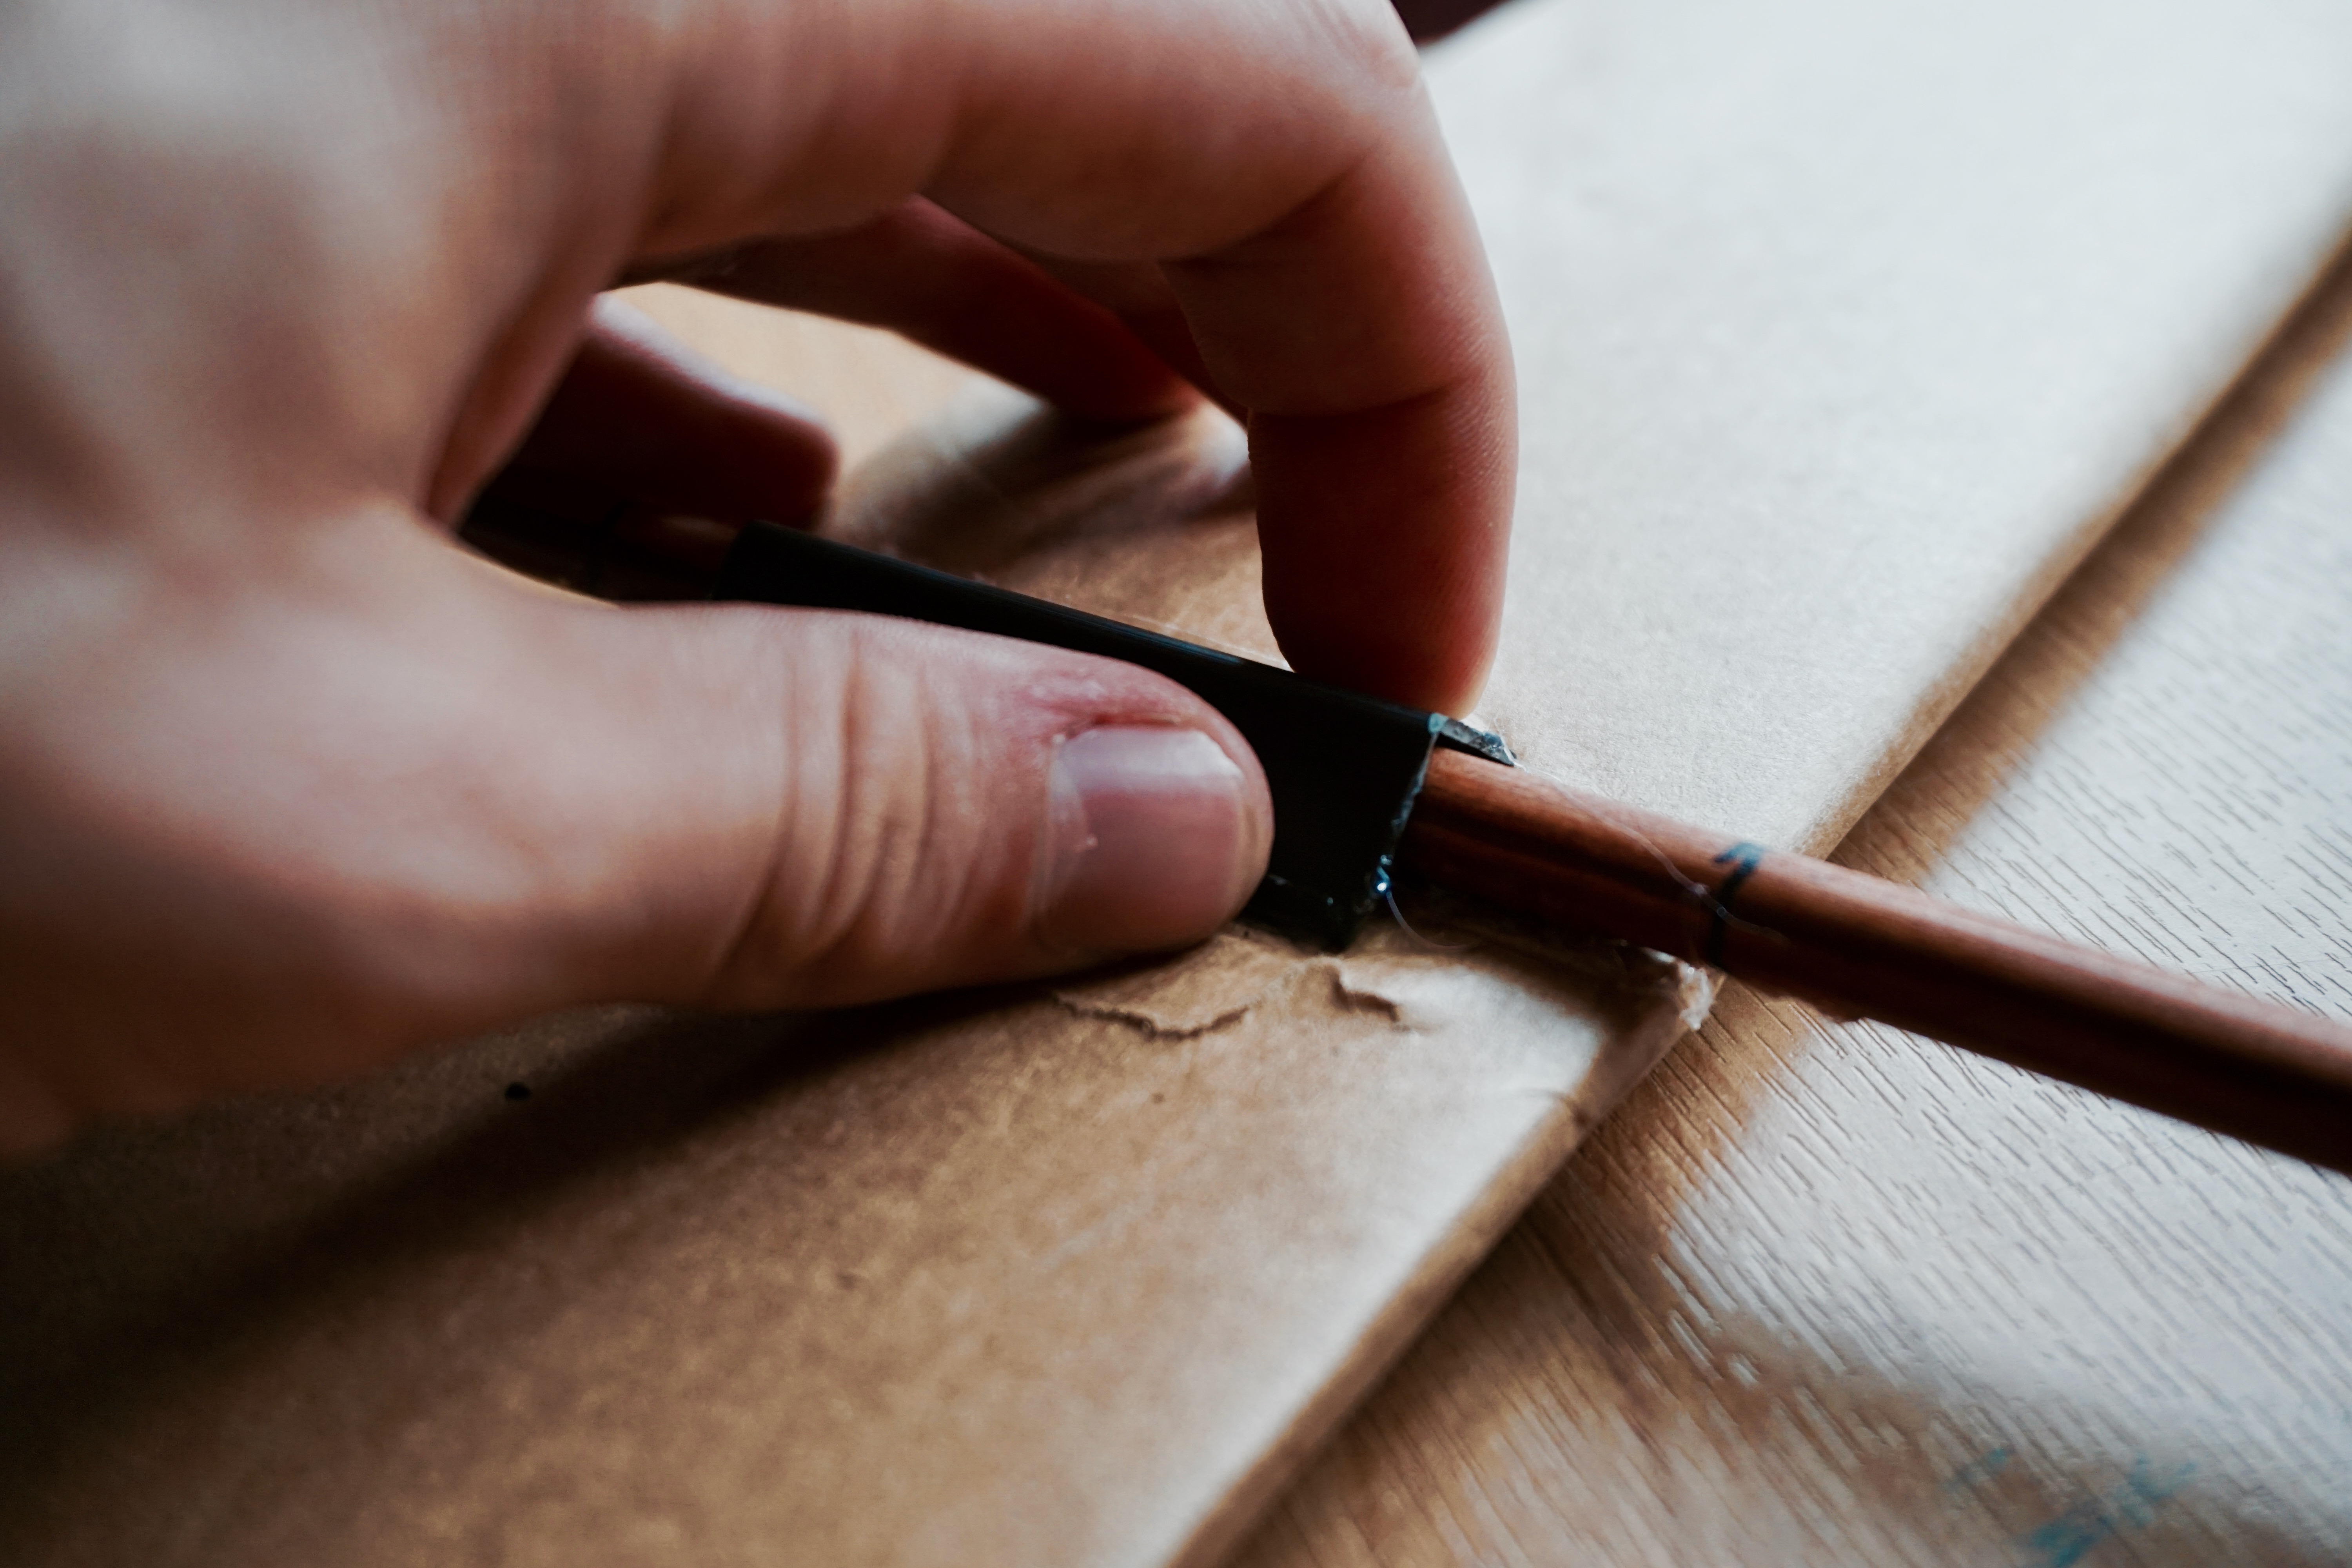
This glider used an arrow shaft as it's the main fuselage with some weight up front on the nose. This was simply a few pennies secured using hot glue and then covered in duct tape for durability. At first, I tried using a cork from a bottle to provide a mount for the pennies. After a couple of test flights that saw the glider nose dive into the ground, this setup was found to be pretty awful as it broke off every time. After going back to the drawing board (to use a cleché), the duct tape solution seemed to be the best idea for a durable nose.

Putting one together
The good news is, these things can be made in almost minutes. Put aside a couple of hours and you can assemble a glider of your own. All you have to do is break down the process into a few steps.
1. The Tail
I found a good place to start was with the tail. Cut out two tail surfaces of approximately 8" long by 3" deep. These can be shaped however you like. I gave mine a slight taper. Next, cut a slice of PVC to attach the two pieces together. This assembly can then be glued securely to the end of the arrow shaft with a couple of blobs of hot glue.
2. The Wing
Next up, you need to build yourself a wing. You can do this really quite easily by cutting out a rectangle of foam board. Get a new sheet and draw a 6" x 26" rectangle. This is the main wing. This can be scored down the middle to make the cord a total of 3". You don't really need a spar on an aircraft this light, so just fold the wing, shape it slightly if you want an airfoil and glue the trailing edge. You can then make extra sections, in the same way, of around 10" each to glue to the ends. These make up the polyhedral. 
3. The Nose
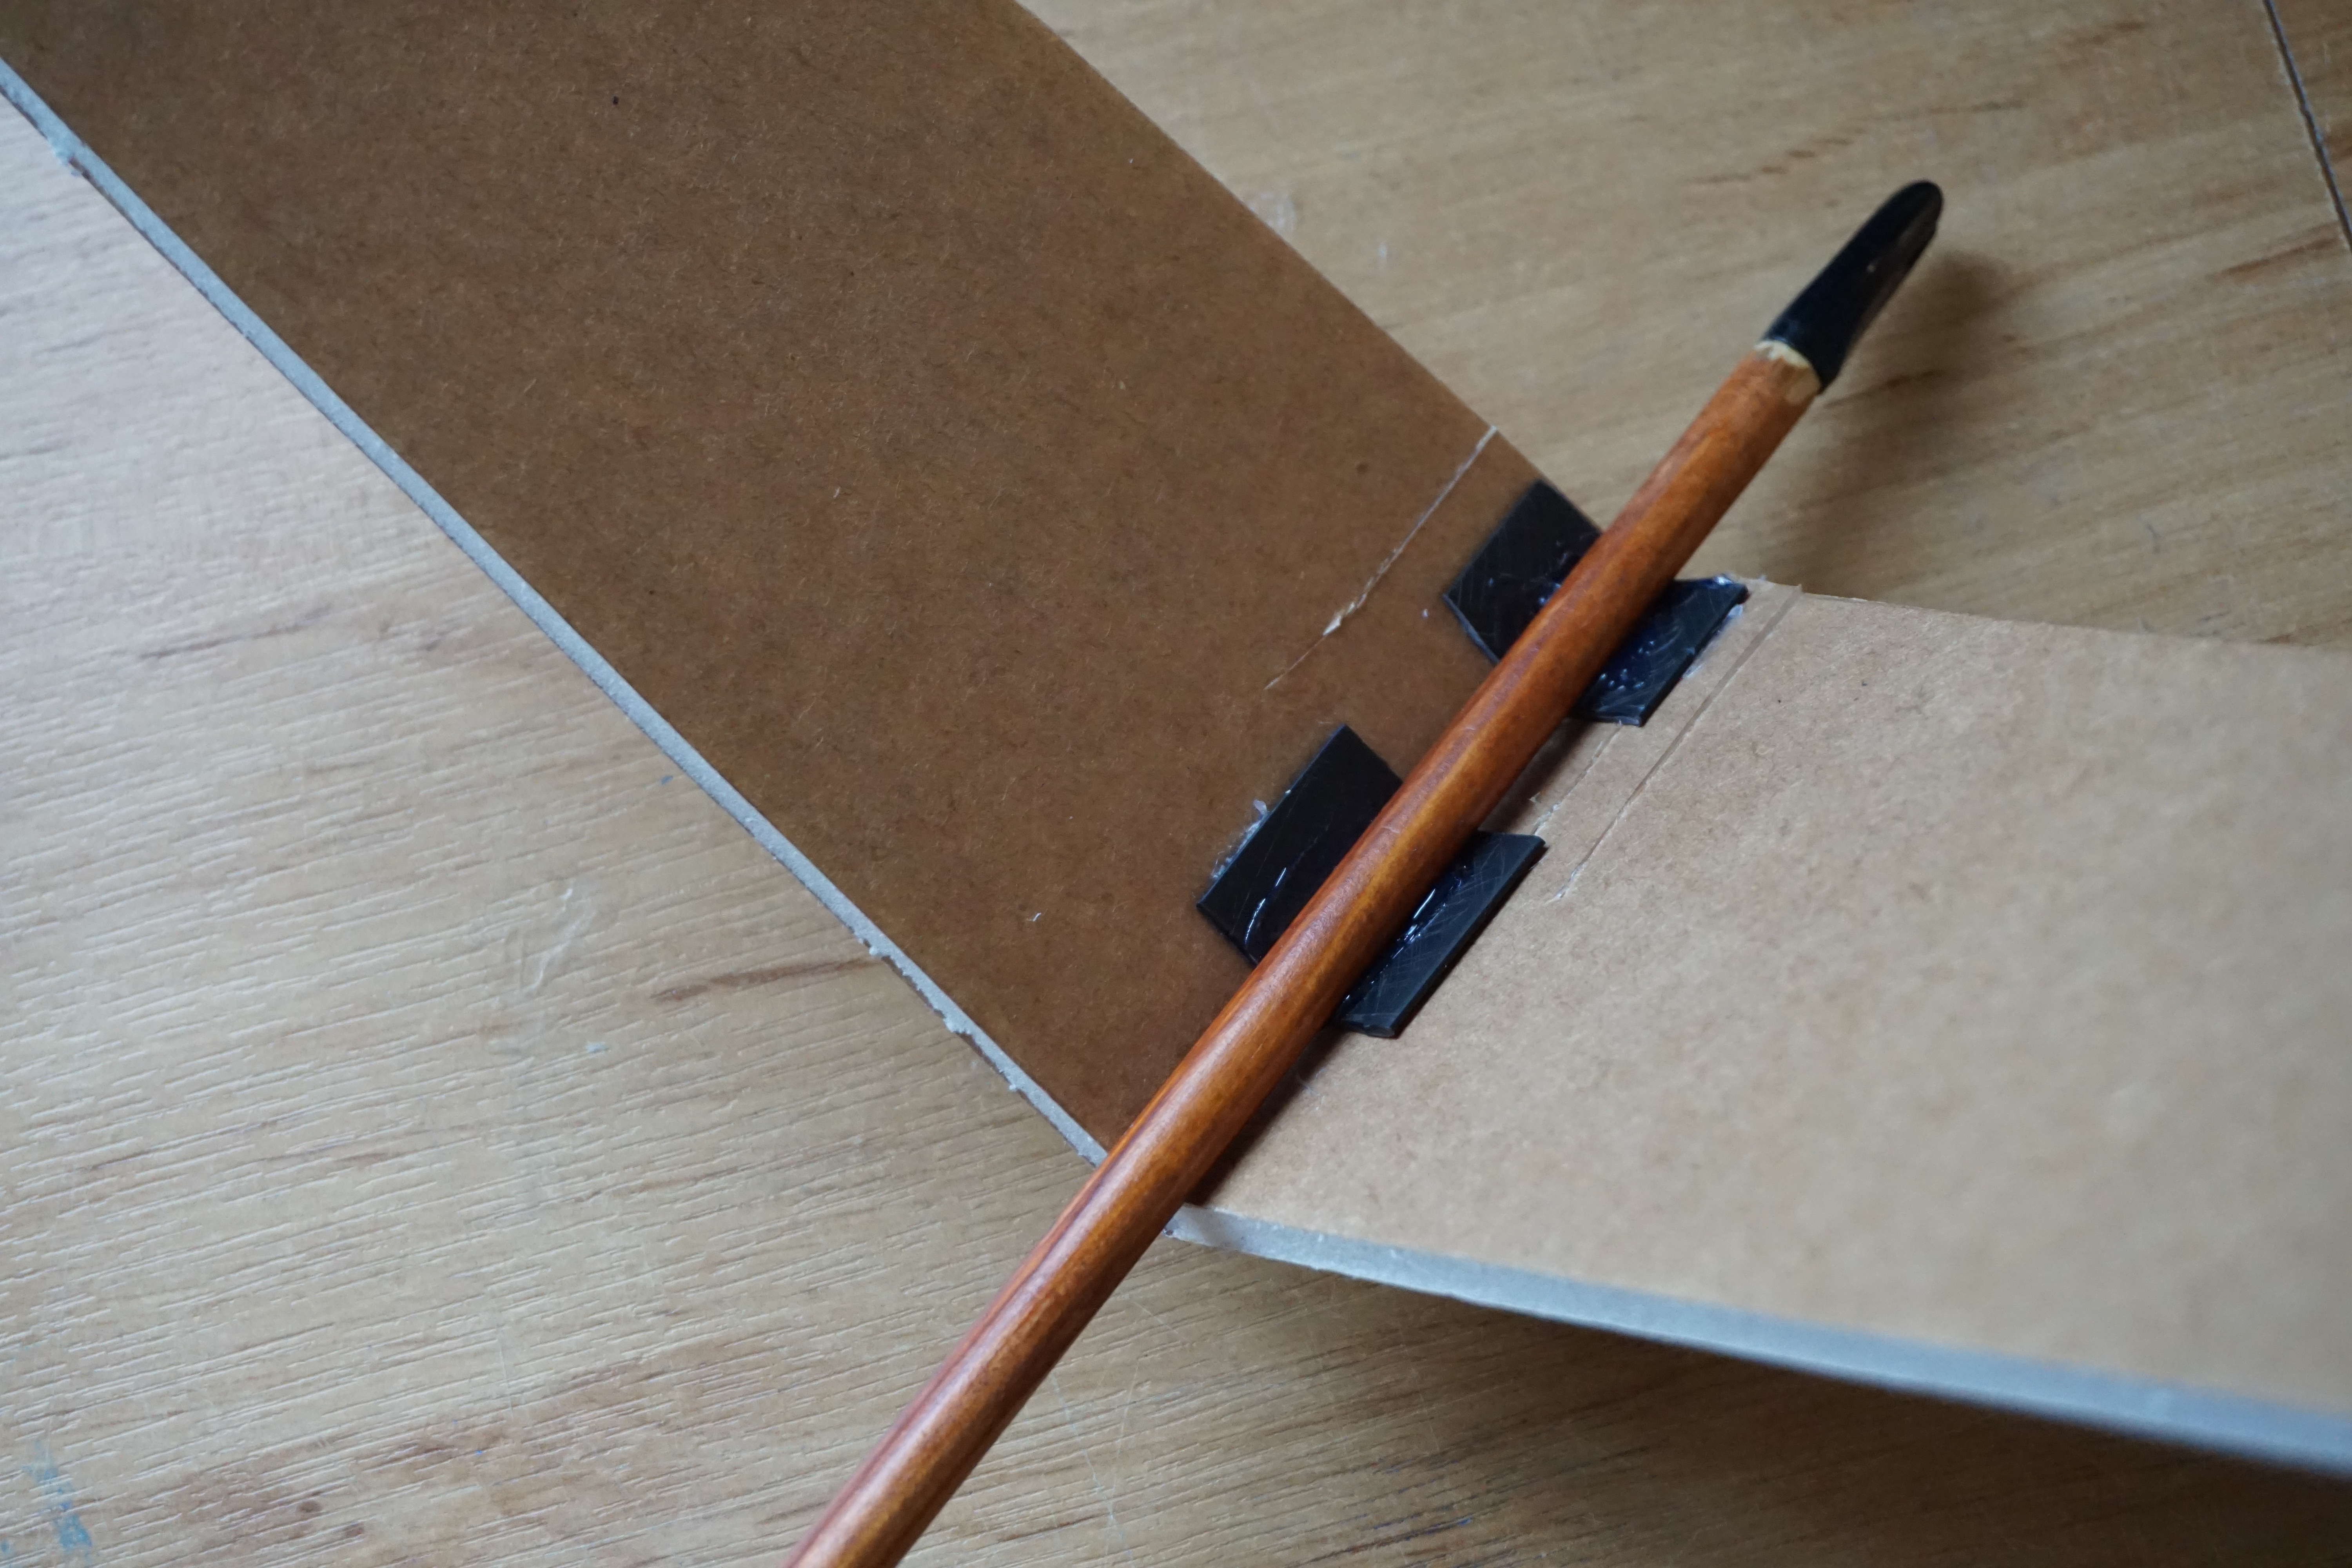
Before you get your wing glued in place, try adding some weight to the nose of the arrow shaft. I simply duct-taped a few pennies under the arrow shaft until I got the CG far enough forward to give the glider an appropriately long tail whilst avoiding an absurdly long nose.

4. Attaching the wing
Next, position the wing and glue another slice of PVC over the fuselage. You can slide this up and down to fine-tune and then glue in place.
Taking It To The Next Level
Next time on this project, I'll be adding some electronics to the glider to make it fully RC! Check back here soon for that article.
Article by James Whomsley
Editor of FliteTest.com


COMMENTS
You need to log-in to comment on articles.