Remember this...?
This was the first KFm wing that I ever built back in 2014. It only flew a handful of times and never under FPV control, however it did fly VERY nicely. I was about to head off on a 9-day tour of Queensland with work recently and I really wanted a new FPV wing to take with me. I needed something a decent size, hard wearing, and about as simple as it gets – so I decided to turn this old KFm6 design into the ULTIMATE KFm6 FPV WING!
Keep it Simple Stupid!
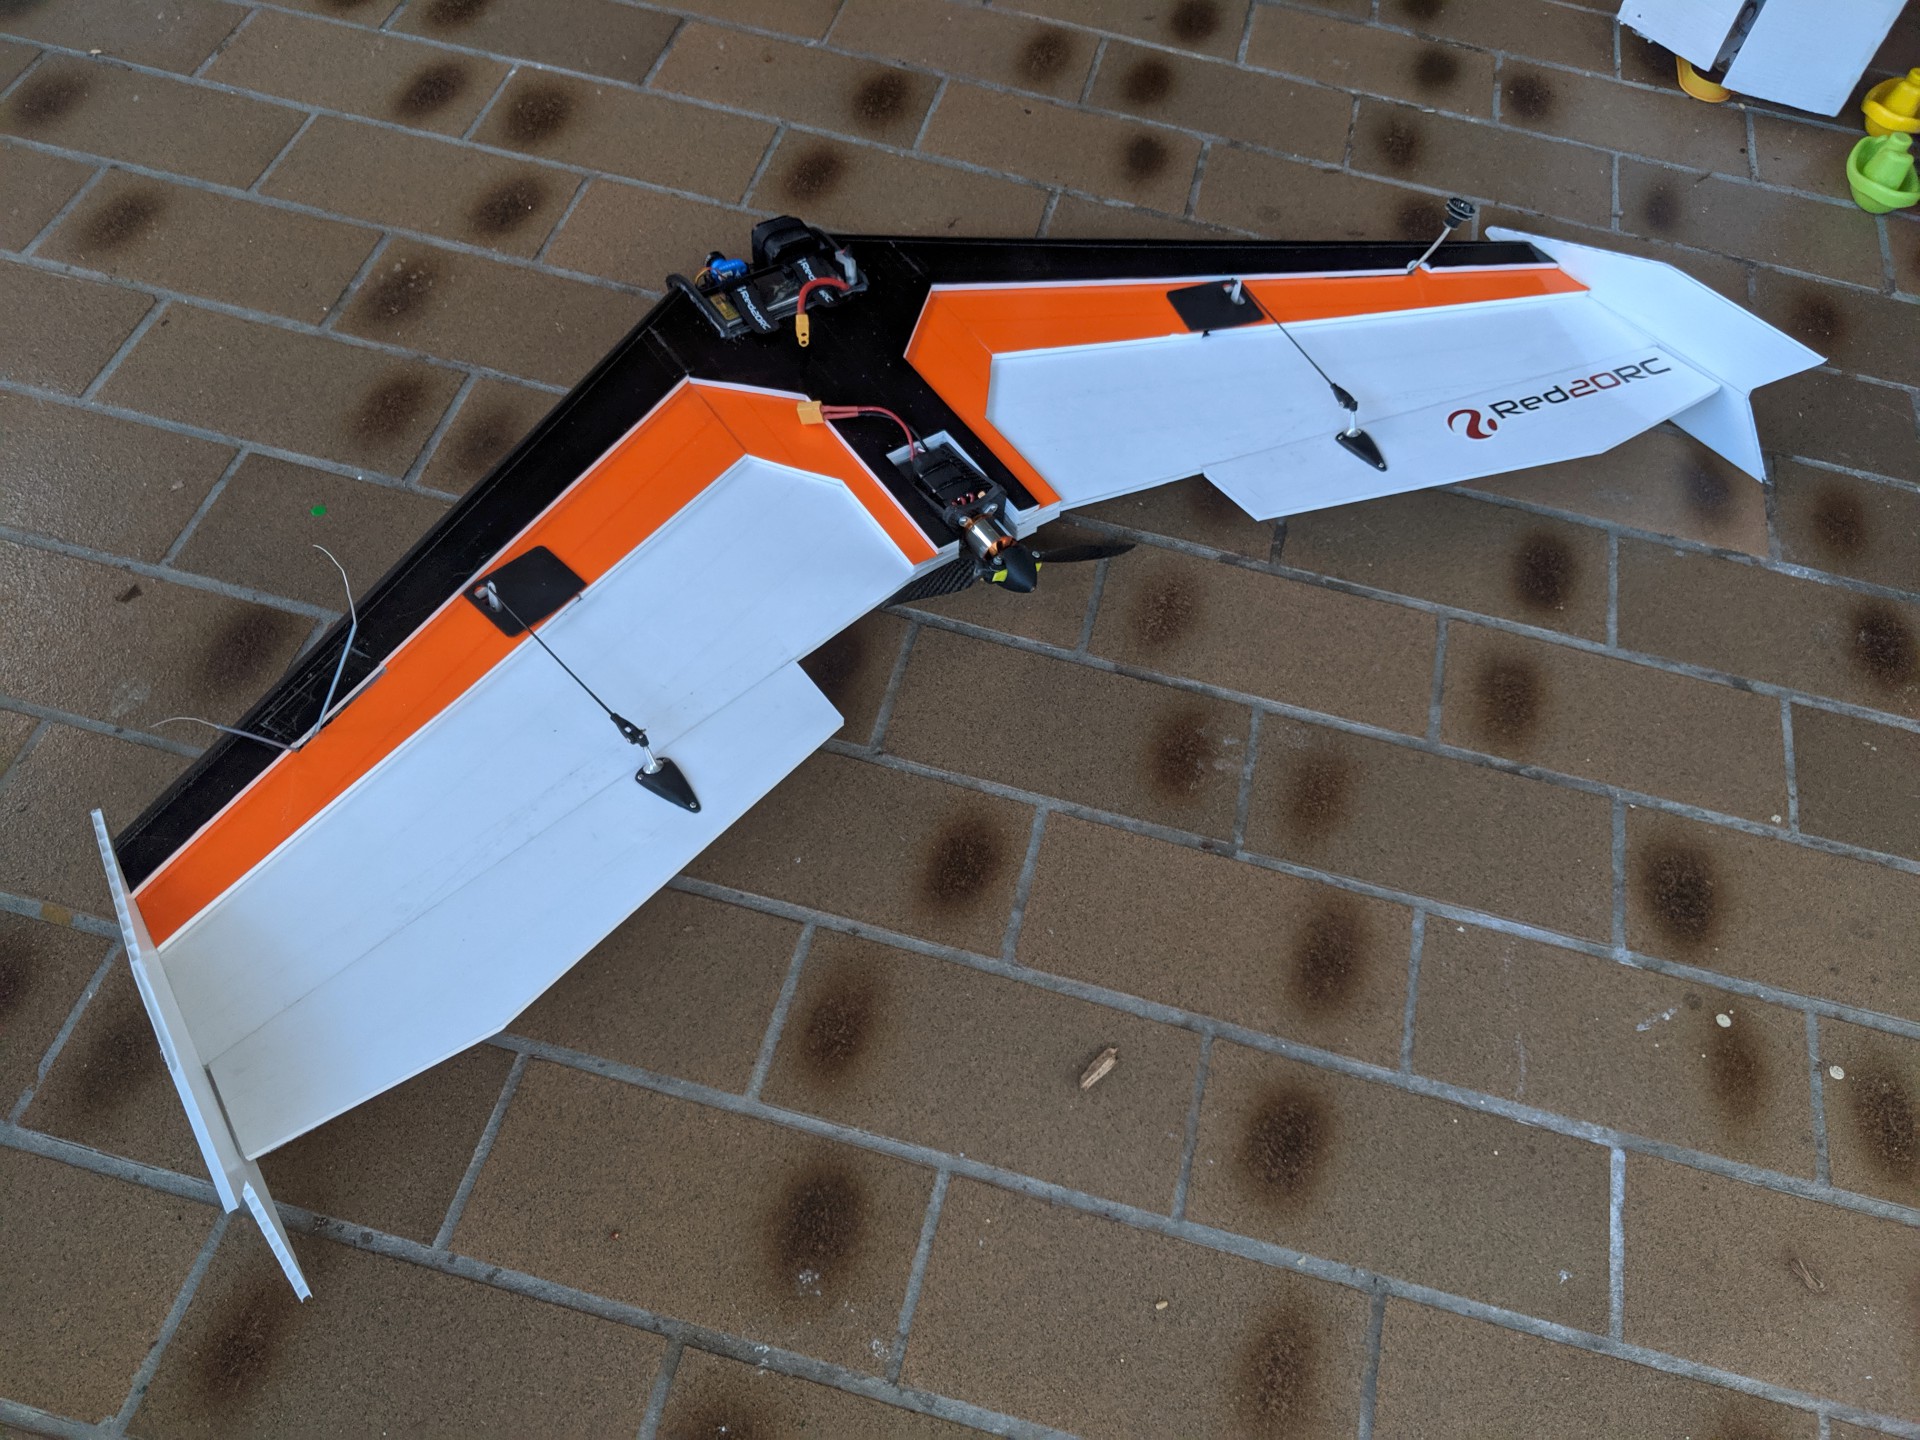
The design is about as simple as it gets. A single core layer of foam board outlines the whole shape and then two steps above and two below form the KFm6 airfoil. In total I used about 1.5 sheets of 40″ x 32″ foam board. There are no spars, but I did include a couple of design improvements which I’ll go into in more depth below…
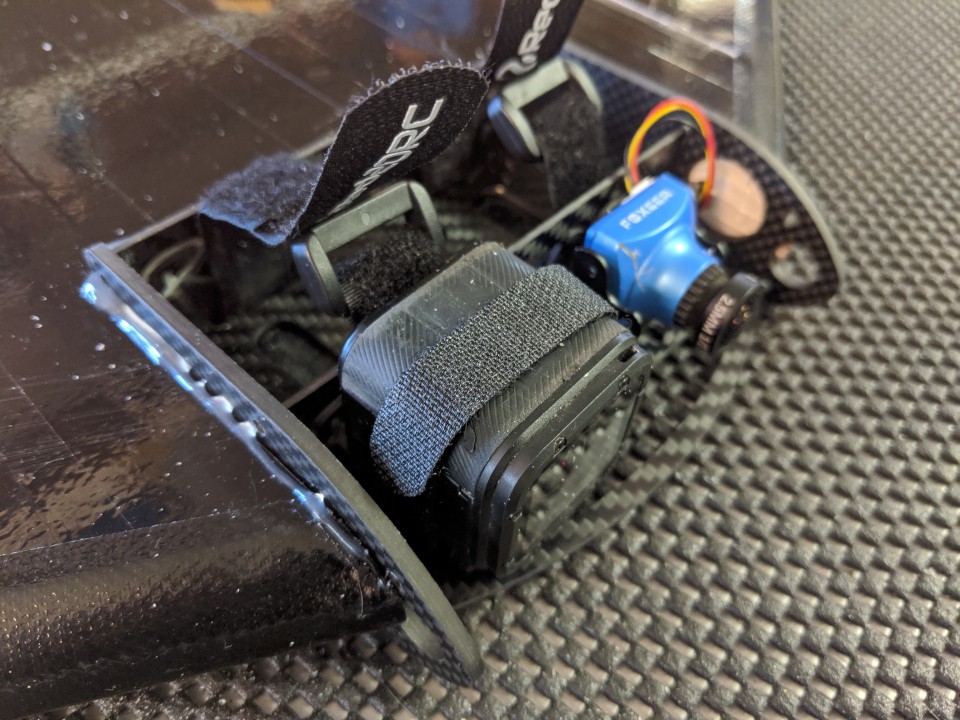
FPV POD - For this wing I designed and cut a custom FPV pod. I don’t want to go mega-long-range with this wing so the battery bay is sized for an 1800mah 4S Tattu LiPo. Slots in the front portion are sized perfectly for the Foxeer camera and GoPro Session.
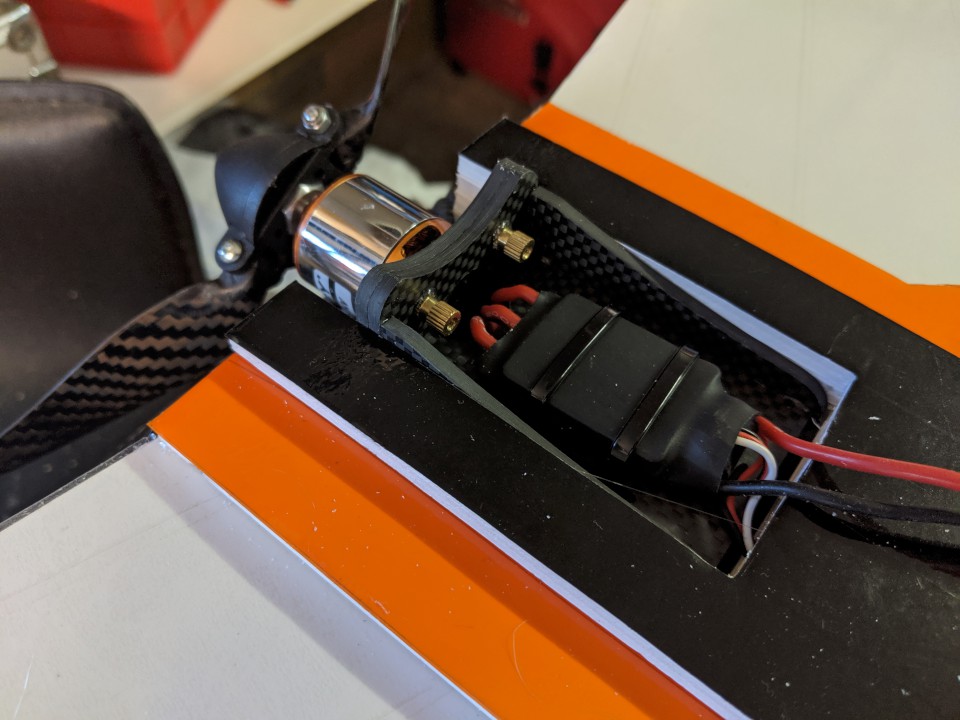
MOTOR MOUNT - Another custom-made item for this wing. The motor mount has two 6mm thick lugs on either side that root it firmly into the wing core. Press nuts are epoxied into the rear firewall plate so that motors can be easily removed for repair.
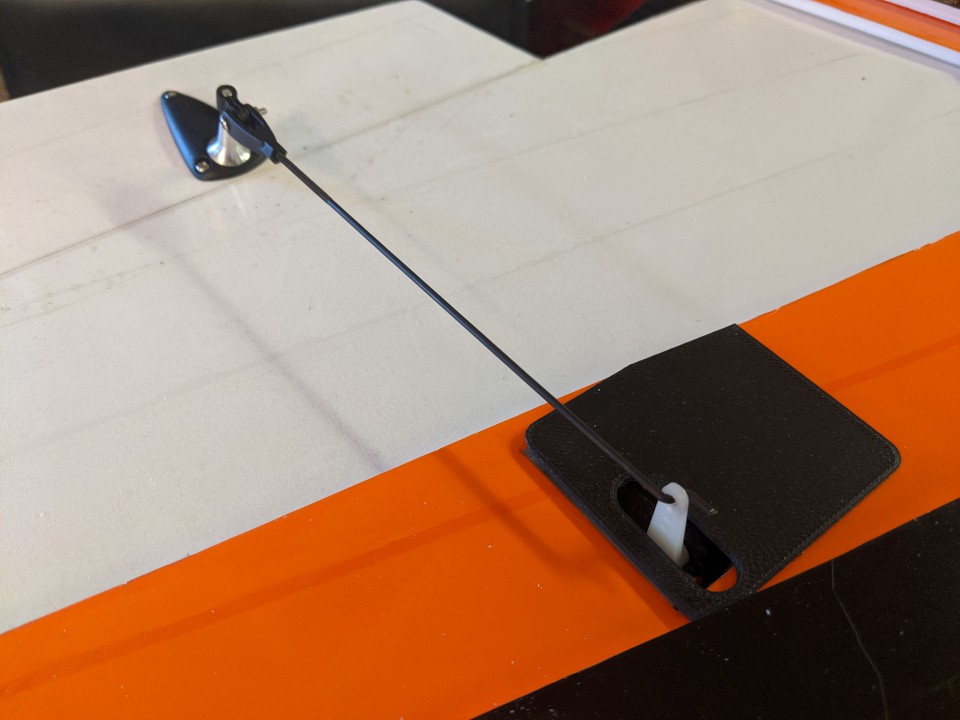
ROBUST CONTROLS - For once I used some decent servos! metal gear slim servos are embedded into the wing panels and finished with 3D printed covers. Very strong pillar type control horns clamp to the ailerons and use ball links for smooth operation.
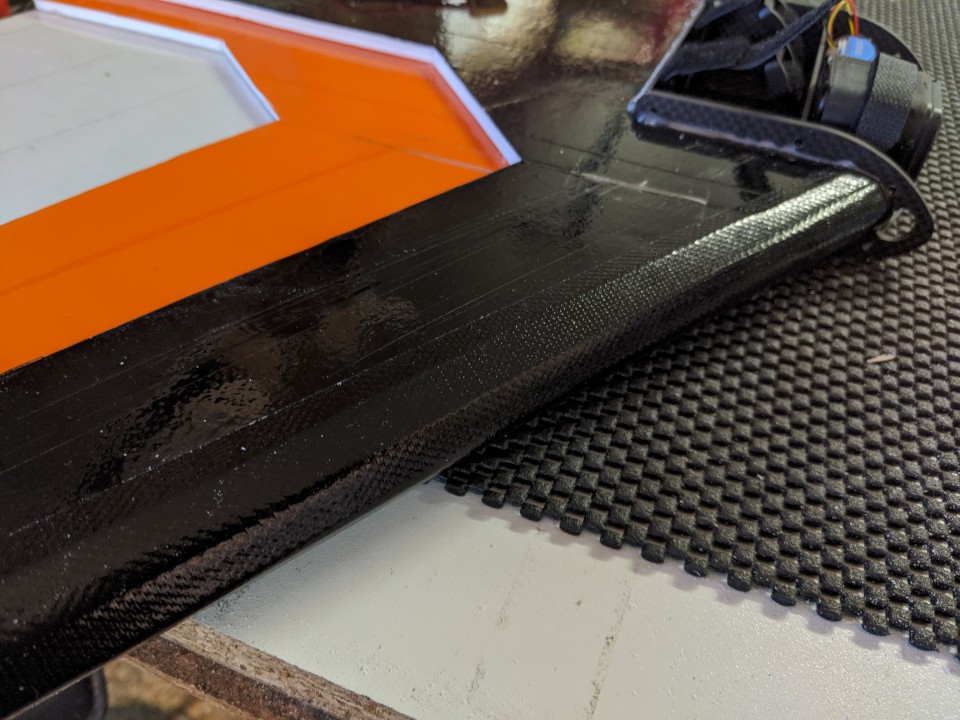
LEADING EDGE MODS - It’s hard to tell but the leading edges are more than meets the eye! Inlaid Depron strips are sanded to shape and then a 5mm hardwood dowel forms a hard front edge. A cloth tape coating finished the wing with a smooth surface.
Finishing Off
All wiring was routed through channels cut into the middle panel. This keeps things nice and clean for finishing although it does make repairs to wiring almost impossible.
The panels were coated in packing tape before final assembly. The coloured tape is very easy to use and gives a bit more resistance to the foam board without adding much weight.
Control is via the FrSky D4R-II receiver. There is no flight controller and no OSD on this build – just a boy and his wing going back to basics.
Incidentally, with this setup the CG is pretty much spot on at 160mm back from the nose.
Time to Fly...
The flight performance is really nice as is the expected normal for a KFm6 wing. I had to put 20g of lead under the nose just to smooth it out a little but it flew okay without it.
Stalls were non-existent, as was the glide (as usual)! Rolls are nice and crisp although loops required a fair bit of power to get over the top without a wingover.
Conclusion
Believe it or not, the Ultimate KFm6 wing crashed on its third flight, splitting the wing in two and pretty much wrecking the airframe. The cause of the crash? Remember I used those nice servos? Well the screw that held the servo arm onto the metal spline came loose causing me to lose a control surface.
Top Tip: Threadlock servo arm fixing screws when you have a metal spline!
I'm not sure I'll build another wing just yet as I am trying some different things but this is definitely a nice design for relaxed FPV flying.
Until next time...


Log In to reply
Log In to reply
Log In to reply