
In my continuing effort to put as many of my spare electronics on an aircraft, I found myself with six 19g servos, 2 ESCs, and 2 3506 motors. The obvious choice was to build a twin motor aircraft. As I began brainstorming ideas, I came to the following conclusions. I wanted the plane to be a high wing, since my last low wing plane was very finicky. I also Wanted it to be a civilian passenger aircraft, and to look like a real plane. After searching online for different types of twin engine propeller aircraft, I came to the Twin Commander. I knew it would need to be quite large to carry all of the necessary electronics, so I settled on an 80 inch wingspan. This would be 5 inches wider than my previous large twin cargo plane.
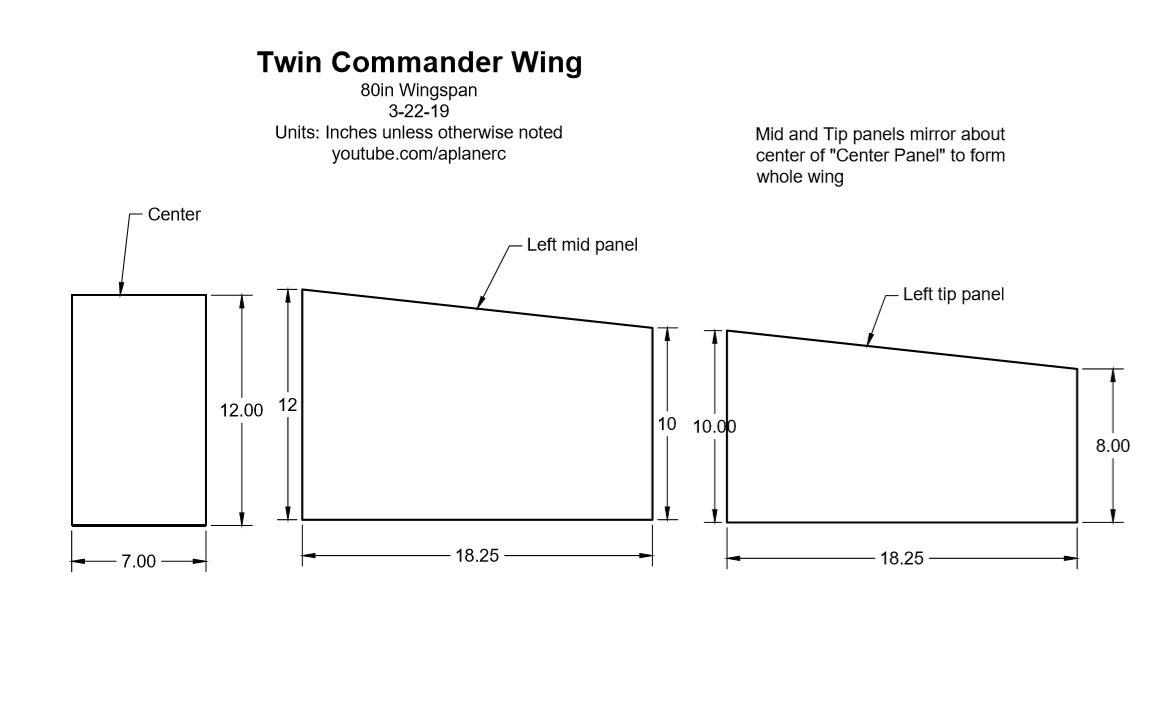
I began by designing a 3D model of the plane in Fusion360. I used a 3-view drawing of the real aircraft to base the model on, but it is not exactly proportional to it. The wing is a bit thicker, and the tail surfaces over-sized a bit. Once I finished the 3D model, I used it to make 2D plans of each panel section I would need to cut out of foam.

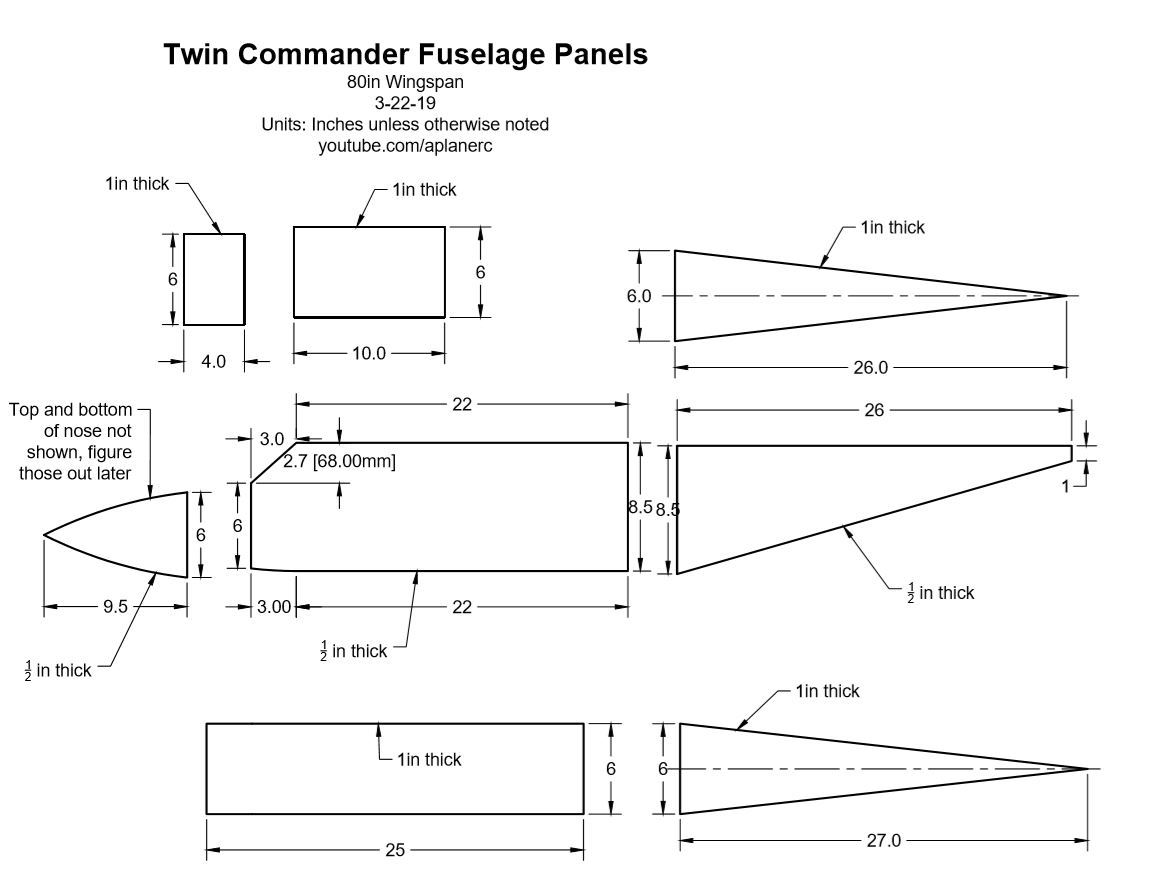


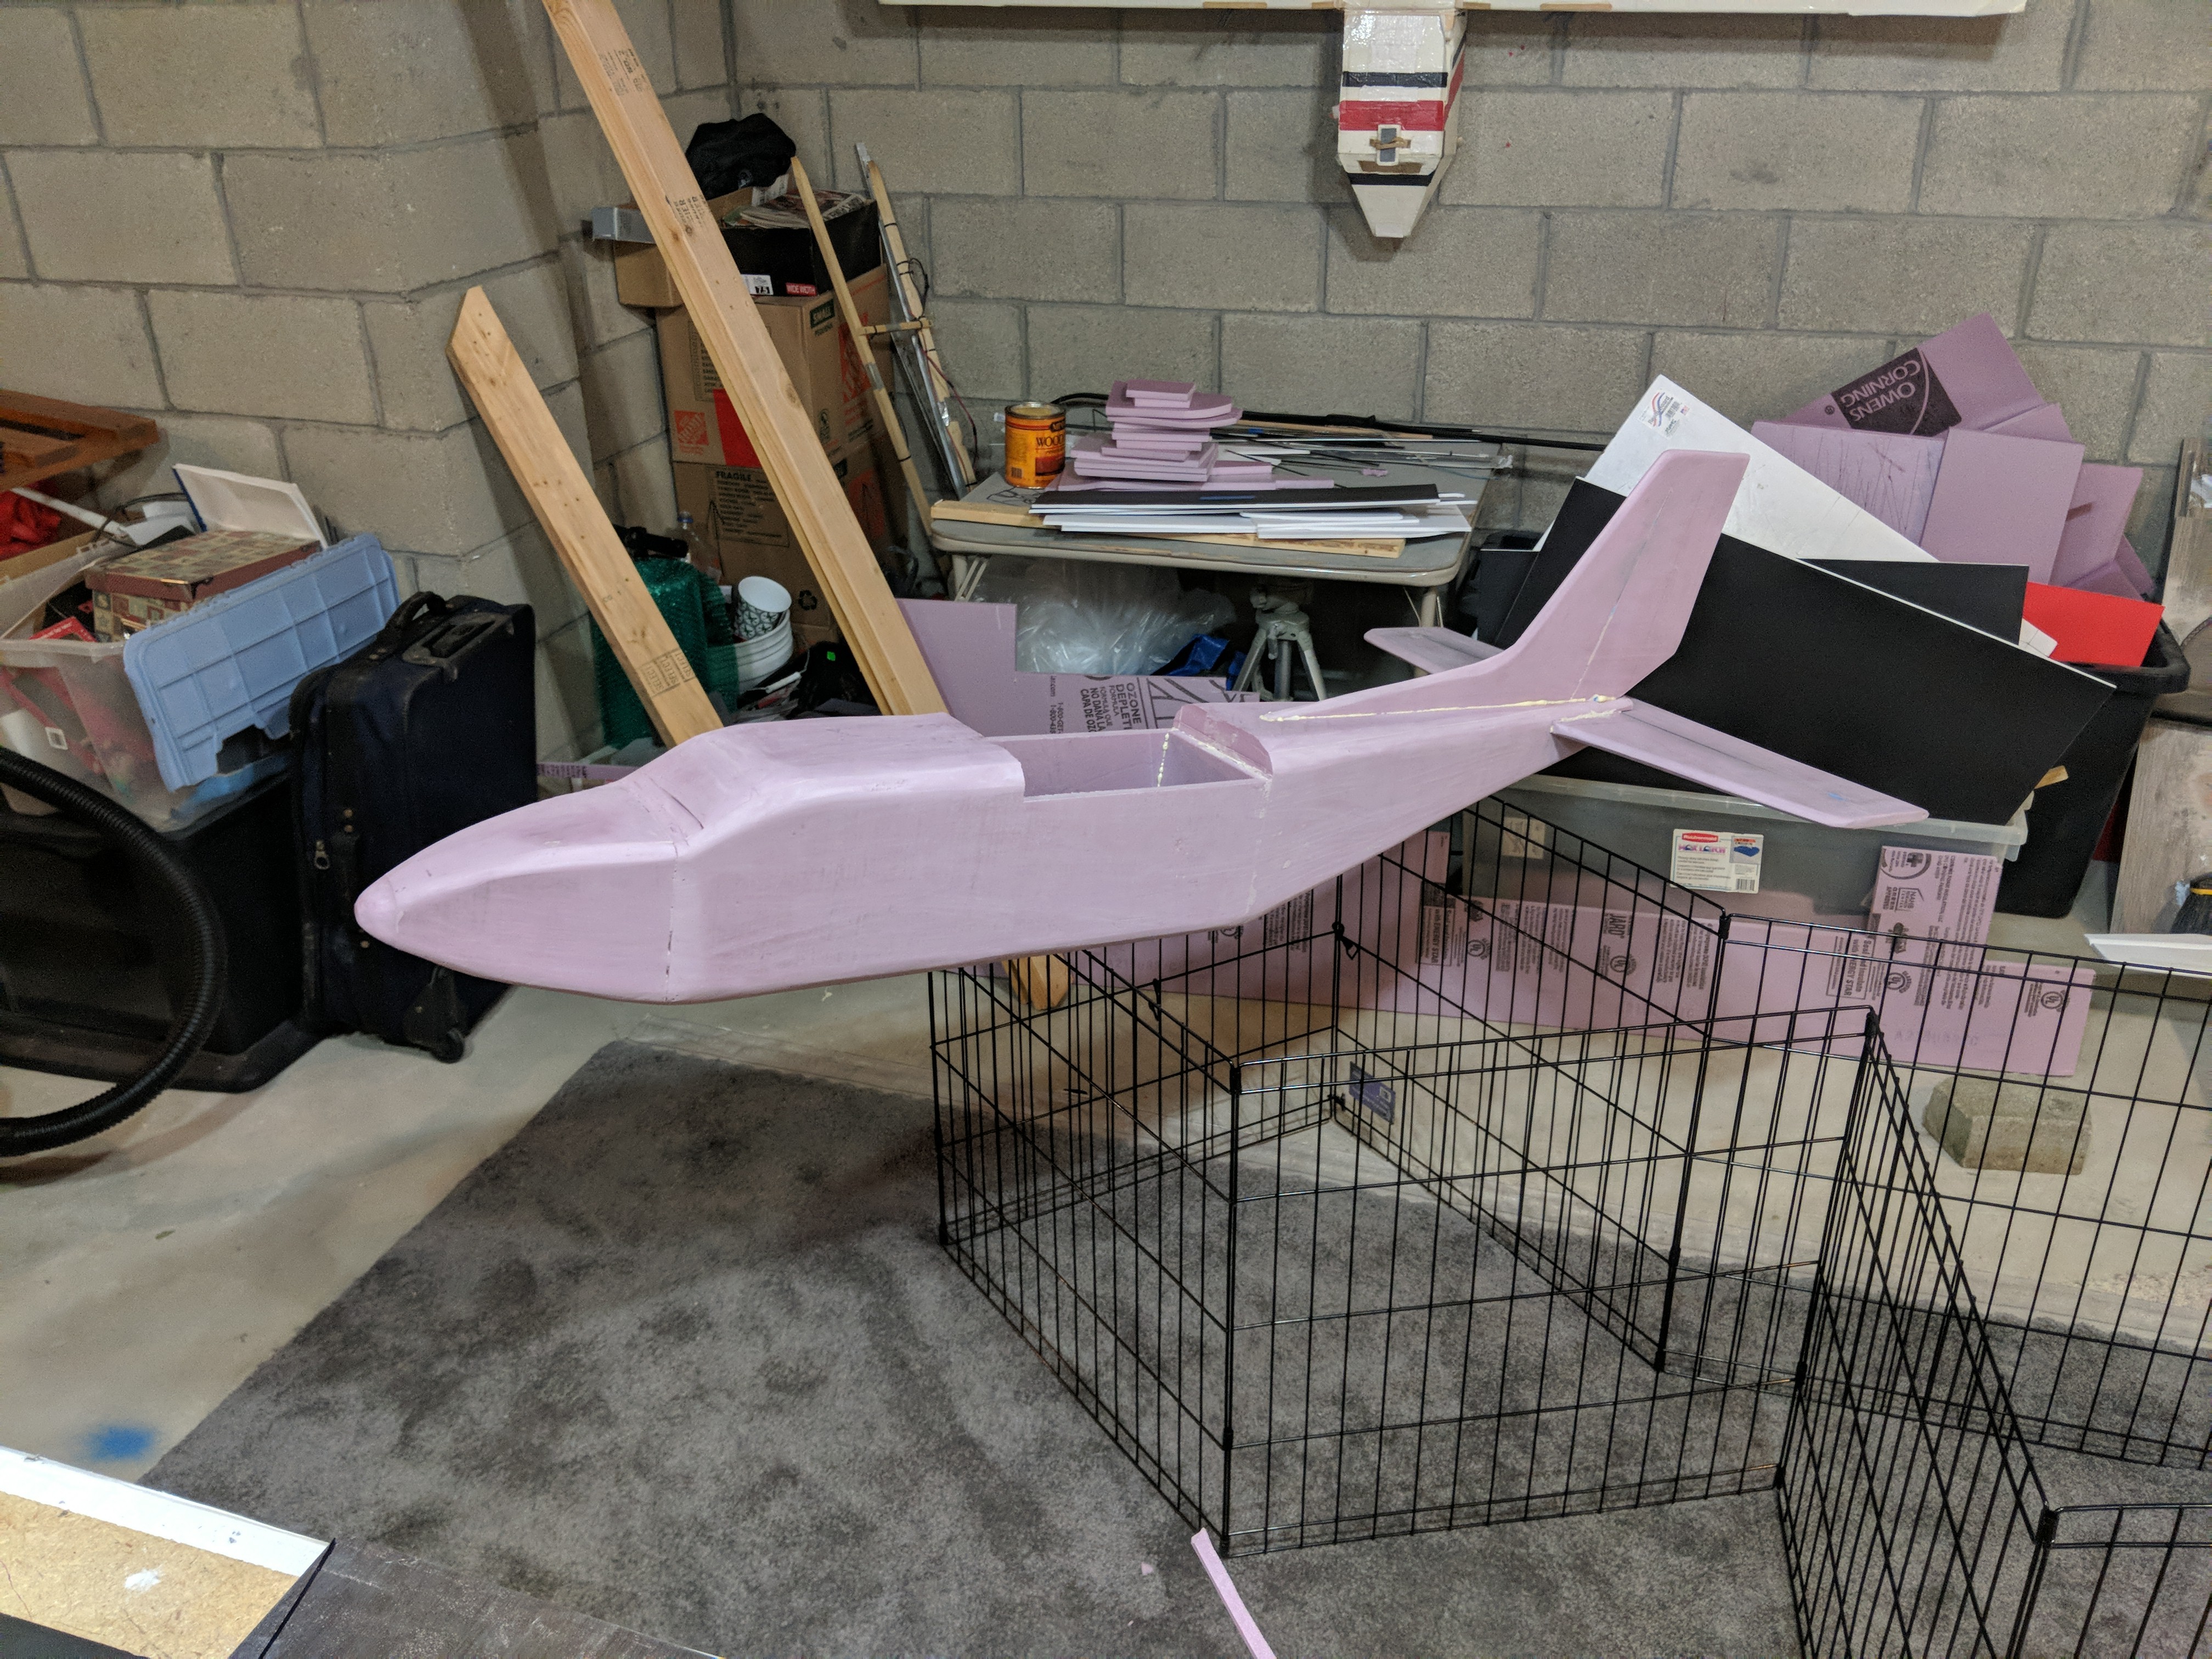
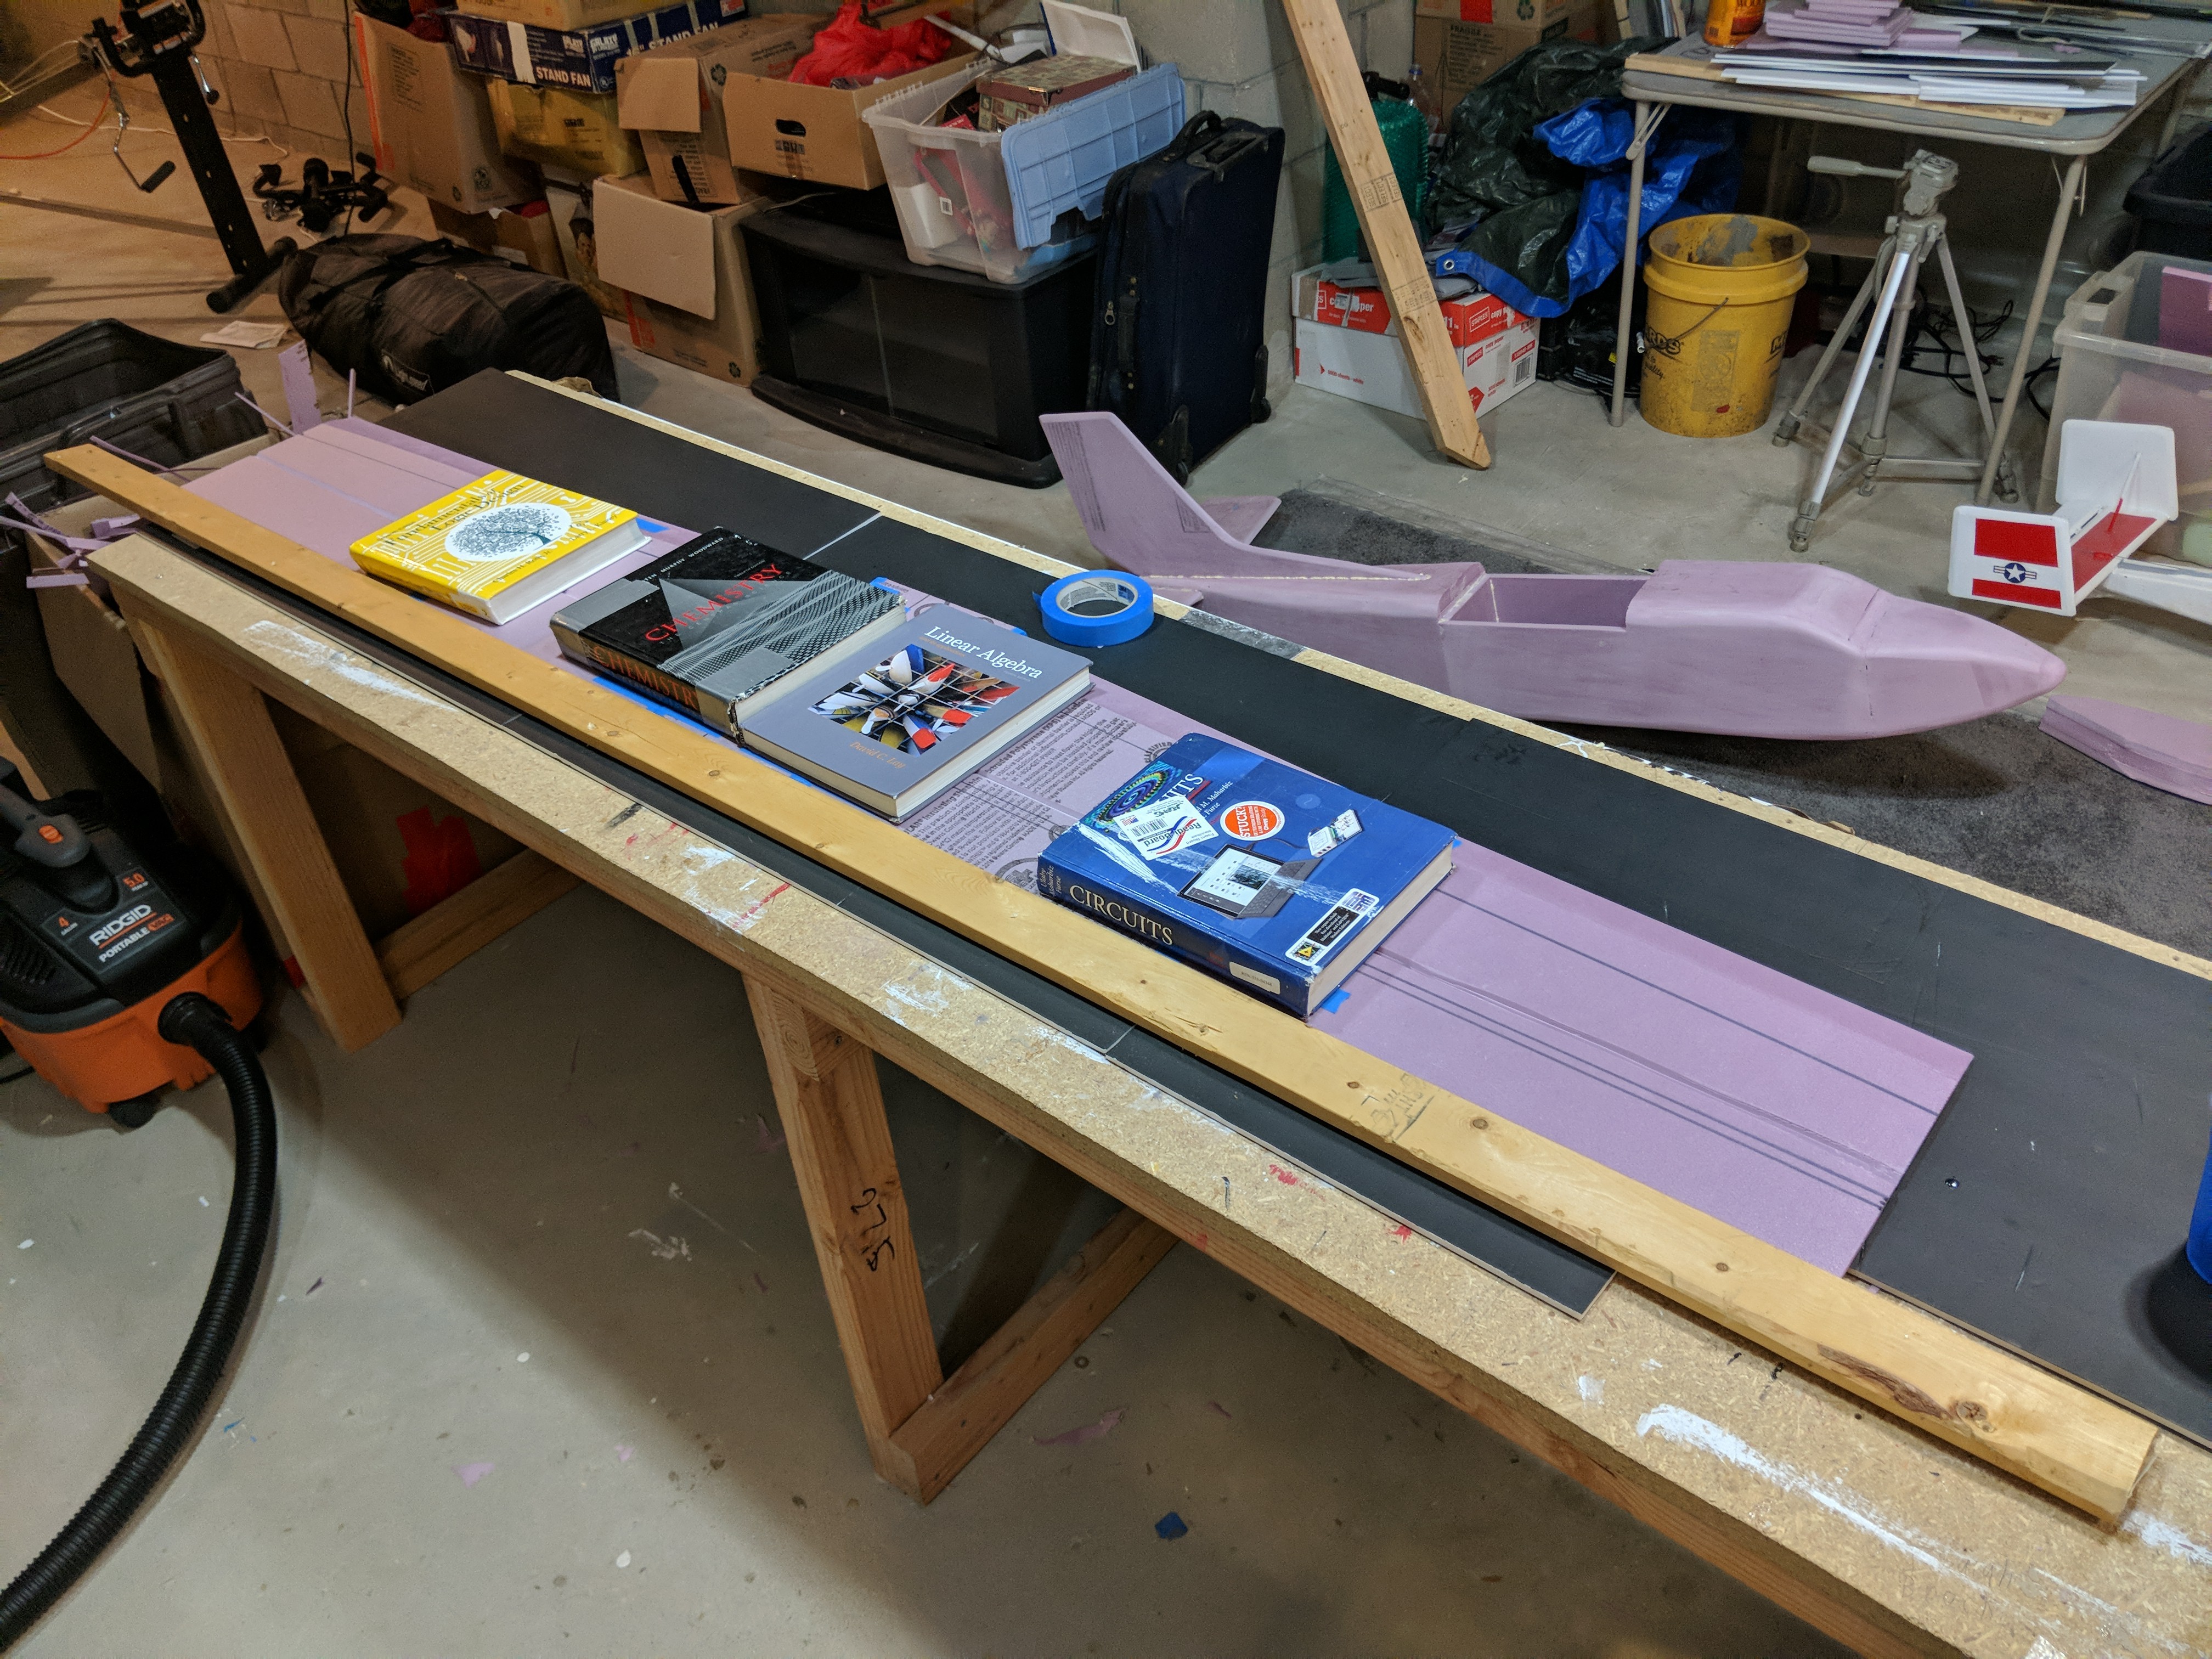
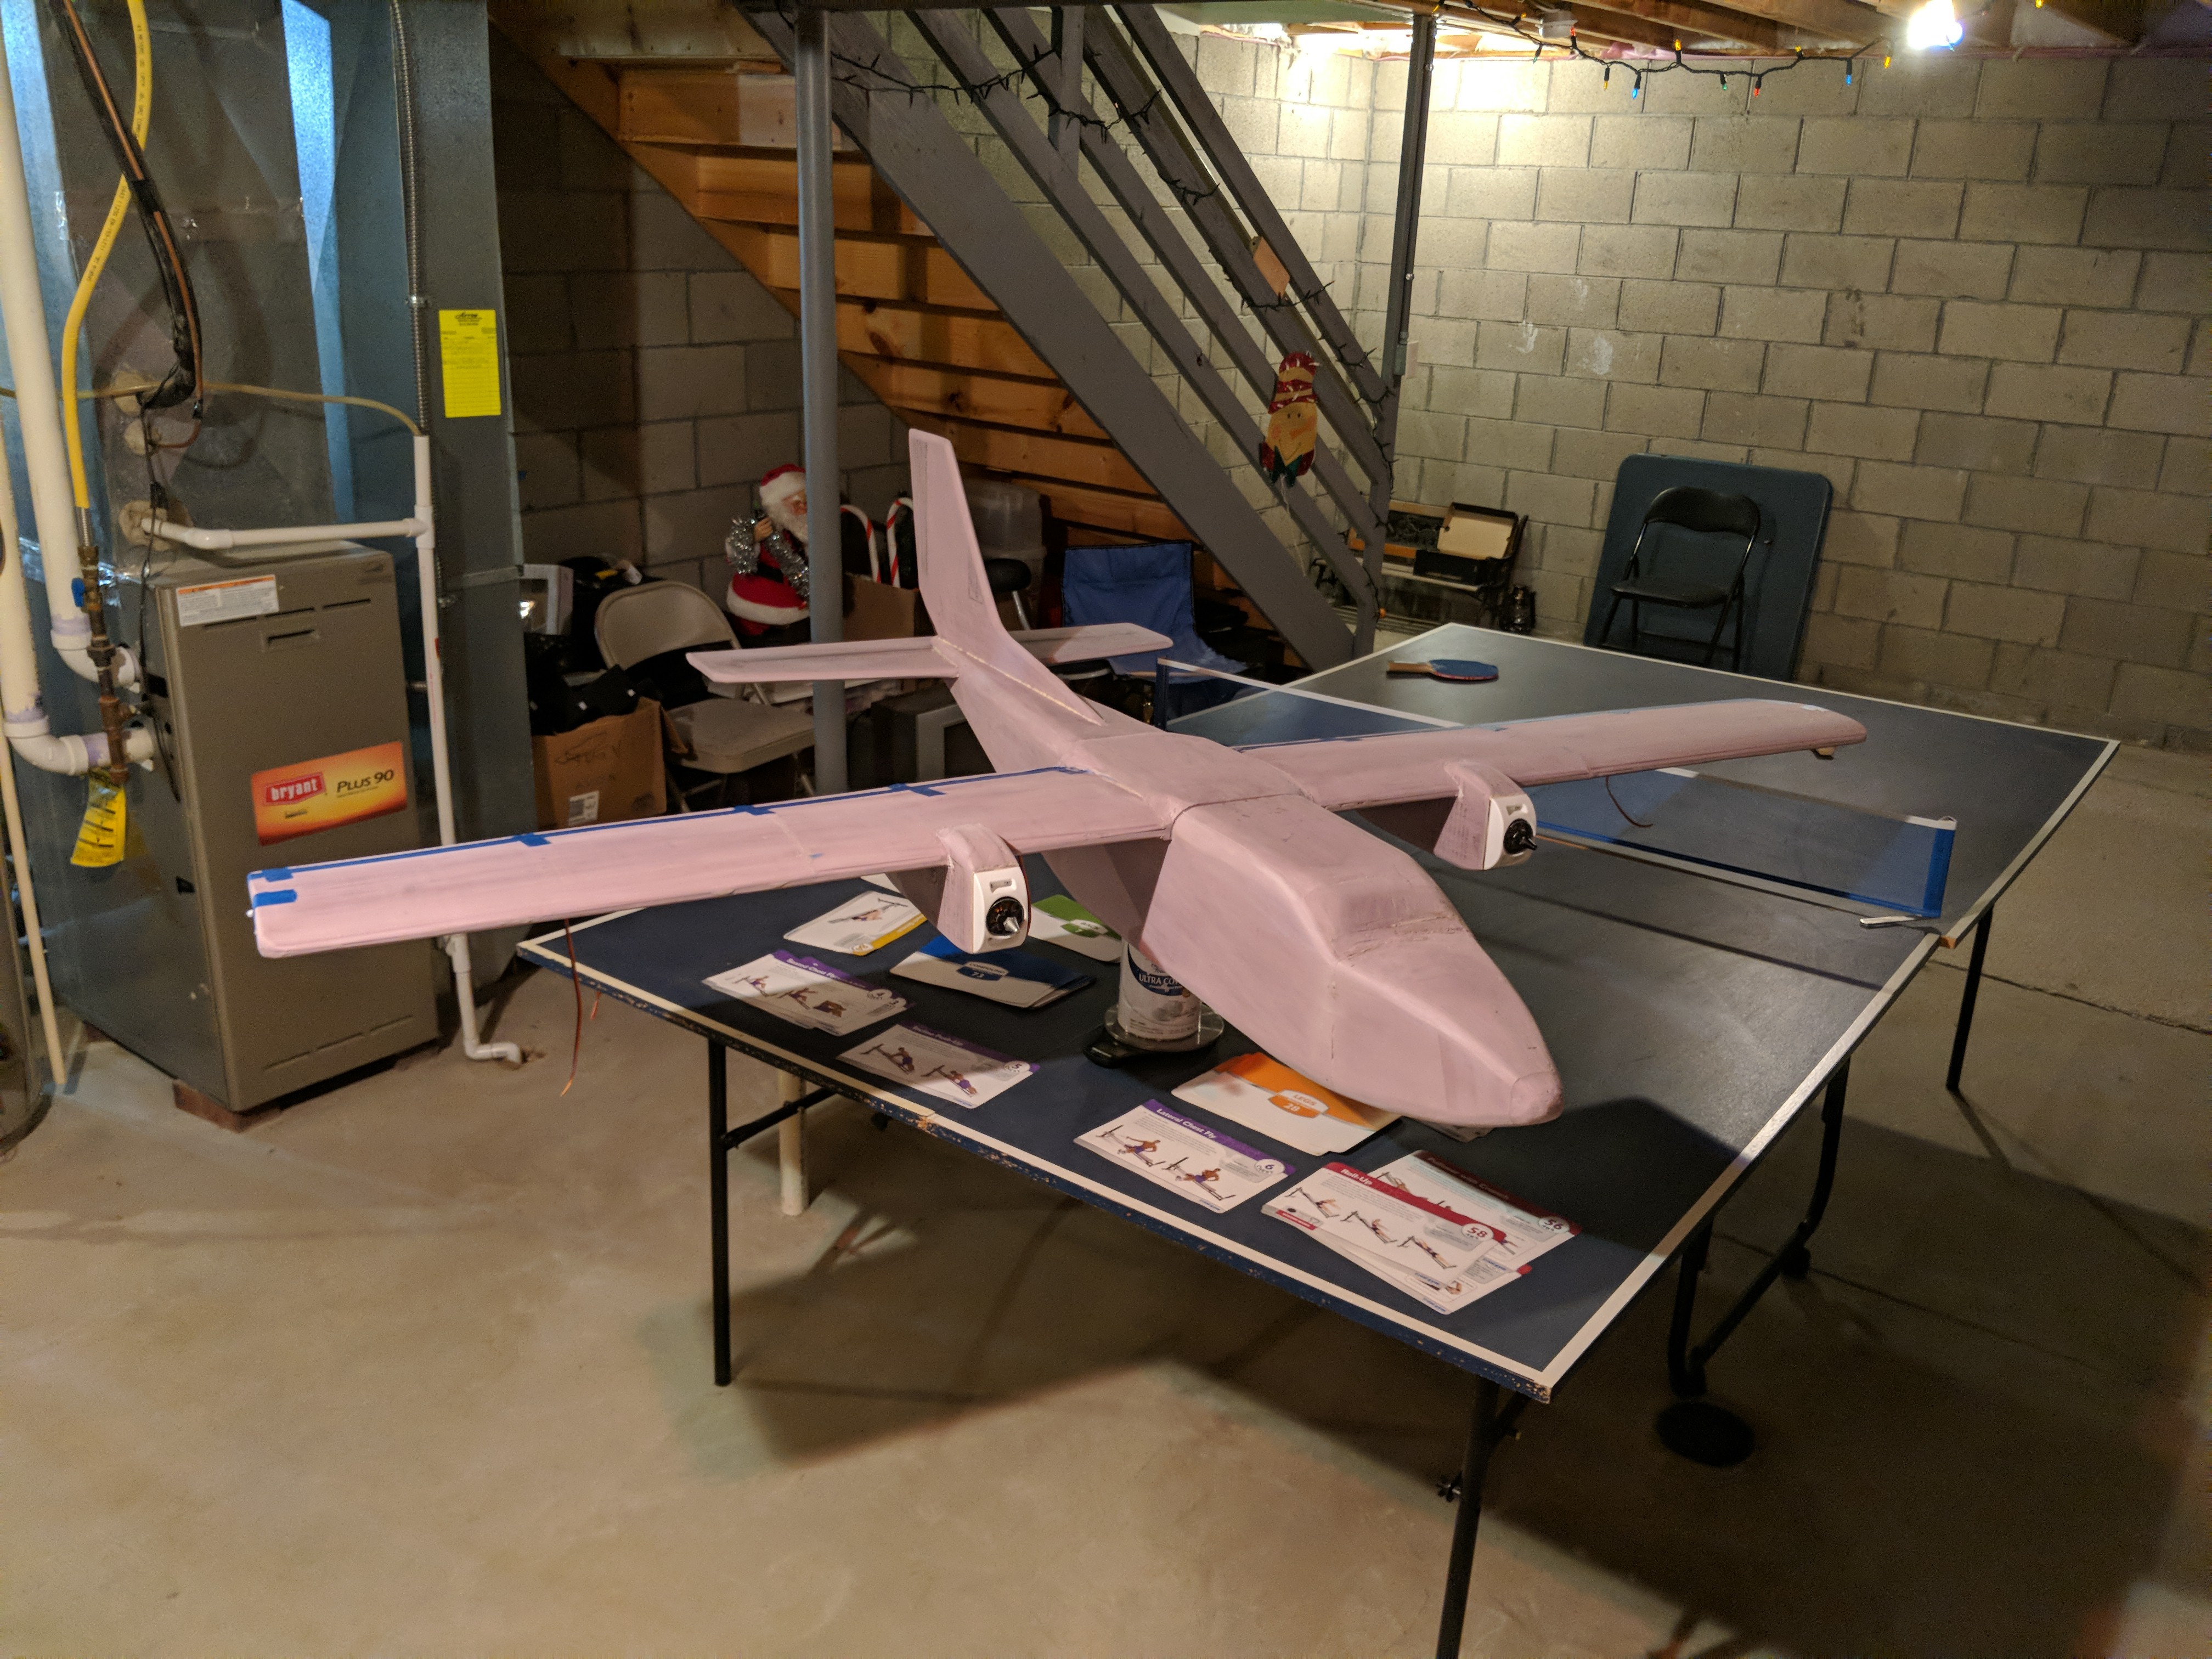
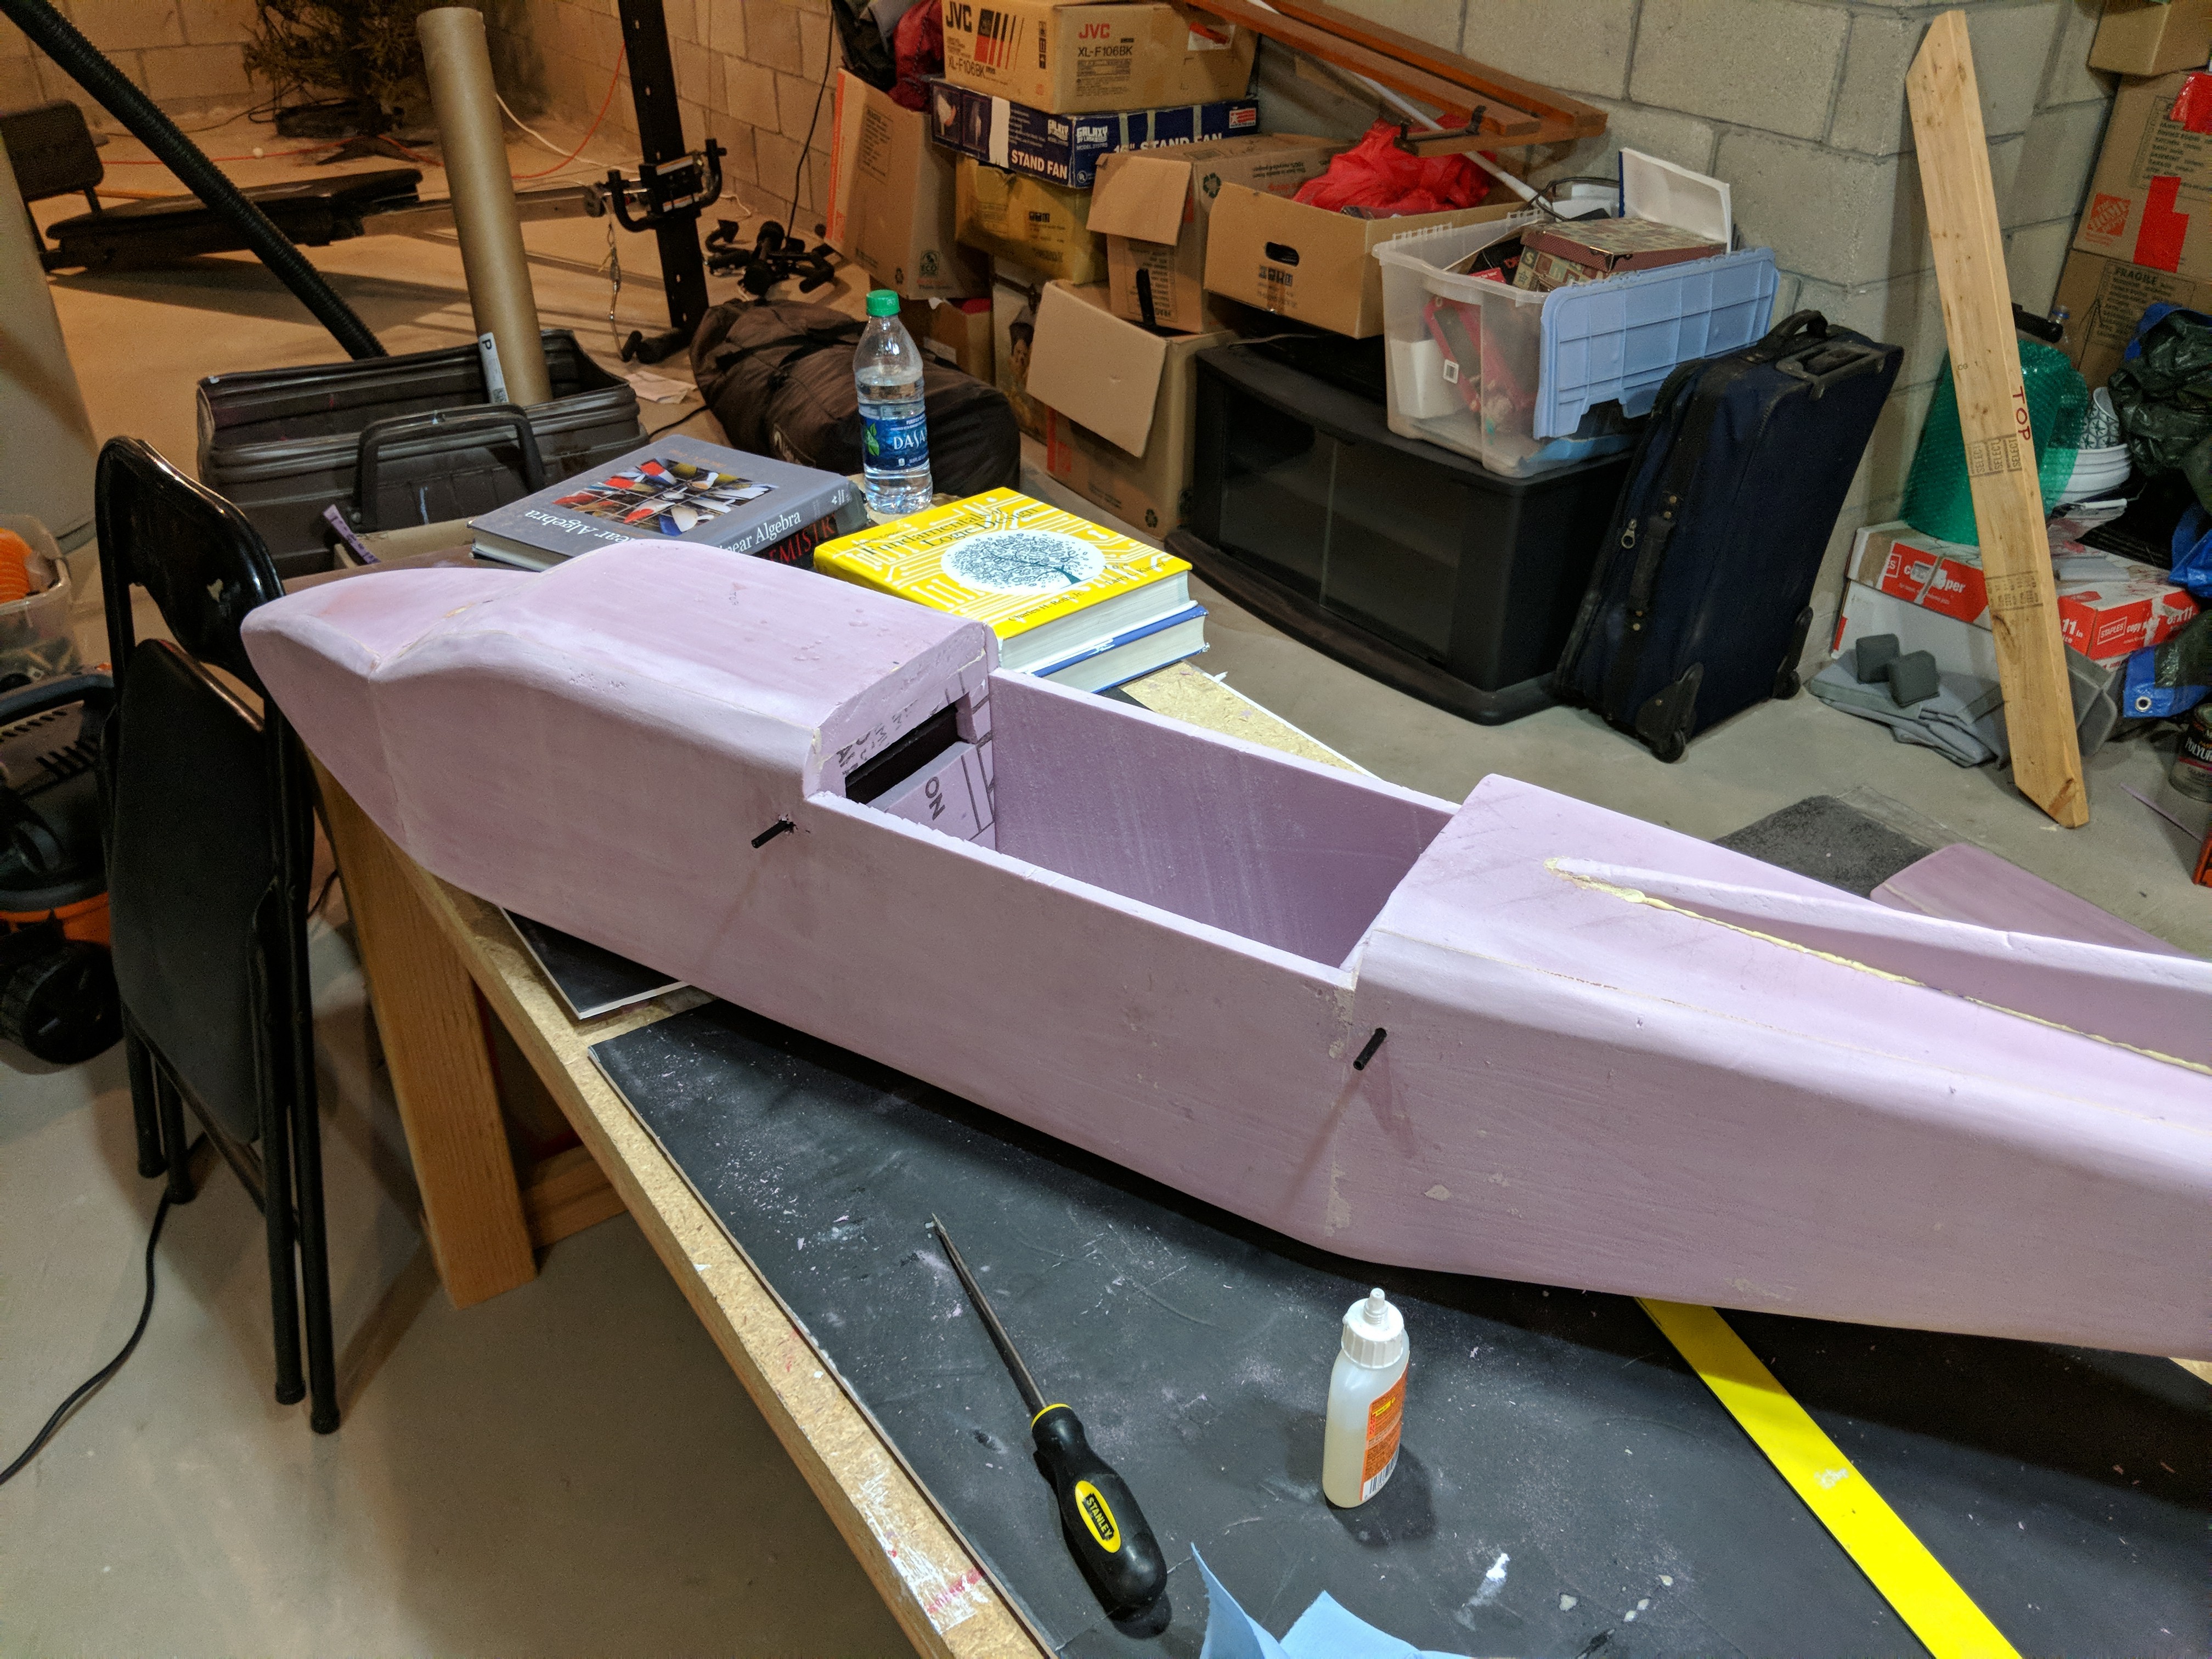
Using the 2D plans, I cut out templates for each fuselage section from Dollar tree foam board. I then used these templates to trace out the panels onto the pink insulation foam. I used 1/2 inch thick pieces of Owens Corning Pink insulation foam. Once I had all the individual foam panels cut out, I began assembling them into simple box structures to create the fuselage. The fuselage was made in 3 large sections, which were then glued together.

Here is a video of the build progress up to this point:
I glued the horizontal and vertical stabilizers onto the fuselage, and then sanded the plane with a sanding block.
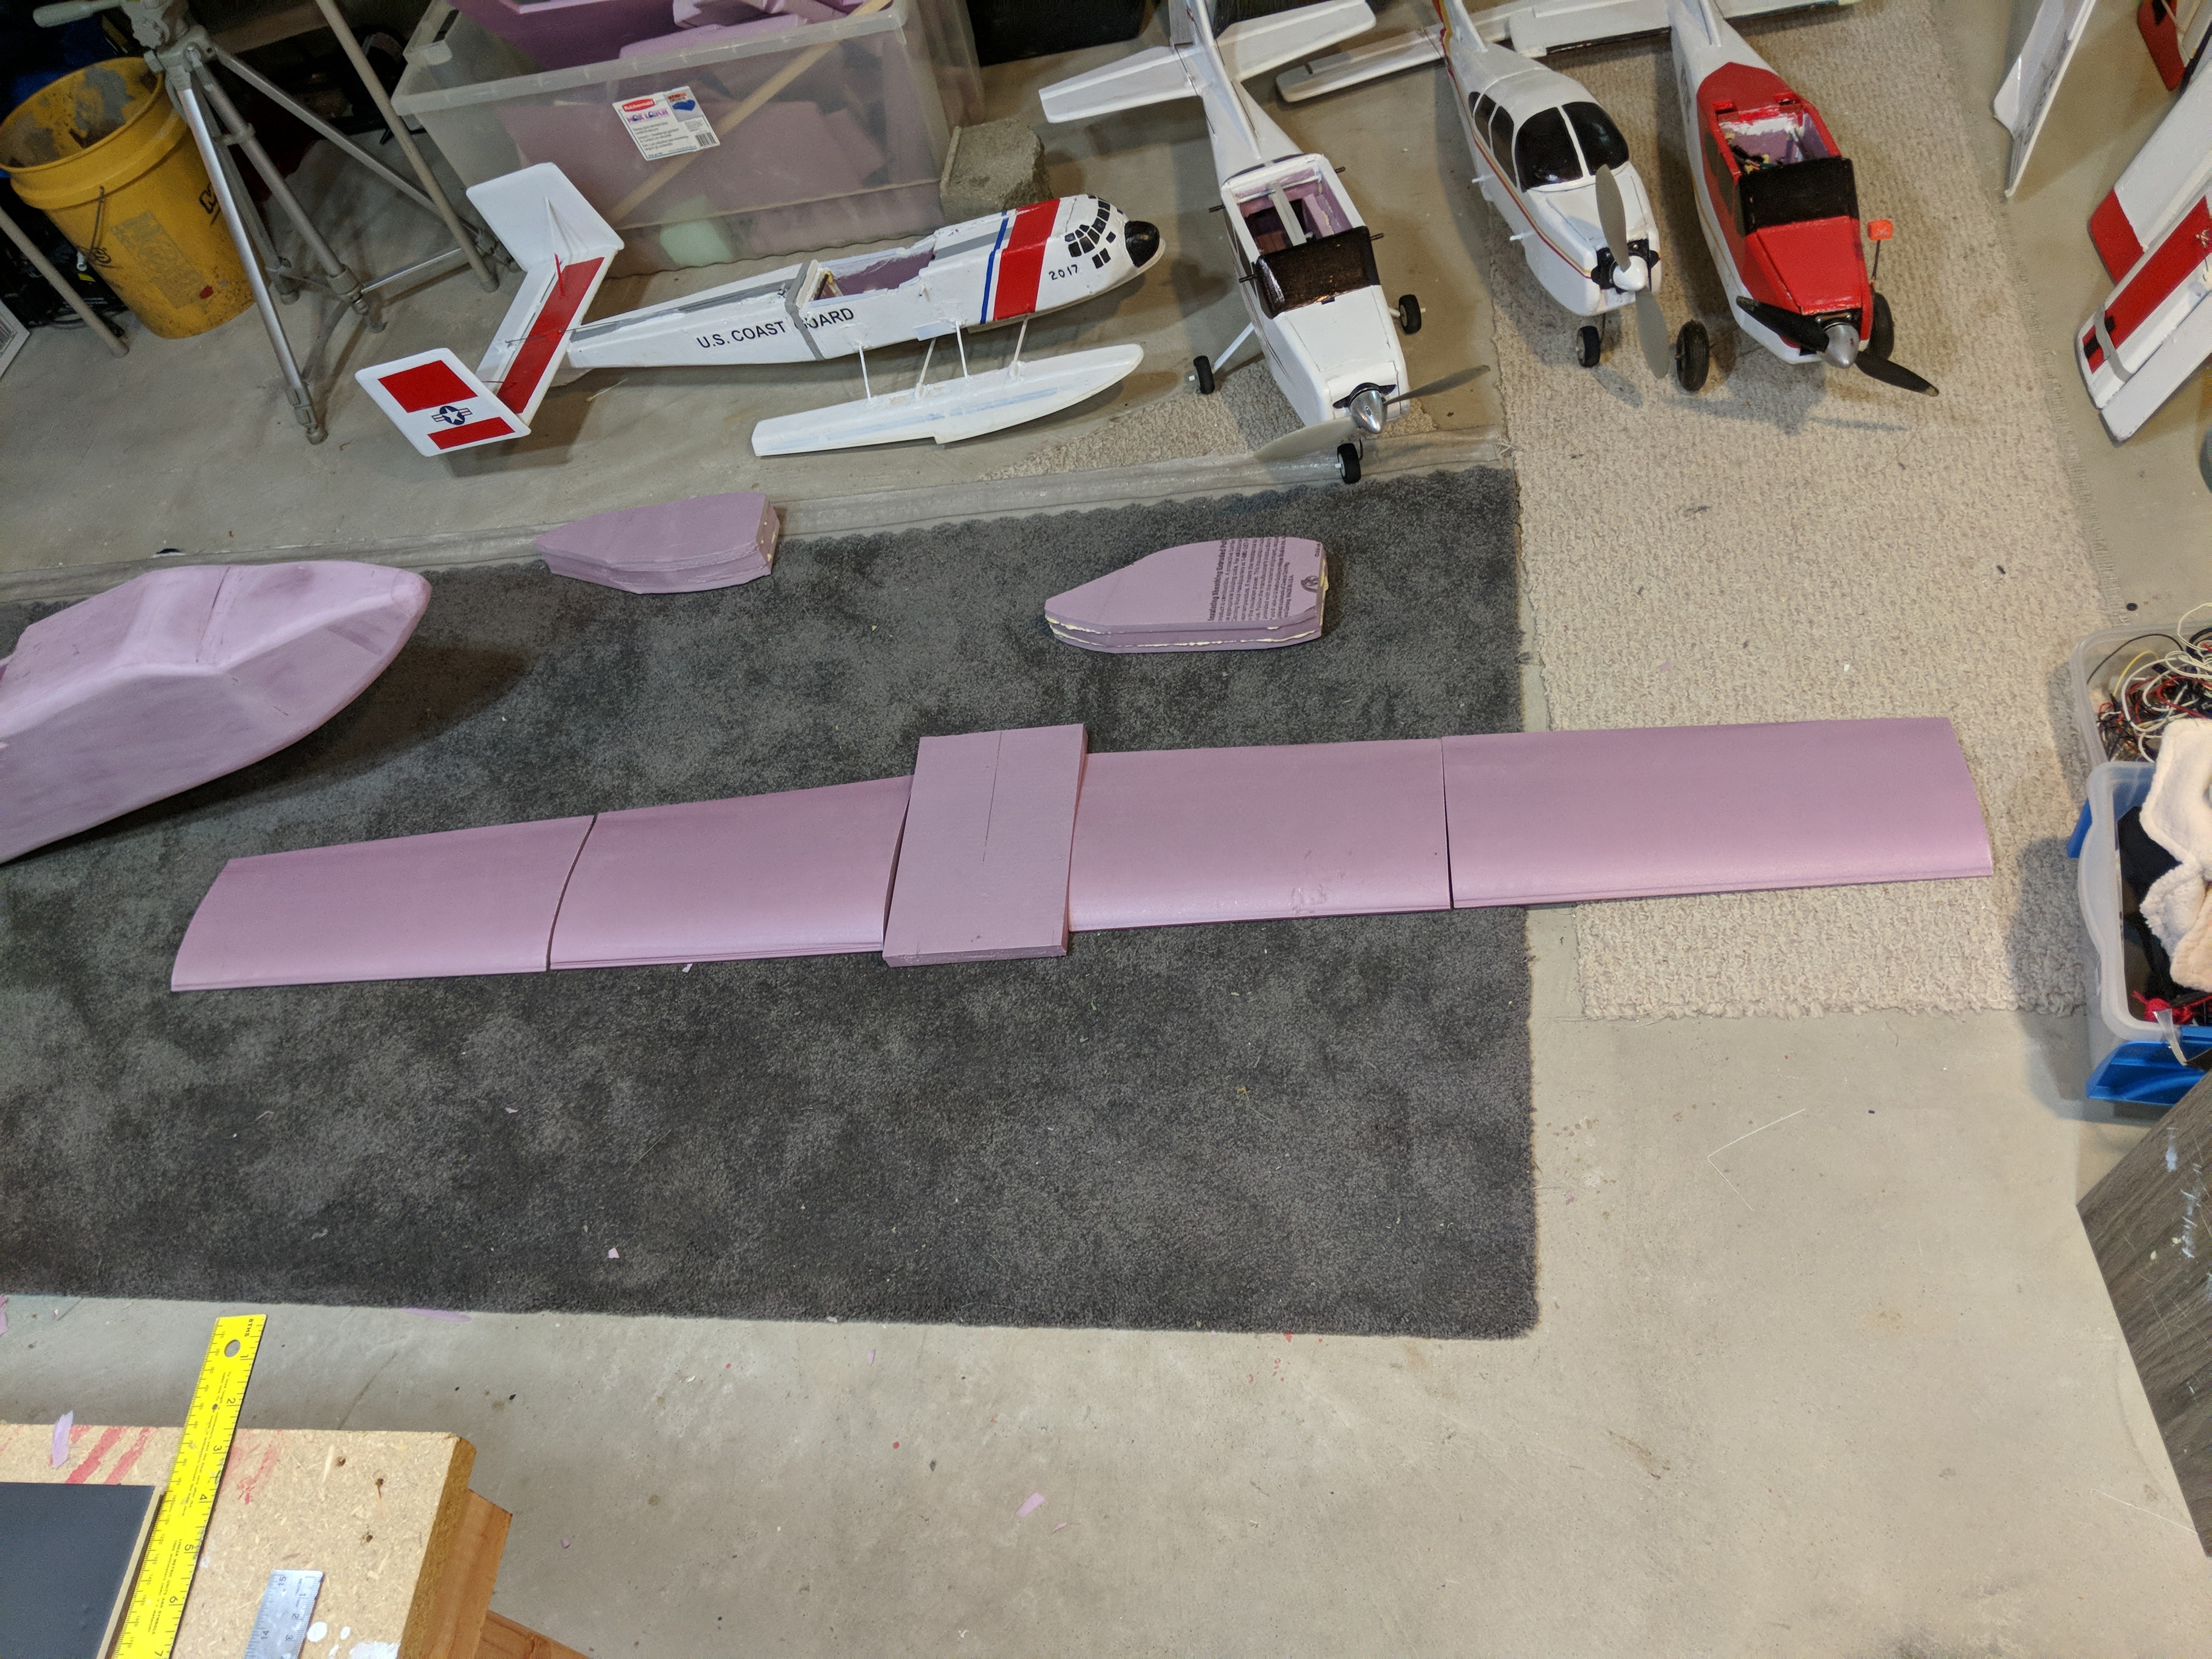
The wing was made from a top and bottom half. Each half was itself made of 5 sections of foam. The bottom half used 1/2 inch foam, and the top half used 1 inch foam.
The engine nacelles were made of 2in thick foam. I 3D printed a cowling for the motors which then was screwed onto a piece of wood which was itself glued onto the foam nacelles. I designed the airfoils for the wing in fusion360 and 3D printed them. I then covered the edges in aluminum tape to prevent the hot wire cutter from melting the PLA. Then I used my hotwire cutter to cut out the wing airfoil shape for each individual wing section.I then glued all the sections for the top and bottom halves together. I used the same airfoil templates to cut out a spot in the nacelles so they could slide onto the wing.
Before I glued the top and bottom halves together, I used the hot wire cutter to cut out a square channel for the 10mm x 10mm carbon fiber tube spars. I also cut out a channel on the inside of the wing for the wires to run through for the motors and 4 servos. I folded packing tape over itself then taped it over this channel so I could pull the servo wires through the channel once the wing was fully assembled.
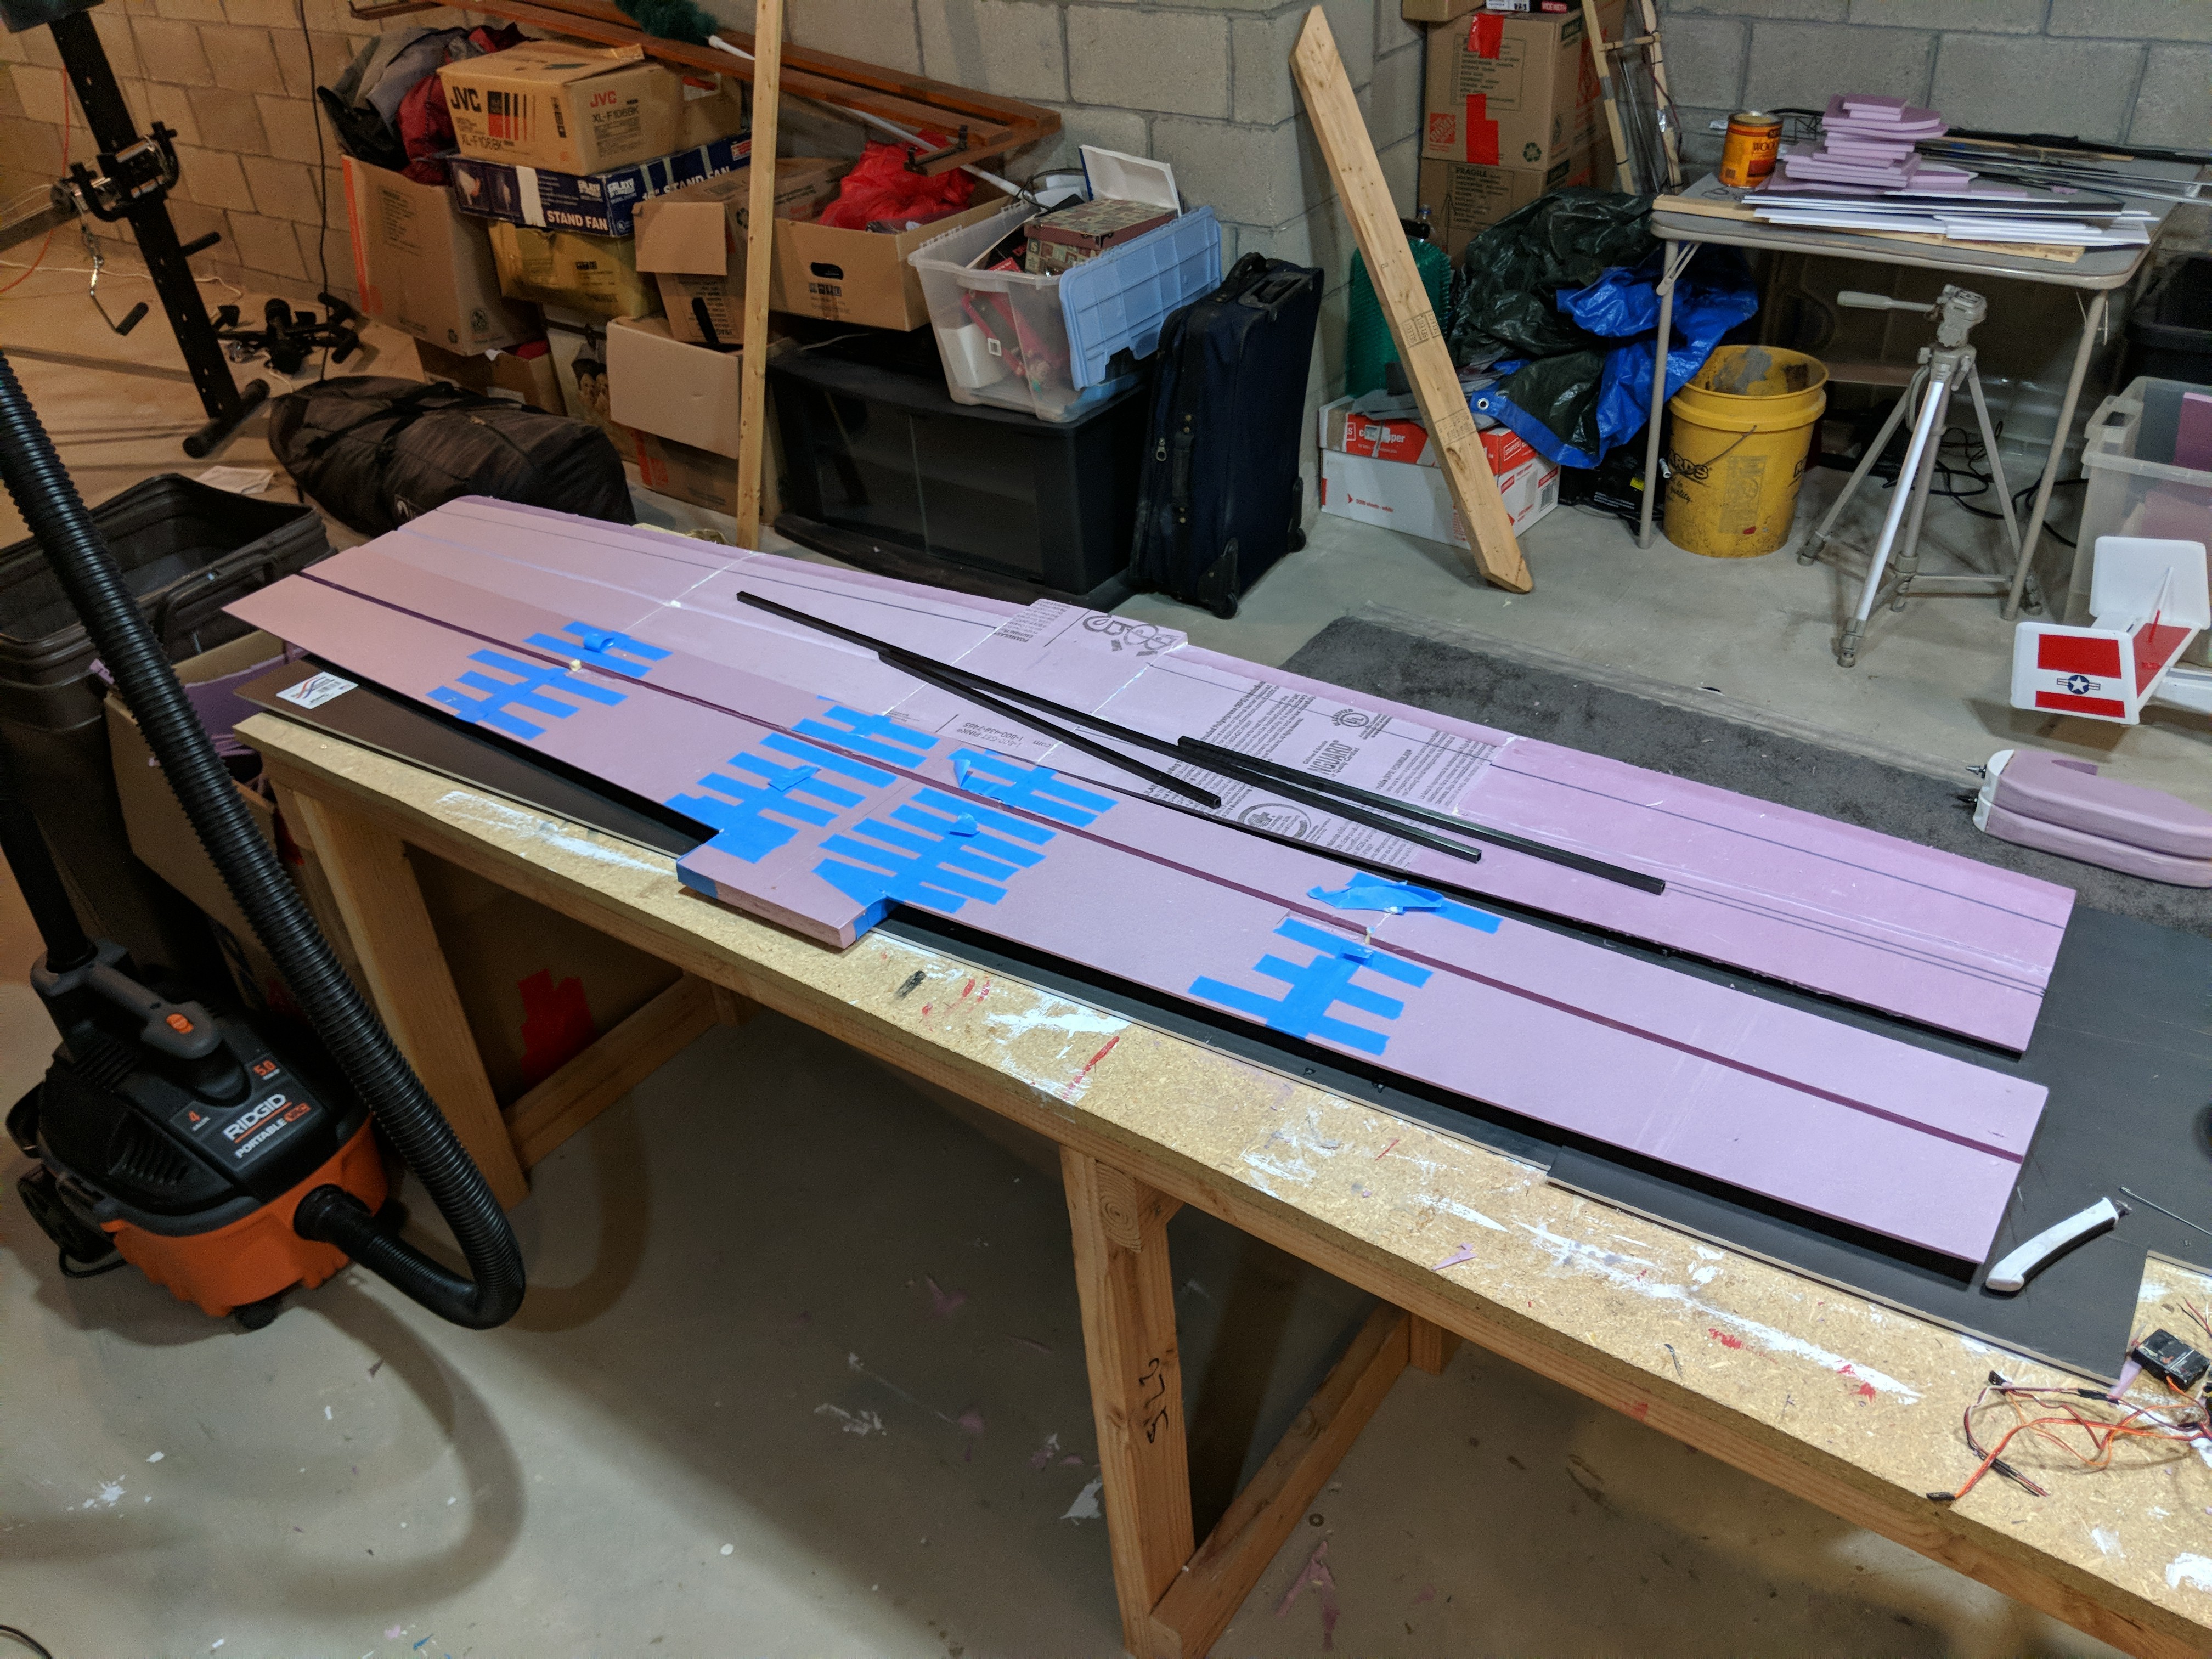

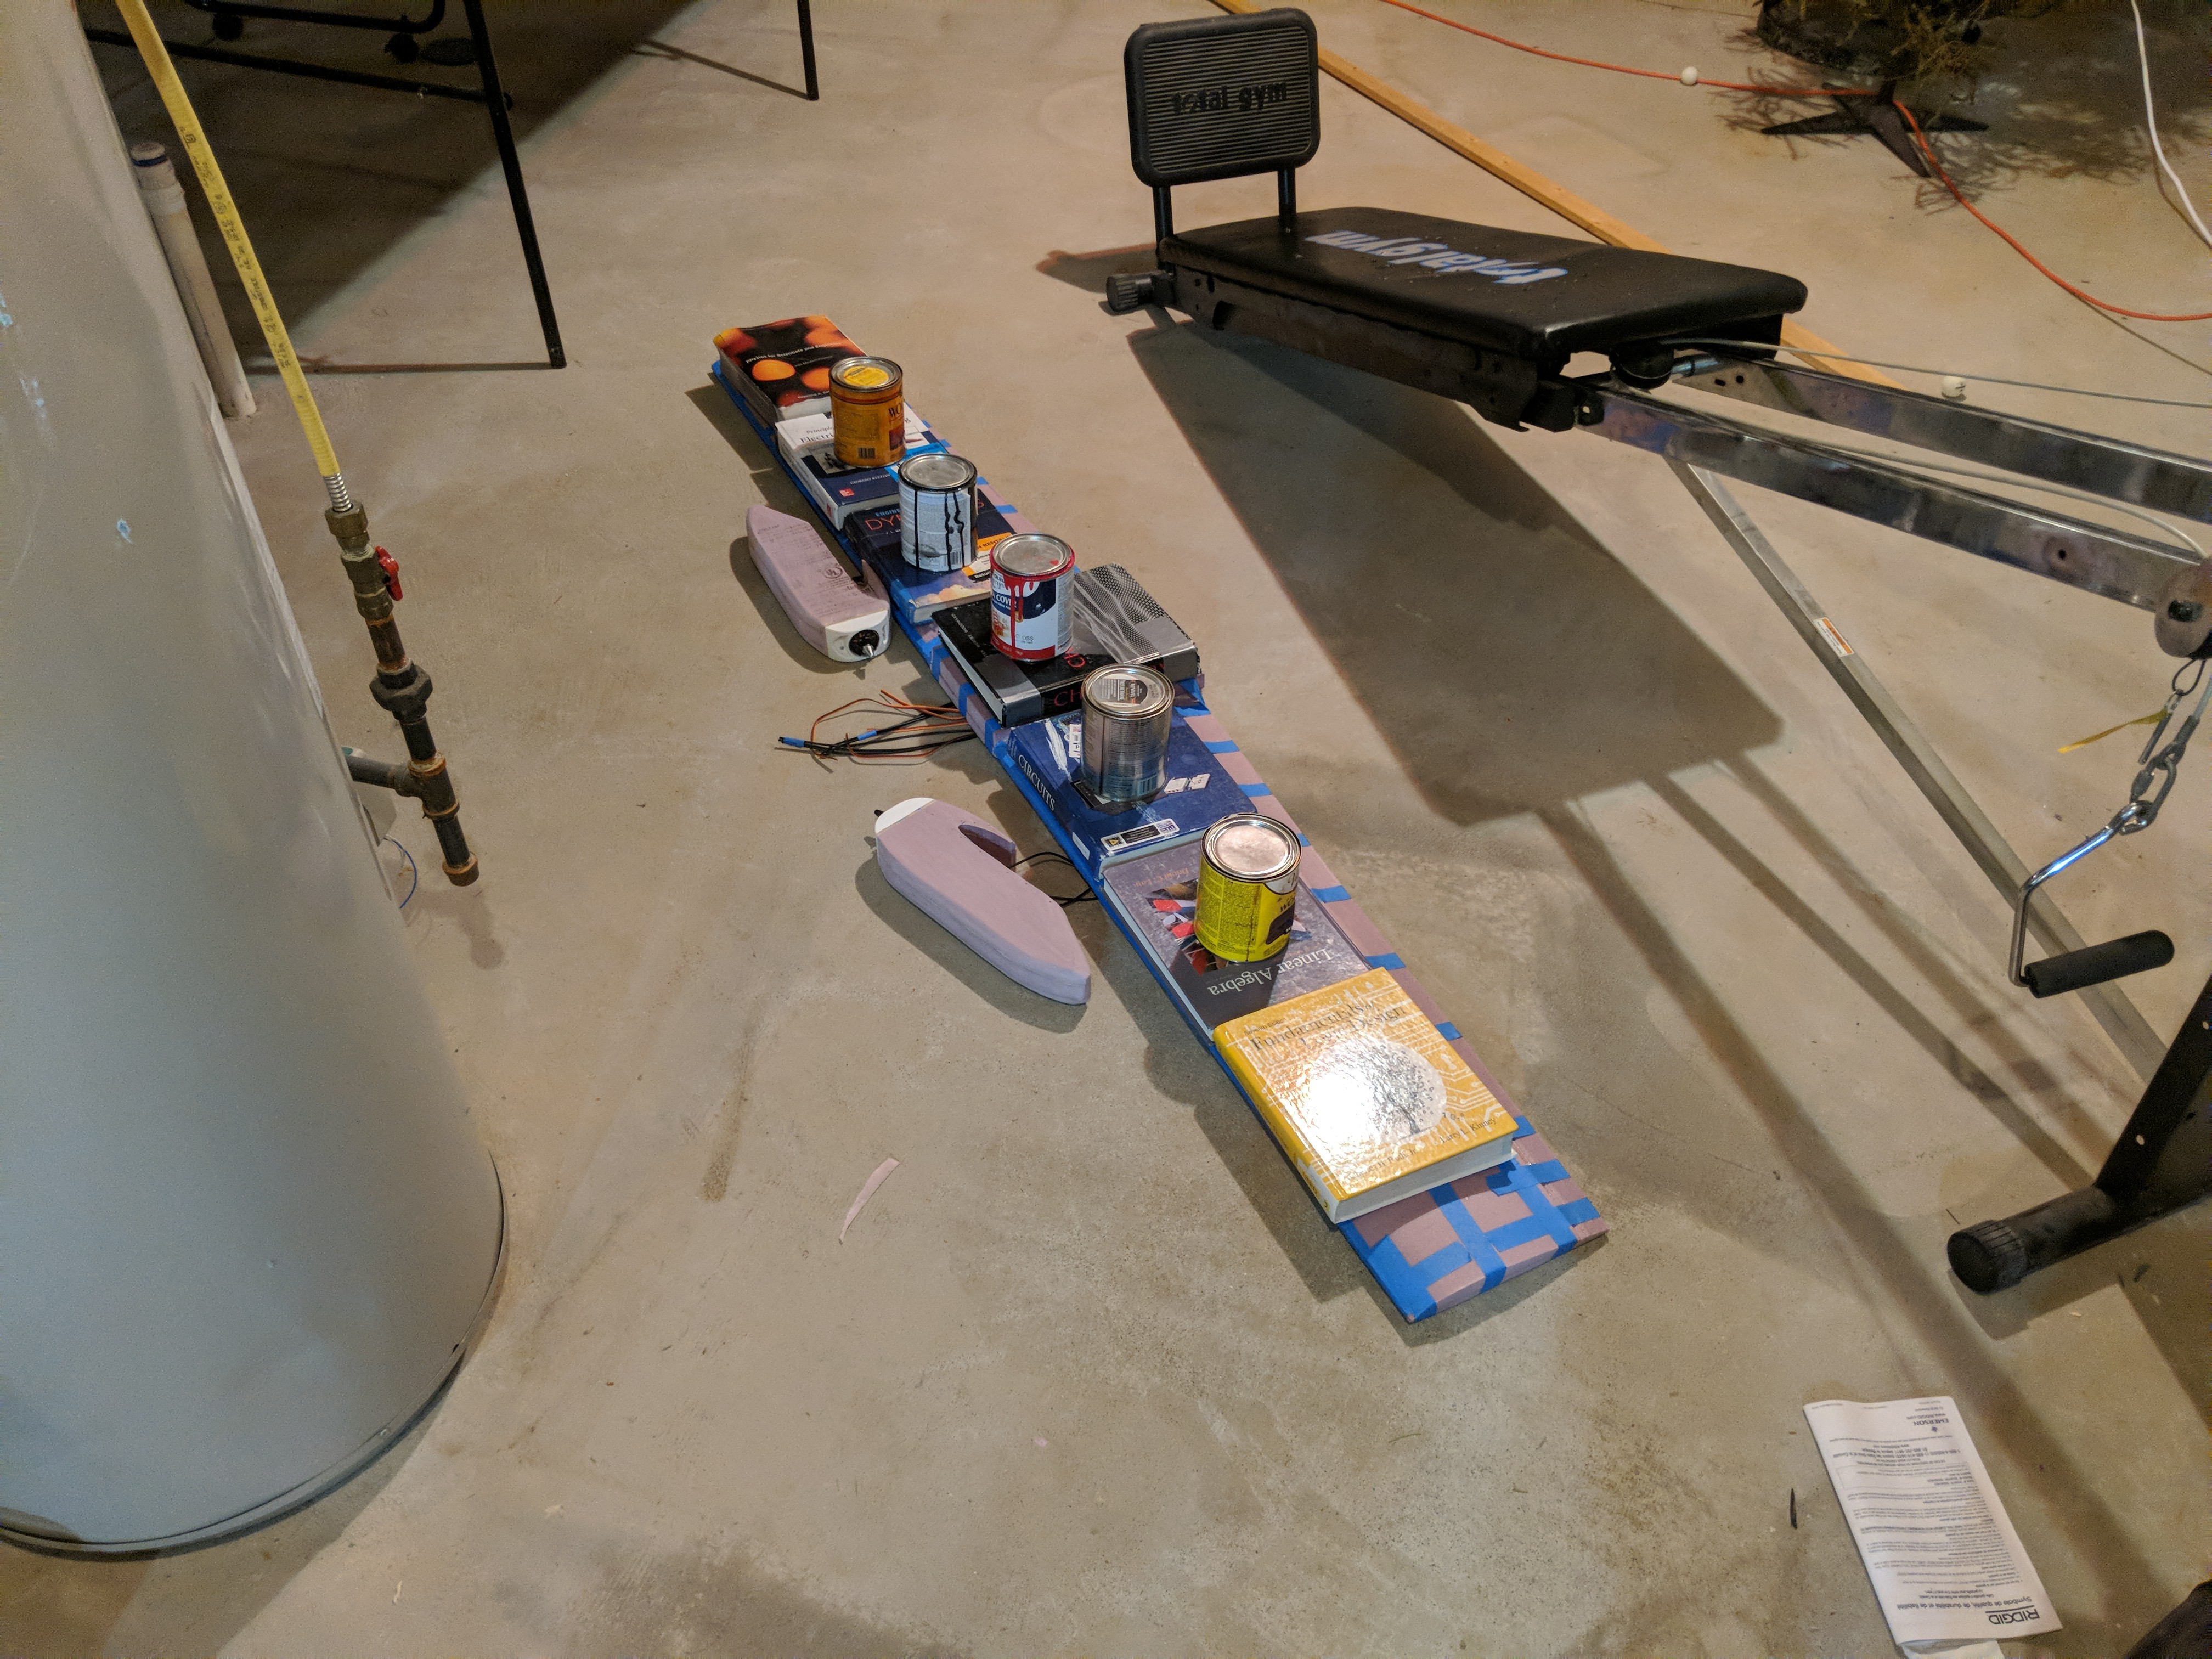
I then glued the top and bottom wing halves together.
I soldered the motor wires onto the leads sticking out of the wing, and then glued the engine nacelles onto the wing.
Here is a video up to this point:
I glued in two carbon fiber tubes for the rubber bands to attach to which will be used to hold on the wing. I also 3D printed brackets for the landing gear wire to mount into. These brackets were glued into the engine nacelles and on the nose.
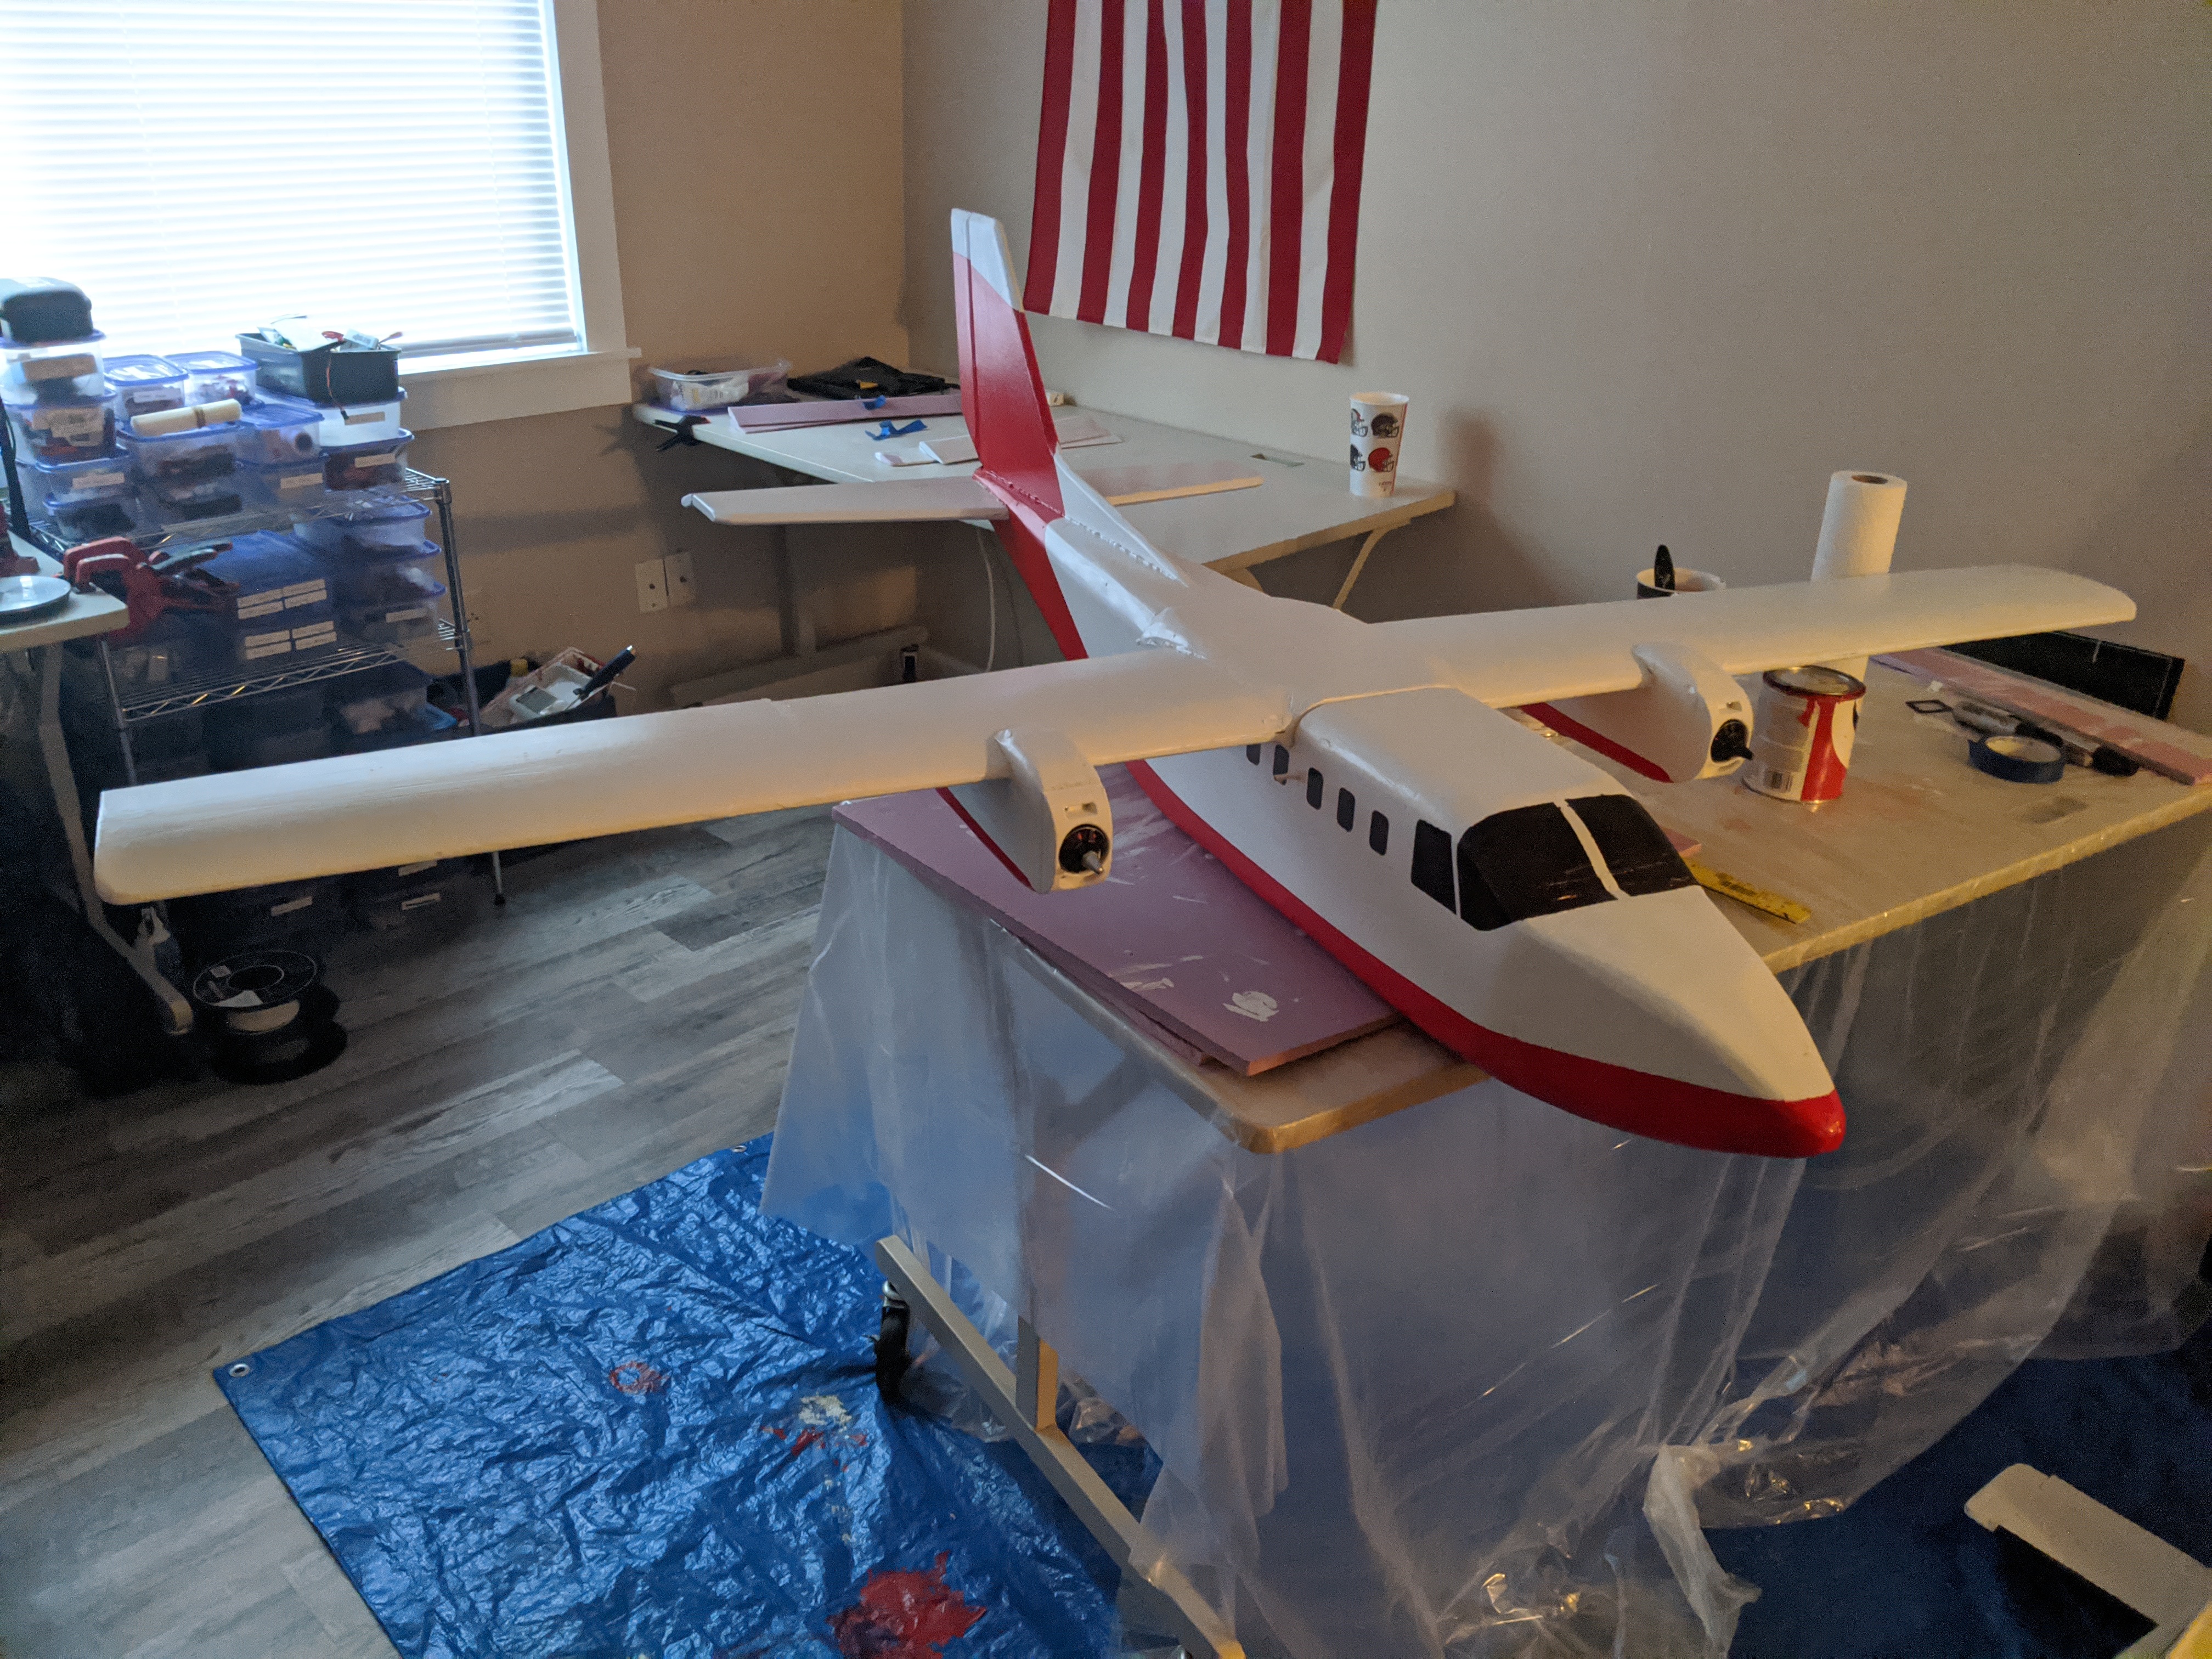
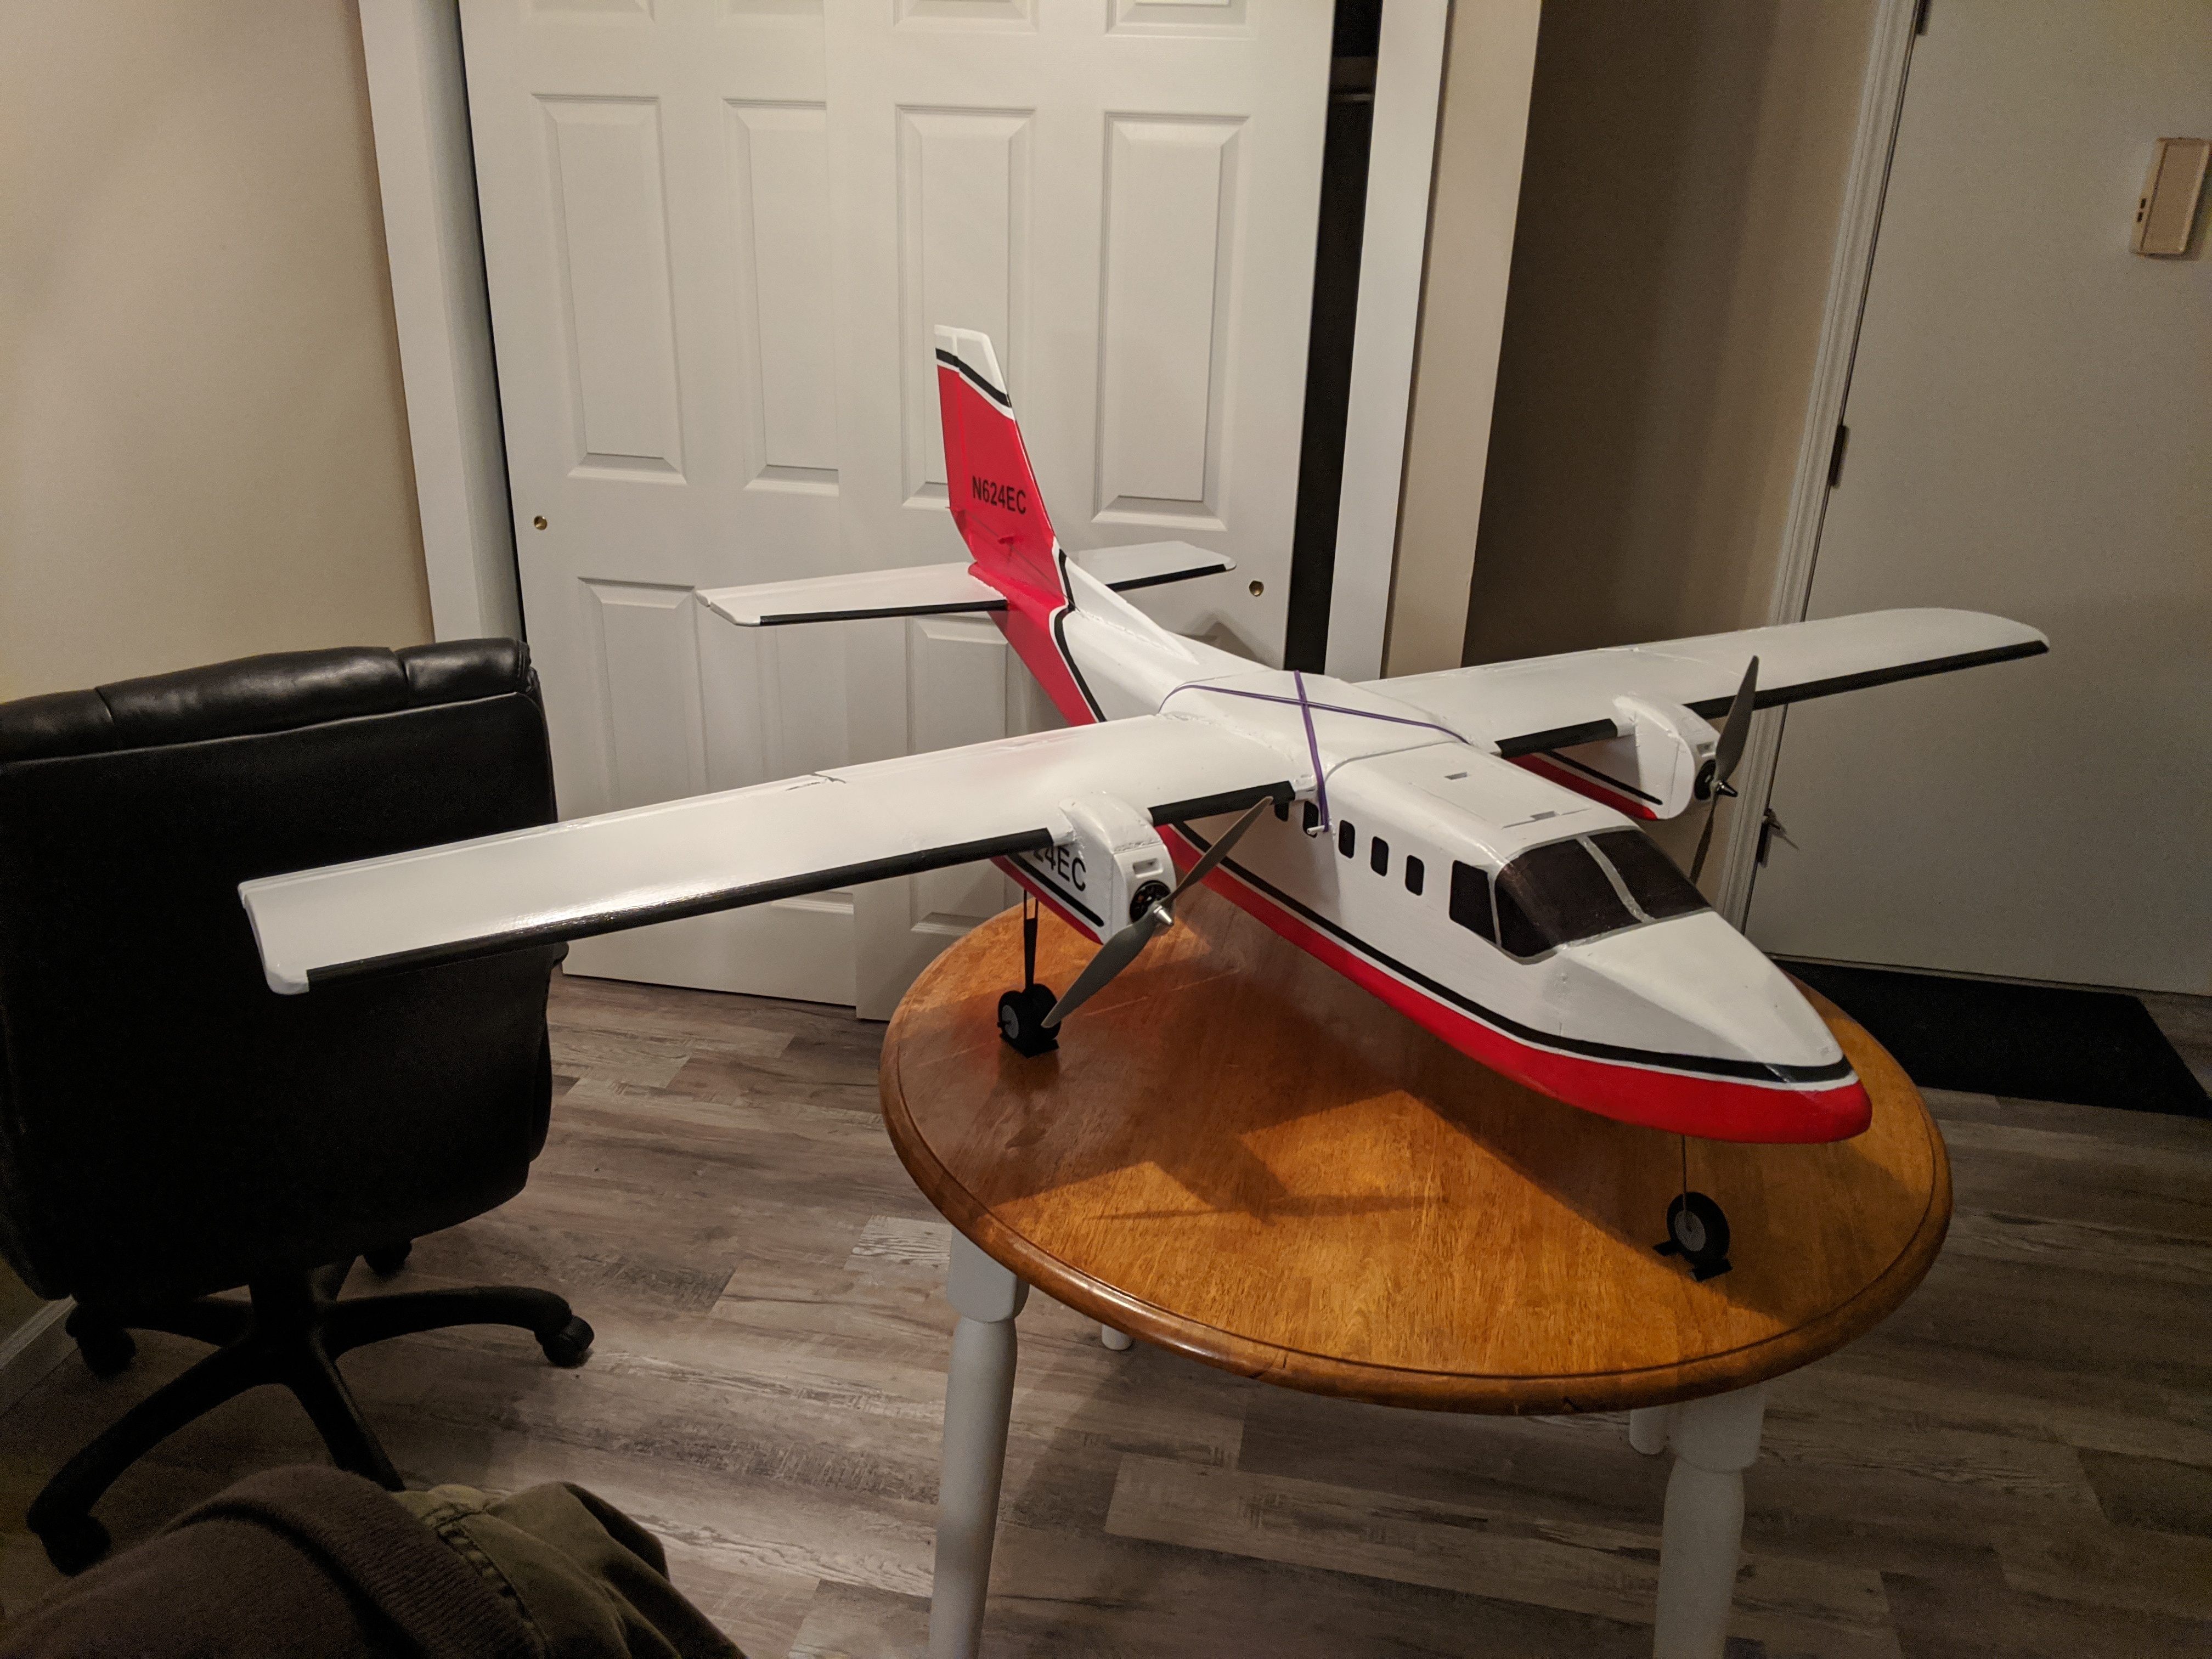
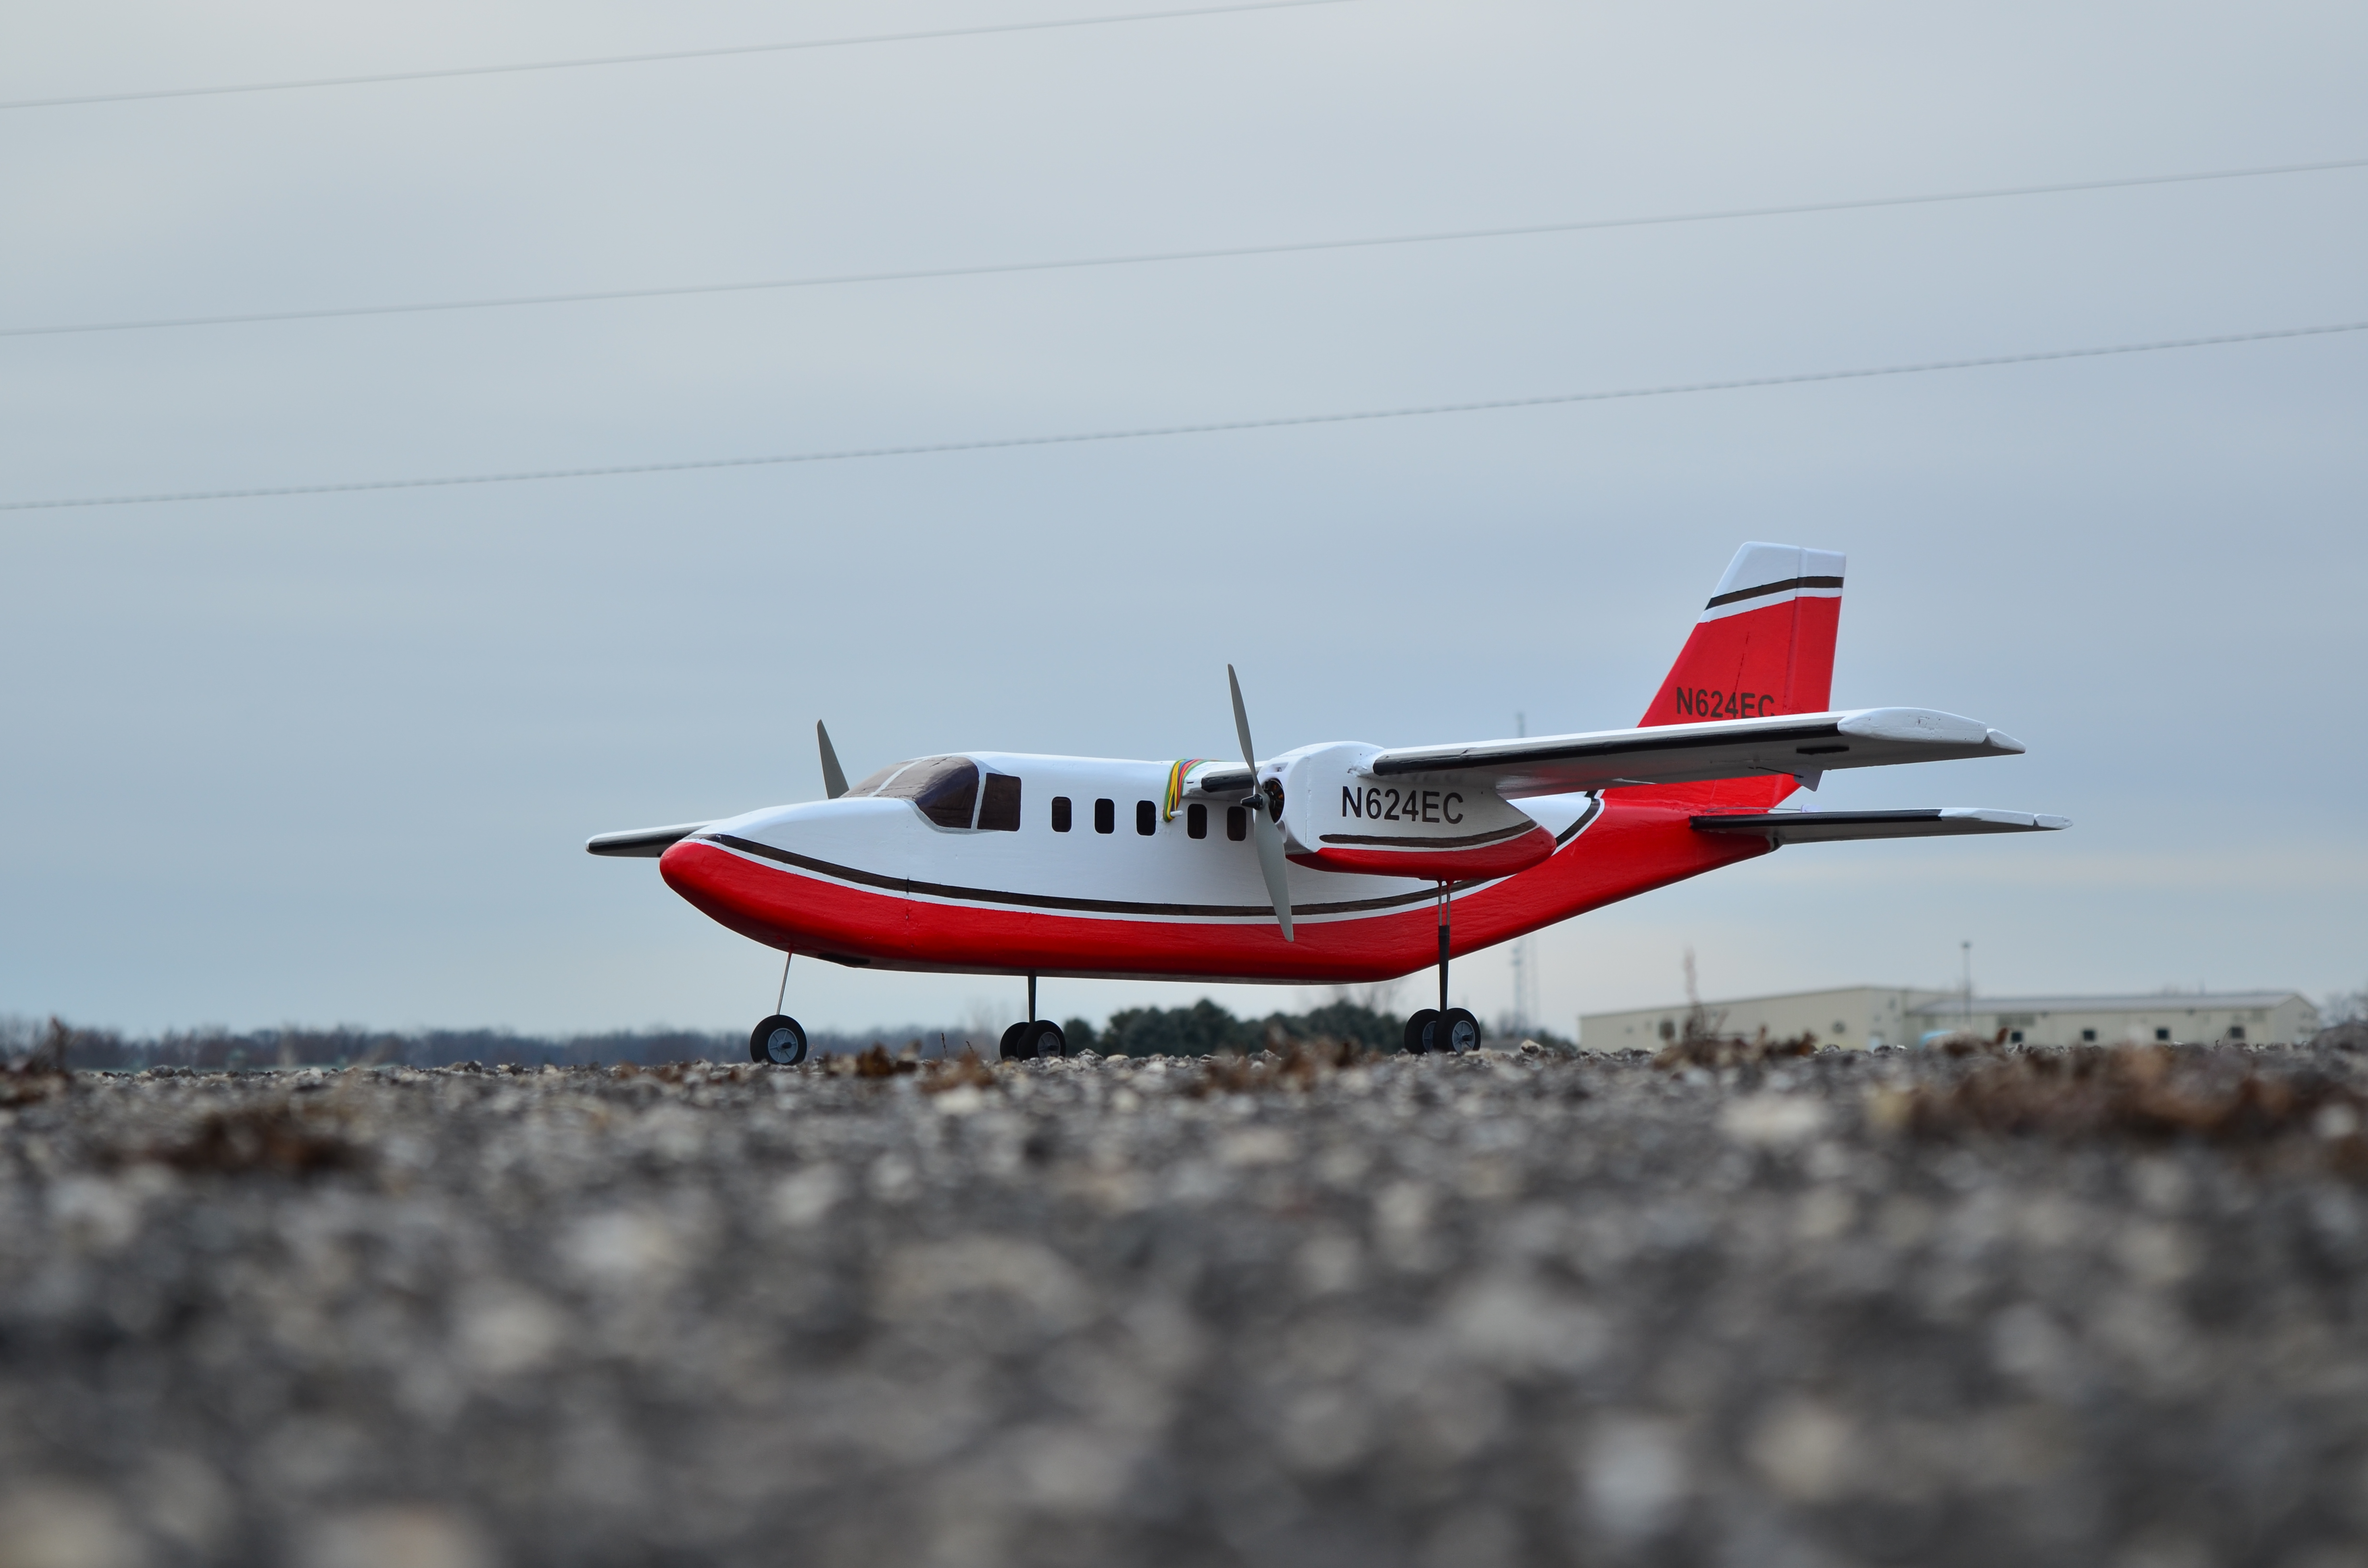
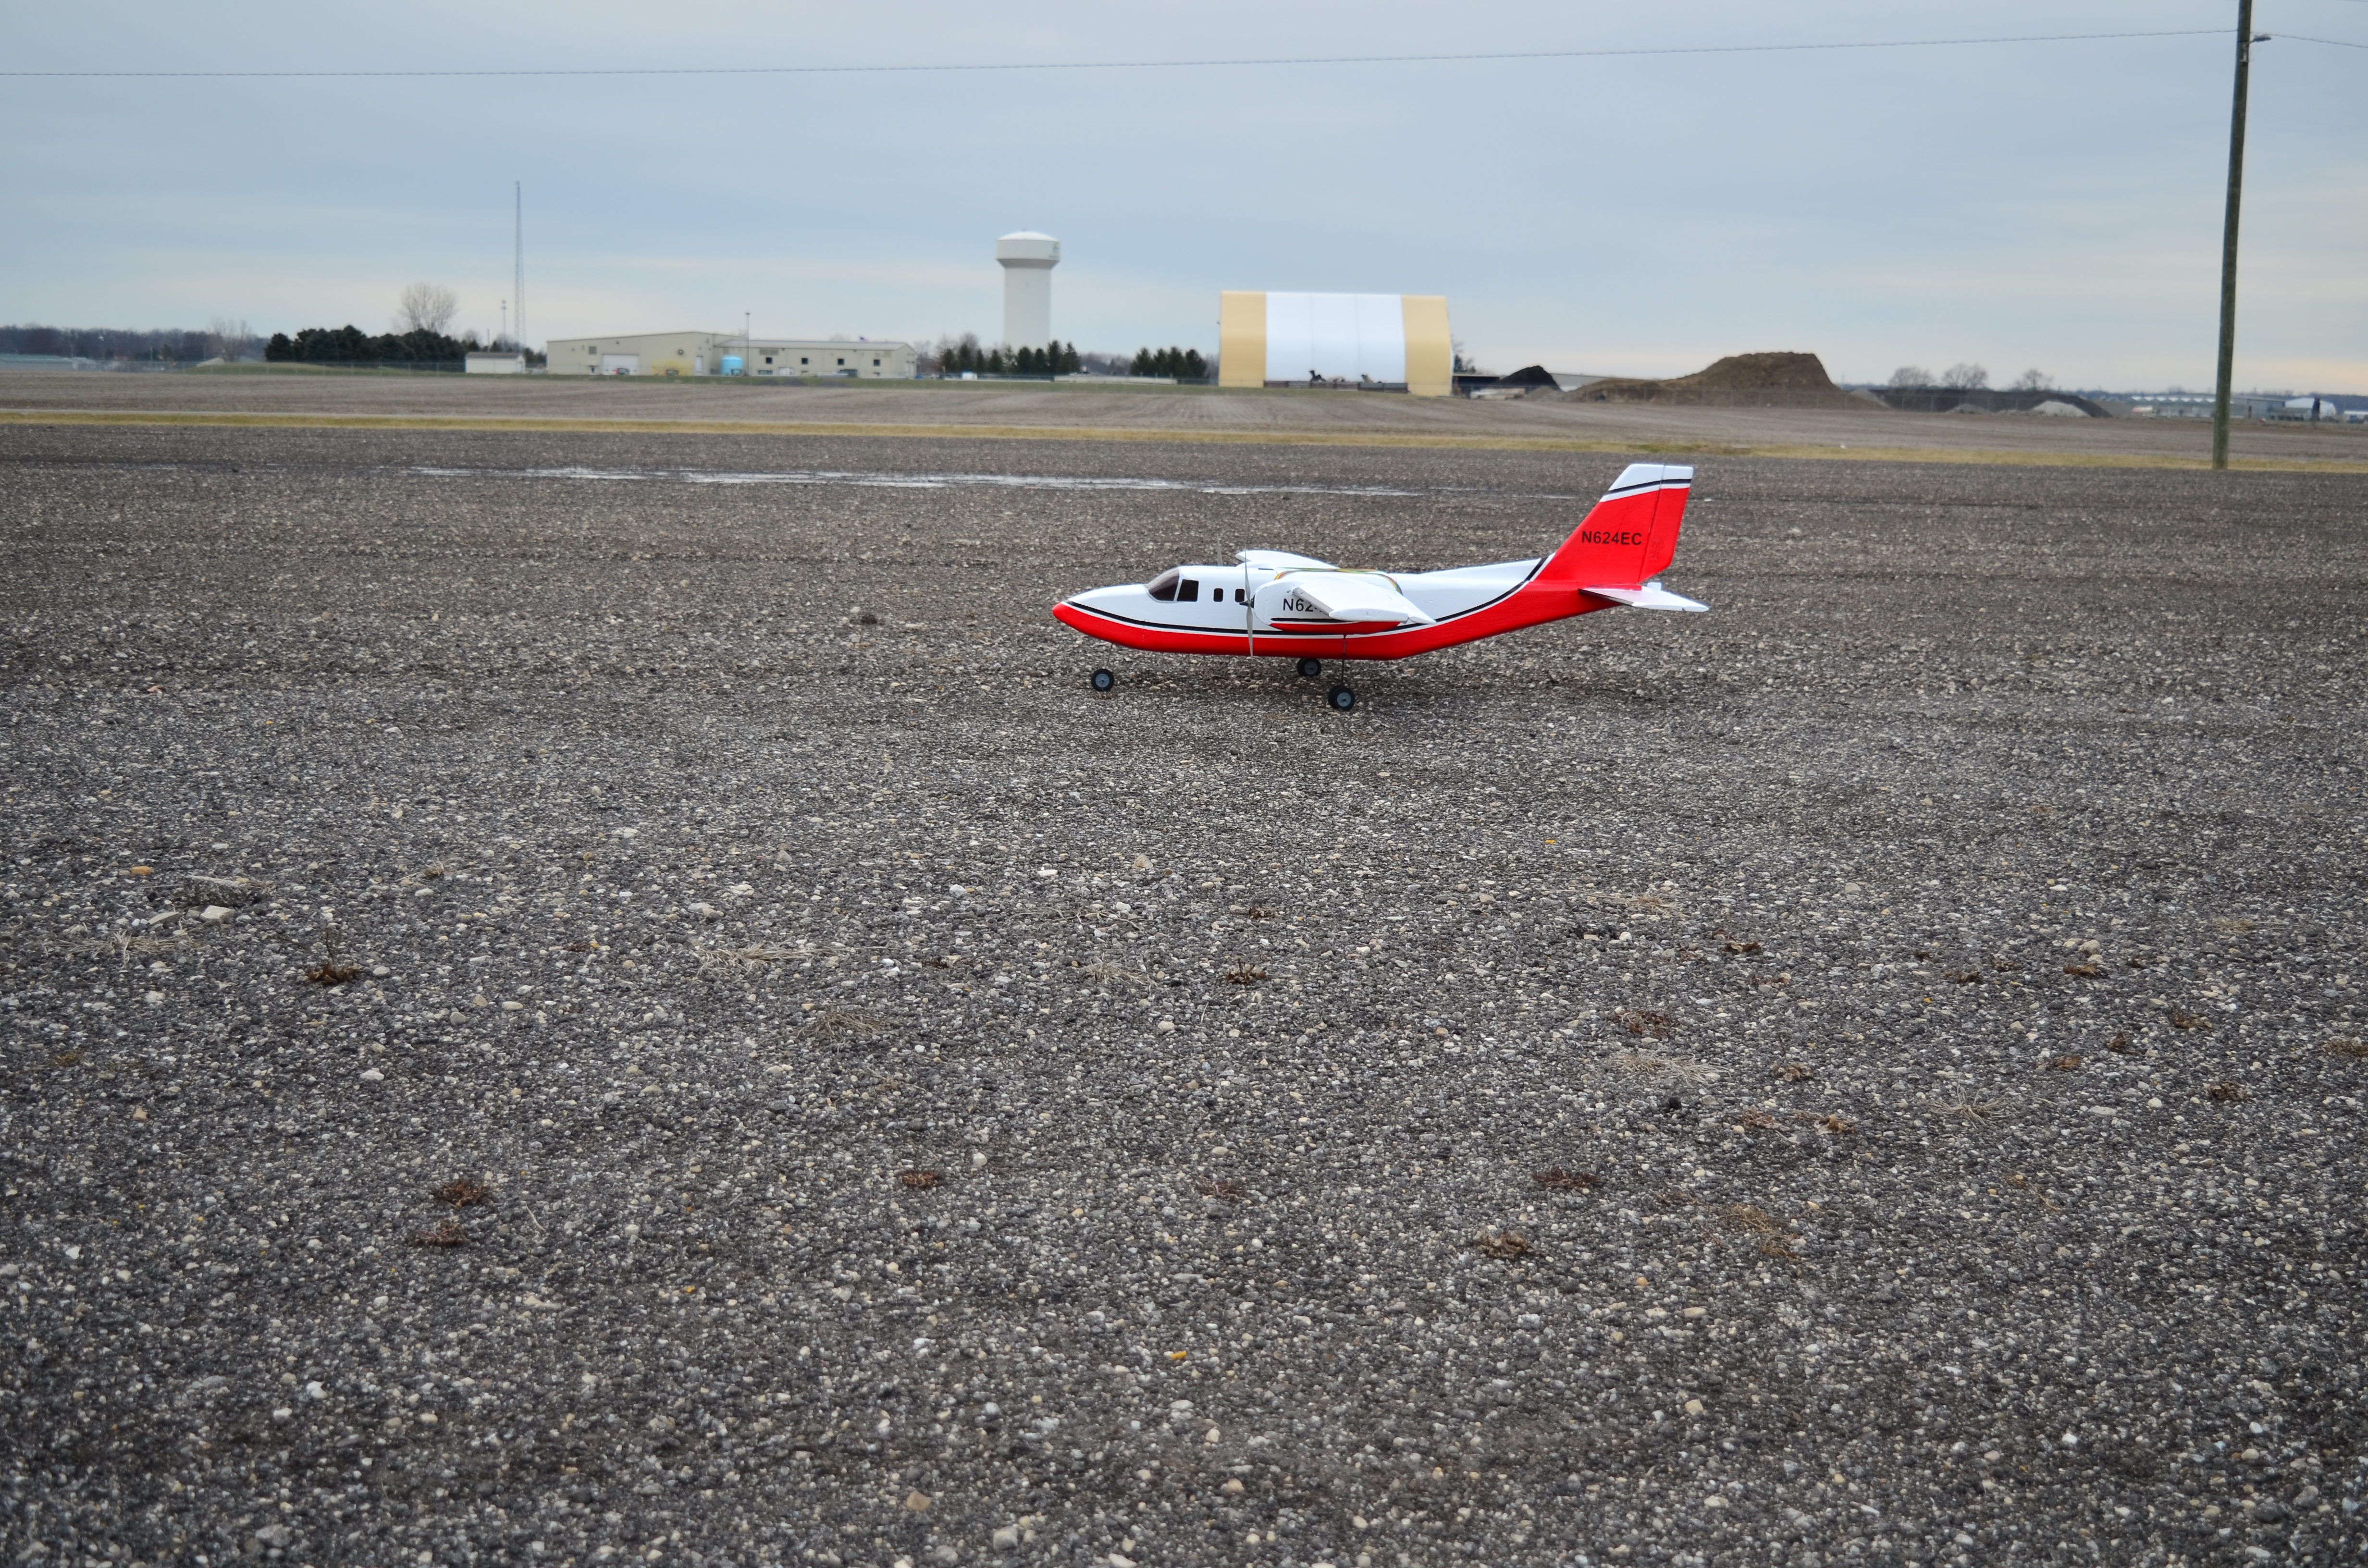
The next step was to paint the plane. This was very time consuming. I first applied 3 coats of white paint, letting it dry between each coat. Then applied two coats each for the red and black lines. The windows were drawn on using black sharpie marker. I used masking tape to mark off the area for the cockpit windows, and I 3D printed a template for the cabin windows so they would all be identical. I chose the number N624EC, and 3D printed a stencil so I could trace the number onto the tail and engine nacelles.
Here is a video up to this point:
The servos were all glued in, and the control linkages connected. I made the control horns from ID card plastic. The landing gear was made from music wire and bent to shape. I used two 2" wheels on each main gear leg, and one 2" wheel for the nose gear.
All that was left to do was program everything with my Taranis radio. I programmed the flaps to be on a slow up/down, and mixed in thrust differential so I could steer while on the ground.
This video covers the final updates before the maiden flight:
Here are the final specs:
Wingspan:80 inches
Weight: 3.2kg
Motors: 2x Emax 3506 650kv w/ 11x4.7 prop
ESC: Turnigy 30A Plush
BEC: Readymaderc 8A
Servos: 4x Corona DS238MG, and 2x Corona DS239MG
Reciever: Frsky X8R
Transmitter: Frsky Taranis
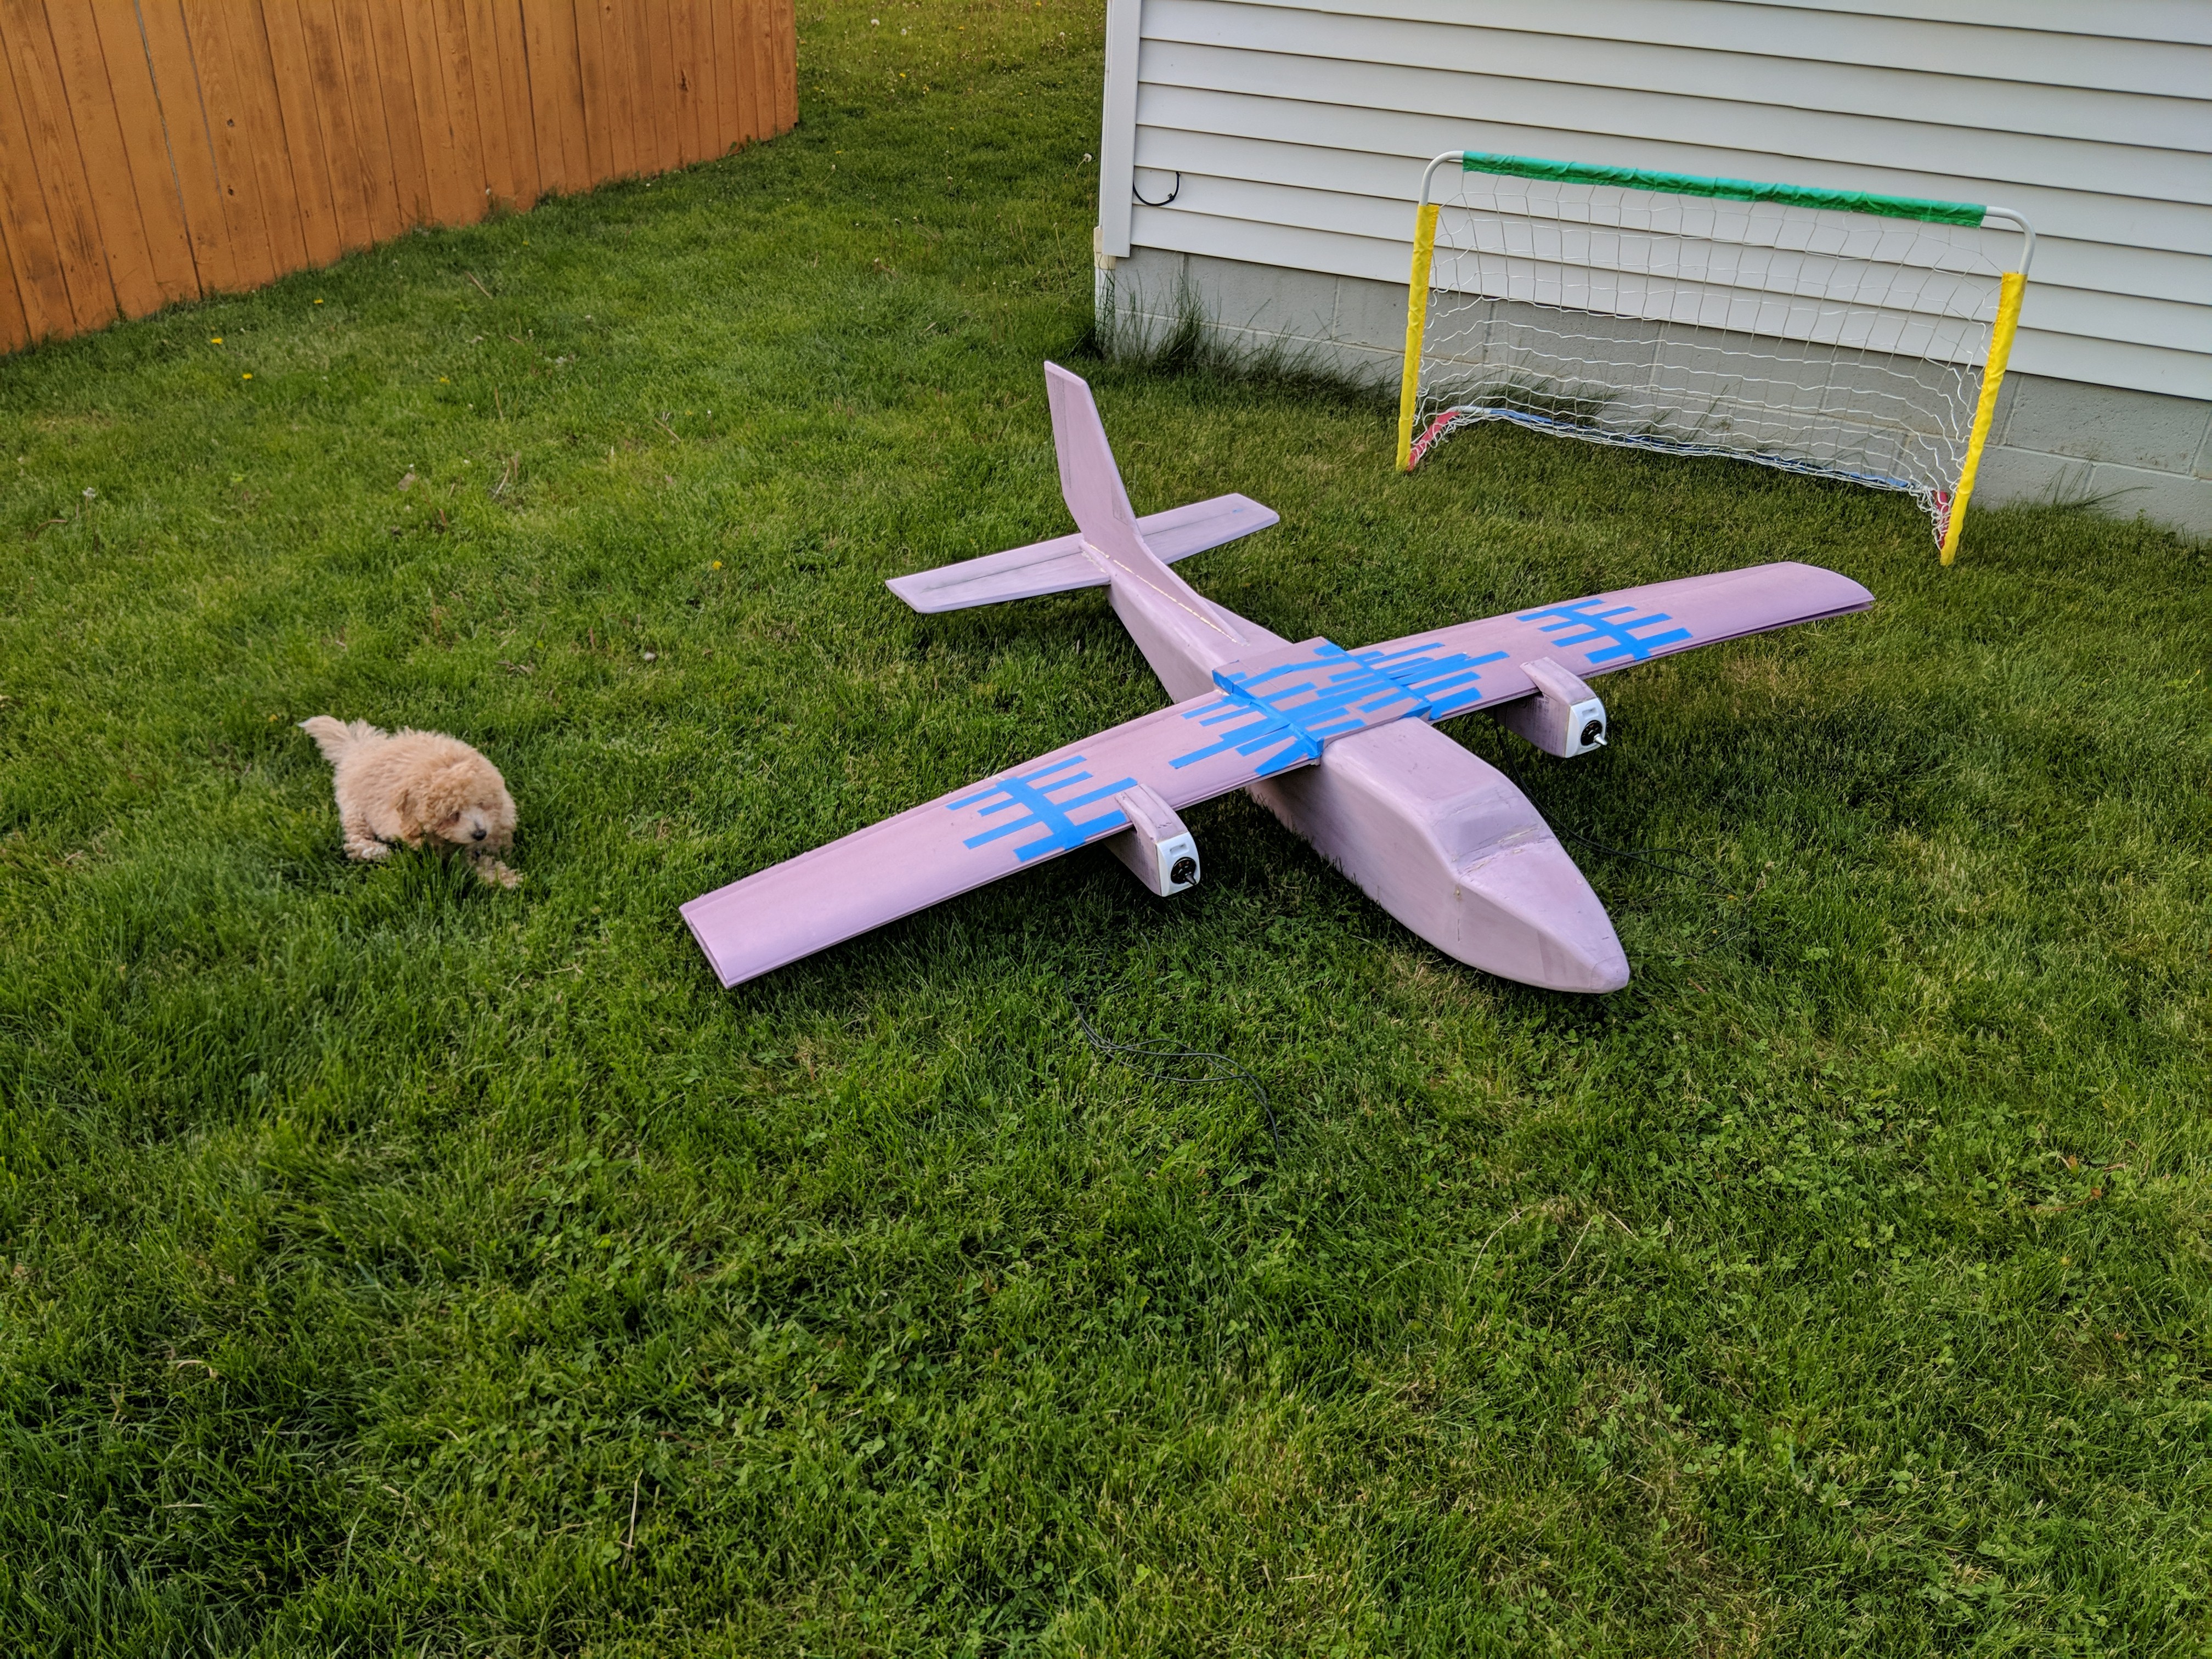
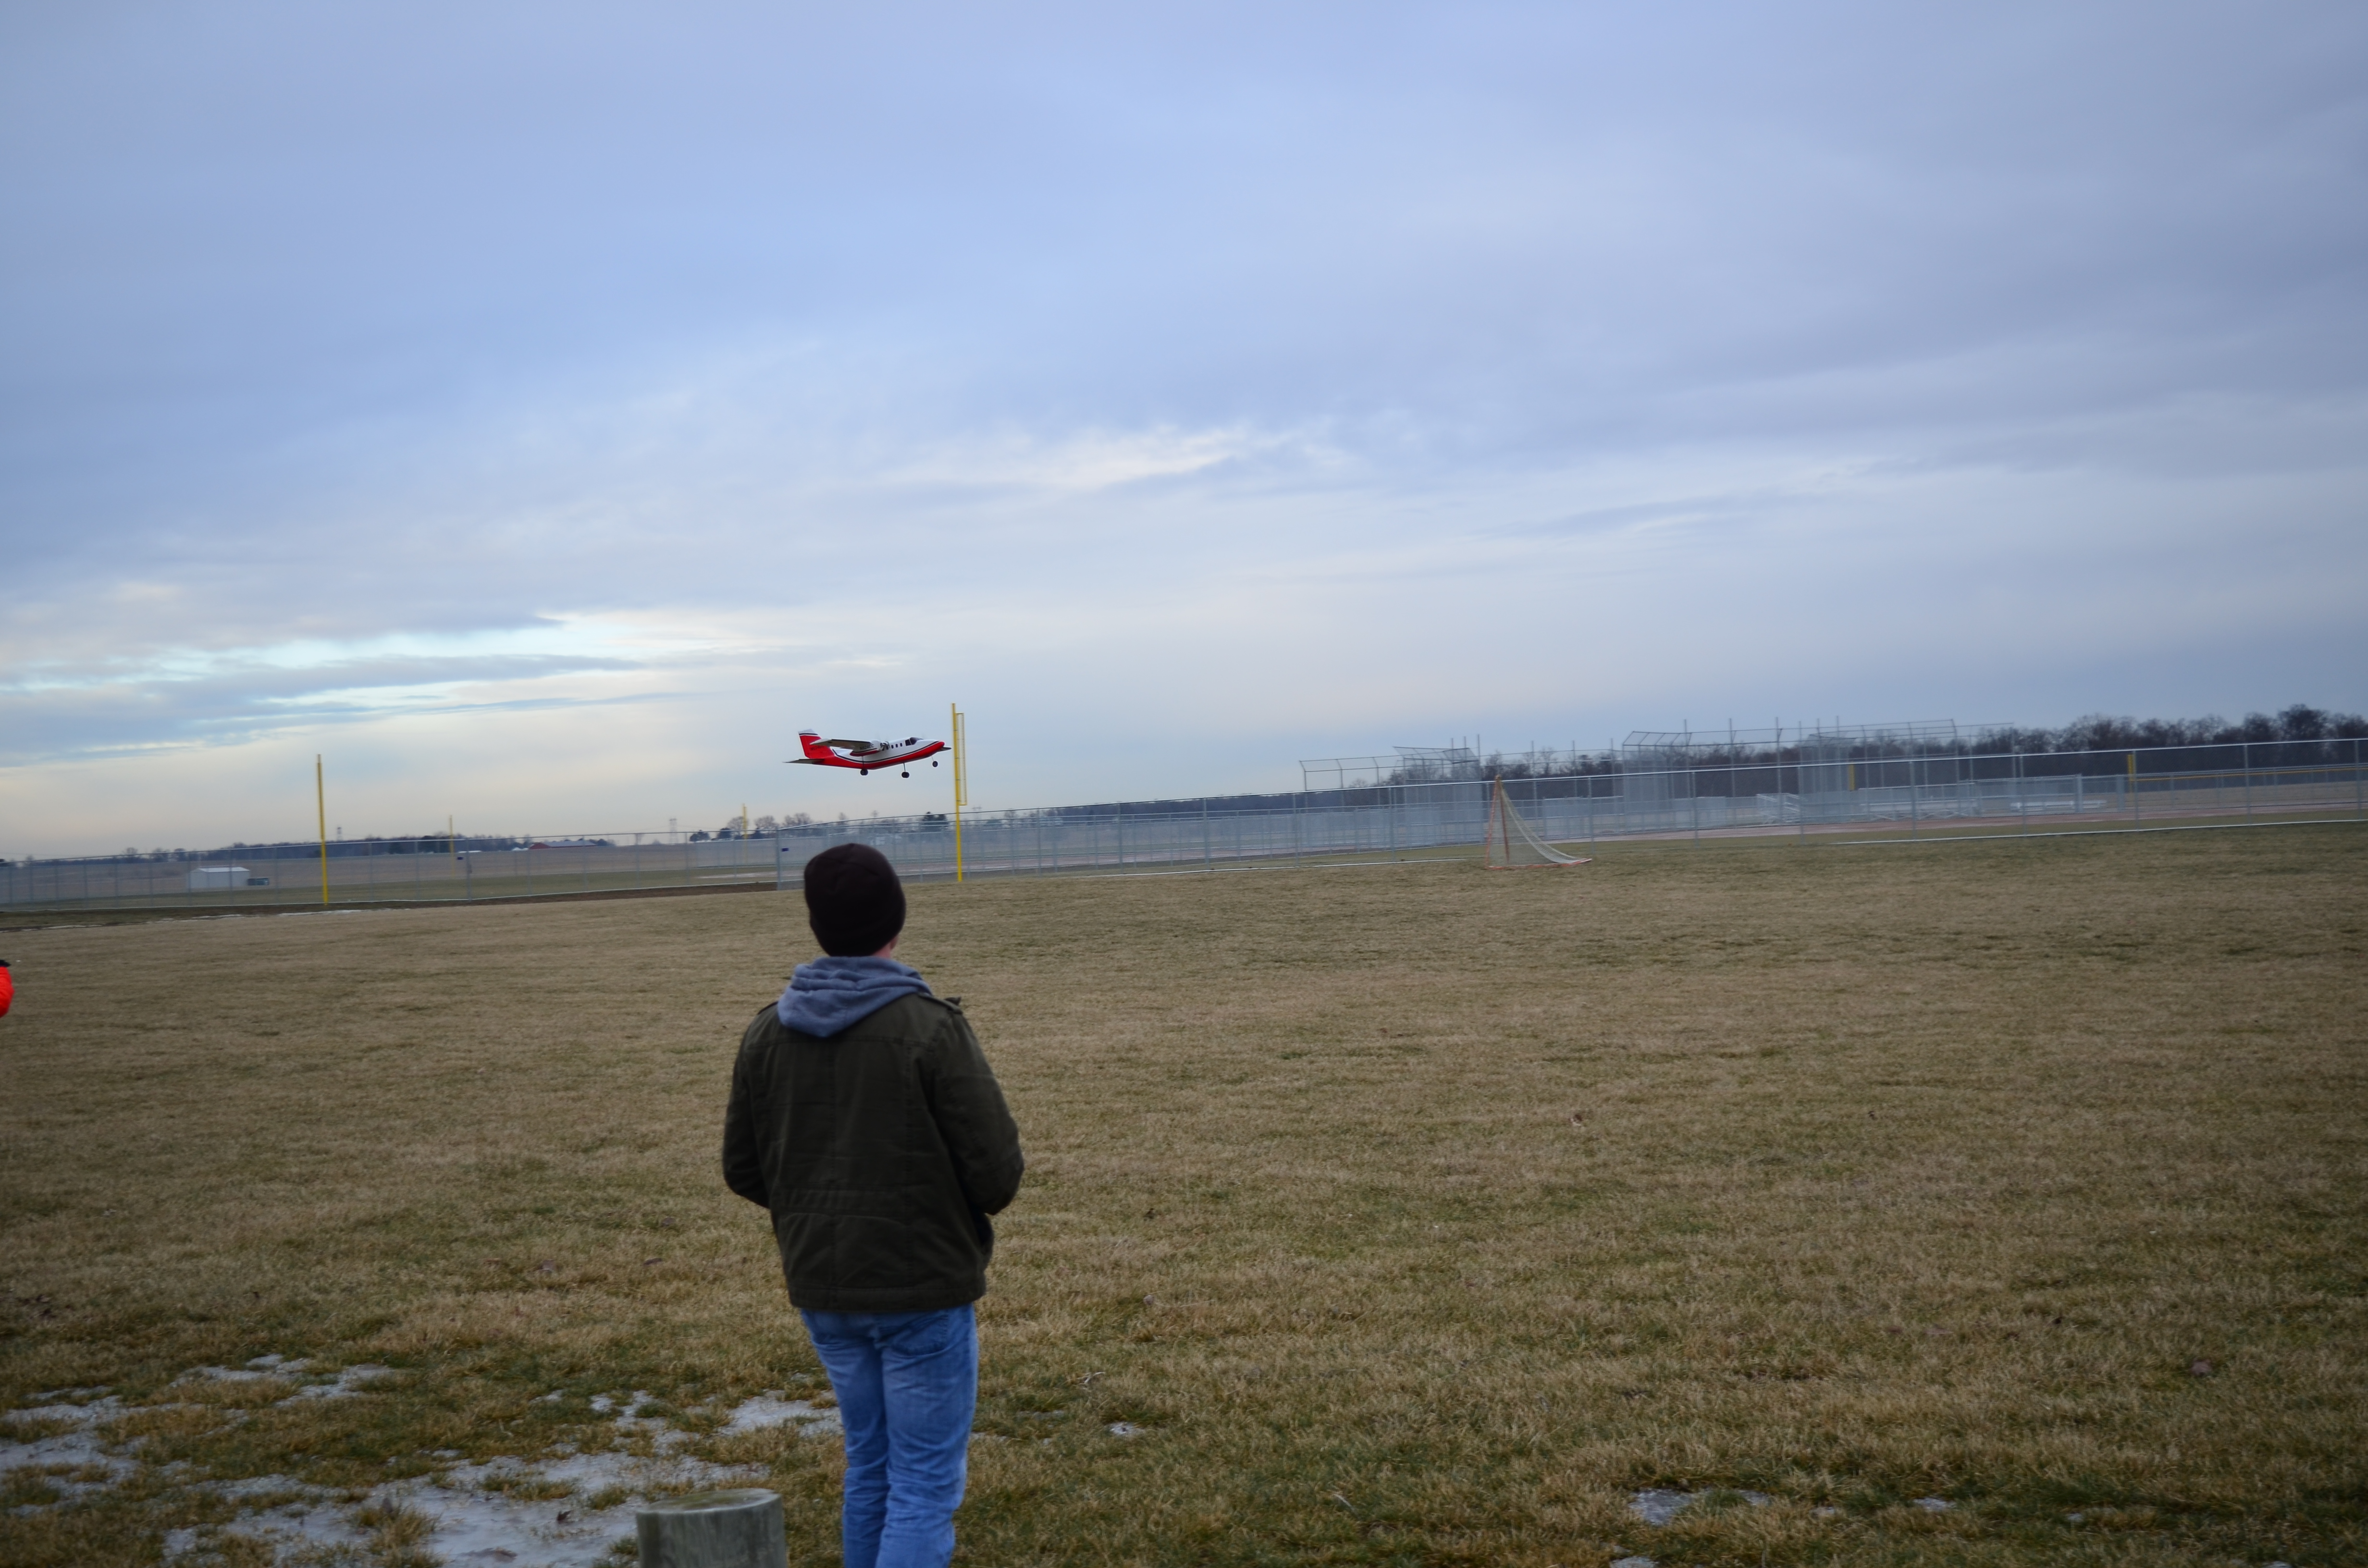
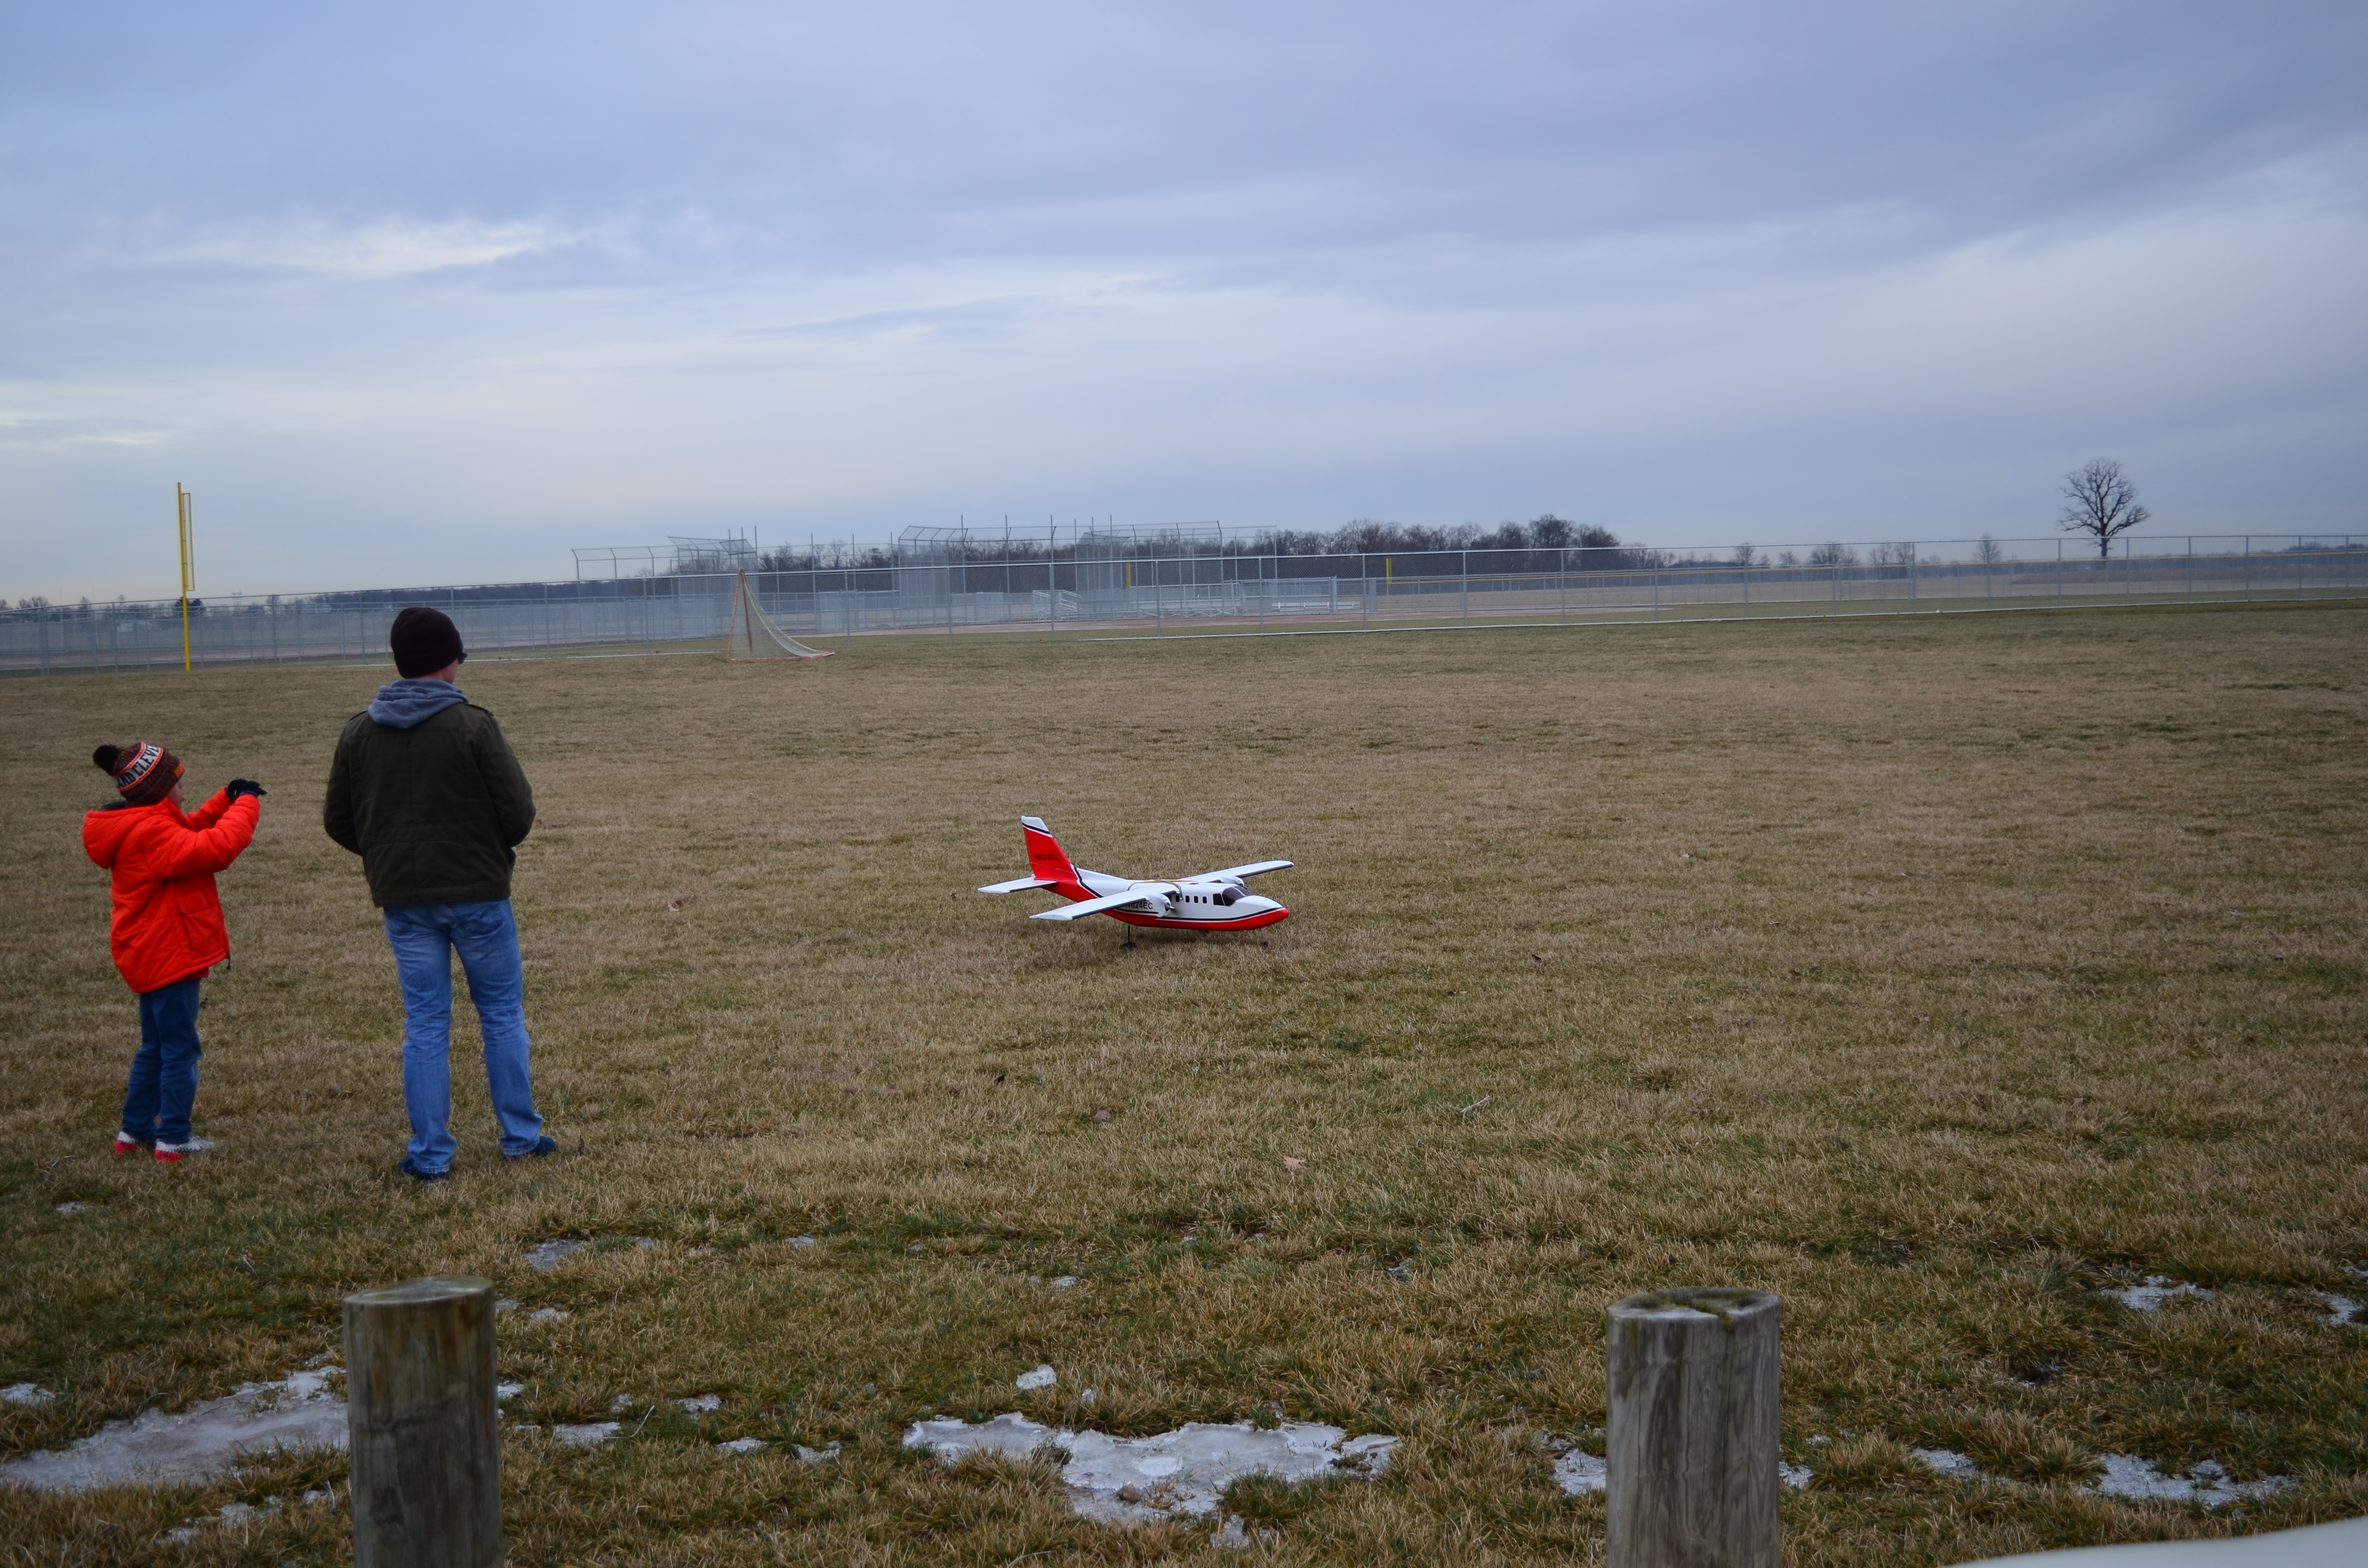
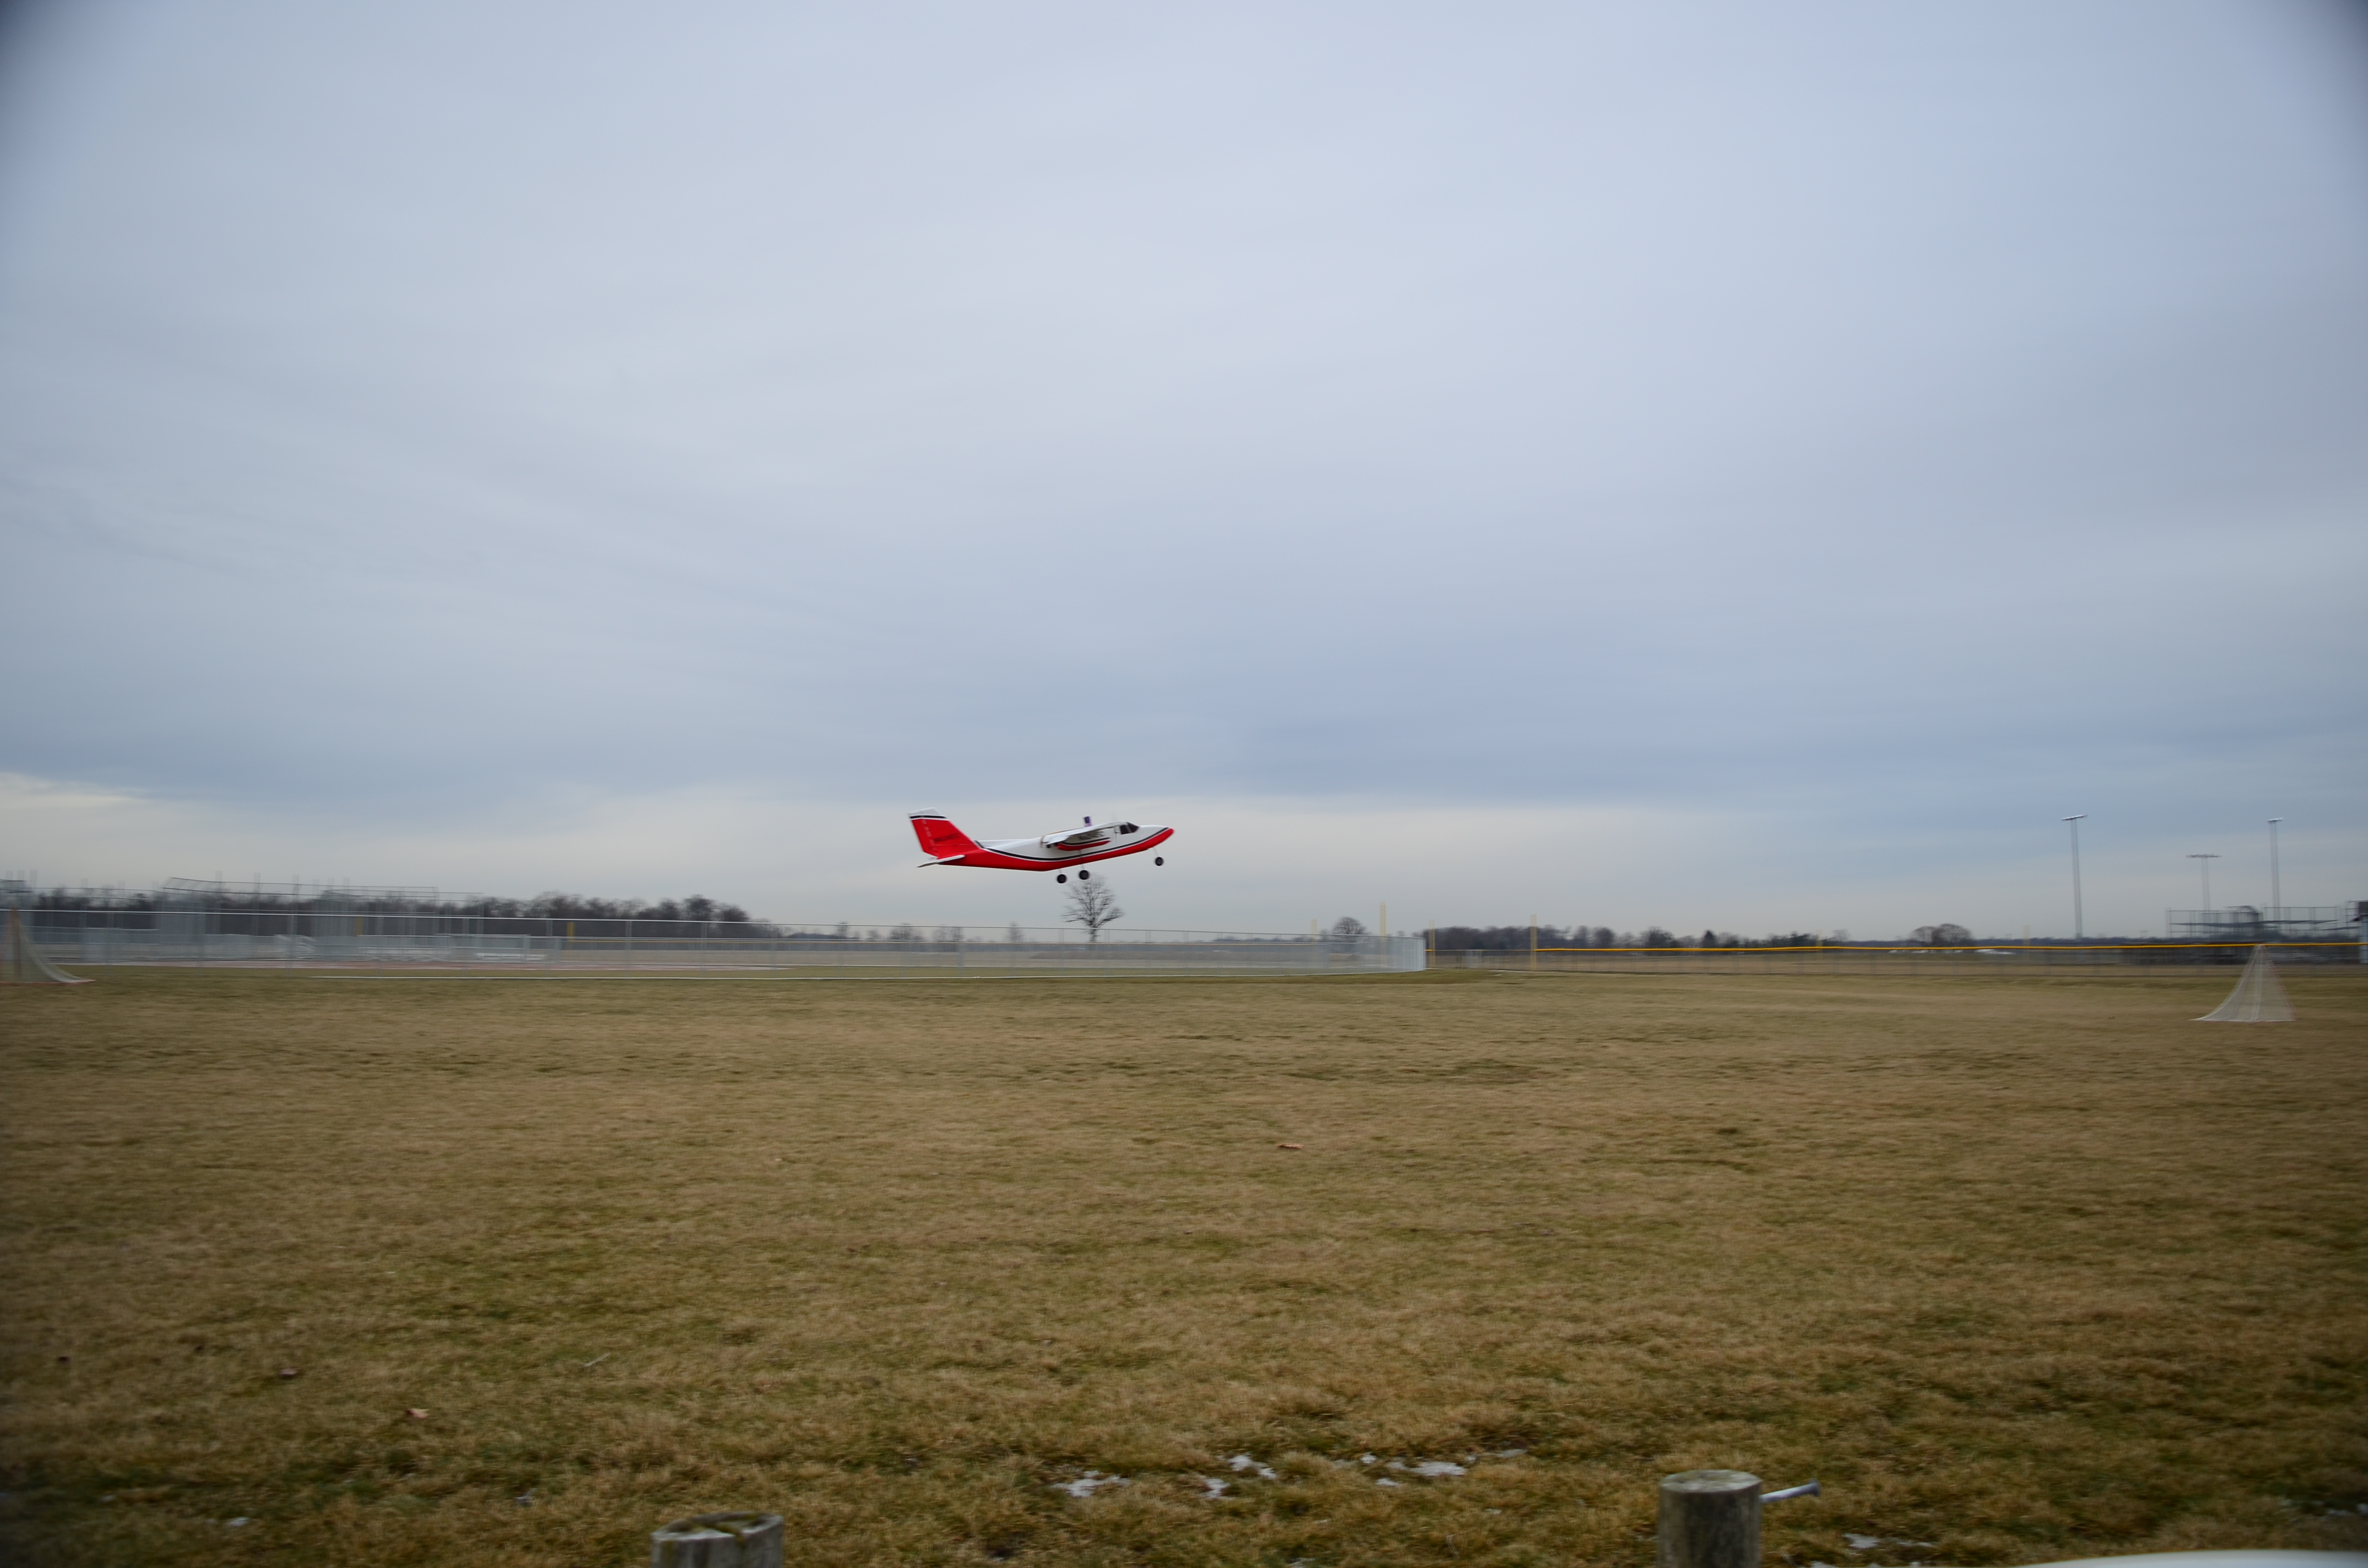
Now it was time to do the maiden flight! I performed a range test, and with cameras rolling, began the takeoff roll. The first takeoff from the grass took a very long time to get up to takeoff speed, but it did liftoff. It flew great! The large size and weight of the plane made it fly very stable and smooth. Although it is a little under powered, and needed to be flown near full throttle most of the time. I may try out using 12inch propellers later. I attached my GoPro Hero 5 session to the plane and was able to get some really cool aerial shots!
Here is the maiden flight video:
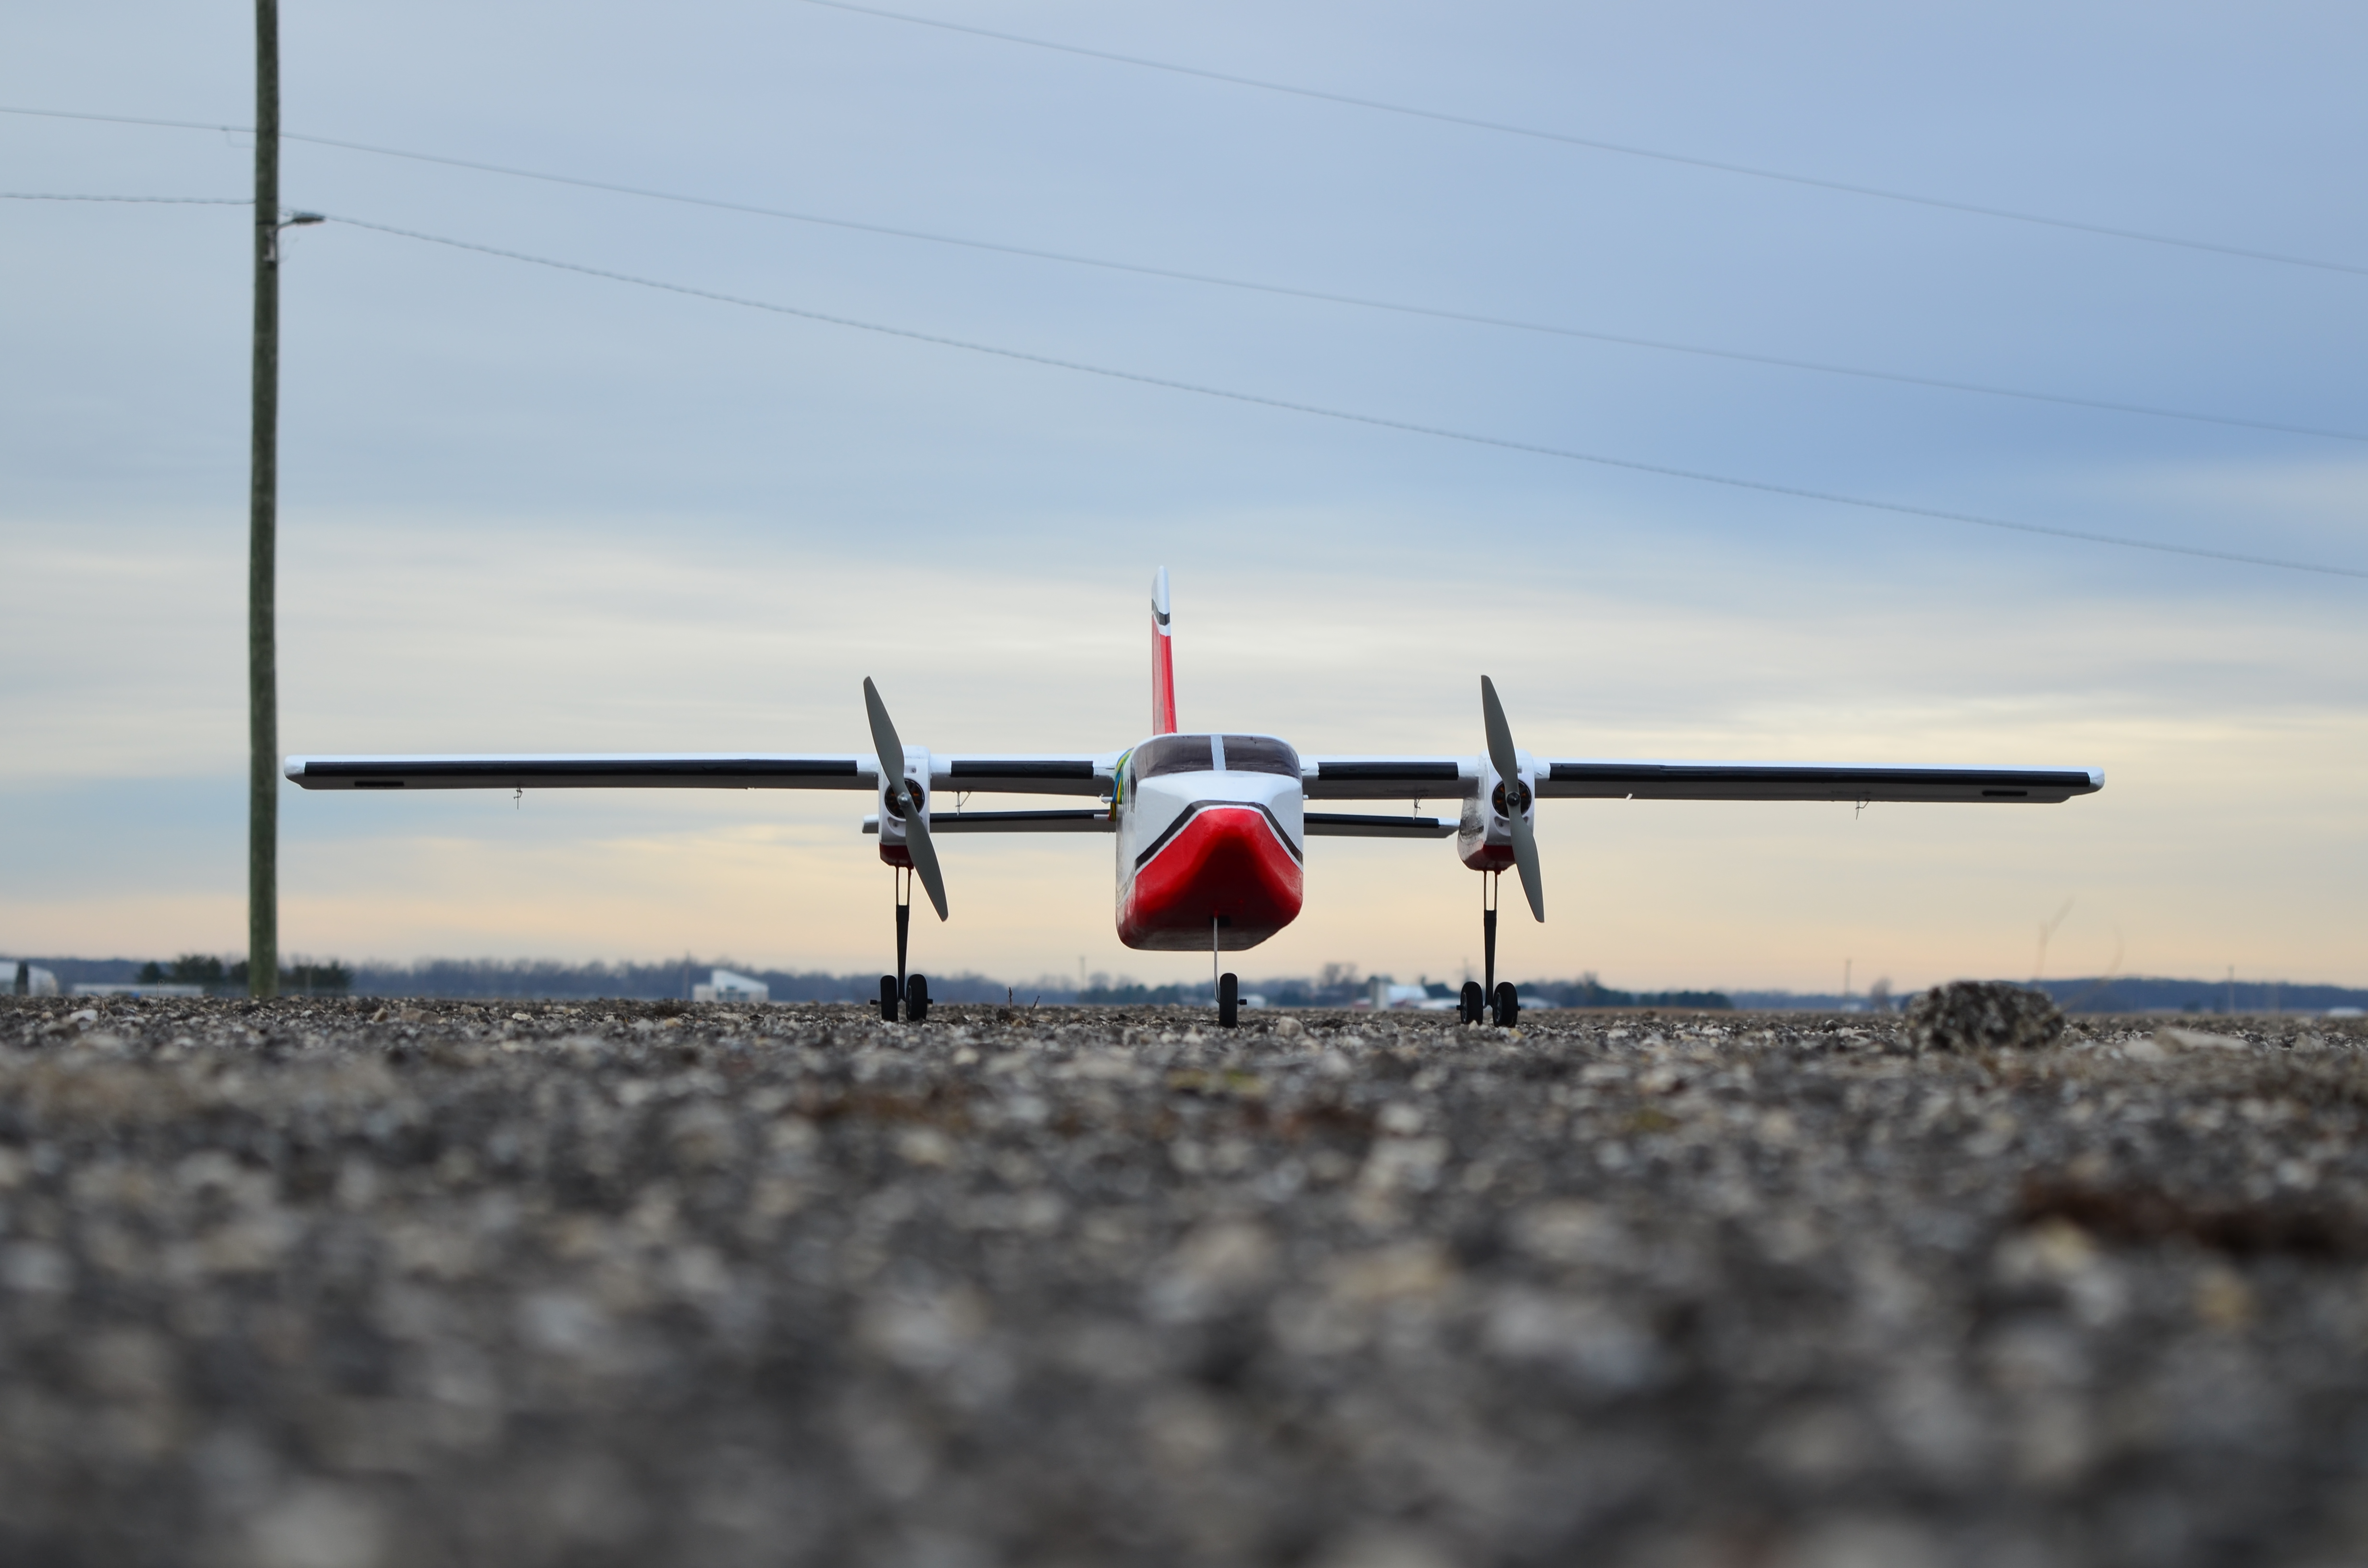
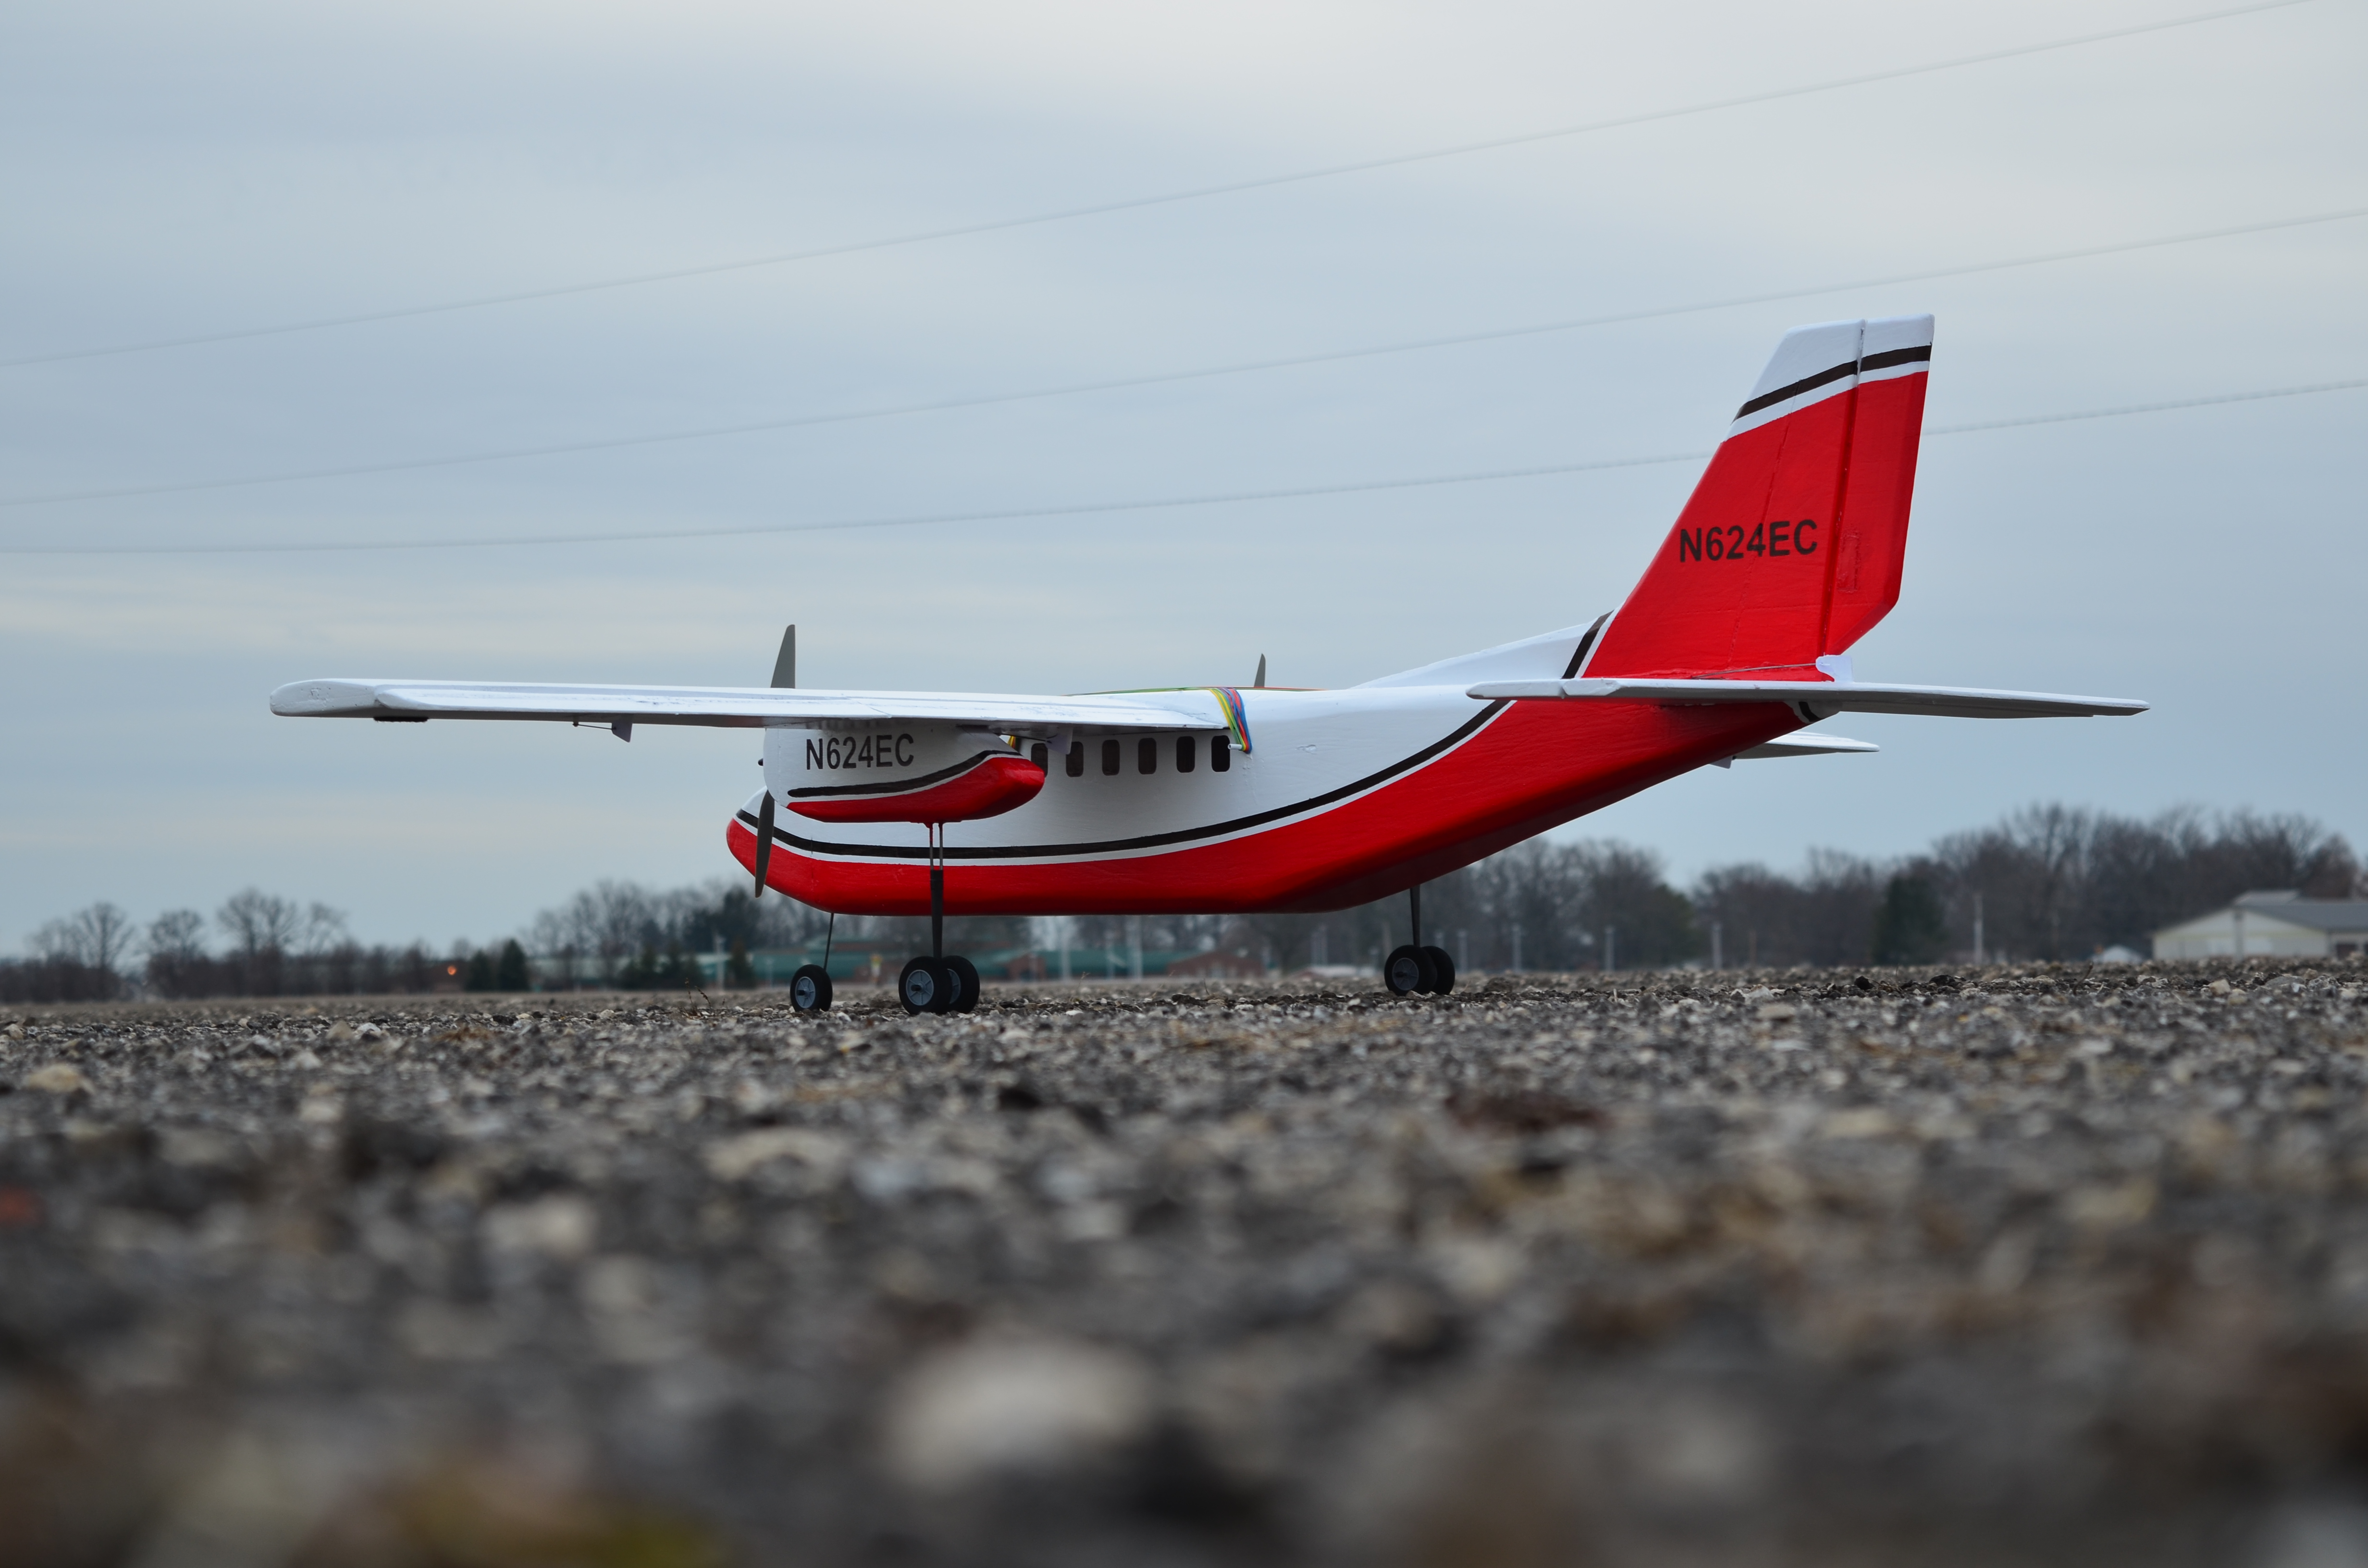
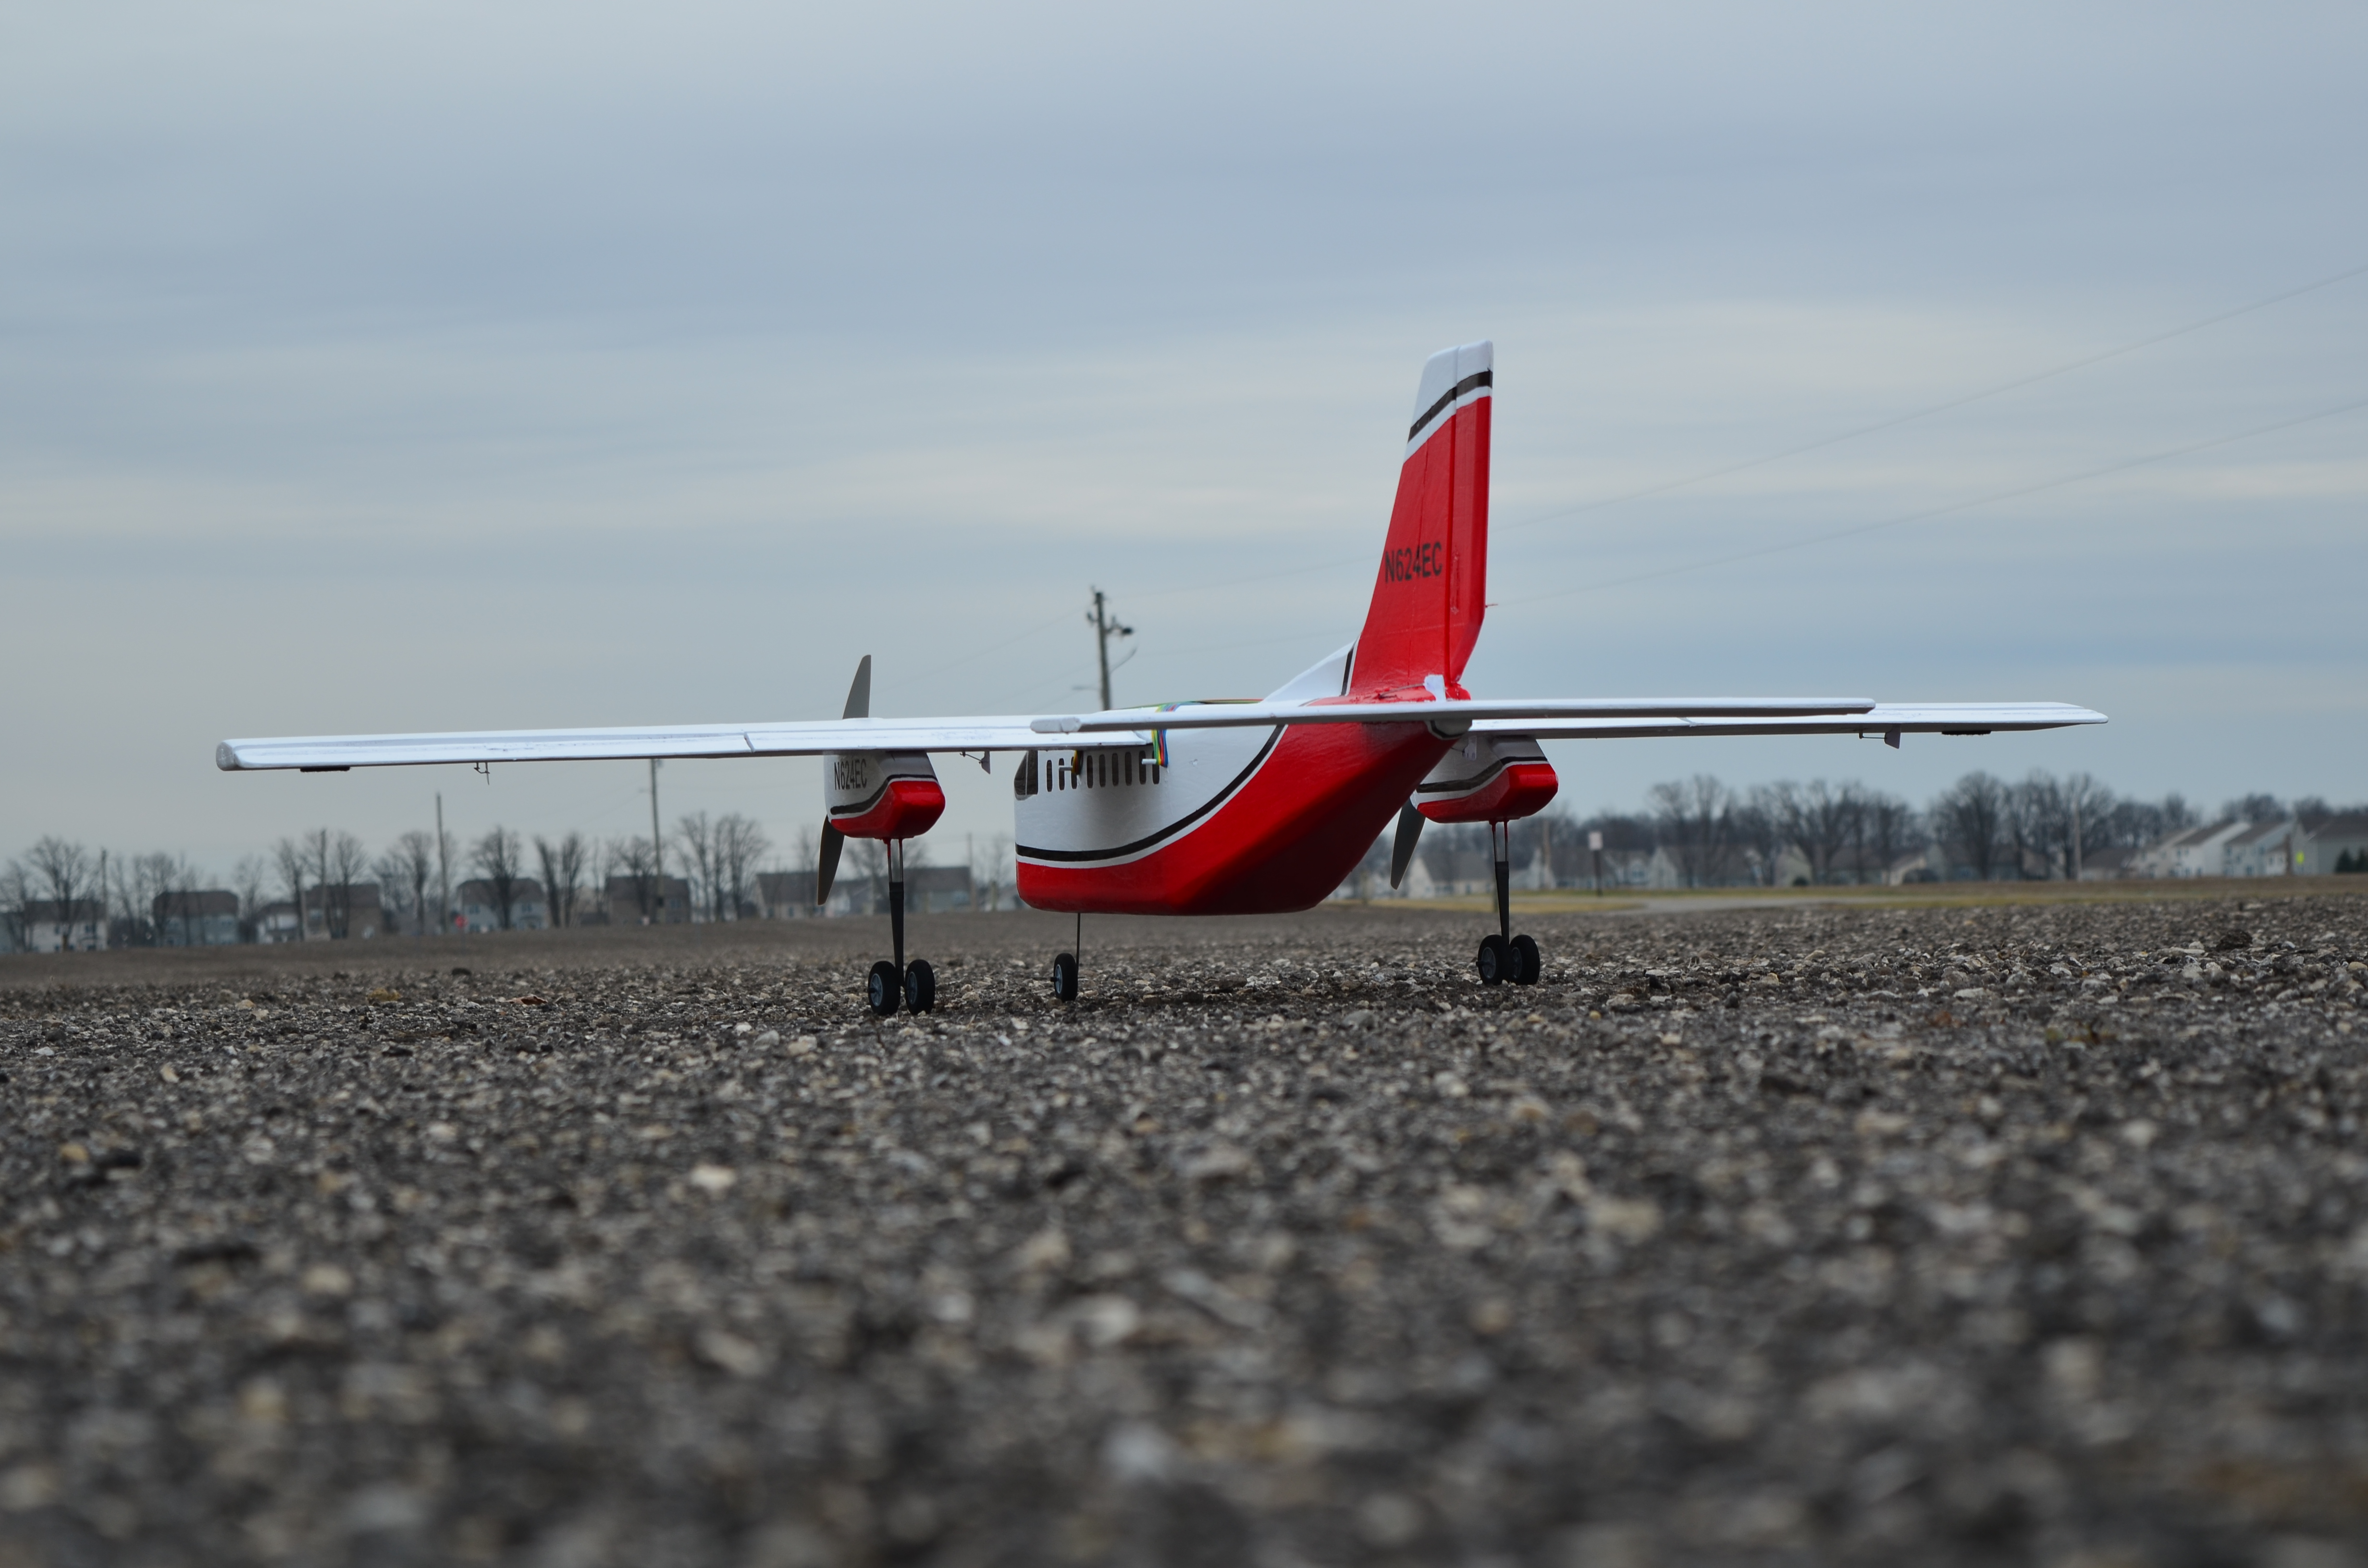
Here are some cool pictures of the finished plane:


I hope you enjoyed this build! If you're interested in seeing more of my projects, I post video on all the planes I build on my YouTube channel www.youtube.com/user/aplanerc.
Thanks for reading and watching,
-Brock


Log In to reply
Log In to reply
Log In to reply
Log In to reply
Log In to reply
Log In to reply
Log In to reply
Log In to reply